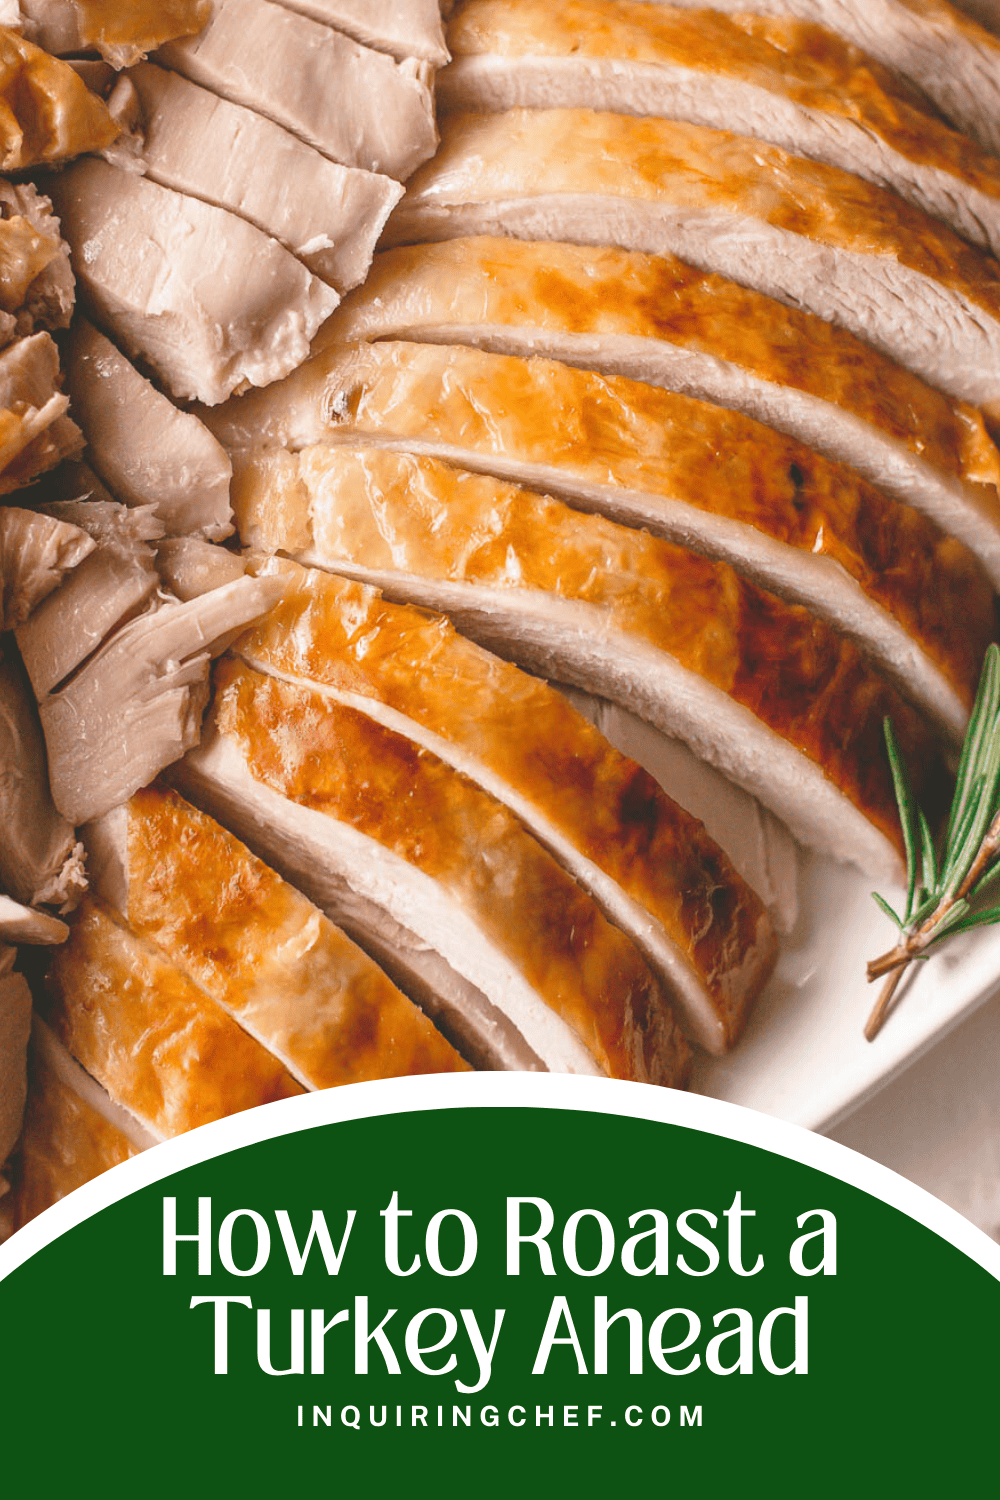
How to Roast a Turkey Ahead
Published Nov 17, 2020•Updated Aug 27, 2025
This post may contain affiliate links. Please read our disclosure policy.
Did you know that you can cook your turkey up to a day ahead? No worrying about it being ready on tope or big mess to clean up on the holiday. Roast it, carve it, arrange it in a baking dish, and reheat it using these easy instructions. Read on for how to roast a turkey ahead the way I’ve done it for years (and my mom has done it for years before me)!
At the heart of many great Thanksgiving or Christmas meals is a beautiful roasted turkey. But the reality is that a whole turkey takes up a lot of space on the big day. If you roast and carve the turkey a day ahead, you can free up your oven for all of those beautiful side dishes. Not to mention that you save yourself all of guesswork over timing when it comes to serving the big meal.
The recipe below includes the straightforward method I’ve used for years to roast my turkey the day before Thanksgiving and includes a few new tricks that I picked up while formally testing this method (including rubbing the pan with butter before reheating).
All of the credit for this idea goes to my mom. She says that her mom (my grandma) roasted turkey this way too. They both did most of the holiday meal work a day ahead, and always seemed so on the holiday. My memories of Thanksgiving as a kid are not of my mom running around trying to cook everything. Most of my Thanksgiving memories involve us going for walks as a family, playing games, watching movies, and doing the last minute tasks of setting the table and pouring drinks. That’s the goal!
Pin this now to save it for later
Pin It NowWhy Roast Turkey Ahead
- Timing – No need to worry about the turkey taking longer to cook than you thought and delaying your meal.
- Low Pressure – Carving a turkey is a bit of a project, but even more so with an audience. There’s so much pressure when well-meaning guests are peering over your shoulder! Doing it a day ahead means you can take your time. (It also means you can pull up a carving tutorial on YouTube. No shame in that game.)
- Save Space – A roasted-ahead and fully carved turkey takes up WAY less space in your fridge than a whole bird.
- Less Mess – Roasting a whole turkey is messy. There’s roasting dishes to wash and a carcass to make into stock and dispose of. Roast it ahead and don’t add one more thing to your clean-up list after the meal.
- A Chance to Doctor – In the recipe below you’ll find all of my tips for doctoring your turkey before you reheat it. Add a bit of salt if it’s under seasoned. Add a squeeze of fresh lemon juice to brighten the flavors. You can even re-crisp the skin under the broiler to get a nice golden brown color.
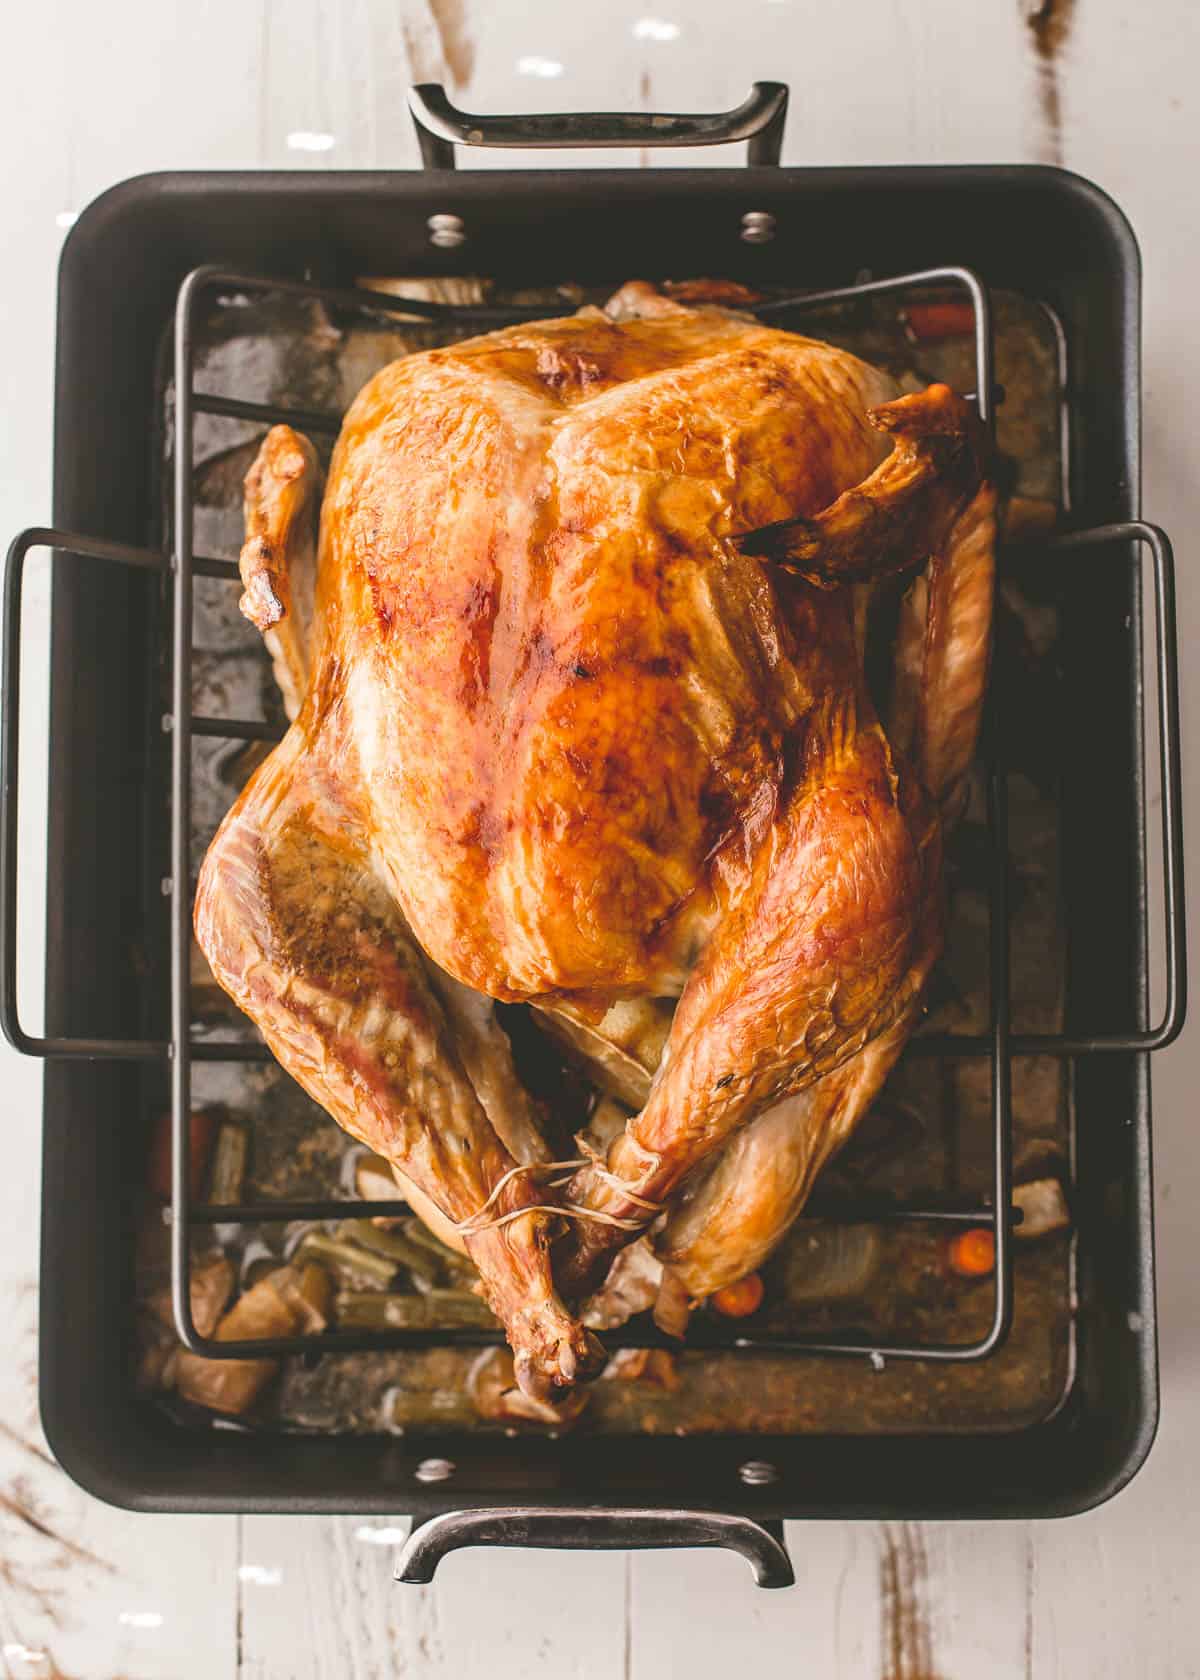
Step 1: Roast and Rest Turkey
Use any recipe or method for roasting your turkey. You can keep it simple or use a brine. Be sure that the turkey is cooked well to the proper temperature (see below) so that it is moist and tender. Then, perhaps most importantly, let the turkey rest for a full 40 to 50 minutes so that the juices have time to distribute throughout the meat.
Letting your turkey rest is one of the most essential steps to ensuring moist turkey meat. I find this to be one of the biggest advantages of roasting the turkey ahead. Since you’re not rushing to get the meal on the table, you can let that bird rest for a good long time.
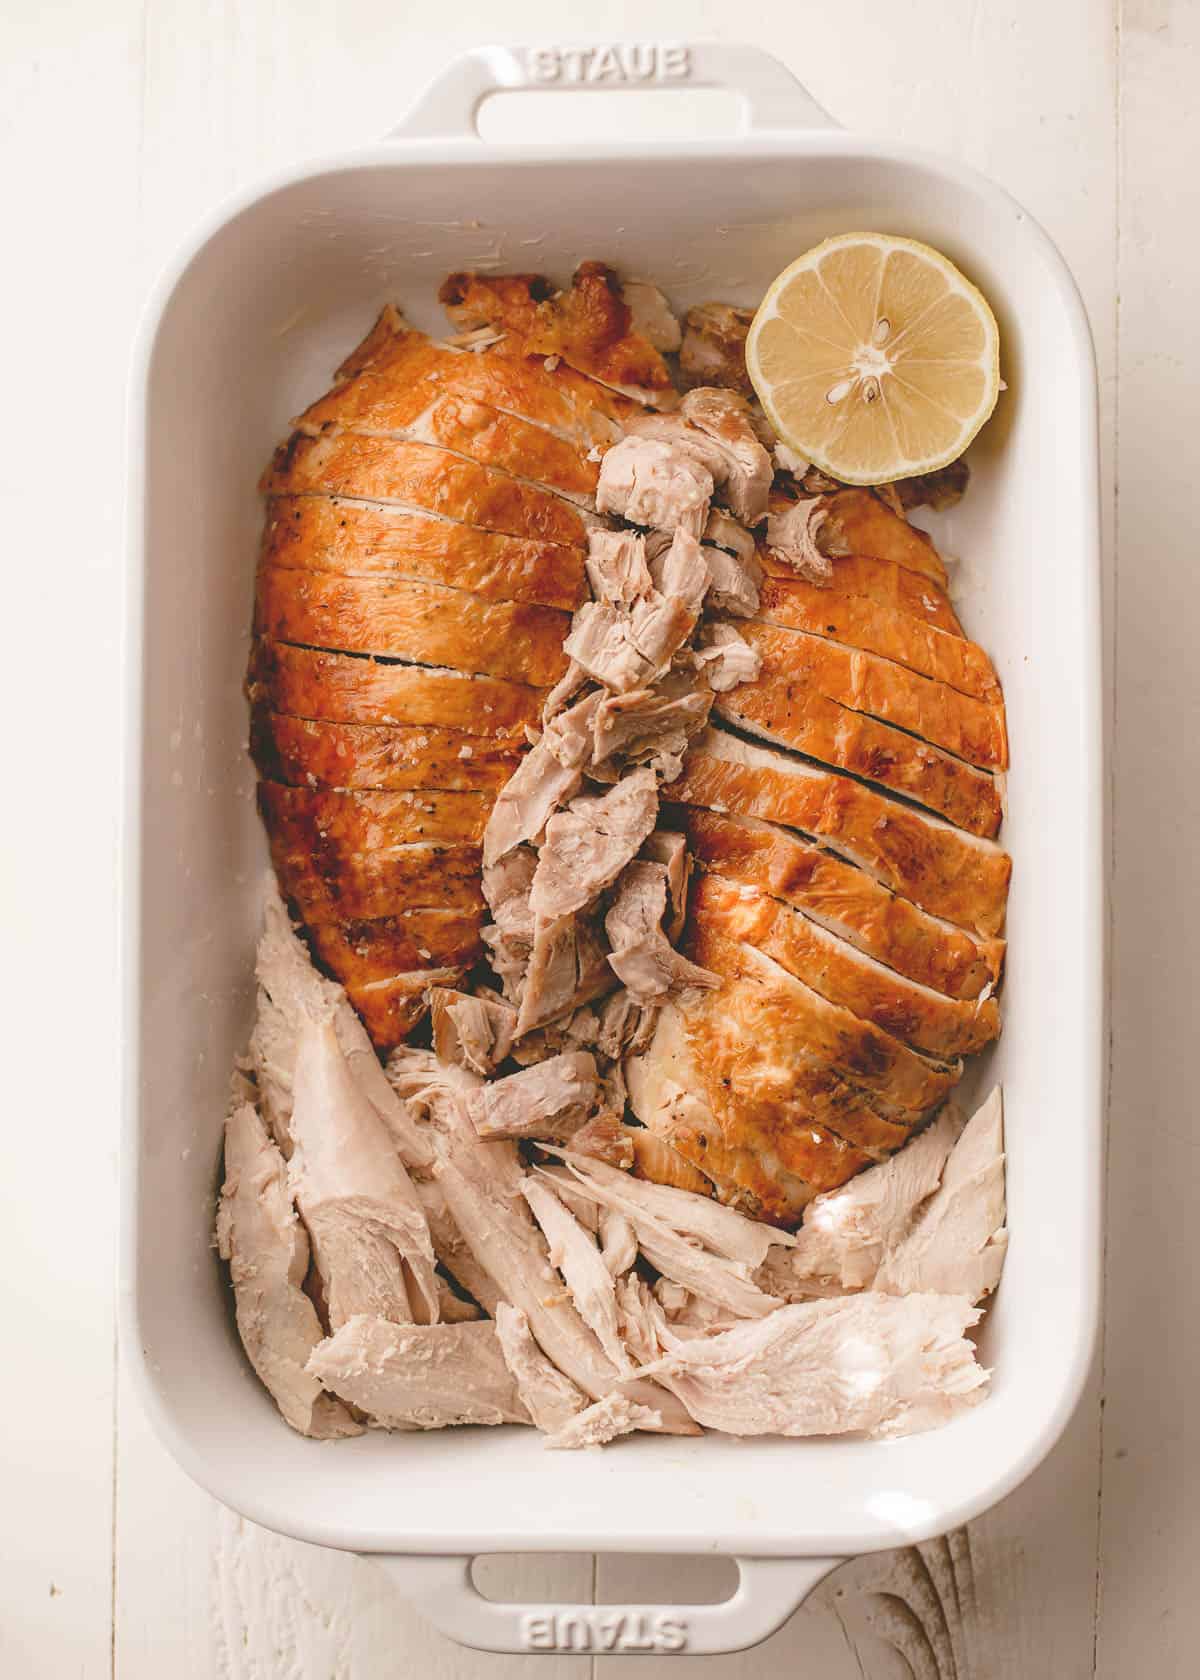
Step 2: Carve
As noted above, use your favorite method for carving the turkey. You want most of the slices to be a similar thickness so they reheat evenly. You’ll need to slice the meat off the drumsticks and wings (rather than keeping them whole), since pieces with the bone in will take much longer to reheat than sliced breast meat.
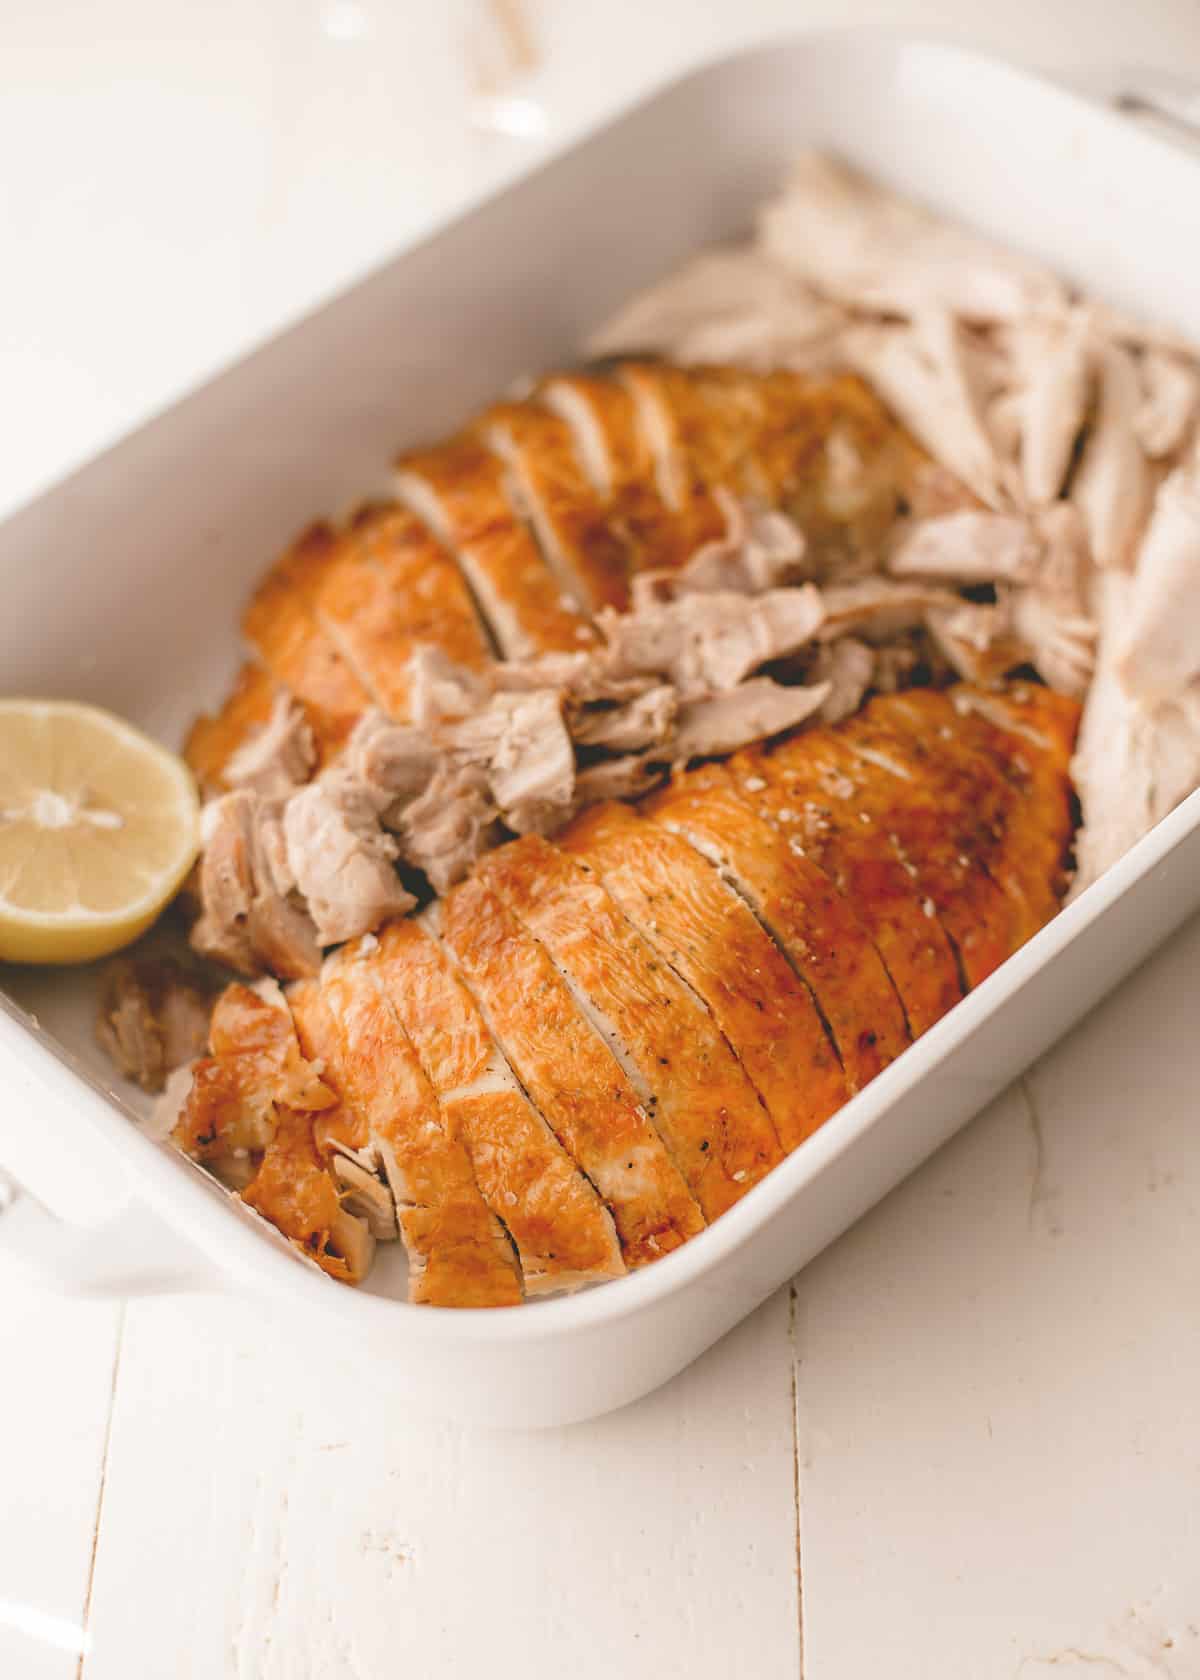
Step 3: Arrange and Refrigerate
Rub an oven-safe (and broiler-safe) casserole or serving dish with softened butter. Arrange sliced turkey in dish. You can serve the turkey right out of this dish if you’d like, so take the time to make it look the way you would like it to look when served. Leave the skin facing up so that it can be easily crisped under the broiler.
Cover the dish tightly with foil and refrigerate for up to 24 hours.
Step 4: Reheat
When you’re nearly ready to serve the turkey, lightly season the turkey with some salt and pour a small amount of stock around the sides of the dish. Cover tightly with foil and bake at 350°F / 177°C for 15 to 20 minutes.
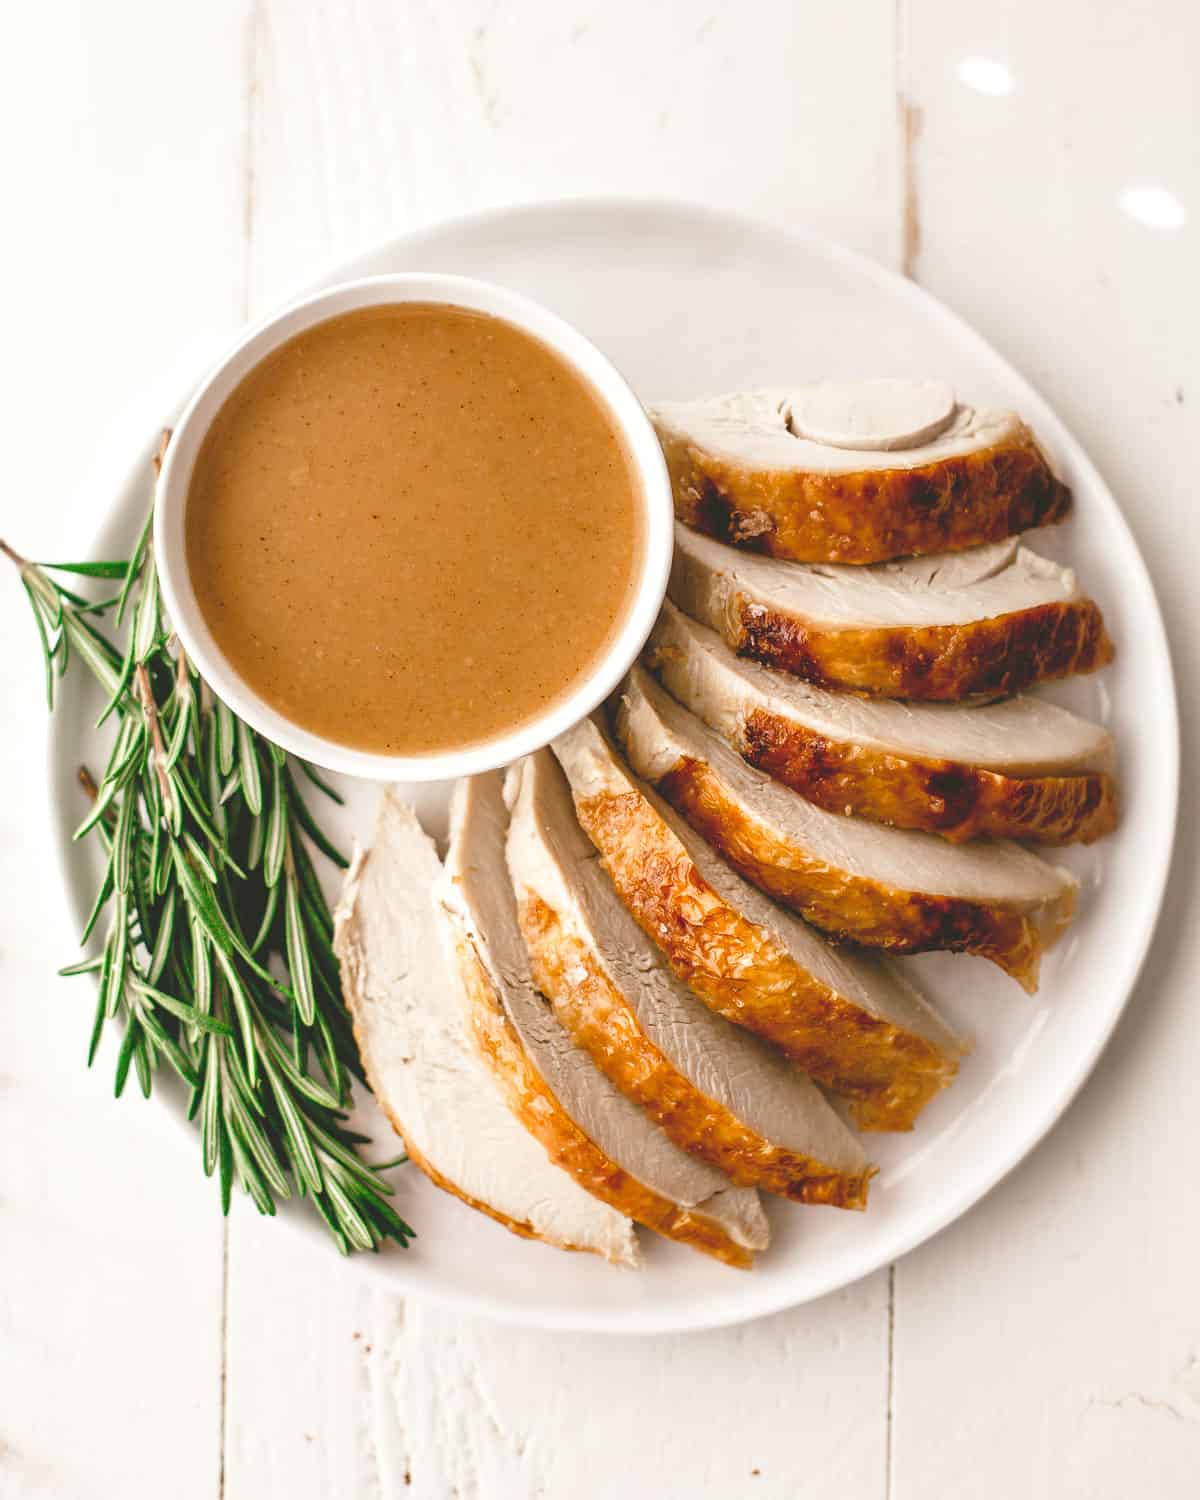
Step 5: Broil
If you’d like to crisp the turkey skin, turn on the oven’s broiler and broil just until crisp, 4 to 5 minutes. This is totally optional.
Season the Turkey after Carving (if needed)
One of the biggest advantages to roasting the turkey ahead is the chance to add extra seasoning to the meat after roasting. Even if you brined your turkey, the brine may not have reached all the way to the meat that is closest to the bone (this is a particular problem with the thickest part of the breast meat). Last-minute seasoning to the rescue! Just before you reheat the turkey, taste a piece. If it tastes like it could use a bit more flavor, sprinkle salt between the slices right before reheating. It works like magic to bring more flavor throughout all of the slices of turkey.
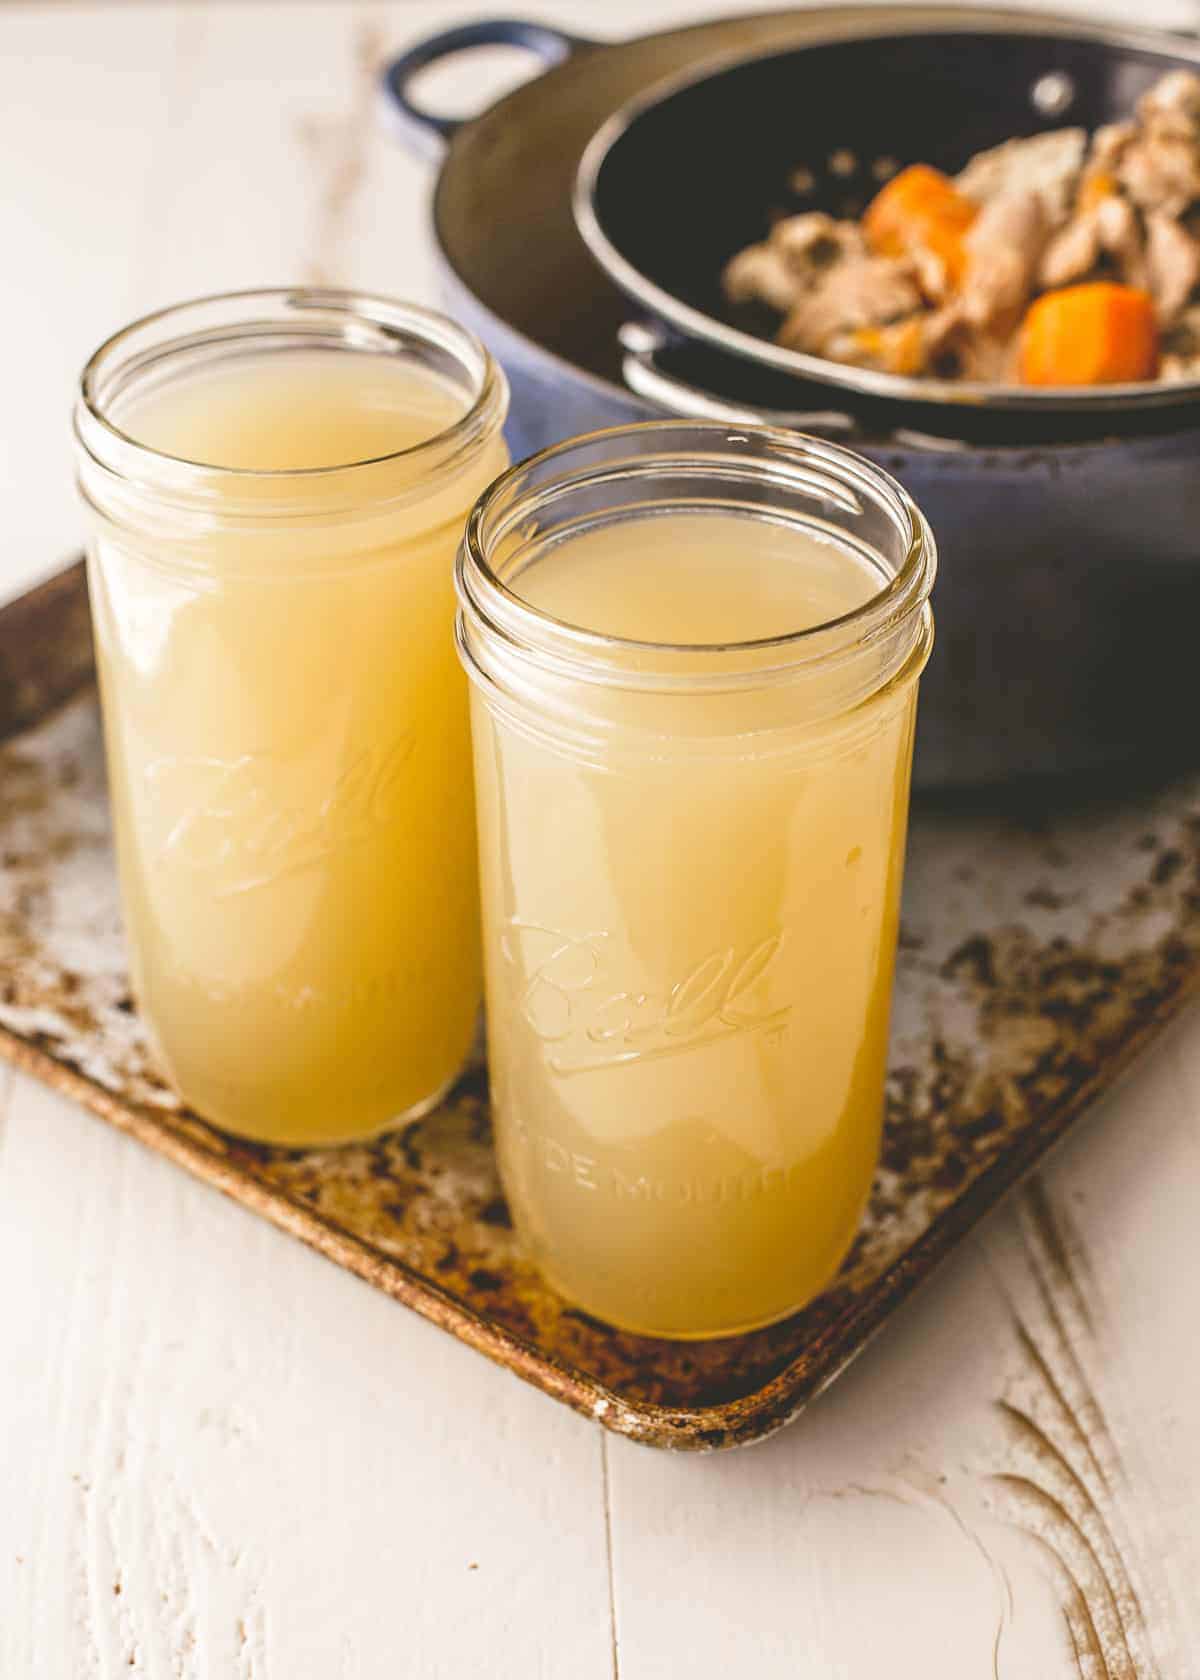
Want the House to Smell Like Turkey on Thanksgiving?
I love the house to smell like roasting turkey all day on Thanksgiving even though I never roast the turkey on the holiday. So use Thanksgiving day to make stock! Save all the bones from your carved turkey and simmer them on the stovetop in the hours before guests arrive for the Thanksgiving meal. The house will smell cozy and amazing even though the real work is already done. Want more tips? Check out how to make turkey stock.
Safe Temperature for Roast Turkey
The FDA recommends an internal temperature of 165°F / 73°C for turkey. Turkey will continue to cook for a few minutes after you take it out of the oven, so remove it from the oven just before it reaches that temperature – when the thickest part of the breast registers 160°F / 71°C and the thickest part of the thigh registers 165°F / 73°C. The dark meat will stay moist at a higher temperature, but you don’t want to overcook the light meat of the breast. Use the breast as the most reliable guide to doneness.
Will this work with turkey breast?
Absolutely! As with roasting a whole turkey, just be sure that your turkey is cooked to the proper temperature and let it rest fully before slicing.
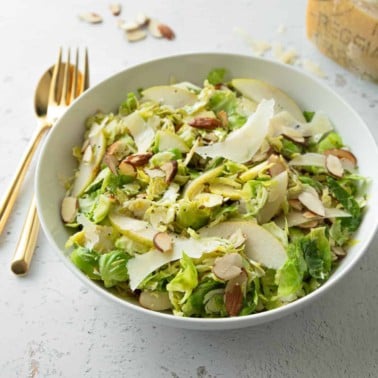
My Complete Thanksgiving Menu
- Simple Roasted Turkey
- Bacon Wrapped Dates with Brie and Balsamic Honey (to serve as an appetizer)
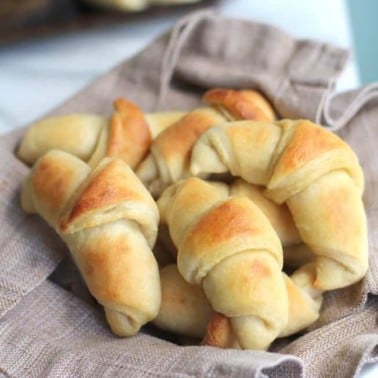
- 1-Hour Light and Buttery Dinner Rolls
- Make-Ahead Mashed Potatoes
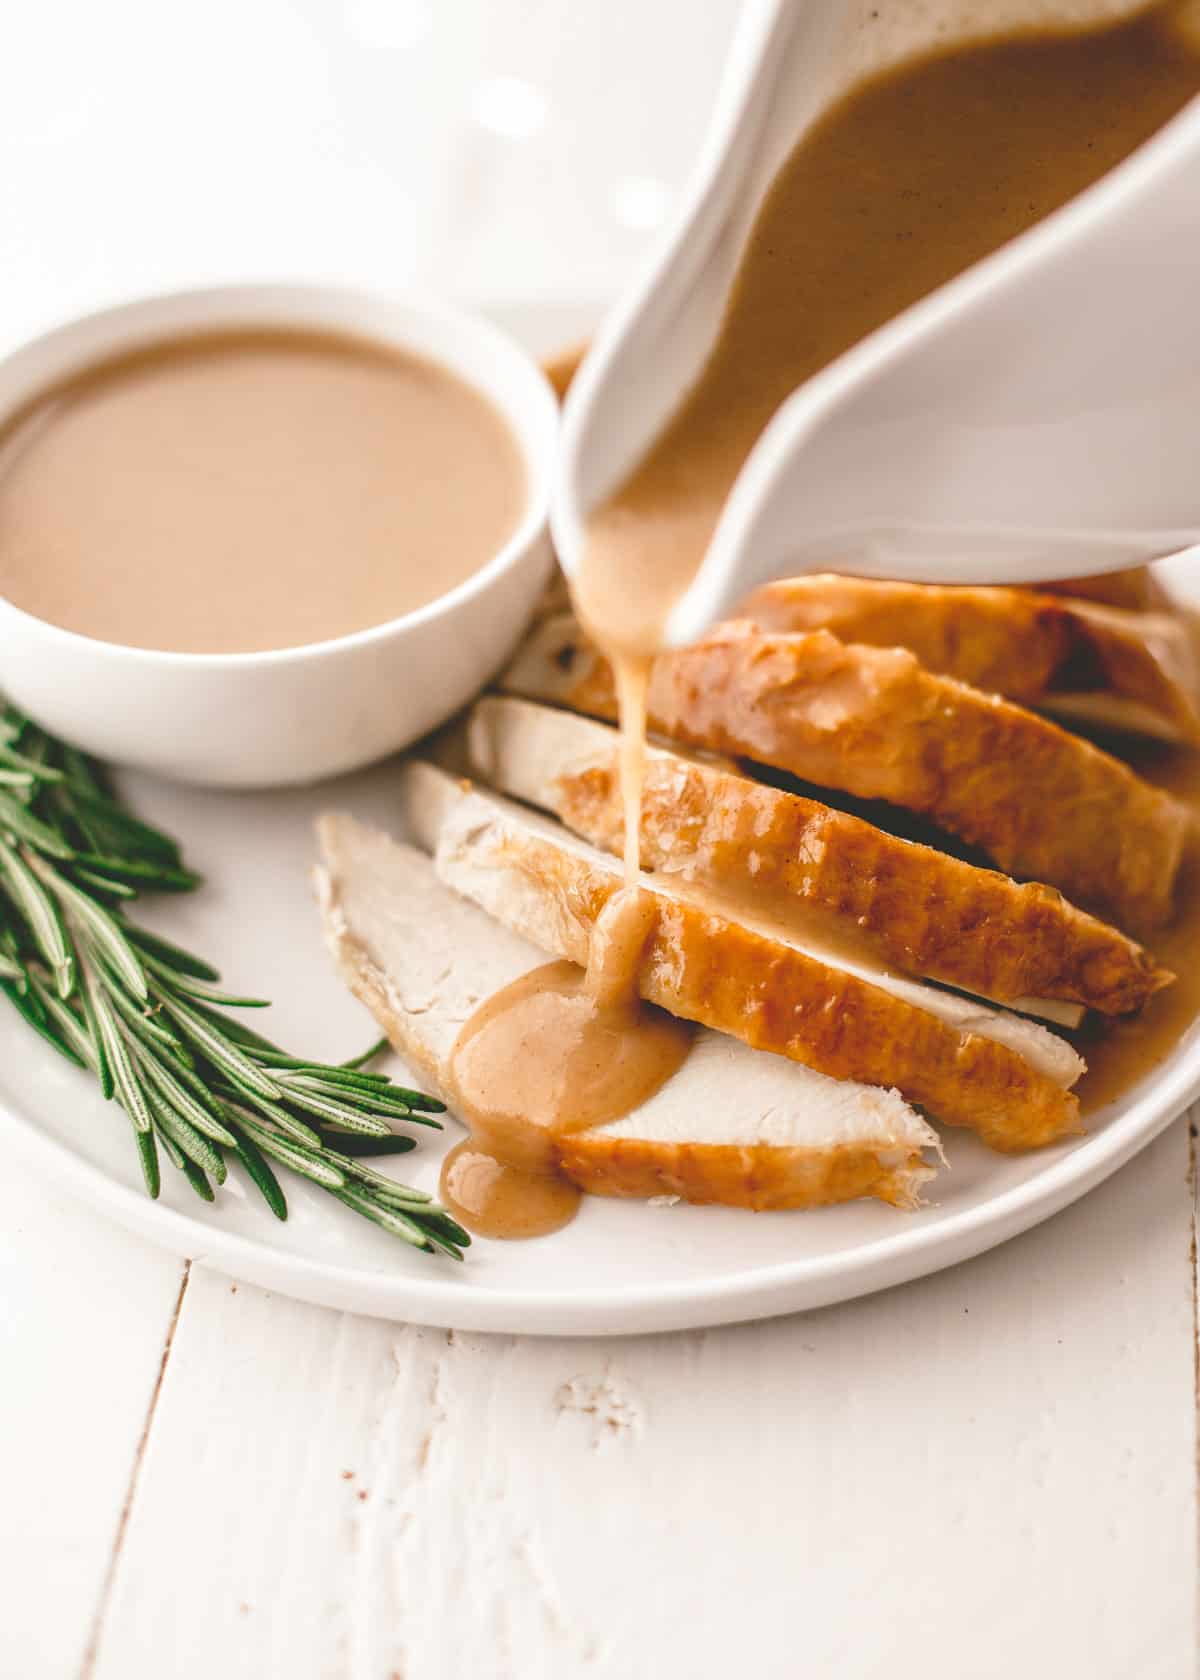
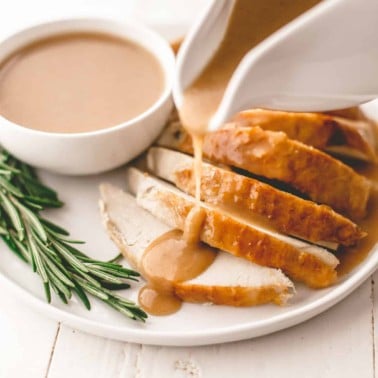
- Turkey Gravy with White Wine and Sage
- Homemade Green Bean Casserole
- Focaccia and Bacon Stuffing
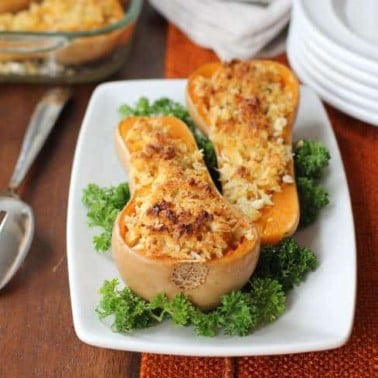
- Creamy Butternut Squash and Spinach Casserole
- Cranberry Sauce (from Simply Recipes)
- Slow Cooker Pumpkin Cheesecake
Get more details and a complete Thanksgiving timeline here.
More Favorite Thanksgiving Recipes
Pin this now to save it for later
Pin It Now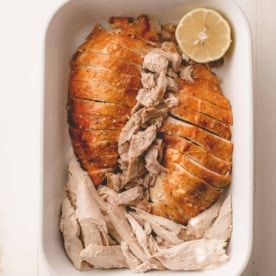
How to Roast a Turkey Ahead
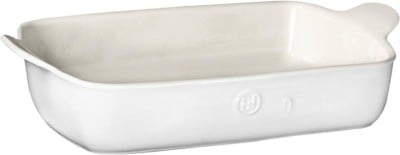
Equipment
- Oven Safe Casserole Dish
Ingredients
- 1 Whole Roasted Turkey, carved and cooled
- 2 Tablespoons Unsalted Butter, softened
- Foil, for roasting
- 1/2 teaspoon Kosher Salt (optional; see step 4)
- 2 Tablespoons Turkey or Chicken Stock (see note)
- 1/2 Lemon (optional; see note)
Instructions
- Rub an oven-safe (and broiler-safe) casserole or serving dish with softened butter.
- Arrange sliced turkey in prepared dish. Leave the skin facing up so that it can be easily crisped under the broiler.
- (You can serve the turkey right out of this dish if you’d like, so take the time to make it look the way you would like it to look when served.) Cover the turkey tightly with foil and refrigerate for up to 24 hours.
- When ready to serve, preheat oven to 350°F / 177°C.
- Tip: Just before reheating, you can lift the foil cover off the turkey and taste the sliced breast meat. If the meat tastes bland or under seasoned, this is a great opportunity to add a bit more flavor. Lightly season the turkey with kosher salt, lifting the pieces up and seasoning underneath if you’d like to insure that everything gets seasoned. This is optional, but it’s a great opportunity to boost the flavor.
- Pour chicken stock around sliced turkey, making sure to avoid any skin that you will want to get crisp under the broiler.
- If you want to add some lemon juice to the turkey (see note below), slice a lemon in half and nestle it, cut-side up next to turkey slices.
- Reseal the foil over the dish and bake until the turkey is just warmed through, about 15 to 20 minutes (it will continue to warm up under the broiler).
- Remove the foil from the baking dish and turn on the oven’s broiler.
- Slide turkey under the broiler. Keep a close eye on it and broil until the skin is deep golden brown and crisp, 3 to 4 minutes.
- If using, lightly squeeze some juice from the lemon over turkey.
- Serve warm.
Notes
Nutrition
Nutrition information is automatically calculated, so should only be used as an approximation.


Did the turkey like this last year. So much easier and tasted lovely. I wonder if you have advice or recipe on roasting potatoes beforehand and freezing. When there are children around everything is much harder and time flies by.
I’m so glad! Really such a time-saver on the holiday! I’ve played around a bit with roasting potatoes ahead but haven’t every written it up. I’ve found that they do really well if you roast them almost all the way (pull them before they get super brown) and then refrigerate or freeze them. Then I like to bring them back to room temp and just finish roasting them according to whatever recipe I’m using – they seem to need to be tossed with a bit more oil and then have that final 10 minute or so back in the oven, but I agree – it’s nice to know that they’re tender and cooked through and then just finish them right before serving. It’s definitely always hectic with kids and extra people roaming the kitchen!