Crispy and Chewy Chocolate Chip Cookies
Published Mar 25, 2022•Updated Jun 04, 2025
This post may contain affiliate links. Please read our disclosure policy.
With over 4 million page views and 1,200+ positive reviews, this is THE crispy and chewy chocolate chip cookie recipe. I tested this recipe 20+ times and fine-tuned every variable to insure that these chocolate chip cookies have crisp golden edges and soft, chewy centers.
Debra says: ⭐⭐⭐⭐⭐ “50 years of searching and I’ve finally found THE chocolate chip cookie recipe. My daughter is an accomplished baker and she agrees. I followed the recipe and instructions to the letter and they came out perfectly.”
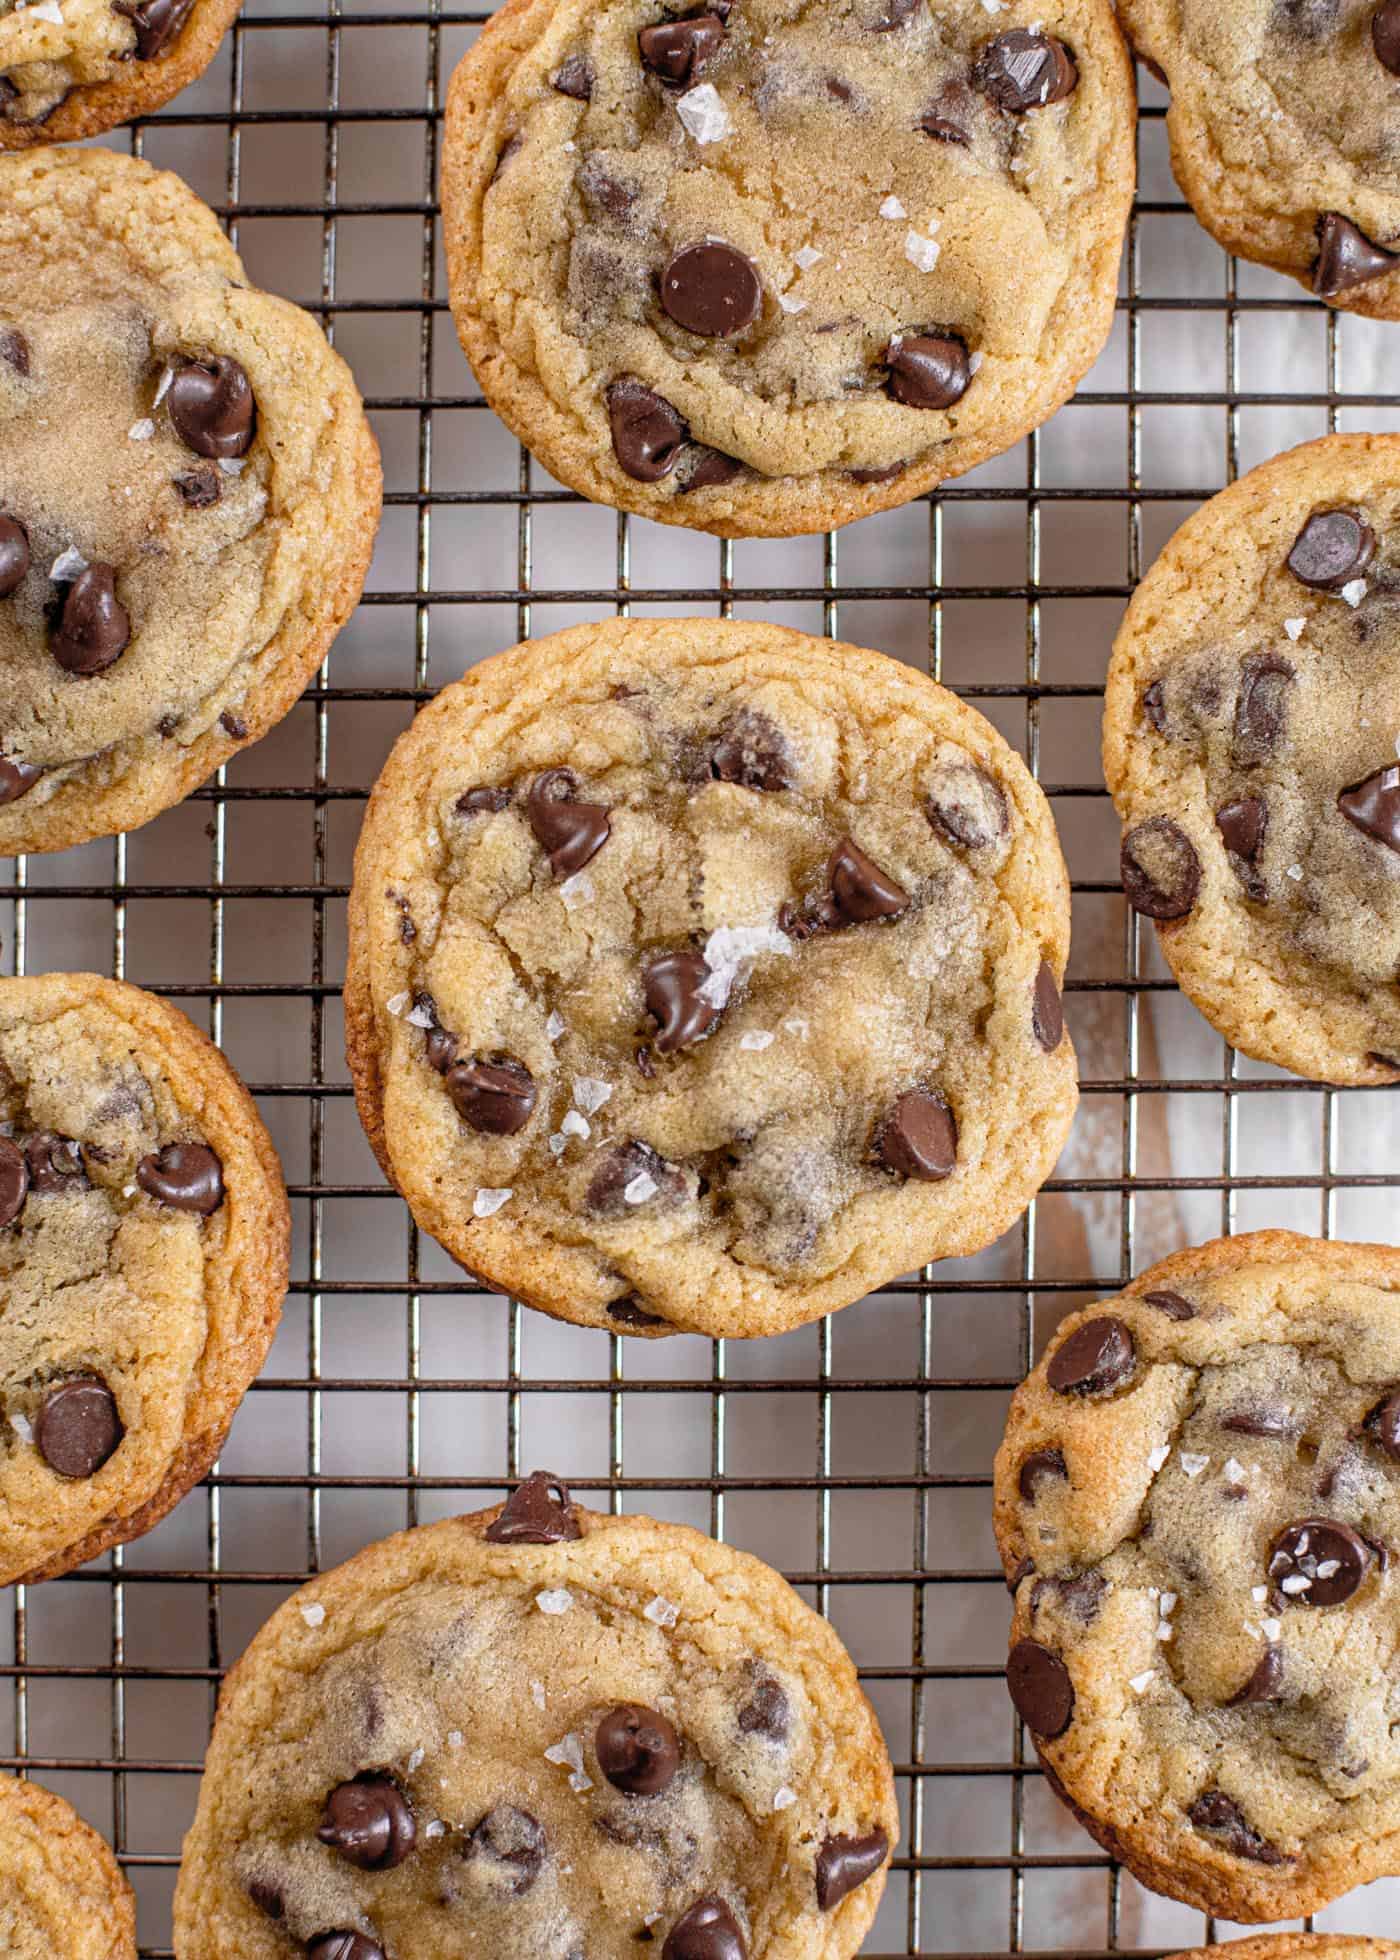
Since this chocolate chip cookie recipe was first published in 2020, it has gained many fans. Check out the reviews and comments below to see why you should make these today. And keep reading for all of my tips and tricks to guarantee you get the perfect crispy and chewy texture when you make these yourself.
Looking for more easy, well-reviewed baking recipes? Be sure to check out my easy chocolate cake (perfect for a weeknight) oatmeal chocolate chip bars (that readers call “delicious and easy”), and easy banana bread (made with melted butter and one bowl).
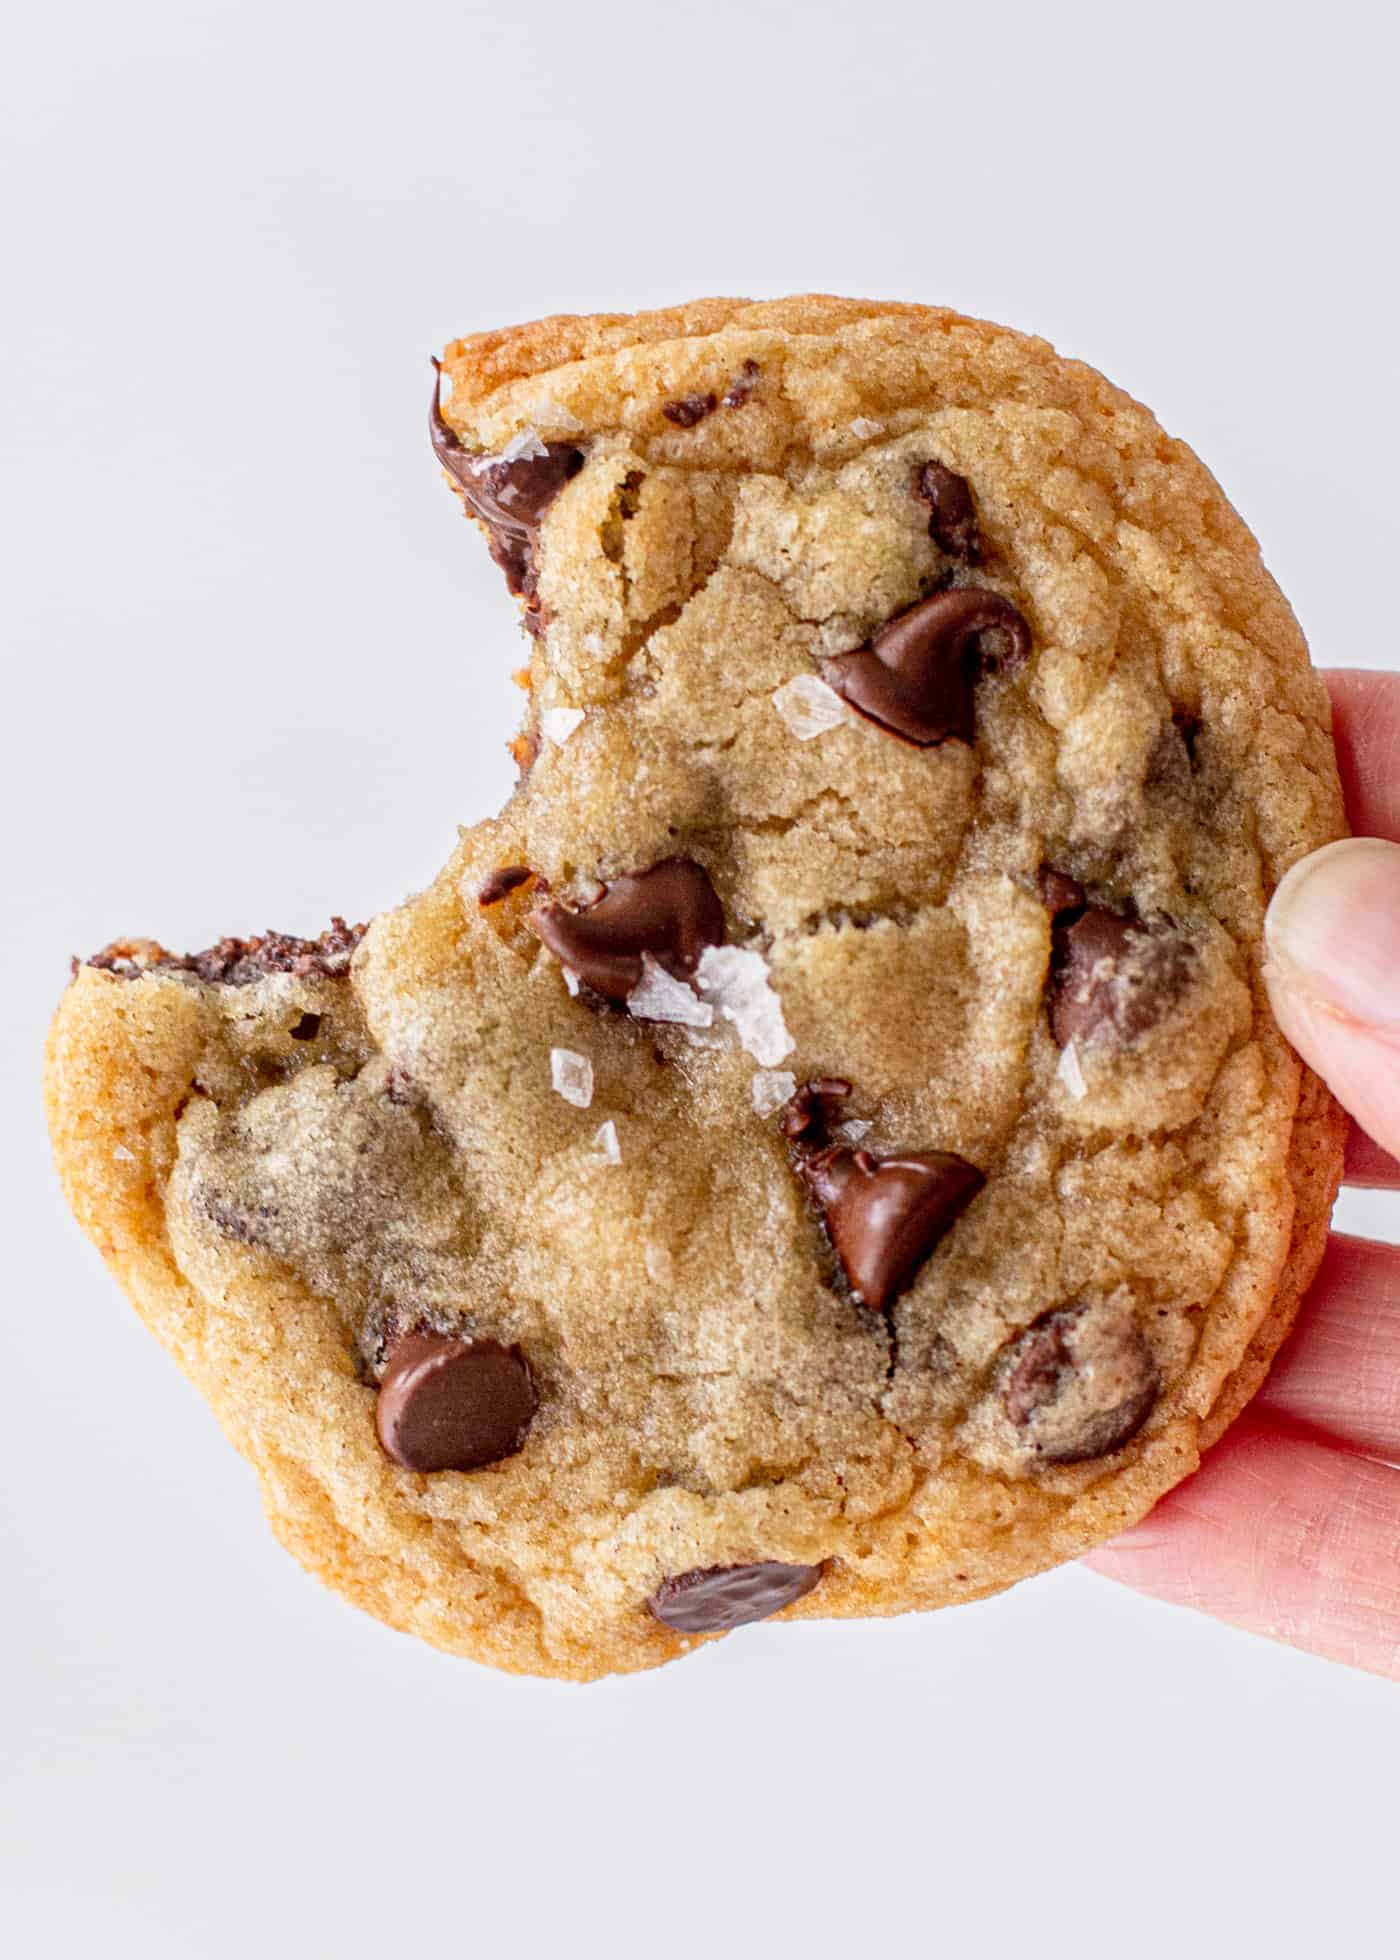
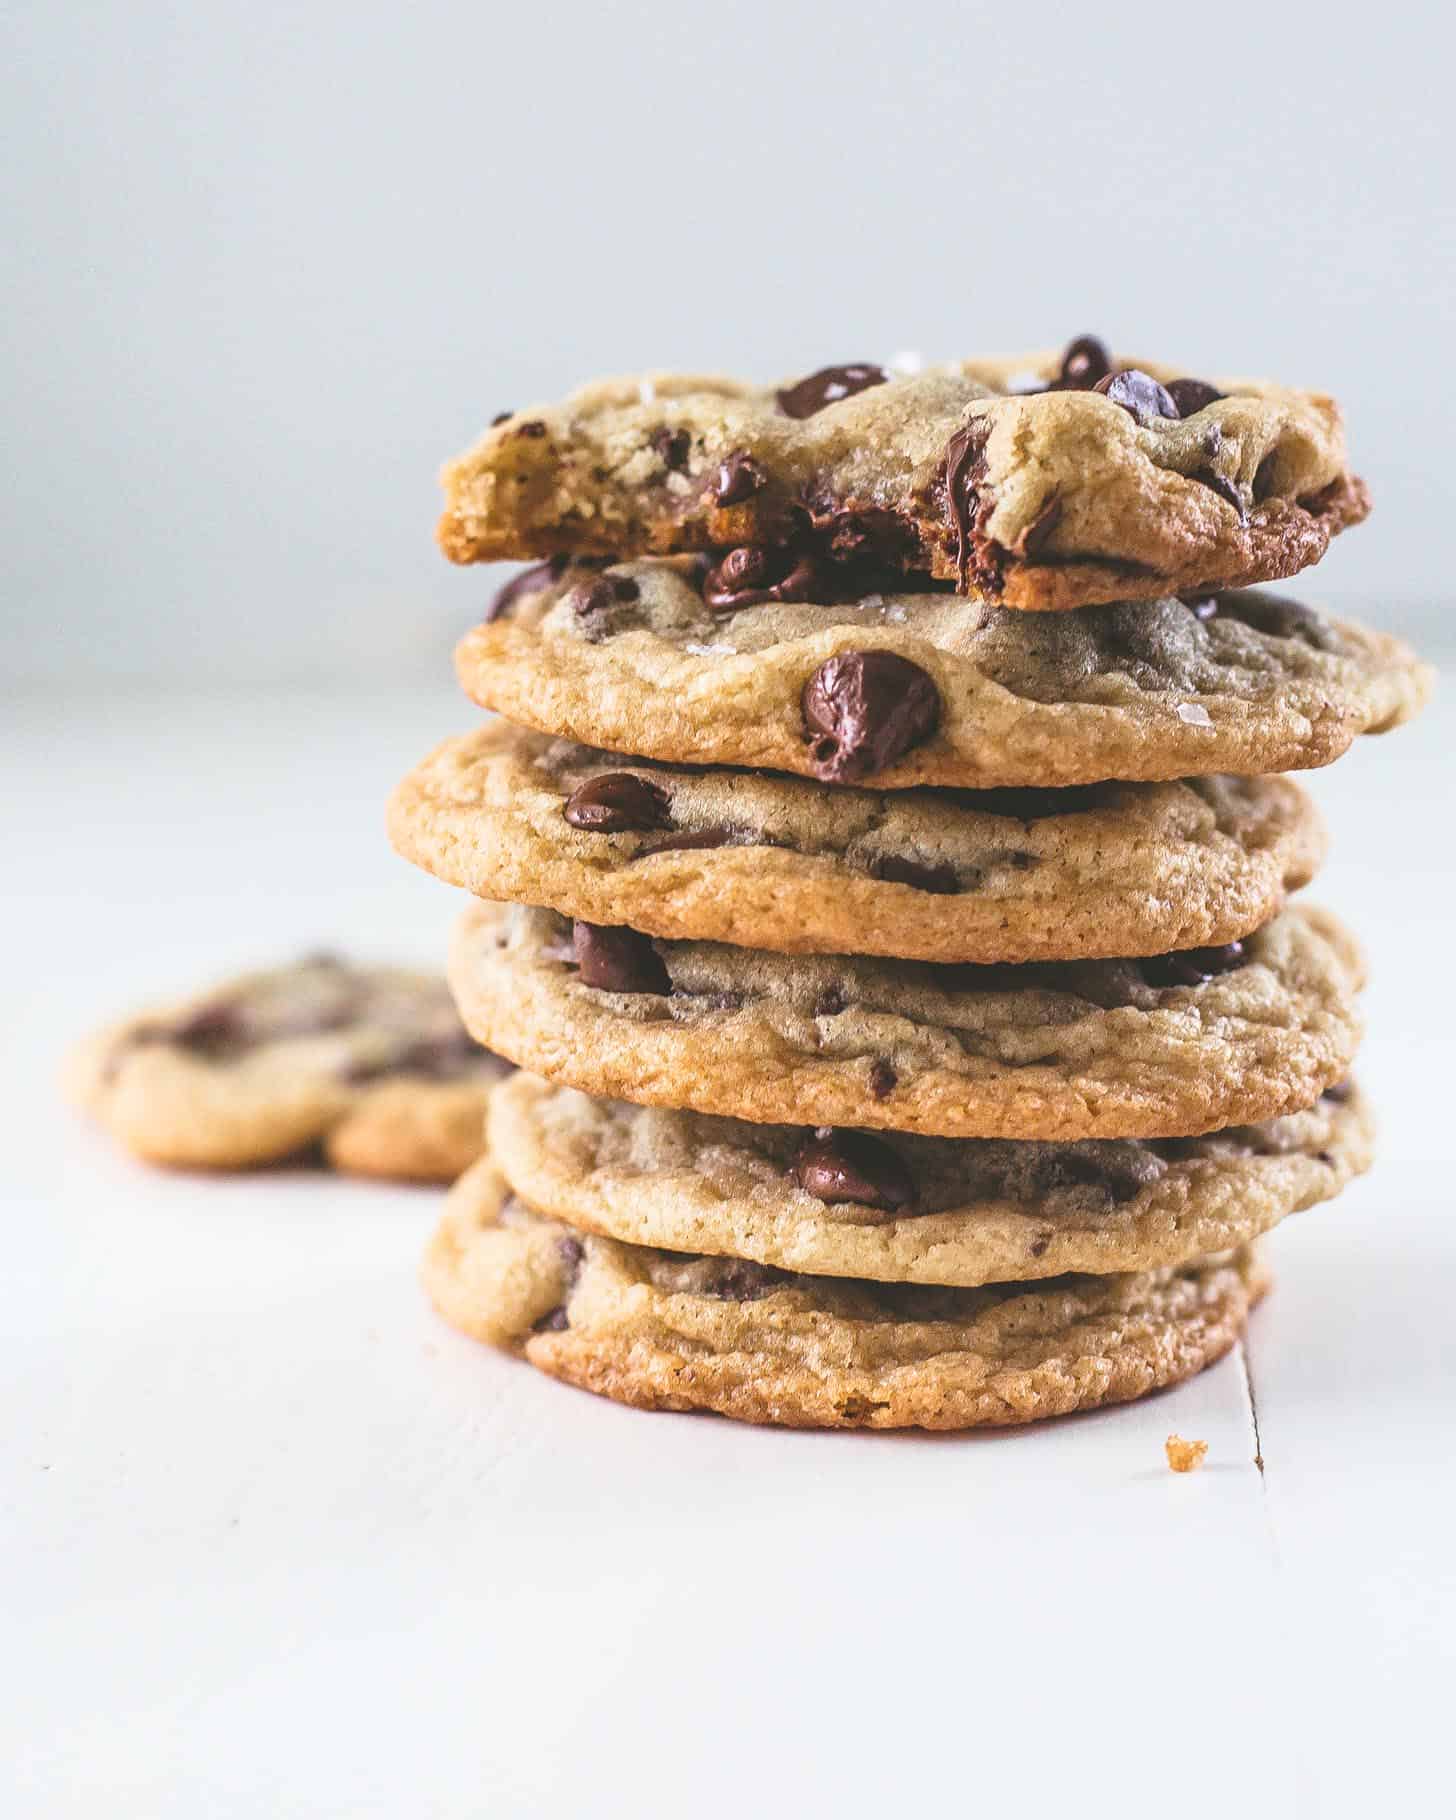
I can’t even begin to describe how awesome these are! I made them exactly the way the recipe says! I’ve been making chocolate chip cookies for 30 yrs. I’ve always wanted them to turn out just like these, and never was quite right. These are the PERFECT chocolate chip cookie! Thank you ever so much! My hubby and I ate about a dozen immediately! So so good! This will be my go to recipe from now on!❤️❤️❤️
– Vicky
Pin this now to save it for later
Pin It NowIngredients for Chocolate Chip Cookies
The ingredients for these Chocolate Chip Cookies are classic, and are probably things you already have in a well-stocked pantry. Here’s the run-down:
- All-Purpose Flour – I tested this recipe with Gold Medal Unbleached All Purpose Flour. It gives me reliable results every time. One of my primary goals in creating this recipe was finding a great cookie that used only all-purpose flour, which most of us always have in our pantry. (Before I fine-tuned the recipe shared below, my favorite cookie was the infamous David Leit recipe from the New York Times. A few times a year, I would go buy bread flour and cake flour for the sole purpose of making David Leit’s cookies, and then would never again touch those flours until they got far too old and had to be tossed right in the compost.)
- Baking Soda – These provide the dough with just a bit of lift, giving the cookies that soft and tender texture. Be sure to replace your baking soda every few months (yes! every few months!). Old baking soda won’t give you the same results as a fresh box.
- Light Brown Sugar and White Sugar – These cookies use the same amount (measured by weight) of light brown sugar and white sugar. Those two sugars work together to give the cookies the balance of crisp edges and soft centers.
- Unsalted Butter – It is important to use unsalted butter to get the measurement for salt (see below) right. If using salted butter, it’s a good idea to skip the added kosher salt in the dough so that the cookies don’t become too salty. Don’t forget to take the butter out of the fridge in advance. It needs to be softened while still feeling slightly cool to the touch.
- Kosher Salt and Flaked Sea Salt – A decent amount of salt in chocolate chip cookies balances and enhances the flavor of the sugar and chocolate chips. Be sure to use kosher salt which comes in larger grains than traditional table salt in the cookie dough. (If you only have table salt, reduce the amount listed in the recipe by half to avoid your cookies being too salty.) At our house, we also all love a light sprinkle of flaked sea salt (I use Maldon) on top of the warm cookies. It’s totally optional but gives the cookies a hint of extra salt and a tiny bit of crunch.
- Eggs and Pure Vanilla Extract – You can’t have great chocolate chip cookies without these two things. The eggs add texture, the vanilla extract adds flavor. Egg yolks are essential to giving cookies that familiar chewy texture.
- Semisweet Chocolate Chips – These are the classic, but see below for other ideas!
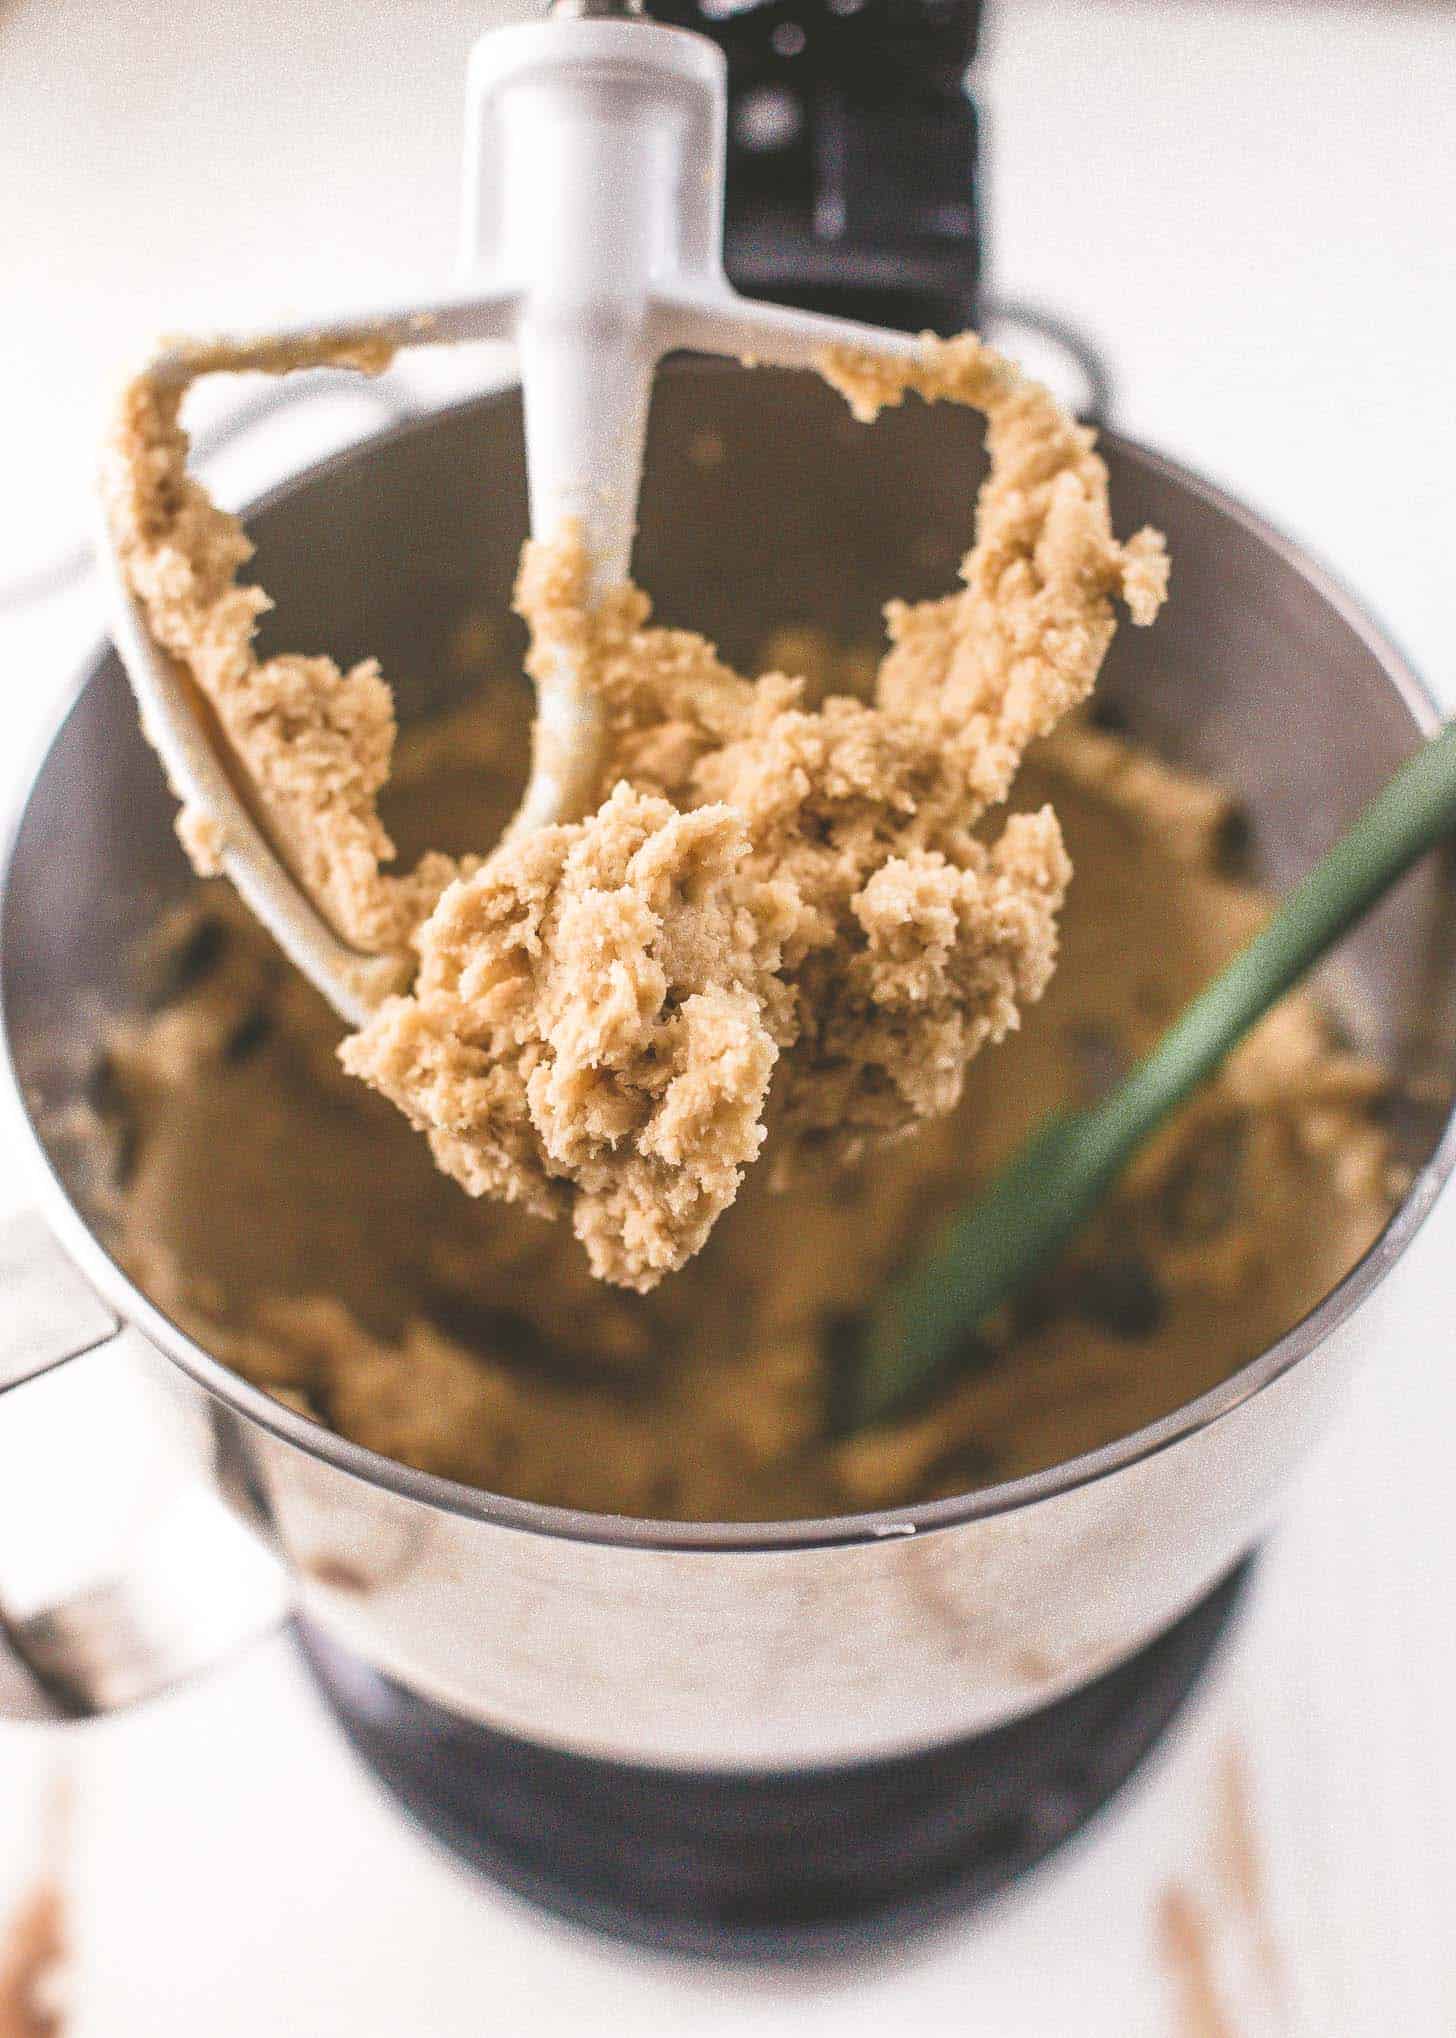
How to Make Chewy and Crispy Chocolate Chip Cookies
- Soften butter. Be sure the butter is very soft before using it so that it will properly cream with the sugars.
- Whisk together dry ingredients. Carefully measure dry ingredients – flour, baking soda, and salt. (Use a kitchen scale for the flour if you have one or gently scoop it out of the bag into a measuring cup so that it doesn’t compress.)
- Cream butter and sugars. Don’t skimp on this step. It should take about 3 minutes for the butter and sugars to be light, fluffy, and very pale in color.
- Add eggs and vanilla extract. Mix eggs and vanilla into butter-sugar mixture. Keep the mixer on low so that you don’t beat any air into the eggs (this can cause the cookies to be cakey).
- Add dry ingredients. Add dry ingredients and mix on low until fully combined. Don’t overmix.
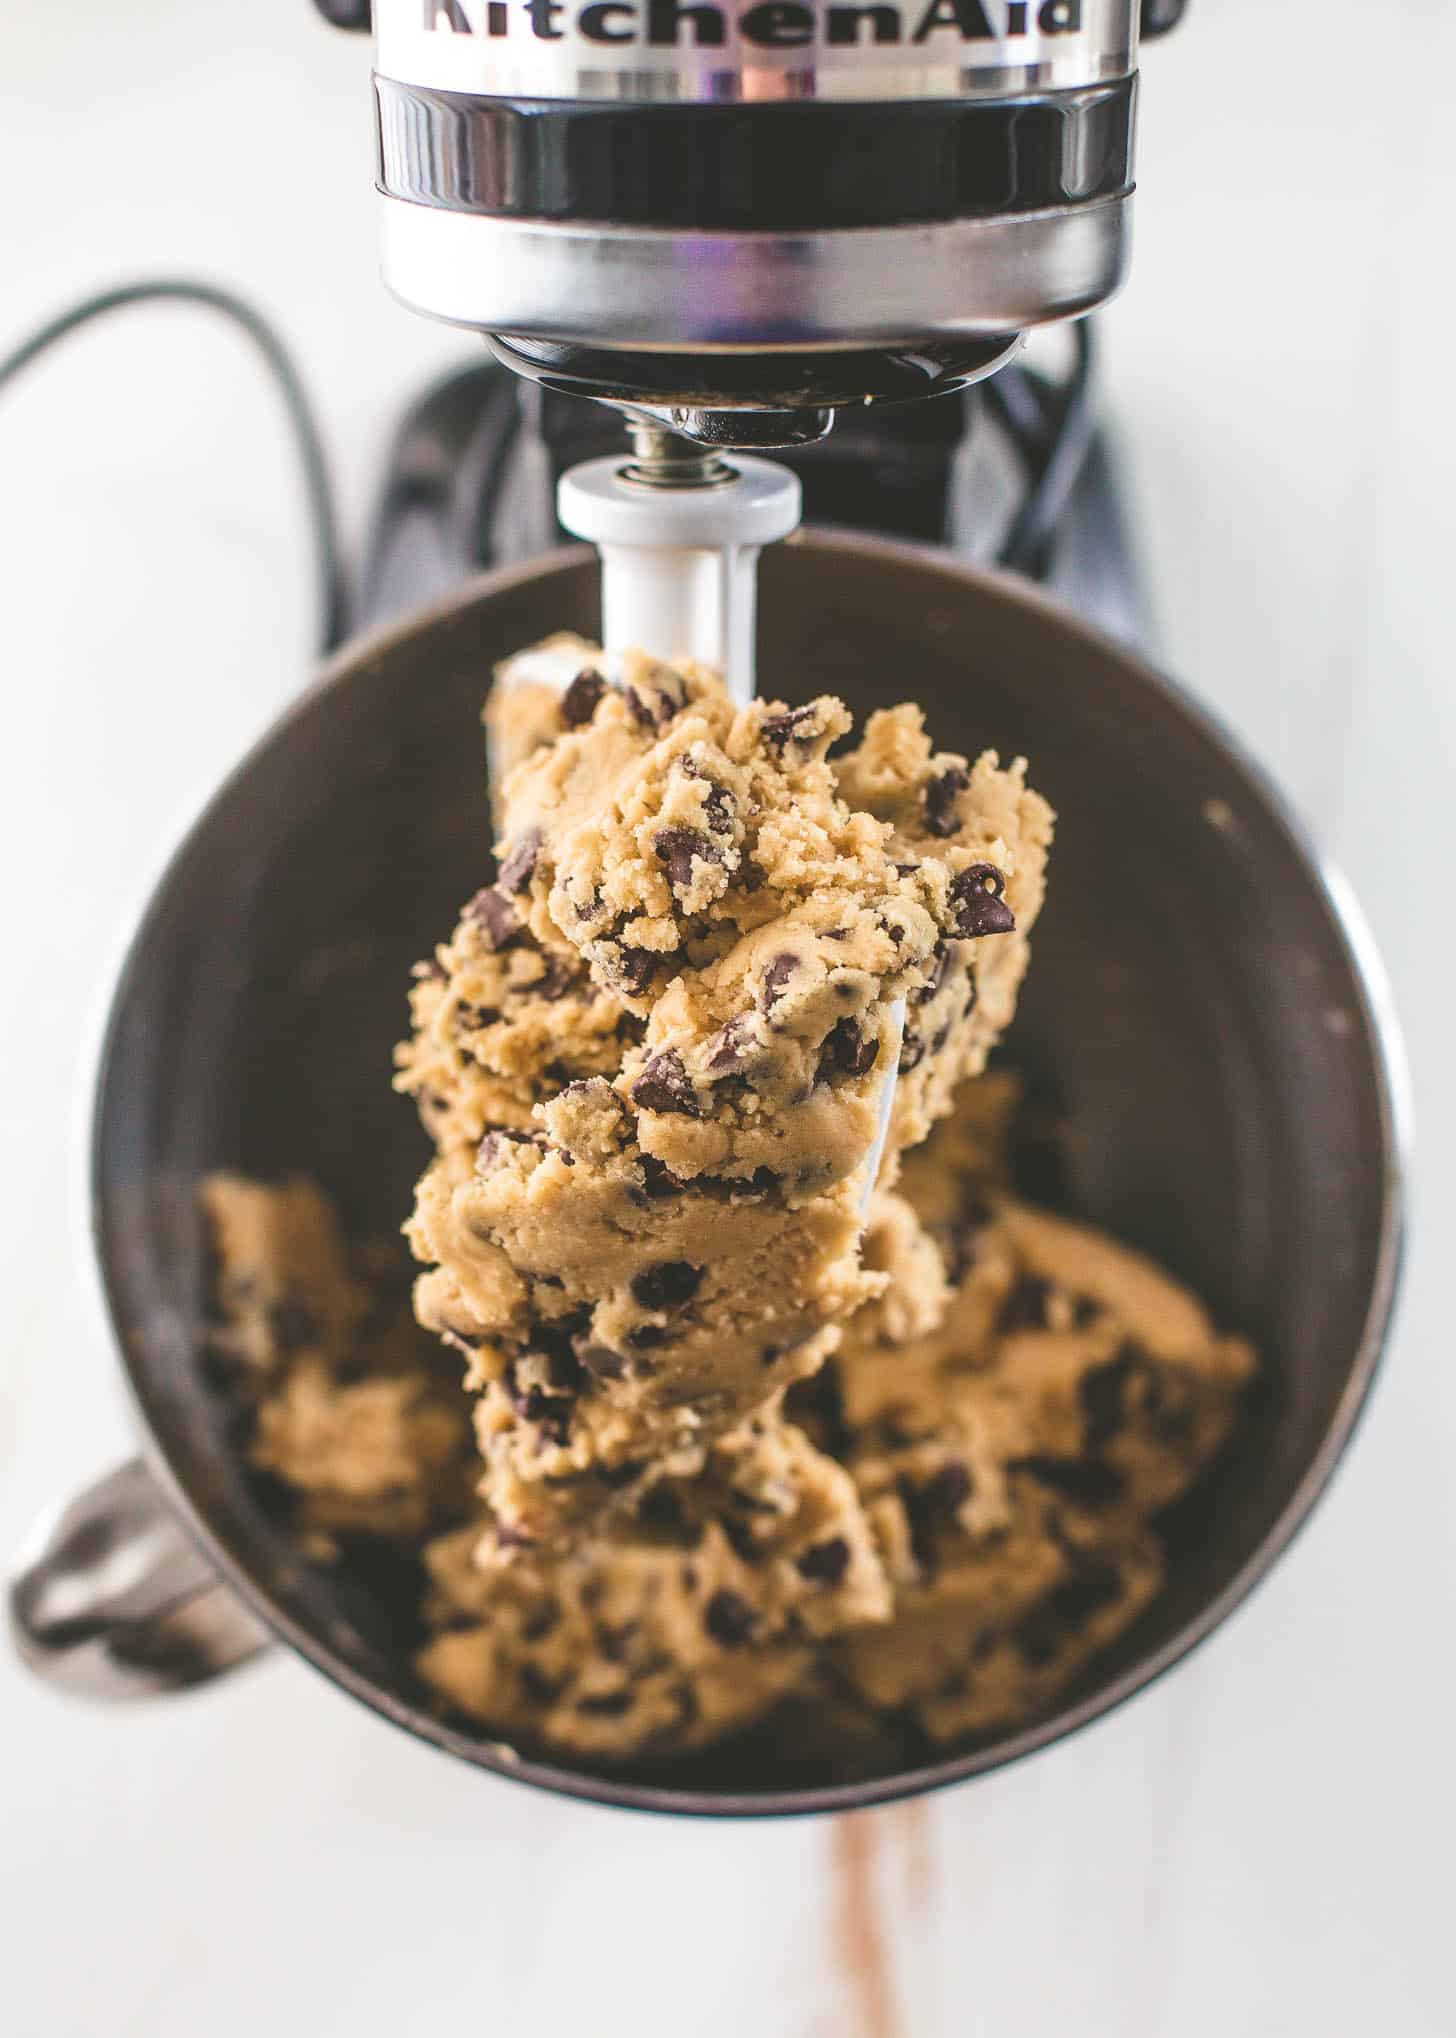
- Stir in chocolate chips. Mix chocolate chips in just until they are evenly incorporated.
- Refrigerate 20 minutes. Chill the dough for just 20 minutes while the oven heats.
- Bake at 350°F for 9 to 12 minutes. Use a heaping tablespoon to measure out the cookie dough onto a greased or parchment paper-topped baking sheet. (These are large cookies.)
- Deflate cookies. Firmly tap the baking sheet on the kitchen counter. This deflates the cookies so the centers are chewy and soft.
- Let cool on the pan. This step is important. The cookies will look soft in the center when you remove them from the pan, but let them cool for at least 5 minutes before transferring them to a cooling rack.
- Enjoy!
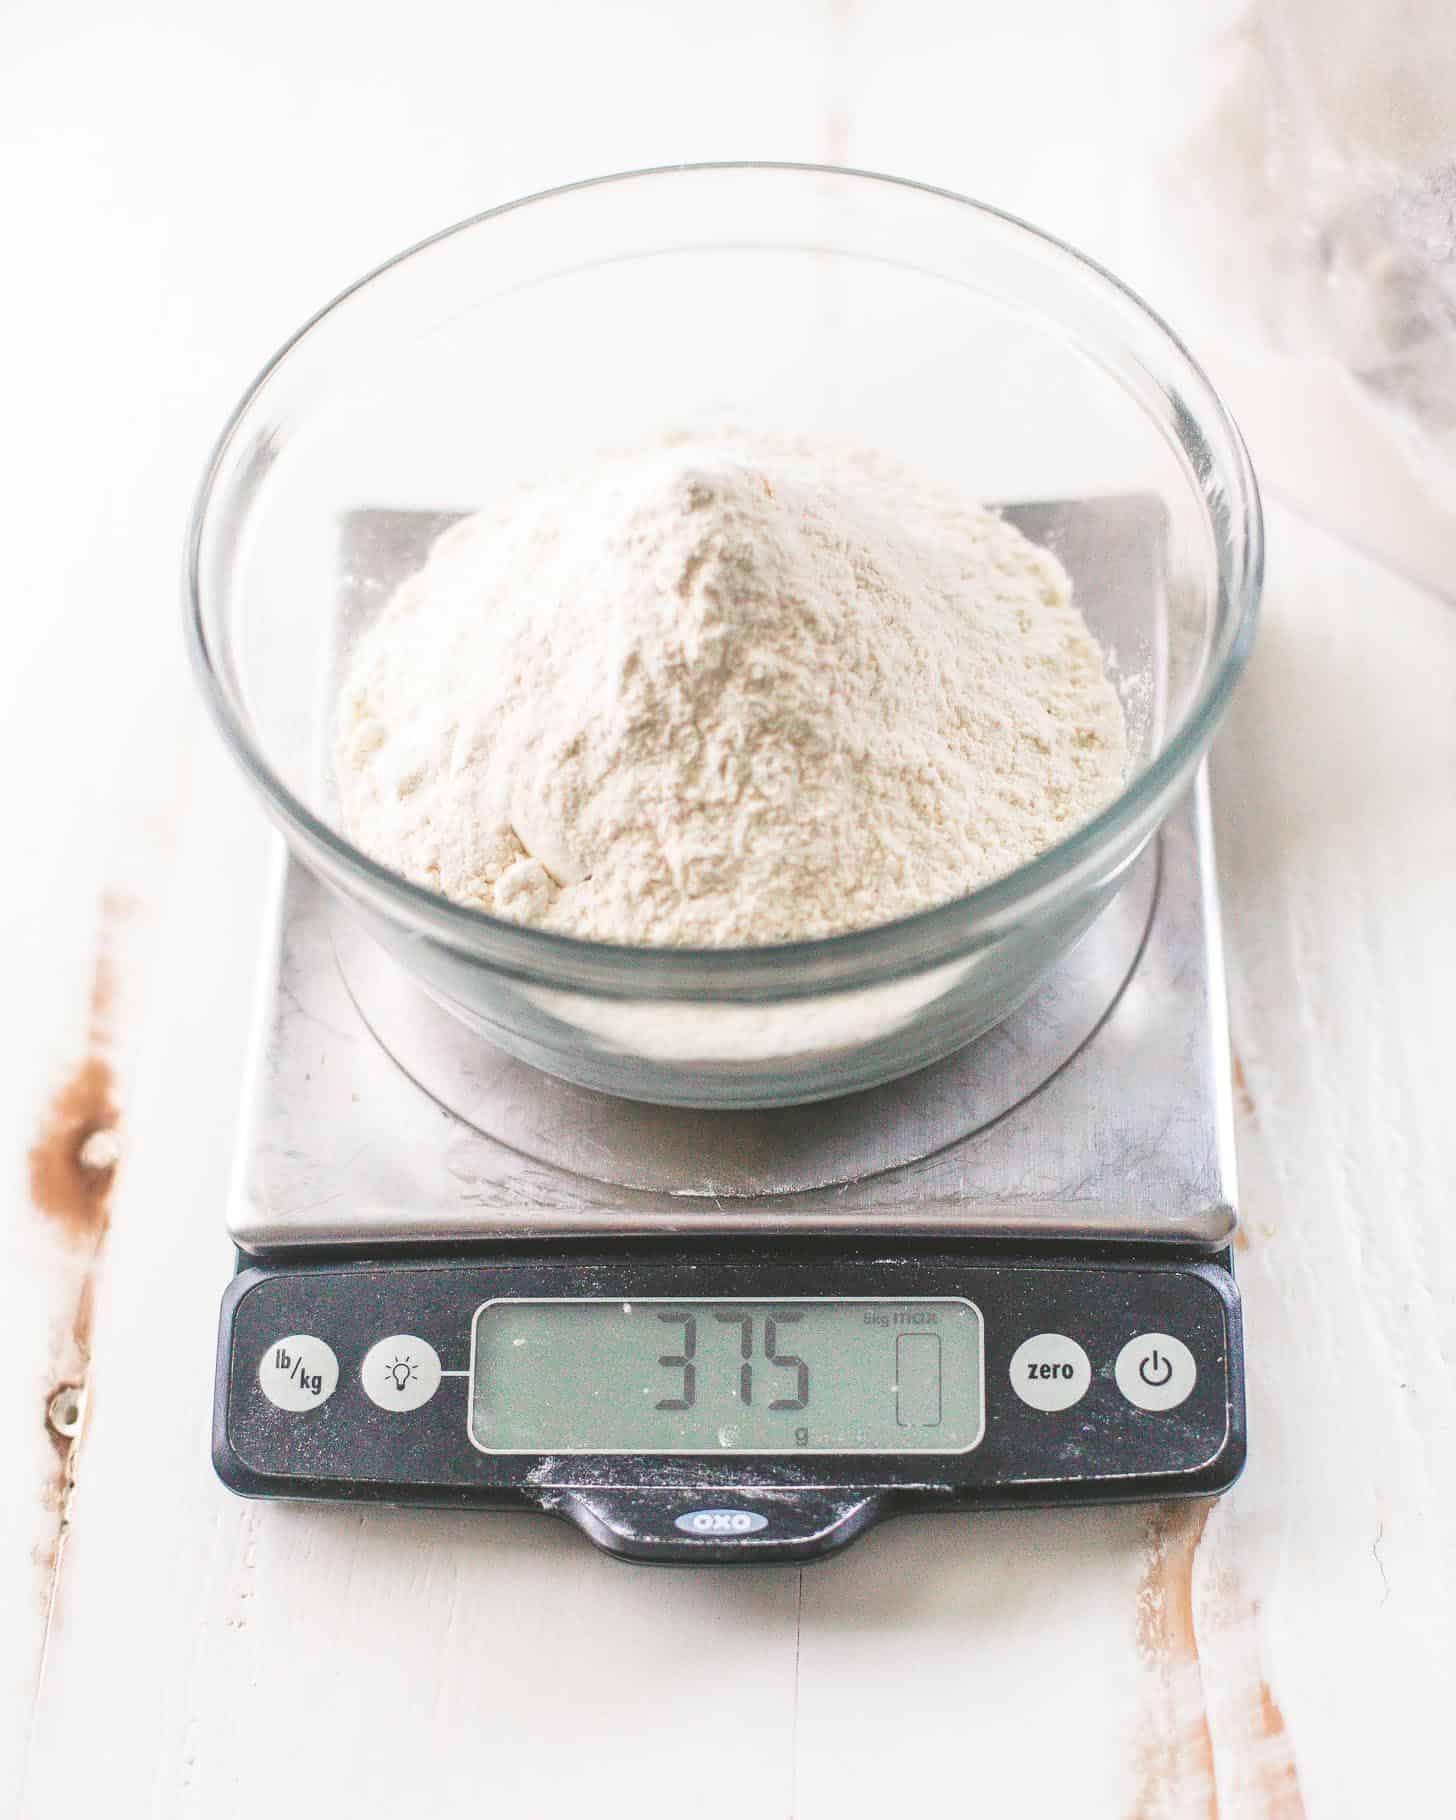
What causes cakey cookies?
- Using too much flour – This is almost always the answer. Measure your flour by weight or, if you don’t have a kitchen scale, very loosely spoon the flour into the measuring cup and then use a knife to scrape the excess off the top. Be very careful not to compress the flours you measure it. If you are following the recipe exactly and keep getting cakey cookies, it may be simply be an issue with the brand of flour you are using. I tested these cookies with Gold Medal Unbleached All Purpose Flour and find it gives the best, most consistent results.
- Using too much egg or over-beating it – Another cause of cakey cookies is using too much egg or beating too much air into the mixture after you’ve added the eggs. Double check that you are using standard “large” size eggs and be sure to stop mixing them as soon as they are evenly combined with the butter-sugar mixture. If the eggs are extra-large, use one full egg and one egg yolk. Egg yolks help to give cookies a chewy texture. Egg whites give cookies a cakey texture.
- Using cold butter– Make sure that your butter is softened to room temperature before you start. You should easily be able to indent it with a light press of your finger.
- Cookies are too small– Be sure to follow the instructions on the size of the cookies. Cookies that are too small won’t have enough space to spread out and have chewy centers.
- Not Deflating After Baking – Always firmly tap the baking sheet on the counter right after bringing the cookies out of the oven. This will deflate the centers of the cookie so that they compress and stay chewy once cool.
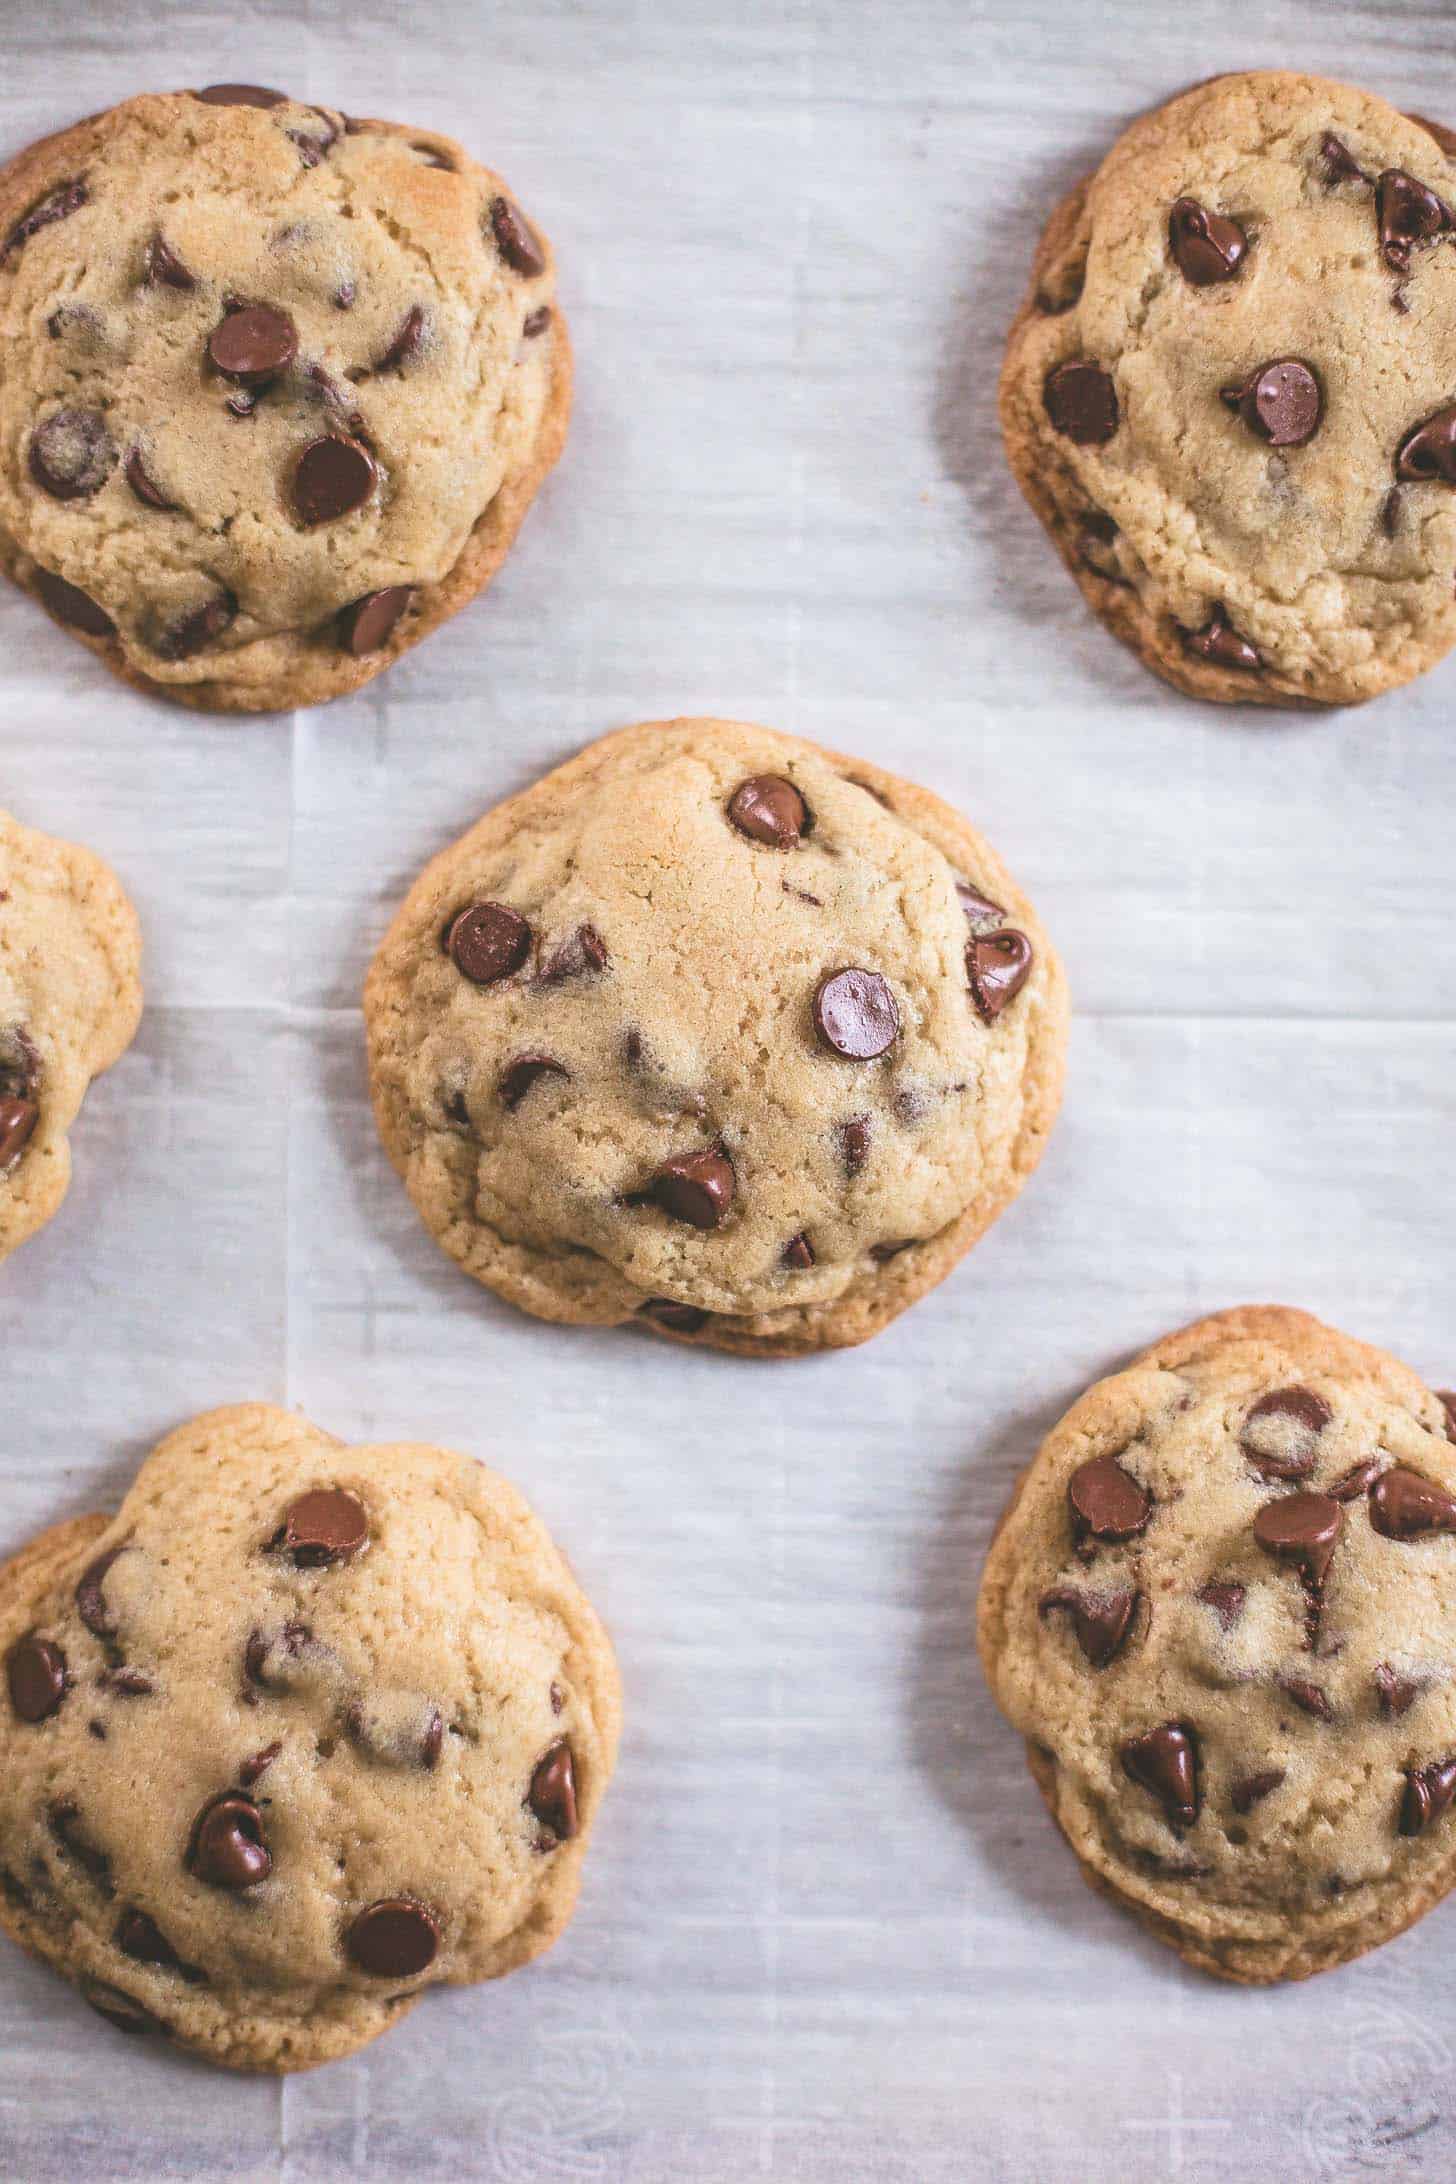
The “Right” Baking Time
Baking these cookies for the right amount of time is key to their chewy + crispy texture. Look to the edges of the cookies (not the centers). The cookies are done when the edges are light golden brown. The centers will still be very pale and soft.
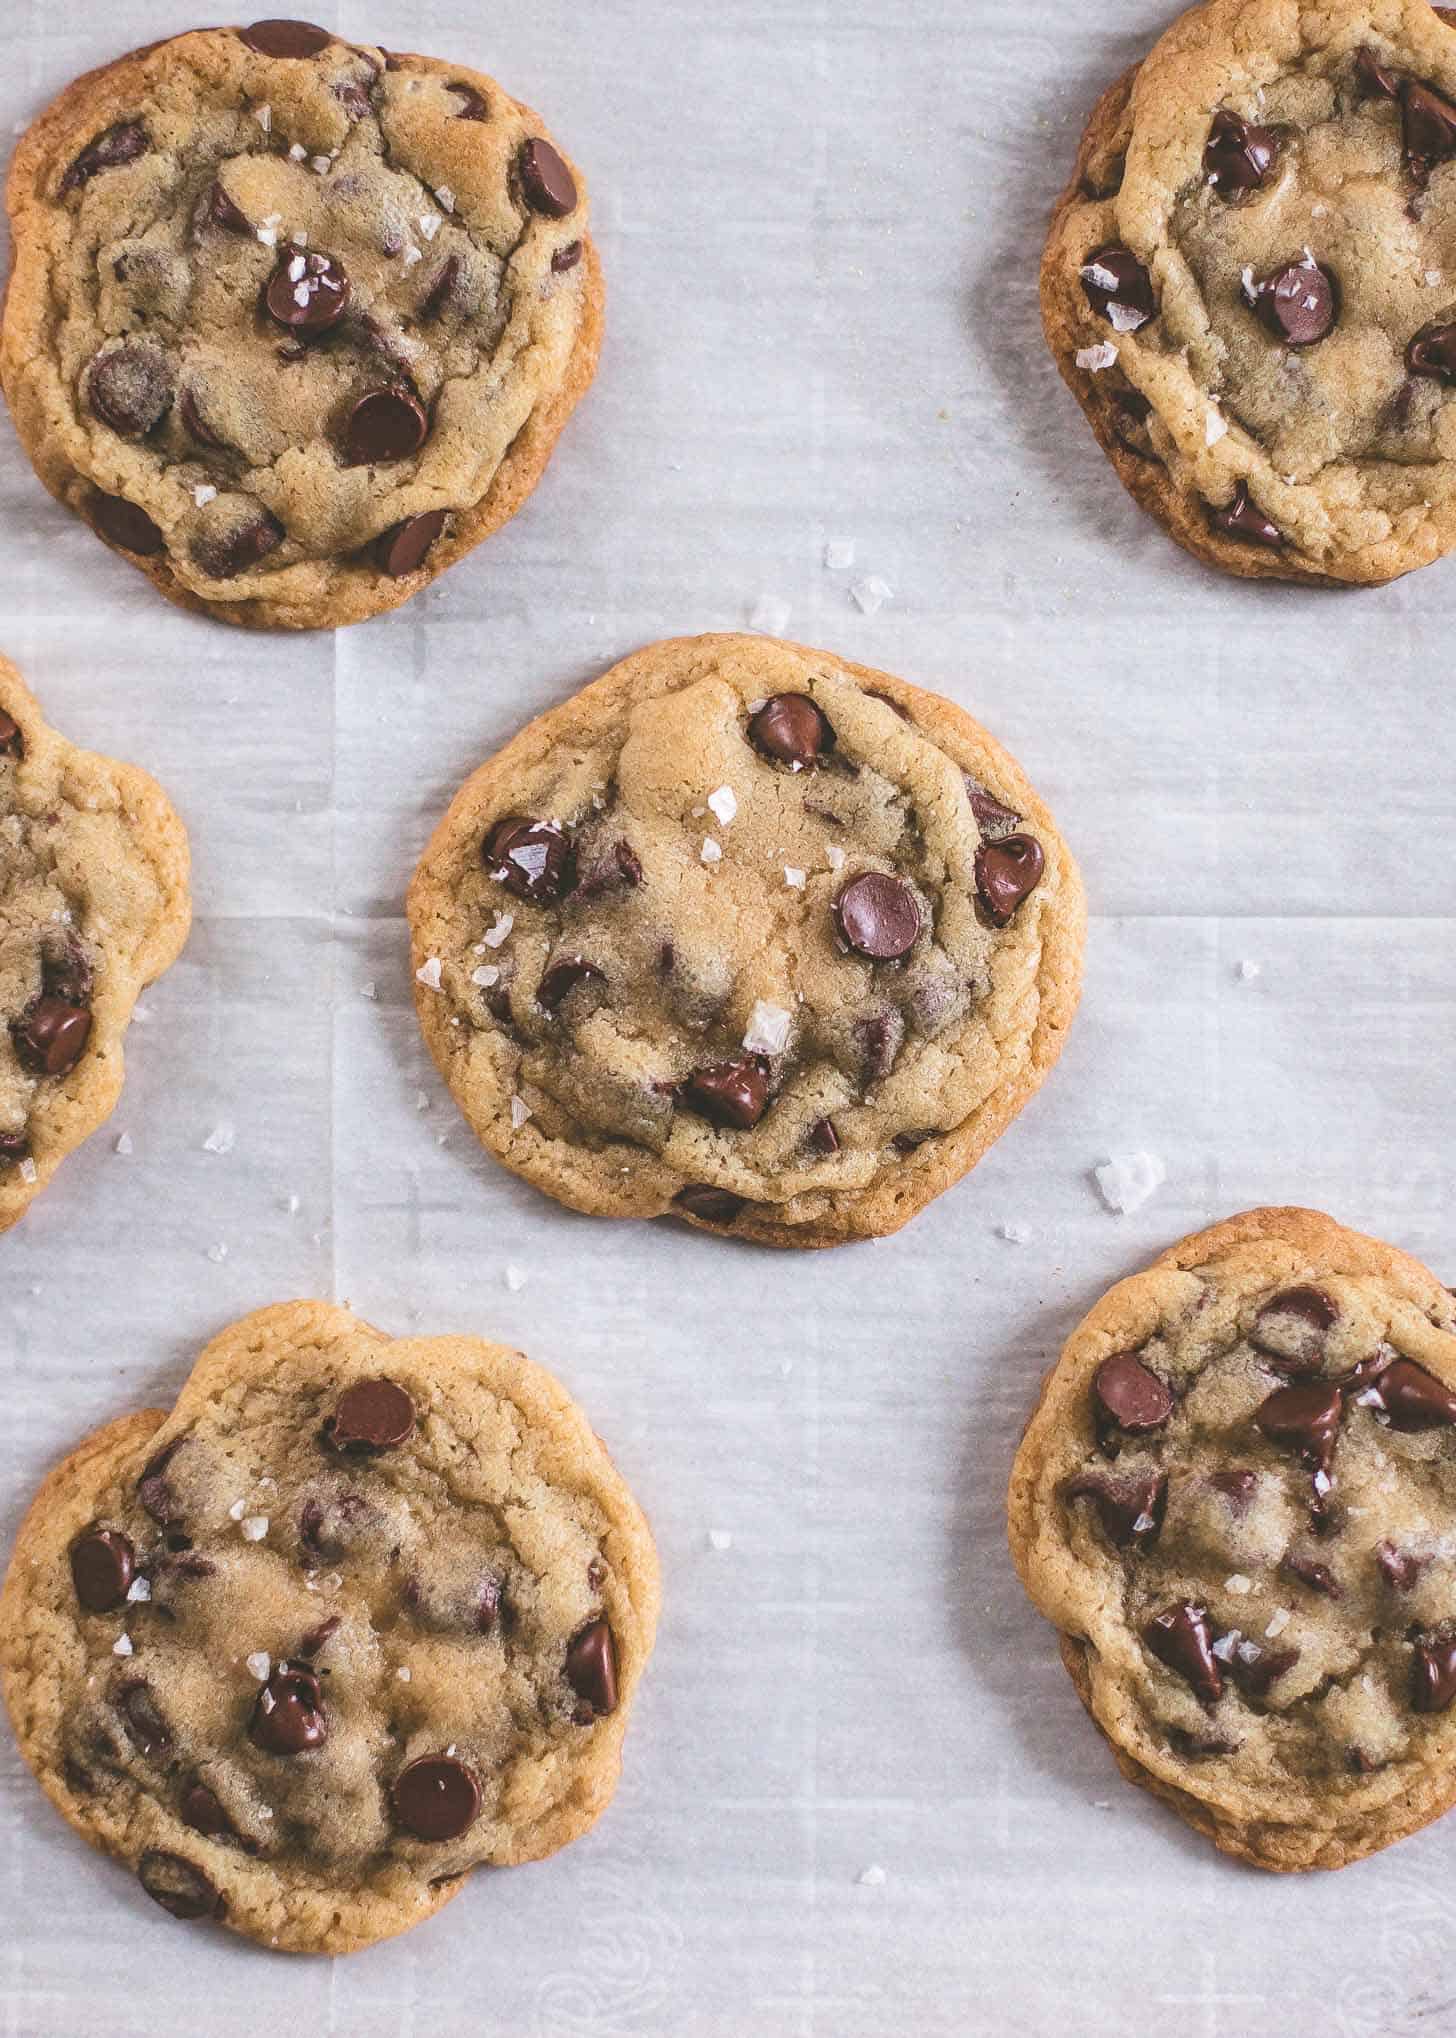
Then, and this is important, let the cookies cool on the sheet pan for 5 minutes. As they cool, the cookies will continue to firm up and the surface will turn golden brown.
Here are what they should look like right as they are pulled out of the oven. Puffy and pale in the center.
And here’s what the cookies look like after cooling on the sheet pan for 5 minutes.
How To Shape Cookie Dough
Use a 1 Tablespoon measuring spoon to scoop out the dough, but make them heaping spoonfuls with the dough rounded over top. The cookies will be 3 to 4 inches across after baking.
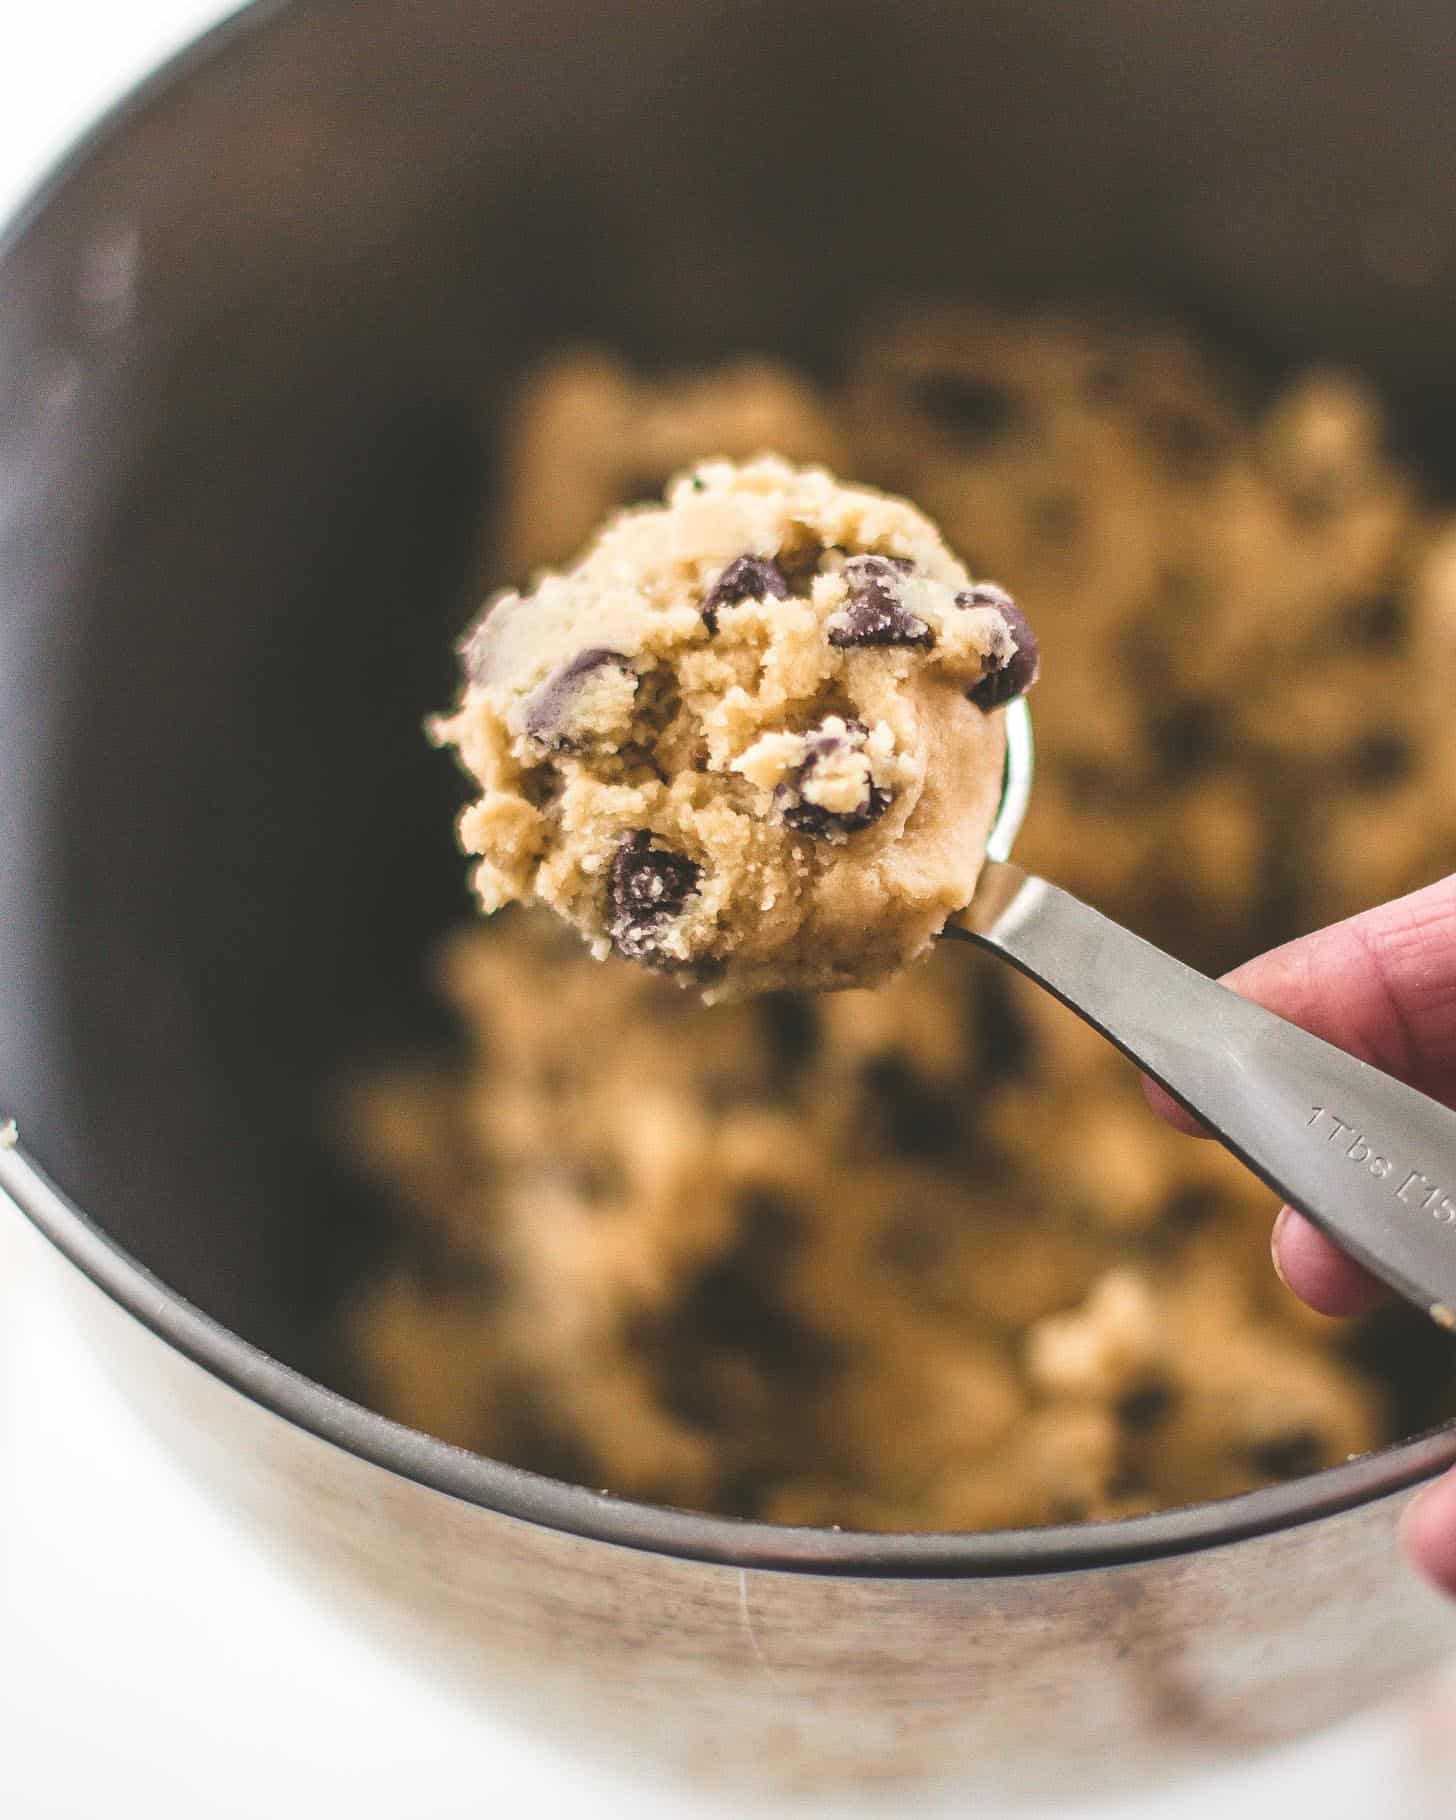
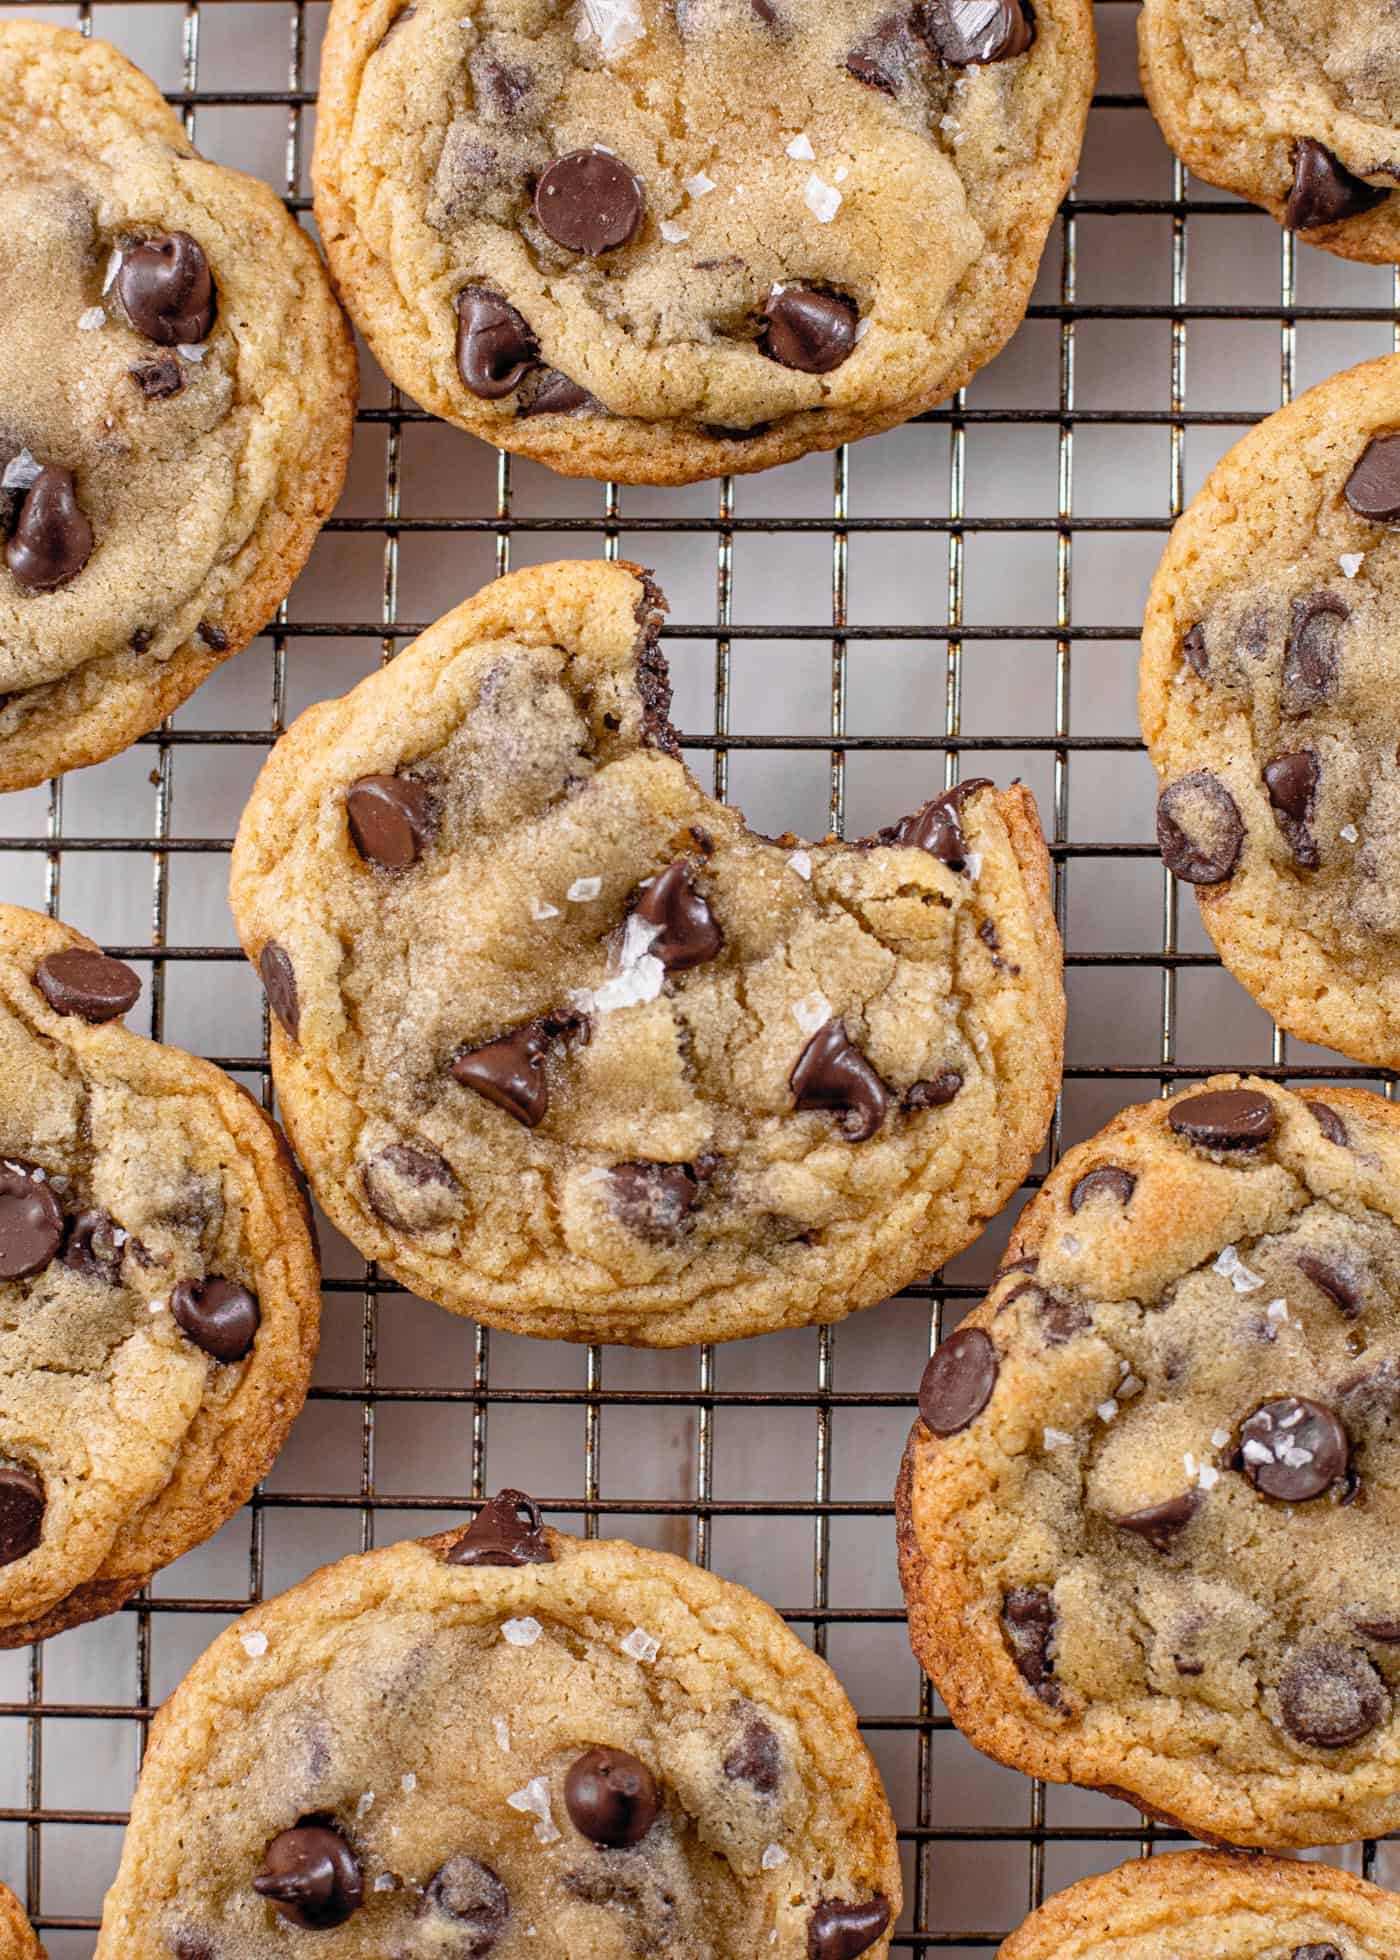
Photo-Worthy Chocolate Chip Cookies
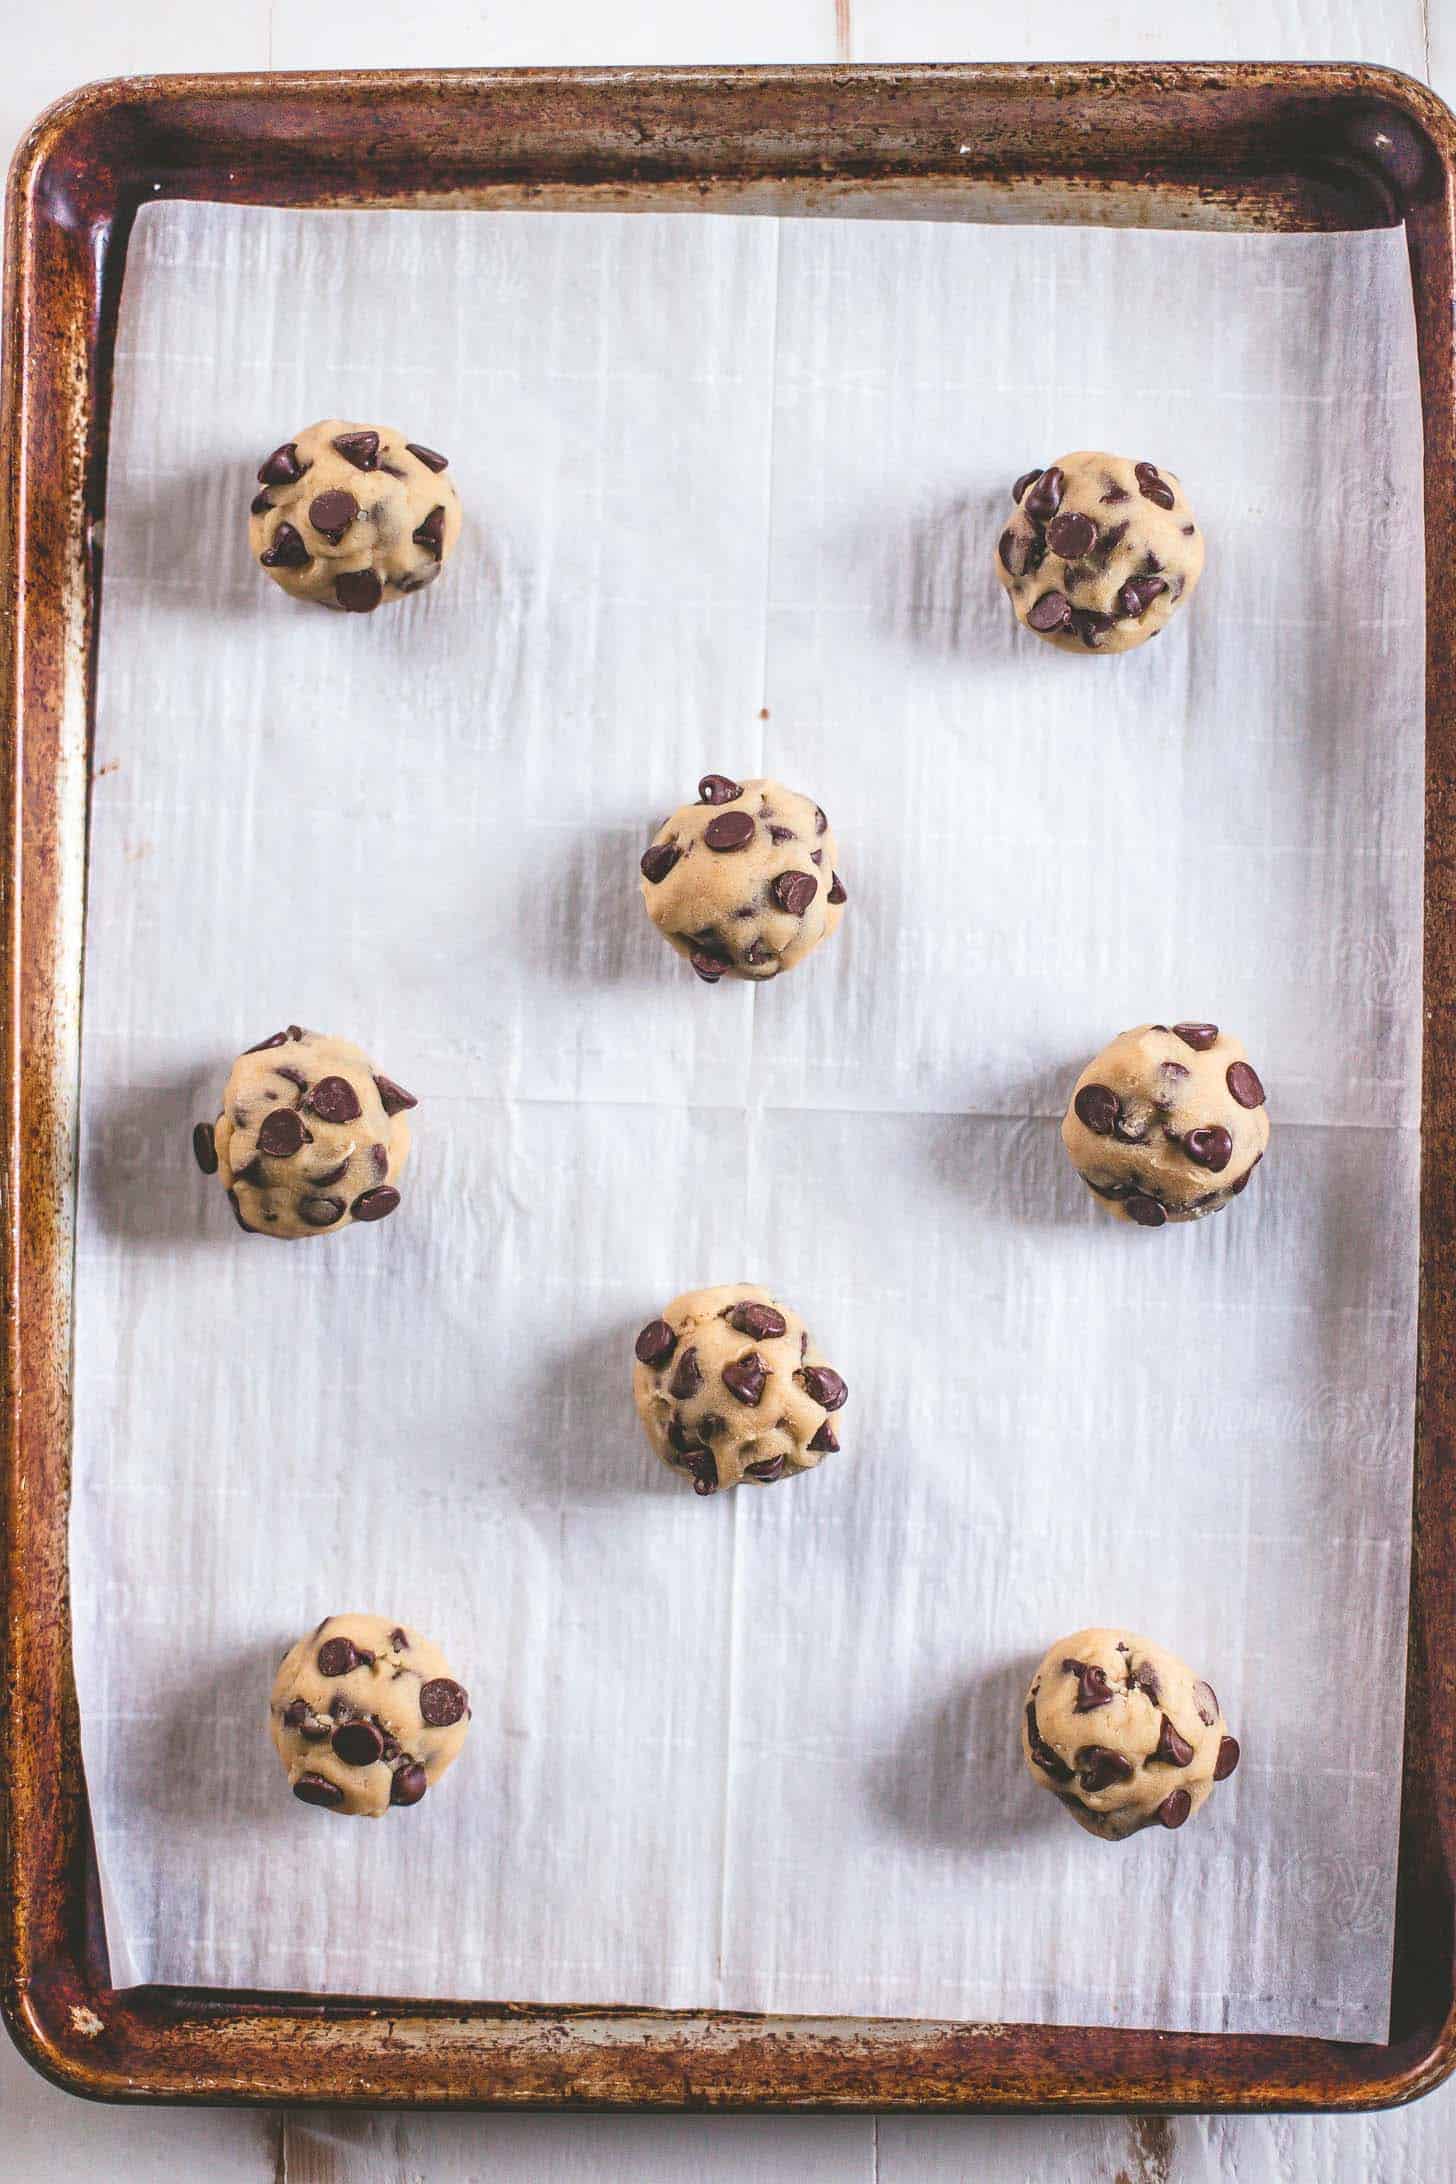
To make your chocolate chip cookies look extra polished (you know there are few things that Instagram loves as much as a beautiful cookie shot), just press a few chocolate chips into the tops of the dough balls right before they bake.
Fillings for Chocolate Chip Cookies
While semisweet chocolate chips are the classic, here are a few other favorite fillings:
- Chocolate Chunks
- High-Quality Chocolate Bars, chopped (great if you want to combine different types of chocolate – I love half bittersweet chocolate and half milk chocolate)
- M&Ms
- Chopped Candy (chopped Heath bar is great!)
- Chopped nuts – like pecans or walnuts
How to Freeze Cookie Dough
Frozen cookie dough is like money in the bank. (Though I have to keep it in my downstairs freezer…and out of reach.) You can bake one at a time or the whole batch any time you need them. The best way to freeze cookie dough is:
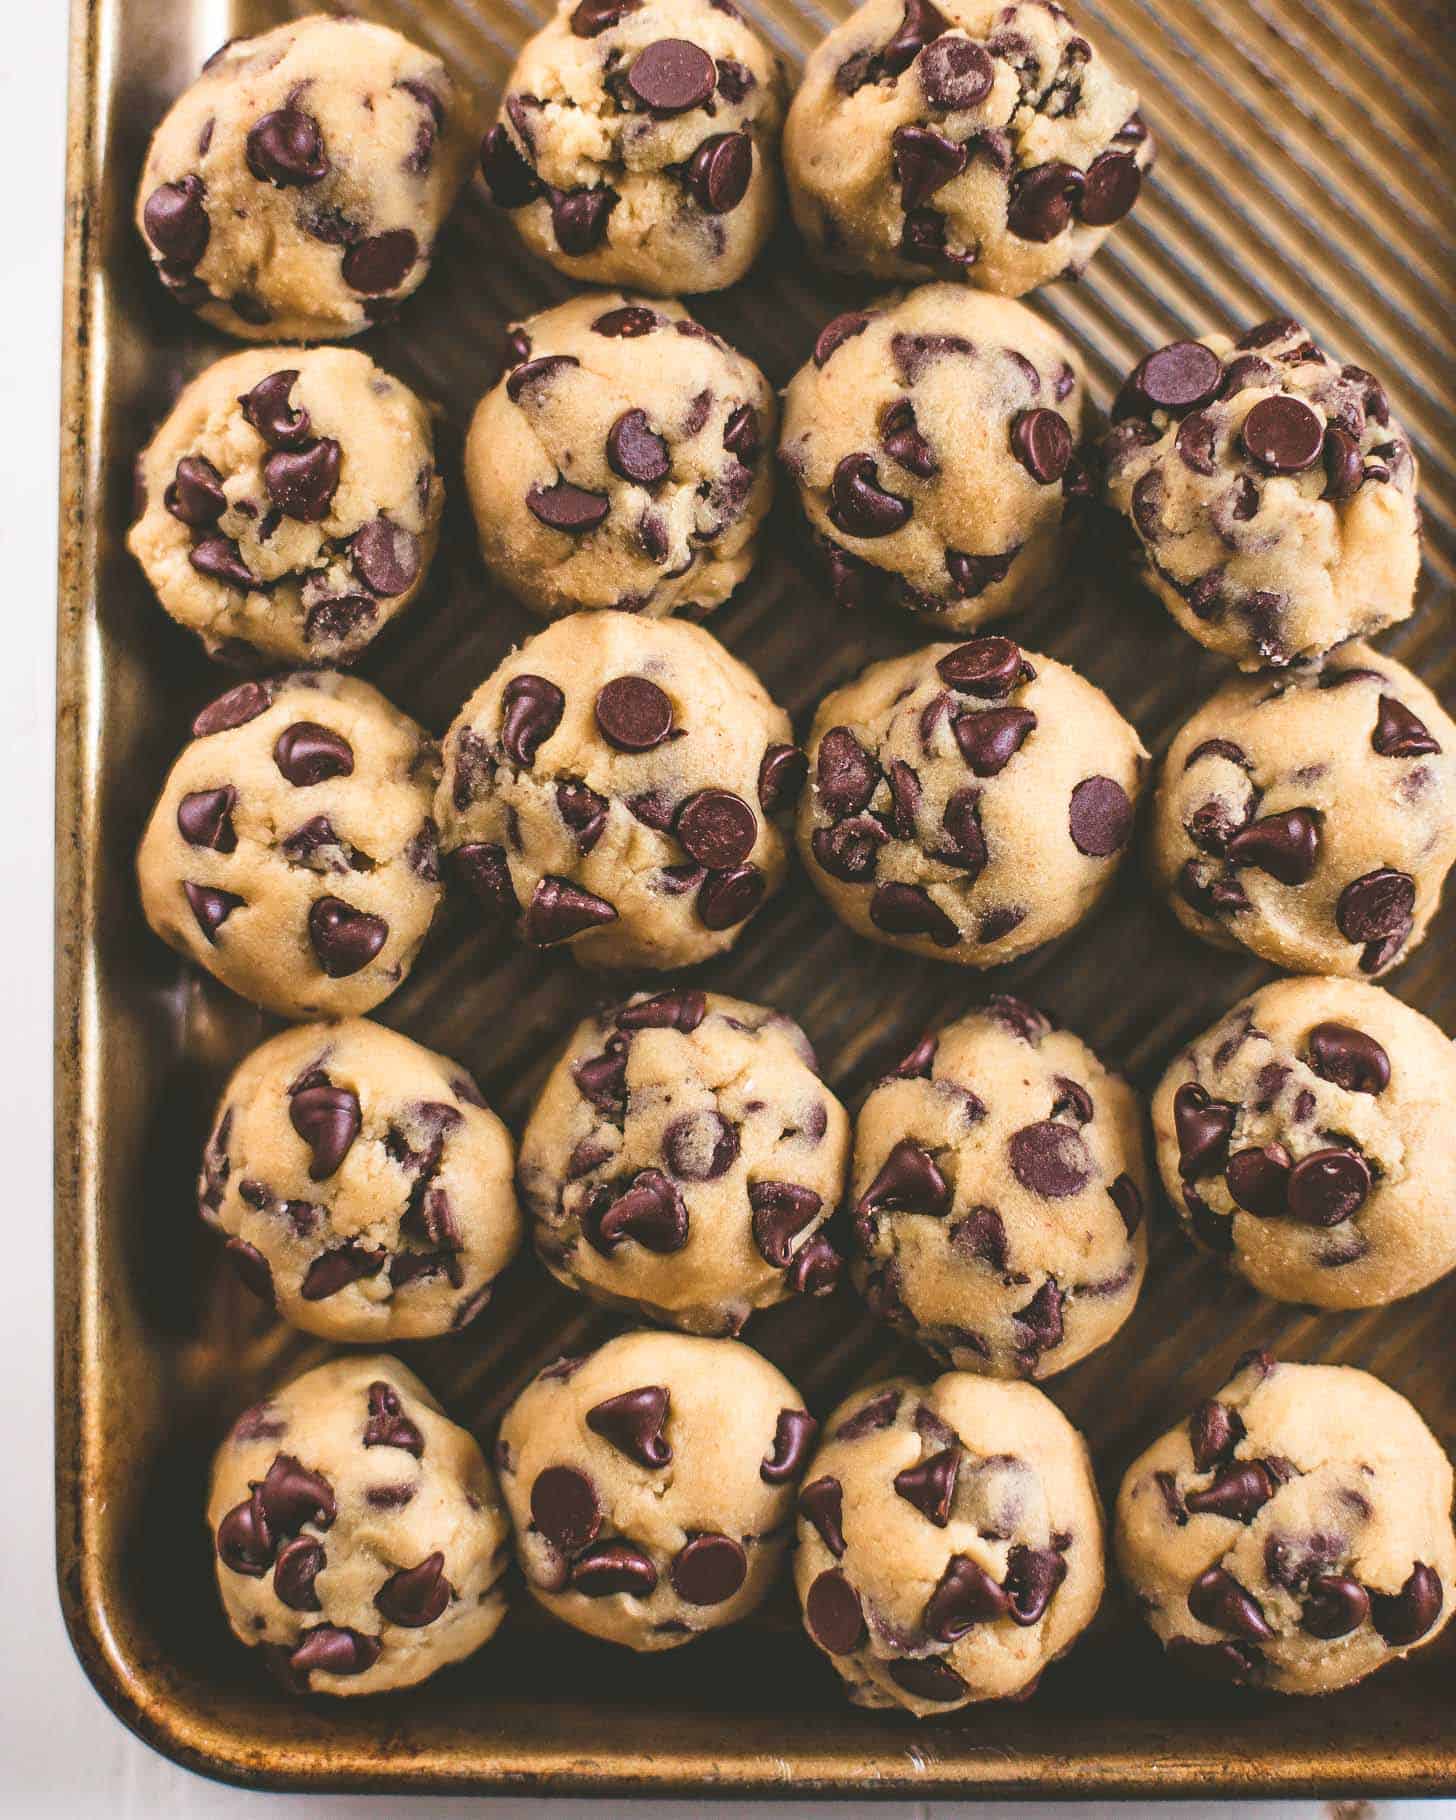
- Form cookie dough into balls and line up in a single layer on a sheet pan
- Transfer sheet pan to freezer until dough is frozen solid, 2 to 3 hours.
- Transfer dough to a freezer-safe bag and seal, removing as much air from the bag as possible.
- Freeze for up to 6 months.
To bake cookies from frozen: Bake the cookie dough directly from the freezer at 325°F / 163°C for 16 to 18 minutes. (This lower temperature and longer cook time is important for the dough to defrost and cook all the way through.)
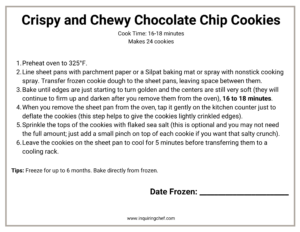
Printable Freezer Label
Print and attach the label below so cooking instructions are ready when you are!
More Fun Cookie Recipes
Favorite Tools
Pin this now to save it for later
Pin It Now
Crispy and Chewy Chocolate Chip Cookies
Equipment
- Stand Mixer
- Mixing Bowls
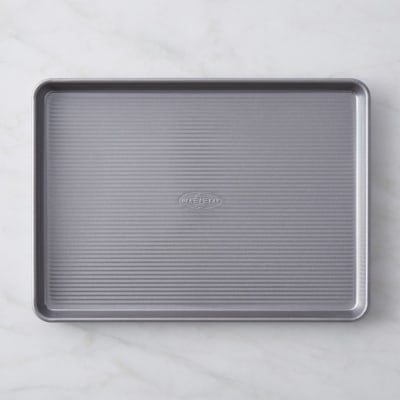
- Half Sheet Pan
Ingredients
- 3 cups All-Purpose Flour (see note; 3 cups = 375g)
- 1 teaspoon Baking Soda
- 3/4 teaspoon Kosher Salt
- 2 sticks Unsalted Butter, softened to room temperature (see note; 2 sticks = 1 cup or 16 tablespoons)
- 1 cup Light Brown Sugar, packed (1 cup = 200g)
- 1 cup Granulated (White) Sugar (1 cup = 200g)
- 2 large Eggs
- 2 teaspoons Pure Vanilla Extract
- 2 1/2 cups Semisweet Chocolate Chips
- 1 teaspoon Flaked Sea Salt (totally optional, but try it if you like a salty finish on your sweets)
Instructions
- In a small bowl, whisk together the flour, baking soda, and salt. Set aside.
- In the bowl of a stand mixer fitted with the paddle attachment, beat the butter, brown sugar, and granulated sugar on medium-high until light and creamy, about 3 minutes (it should resemble fluffy frosting).
- Add the eggs and vanilla and mix on low until completely combined, scraping down the bowl as needed.
- Add the flour mixture all at once and mix on low until just combined (stop mixing as soon as there are no dry spots of flour in the dough – do not overmix).
- Add the chocolate chips and mix into the batter on low just until combined.
- Transfer the mixing bowl to the refrigerator and refrigerate for 20 minutes while the oven heats. (This step is important as the cold dough is key to the soft centers of the cookies.)
- Heat oven to 350°F / 177°C.
- Lightly grease a sheet pan or line it with a Silpat baking mat or parchment paper.
- Use a tablespoon measuring spoon (use the measuring spoon as a guide, but make these “heaping” tablespoons with dough rounded over the top) to scoop out even portions of cold cookie dough. (Note: Be sure that the cookie dough is about the size of a golf ball. If the cookies are smaller than this they won't spread out enough to have soft, chewy centers.)
- Arrange the cookie dough on the prepared sheet pan, leaving space for the cookies to spread out.
- Bake the cookies until the edges are just starting to turn golden brown and the centers are still very pale and soft (they will continue to firm up and darken after you remove them from the oven), 9 to 12 minutes.
- When you remove the sheet pan from the oven, tap it firmly on the kitchen counter a few times to deflate the cookies (this step helps to give the cookies lightly crinkled edges and a dense center).
- Sprinkle the tops of the cookies with flaked sea salt (this is optional and you may not need the full amount; just add a small pinch on top of each cookie if you want that salty crunch).
- Leave the cookies on the sheet pan to cool for 5 minutes before transferring them to a cooling rack. (Note: If you try to move them too early they may fall apart, but will firm up as they cool.)
- Store cookies in a sealed container at room temperature for up to 3 days.
Notes
Nutrition
Nutrition information is automatically calculated, so should only be used as an approximation.




The dough is currently in the fridge while my over preheats! Super excited for these! I pulled my butter out of the fridge last night, measure the sugars and flour with my kitchen scale, and think I followed everything else to a T (: The ONLY thing I could see going “wrong” is that I’m using Great Value flour and not Gold Medal… Fingers crossed!
I think it should be just fine! I’ve definitely used other types of flour and never had any issues. Great Value will work. Enjoy!
They turned out perfect. I followed your recipe exactly, used a food scale, same flour, kerrygold butter, Walmart eggs, flaky salt at the end. I used beaters, not an mixer, and added the chocolate chips when I could still see flour and mixed by hand towards the end. I imagine they probably 14 would have been too sweet without the salt at the end so I think that’s a very important step. I never gotten such a perfect texture before. Exactly like your photo! Thank you so much!
Yay!! I’m so glad! Thanks so much for the kind note, Courtney!
They were not chewy at all, idk what I did wrong but they’re just like hard dough did I over cook them? Idk
Definitely could be overcooked or too much flour. Those really seem to be the two things that throw off the results.
Thank you for the recipe. My cookies came out exactly as the recipe. The only thing was that I got a lot more cookies than 24. I froze the rest because it was too many to make all at once. Will be making them again for My Son. He loved them.
So glad you liked them Carmen!!
I am super confused about the heaping tablespoon but your recipe also says about the size of a golf ball. Baker’s guide says golf ball is about 3 1/2 tablespoons so what do I do here?
I totally see how this could be open to interpretation. I didn’t use any official measurement to establish what is a golf ball size, but the dough ball I get from a heaping tablespoon does look like a golf ball sized amount to me! Definitely go for a heaping tablespoon to get similar results to mine.
Is it possible to freeze the dough in a bowl, as opposed to making it into balls and then freezing it? I’m planning on baking the dough in the next day or two, but can’t today. Side note: I’ve used this recipe for the last longest and it is the only recipe I use for chocolate chip cookies now, it makes the perfect amount and is absolutely delicious! 😋
Yes Nancy! That’s totally fine! The dough should freeze fine even if it’s in a bowl. Just let it defrost in the refrigerator whenever you’re ready. So glad you enjoy them!!
5 star recipe! I’ve gotten SO many compliments and requests for these. I have made them dozens and dozens of times. My husband shares them at work on the regular and I do sometimes add nuts or even do a macadamia/white chocolate but always keep the main recipe ingredients the same. You can’t go wrong with this recipe.
Oh I love the addition of nuts! Thanks for sharing, and I’m so glad you enjoyed the cookies.
Absolutely perfect!
So glad to hear it!!
Mine didn’t end up looking like the picture :/ I think the ratio ended up being too much flour, they didn’t compress when I banged the tray and I could still taste the crunch of the sugar when they were cool. Also was missing that slightly caramelized flavor, they didn’t brown very much. Still, the flavor was pretty good and the insides were chewy!
Annie – did you measure the flour by weight? Glad you liked the end result, but the amount of flour used is definitely the biggest factor in the results for these cookies.
These didn’t turn out for me. Granted I did use a gluten free flour mix. But they didn’t spread out at all while baking. I even added an additional 4 mins to the baking time. My four year old was content and ate them but he also dips his grapes in ketchup so not sure if he’s the best to leave a review.
Hi Clark – results with a GF flour mix can definitely vary. Please share what mix you used so that others know which one wasn’t a success!