How Long to Brine a Turkey
Published Nov 12, 2020•Updated Oct 29, 2025
This post may contain affiliate links. Please read our disclosure policy.
Okay, so you’re ready to brine your turkey for the holidays. But what method is best? How long should you brine a turkey? Dry brine, a salt water brine, or you can skip the brine altogether. We roasted three turkeys and tested them for ease of prep, flavor, and moisture.
Read on for the results of the taste-off and for everything else you need to know about How to Brine a Turkey.
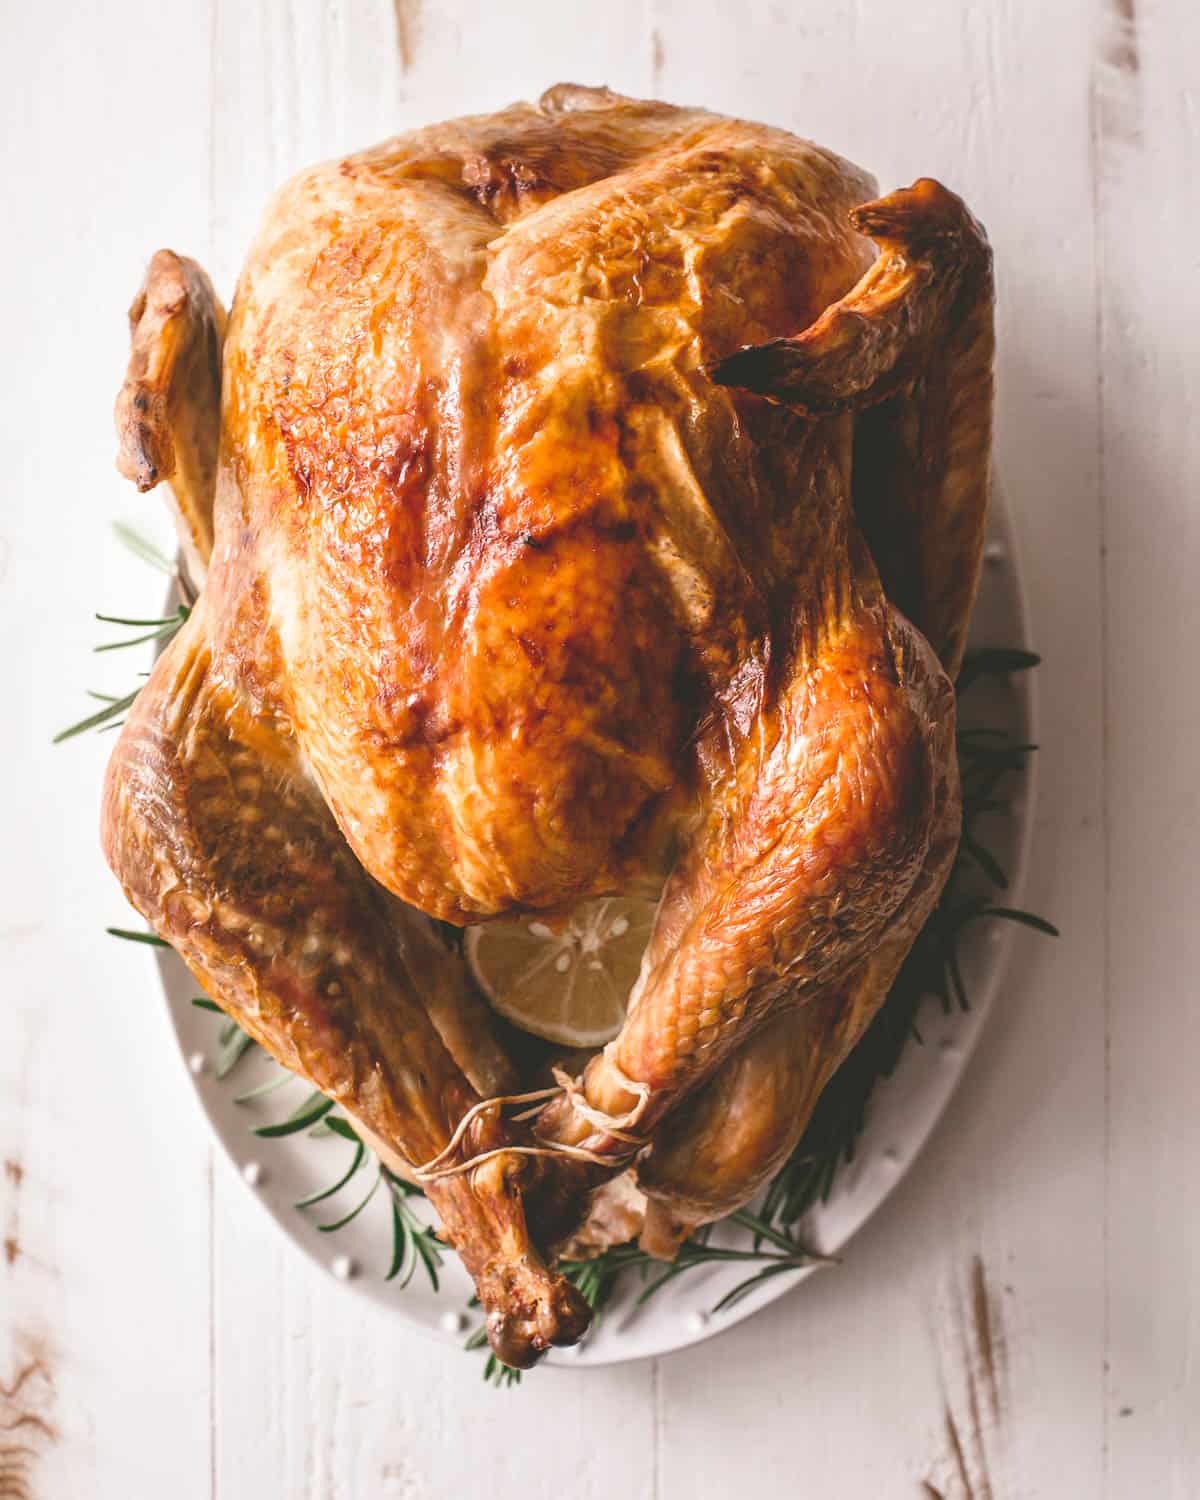
Juicy, flavorful turkey at Thanksgiving or Christmas. That’s the goal right? But what is the best (and easiest) way to get there? We did all of the testing to bring you the answer in this ultimate guide to brining a turkey.
And if you just want to save this guide while you keep planning for the holiday meal, enter your email address below and I’ll send it straight to your inbox!
Why the brine matters
A salt water brine (soaking the turkey in seasoned salt water) is a fairly classic method for prepping a turkey to roast. In recent years it’s becoming increasingly popular for chefs and recipe developers to recommend a dry brine in which you rub the meat with salt and let it rest, allowing the salt to infuse the meat. Many of the bigger food-centric websites (like Serious Eats and New York Times Cooking Section) recommend dry brining.
So we set out to test three methods of roasting a turkey in a home kitchen. Forget a restaurant or food magazine test kitchen – you’re roasting your turkey at home, so that’s how we tested it. We ordered three 14-lb turkeys and roasted them:
- un-brined (using the Simple Roasted Turkey method)
- with a dry brine
- with a salt water brine
The recipes for dry brine and salt water brine we used can be found at the bottom of the post.
Then we up some taste testers and did side-by-side comparison of the three turkeys. Results below!

What is a brine?
A brine is the process of treating meat with a salt solution. There are two types of brines – a dry brine and a wet (salt water) brine. Dry brining is done by rubbing the meat with salt while a wet brine is done by soaking the meat in salt water.
Both methods use more salt than you would use if you were to salt the turkey right before roasting because the salt has time to soak into and infuse the meat throughout (not just on the surface). You can add flavor to any brine using sugar, herbs, spices, or citrus.
Pin this now to save it for later
Pin It NowShould I Brine My Turkey?
Brining a turkey is optional. If you’re short on time or just want the most straight-forward method to roast a turkey, skip the brining step and just use the Simple Roasted Turkey method. Some people swear that brining yields the most tender, juicy meat, but it takes planning ahead.
Recipe Tip
Check your turkey before you buy it to make sure it isn’t pre-brined. If a turkey has been pre-brined, it should say so right on the packaging. Turkeys labeled as “basted”, “self-basted”, “kosher”, or “enhanced” are typically brined before you buy them and should not be brined at home. Brining a turkey again will run the risk of causing the turkey to be too salty. Organic turkeys are usually a good bet if you want to be sure it hasn’t been pre-brined.
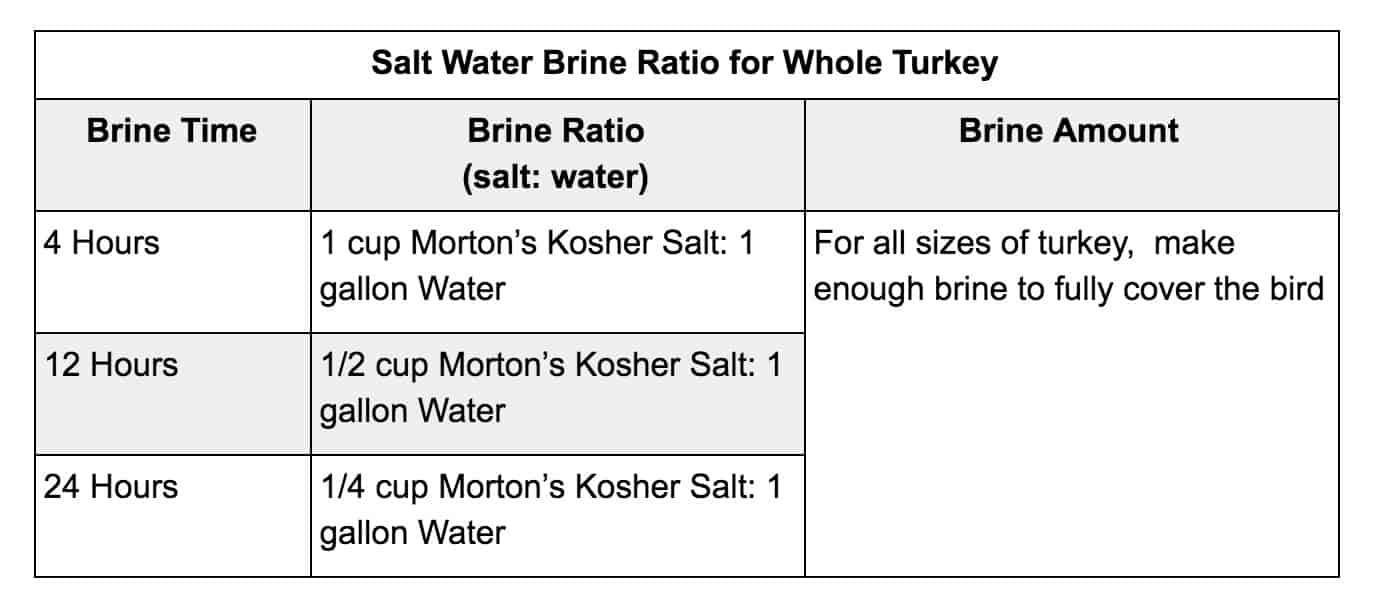
How much salt to use in a brine (by time)
The ratio of salt to water in a brine doesn’t need to be changed based on the size of the turkey, but it should be changed based on the time you plan to brine the bird. Here is a good guide:
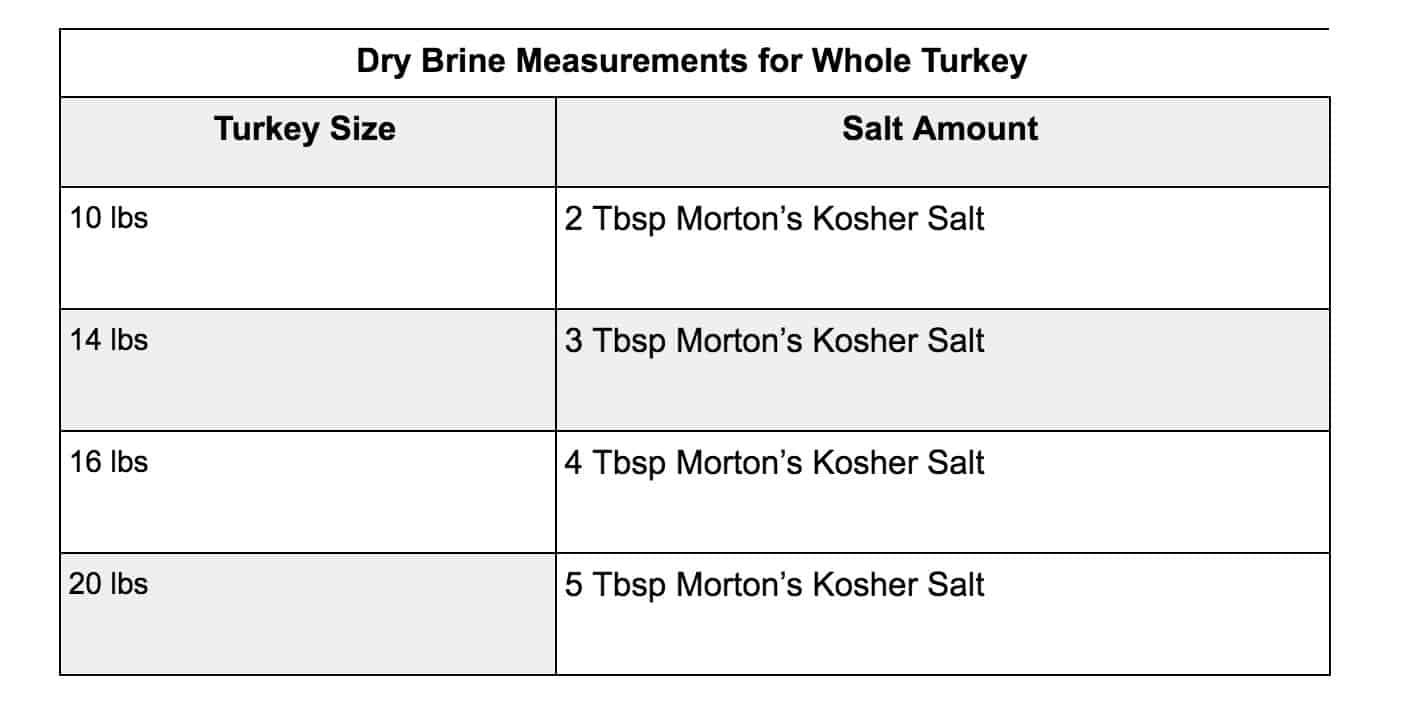
How long to brine a turkey (by size)
When using a dry brine, use the size of the turkey as a guide for how much salt to use. Use the following measurements:
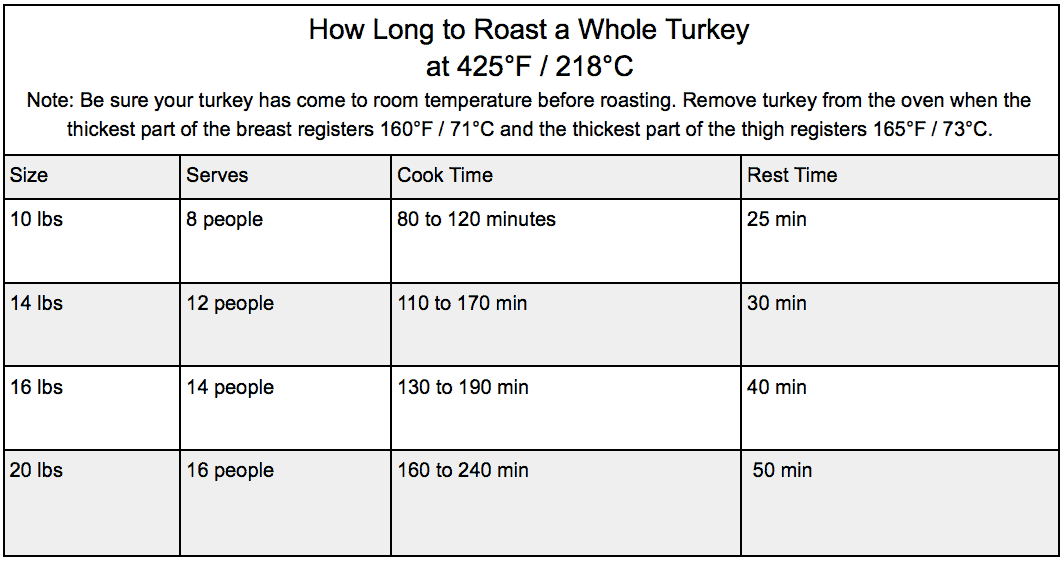
How Long to Roast a Turkey at 425°F
At 425°F / 218°C, estimate 8 to 12 minutes per pound of turkey. Keep in mind that this will vary based on the initial temperature of the turkey when it goes into the oven (try to bring it to room temperature before you start) and the variations in size / shape of the turkey. Use an instant read thermometer to start checking for doneness at the low end of the estimated time.
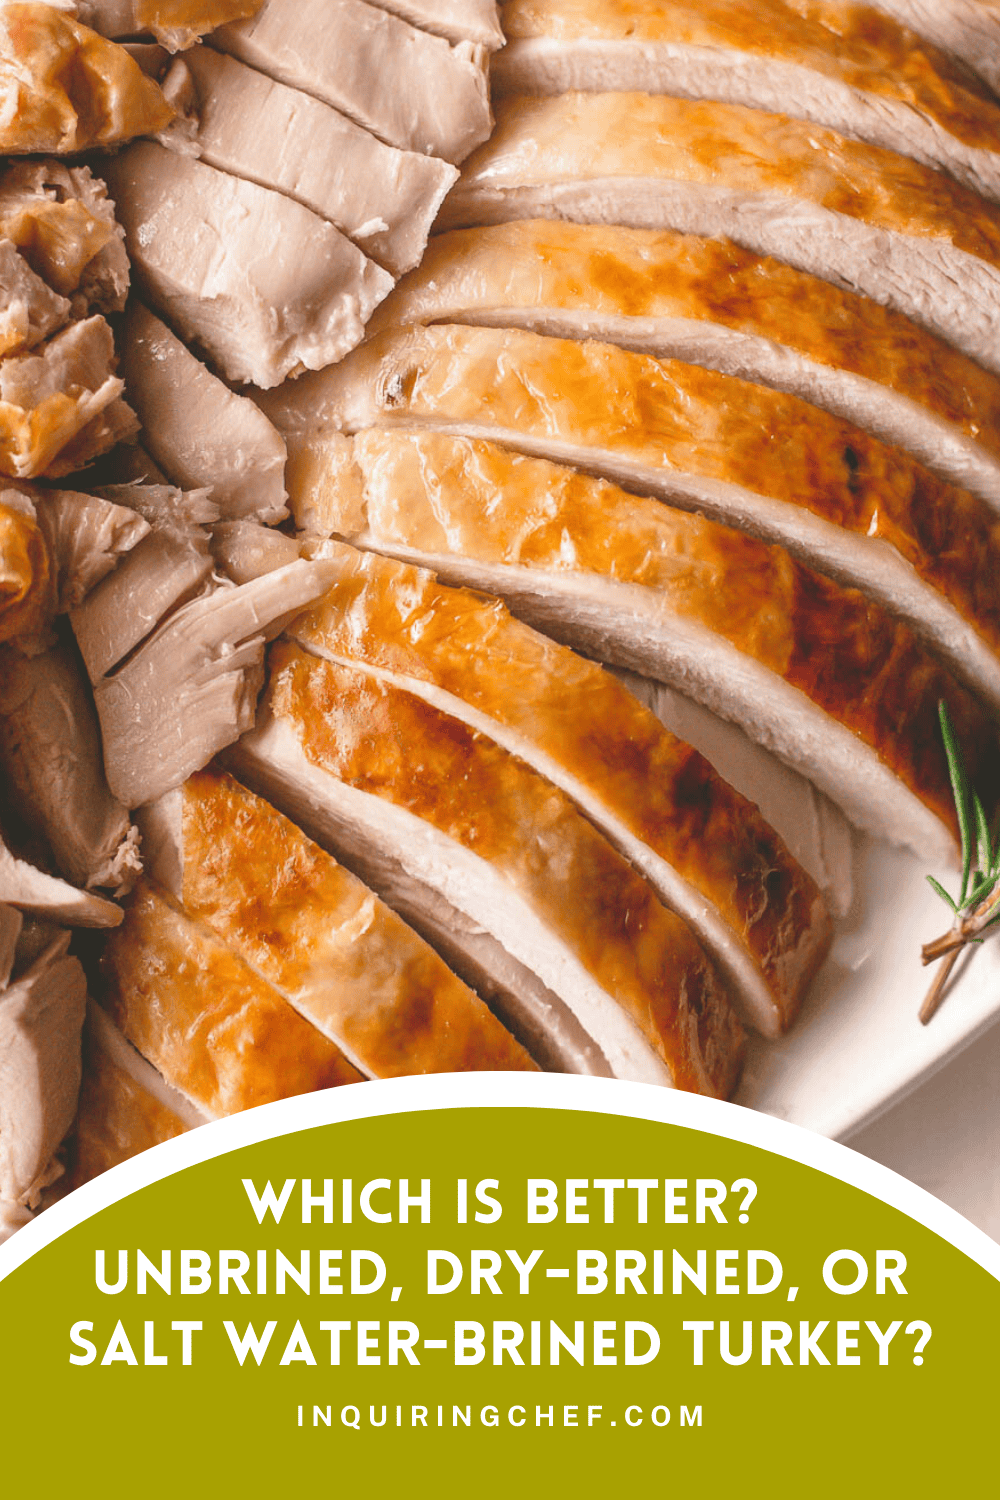
THE RESULTS: Un-brined vs. Dry-Brined vs. Salt Water-Brined
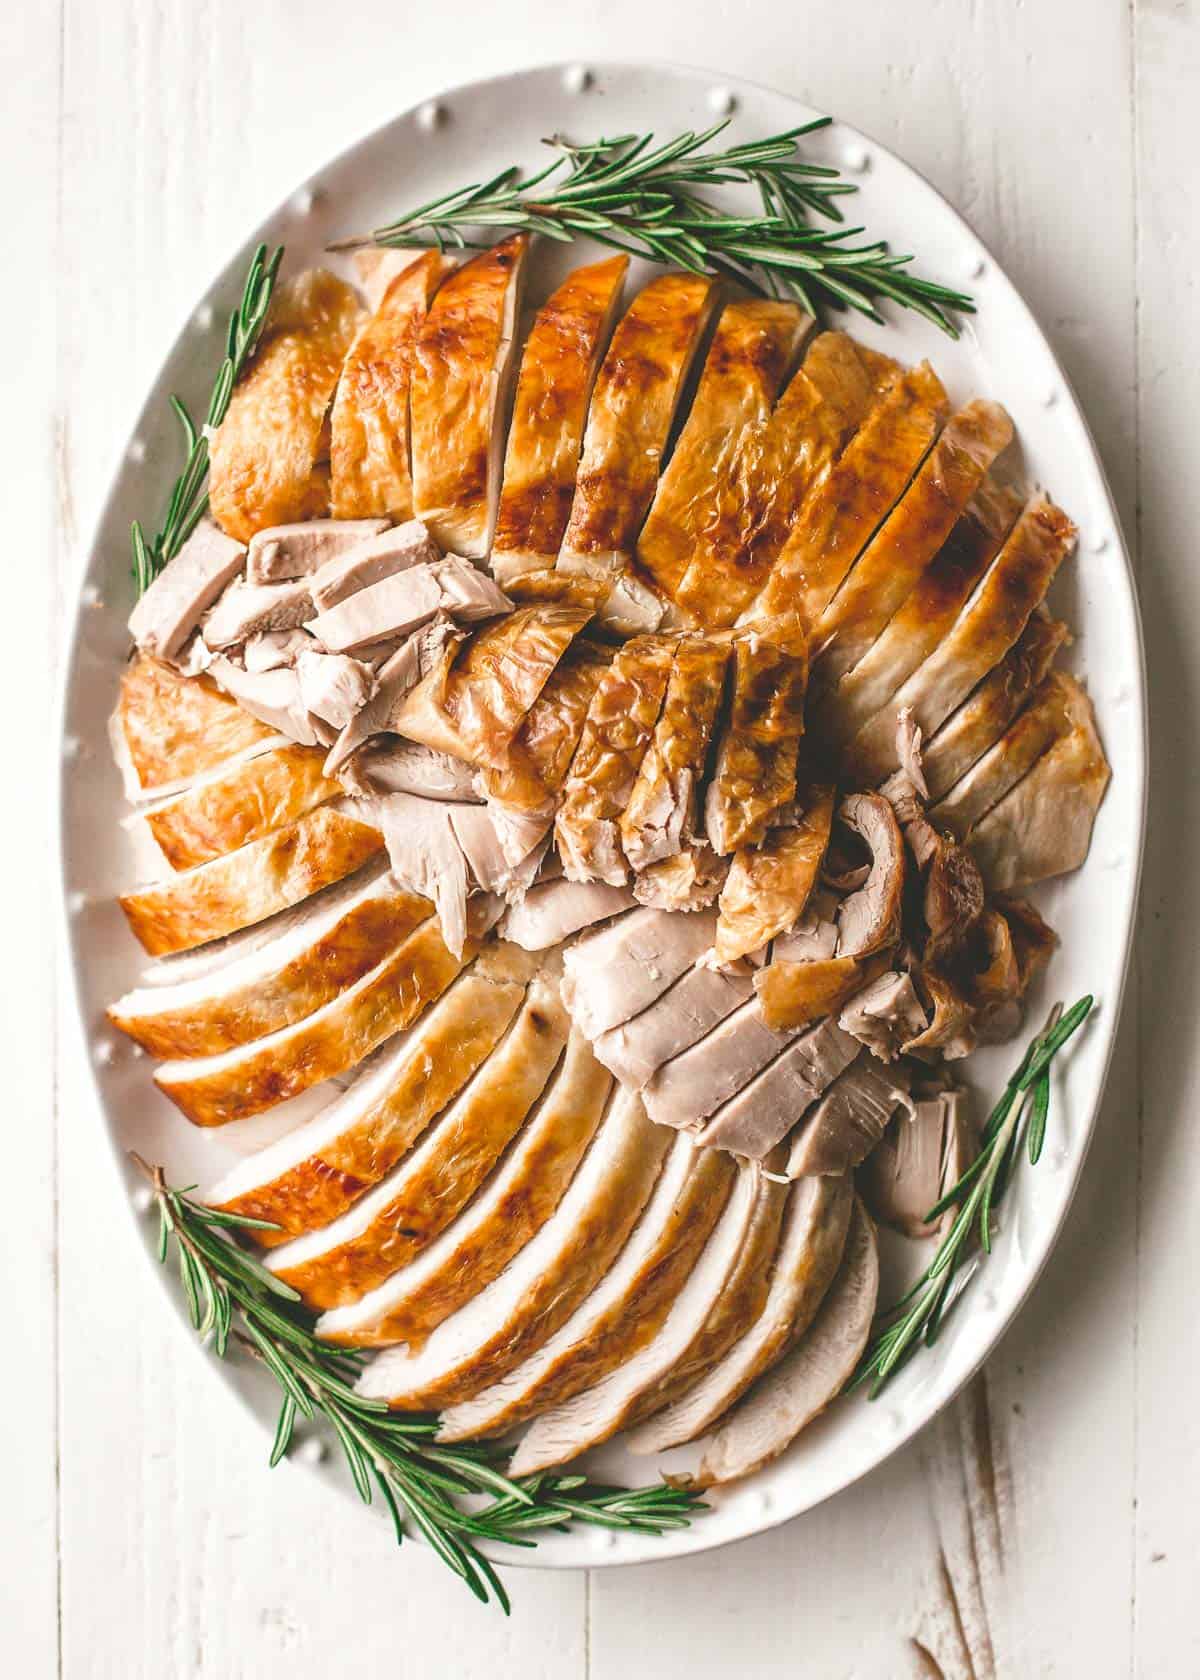
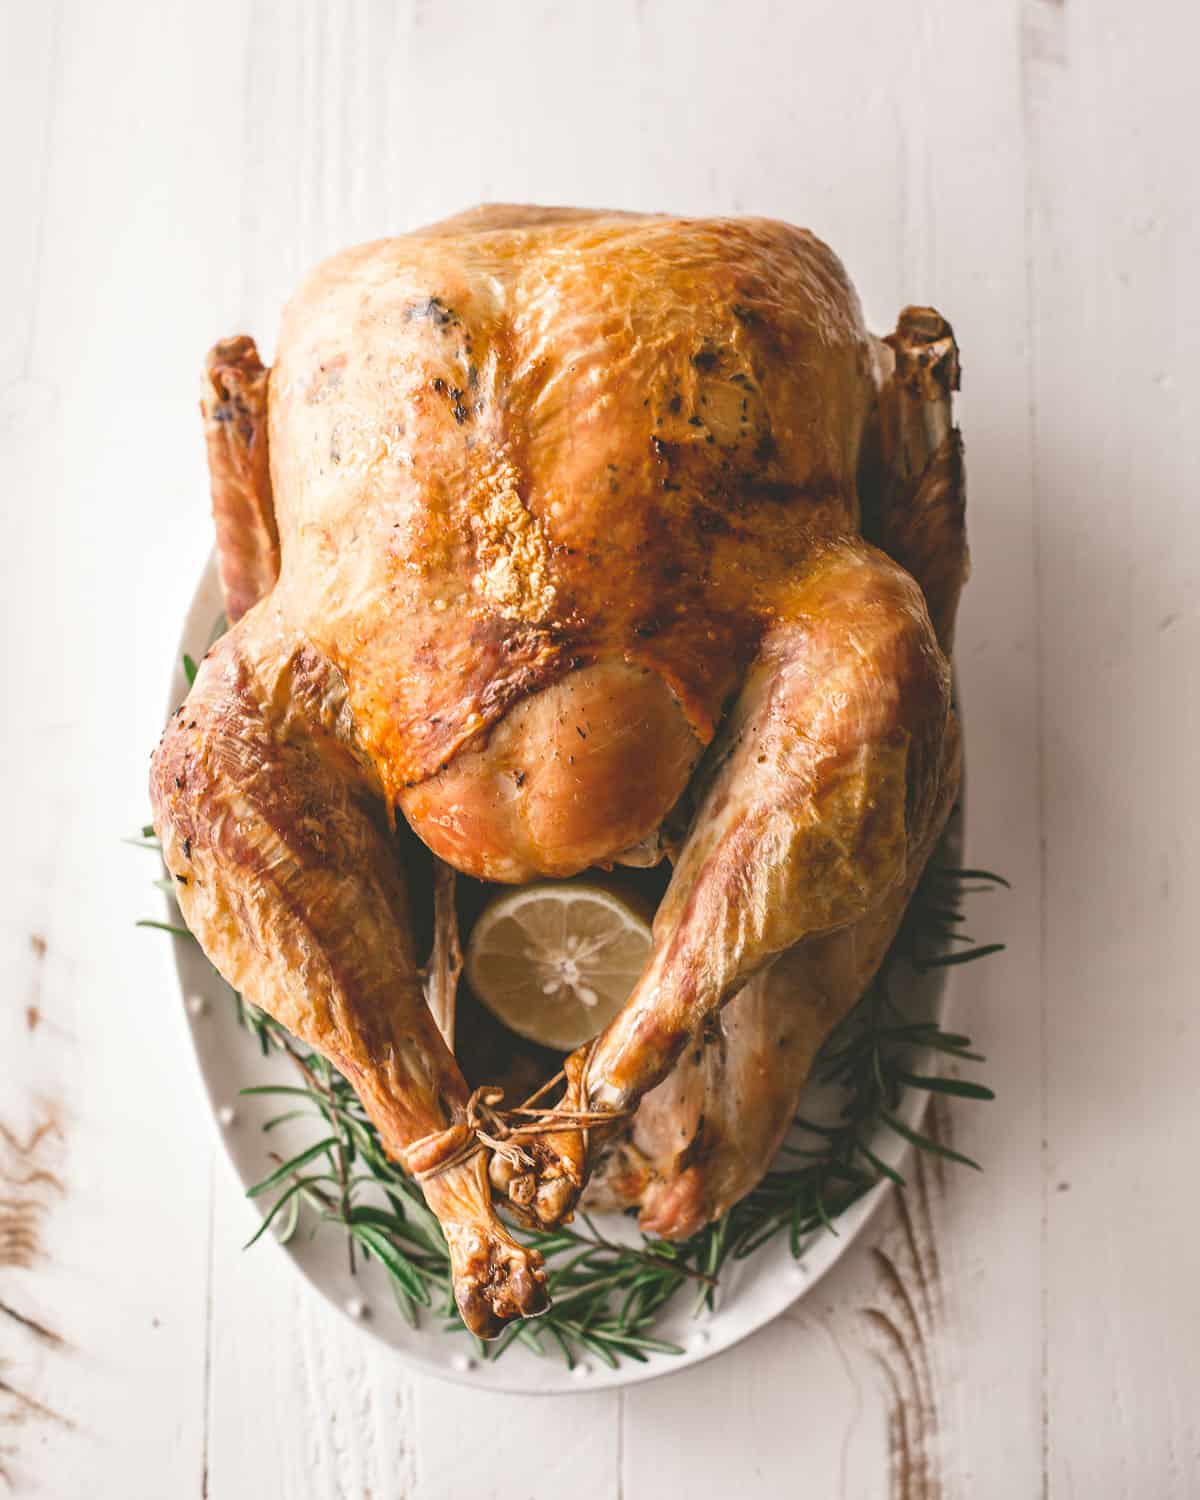
Based on our side-by-side taste test of turkeys cooked using these three methods, the overwhelming favorite was the flavor and texture of a salt water-brined turkey. The un-brined Simple Roasted Turkey came in a very close second.
This was a big surprise to me because so many chefs recommend a dry brine. But here’s the thing – a dry brine yields a more chef-y turkey. Dry brining is effective in seasoning the meat all the way through, but it also changes the color of the meat (the dark meat had a pink hue after being properly cooked) and gave it a texture and flavor that was earthy and tasted like it had been cured. It reminded me of the texture and earthy flavor of duck confit. It was very delicious, but just didn’t taste as classic as the other options.
While our taste testers liked all three turkeys, the salt water brine and un-brined turkeys had a more classic turkey flavor that reminded them of the turkeys they had growing up. If you want something classic, stick with un-brined or salt water brined. If you want something that feels more chef-y, go for the dry brine.
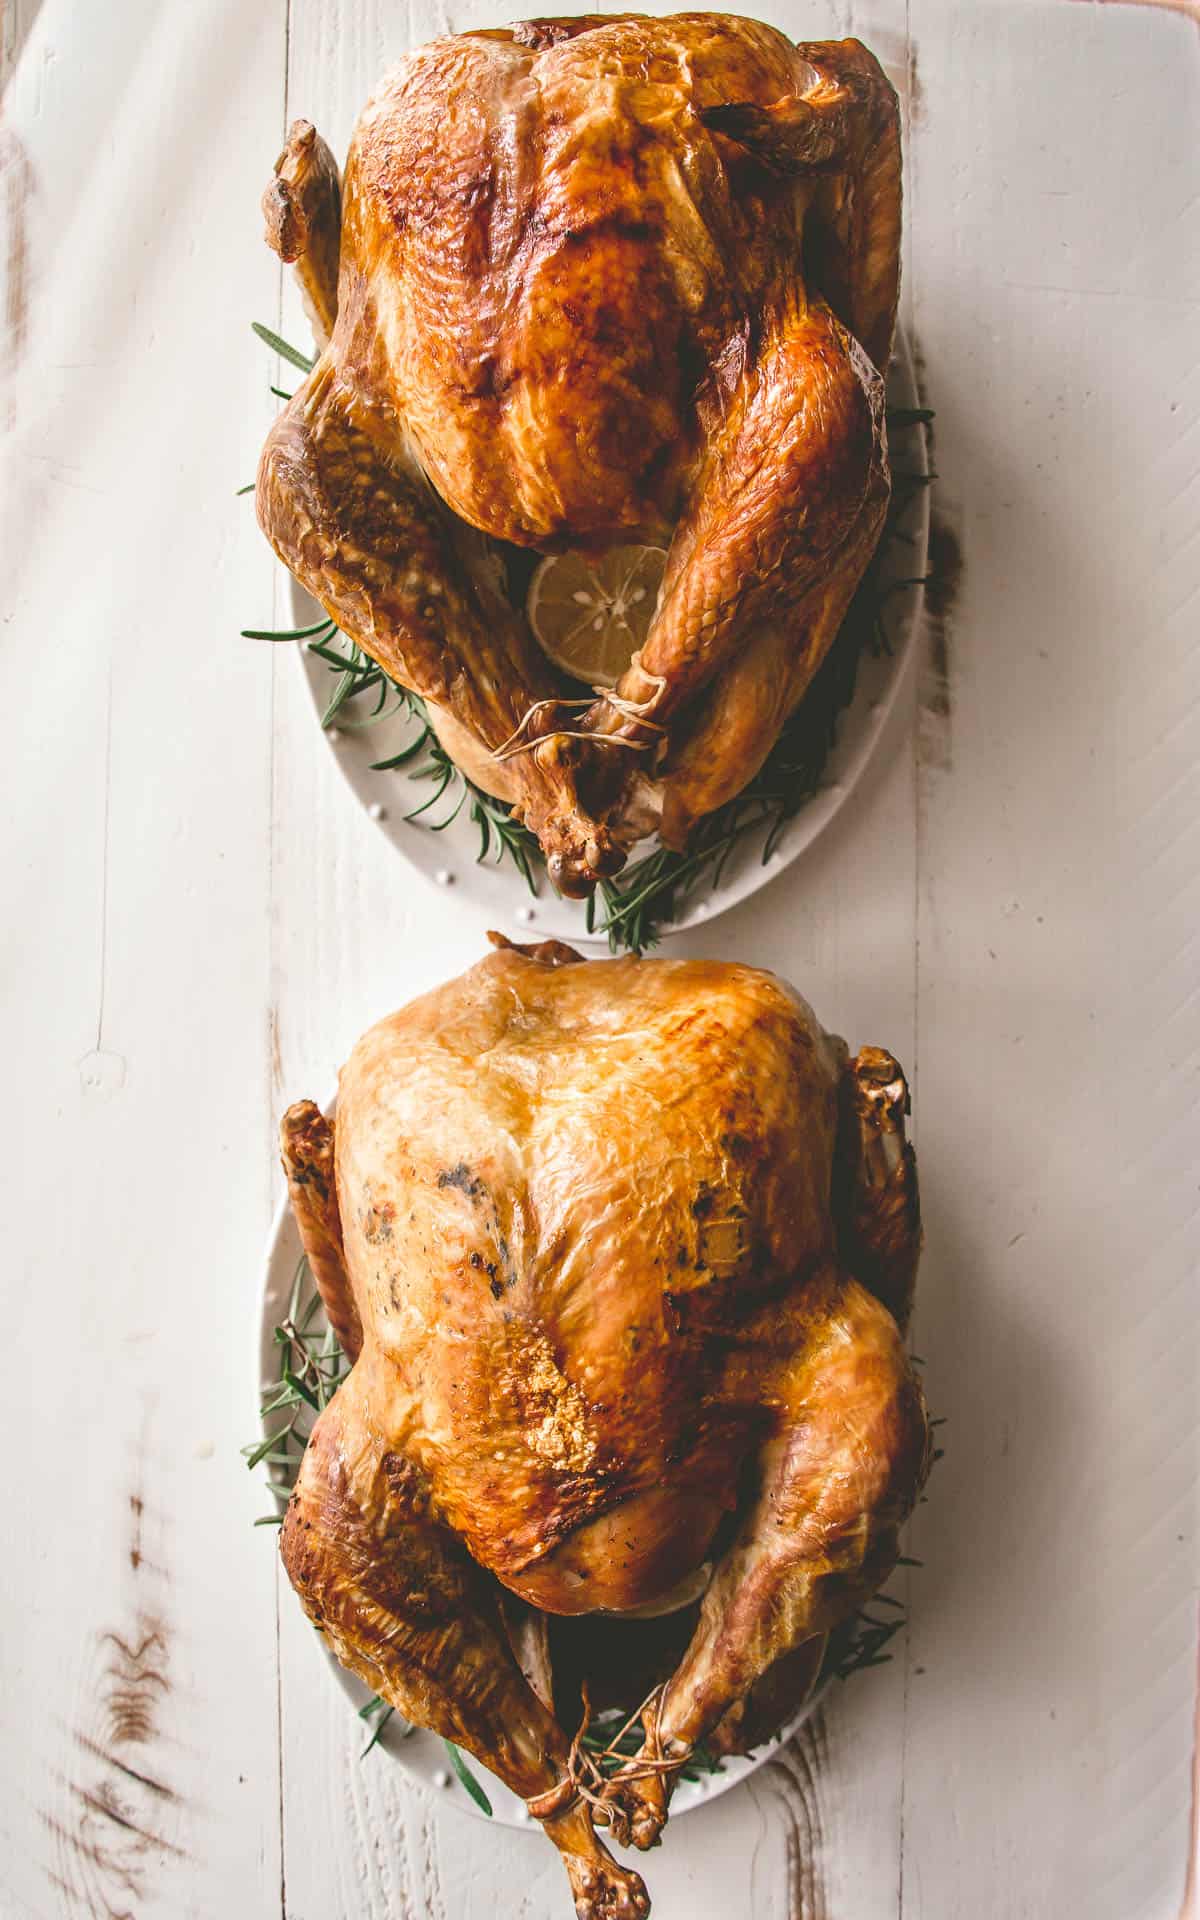
The photos below show a salt-water brined turkey (top) and dry-brined turkey (bottom).
Pros and Cons of Brining Methods
Here are the main pros and cons of the three methods:
Un-brined Turkey
Pros:
- Very easy, no advance planning required
- Creates minimal mess
Cons:
- Less time to infuse the turkey with flavor
- Turkey is not evenly seasoned throughout
Salt Water-Brined Turkey
Pros:
- Requires minimal pre-planning (about 12 hours)
- Provides the opportunity to infuse the turkey with flavor from sweeteners, herbs, spices, or citrus
- Yields a classic tasting turkey that is well-seasoned throughout
Cons:
- Messy (requires handling the raw turkey and a large pot of salt water)
- Takes up a lot of fridge space
Dry-Brined Turkey
Pros:
- Provides the opportunity to the infuse turkey with flavor from sweeteners, herbs, spices, or citrus
- Yields a unique, earthy-flavored turkey that is well-seasoned throughout
- Creates minimal mess
Cons:
- Requires a lot of pre-planning (about 36 hours)
- Takes up a lot of fridge space
Note: Sugar / Sweeteners in Brine
One quick extra note before you get cooking. Adding sugar to a brine can add a subtle sweetness and help with browning of the skin as the sugars caramelize. A roast turkey will get nicely browned even without the added sugar, but you can add brown sugar or maple syrup to any brine recipe. (Add about ¾ as much sugar as salt.)
My Complete Thanksgiving Menu
Need more ideas for your Thanksgiving meal!? Look no further.
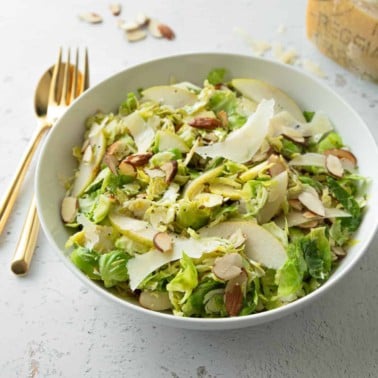
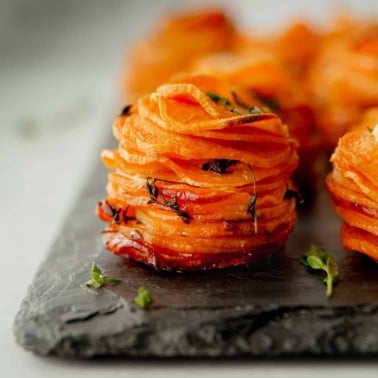
- Bacon Wrapped Dates with Brie and Balsamic Honey (to serve as an appetizer)
- 1-Hour Light and Buttery Dinner Rolls
- Make-Ahead Mashed Potatoes
- Classic Turkey Gravy
- Homemade Green Bean Casserole
- Focaccia and Bacon Stuffing
- Creamy Butternut Squash and Spinach Casserole
- Cranberry Sauce
- No Bake Pumpkin Cheesecake with Gingersnaps
Get more details and a complete Thanksgiving timeline here.
Pin this now to save it for later
Pin It Now
Dry-Brined Turkey
Equipment
- Roasting Pan
- Knife
- Cutting Board
- Mixing Bowl
Ingredients
- 1 14 – 16 pound Whole Turkey, fully defrosted (see note)
- 3 – 4 Tablespoons Morton’s Kosher Salt (see note)
- 1 teaspoon Black Pepper
- 3 Tablespoons Fresh Herbs, finely chopped (any mix will work – I like a combination of sage and thyme)
- 4 Tablespoons Butter, softened (see note)
- 1 Lemon, sliced in half
Instructions
- 36 hours before roasting: Starting 36 hours before you plan to roast the turkey, take the fully defrosted turkey and rinse it well under cool tap water. Remove the neck from the cavity of the turkey and the bag of giblets (reserve for making gravy).
- Place turkey breast-side up on a raised rack inside a roasting pan (see note). Pat dry with paper towels.
- Loosen the skin from the breast and legs of the turkey to create some space for the butter. (Note: I like to use a spoon to help gently separate the skin.)
- Combine salt, black pepper, and herbs. Rub salt mixture evenly over the turkey, including inside the cavity and under and on top of the skin, concentrating more salt where the meat is thickest (like the breast). Turn turkey so the breast is facing down.
- Cover turkey with foil or plastic wrap. Refrigerate for 36 hours, turning it to face breast-side up about halfway through brining time.
- 1 hour before roasting: About an hour before cooking, take turkey out of the refrigerator and uncover it. Allow it to come to room temperature (do not rinse off the brine).
- Arrange oven rack so that one rack is in the lower third of the oven.
- Preheat oven to 425°F / 218°C.
- Rub softened butter evenly under the skin of the turkey.
- Place lemon halves inside the cavity.
- Tie / truss the legs of the turkey together (optional).
- Transfer the turkey to the lower rack in the oven and roast for 90 minutes to 2 1/2 hours. Start checking the turkey on the lower end of the cook time and continue checking until the thickest part of the breast registers 160°F / 71°C and the thickest part of the thigh registers 165°F / 73°C.) If the breast is cooking much faster than the thigh (or if the skin on the breast gets more brown than you’d like it to be, lightly cover that part of the turkey with a piece of foil.)
- Once turkey is done transfer it to a cutting board and let rest for 30 to 40 minutes (you can tent it with foil to keep it warm).
- Slice and serve.
Notes
Nutrition
Nutrition information is automatically calculated, so should only be used as an approximation.
Pin this now to save it for later
Pin It NowSalt-Water Brined Turkey
Equipment
- Stockpot or Large Saucepan
- Roasting Pan
Ingredients
For the Brine:
- 1 gallon Water (16 cups)
- 1/2 cup Morton's Kosher Salt (if using Diamond Crystal Kosher Salt, increase to 2/3 cup)
- 1/2 cup Brown Sugar
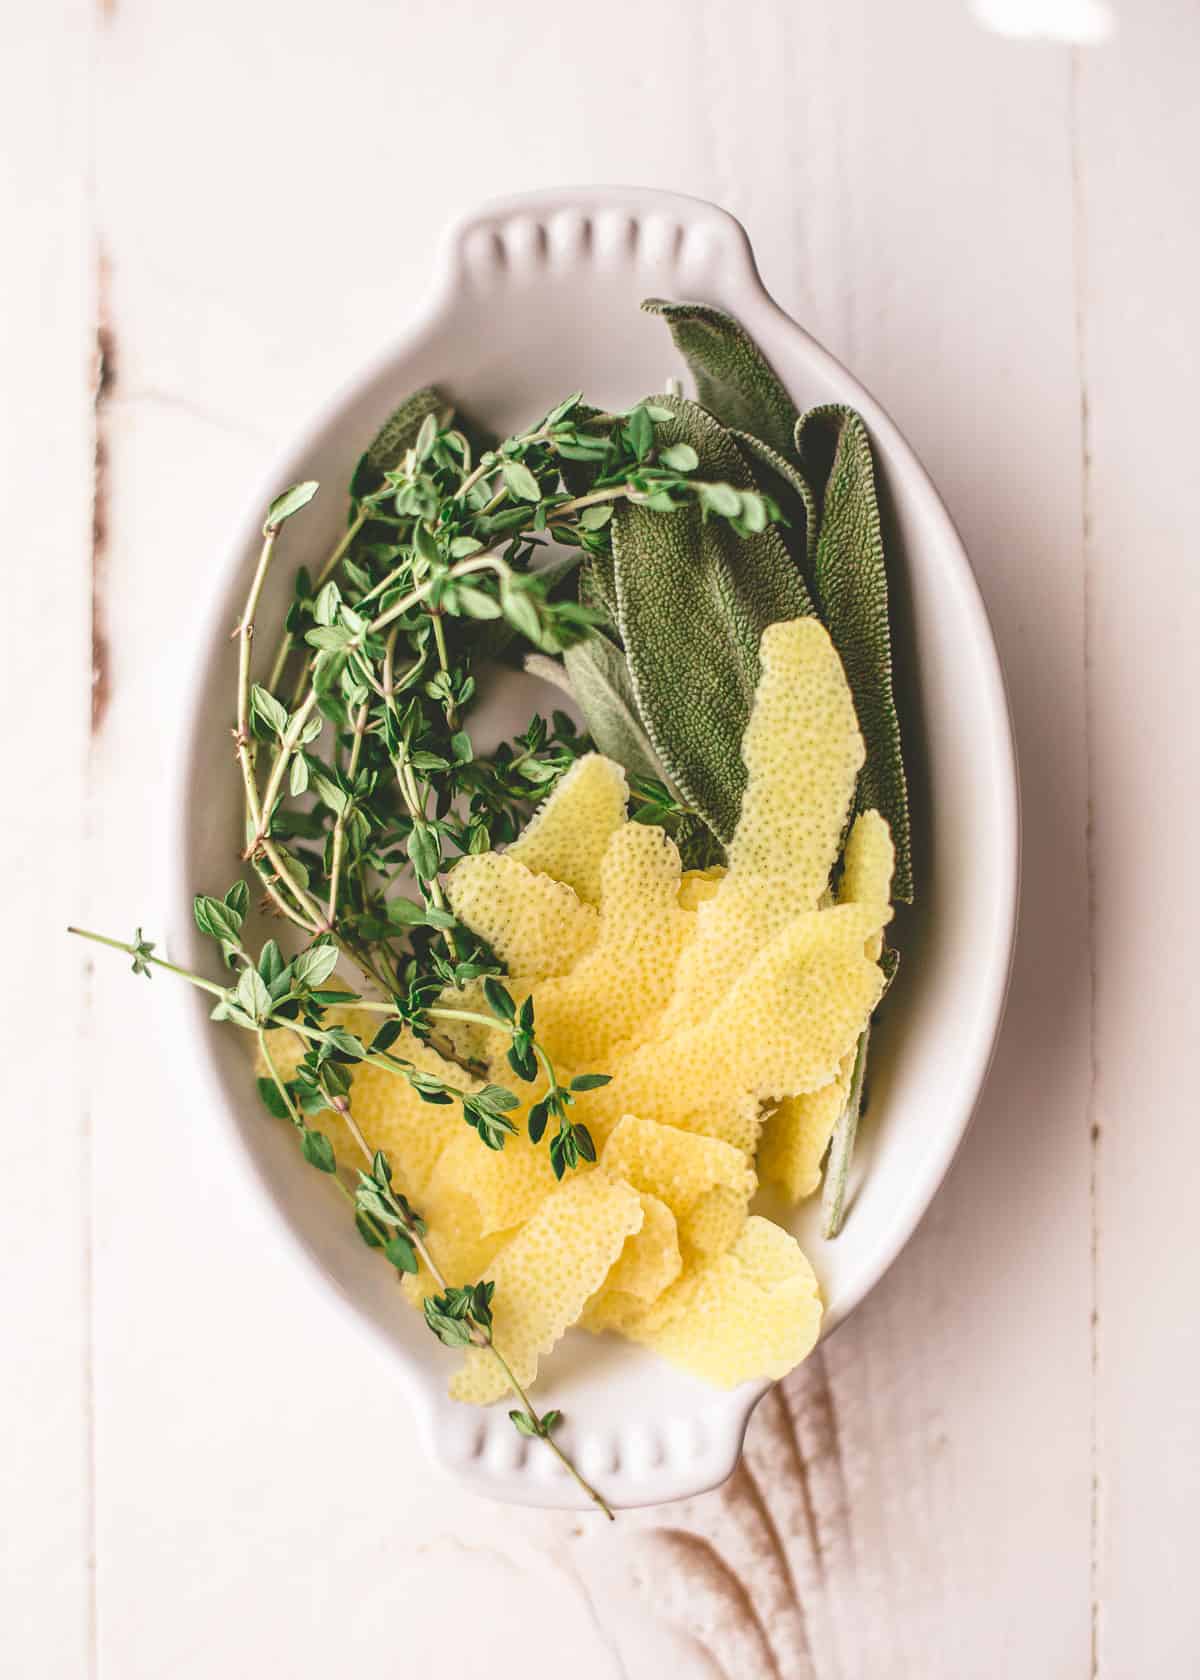
- Zest peeled from a Lemon (see note)
- 5 sprigs Fresh Thyme
- 10 leaves Fresh Sage
For the Turkey:
- 1 14 – 16 pound Whole Turkey, fully defrosted (see note)
- 4 Tablespoons Butter, softened (see note)
- 1 1/2 cups Low-Sodium Stock or Water
- Chopped onions, celery, carrots, and / or apples (if desired, to flavor the pan drippings)
- 1 Lemon, halved
Instructions
- Make brine (can be done up to 5 days ahead). Bring water to boil in a large saucepan or stockpot. (Note: If you have a stockpot that is large enough to hold the turkey and the brine, you can prepare the brine right in that pot.) When water is boiling, remove it from heat and stir in salt, lemon zest, brown sugar, thyme sprigs, and sage leaves. Let brine cool completely at room temperature or in the refrigerator. (This is very important. Pouring warm water over the turkey can prevent the turkey from staying at a safe temperature.)
- 12 hours before roasting: Take the fully defrosted turkey and rinse it well under cool tap water. Remove the neck from the cavity of the turkey and the bag of giblets (reserve for making gravy).
- Combine turkey and brine in a large pot or sturdy food-safe bag. (The turkey should be fully covered in brine.) Return turkey to the refrigerator and let soak for 12 hours.
- 1 hour before roasting: About an hour before roasting, drain all of the brine off the turkey and rinse the turkey well to remove excess salt.
- Place turkey breast-side up in a roasting pan (see note). Pat the skin dry with paper towels. Leave the turkey on the counter to allow it to come to room temperature.
- Pour stock or water in the bottom of the roasting pan. If you’d like to add more flavor to the pan drippings, you can add some chopped onions, celery, carrots, and / or apples to the roasting pan.
- Arrange oven rack so that one rack is in the lower third of the oven.
- Preheat oven to 425°F / 218°C.
- Just before roasting, loosen the skin from the breast and legs of the turkey to create some space for the butter. (Note: I like to use a spoon to help gently separate the skin.)
- Rub softened butter evenly under the skin of the turkey.
- Place lemon halves inside the cavity.
- Tie / truss the legs of the turkey together (optional).
- Transfer the turkey to the lower rack in the oven and roast for 90 minutes to 2 1/2 hours. Start checking the turkey on the lower end of the cook time and continue checking until the thickest part of the breast registers 160°F / 71°C and the thickest part of the thigh registers 165°F / 73°C.) If the breast is cooking much faster than the thigh (or if the skin on the breast gets more brown than you’d like it to be, lightly cover that part of the turkey with a piece of foil.)
- Once turkey is done transfer it to a cutting board and let rest for 30 to 40 minutes (you can tent it with foil to keep it warm).
- Slice and serve.
Notes
Nutrition
Nutrition information is automatically calculated, so should only be used as an approximation.


Thank you for the information. One point not addressed in the pros and cons is the sodium levels of the alternatives. I checked the “Simple Recipe” and that indicated about 750 mg, while the dry brine was 4200 and the wet brine 4900. Did I read the unbrined recipe correctly and is it apples to apples serving size?
Hi Pete – yes – it is apples to apples serving size. However, the nutrition facts are auto-generated and the wet brine nutrition facts factor in all of the salt used in the brine. However, most of that salt is not absorbed into the turkey. While it’s hard to determine exactly how much sodium the turkey will soak up while it sits in the brine whether using a dry or wet brine, the sodium listed on those is much higher than what you’ll actually consume while eating the turkey.
Thank you so much! One of the clearest cut recipes I’ve read without too much extra and not leaving anything out. Also love the sides recipes. I can’t wait to try a few! Only thing I didn’t see which I may have missed, can I use convection setting or do you you recommend the regular bake for the brine salt water turkey? Thank you so much for your time especially during such a busy time of year!
You’re so welcome! I love that I can help this time of year! Either setting will work just fine, but if you use convection, start checking it a bit earlier. But I usually use regular (not convection).
Can’t wait to test this method out.
Enjoy!