Homemade Crescent Rolls
Published Sep 13, 2023•Updated May 22, 2025
This post may contain affiliate links. Please read our disclosure policy.
Warm, buttery, and delicious: these homemade crescent rolls are inspired by my grandma’s recipe. But unlike her recipe, these are incredibly easy, using a quick-rising dough that takes under an hour. I’ve been making these rolls since I first shared them in 2012, and they’re just as likely to make an appearance at Thanksgiving or Easter as they are on a cozy Sunday night.
Krysty says: ⭐⭐⭐⭐⭐ “So simple and delicious! Perfect dinner rolls. Thank you!”
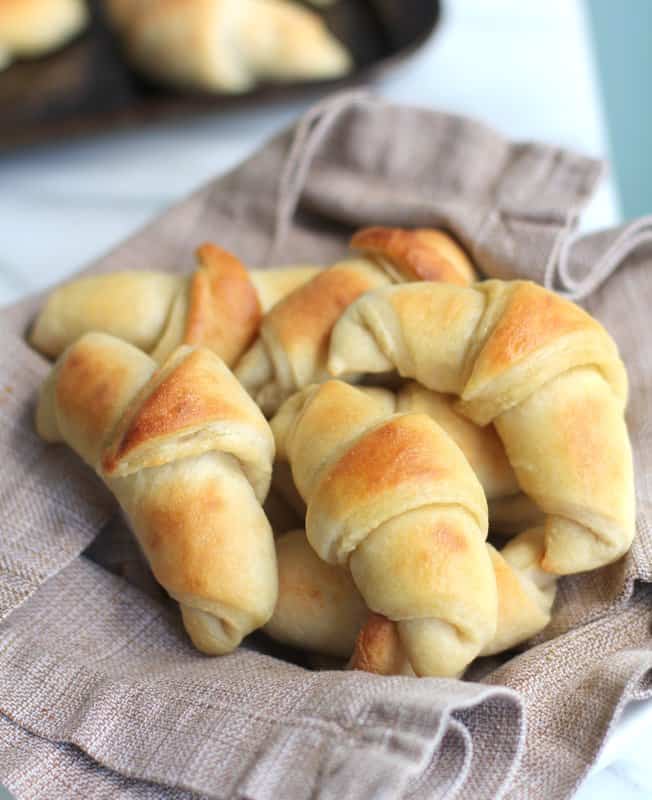
A plate of homemade crescent rolls is guaranteed to be the first thing to disappear from the dinner table. When these warm, soft, buttery rolls are pulled from the oven, the aroma alone is enough to bring everyone running. If you’re looking for a fun twist on classic dinner rolls, these fit the bill. They’re based on my popular 1-hour dinner rolls and just as light and fluffy as the original.
And by the way, if you’re used to popping open a can of Pillsbury crescent rolls for holiday dinners, try making them from scratch! This recipe is nearly as easy as everyone’s favorite quick dinner rolls, but nothing tastes as good as homemade bread. Bonus that these freeze incredibly well, so you can do all the heavy-lifting ahead of time.
How to Make Crescent Rolls
- Make the dough. In the bowl of a stand mixer, combine warm water, yeast, and sugar. Let stand, then add butter, salt, and flour. Mix on low until the dough is smooth and elastic.
- Proof. Let the dough rise for about 20 minutes.
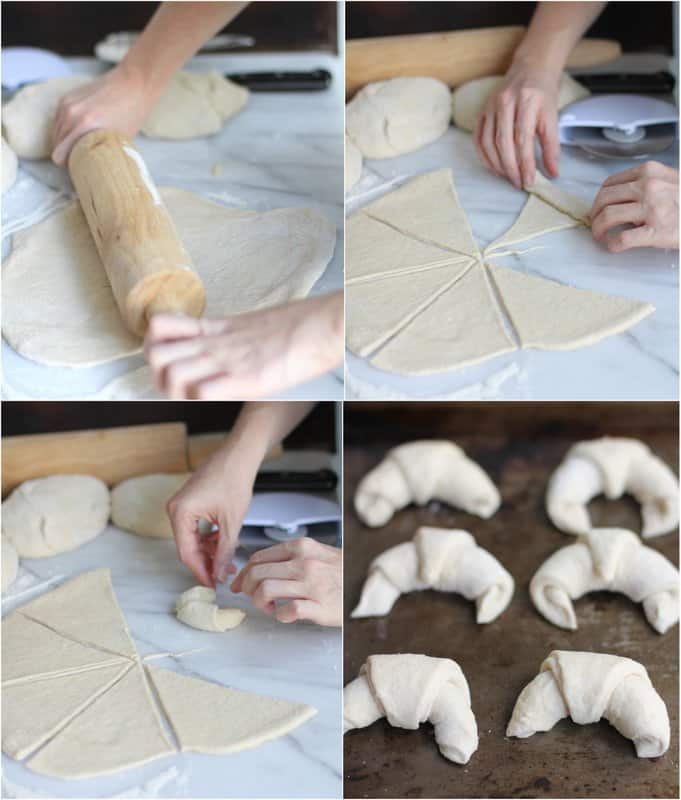
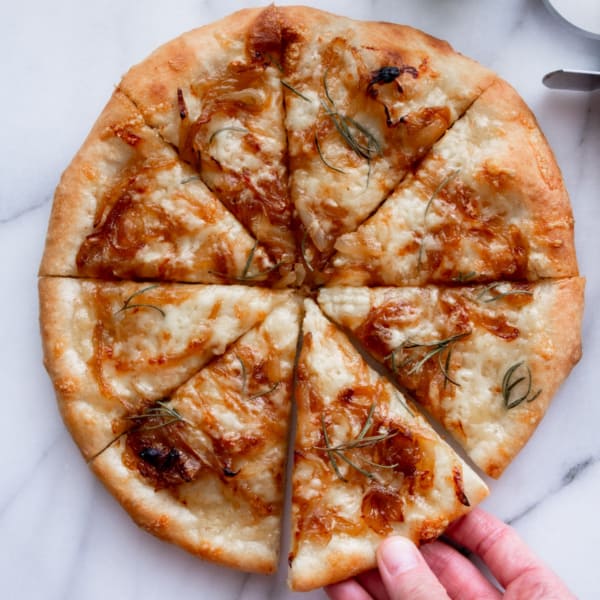
- Roll and shape. Form dough into a ball and cut into quarters. Roll each ball into a circle and slice into 8 even triangles, like you’re slicing a pizza. Starting at the outside of the circle, roll each triangle towards the center.
- Second proof. Place the crescent rolls on a baking sheet and allow the rolls to rise for about 20 minutes.
- Bake. Bake for 13-15 minutes.
- Finish and serve. Brush the rolls with melted butter and sprinkle with salt before serving.
Pin this now to save it for later
Pin It NowIngredients
- Warm Water – The best temperature for activating yeast is between 110 degrees F/45 degrees C and 115 degrees F/45 degrees C. Use a thermometer to get just the right temperature.
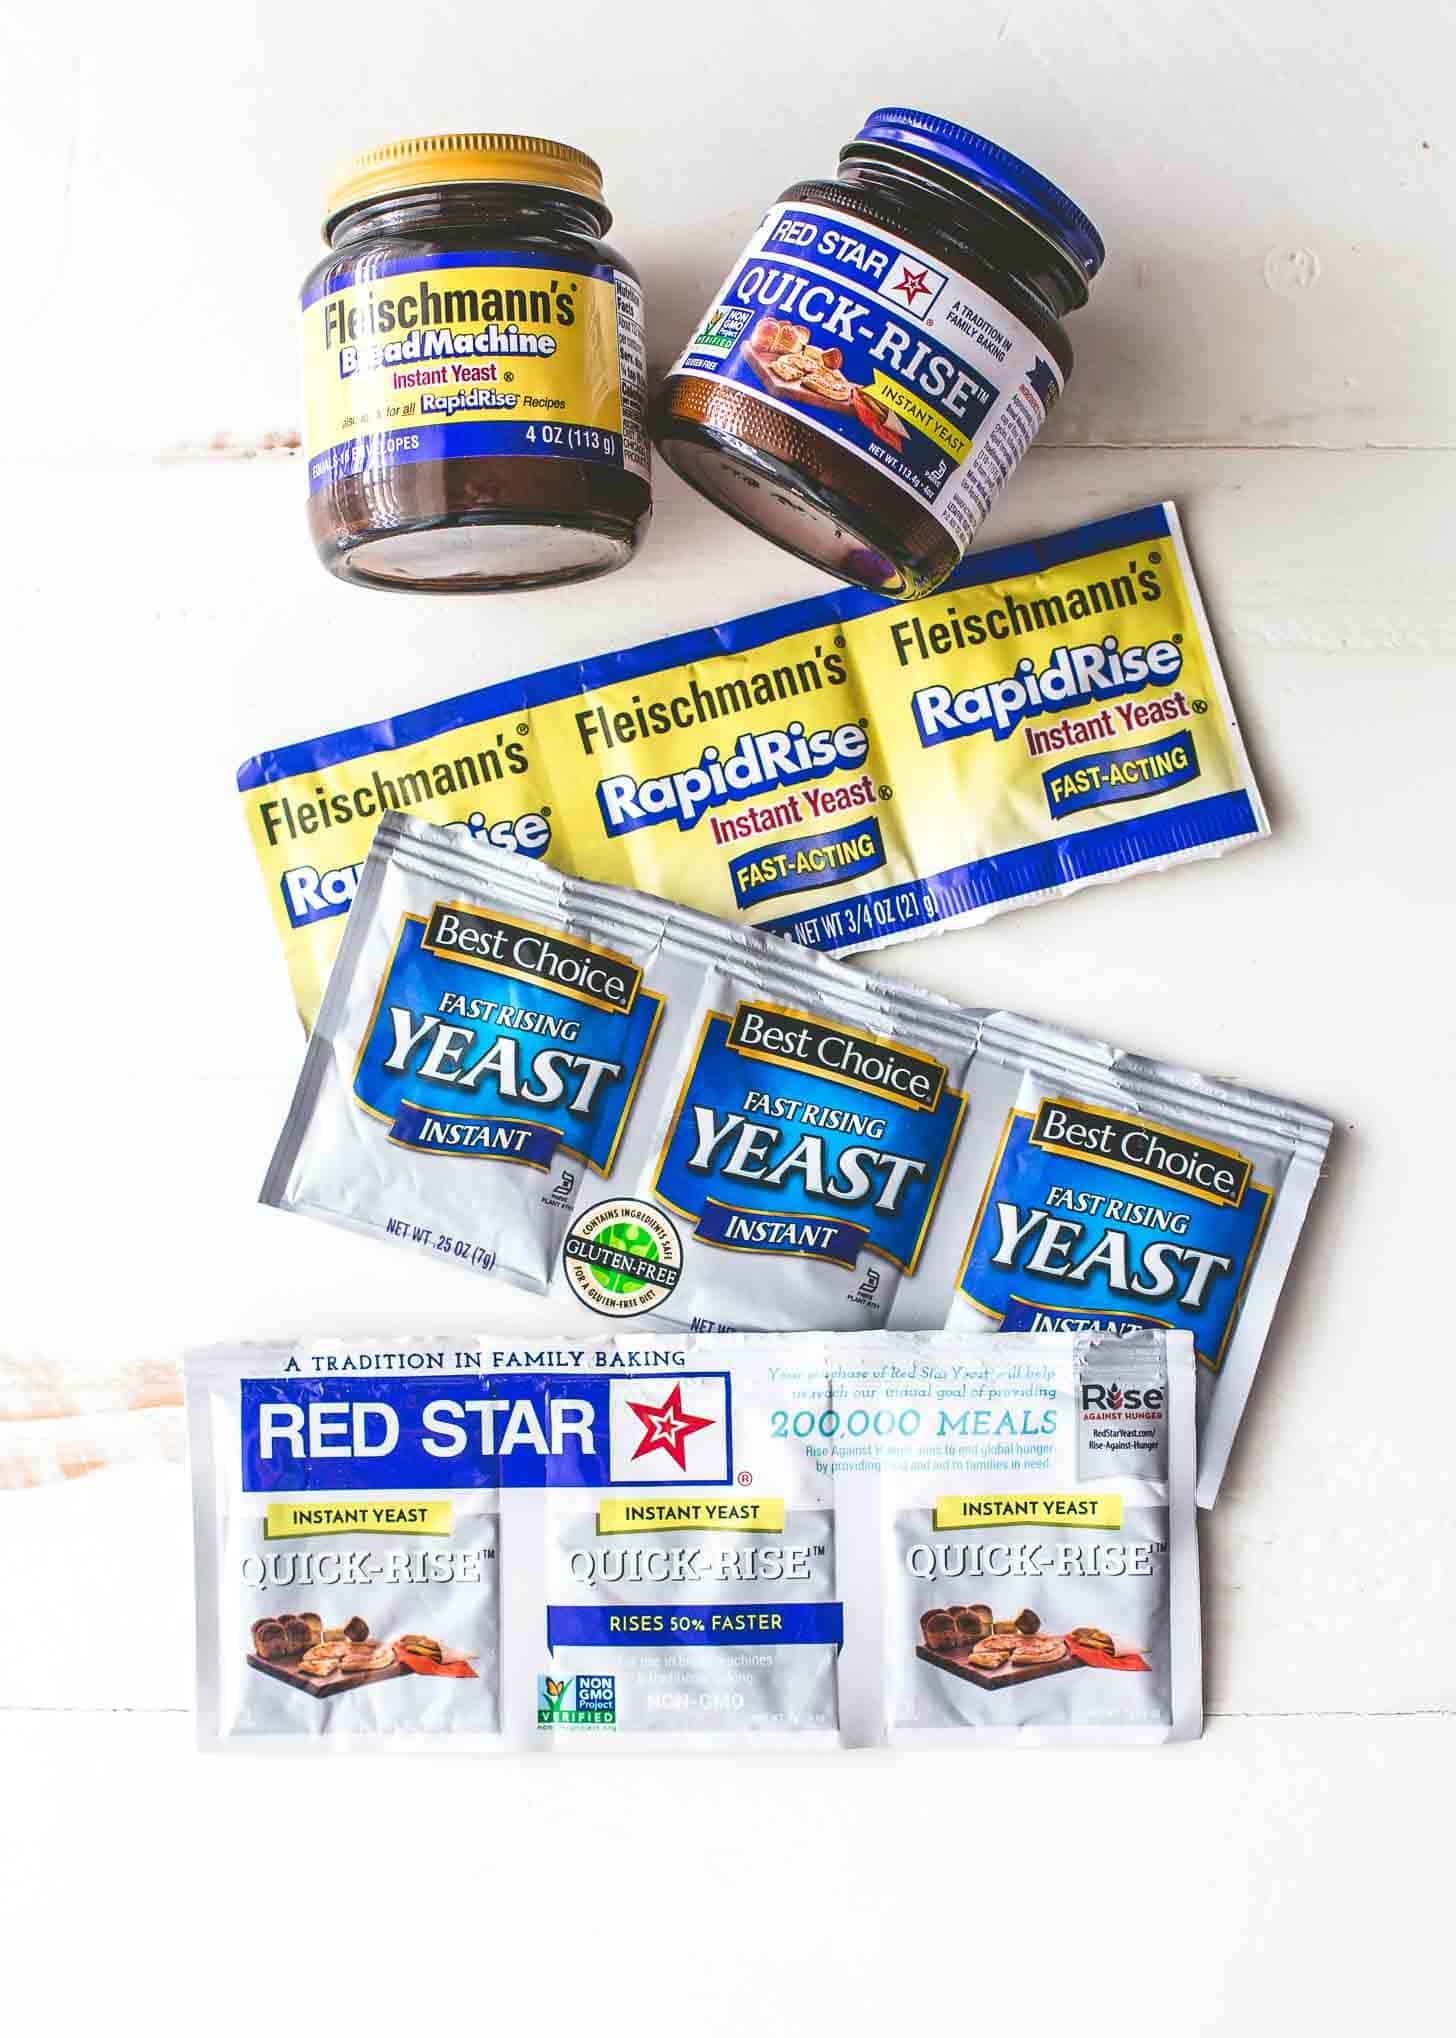
- Instant or “fast-acting” yeast – Instant yeast is easy to use. If the dough isn’t rising, the yeast could be expired. Always check the yeast package before using.
- Sugar – A bit of sugar helps to activate the yeast.
- Unsalted Butter – Soften the butter to room temperature so that it easily integrates into the dough.
- Kosher Salt – To bring the flavors together.
- All-Purpose Flour – All-purpose flour is all you need in this easy crescent roll recipe.
For topping:
- Unsalted Butter – Use melted, unsalted butter to give freshly baked crescent rolls a glossy finish, and a delicious taste.
- Sea Salt Flakes – Maldon is my go-to for flaked salt.
Crescent rolls vs croissants
Crescent rolls and croissants share the same half-moon shape, but they are actually pretty different. The main difference between the two comes down to how they are made. Croissants are made by using lamination, which is the process of rolling butter into layers of dough to form a super flakey texture. Lamination is also what makes croissants a pastry, rather than a soft, doughy bread like crescent rolls.
How to Store Them
If you happen to have leftovers (though this is rare at my house), store them in a sealed container at room temperature. They will keep for 3 to 4 days.
How to Freeze Them
The trick to freezing these rolls is to freeze them on a baking sheet first. Once they are frozen, transfer to a plastic bag and return to the freezer. When you’re ready to serve, defrost at room temperature for 30 minutes prior to baking.
Recipe Tips
- Use a thermometer to check the water temperature before adding it to the yeast. If the water is over 117 degrees F/47 degrees C, it will kill the yeast.
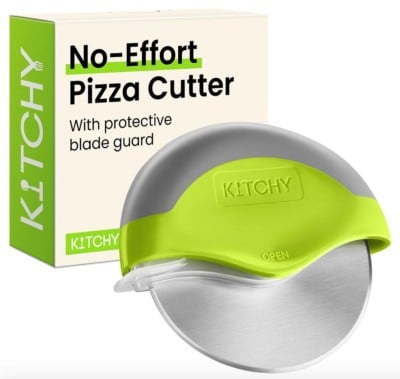
- Cut the dough with a pizza cutter for uniform triangle pieces.
Want to mix it up? Try these variations
- Make them sweet – Cinnamon sugar crescent rolls make breakfast or brunch a little sweeter. Before shaping the dough into rolls, sprinkle them with cinnamon and sugar for a tasty treat.
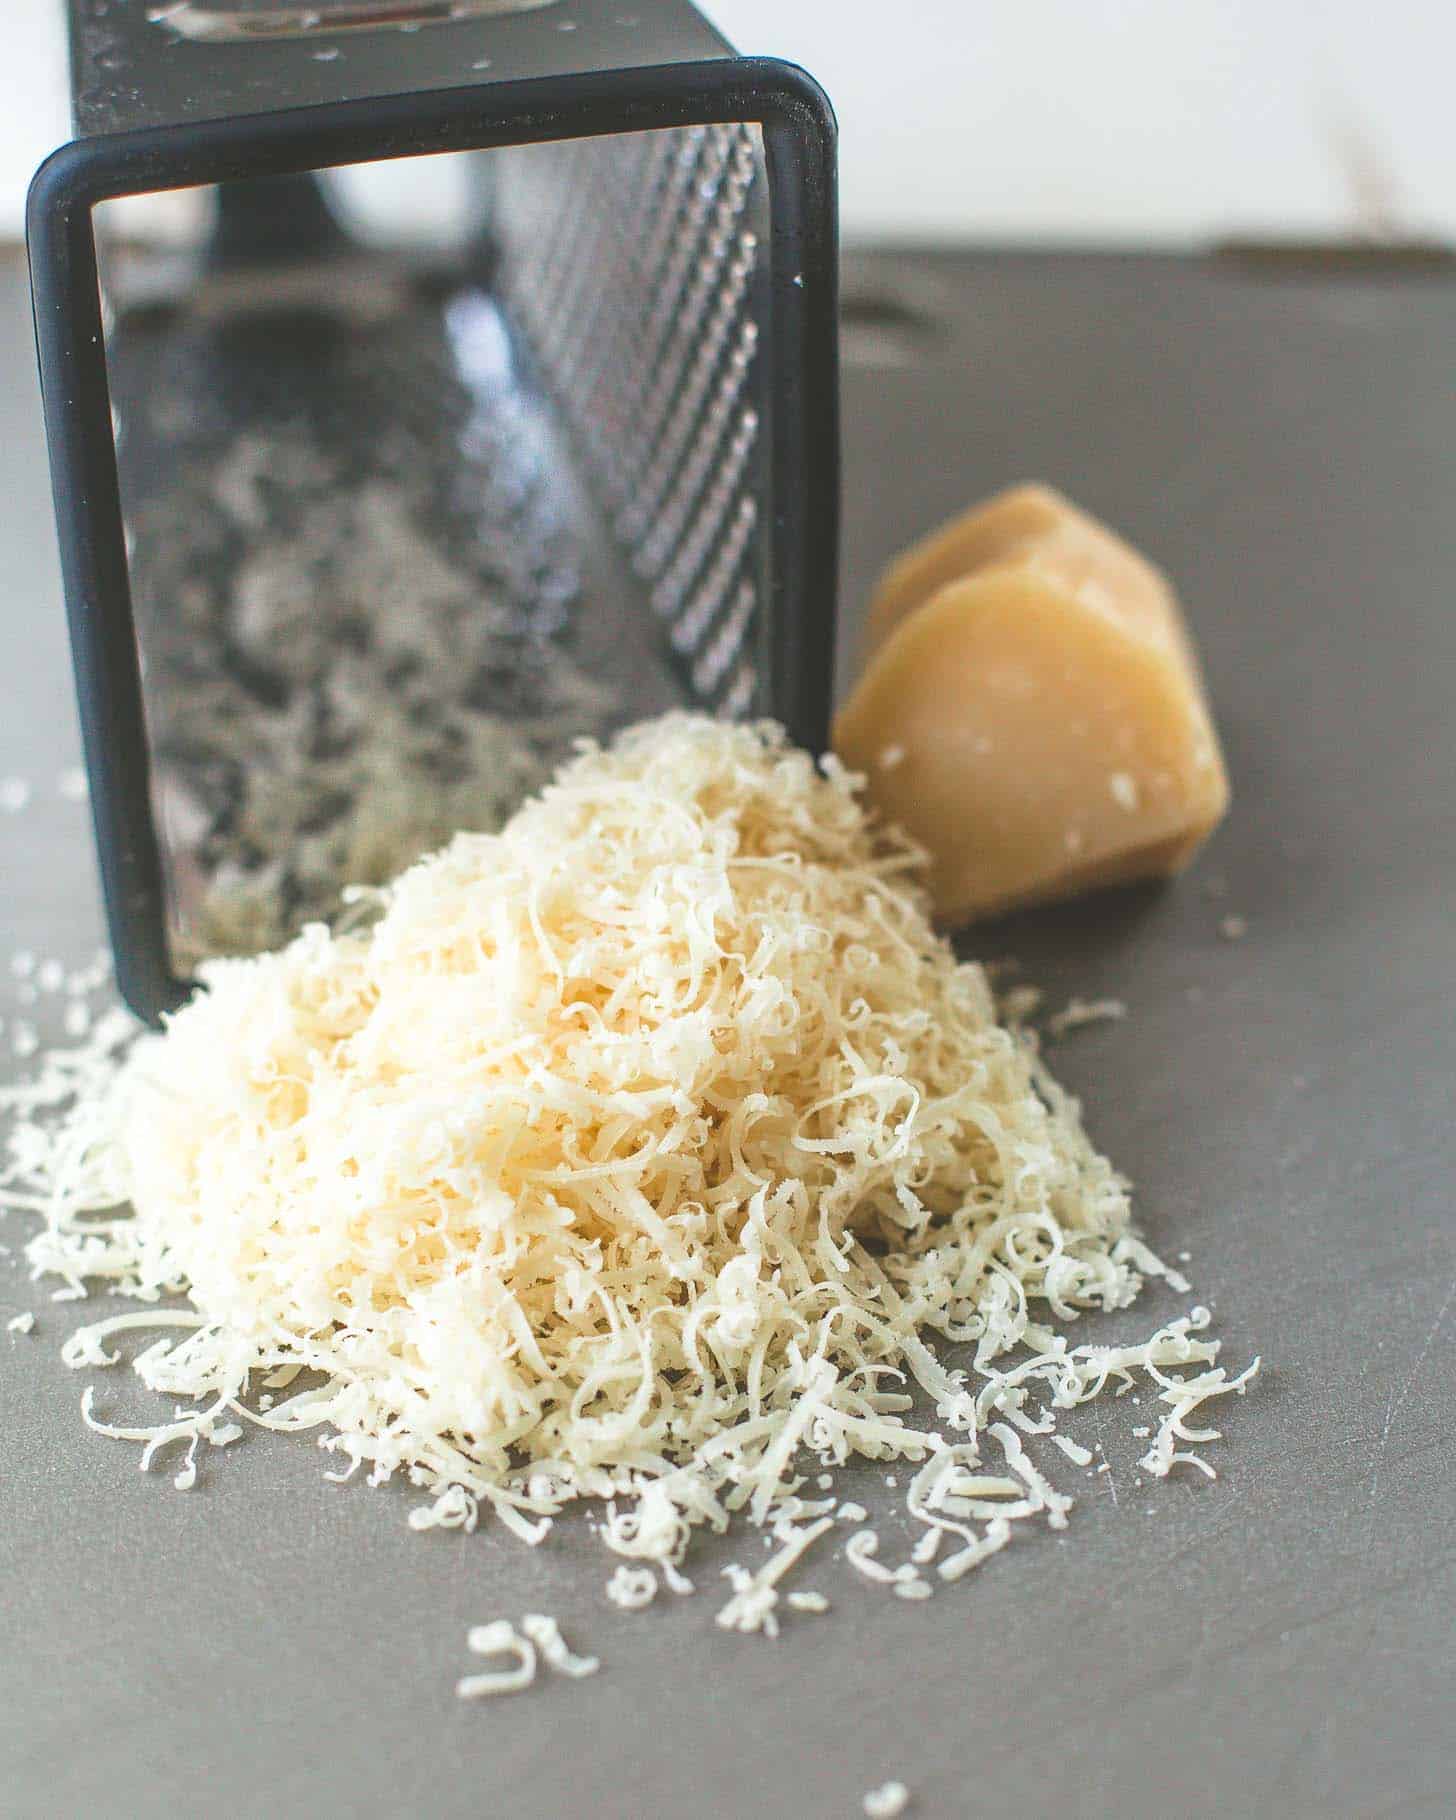
- Add cheese – For extra savoriness, add homemade or store-bought Italian seasoning, garlic or onion salt, and Parmesan, Pecorino Romano, or Asiago cheese.
FAQs
Short answer – everything! I really love these with a simple soup and / or salad. They also class up a dinner of roast chicken or pot roast, or any hearty dinner that includes a sauce or gravy. Homemade crescent rolls also go great with special occasion meals like Thanksgiving, Christmas, or a New Year’s Day meals. Planning a weekend brunch? The rolls’ pull-apart shape makes them perfect with jams and jellies too.
More Easy Bread Recipes
Favorite Tools

Pin this now to save it for later
Pin It Now
Homemade Crescent Rolls Recipe
Equipment
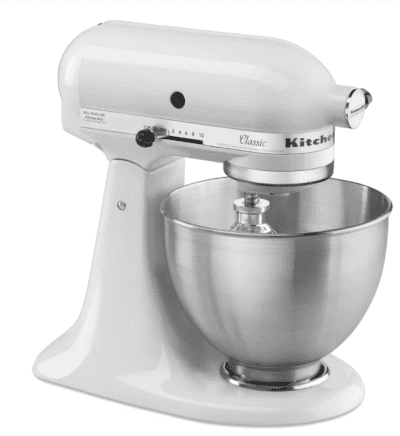
- Stand Mixer
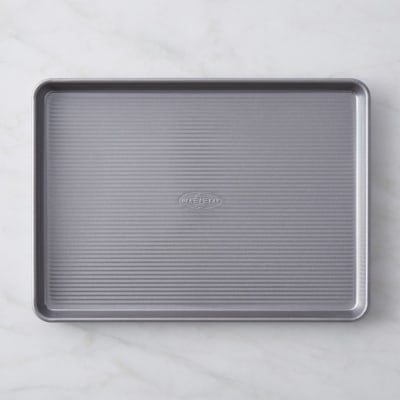
- Half Sheet Pan
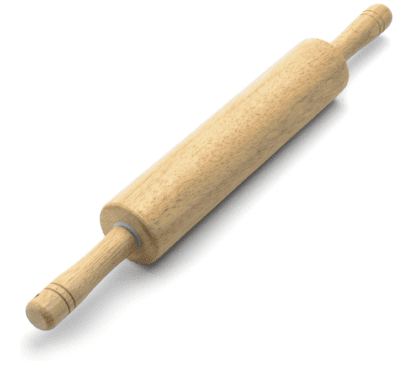
- Rolling Pin
- Sharp Knife or Pizza Cutter
Ingredients
- 1 1/2 cups warm water (110 degrees F/45 degrees C)
- 1 tablespoon instant or "fast-acting" yeast
- 2 tablespoons sugar
- 2 tablespoons unsalted butter, softened to room temperature
- 1 teaspoon kosher salt
- 4 cups all-purpose flour (500 grams)
For topping:
- 3 tablespoons unsalted butter, melted (40 grams)
- 1 teaspoon sea salt flakes, like Maldon
Instructions
- In the bowl of a stand mixer fitted with the dough hook, stir together the warm water, yeast, and sugar. Let stand until creamy, about 5 minutes.
- To the yeast mixture, add the butter, salt, and 2 cups of the flour. Mix on low-speed until the ingredients begin to come together. Still on low-speed, add 1 cup of the remaining flour and mix for 1 minute. Add the remaining 1 cup flour. Mix on low-speed until the final addition of flour is fully incorporated into the dough. Increase the speed to medium and knead until the dough is smooth and elastic, about 5 minutes. (Resist the urge to add additional flour unless the dough still refuses to come together after a couple minutes of kneading. The dough will still be slightly sticky, but you will know it is ready when it starts to make a slapping sound as it hits the sides of the bowl.) Remove the bowl from the mixer and cover it with a dish towel. Let the dough rise in a warm place until doubled in volume, about 20 minutes.
- Turn the dough out onto a lightly floured surface and form it into an even ball. Using a serrated knife, cut the dough into quarters. Roll each ball of dough into a rough circle about 15 inches in diameter (no need to be too precise). Using a pizza cutter or knife, slice the circle into 8 even triangles. Starting at the widest end, gently roll each triangle up into a crescent shape. Place 1-inch apart on two lightly greased baking sheets.
- Set the baking sheets aside and let the rolls rise while your oven is preheating to 400 degrees F (200 degrees C) – about 20 minutes.
- Lightly brush the rolls with about half of the melted butter before baking. Bake until golden brown, 13-15 minutes. Immediately after removing the rolls from the oven, brush them with the remaining melted butter and sprinkle with salt. Serve immediately.
Notes
Nutrition
Nutrition information is automatically calculated, so should only be used as an approximation.







Do you have nutritional information?
The recipe sound delicious
Can wait to try them
!
Hi Linda – we haven’t run nutritional data on this recipe yet, but I love myfitnesspal and usually use it to cross check the nutritional data in our recipes.
I only needed 3 cups of flour. I tried 4 cups of flour like the recipe said, and my dough was way too dry.
This seemed to be WAY too much flour. Am I doing something wrong ?
Hi Meli – I don’t think so – the measurements are correct. Did your dough seem dry?
P.S. Your girls are adorbs!
My identical twin girlies are almost 13 and want to try this for our Thanksgiving meal. We’re about to give it a go. Thanks for sharing so we can have this time baking together! We are baking tonight to serve tomorrow. I’d prefer to serve them hot out of the oven, but won’t be able to do that (no oven space available).. So, we’re going to try warming them up in foil in the barbeque. Hope that works!
Kat ♥
Hi Kat! I hope this worked out for you and your girls – I think it would – I’ve had great success re-warming these rolls (in fact we made them yesterday too!). It’s so fun to think about my girls being old enough to cook with me in a few years!
My identical twin girls are 10 and we have started being able to cook and bake a lot. Twin girls are sooooo fun! We are going to make these tomorrow. Though I will be using a gluten free flour mix as they have celiac, I’m confident they will be great!
Manya – this is so fun to hear! The girls are so much fun now, but I look forward to the days ahead when they are closer to the age of your girls and we can do so many new things together. I hope these turned out! I’ve never experimented with gluten free flours, but I know they’re getting better all the time. Hope all three of you enjoyed them!
OMG I can’t thank you enough for this recipes. I had tried make the rolls 4 or 5 times already and they turn out wonderful. I can’t wait to try out the crescent rolls. Thank you again for the great recipe. PLZ let me know if you have anymore recipe that you would like to share.
These look great! I’ve got a couple of thanksgiving dinners this weekend, so this recipe is perfectly timed. And I’ve been really craving yeasty breads lately, so without question I’m going to make them! Thanks Jess!
If freezing, would I let them rise the second time and then stick in freezer? Or would they rise during the thawing time prior to baking? Thanks
Lynae – I always freeze them before the second rise. They won’t rise much during thawing time, but they’ll get nice and puffy in the oven.
Those Rolls look very familiar LOL. Your Great Grandmother would be proud.
Dad
I wondered if you would notice that! I was thinking of her the whole time I was making them.
The one hour dinner rolls are a thanksgiving staple in my house now! I can’t wait to try these!