No-Knead Sheet Pan Pizza
Published Apr 08, 2020•Updated Jul 23, 2024
This post may contain affiliate links. Please read our disclosure policy.
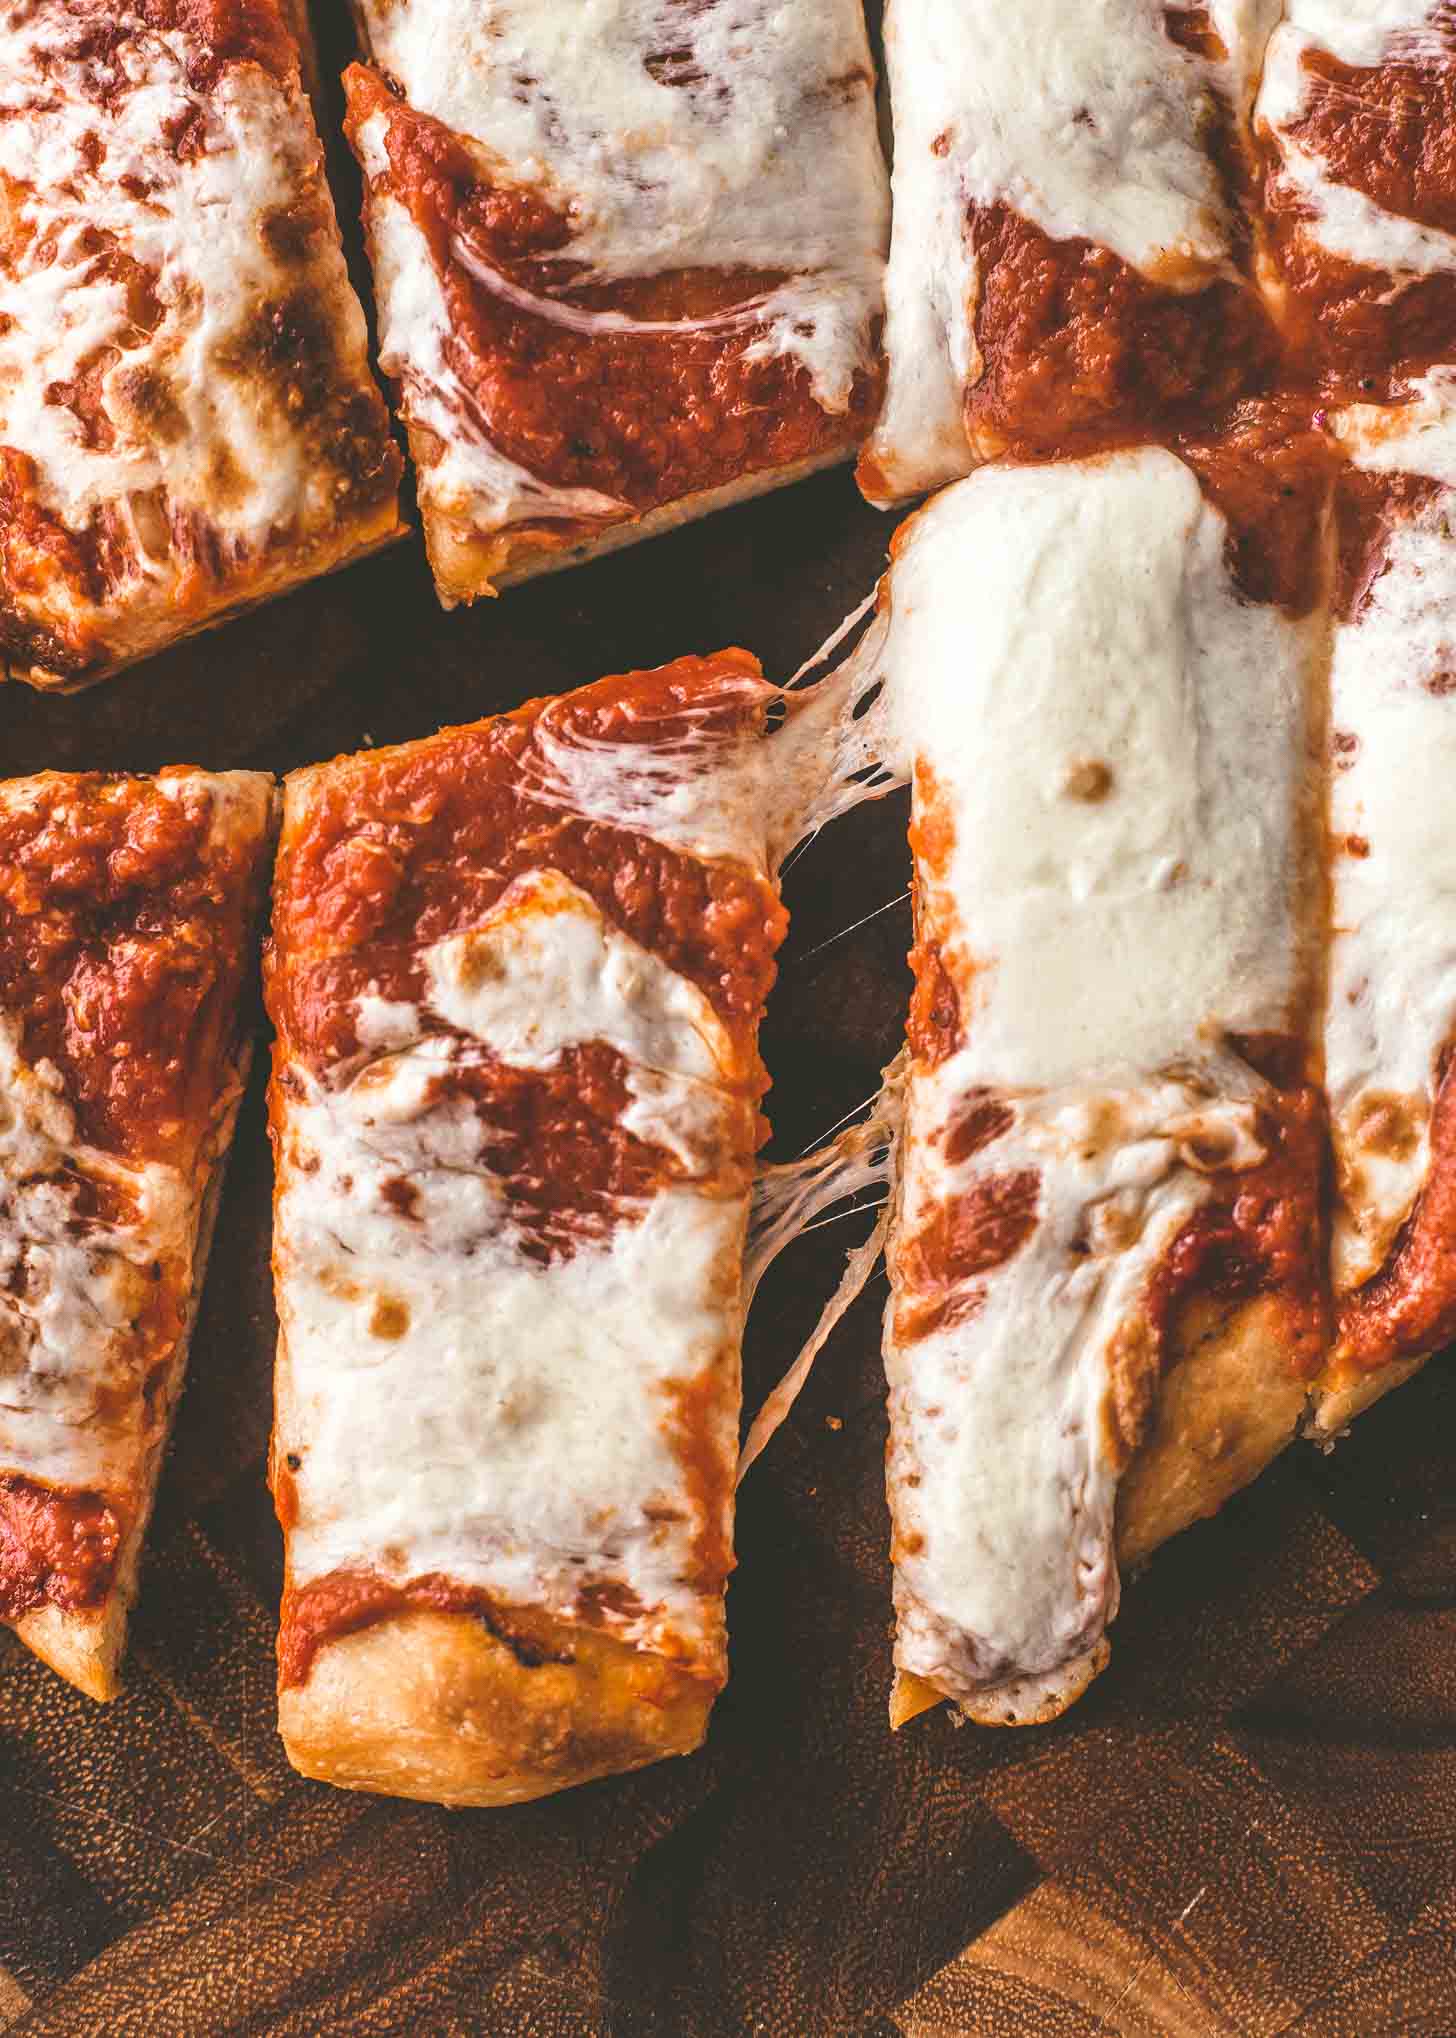
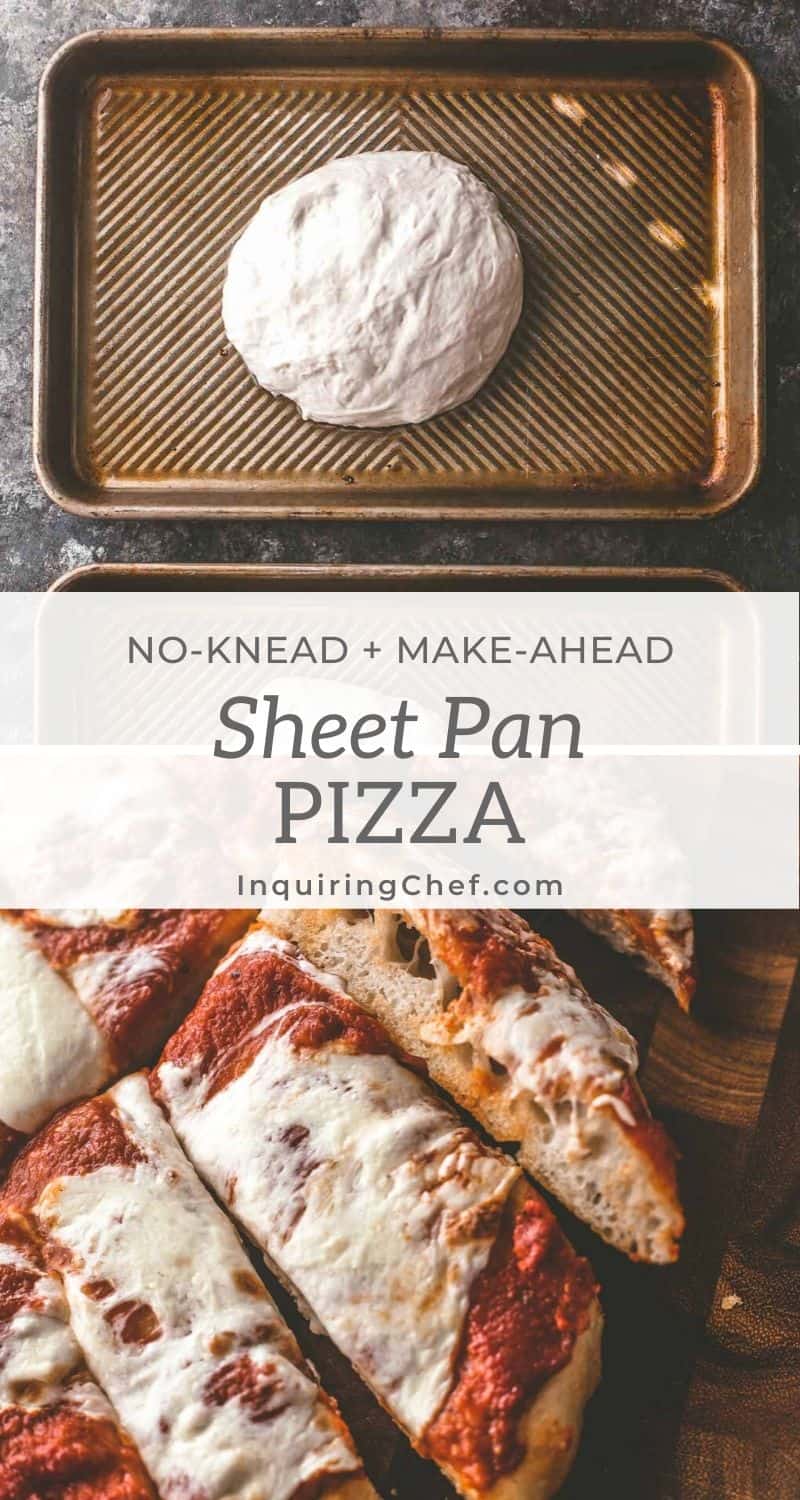
No-Knead Sheet Pan Pizza uses a simple no-knead dough and sheet pans (any size will work) coated with olive oil for a crisp, golden crust and soft, chewy interior. Add your favorite toppings!
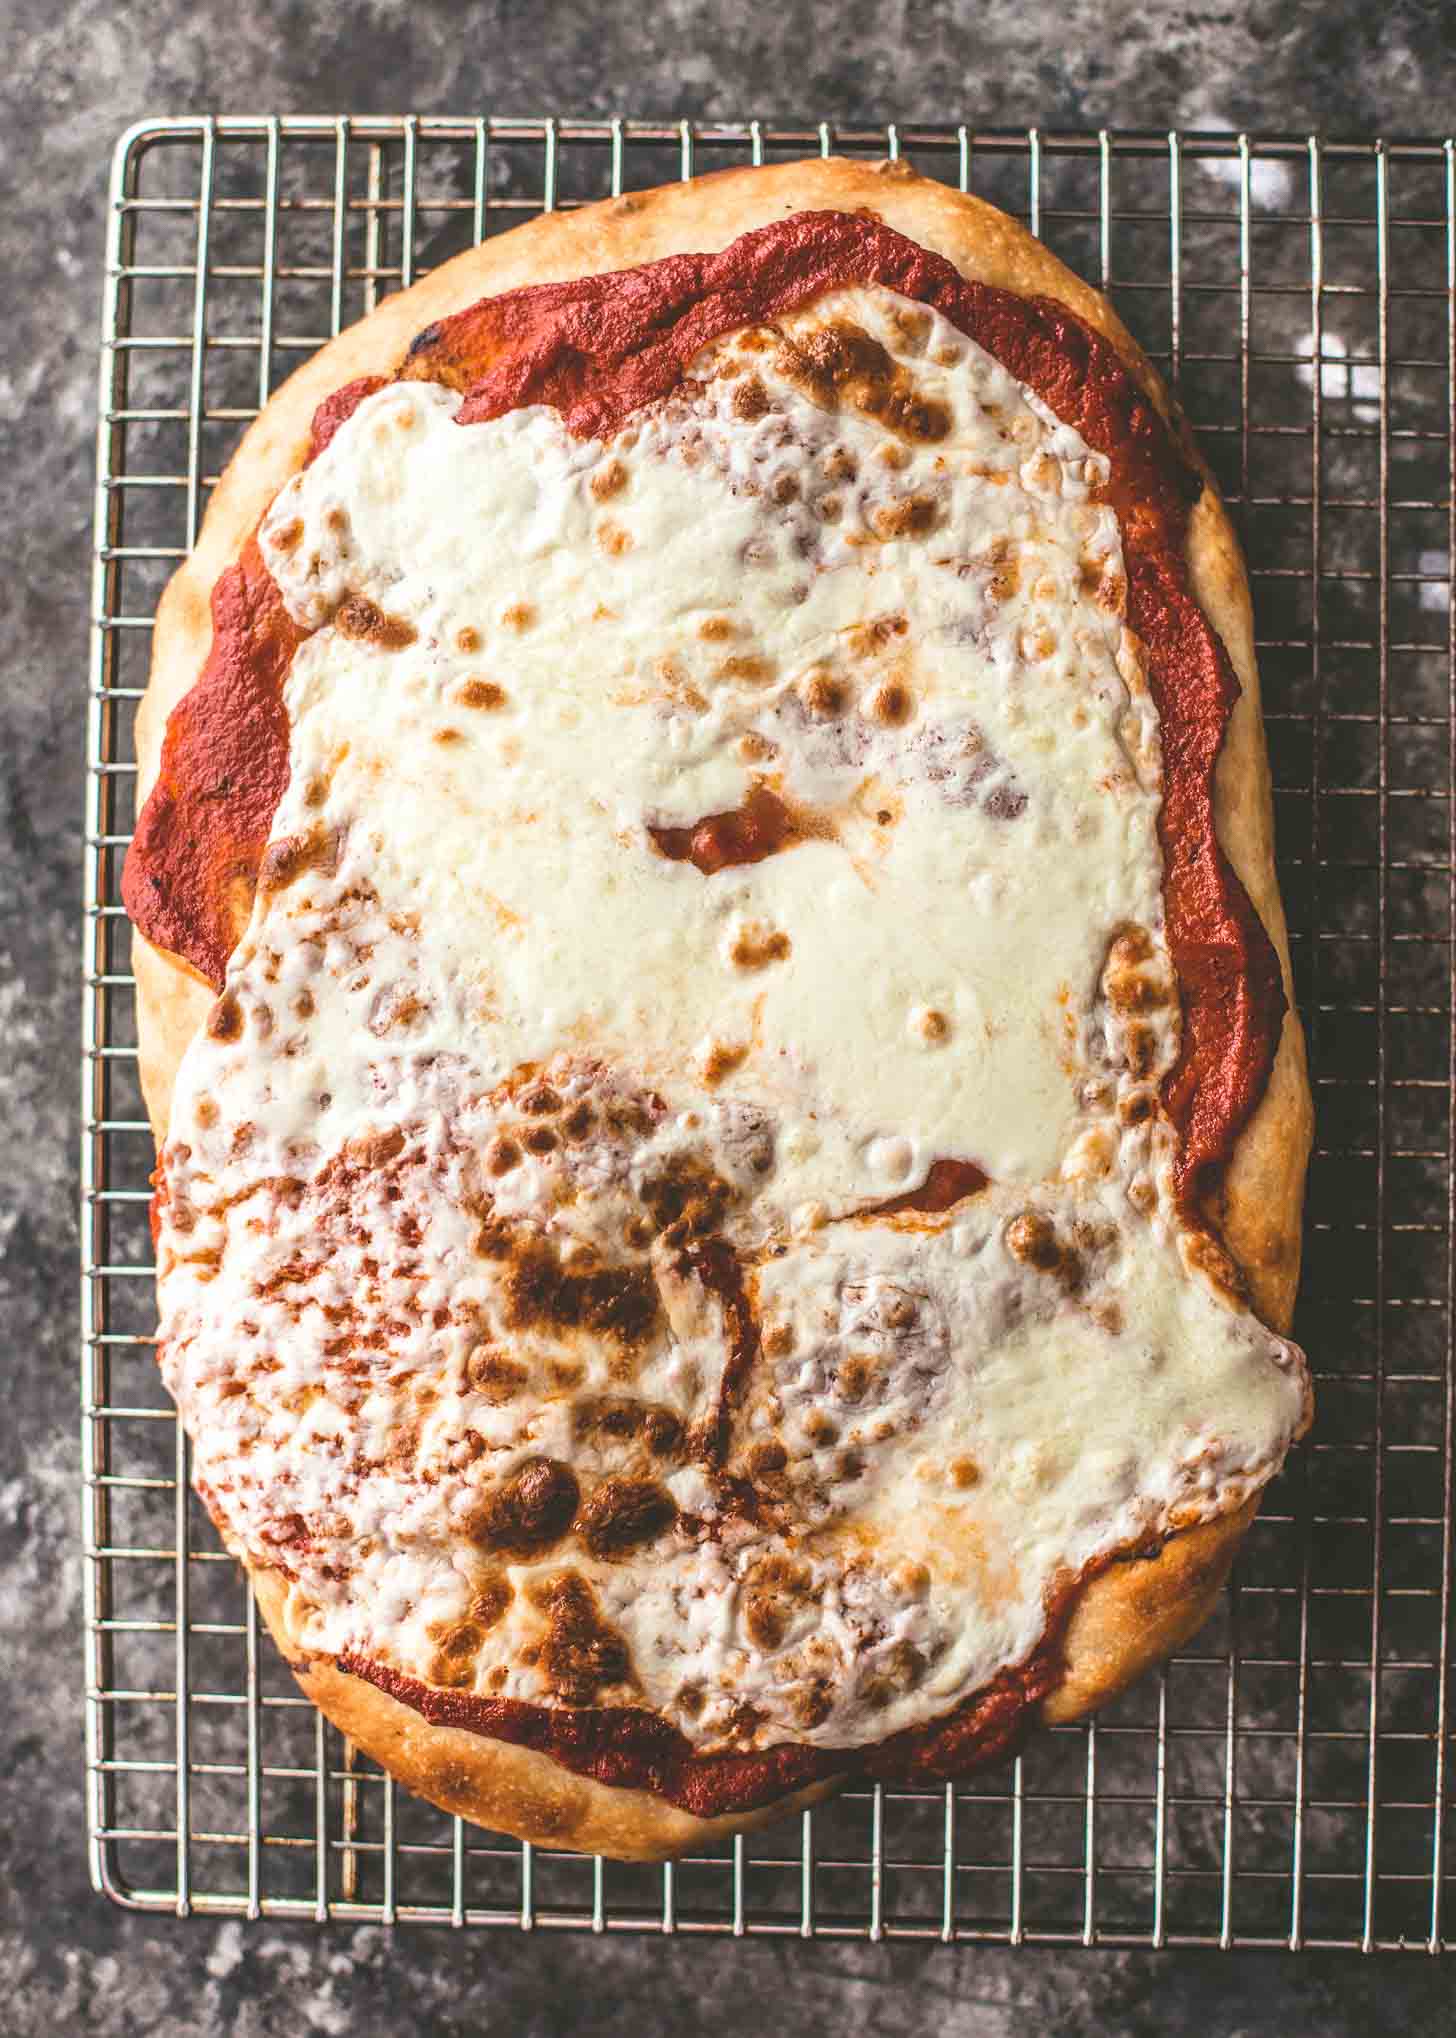
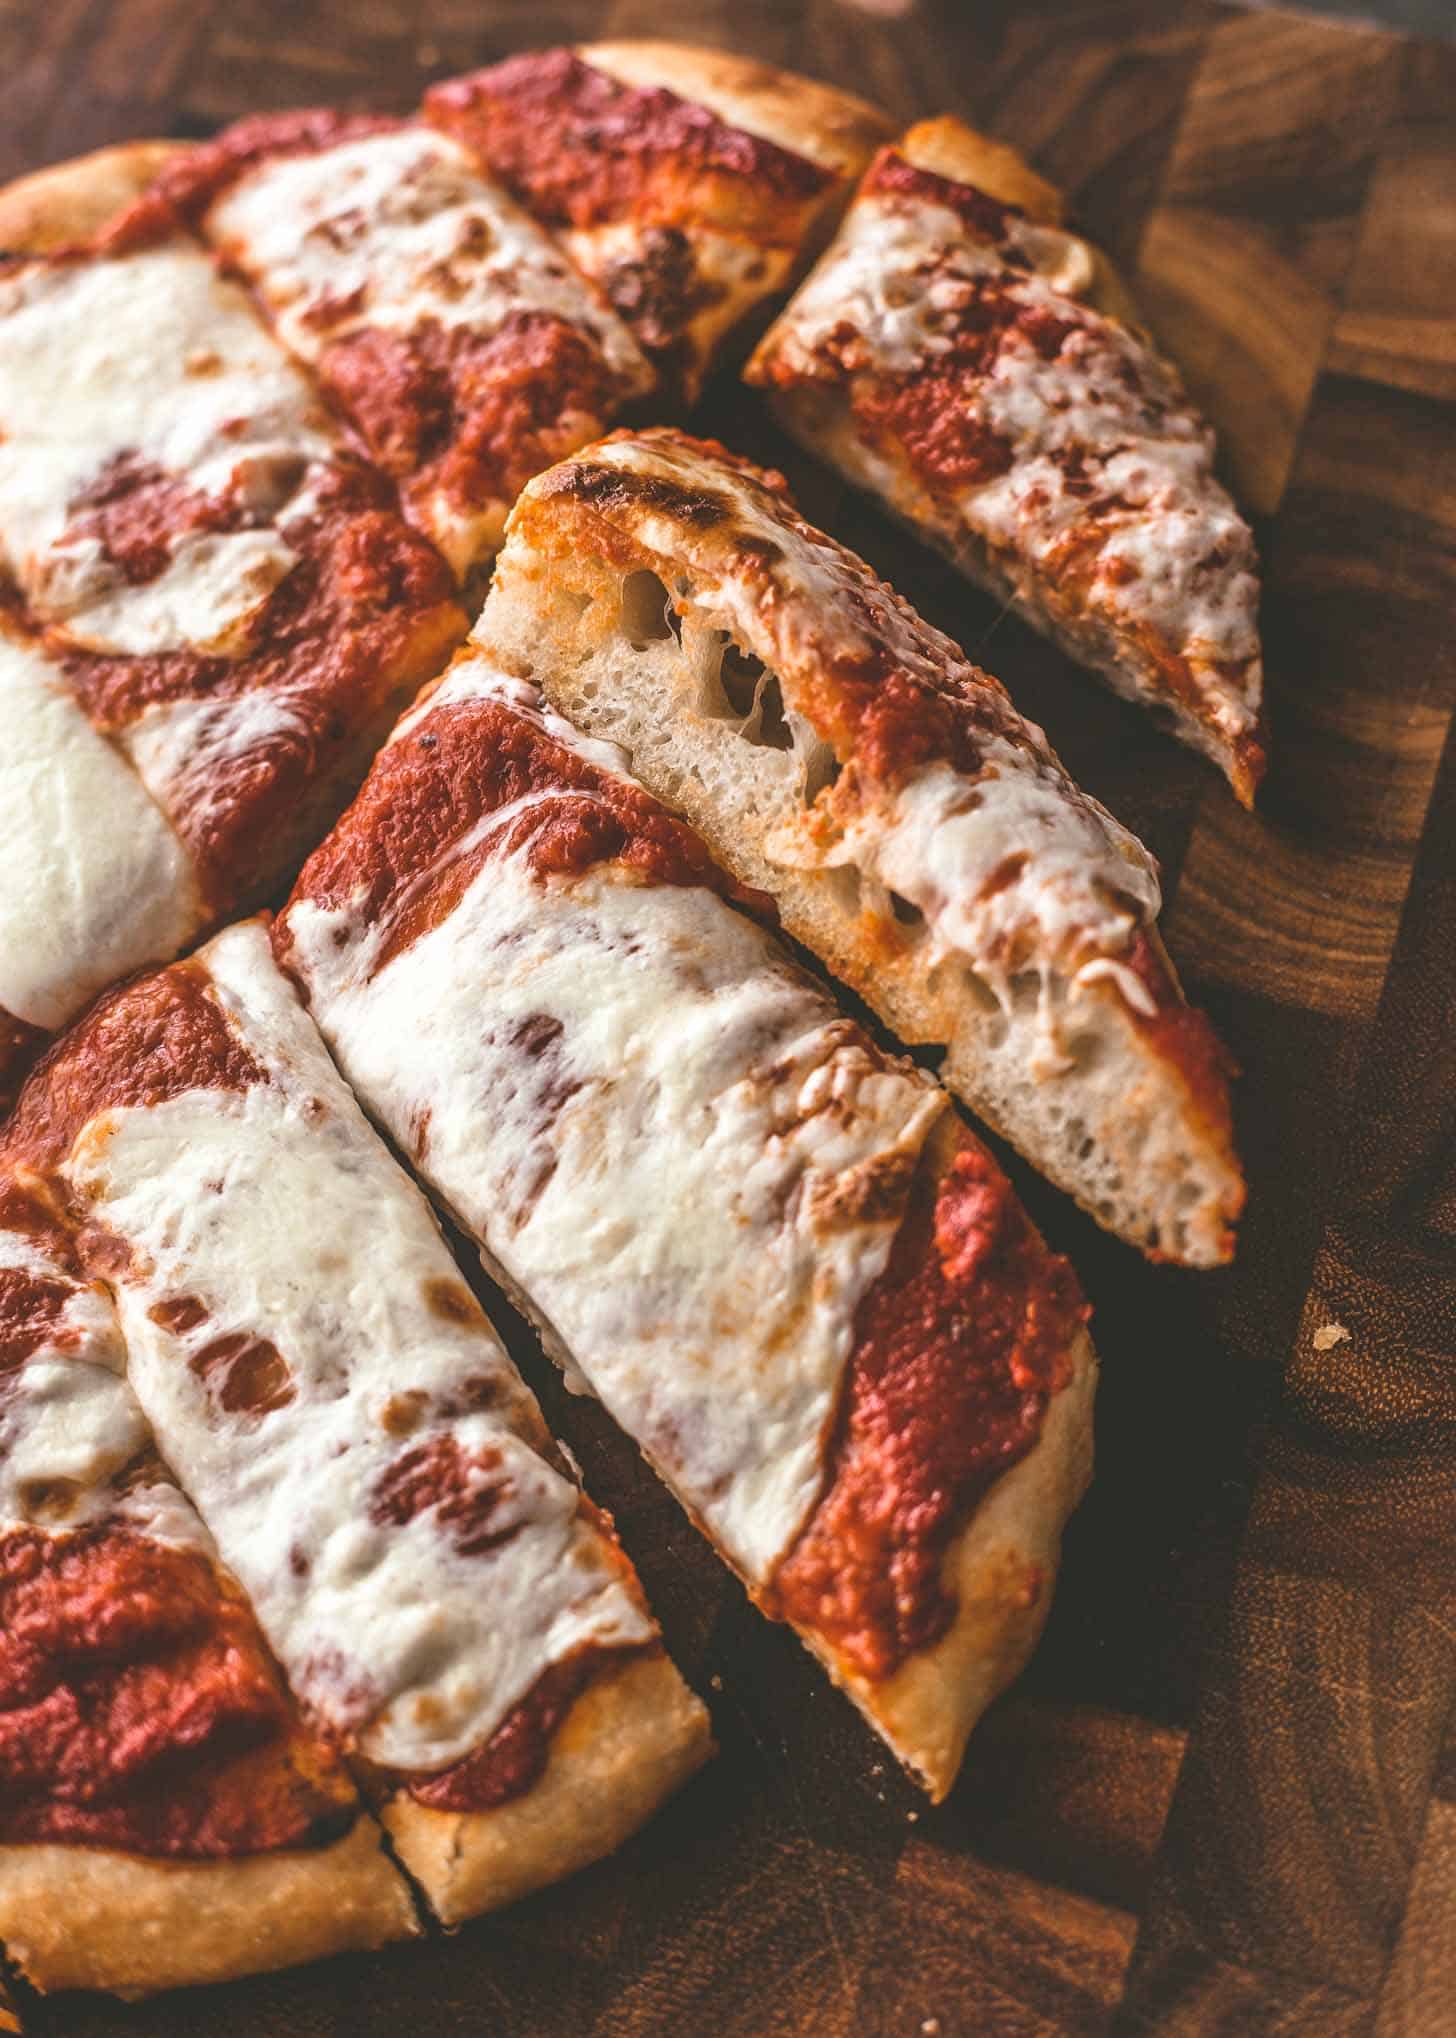
Homemade sheet pan pizza is my favorite no-fuss way to do pizza night at home. It all starts with the basic recipe for my No-Knead Everyday Bread. There’s no pizza peel or pizza stone needed and the pizzas come out with crisp / chewy crusts. Perhaps best of all, this dough gets even better over time. Make it early in the week and let it age in the refrigerator for up to 5 days! (See below for more on making the dough ahead.)
With everyone at home all day now, I’ve been encouraging my soon-to-be six-year-olds to be more involved in making dinner each night. They’re almost always eager to help, though less eager when the task is roasting cauliflower and more so when the task is making pizza.
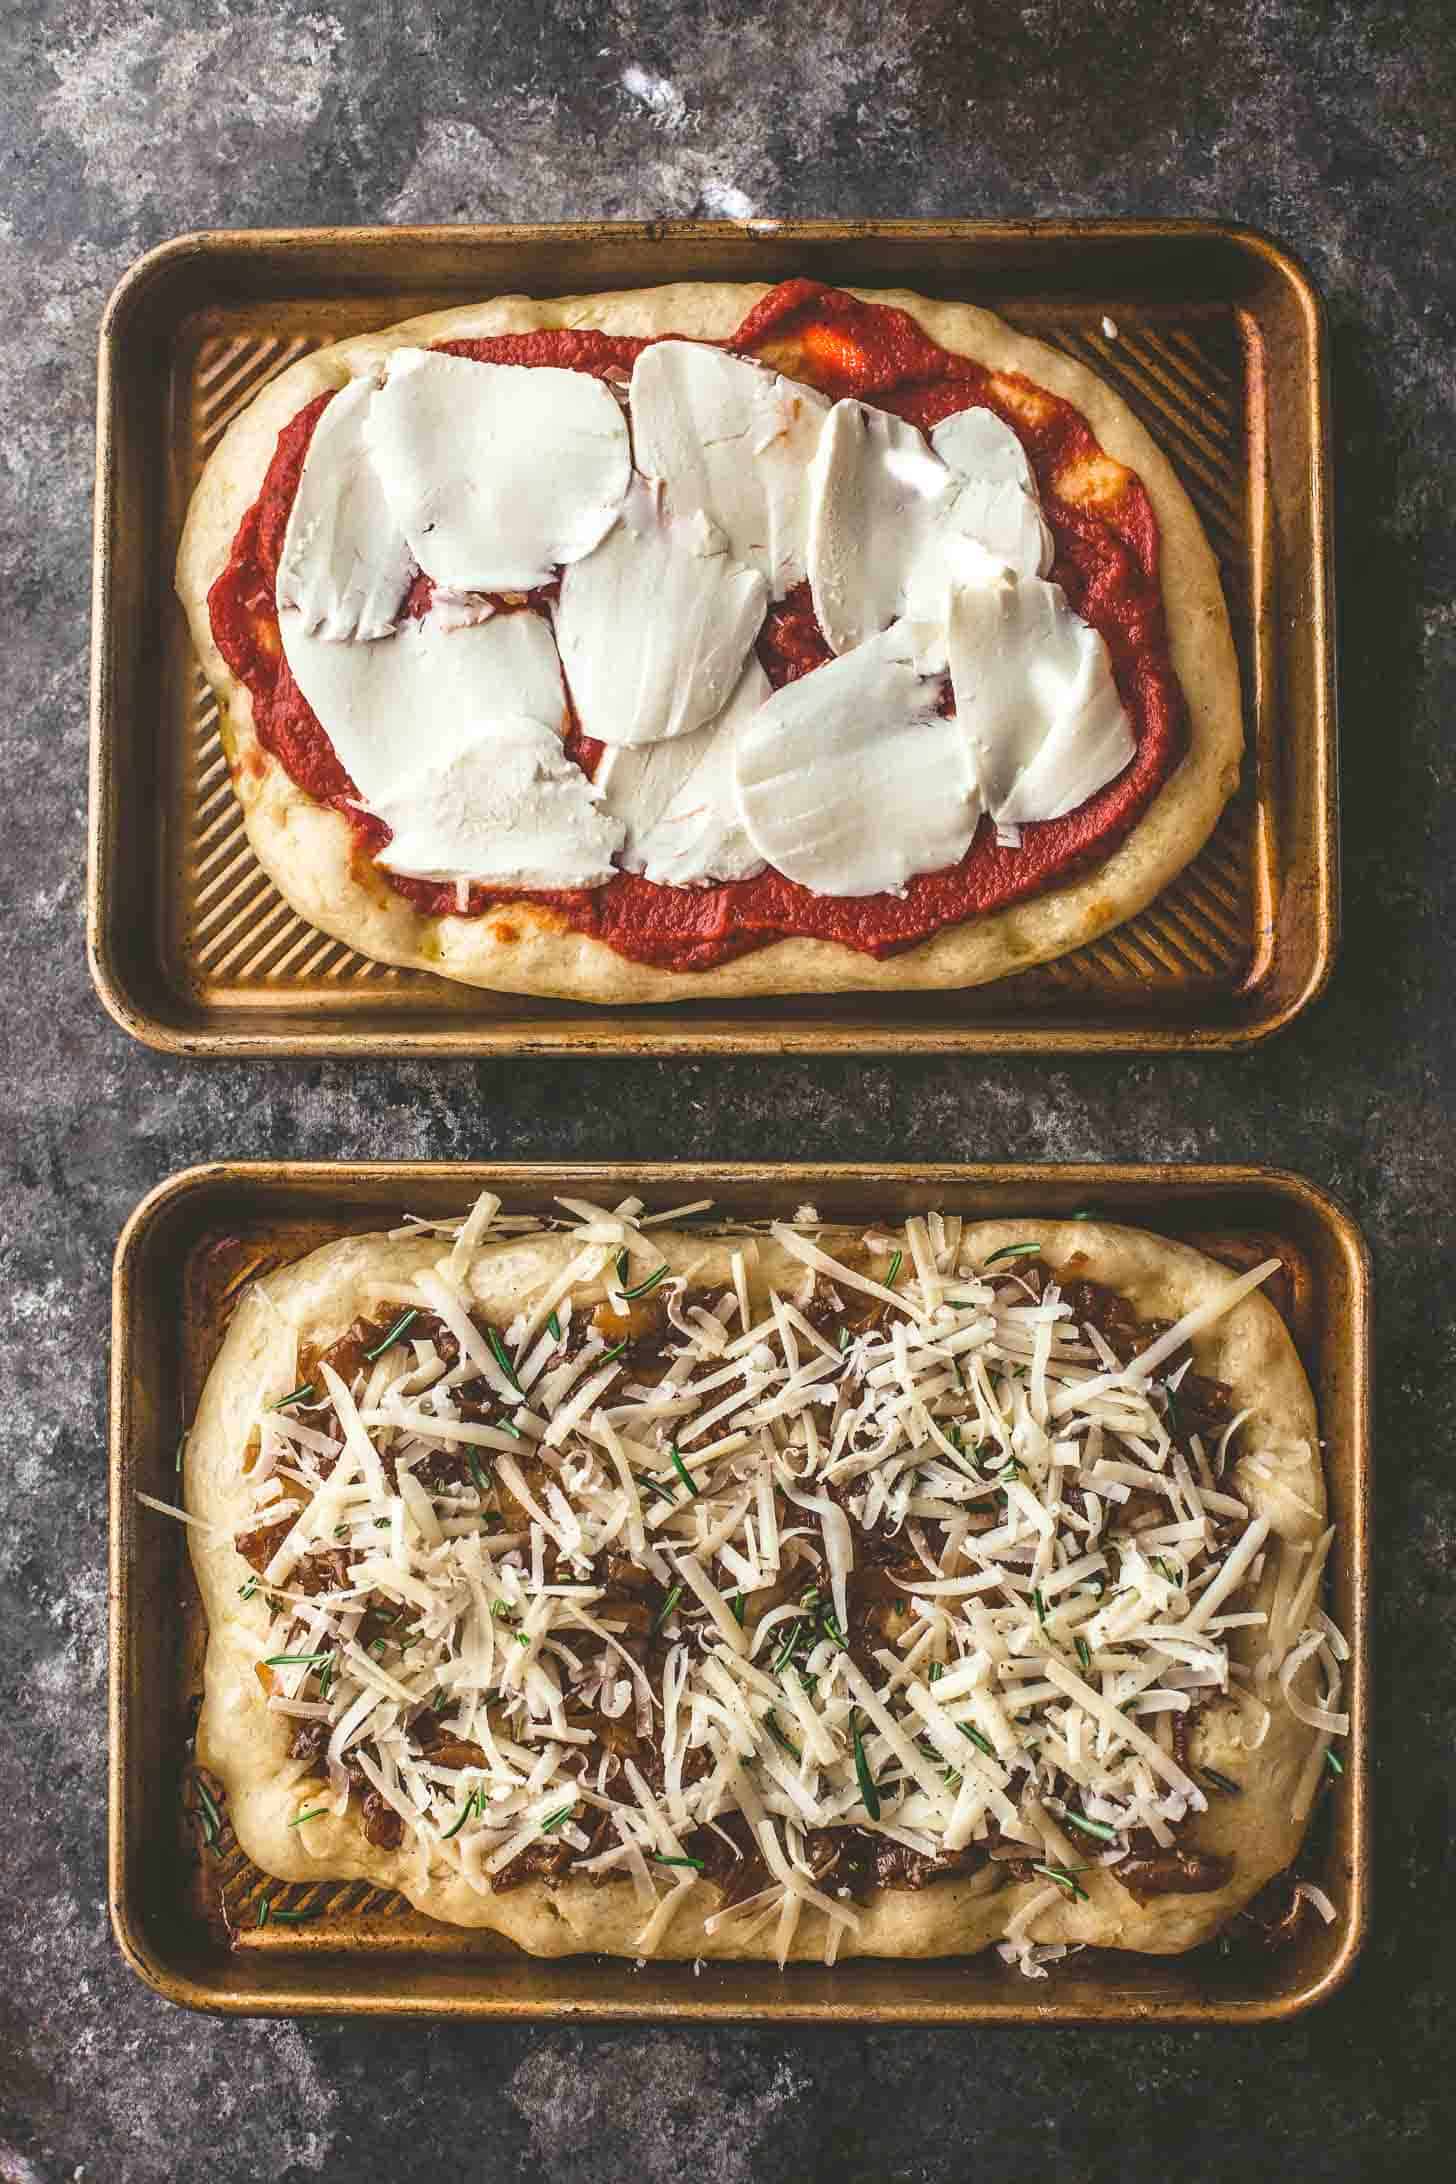
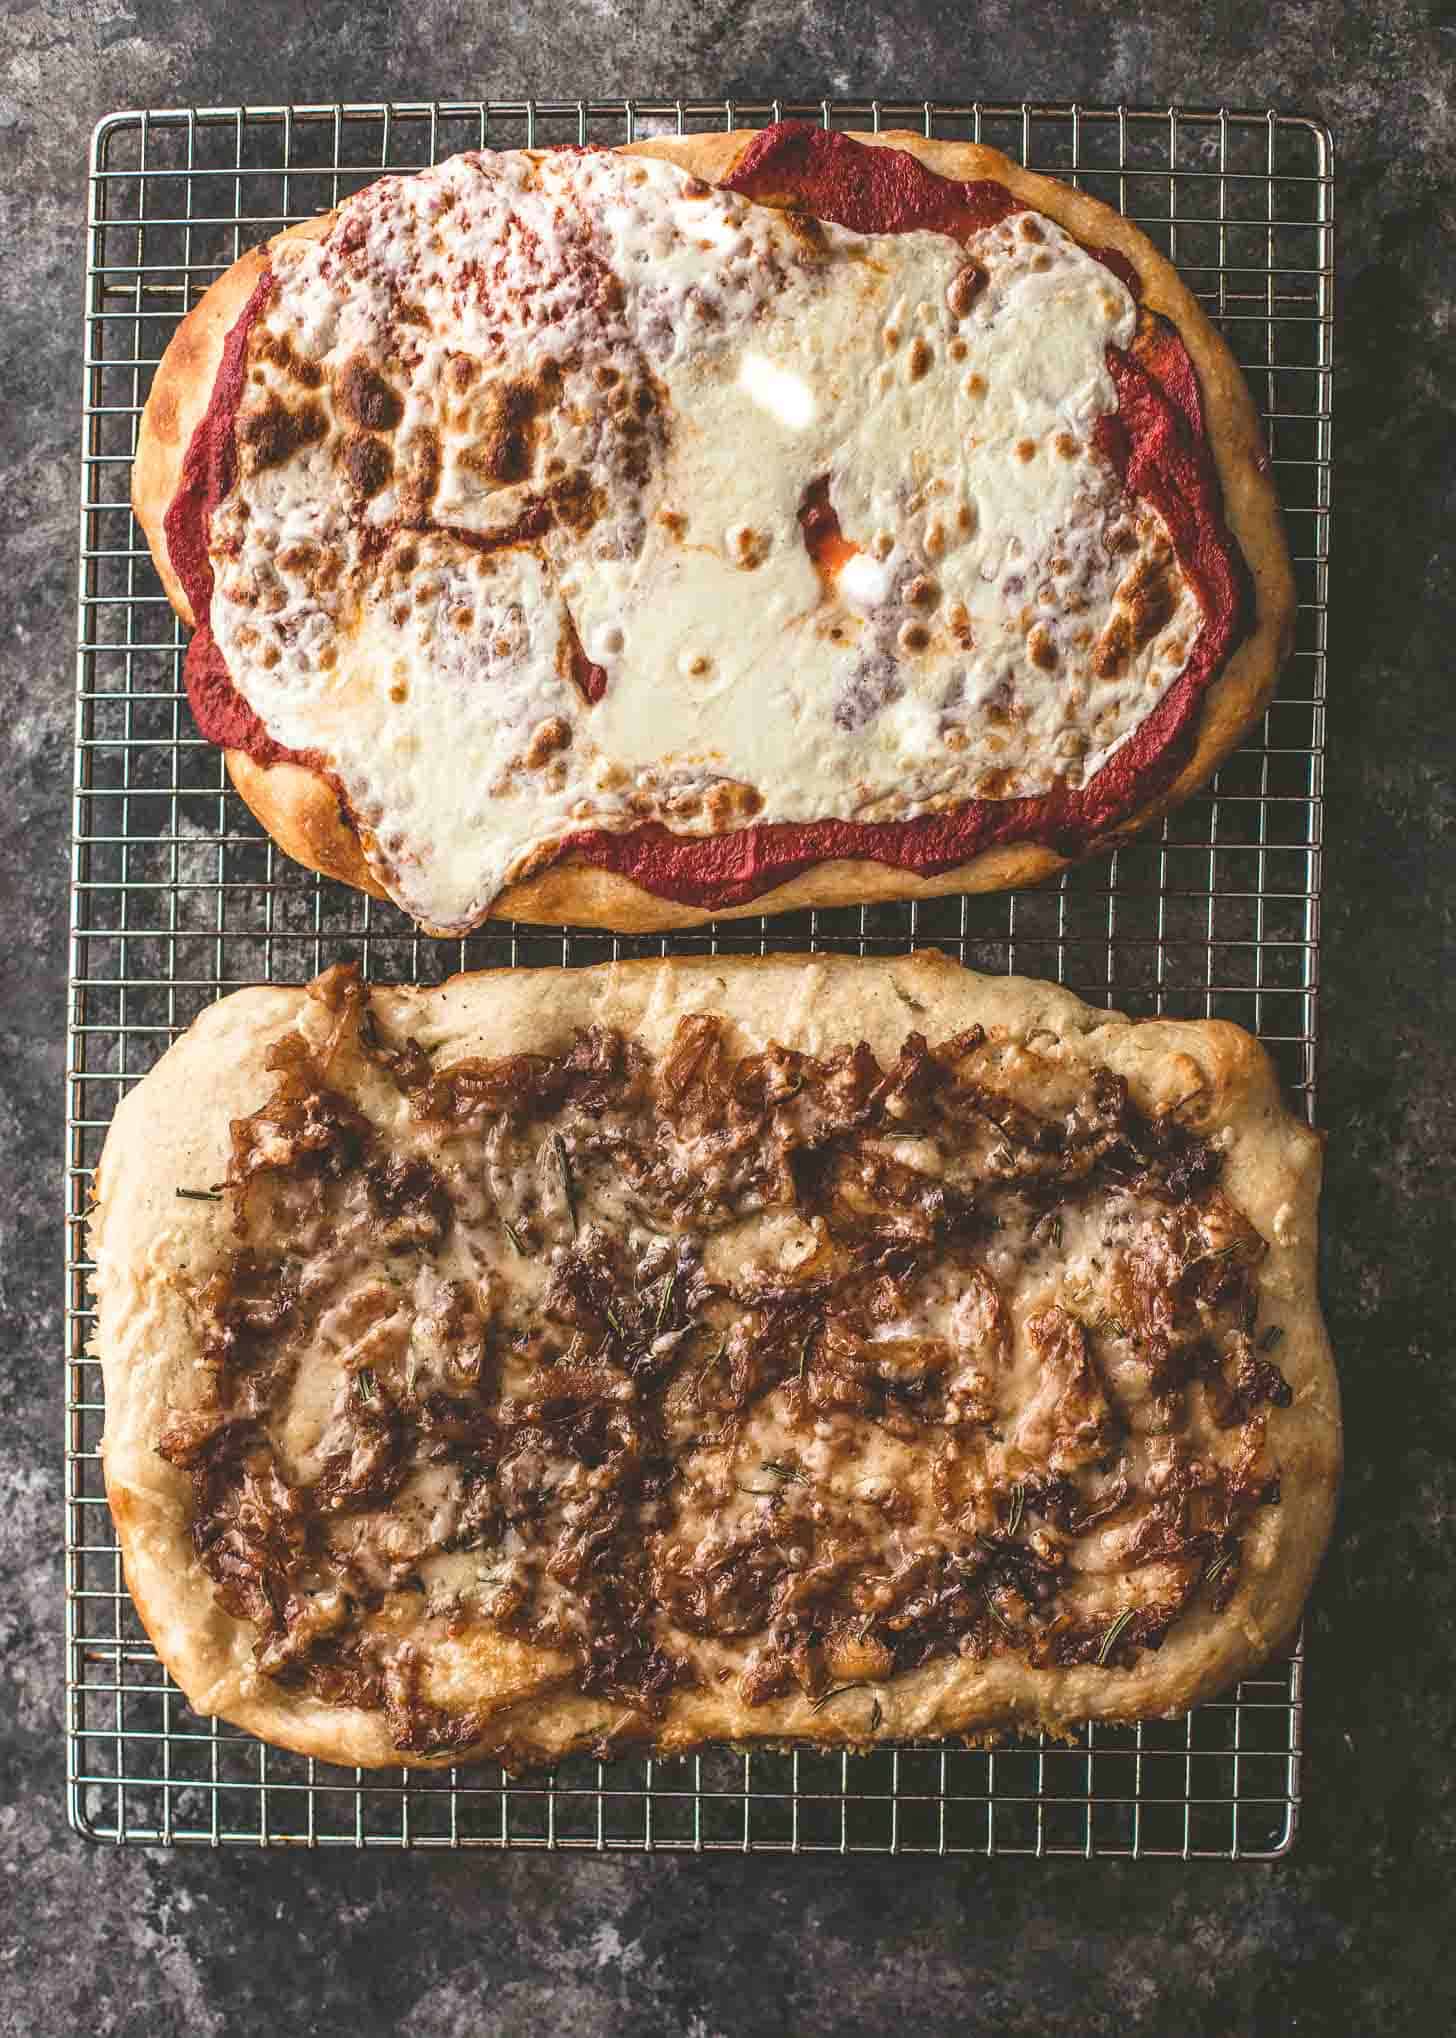
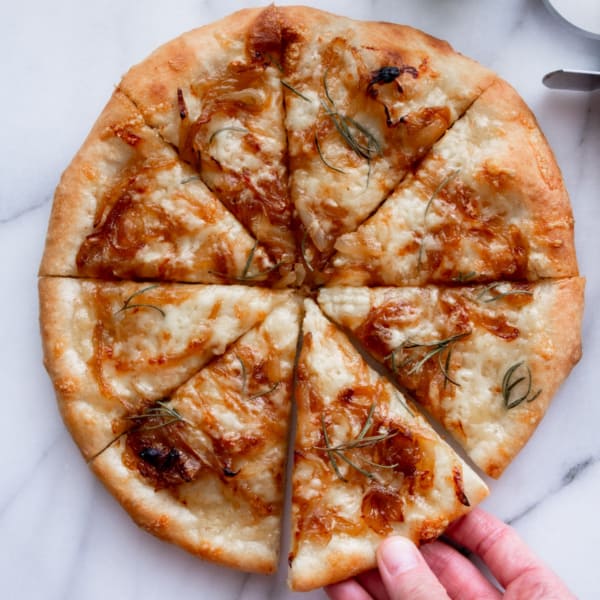
This recipe is great for our family of four. We make one pizza kids choice (marinara + mozzarella) and one pizza adults choice (in this case, caramelized onions, rosemary, and gruyere). In the end, we all eat a bit of each.
Here’s how to do your own no-knead sheet pan pizza night!
Pin this now to save it for later
Pin It NowIngredients for No-Knead Sheet Pan Pizza
- All-Purpose Flour – No special flour needed here – just regular all-purpose. Any brand is fine.
- Kosher Salt – This recipe was tested with Kosher salt (Morton’s or Diamond Brand), so use that for the right balance of saltiness. (If using table salt, reduce the amount you use by about half.)
- Sugar – Use regular granulated / white sugar. Don’t skip this – the dough needs sugar in order to rise.
- Fast-Acting or “Instant” Yeast – No-Knead Sheet Pan Pizza uses a dough that rises quickly (making it a go-to for new bread bakers or those of us who want this ready fast) and requires Fast-Acting (not “Active Dry”) yeast. See the original post for No-Knead Everyday Bread for more details on this yeast.
- Warm Water – The water should feel warm, but not too hot to touch. Check the package on the yeast for the recommended temperature range. I usually heat tap water in the microwave for about 90 seconds until it reaches about 120°F / 49°C.
- Extra Virgin Olive Oil – Use a generous amount of olive oil to brush the sheet pans and the surface of the dough as it bakes. This adds flavor and gives the dough a golden crust.
- Toppings – Add your favorite toppings to finish the pizzas! (If you want to be sure to keep the crust super crisp, take a tip from Serious Eats and use low moisture mozzarella cheese. Fresh mozzarella has more flavor but can release a lot of moisture as it cooks.)
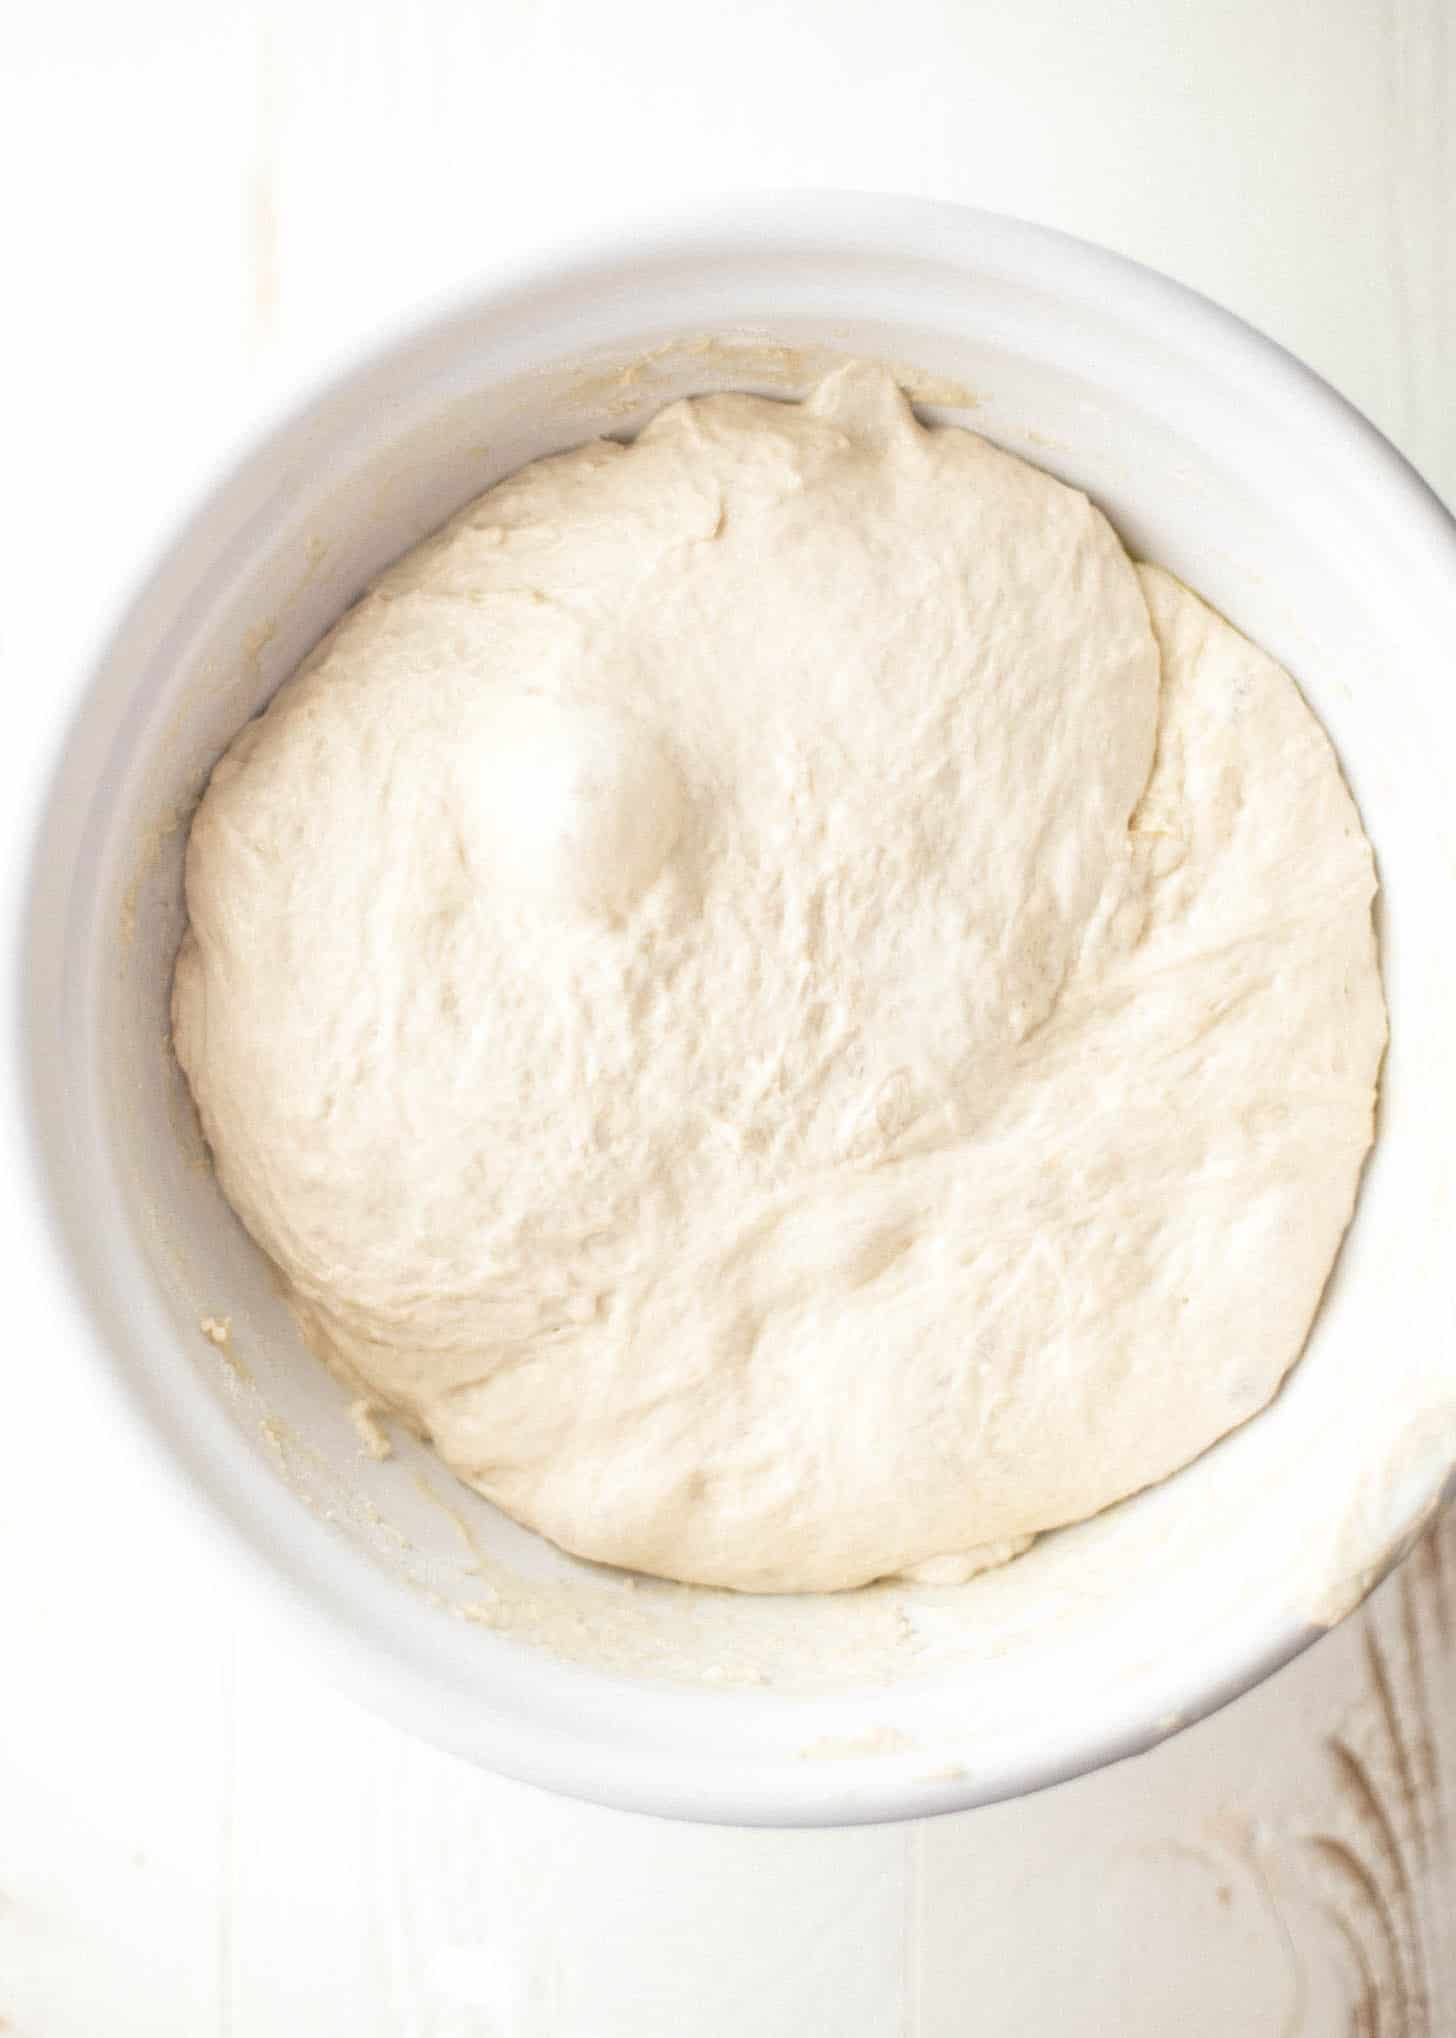
Tools for Sheet Pan Pizza
These simple pizzas require just a few tools that you already have in your kitchen.
- Large Mixing Bowl – This is the bowl in which you’ll mix the dough and let it rise. Any large bowl is fine.
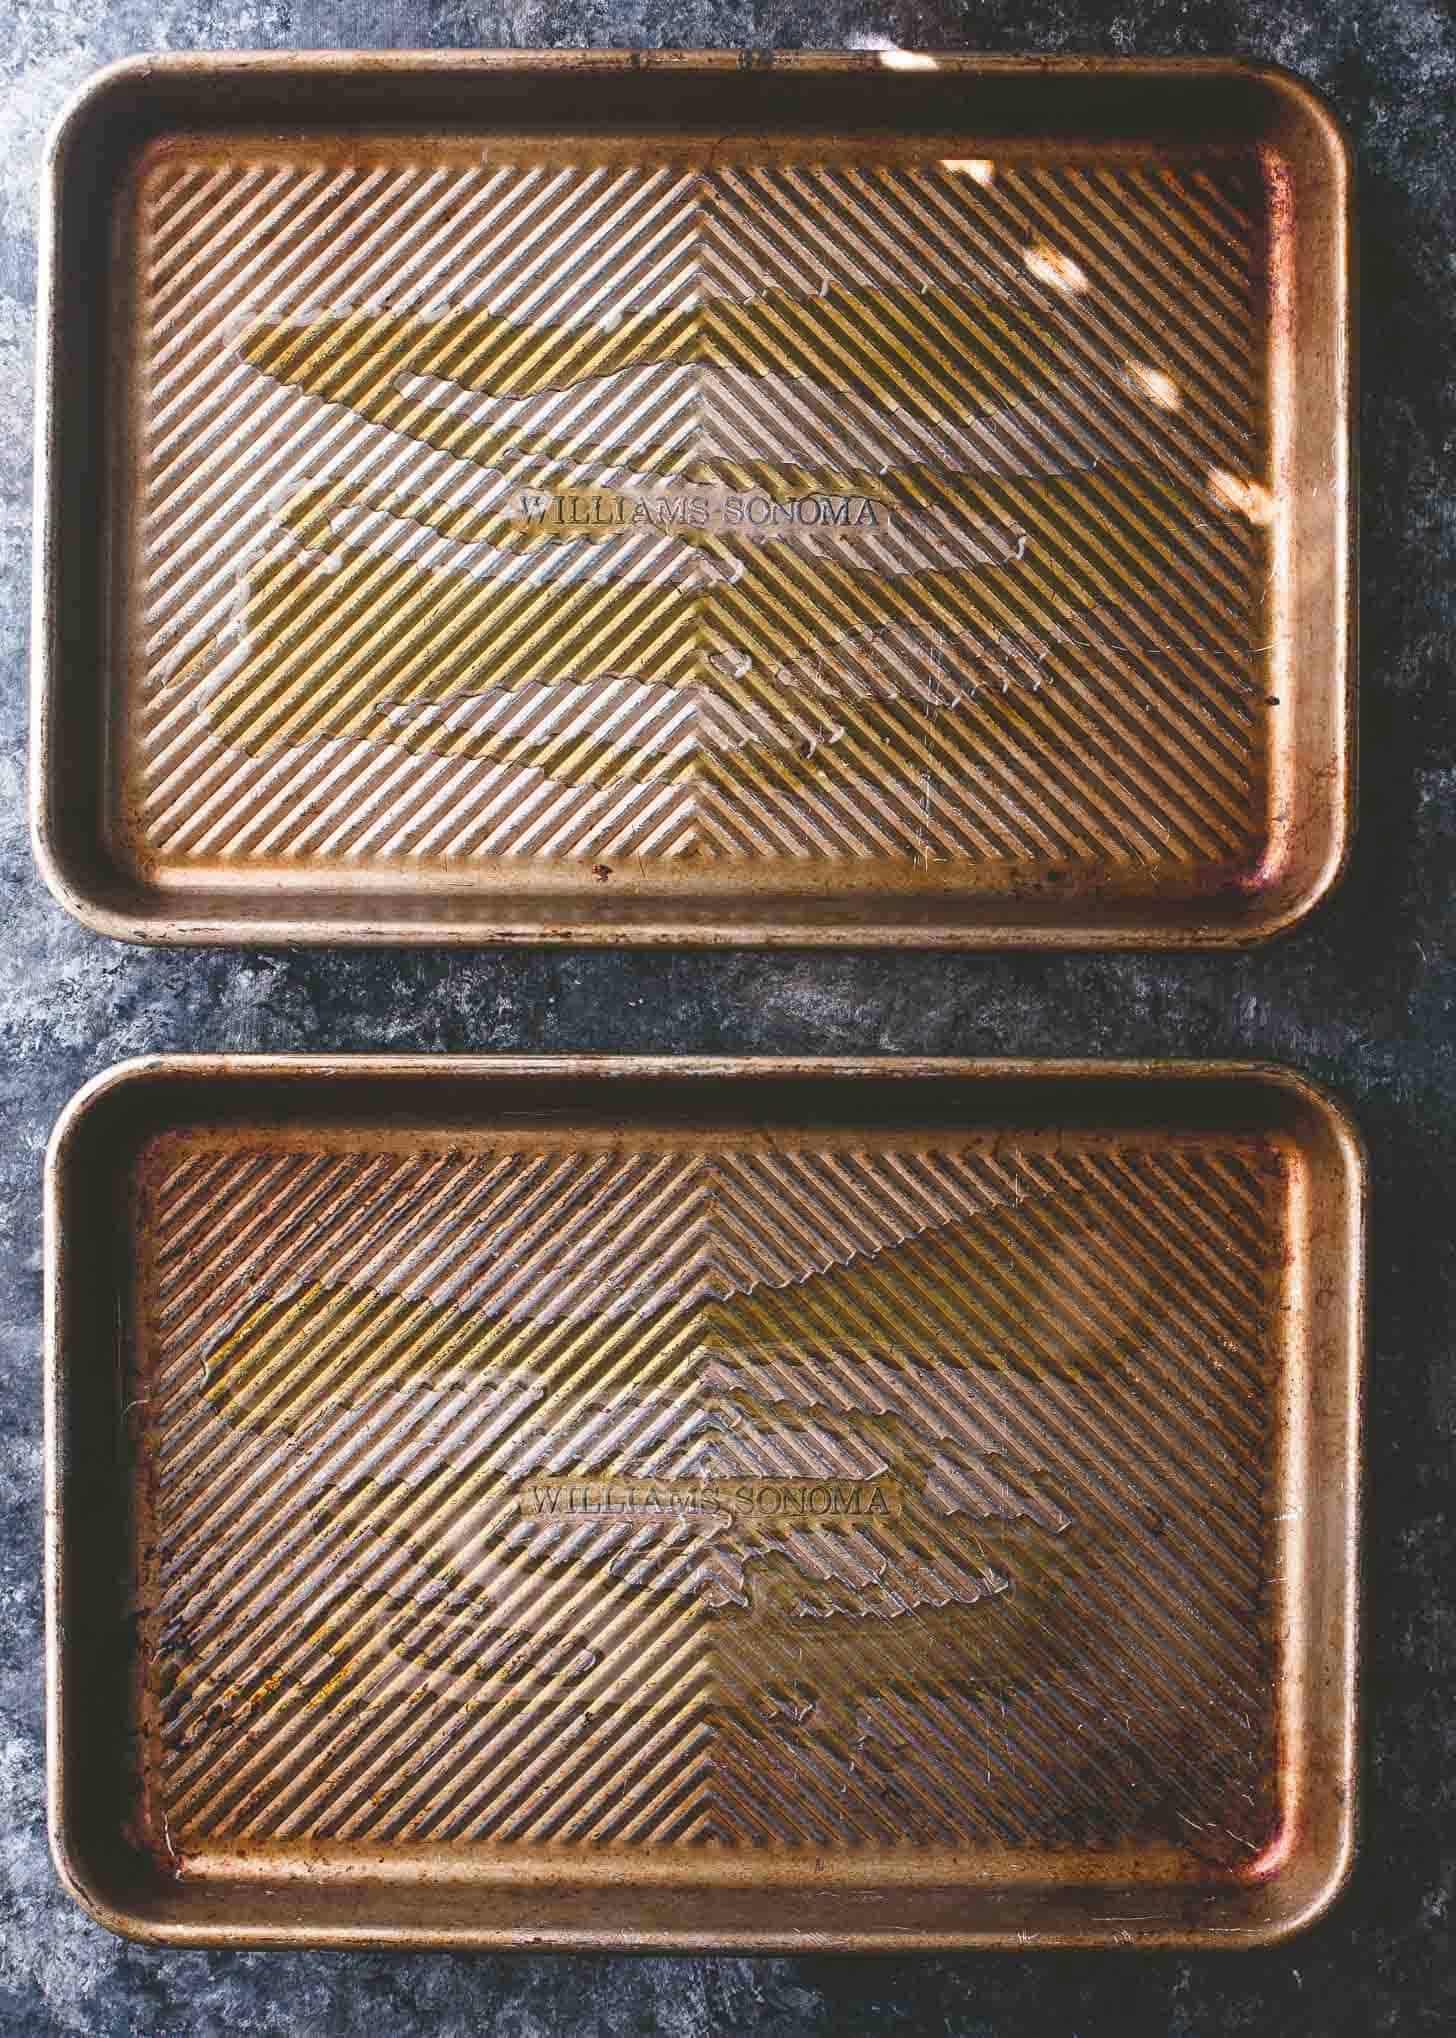
- Large Sheet Pan – A Half Sheet Pan is the right size for baking one large pizza or two small pizzas side-by-side. As shown in the photos, I also sometimes make two smaller pizzas using Quarter Sheet Pans.
- Kitchen Scale – This is not necessary, but it’s easiest (and most accurate) to just measure the flour by weight right into the mixing bowl.
- Parchment Paper – This is optional, but parchment paper can make it easier to spread the dough out and to remove it from the pans. (Note: Many brands of parchment paper have a recommended upper temperature limit, but there should be no issue with baking it above that temperature.)
Aging Pizza Dough
Perhaps the best thing about this pizza dough is that, while it’s great baked right away, it gets even better if you wait to bake it. Leaving the dough in the refrigerator “ages” the dough and helps the dough to develop flavor and texture. Dough that has been aged will start to take on some of the characteristics of sourdough and will get a very subtle tangy flavor that tastes like pizza from a great pizzeria. It will also have even more of a chewy texture to balance the toppings.
Wondering how to age the dough? All you have to do is transfer it to a bowl or plastic bag that has been rubbed on the inside with a generous amount of olive oil. Cover the dough (or seal the bag) and store it in the refrigerator for up to 5 days. When you’re ready to bake, let the dough come back to room temperature before continuing with the recipe.
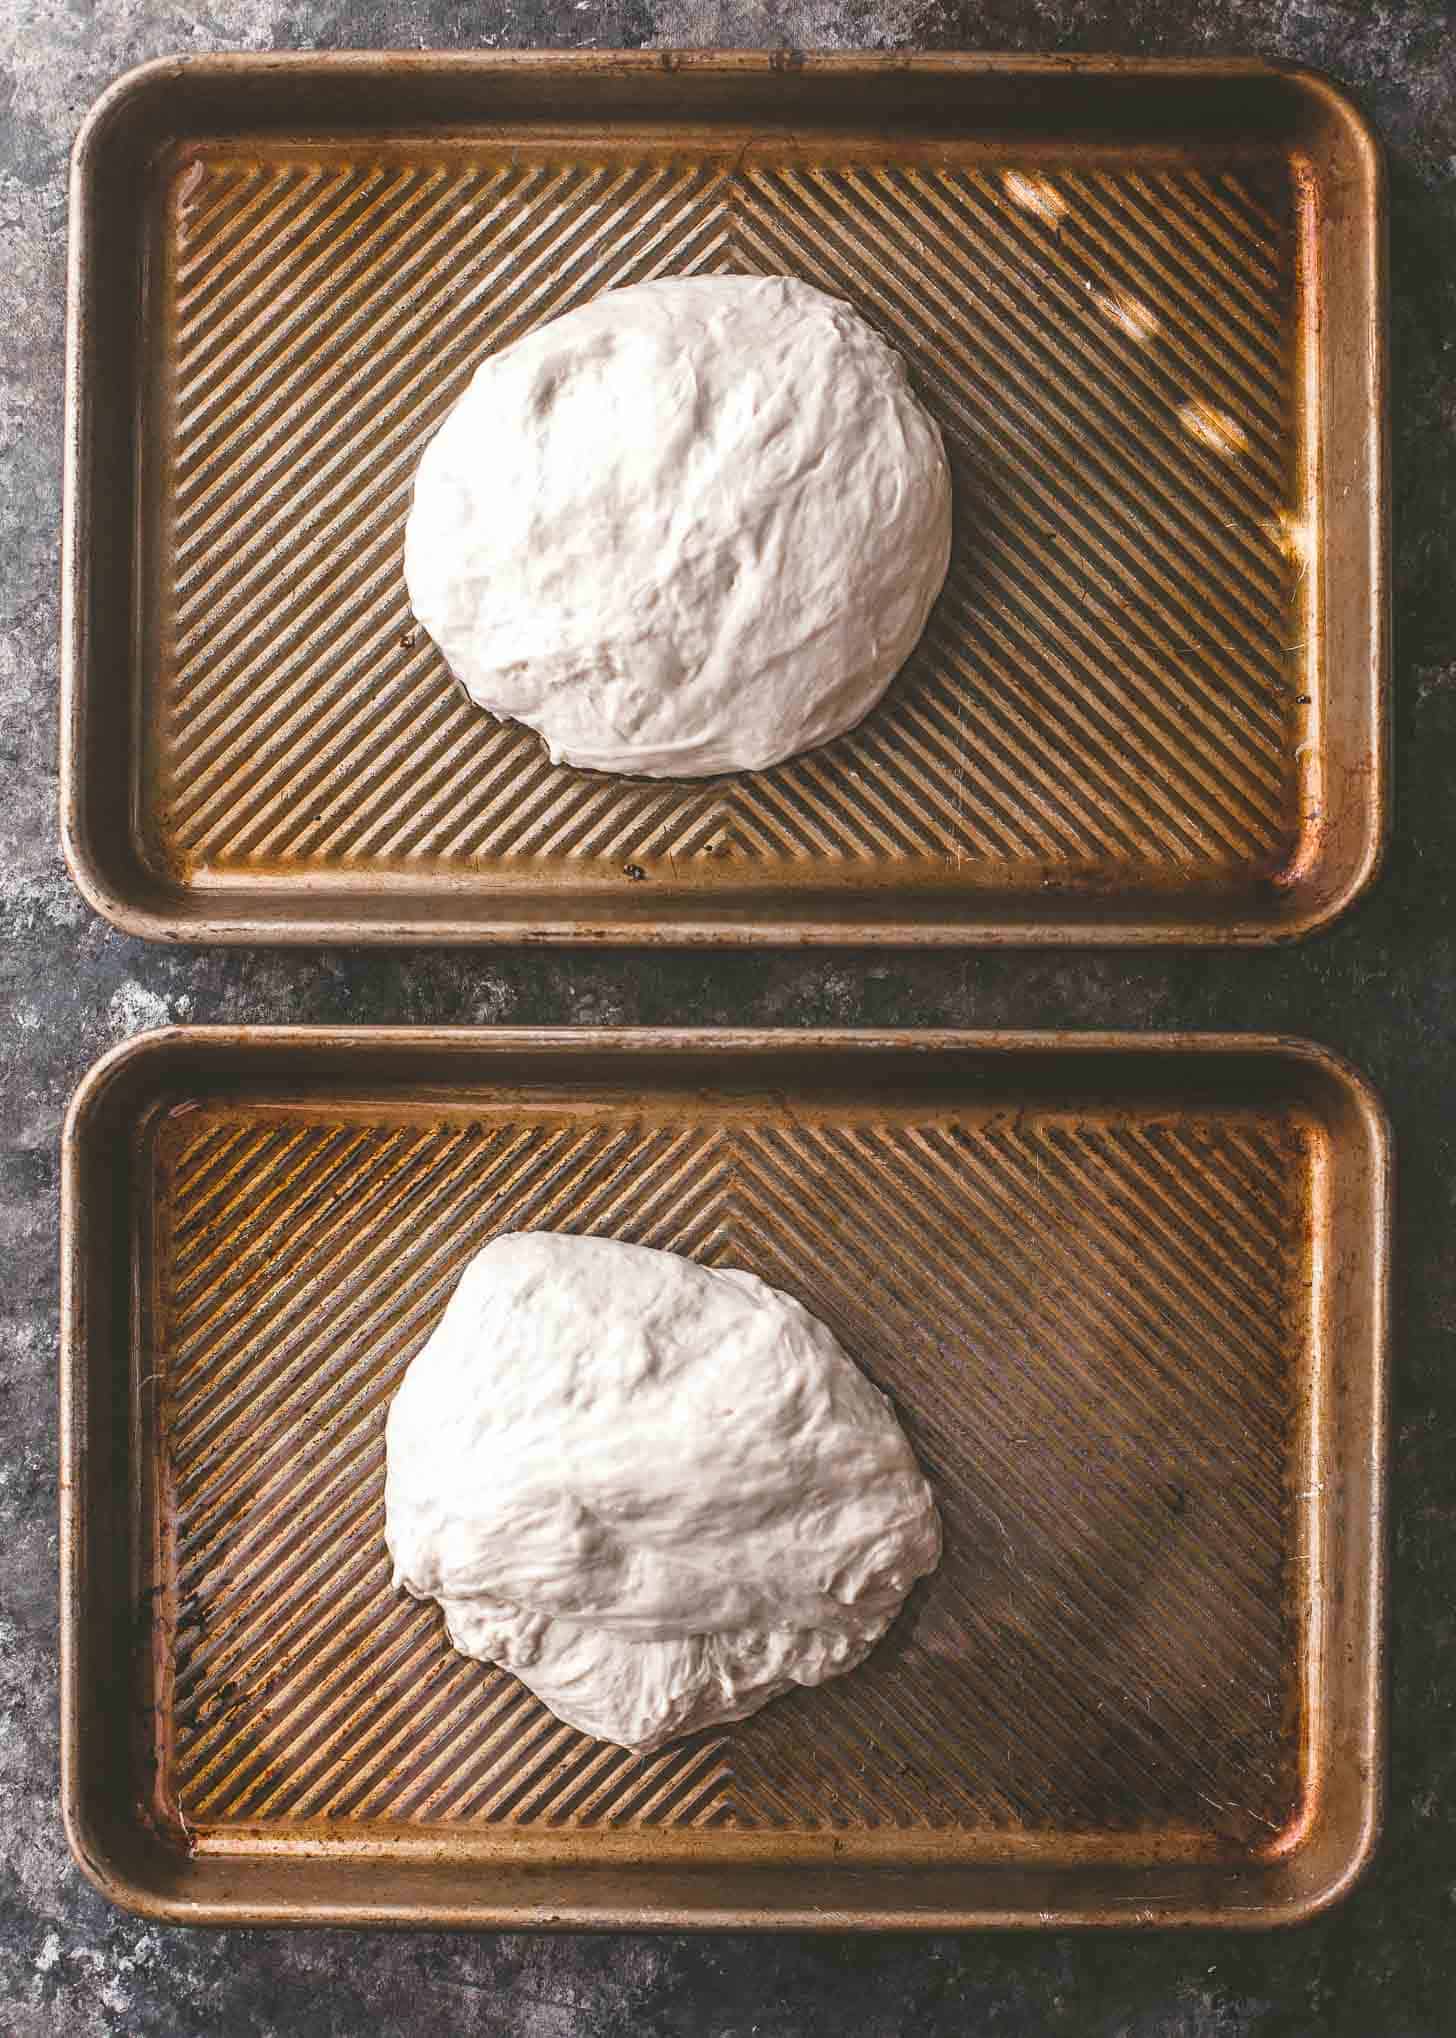
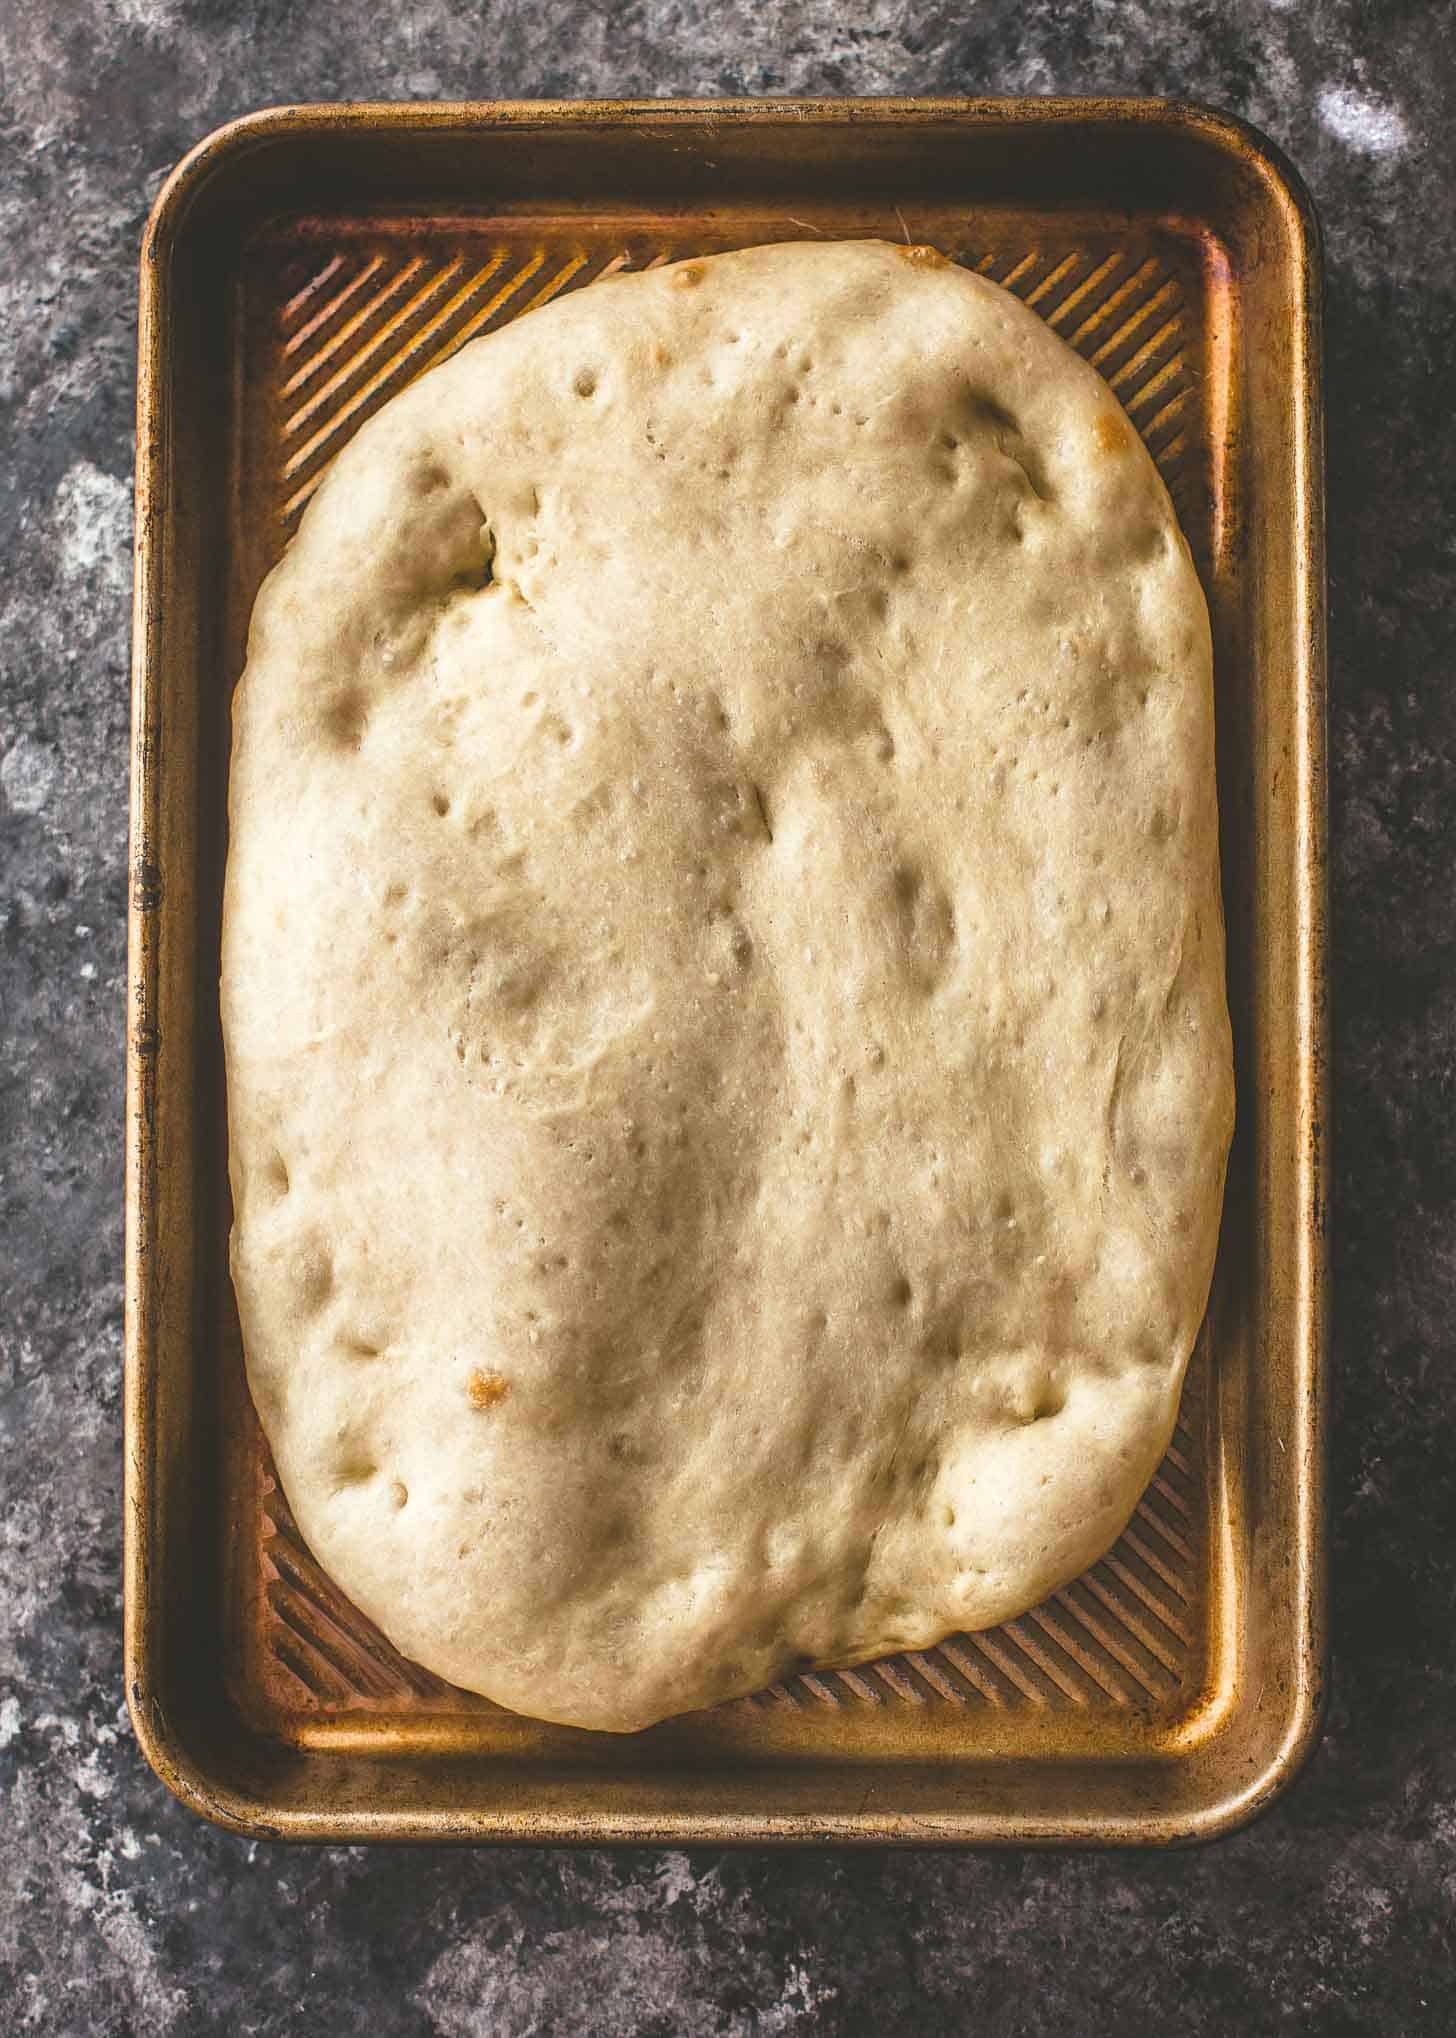
Note: All of the photos in this post were taken with pizza dough that was aged for the full 5 days. If using fresh dough, it typically spreads out more easily and is much more wet. The pizza is great either way!
Freezing Pizza Dough
To freeze: The best way to freeze the dough is to make the pizzas up through the first 5-minute bake (step 10). Allow the crust to cool completely and then freeze flat on sheet pans until solid (about 1 hour). Transfer pre-baked crusts to freezer-safe bags.
To bake: When you’re ready to bake the pizzas, defrost completely at room temperature for about 1 hour. Preheat the oven, add toppings, and bake according to the recipe instructions.
More Homemade Pizza Recipes
Pin this now to save it for later
Pin It Now
No-Knead Sheet Pan Pizza
Equipment
- Large Mixing Bowl
- Half Sheet Pan
Ingredients
For Dough:
- 4 cups All-Purpose Flour (500 grams)
- 2 teaspoons Kosher Salt (I use Morton’s or Diamond Brand)
- 1 Tablespoon Sugar
- 2 1/2 teaspoons Fast Acting or “Instant” Yeast (see note)
- 2 cups Warm Water (see note) (473 mL)
For Finishing:
- 1/4 cup Extra Virgin Olive Oil, divided (78 mL)
- 1 1/2 cups Pizza Sauce (store-bought or homemade)
- 10 ounces Shredded Low-Moisture Mozzarella Cheese
- Pizza Toppings (choose your favorite)
Instructions
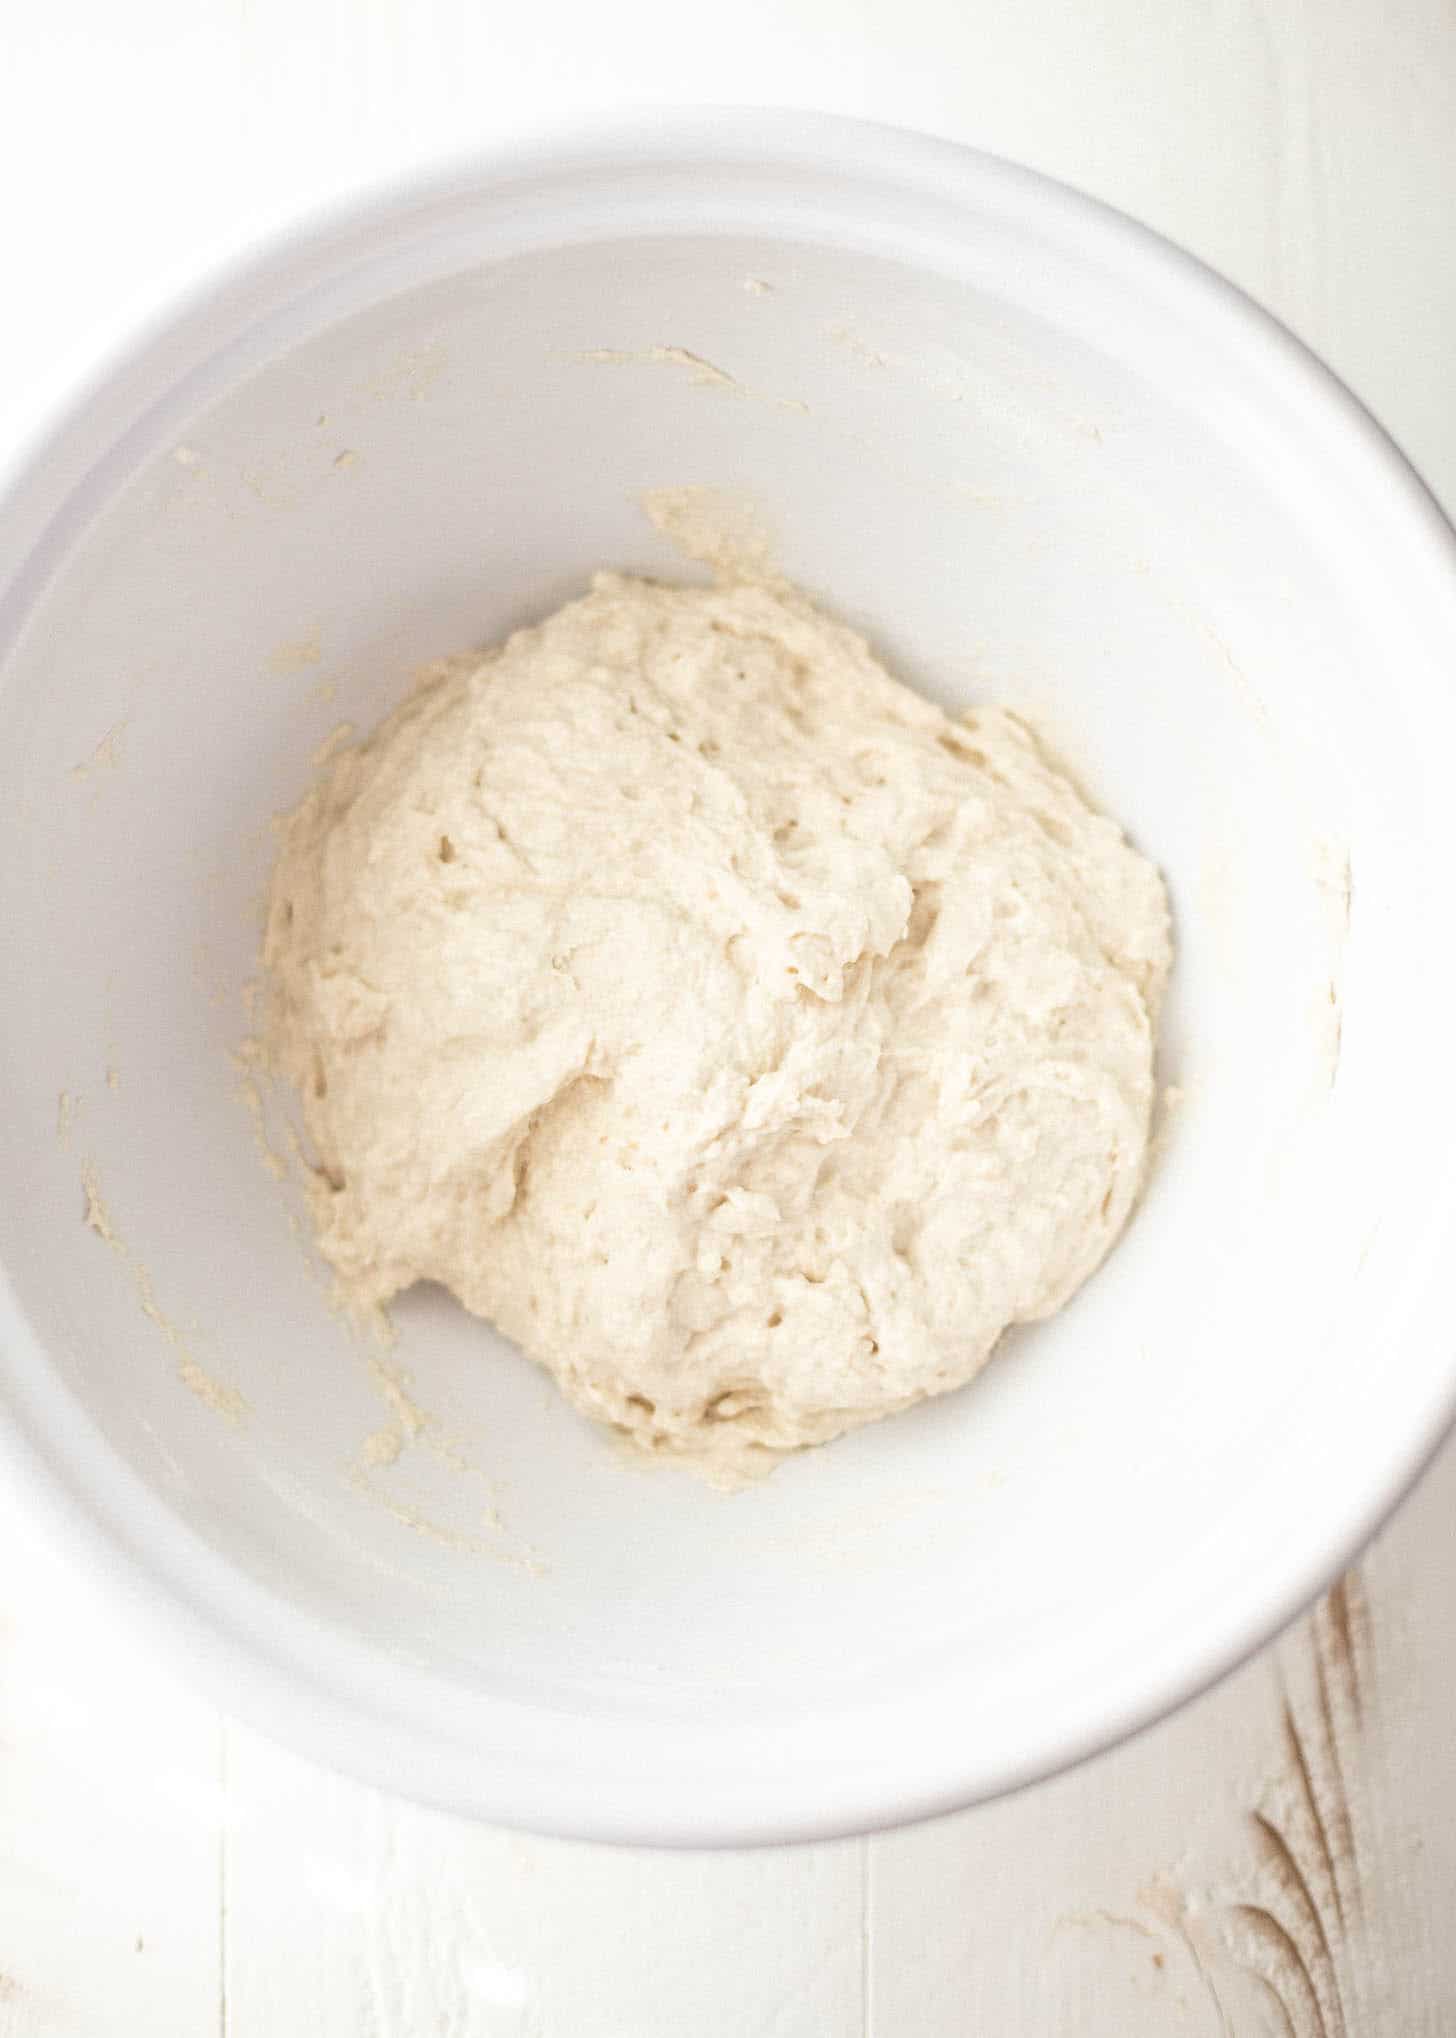
- Make Dough: In a large mixing bowl, whisk together flour, salt, sugar, and yeast. Pour water over dry ingredients and stir until no dry spots remain. The dough will be very sticky, but just scrape down the sides as you stir.
- First Rise (60 minutes): Cover the dough with a clean dish towel and leave it on the kitchen counter to rise until doubled in size, 60 minutes. (If your kitchen is on the colder side, let the dough rise for 75 minutes.)
- Refrigerate Dough (Optional): If you’re making this dough ahead of time you can refrigerate it for up to 5 days. Rub a small amount of olive oil onto your hands and run your hands around the outside of the dough to gently deflate it. Leave it in the bowl or transfer to a well-oiled plastic bag. Cover dough with plastic wrap (or seal the bag) and refrigerate it for up to 5 days. When ready to bake, remove it from the refrigerator. (If it is not already in a bowl, transfer it to a bowl that has been rubbed with olive oil.) Let the dough come to room temperature (about 60 minutes) before continuing with the recipe.
- Brush a large sheet pan (or two smaller sheet pans) each with about 2 Tablespoons of olive oil. (Note: You can also line the sheet pan with parchment paper. This makes it easier to spread the dough out and to remove the pizzas after baking.)
- Rub your hands with some olive oil and use them to turn the dough out onto the prepared pan (or divide in two and turn out on two sheet pans). Gently spread the dough out towards the edges of the pan. (Note: The dough is very sticky. Don't let this discourage you – just gently ease the dough out and use some more olive oil if things get too sticky. If your dough was refrigerated, it may be difficult to sprea. If this is the case, give it a bit more time to warm up and for the gluten to relax. Try leaving it for 10 minutes and coming back to it.)
- Heat Oven: Preheat the oven to 500°F / 260°C.
- Second Rise (30 minutes): While the oven heats up, leave the dough to rise on the sheet pan, uncovered, until nearly doubled in size, 30 minutes.
- Use a fork to gently poke holes all over the surface of the dough. (This step helps remove large air pockets so the dough bakes evenly.)
- First Bake (5 minutes): Bake the pizza dough, without toppings, for 5 minutes. (This gives the pizza crust a head start on cooking so it won’t get soggy when you add toppings.)
- Top Pizzas: Brush the remaining 2 Tablespoons of olive oil over the top of the crust. Top the pizzas with sauce, cheese, and toppings.
- Second Bake (10 minutes): Bake pizzas until the crust is golden brown and crisp and the cheese is melted and bubbly, 10 to 14 minutes.
- Slice and serve.
Notes
Nutrition
Nutrition information is automatically calculated, so should only be used as an approximation.




I finally found yeast & anxious to try the pizza dough. All toppings look delicious but I will try the Greek toppings.
Enjoy Phyllis! I just started seeing instant yeast back in my grocery store too. Lot’s of bread being made out there!
The recipe looks great. Will share that with my wife to try it out next time.
Thanks for sharing 🙂
Wonderful – I hope you enjoy it as much as we do!