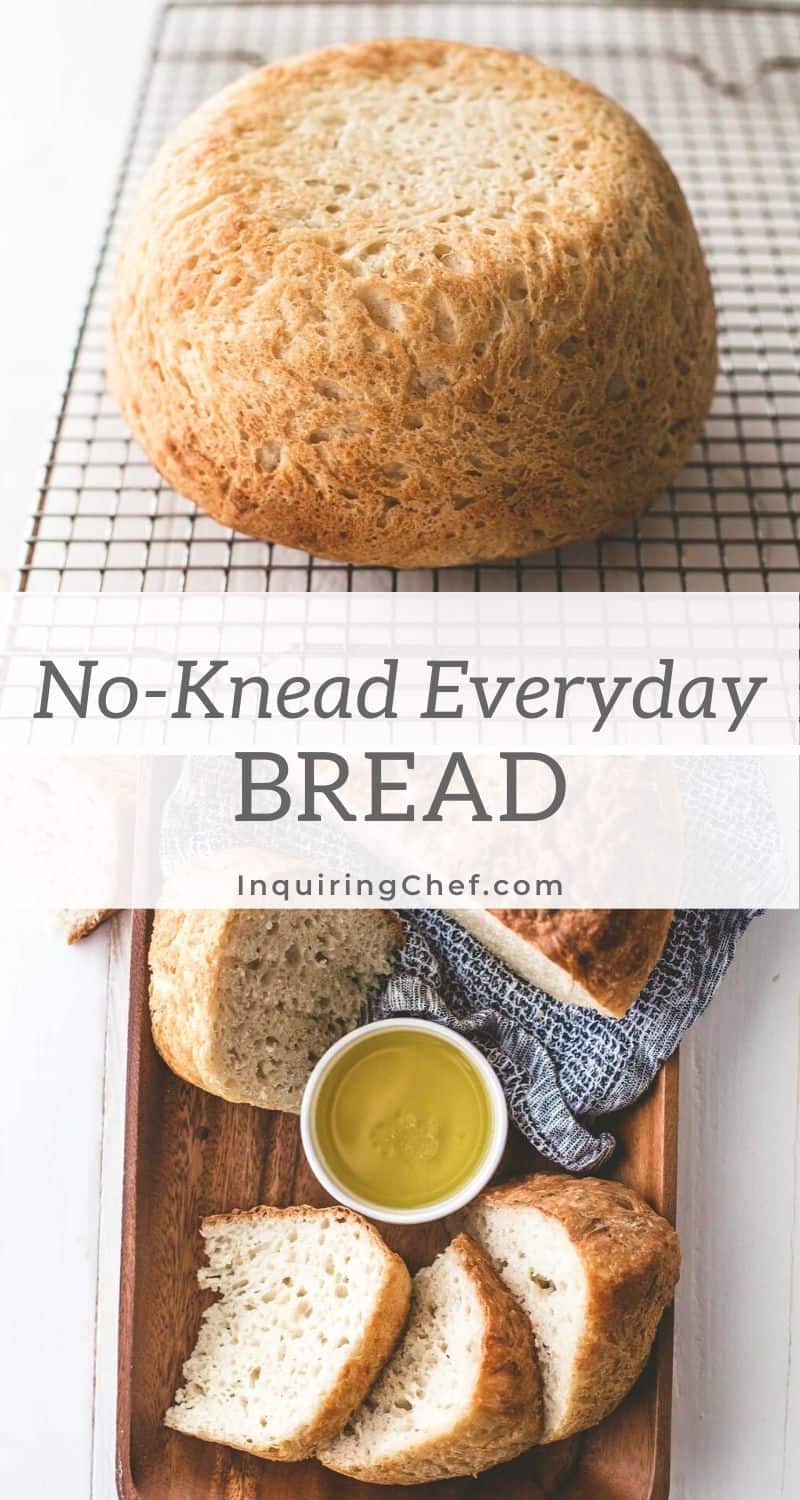
No-Knead Everyday Bread
Published Apr 06, 2020•Updated Aug 09, 2024
This post may contain affiliate links. Please read our disclosure policy.
No-Knead Everyday Bread is a simple homemade bread that needs just 90 minutes to rise and doesn’t require special methods or equipment. (No Dutch oven. No bread flour.)
Many years ago (and again now, as we’re all adjusting to this socially distanced life) the internet fell in love with Jim Lahey’s No-Knead Bread. His is a bakery-style bread that needs 24 hours to rise and is baked in a Dutch oven to give it a thick, sturdy crust. The bread I bring you today is not that long-rise Dutch oven bread.
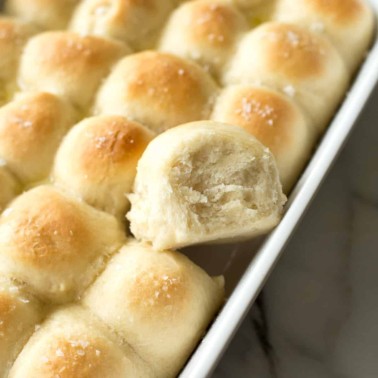
No-Knead Everyday Bread is, I dare say, a more humble bread. Humble as it may be, this is a homemade bread that you’ll be just as happy to enjoy yourself as you would be proud to serve to dinner guests (if any of us ever have dinner guests again). It can be on the table in about 2 hours (most of that hands-off time to rise) and doesn’t require any special equipment. With very little work, this recipe makes a bread with a golden crust and a buttery, tender texture. No quirky steps or methods – just mix everything together, let it rise, and pop it in the oven.
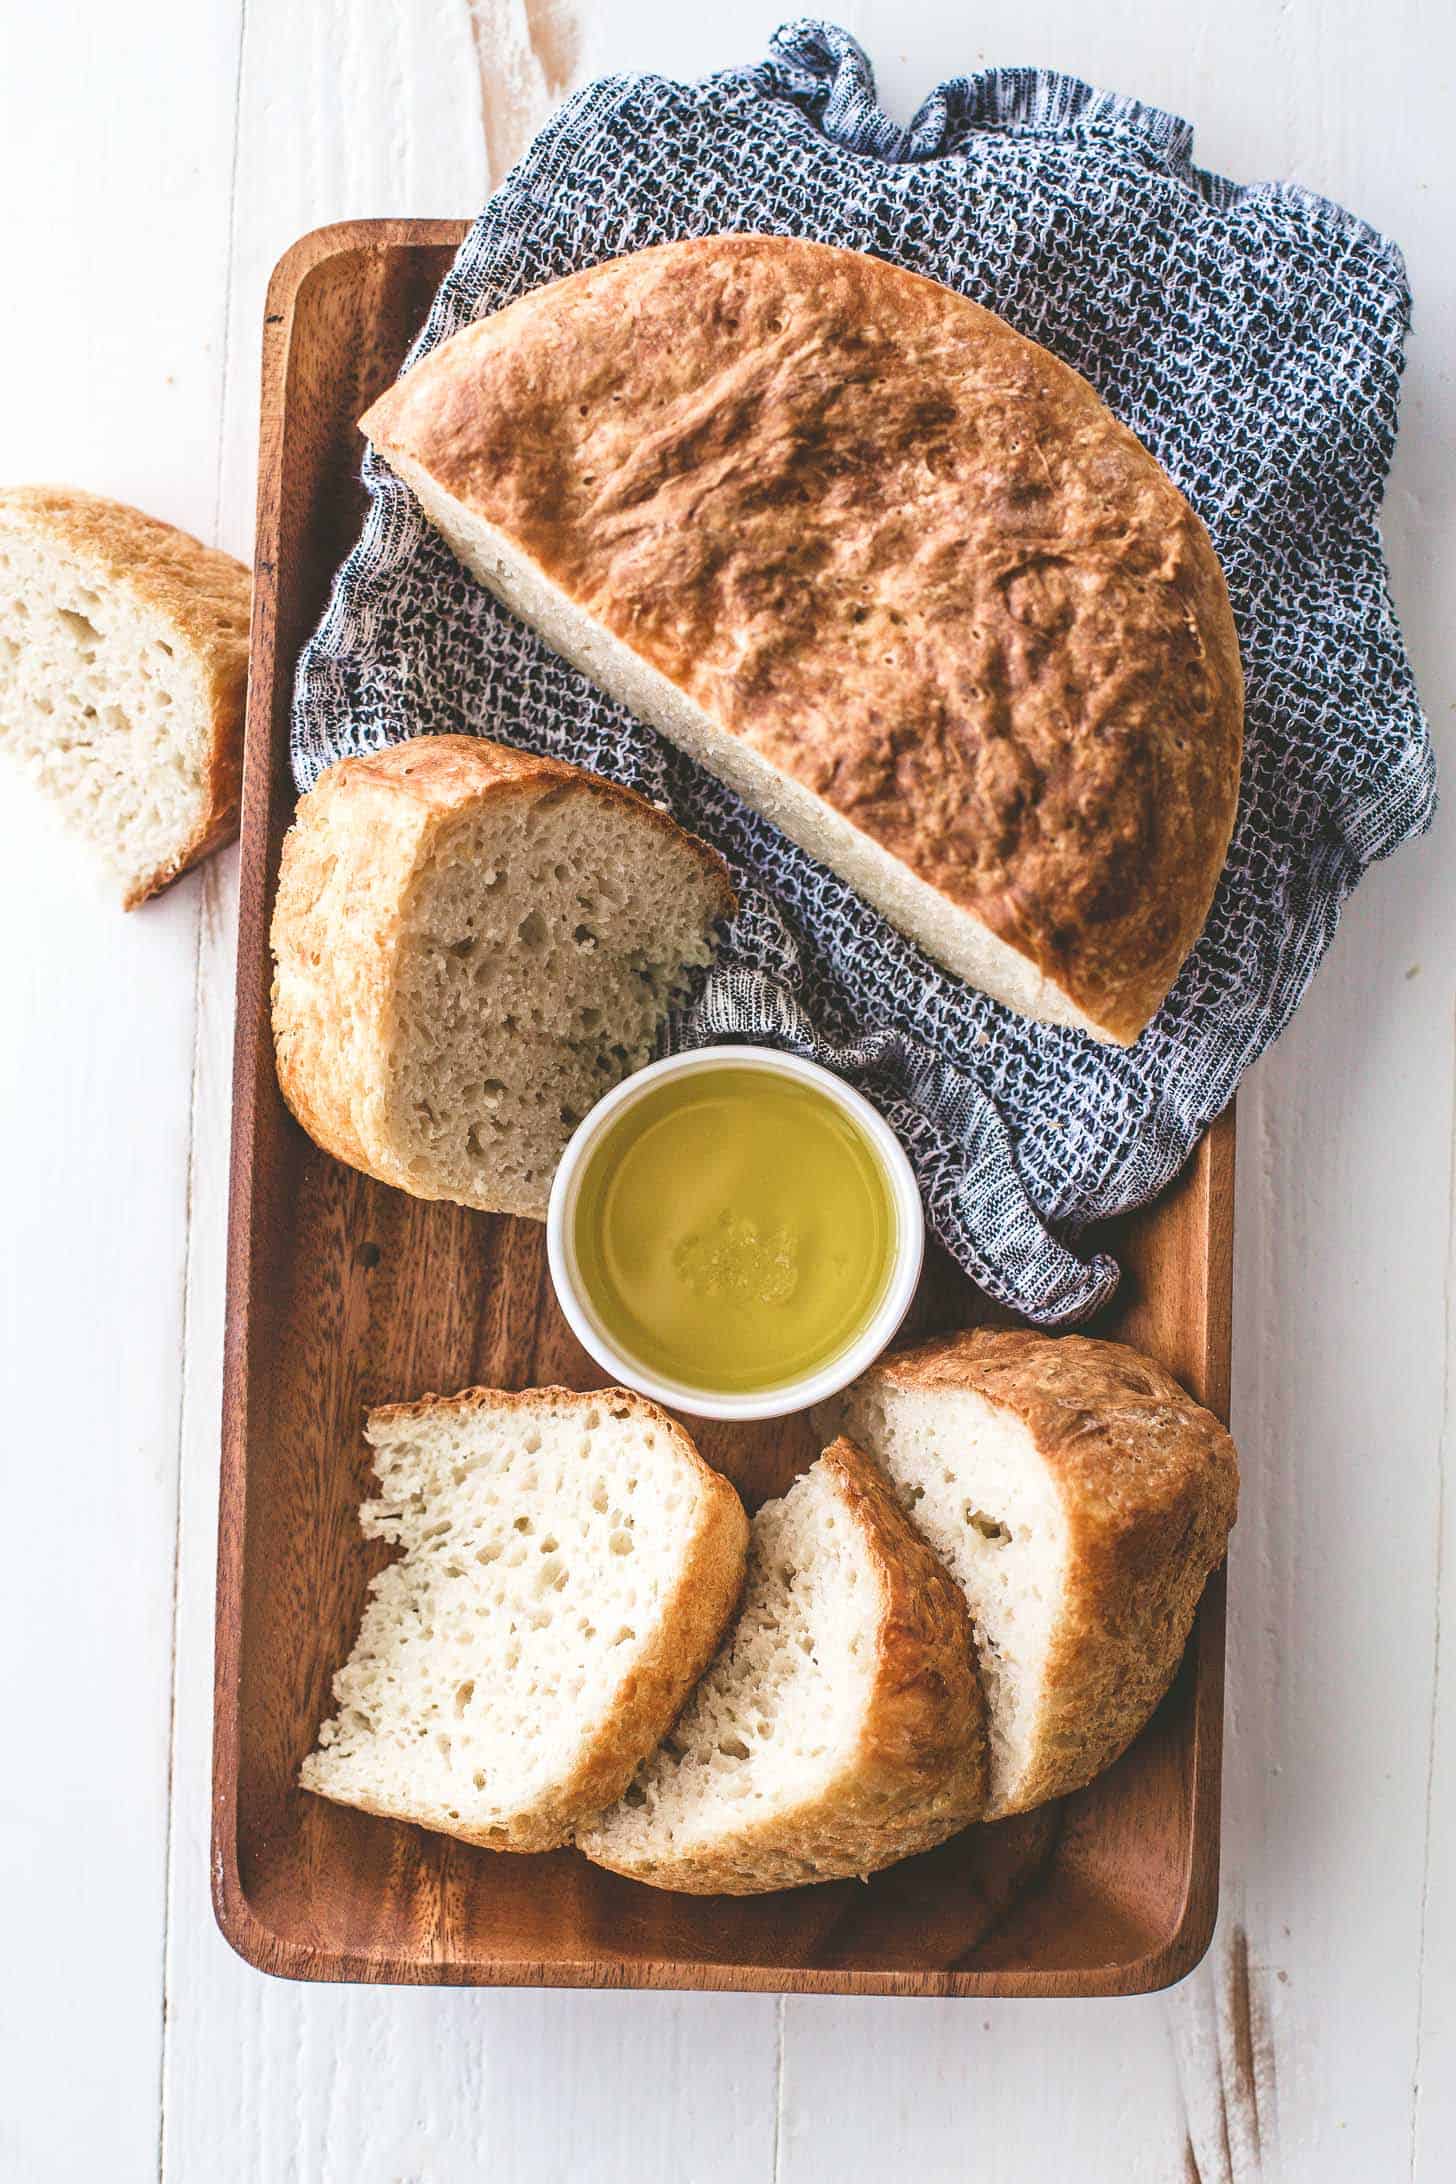
I call this “everyday bread” because it is so incredibly versatile. Want sandwiches for lunch and don’t want to run to the store? This is the bread to make. Want crusty bread to serve with a soup or a saucy main dish? This is the bread to make. If you simply don’t have the time or energy to tackle more complex bread methods, this is the bread to make.
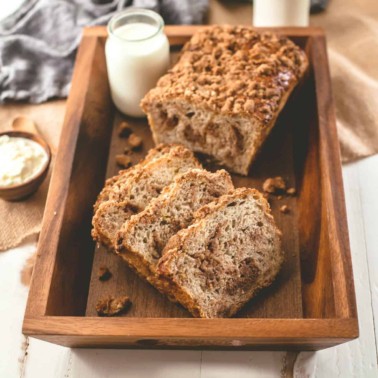
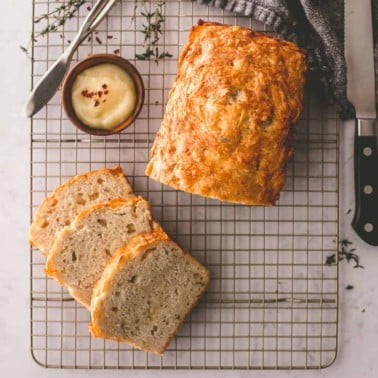
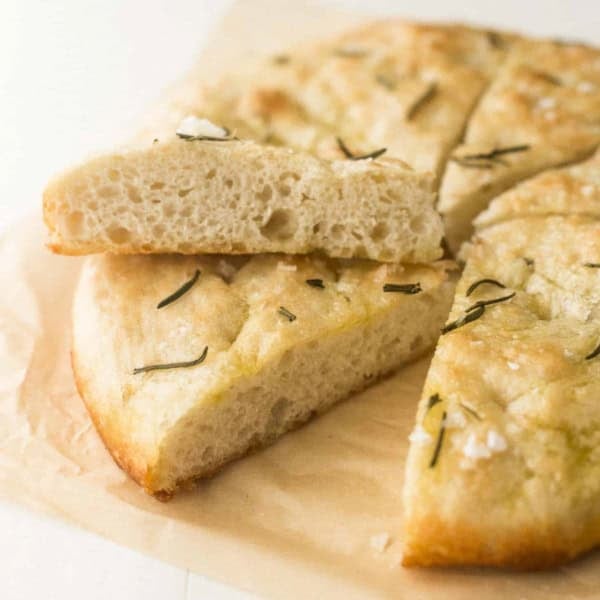
I also have recipes for French Bread loaves, Sheet Pan Pizza, Focaccia, and Sandwich Bread using the same no-knead dough!
The Story of No-Knead Everyday Bread
Pin this now to save it for later
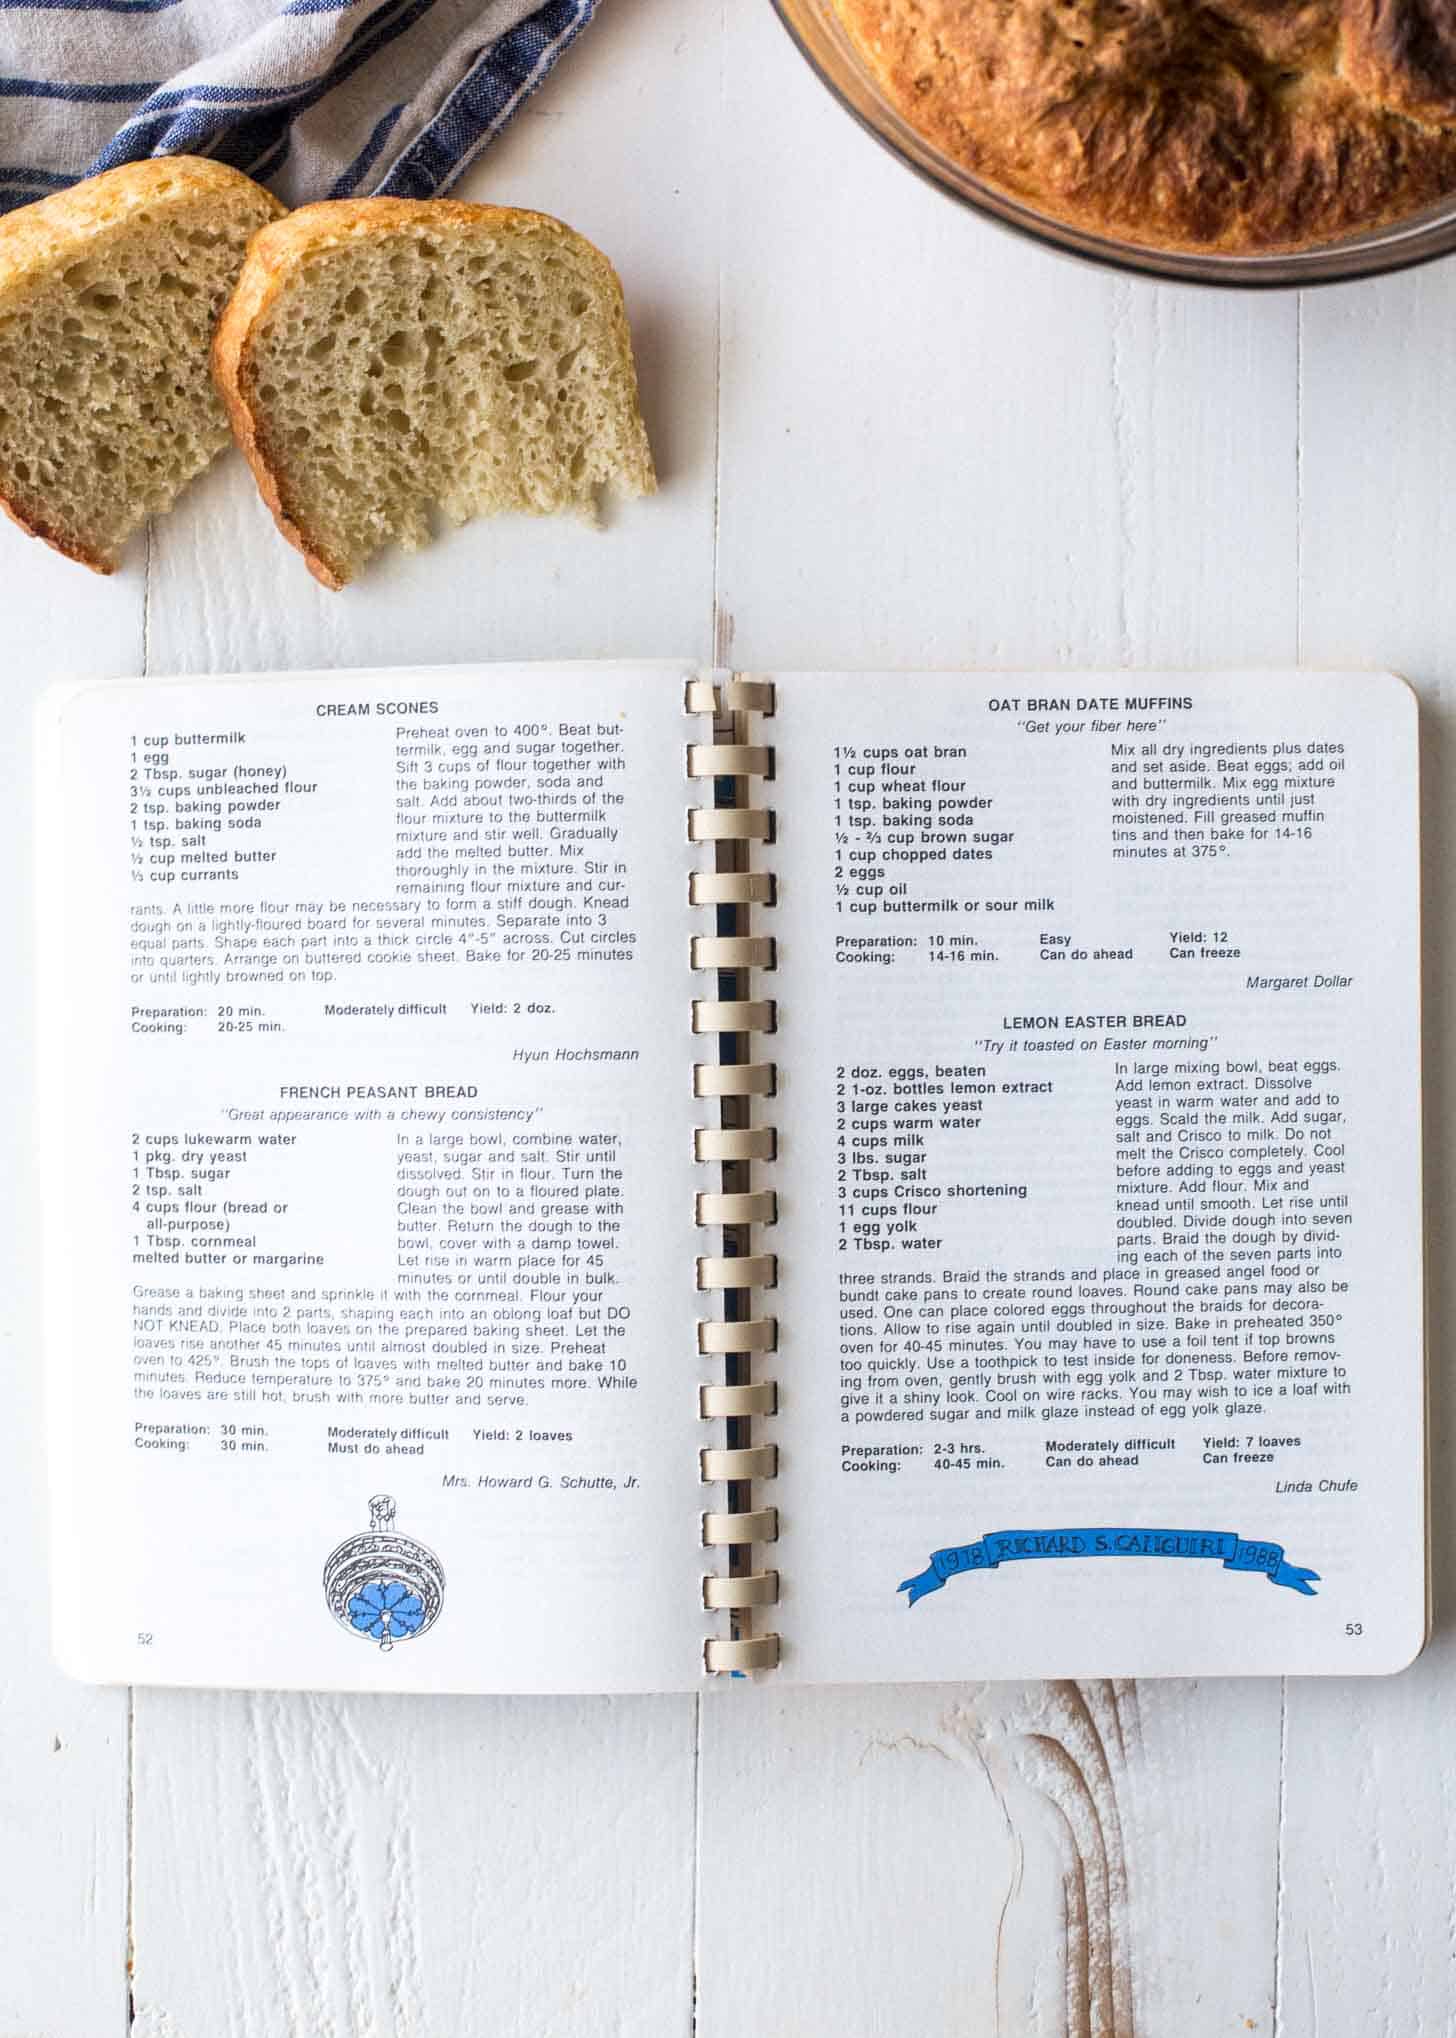
Pin It NowThis style of bread found its way to my kitchen (and hopefully soon to yours!) from a source very close to my heart – my grandma! My grandma Jeanne is the sort of home cook who is endlessly curious and energized by cooking. The margins of her cookbooks are packed full of notes – many taken while she watched famous chefs share their secrets on TV cooking shows. She learned to make this no-knead style of bread at a cooking class decades ago and it became the bread she baked at nearly every family gathering. She calls it French Peasant Bread. She always baked it in long narrow pans that made beautiful, rustic, French-style baguettes.
It was only when I came across the book Bread Toast Crumbs that I realized this style of Peasant Bread has been quietly and deliciously making its way into the repertoire of many home cooks for decades.
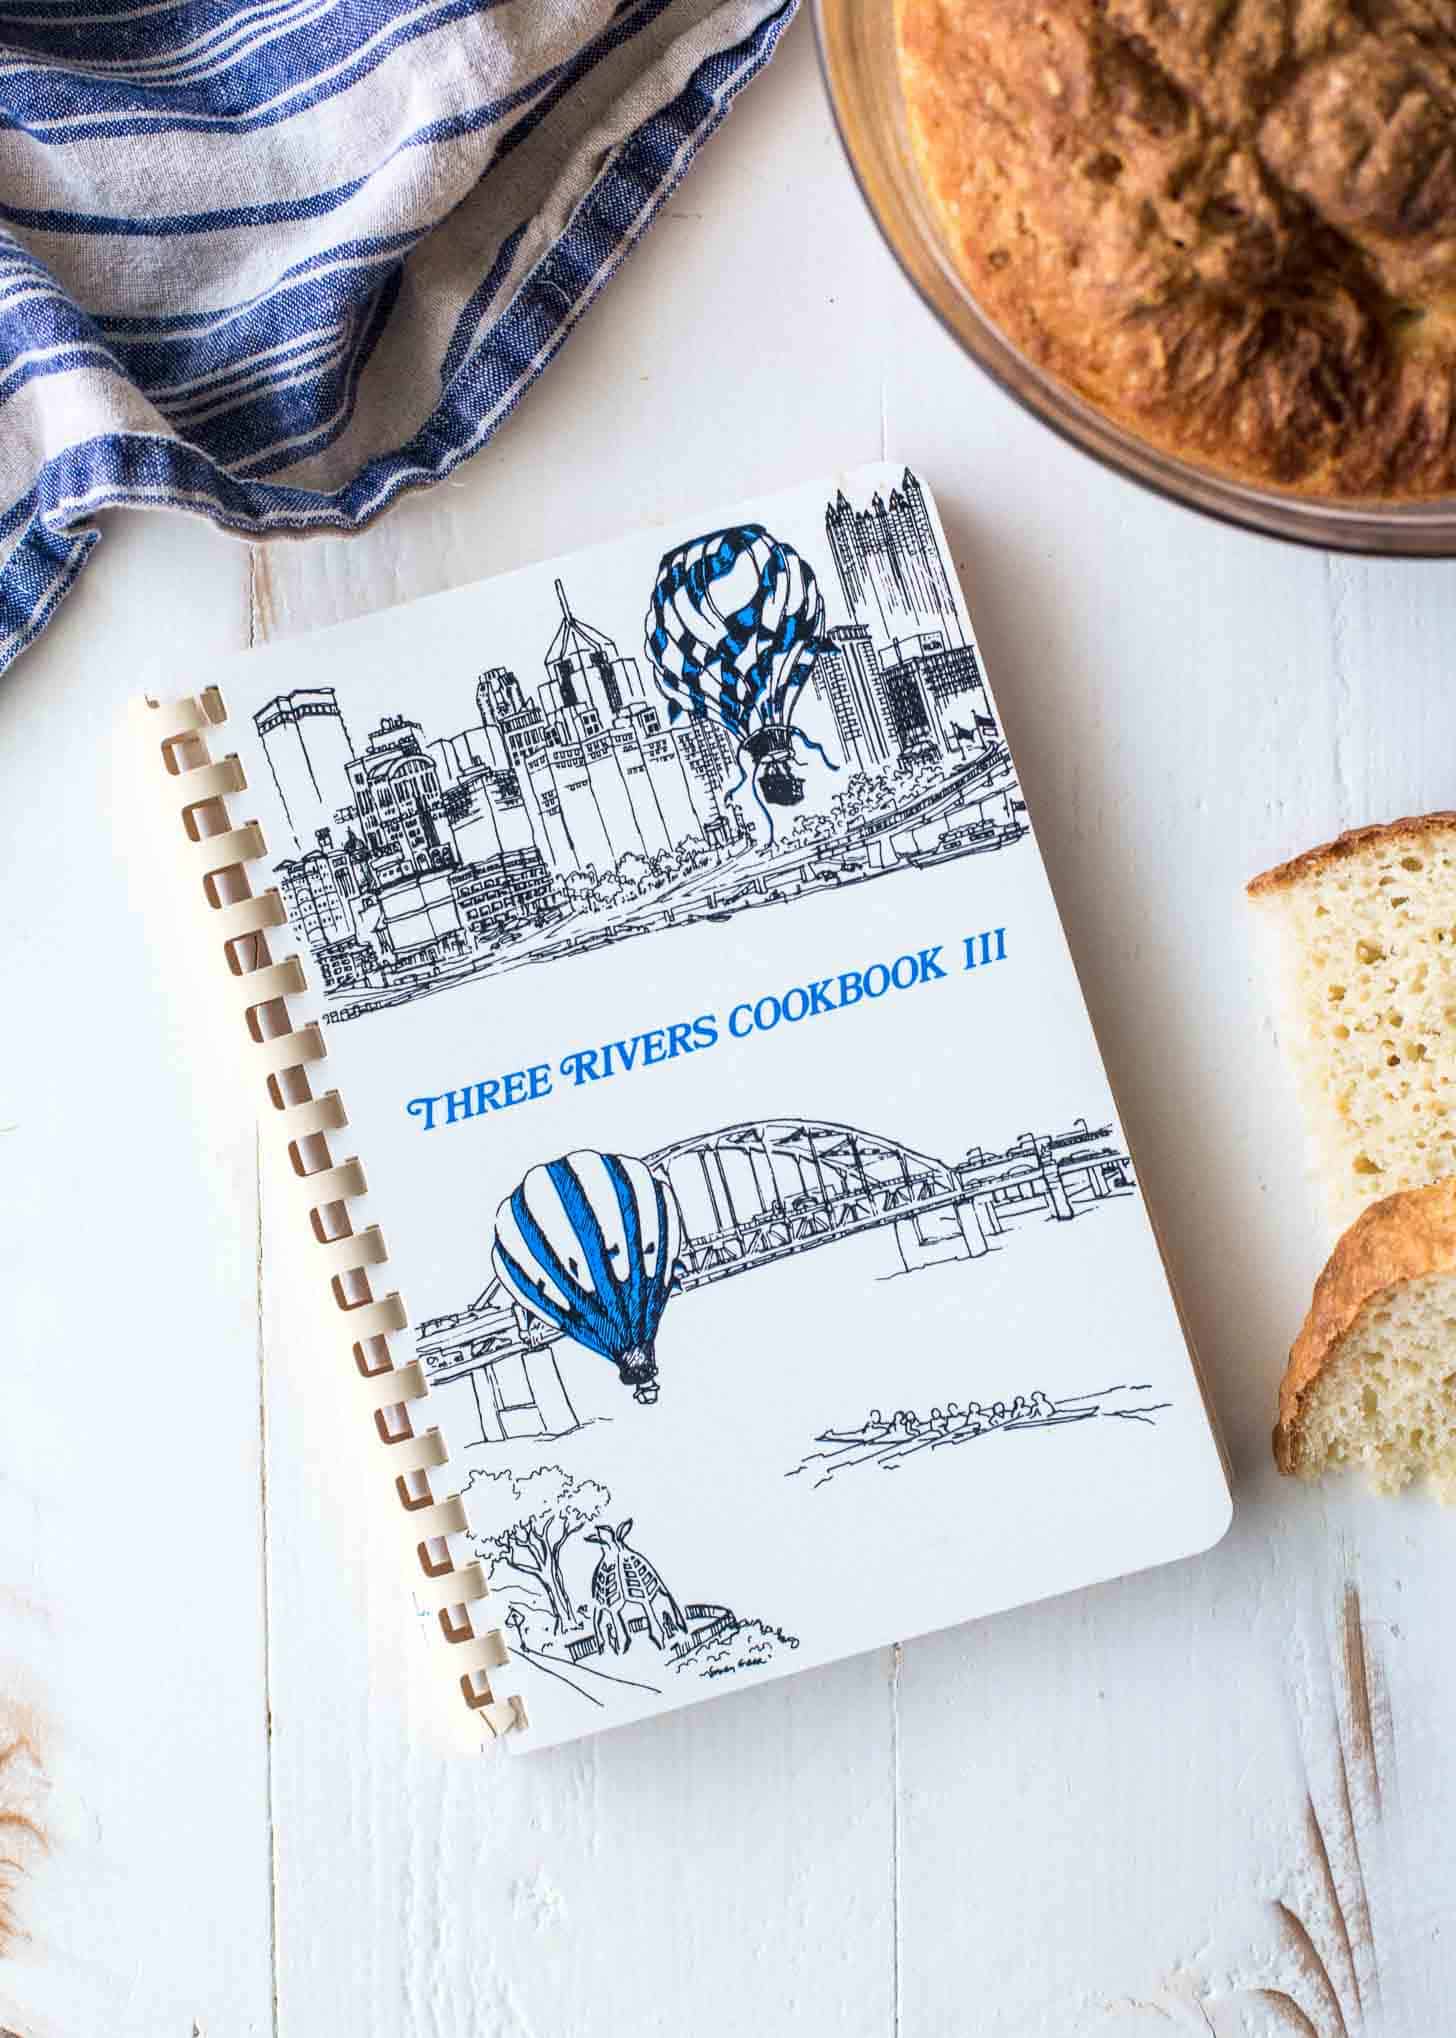
Despite the nod to France in its name, as far as I can tell, this bread is an American creation. I dug into the internet to find the original source and traced it to an eclectic collection of recipes from Pittsburgh, PA – the Three Rivers Cookbook III. Published in 1990 (and yet easily shipped in two days from a seller on Amazon…gotta love living in the internet age), I’ve found myself thumbing through this little book over and over again and wondering what other gems might be hiding in here.
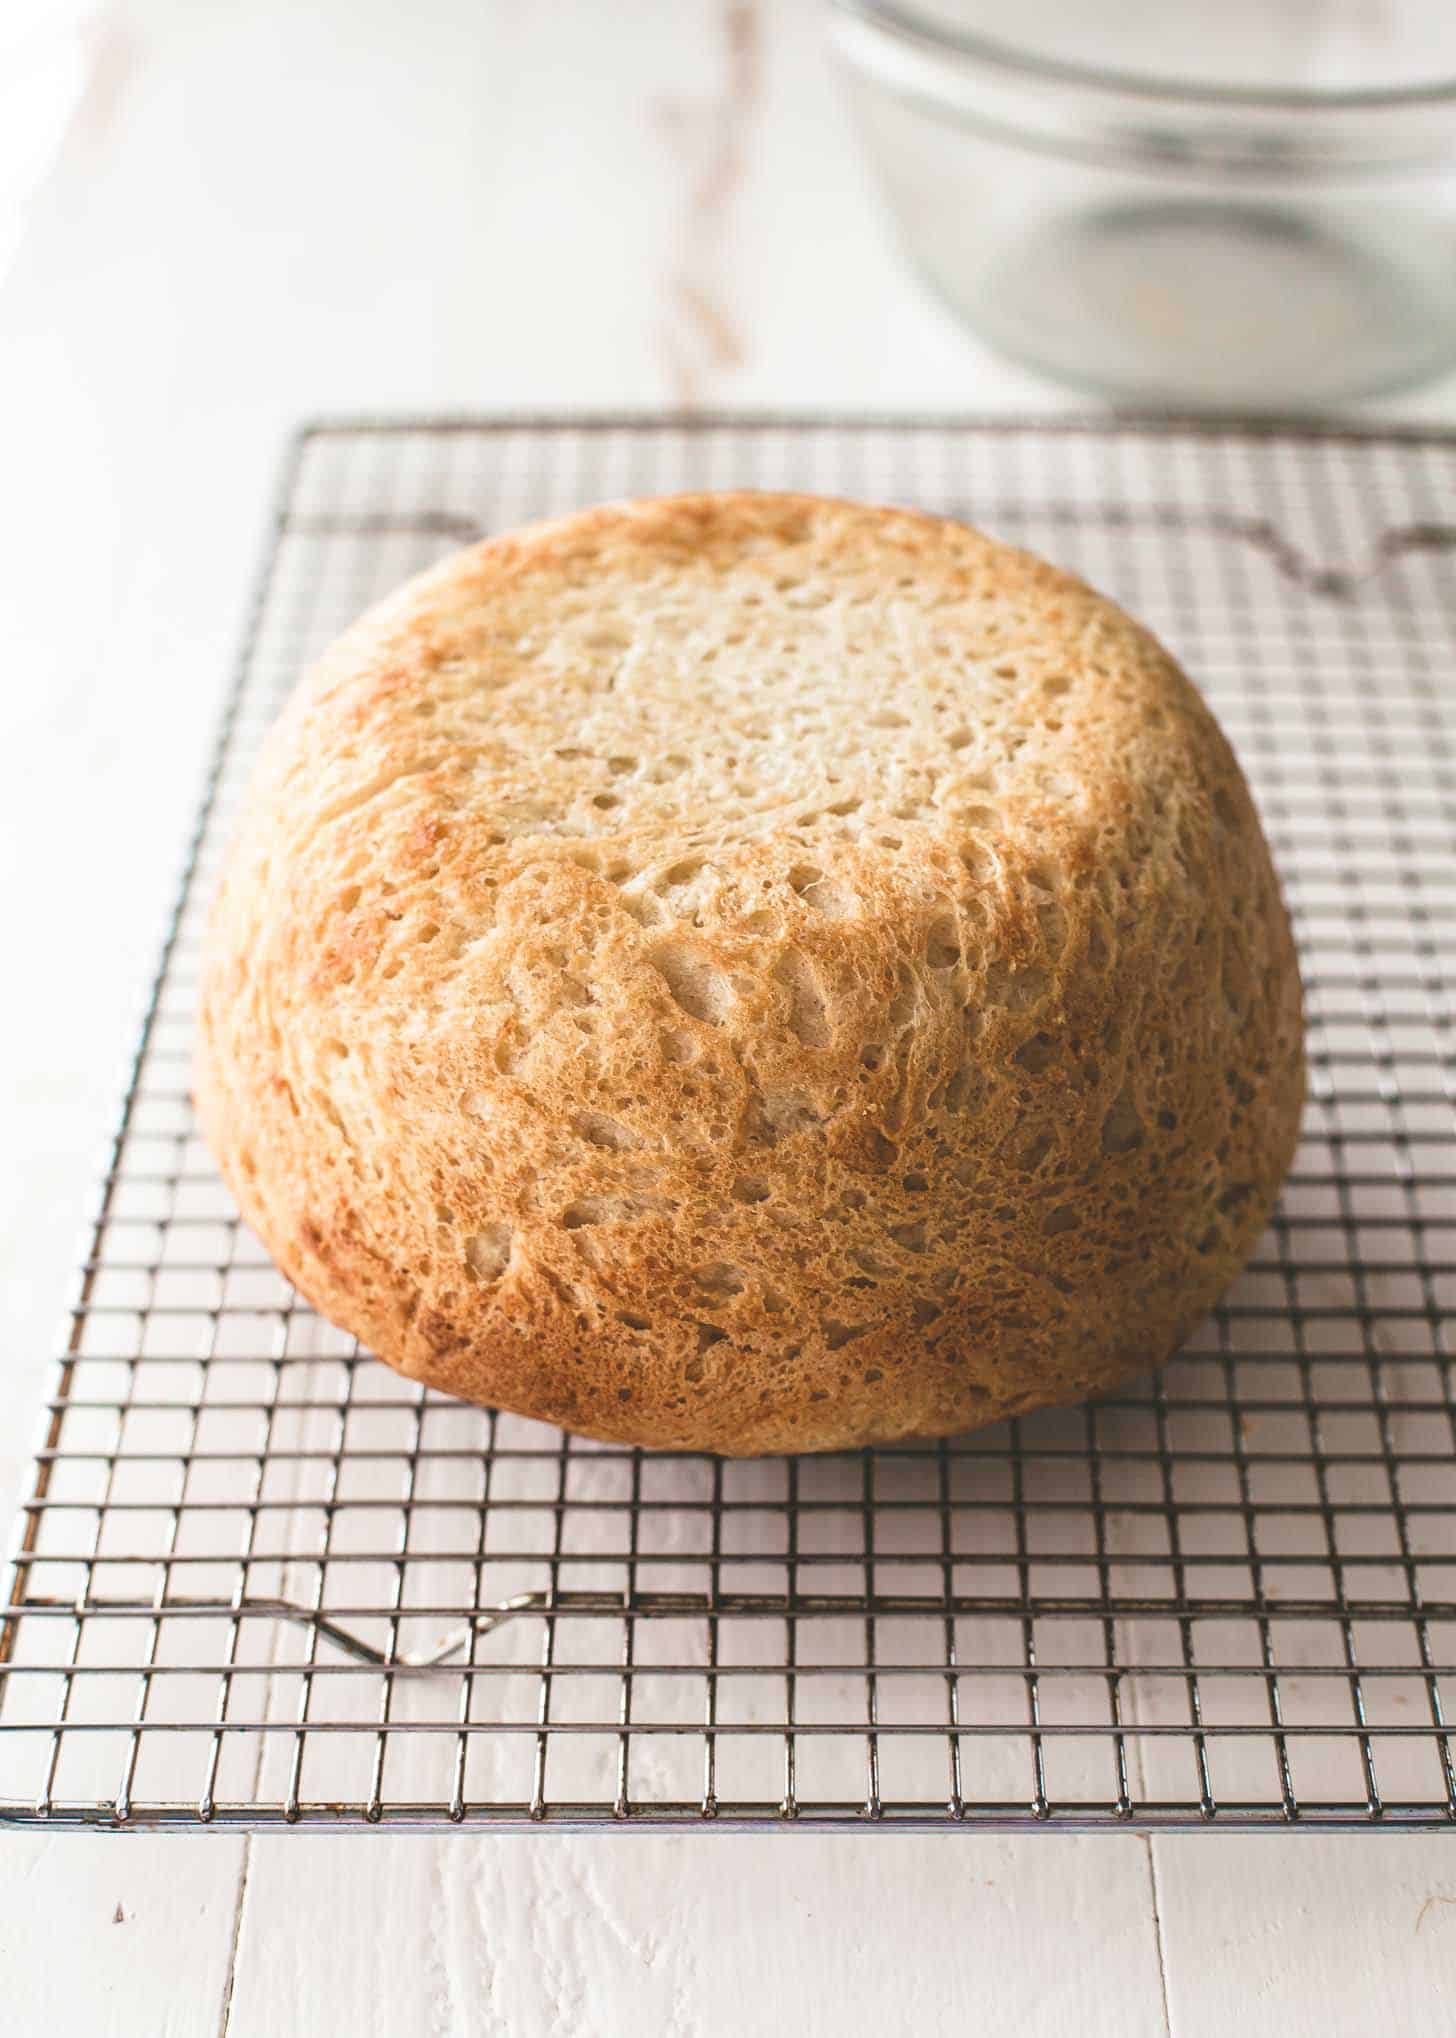
My grandma always baked this bread in baguette pans. Other versions around the web have you divide the dough between two small oven-safe bowls. My default is to bake this in a single 2.5-quart bowl, producing one round loaf that is just the right size for serving at family dinners of 4 to 6 people. I cut it into slices or into triangular wedges (like a pie).
Ingredients for No-Knead Bread
- All-Purpose Flour – No special flour needed here – just regular all-purpose. Any brand is fine.
- Kosher Salt – This recipe was tested with Kosher salt (Morton’s or Diamond Brand), so use that for the right balance of saltiness. (If using table salt, reduce the amount you use by about half.)
- Sugar – Use regular granulated / white sugar. Don’t skip this – the dough needs sugar in order to rise.
- Fast-Acting or “Instant” Yeast – No-Knead Everyday Bread uses a dough that rises quickly (making it a go-to for new bread bakers or those of us who want this ready fast) and requires Fast-Acting (not “Active Dry”) yeast. See below for all the details on how to find and use this quick working yeast.
- Warm Water – The water should feel warm, but not too hot to touch. Check the package on the yeast for the recommended temperature range. I usually heat tap water in the microwave for about 90 seconds until it reaches about 120°F / 49°C.
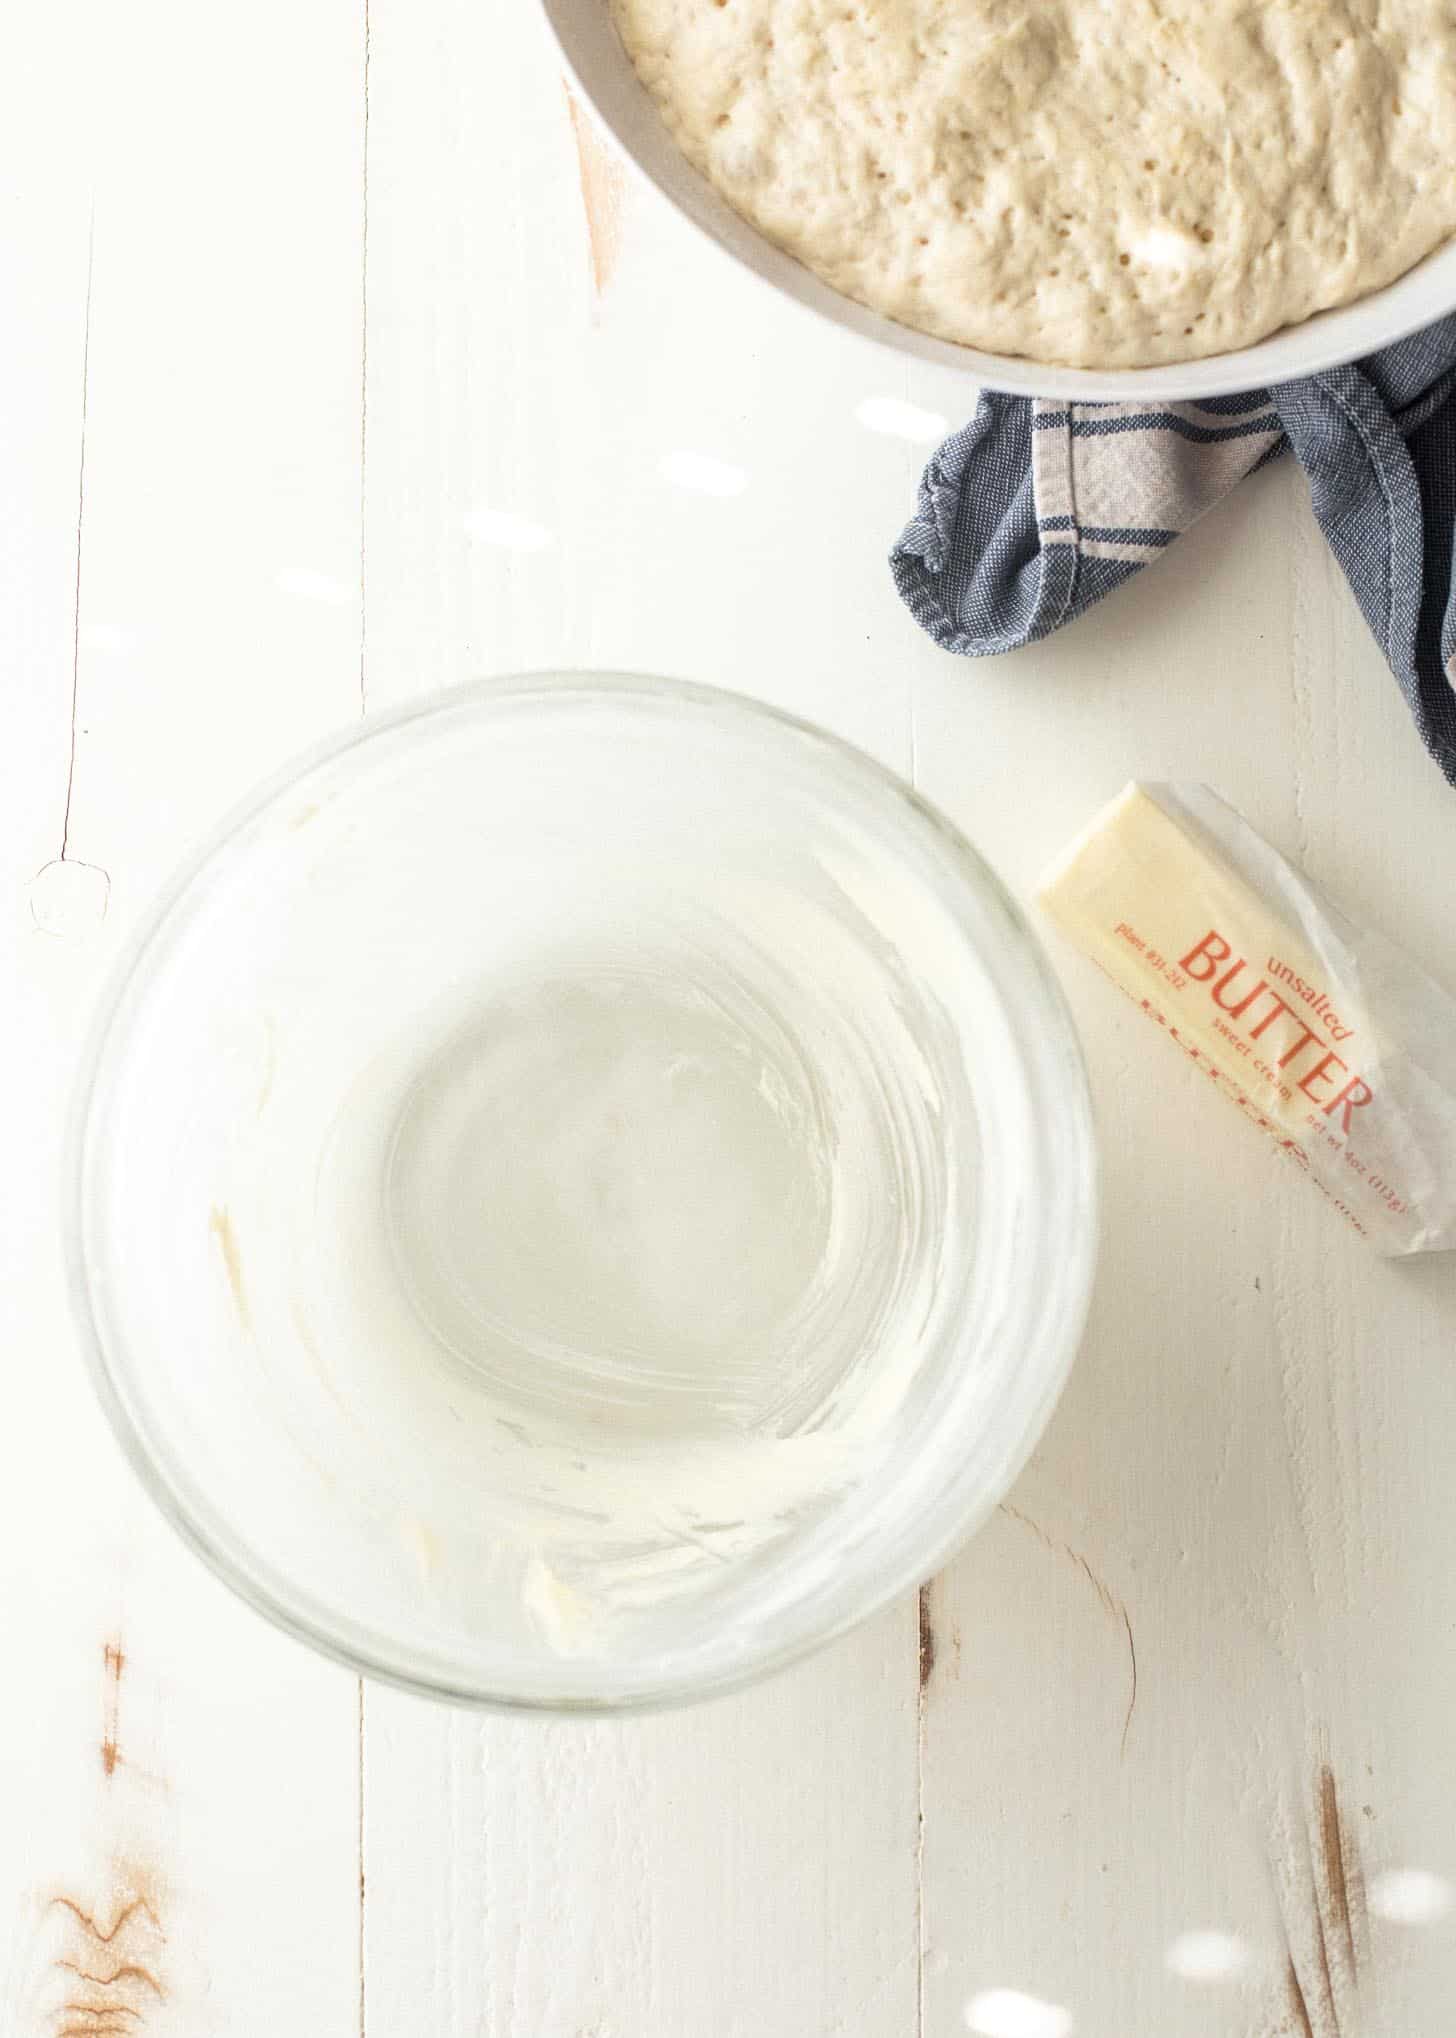
- Unsalted Butter – Softened butter gives the bread a golden, buttery crust and prevents it from sticking to the bowl. Unsalted butter is best because it gives the crust a clean, buttery flavor. Salted butter will work fine in a pinch but will make the crust taste, you know, salty.
Active Dry Yeast vs. Quick Rise / Instant Yeast
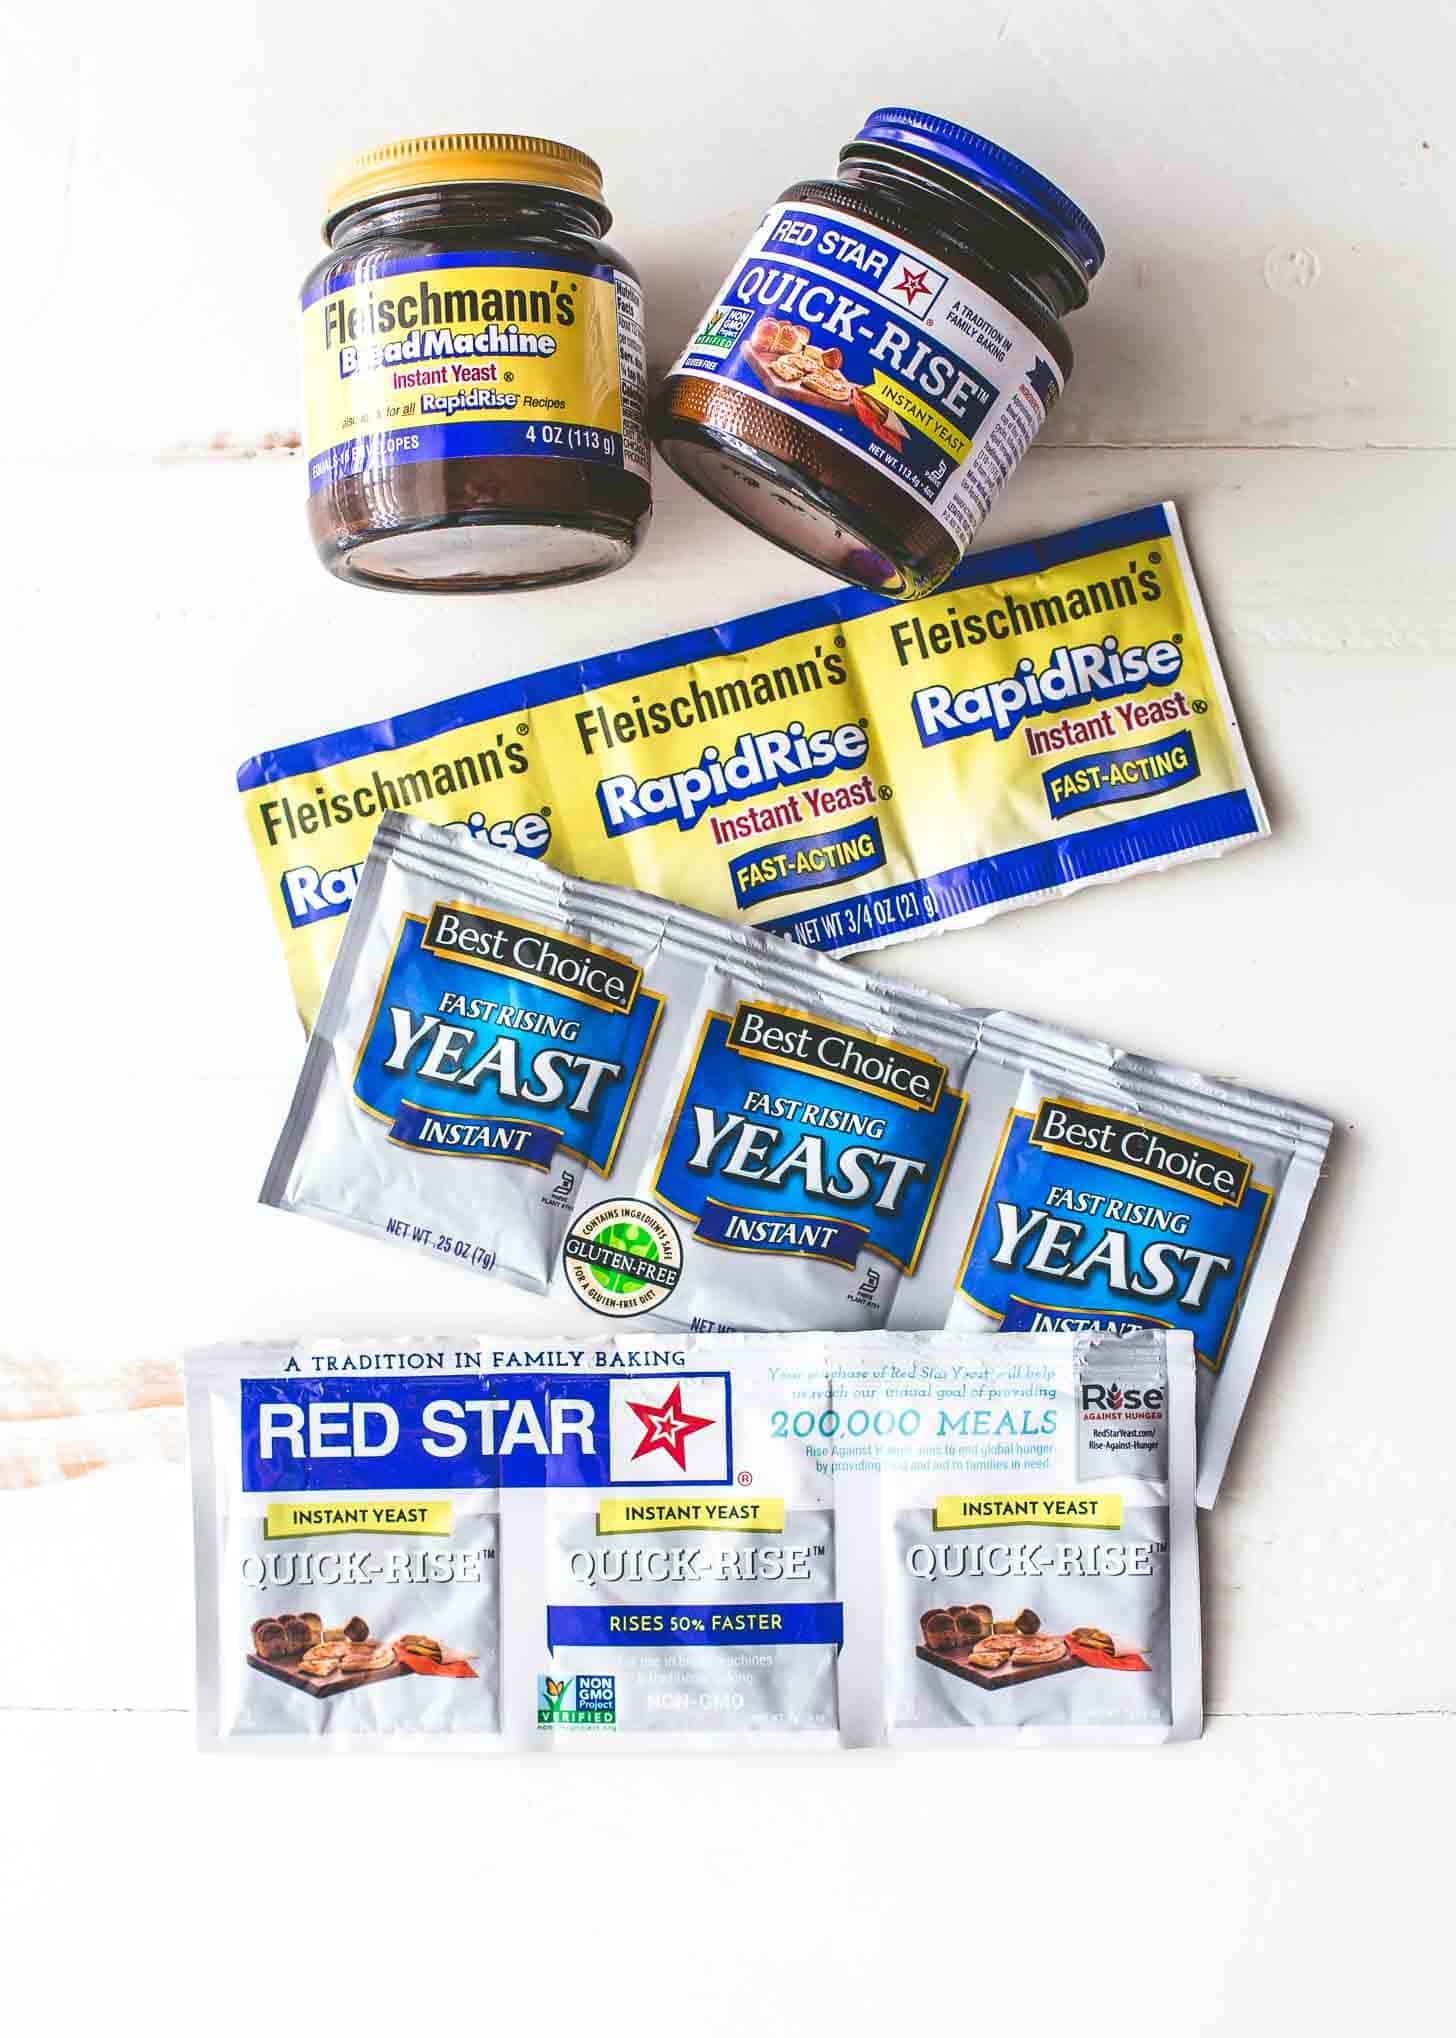
When it comes to baking this basic bread, yeast is the one ingredient that can feel intimidating. Yeast comes in two varieties – “Active Dry” and “Fast-Acting”. Both varieties come in large containers or in small 1/4 oz (2 1/4 tsp) packets that are often sold 3 packets to a strip. The difference is:
- Active Dry Yeast – Should be soaked in water (to “proof”) before it is added to dough and will take longer to rise.
- Fast-Acting Yeast – Can be added directly to dough and will rise more quickly. This yeast goes by many names including Quick-Rise, Bread Machine, RapidRise, or Instant (any of these will work in a recipe that calls for fast-acting yeast).
King Arthur Flour has a great side-by-side comparison with photos of bread baked with Active Dry Yeast and two brands of quick-rise / instant yeast.
How to Make No-Knead Everyday Bread
Now that you have all the details on the what of this no-knead bread, here’s how to make it!
- Combine Dry Ingredients – In a large mixing bowl, whisk together flour, salt, sugar, and yeast.
- Add Warm Water – Pour water over dry ingredients (check the packaging on your yeast and use water at the temperature it recommends) and stir until no dry spots remain. The dough will be very sticky, but just scrape down the sides as you stir.
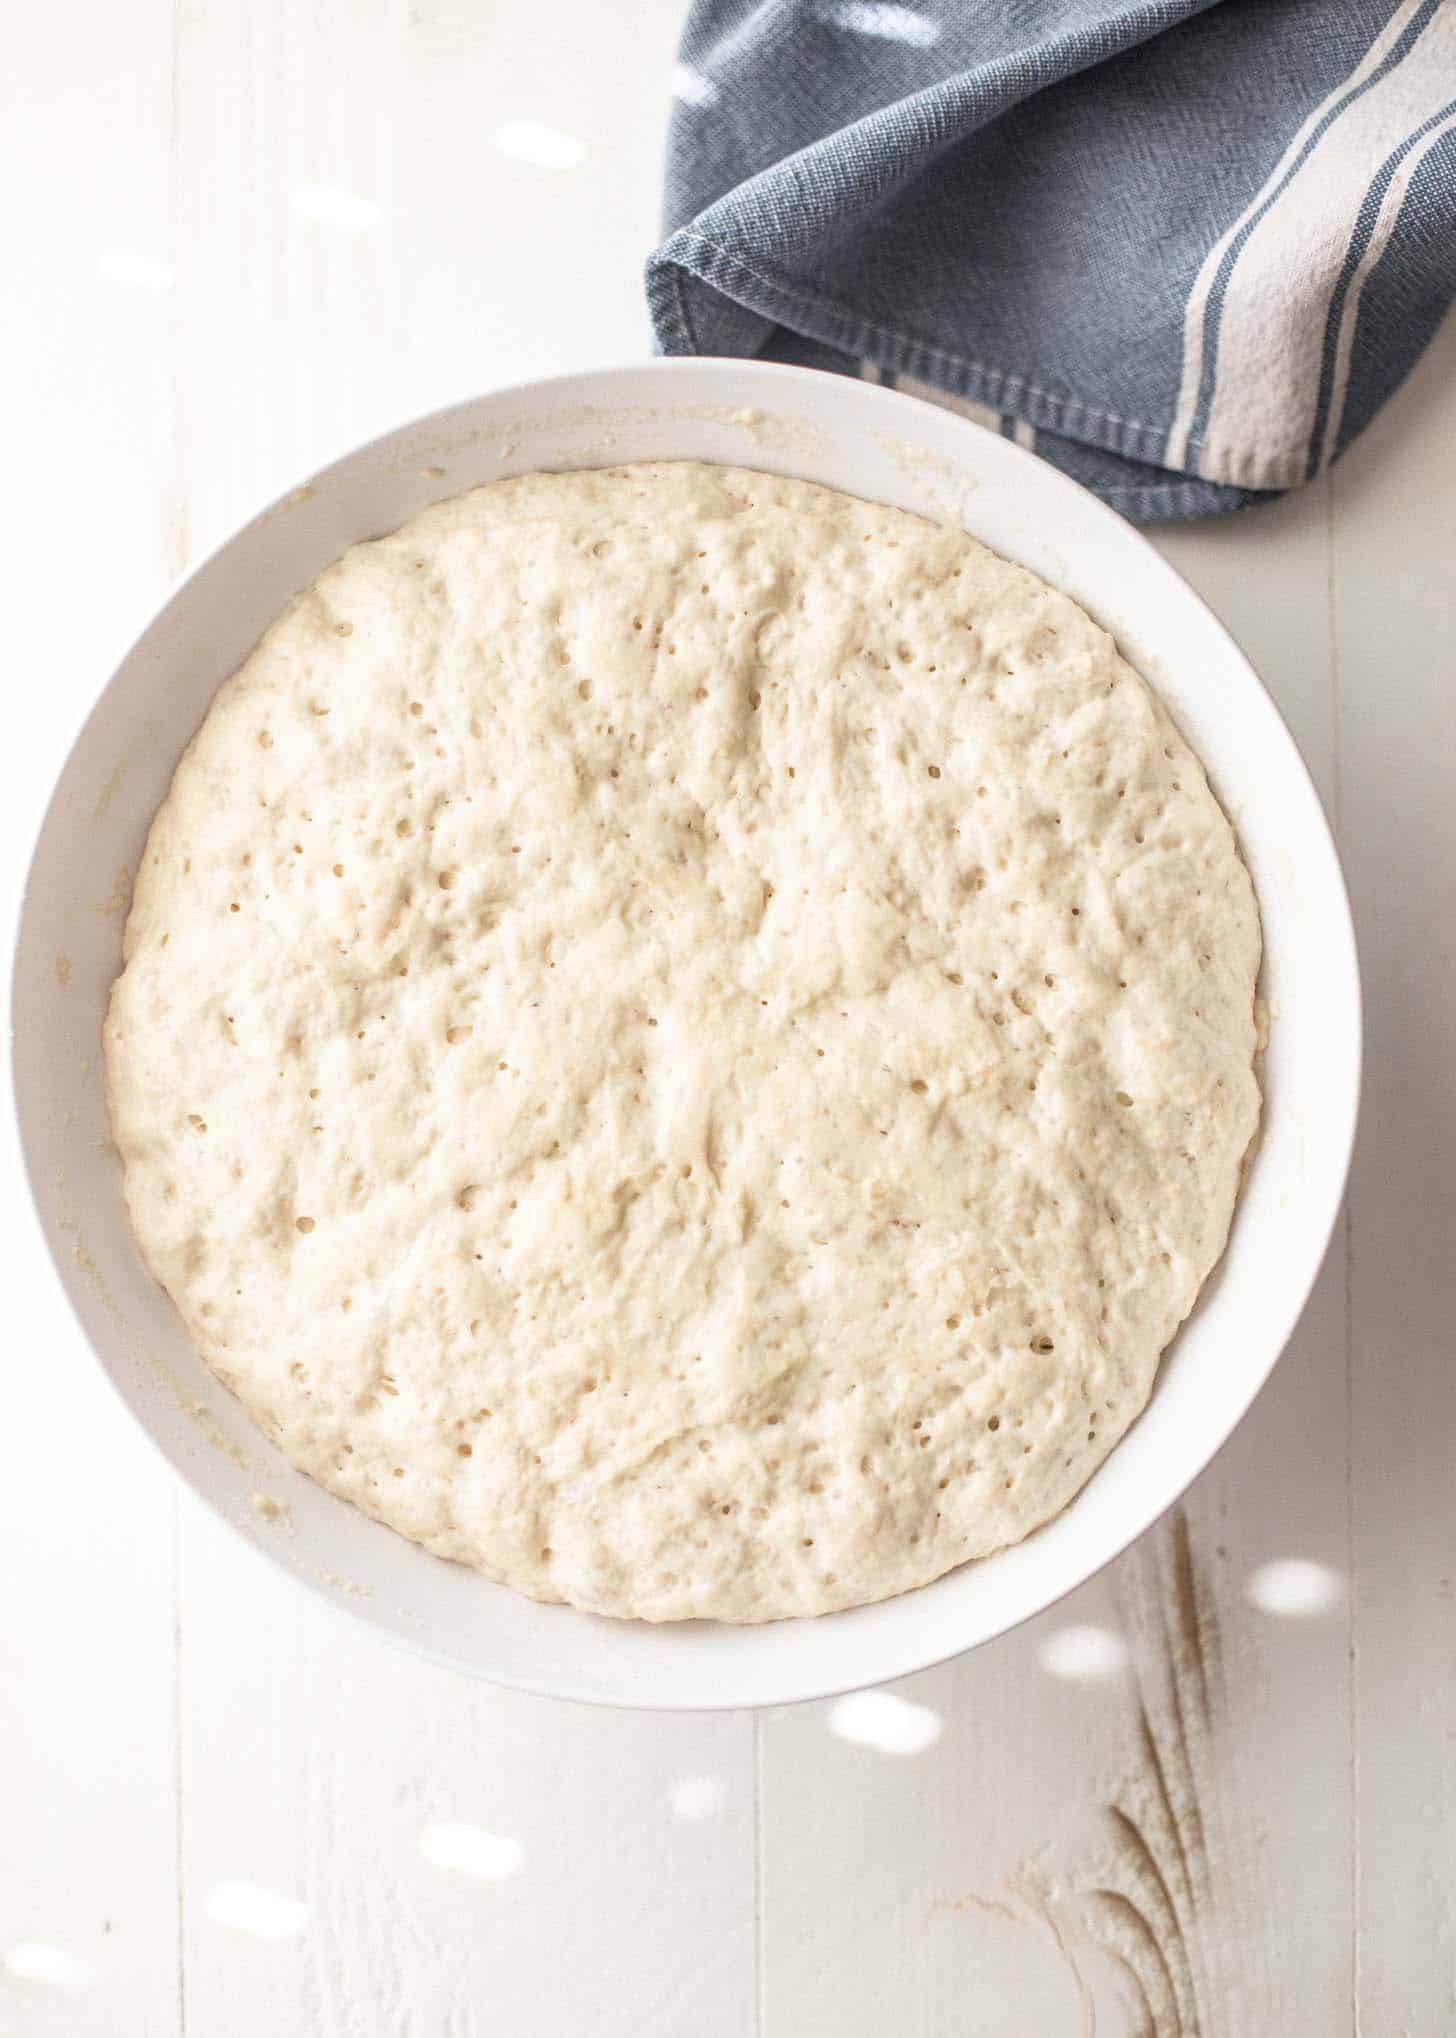
- First Rise (60 minutes) – Cover the dough with a clean dish towel and leave it on the kitchen counter to rise until the surface is topped with large bubbles and it has doubled in bulk, ~1 hour. (If your kitchen is on the cooler side, let the dough rise for 75 minutes.) Don’t worry too much about getting the timing just right here – anywhere between 60 and 75 minutes will give you a great loaf of bread.
- Heat Oven – Once dough has finished the first rise, preheat the oven to 425°F / 218°C.
- Transfer Dough – Rub softened butter over the inside of a 2.5-quart oven-safe bowl (or 2.5-quart round / oval casserole dish). Use a spatula to gently ease the dough into the buttered bowl.
- Second Rise (20 minutes) – While the oven heats up let the dough rise again, 20 minutes more.
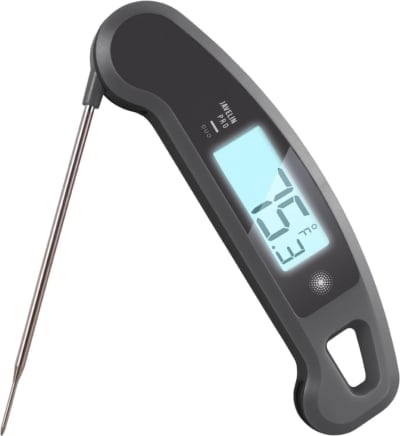
- Bake bread (40 minutes) – Bake bread in the heated oven until the top is golden brown and crisp, 40 to 45 minutes. If you have an instant read thermometer, that is the best way to check and see if the bread is done cooking. The bread should be 190°F / 88°C in the center.
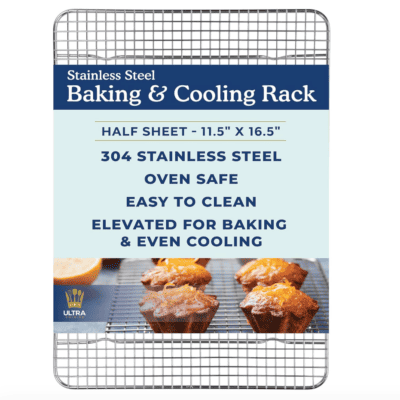
- Cool Bread – Remove bread from the oven (using oven mitts) and immediately turn it out on a cooling rack. Flip it over so that the crust is on the top. Allow it to cool completely before slicing and serving!
More Easy Bread Recipes
Favorite Tools
Affiliate Links
Description goes here

Pin this now to save it for later
Pin It Now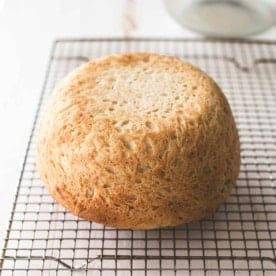
No-Knead Everyday Bread
Equipment
- Large Mixing Bowl
- 2.5-quart Oven-Safe Bowl
Ingredients
- 4 cups All-Purpose Flour (500 grams)
- 2 teaspoons Kosher Salt (I use Morton’s or Diamond Brand)
- 1 Tablespoon Sugar
- 2 1/4 teaspoons Fast Acting or “Instant” Yeast (see note)
- 2 cups Warm Water (see note)(473 milliliters)
- 2 Tablespoons Unsalted Butter, softened (30 grams)
Instructions
- Make Dough: In a large mixing bowl, whisk together flour, salt, sugar, and yeast. Pour water over dry ingredients and stir until no dry spots remain. The dough will be very sticky, but just scrape down the sides as you stir.
- First Rise (60 minutes): Cover the dough with a clean dish towel and leave it on the kitchen counter to rise until doubled in size, 60 minutes. (If your kitchen is on the colder side, let the dough rise for 75 minutes.)
- Heat Oven: Once dough has finished the first rise, preheat oven to 425°F / 218°C.
- Rub softened butter over the inside of a 2.5-quart oven-safe bowl (or a 2.5-quart round / oval casserole dish).
- Use a spatula to ease the dough into the buttered bowl.
- Second Rise (20 minutes): Place dough near the oven and let it continue to rise, uncovered, for 20 minutes more.
- Bake bread (40 minutes): Bake bread until the top is golden brown and very crisp, 40 to 45 minutes. (Use an instant read thermometer if you have one. The bread is done when it reaches 190°F / 88°C in the center.)
- Remove the bread from the oven and flip it out onto a cooling rack so that it is upside down.
- Allow bread to cool completely before cutting into slices or wedges. (Slicing the bread while still warm will cause it to compress and can give it a gummy texture in the center. Resist the urge to slice into the bread until it is completely cool.)
Notes
Nutrition
Nutrition information is automatically calculated, so should only be used as an approximation.


Hi Jess! Hailing all the way from Kuala Lumpur, Malaysia.. I tried and boom! It turned out sssssooooo well!! I wish I can post the pictures here for u to see it.
EVEN my brother-in-law commented it’s delicious and he’s one tough cookie to please when it comes to bread 😂- he loves his bread.
Thank you so much!! 💜💜
Hi Jess, I used 1/3 of whole wheat flour and the balance with AP flour. It came out great. It was light and very tasty. This now will be my go to bread recipe. Thank you again for posting the original Everyday Bread and assisting me in changing it
Thanks so much for letting me know Jim! I’m going to try it!
Hi Jess, I tried it with the 50/50 split on the flours and it worked out fine
I thought it was a little dense, but my wife liked it. I am just trying it now with 1/3 whole wheat flour. I will let you know how it turns out. Thank you again for a great bread 🍞 recipe
Can
Can this be made with whole wheat flour? If so, would it be evenly split between apf & whole wheat flour.
Thanks
Hi Jim – I haven’t tried it with whole wheat flour, but I think it should work. I’d try it the way you suggest and do a 50/50 split between ww and ap flour to start and see how it turns out. I’d love to hear how it goes!
This is my first comment. I LOVE THIS BREAD. Delicious, easy, my favorite recipe. Thank you.
So glad that you liked it!!
Thanks for sharing this post. I really love it. I always eat bread every morning. It saves time and money too because I am busy person.
Can I use bread four instead of all purpose flour for this no knead receipe?
Thanks.
Yes – absolutely! Bread flour works great in this recipe.
Do you think that there is any reason that this couldn’t be baked in a loaf pan to get a more traditional “sandwich bread” shape?
I do it all the time with a few very small changes! https://inquiringchef.com/no-knead-sandwich-bread/
The recipe was delightful. I have several batter bread recipes this was the easiest to make. It was also very tasty. Another recipe I have almost the same added the butter to the dough. Bread stayed fresher longer. I look forward reading and trying some of your other recipes.
I really love these, Thanks for the recipe.
my family will love this.