No-Knead Baguette
Published May 30, 2023•Updated May 14, 2026
This post may contain affiliate links. Please read our disclosure policy.
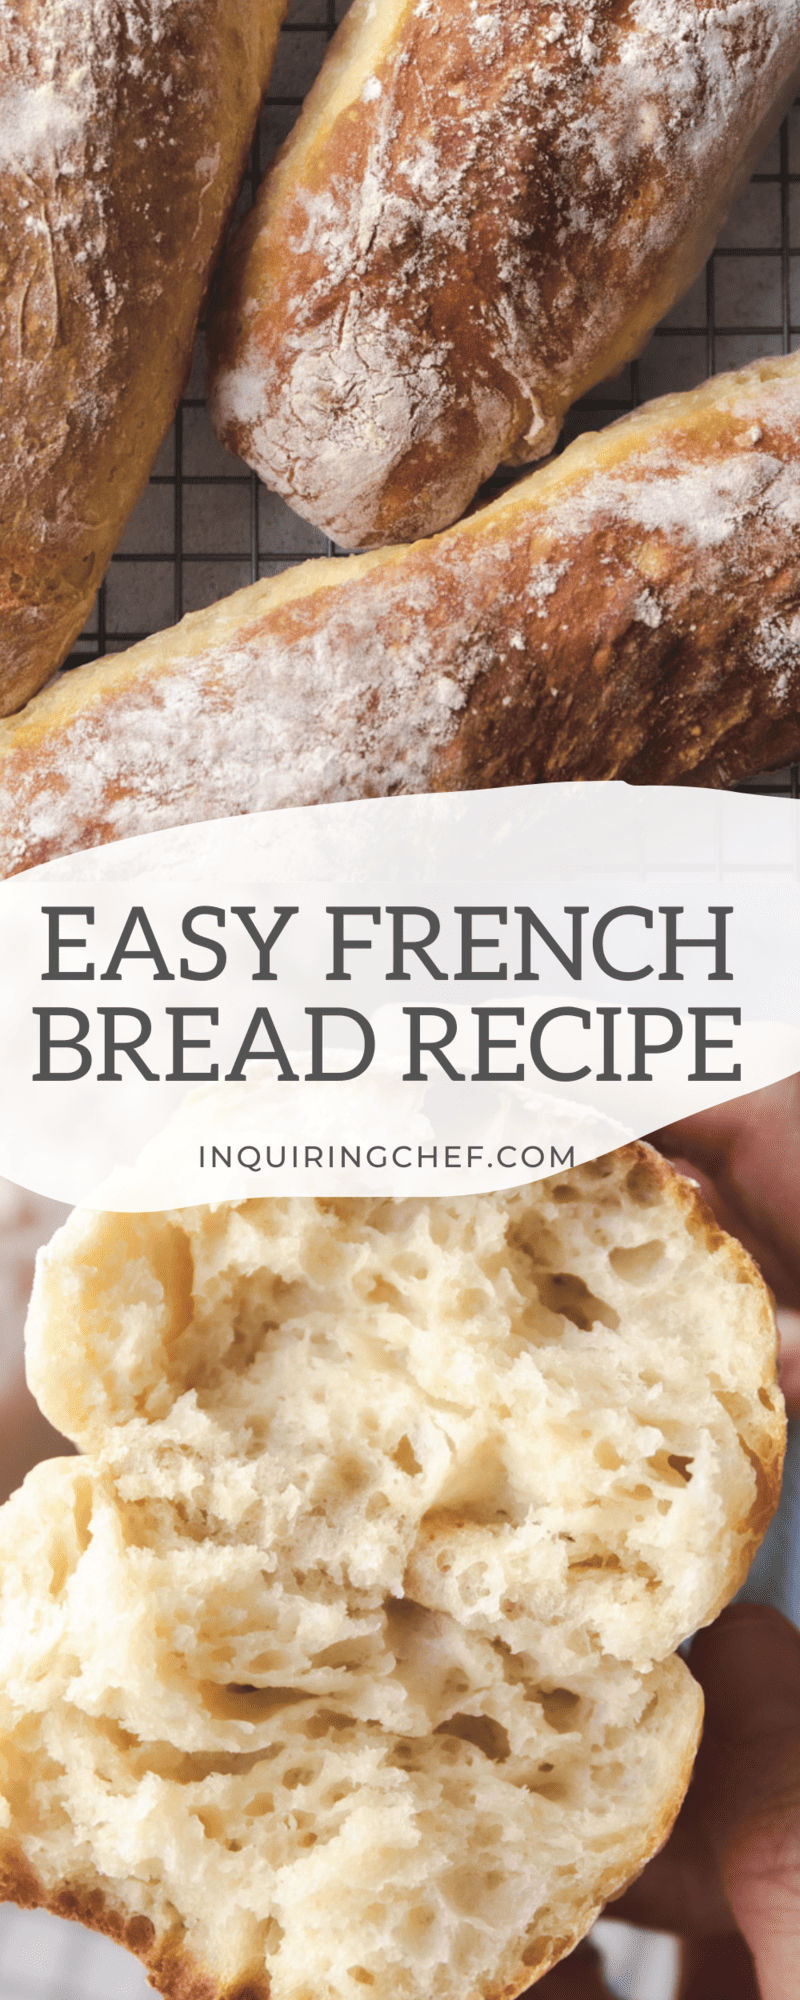
Warm, crispy No-Knead Baguettes are shockingly easy to make. I’ve been making this bread recipe for 15 years and they come out of the oven golden brown with a perfect chewy crust every time. They’re pleasantly rustic because all you need is a 9×13 baking dish and parchment paper to shape them.
As someone who lives in France, there are few things I appreciate as much as a good baguette. If you live in France, you become completely spoiled by fresh bread on every corner, but for the rest of us, we need a way to our baguette needs met even outside of the land of bread. This recipe is the way.
These homemade baguettes are:
- crispy and chewy
- delightfully rustic
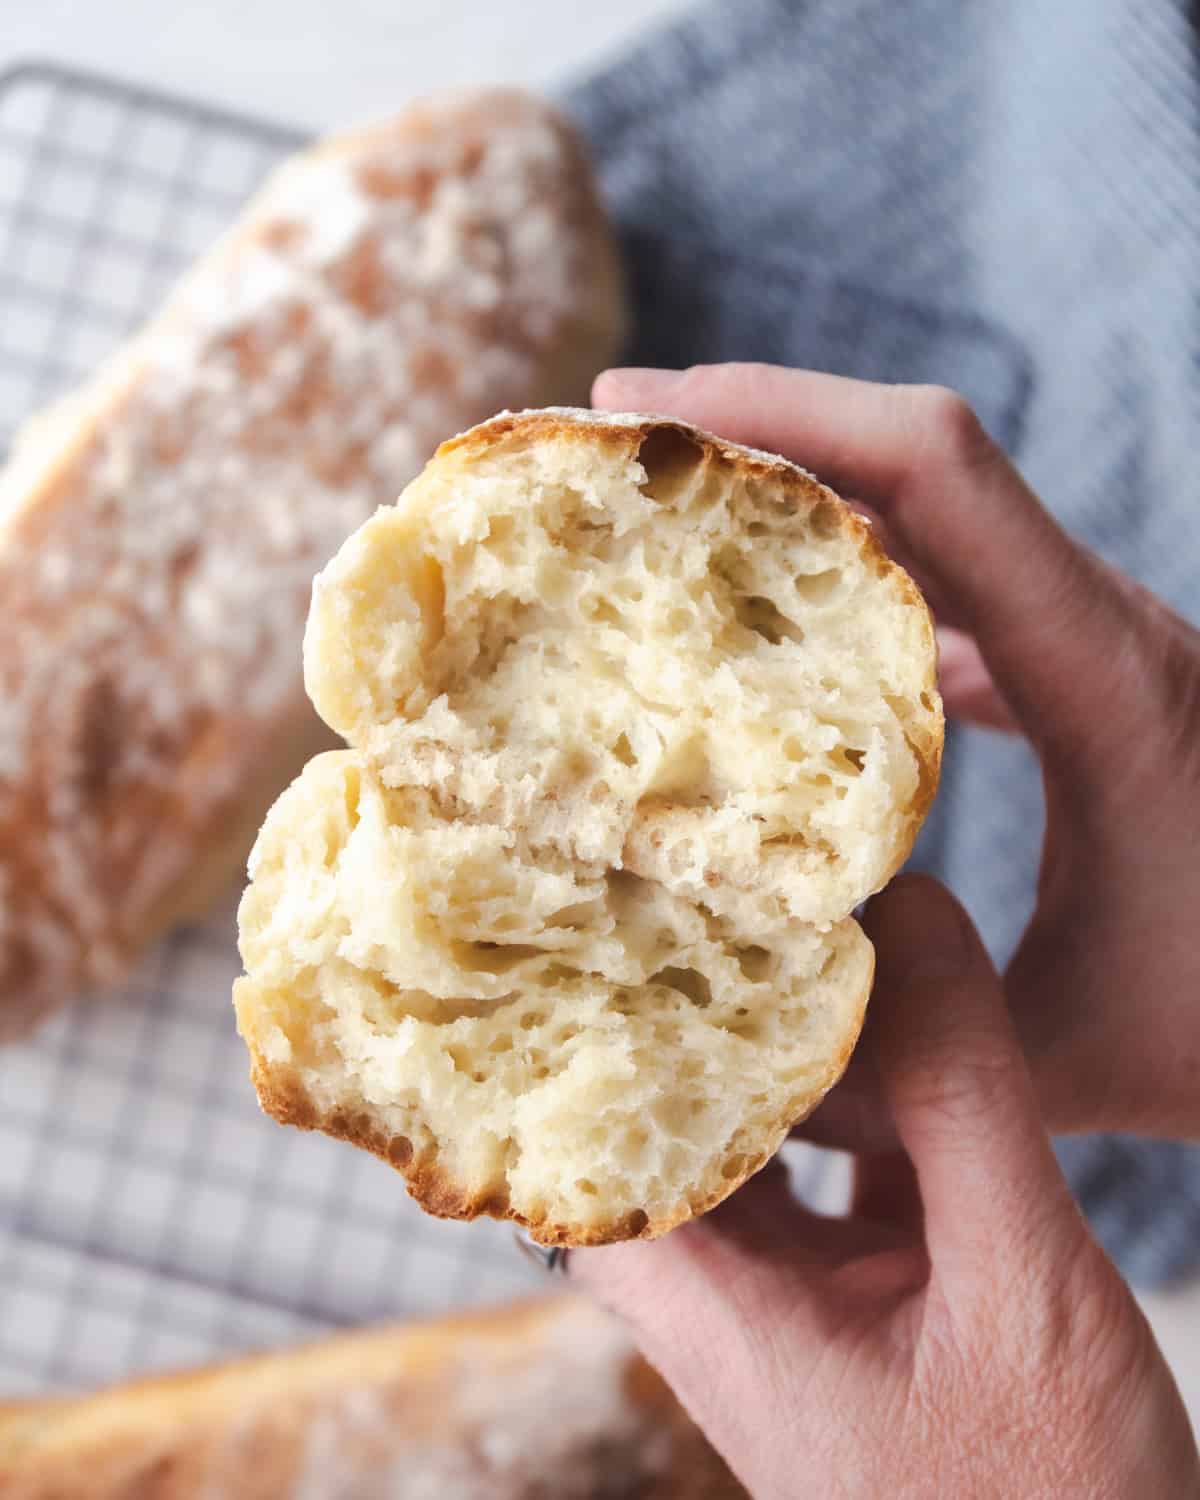
- golden on the top and tender in the center
- perfect for sandwiches
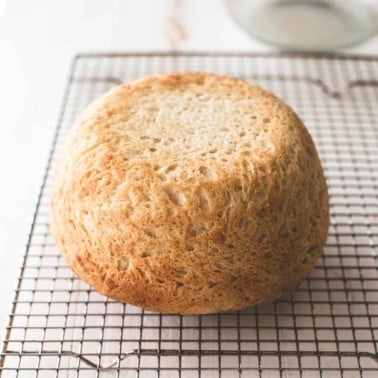
What makes this recipe so great is that it doesn’t require any special equipment (no fancy bread makers, stand mixers, or dough hooks here!), and you can use the all-purpose flour that you likely already have in your pantry. This magical bread comes from my grandma’s recipe. For the story of her bread, read – perfect everyday no-knead bread. But to dive right into making homemade baguettes, keep reading!
What is a baguette?
A baguette is the iconic French bread. What distinguishes this type of bread from other breads is its long, slender shape, and its crisp-chewy crust and tender center. In France, where I live, the go-to baguette is the baguette de tradition. This is regulated by French law and can only be made with four ingredients – flour, water, salt, and yeast.
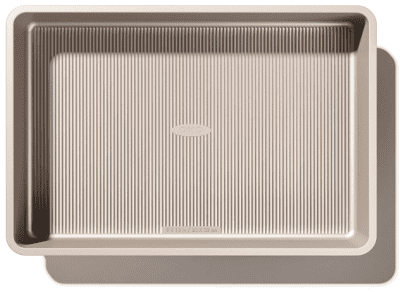
Making baguettes in a 9×13 pan
The trick to this recipe is that you bake your baguettes in a 9×13 pan. The dough here is soft and loose, so be prepared for that. A soft, slightly sticky dough will yield the most tender loaves of bread. Baking the dough in a 9×13 pan helps the loaves hold their shape but eliminates the need for special baking equipment. The result is rustic, imperfect loves that taste incredible.
How to Make It
- Proof the yeast (first rise). Whisk together flour, salt, sugar, and yeast. Pour warm water over the mixture and stir to combine. Cover with a clean dish towel, or a small tea towel, and allow to rise for about 45 minutes.
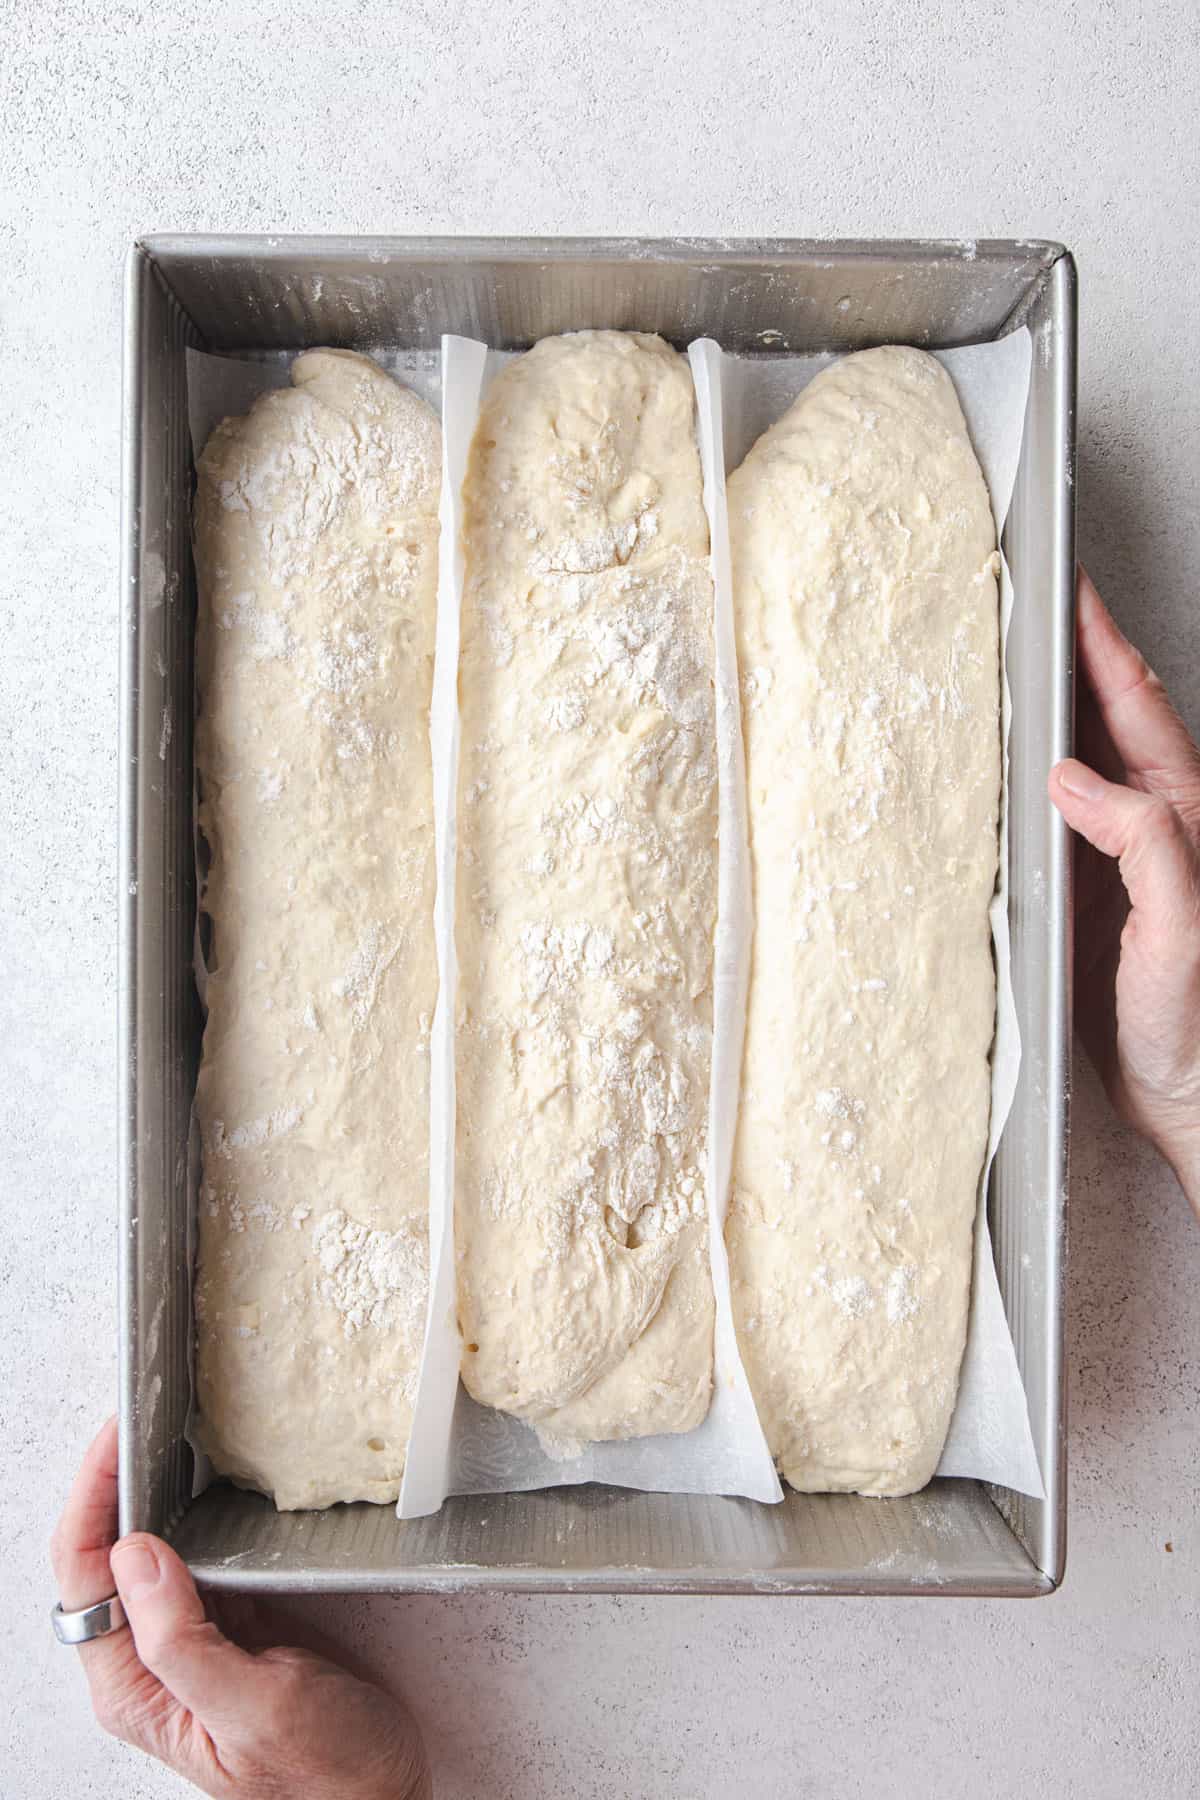
- Prep the baking dish. Lining the dish with parchment will keep the loaves separate and make them easy to remove from the pan. Fold the parchment paper into thirds, then pinch up the folds so there are two dividers for each loaf. Place the parchment in the baking dish.
- Shape the dough. Turn the dough out onto a flour-dusted countertop. Before you begin working the dough, dust your hands and the top of the dough with more flour to prevent sticking. Divide the dough into three portions, then loosely form each into a baguette-shaped loaf. Transfer the loaves into the pan. The dough is sticky! Don’t stress.
- Second rise. Preheat the oven and place the pan with the dough near the oven as it heats. Let the loaves rise 30 minutes more.
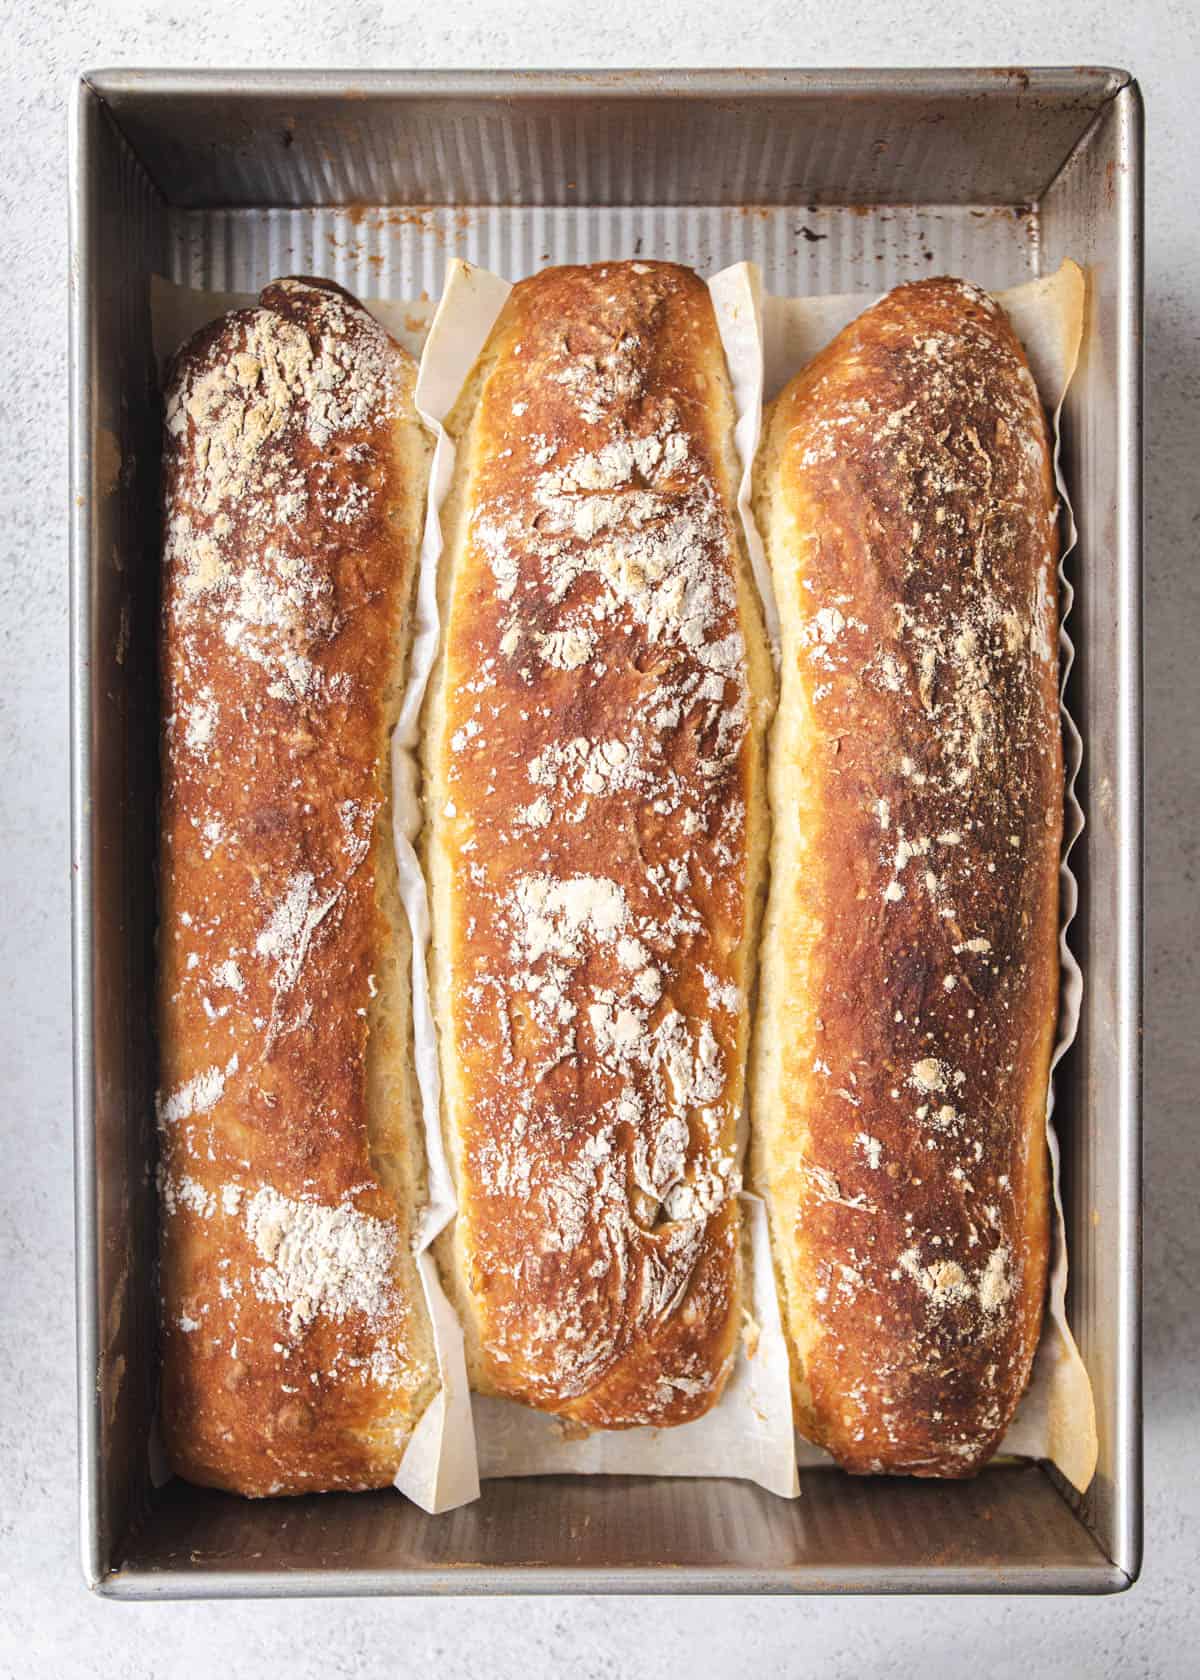
- Bake the bread. Bake for 30 to 32 minutes, or until the top is deep golden brown and crisp.
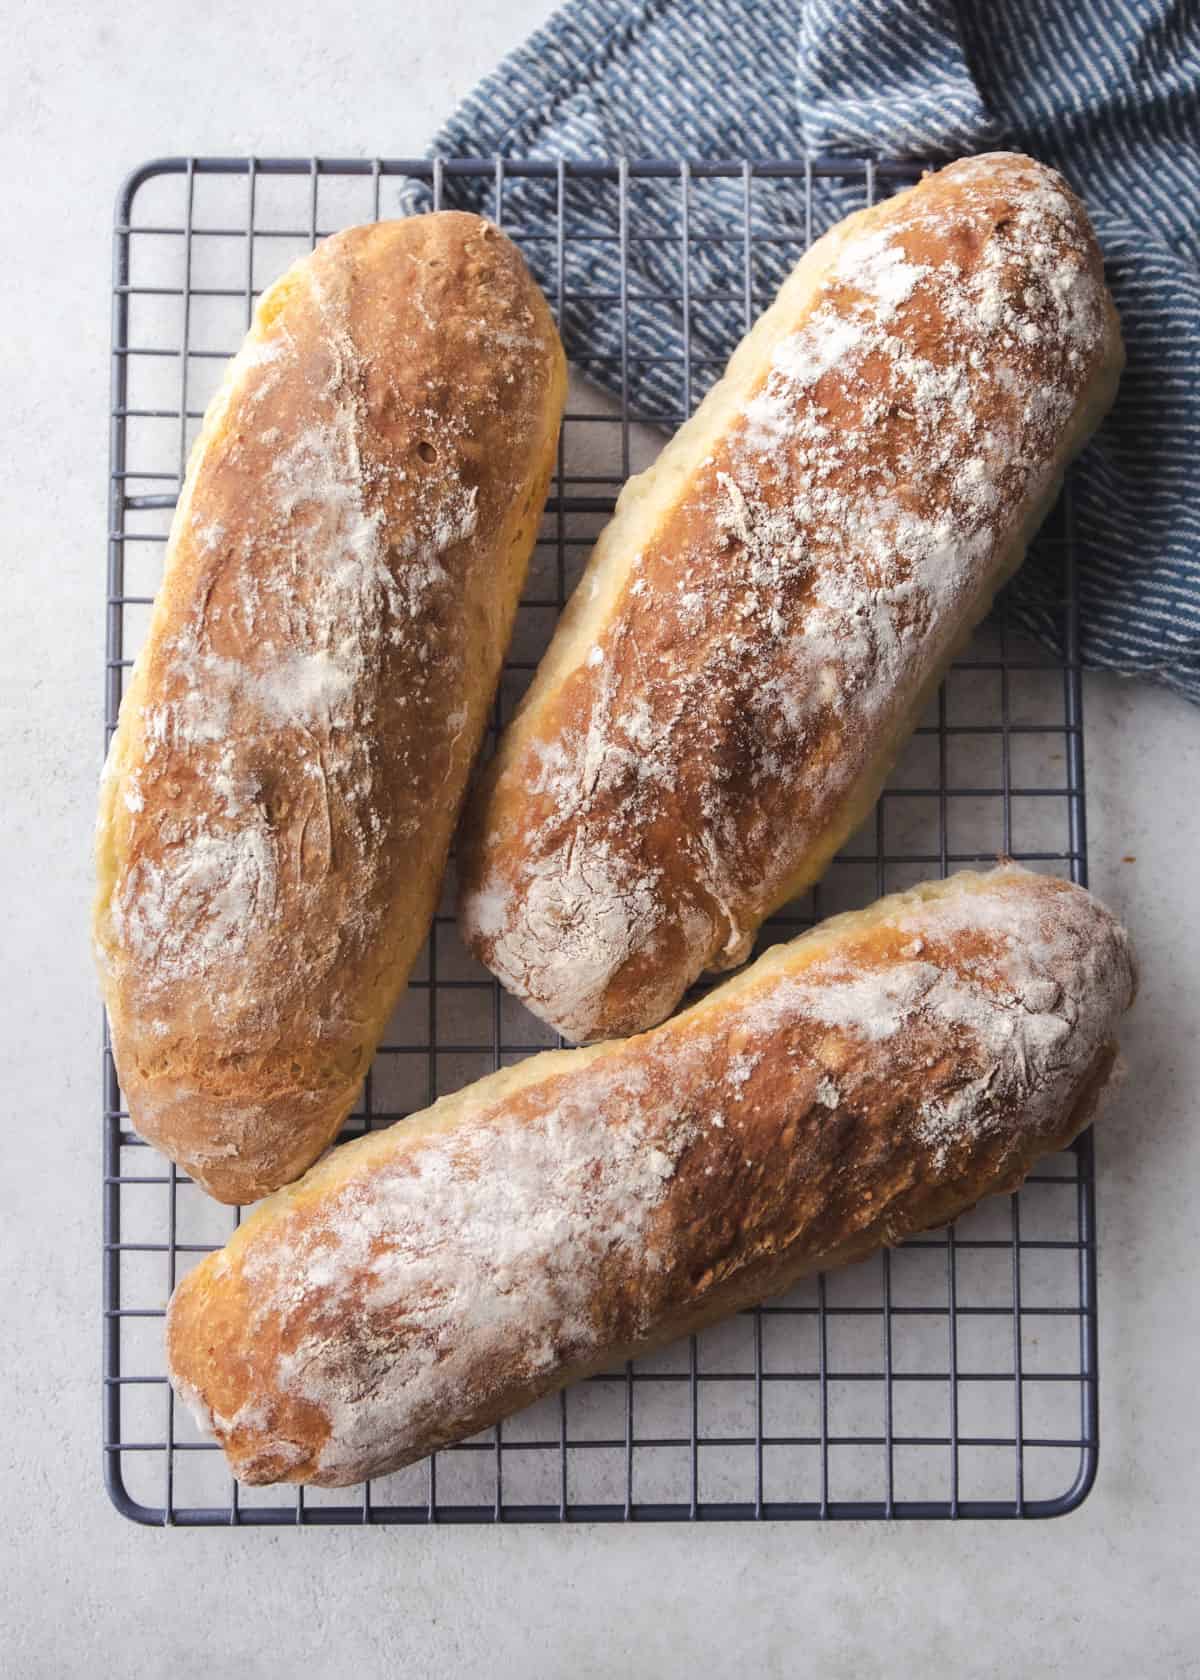
- Cool the bread. Place loaves on a cooling rack, allowing them to cool slightly, and serve!
Pin this now to save it for later
Pin It NowIngredients
- All-Purpose Flour – No specialty flours are needed here. All-purpose flour is great for getting the job done.
- Kosher Salt – Morton’s salt is my go-to salt for this easy bread recipe.
- Sugar – White sugar helps the dough rise so your loaves are soft and fluffy.
- Fast-acting or “Instant” Yeast – Your local grocer will have a few different kinds of yeast, be sure to use Fast Acting, Instant, Quick-Rise, Bread Machine, or RapidRise yeast only.
- Warm water – If you’ve baked with yeast before, then you know how finicky this ingredient can be. Always check the label on your preferred brand of yeast for the most precise water temperature. Water that is too hot or too cold will prevent the yeast from activating.
This Dough is Sticky – Don’t Stress!
I can’t emphasize this enough. This dough is sticky and loose. That results in the best texture in the finished loaves, but makes it a little wild to work with. Be sure to flour your hands before you shape the loaves and do NOT worry if these are uneven and imperfect. They’ll taste great.
How to store baguette
Baguettes will stay fresh and soft for 2 days when stored at room temperature. Use the toaster when you’re ready to enjoy so that the bread is warm and toasty again. To freeze the bread, wrap it snuggly in plastic wrap, making sure the entire loaf is completely sealed, and freeze for up to 6 months.
Recipe Tips
- The kind of baking dish you use with bread can make all the difference. If you have a metal dish, use that for the crispest bread. Glass dishes will work too.
- The most foolproof way to get just the right water temperature for the yeast is by using a thermometer. You want the water to be warm, but not hot. When in doubt, consult the back of the yeast package, and use the thermometer.
FAQs
To keep this recipe as easy and accessible as possible, we eliminated the need to use a stand mixer or a dough hook attachment. You only need everyday kitchen equipment like a large mixing bowl and a baking pan.
The simple trick to make baguettes crisp again is to toast them. Slice them and toast them or put the whole loaf in a 350 degree oven just until crispy on the outside.
All bread (including this one) is done when an instant read thermometer reaches 210°F in the center of the loaf. The top of the baguettes should be golden and crisp.
More Easy Bread Recipes
Favorite Tools
Pin this now to save it for later
Pin It Now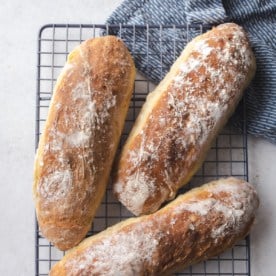
No-Knead Baguette
Equipment
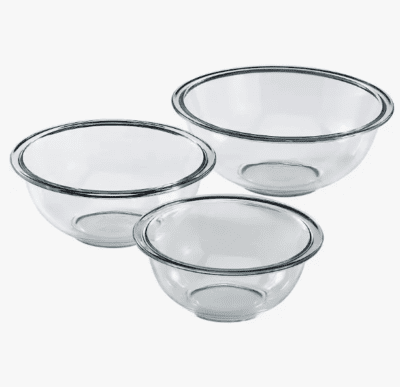
- Large Mixing Bowl
- 9×13 Baking Dish
- Parchment Paper
Ingredients
- 4 cups all-purpose flour, plus more for dusting (500 grams)
- 2 teaspoons kosher salt (I use Morton’s coarse kosher salt)
- 1 tablespoon sugar
- 2 1/4 teaspoons fast acting or “instant” yeast (see note)
- 2 cups warm water (473 milliliters) (see note)
Instructions
- In a large mixing bowl, whisk together flour, salt, sugar, and yeast. Pour water over dry ingredients and stir until no dry spots remain. The dough will be very sticky, but just scrape down the sides as you stir.
- Cover the dough with a clean dish towel and leave it on the kitchen counter to rise until doubled in size, 45 minutes. (If your kitchen is on the colder side, let the dough rise for 60 minutes.)
- While the dough rises, set out a 9×13 baking dish (a metal dish will give you the most crisp bread, but a glass dish will also work). Take a piece of parchment paper that is about 13×16 inches (the pre-cut sheet sheets of parchment paper are perfect for this). Starting with the short end facing you, fold the parchment into thirds. Start with the left long side and fold it in toward the right, then take the right long side and fold in toward the left, like you are folding a letter. Unfold and you should have two folds across the paper. Place the parchment in the pan and pinch each of the folds up so that they serve as dividers for the dough.
- When the dough is done rising, generously dust a clean counter with some flour. Turn the dough out onto the countertop. Dust the top of the dough and your hands with more flour. (Reminder – the dough is very sticky, but just keep dusting with as much flour as you need. That sticky dough will yield light, tender bread.)
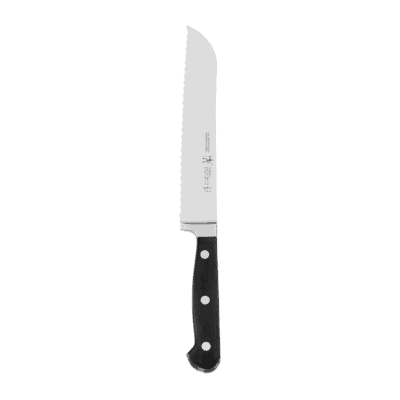
- Use a serrated knife or dough scraper to divide the dough into three even portions. Working with one portion of the dough at a time, gently roll it into a long baguette-shaped loaf, a few inches shorter than the long side of the pan. Transfer the dough into the pan. Repeat with the remaining portions of dough, creating three side-by-side loaves. (If things get sticky, just keep dusting with some more flour. The loaves may not look picture-perfect, but they’ll taste great!)
- Preheat the oven to 450°F / 232°C. Place the pan with the dough near the oven as it heats. Let the loaves rise until rounded and nearly doubled in size again, about 30 minutes more. (Again, if your kitchen is on the cold side, give it 45 minutes to rise here.)
- Bake the bread in the heated oven until the top is deep golden brown and crisp, 30 to 32 minutes. (Use an instant read thermometer if you have one. The bread is done when it reaches 210°F in the center.)
- As soon as the bread is done baking, tip the loaves out onto a cooling rack. (Note: Don’t leave them in the pan or they will steam and lose some of the crisp crust.) Let them cool slightly, slice, and serve!
Notes
Nutrition
Nutrition information is automatically calculated, so should only be used as an approximation.


Your bread is always delicious and this was a great recipe when I needed something quick. Started at 3:45 pm and it was ready for dinner. My oven doesn’t seem to release much heat. I was impressed when my husband devised a suspended pan over hot water method for the 2nd rise.
Yay!! So glad you liked it Karen! And way to go Marc for the impressive solution!
Could you knead in a kitchen aide? For a few minutes, or would it ruin the texture?
The dough is very sticky, so you wouldn’t be able to mix it in the kitchenaid without adding extra flour and that would give it a much more heavy / dense texture. The texture is great without any kneading at all!
I made this last Saturday and Sunday, but both times they came out flat. The second rise was a little long, so I was much more careful the next day, but no luck—flat!
Any idea what I am doing wrong? I am an experienced baker, but not so much with yeast breads. The room temperature is warm enough; I also used a kitchen scale, fresh yeast, and thermometer.
That said, it is delicious!! No fault of the recipe—it’s me! 🙂
Hi Cristin! So glad you liked them but sorry to hear that they turned out flat. The dough is quite wet so they do spread out a bit – they’re definitely a more rustic style. Did your loaves turn out more flat than in the photos? It sounds like you already went through the checklist I would have sent!