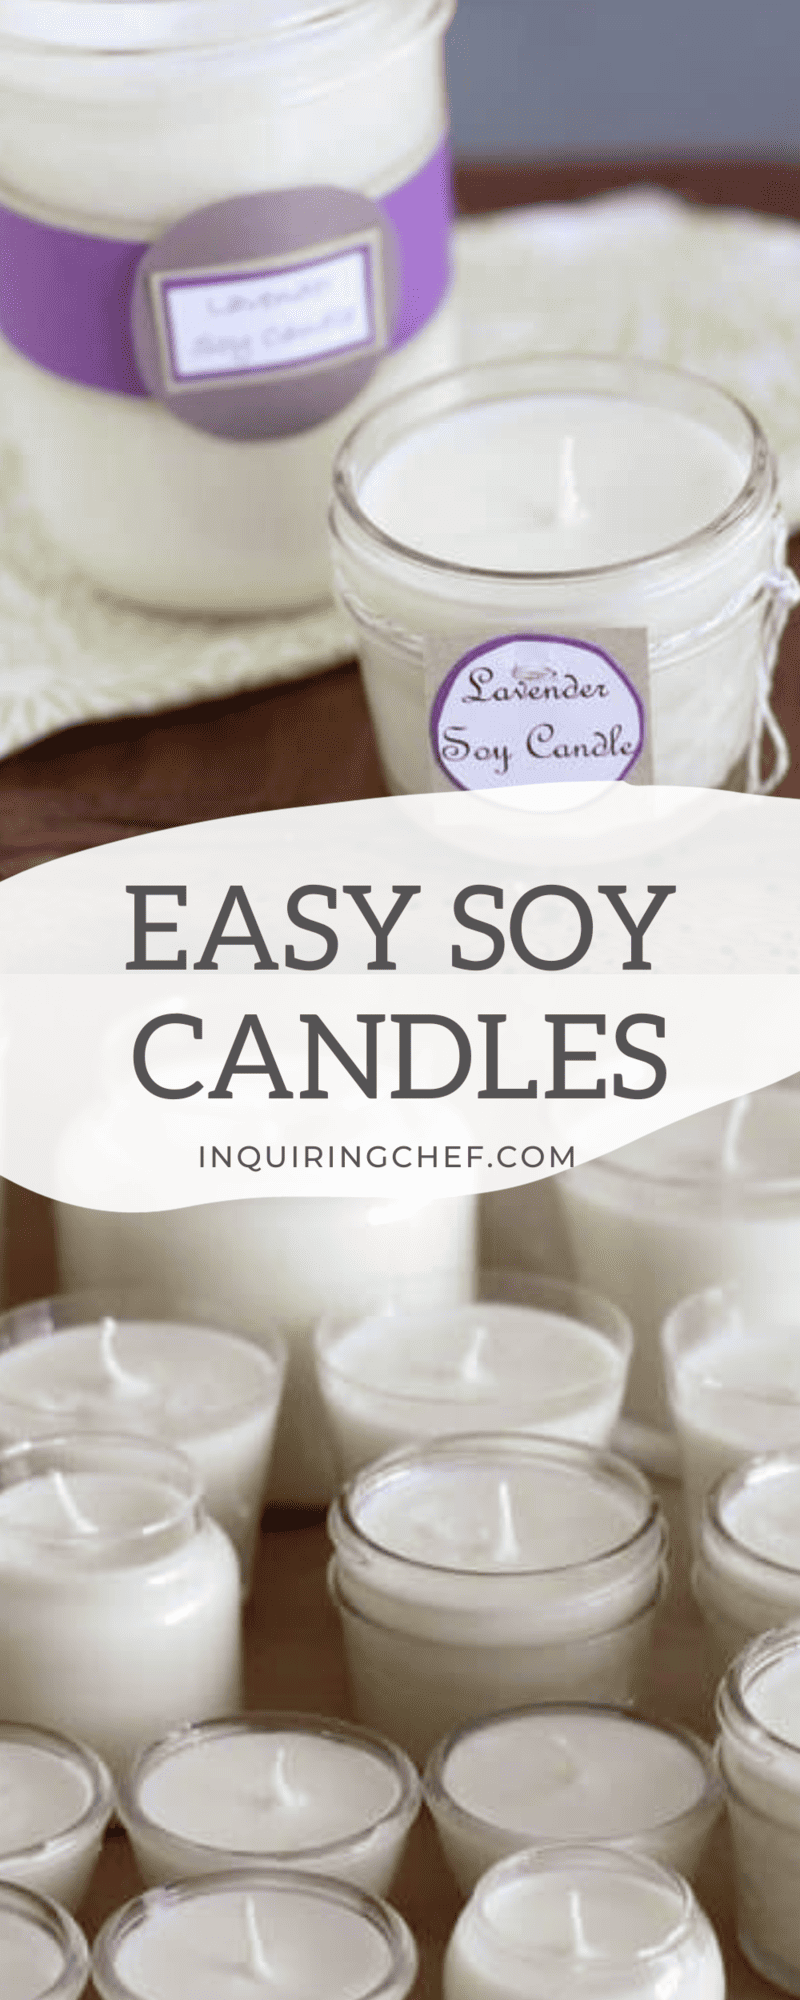
How to Make Soy Candles
Published Dec 01, 2012•Updated Mar 13, 2024
This post may contain affiliate links. Please read our disclosure policy.
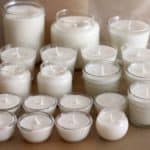
Making homemade soy candles is one of the easiest crafts projects around, and these little beauties make awesome gifts.

In case you ever wondered what $15 worth of soy wax and 30 minutes in the kitchen will get you…
It all starts with a bag of soy wax.

You would be shocked to know how fast we blow through candles around here. I mean fast. I think it’s the coziness factor.

Thanks to all that candle-burning, my collection was looking pretty haggard
But then (probably thanks to Pinterest), I discovered that making soy candles is super easy.
About a month ago, I had friends over and we experimented with making soy candles in all sorts of sizes and “flavors” (using essential oils).
They all worked great, although they don’t project aroma as much as most commercial candles. (Purchasing special oils designed for candles helps to increase the intensity of the scents.)

(Can you spy the candy corns? We made a fall-themed night of it.)
Paraffin vs. Soy Wax
Making these candles is particularly easy because soy wax is not nearly as sticky as the paraffin used in most commercial candles. Soy wax washes right off of everything. If you google paraffin vs. soy wax, there are lots of people out there who will tell you that soy candles burn cleaner than paraffin, but to me, the biggest advantage is how easy and clean these are to make at home.
The Tools
It doesn’t cost a lot of money to make soy candles. All you need are these totally affordable, basic tools.
I often use mason jars like those linked above (especially if making these for gifts), but any jar will work. Candle wicks (also found on Amazon), a wooden skewer (or pencil), scissors, and double-sided tape (or glue) are also good to have around.

The Steps
First, measure a piece of the wick so that it is about 4 inches longer than your jar is tall. Tie a knot in one end. Secure the knot to the bottom of the jar with a piece of double-sided tape. Use a skewer or pencil to push it down and secure it. I get a bunch of these ready at once, so I can pour the melted wax right in.
(Note: you can also buy fancy wicks with a metal piece for the bottom of the jar…not necessary, but makes them a bit easier to secure to the jar.)

Next, melt the wax. The soy wax comes in these nice white flakes.

Melt the wax in a pan over medium heat or in a microwave-safe container and on high (it only takes 90 seconds in my microwave).
4 cups of soy wax flakes = 2 cups melted wax.

When it’s all nice and melted, let it cool just a bit. Then stir in essential oils (about 4 drops per cup of melted wax) to scent the wax.

Pour the warm wax into the prepared jars, leaving about 1 inch of space at the top.
Twist the wick around a skewer or pencil and set it on top of the jar so the wick stays centered.

When the wax is cool (about an hour), trim the wick so about 1 inch of wick remains.

Pretty, aren’t they?

And even nicer once lit…

Wouldn’t these be nice as Christmas gifts?

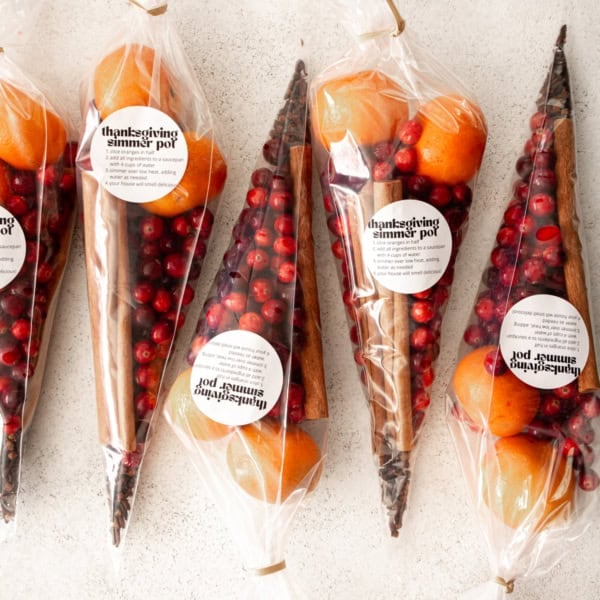
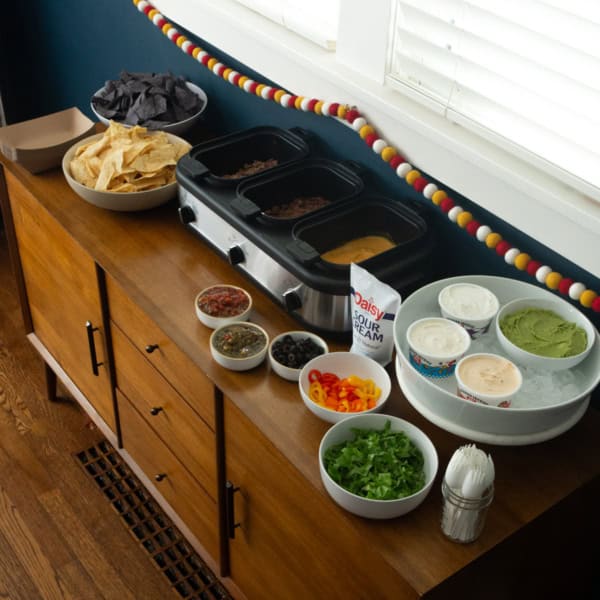
More Homemade Gift Ideas
How to Make Soy Candles
Ingredients
- Clean, dry containers (any combination of sizes that will hold approximately 16 fluid oz. of liquid; i.e; two 8-oz. or one 12-oz. jar and one 4-oz. jar)
- Candle wicks (I use these)
- Double-Sided Tape
- 4 cups soy wax flakes (I use these)
- Essential Oils (4 drops per cup of melted wax), optional
Instructions
- Set the glass containers on a clean, dry dishtowel. Cut a piece of wick for each container that is 4 inches longer than the container is tall. Place a small piece of double-sided tape in the bottom center of each container. Tie a knot at the end of each wick. Press the knot firmly into the double-sided tape to lightly secure. Leave the free end of the wick hanging over the side of the container.
- Fill a sauce pan to the top with soy wax flakes. Place the pan over medium heat. As the wax begins to melt, after about 5 minutes, gently stir it until all of the wax becomes smooth and pourable. (Alternatively, melt the wax in the microwave.)
- Remove the wax from the heat and let it cool for about 5 minutes. Add essential oils, if using, and stir to combine.
- Pour wax into prepared jars, leaving 1 inch of space at the top of each jar. Center the free end of the wick in the wax. Twist the wick around a pencil or wooden skewer. Let the wax dry for at least an hour. Cut the wick short so that only about 1 inch remains.


Thankyou for the easy to follow instructions! My boyfriend and I spent the afternoon making candles to give as Christmas presents and they turned out so perfectly! We’ll be making them again using your instructions
Merry Christmas!
That’s so great, Sophie! These make such fun Christmas presents! Thanks so much for letting me know. Merry Christmas!
We would like to thank you all over again for the beautiful
ideas you offered Janet when preparing a post-graduate research plus, most importantly, for providing many of the ideas in one blog post.
Provided that we had been aware of your blog a year ago,
we’d have been kept from the useless measures we were having
to take. Thanks to you.
Is there a link for the candle labels?
Hi Robin – I actually just made those with construction paper. I’d love to do a printable for folks, so thanks for flagging that for me. I’ll put it on my list!
Hi! I carefully read “How to make a soy candles”. Your step by step guideline is very helpful for us. It is wonderful to learn soy candles at home easily efforts…
Thanks for sharing, I love the glass you used.
Hi! I made soy wax candles and two things happened =(
1) The finish wasn’t as neat as yours (lumps and holes at the surface and inside)
2) When lit, the melted wax or pool was too deep, almost half of the jar….
How can I avoid this?
Thanks!
Josefina
Hi Joesphina! It sounds like you may have poured them too warm. If you wait until your wax is the consistency of a slushie, you’ll avoid those sink holes and pockets Ave your tops will be smoother. The deep melt pool is likely from the sink holes. Good luck!
*and not ave. Auto correct strikes again!
I bought my supplies at http://www.candlescience.com. They were much less expensive than a retail craft store. Just be careful with the shipping! They shipped two 1 oz. bottles from one of their warehouses and the rest of the supplies from a separate warehouse and wanted to charge me separate shipping!!
Hi Jess! Thats an awesome tutorial there. I’ve been in love with soy candles since they started to get popular in Korea but never thought that I would end up making these myself.
Thanks for the contribution to the candle-loving community!
Hi,
I am wondering if you can advise me , do I need to let my soywax tarts prove for four or five days before burning? I find that I don’t get much burn from them once made, and just read that you have to leave then for the scents to melt into the wax,
I use fragrance oil rather than essential oils. what are the differences there?
Thanks in advance.
Tried microwaving paraffin wax after reading your tutorial. Did not go as well as yours looked. I kept have large chunks of paraffin but was too afraid to melt it all the way (140 grams for 4 minutes of high power..) Perhaps I will try again later but it is definitely a huge time saver.
BTW – We’re using a soy wax/paraffin blend which gives superior scent throw compared to pure soy wax. If your looking for the methodology, should melt the paraffin first then blend with the soy wax.
Hi Winston – thanks for your note and comments. I’ve only used a microwave for soy wax – I actually wouldn’t recommend the microwave for paraffin or for a blend as the heating time will likely be different.