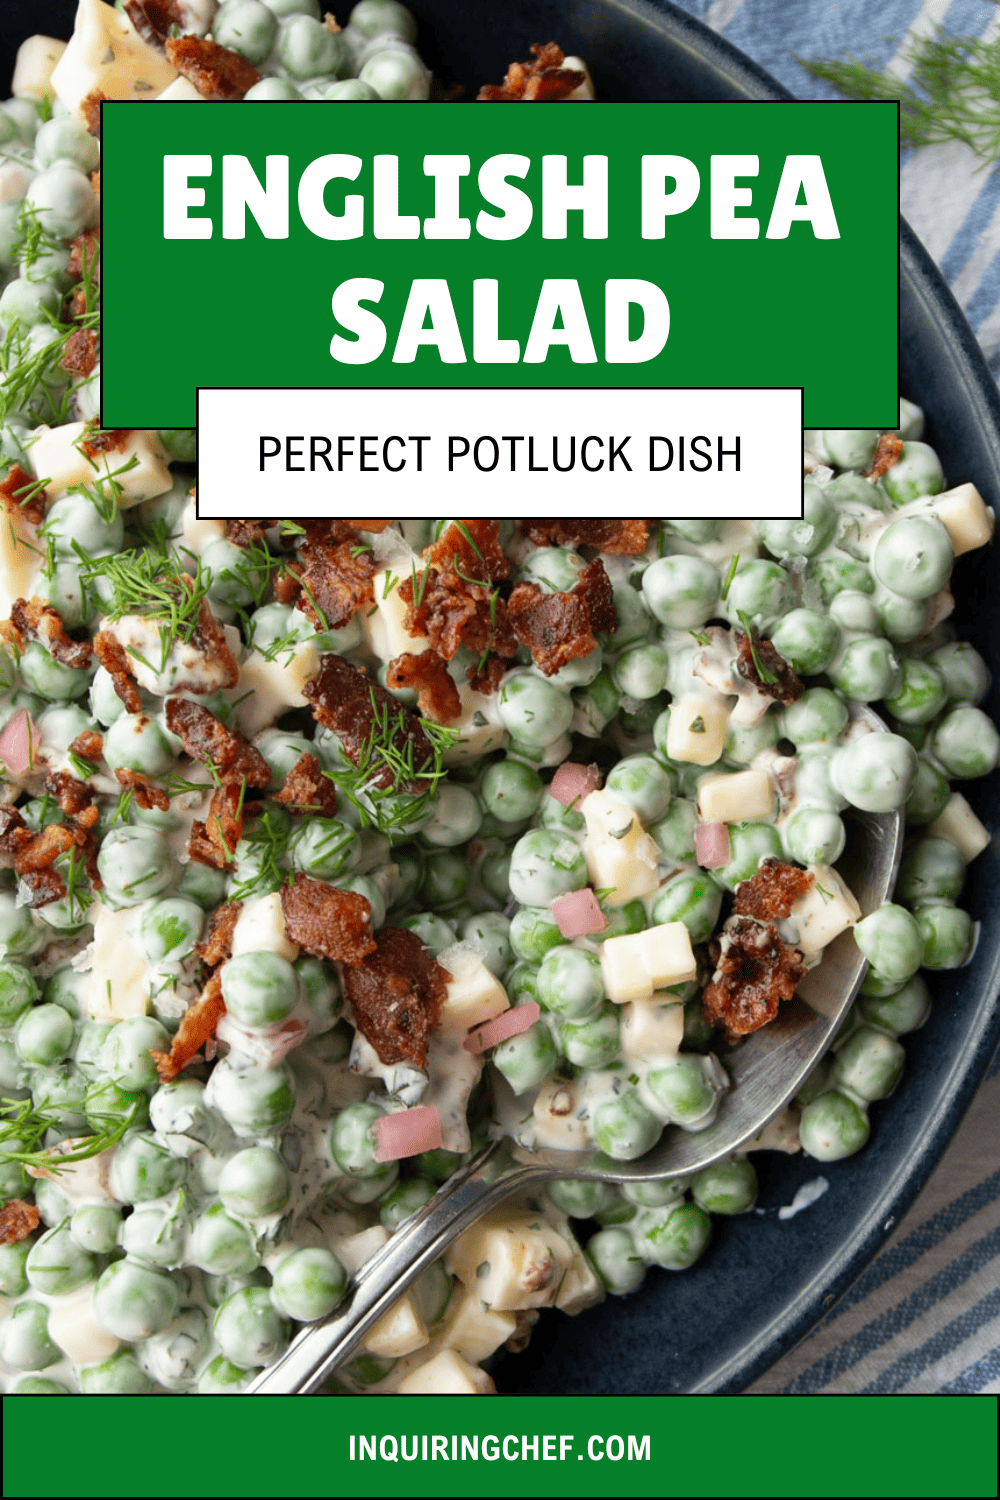
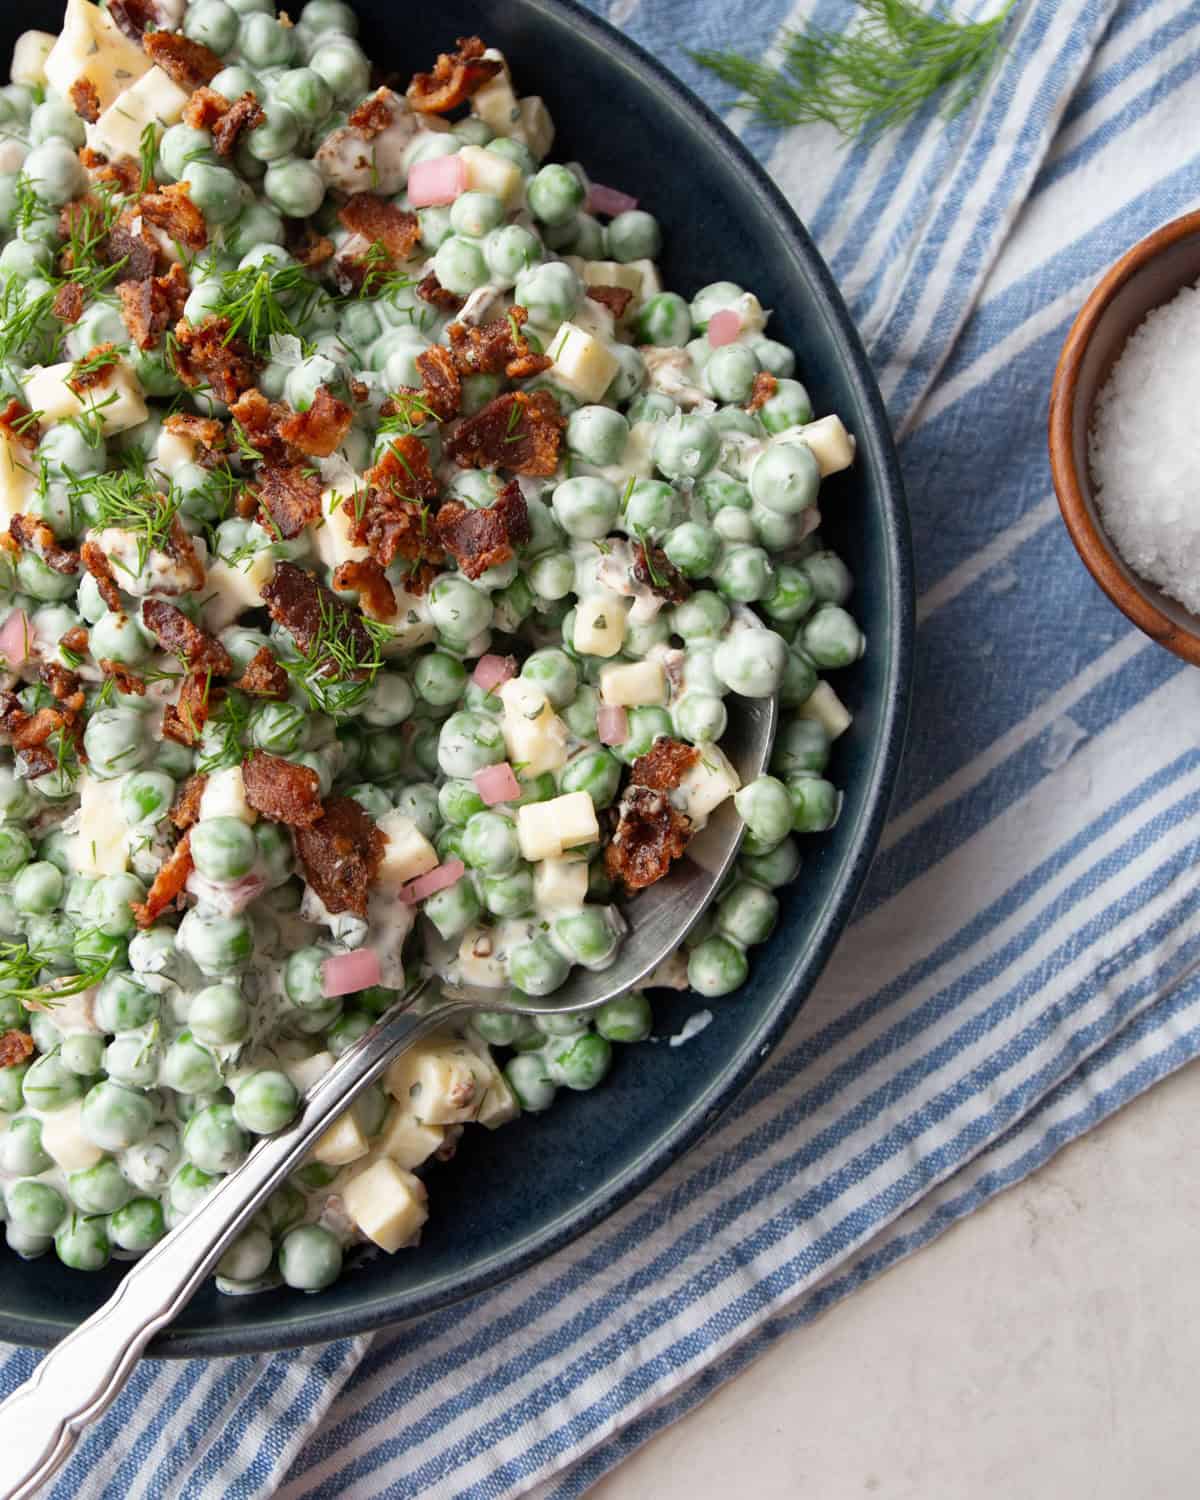
English Pea Salad
Published Mar 21, 2025•Updated Jan 07, 2026
This post may contain affiliate links. Please read our disclosure policy.
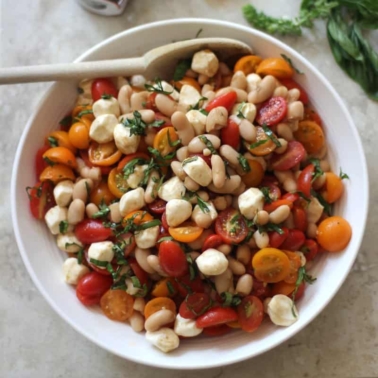
Sweet, tangy, creamy, and crisp, this English Pea Salad has it all! With minimal prep time, it’s ready to eat in about an hour and is so easy to make. Serve it as a light lunch or as a side with your favorite protein.
When I was a kid, family gatherings were always potluck. And in the spring, someone almost always brought an English Pea Salad. I love the balance of the rich cheddar and bacon with the fresh flavor and pop of the peas. I’m not sure that anyone in my family ever used a recipe for this salad. So, I tried to recreate the version that lives in my memory as closely as possible. The creaminess of this classic salad pairs so well with other spring brunch dishes like ham, frittata, and, of course, bunny rolls.
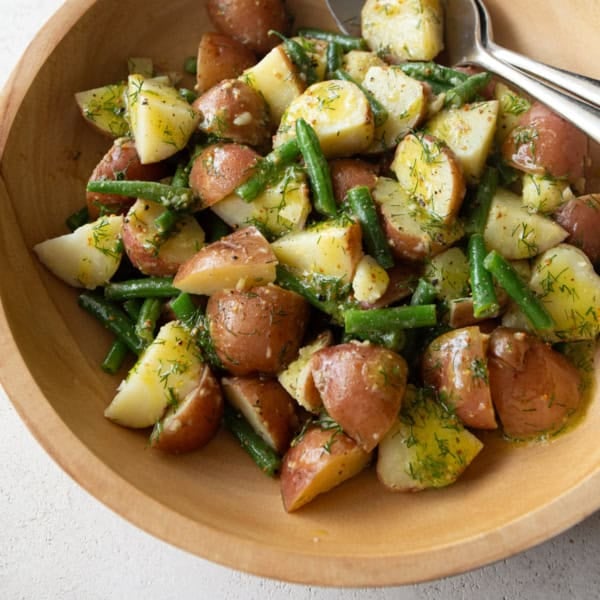
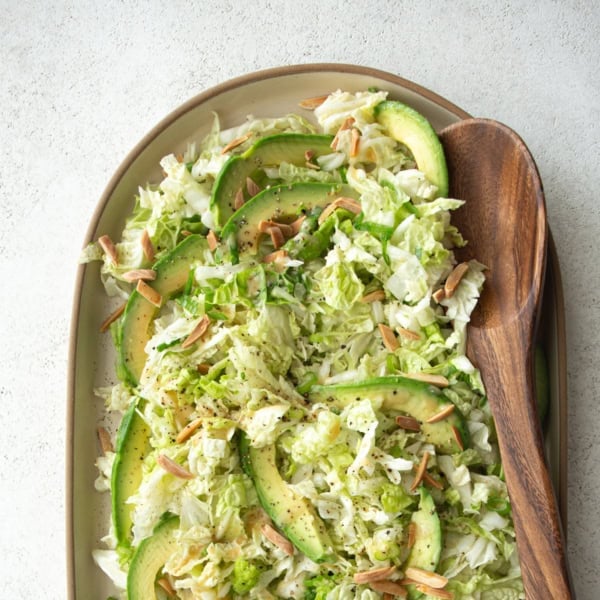
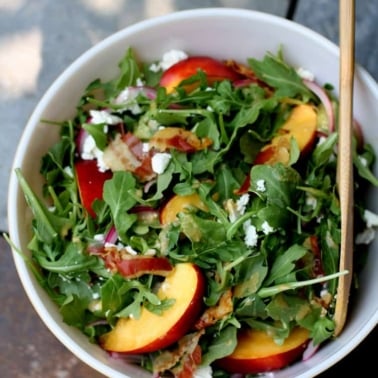
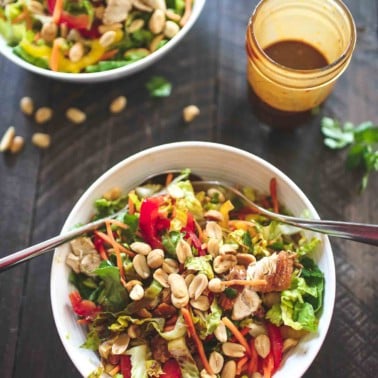
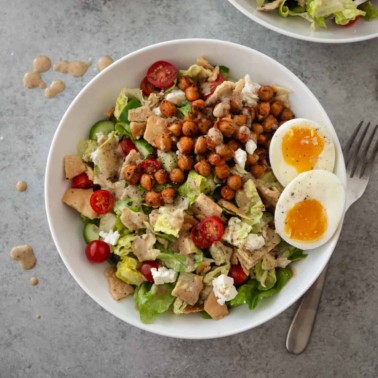
If you love a good potluck salad, you won’t want to miss out on my Summer Salad with Peaches, Corn, and Crispy Prosciutto, Asian Chopped Salad, Pizza Salad, and Instant Pot Pasta Salad, too.
What You’ll Love
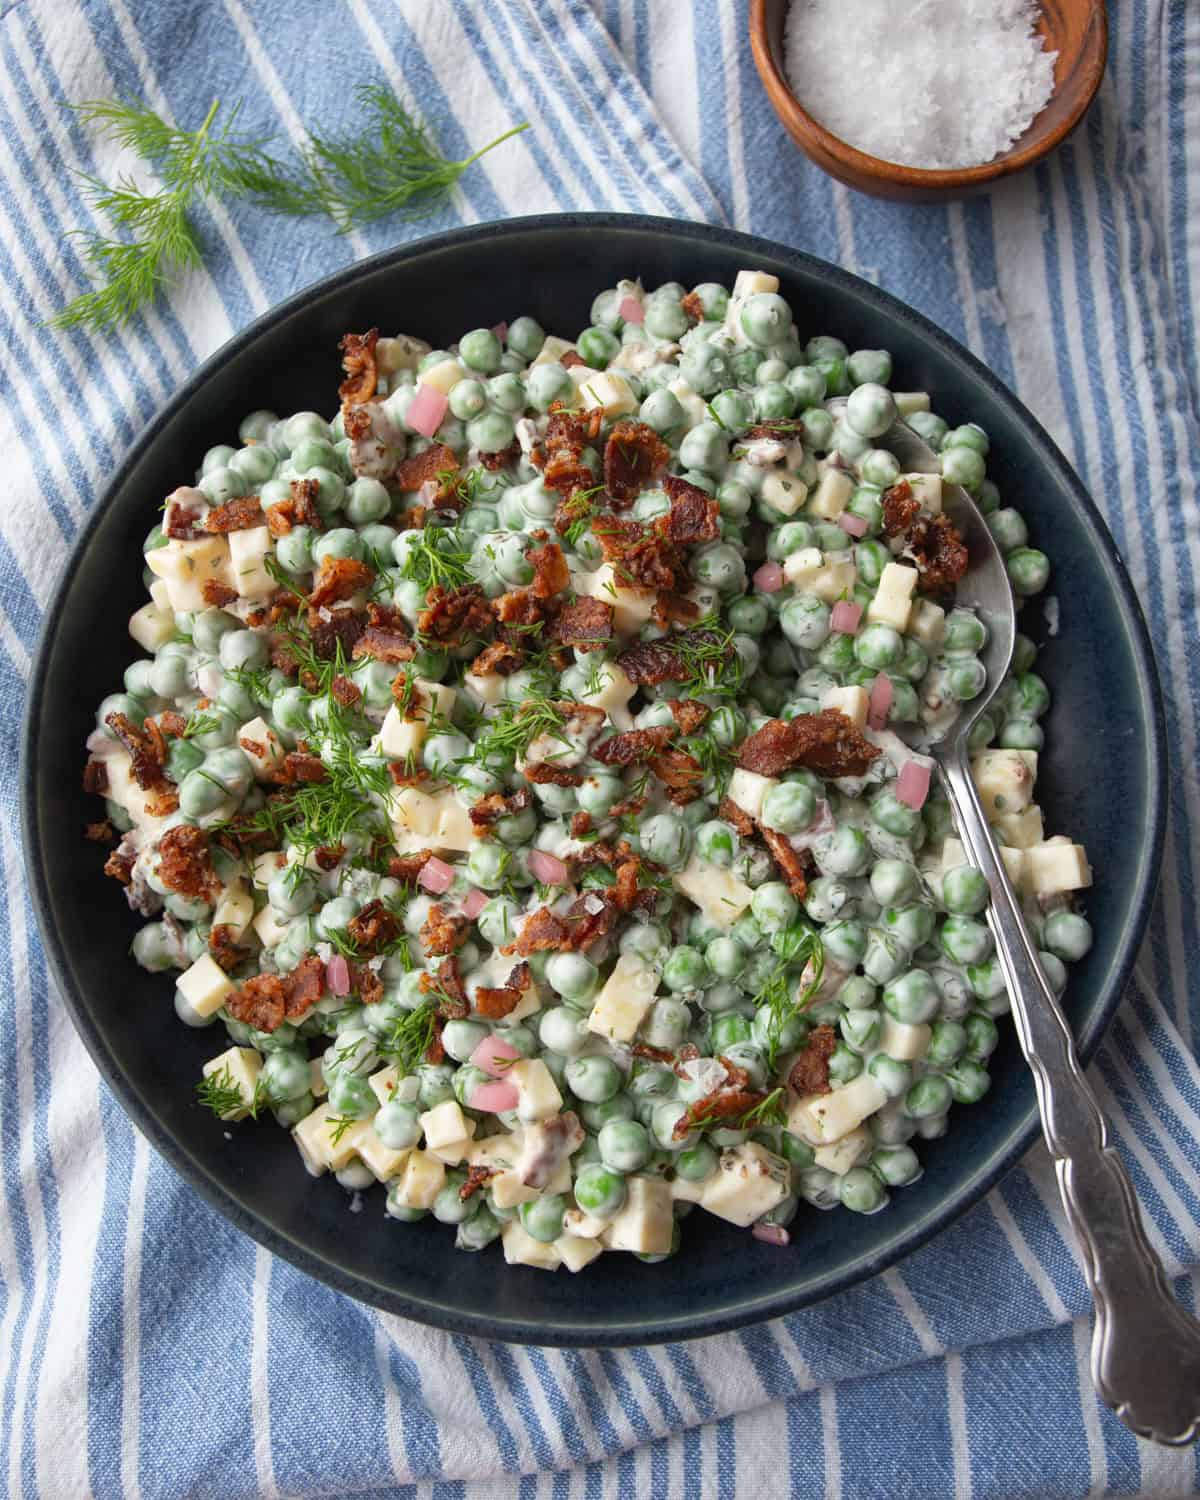
There is So. Much. FLAVOR! Between the sweet, creamy dressing, smokey bacon, savory cheese, tangy onions, and bright herbs, each bite satisfies every tastebud and craving. This salad makes enough for 8 servings and can easily be doubled or even tripled for a crowd. Plus, it tastes better as it sits, meaning it’s great to prep in advance.
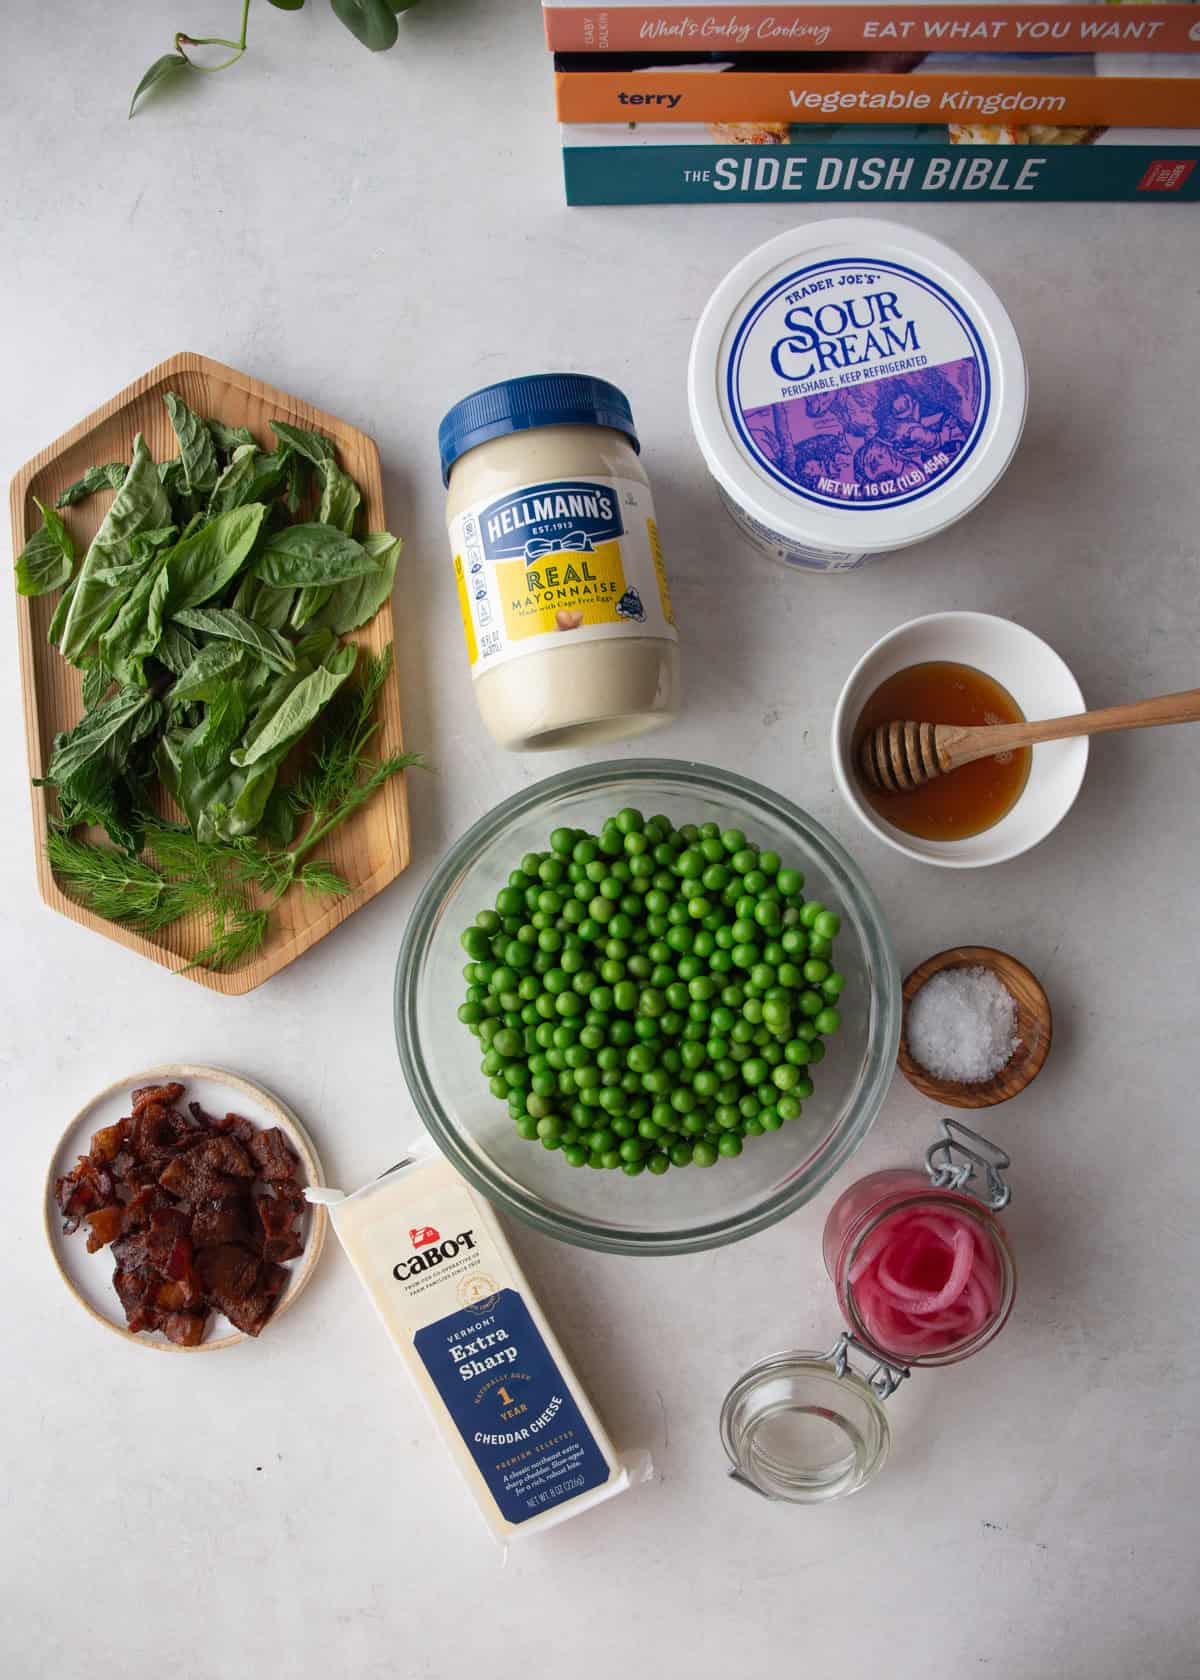
Ingredients
- Green Peas – The star of the show! Use 4 cups of fresh frozen peas.
- Sour Cream and Mayonnaise – These form the base of the dressing. Use full-fat varieties for the richest taste.
- White Wine Vinegar – This enhances the tangy flavor. If needed, apple cider vinegar will also work.
- Honey – Adds a touch of sweetness to balance the rich ingredients. Maple syrup works well, too, if preferred.
- Fresh Herbs – Add a bright, earthy, herbaceous flavor and give the salad lots of depth. You can really use any combination of fresh herbs. I like a mix of fresh basil, mint, and dill. If you don’t have fresh herbs around, just skip the herbs, the dish will still have great flavor and balance.
- Sharp Cheddar Cheese – I love the sharp flavor and creamy consistency this adds.
- Bacon – Use pre-cooked bacon that is nice and crispy.
- Red Onion – Diced finely, this adds a nice crunch and a bit of a kick.
Pin this now to save it for later
Pin It NowSwap Pickled Red Onions
If you don’t love the flavor of raw red onion, try this English pea salad with pickled red onion instead. It gives the salad a fresh, tangy flavor which balances the richness of the rest of the ingredients well.
The recipe below makes a large jar of pickled red onions, and you will only need a small amount for this salad. Use the rest of the pickled red onions in sweet potato tacos or on other salads throughout the week.
How to Make Easy English Pea Salad
- Prepare the peas – If using fresh peas, boil them in a pot of water, drain the water, and transfer them to ice water. Or, defrost frozen peas just until they’re still cold but no longer frozen
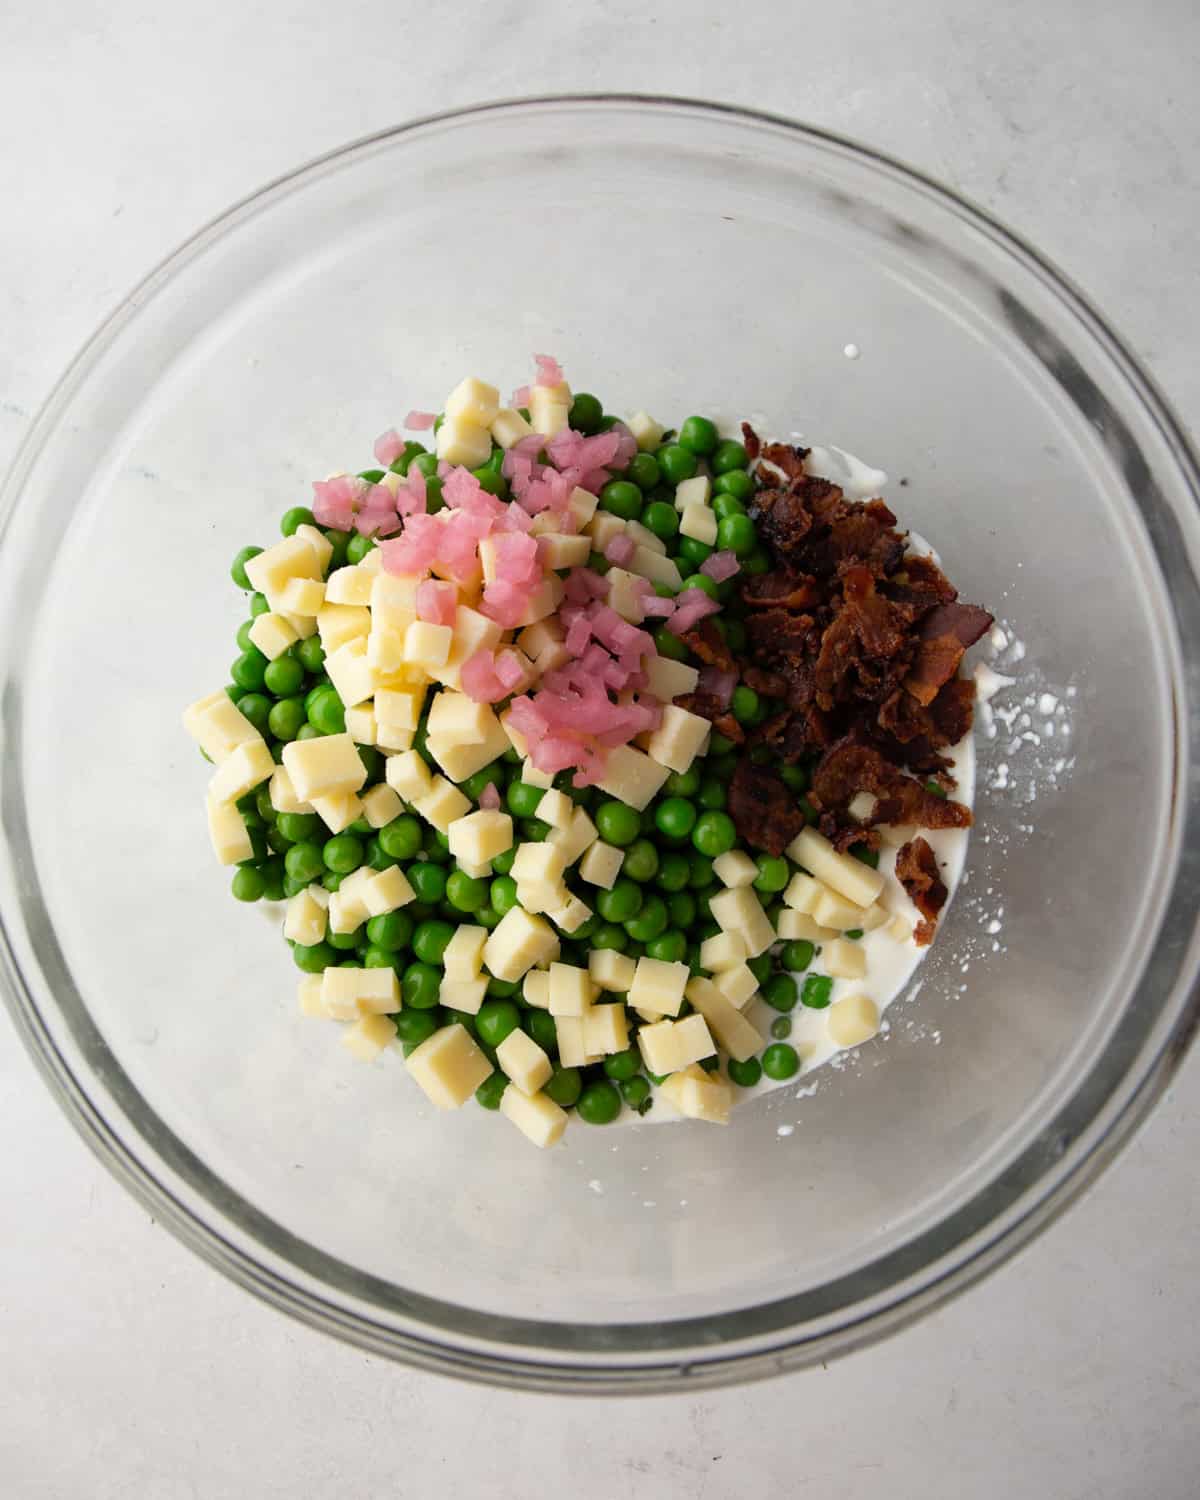
- Make the dressing – Whisk the dressing ingredients in a medium bowl until smooth.
- Combine – Gently fold in the peas, cheese, bacon, and onion. Enjoy with extra dill sprigs for garnish!
Possible Variations
- Make it a Meal – Fold in leftover shredded chicken, diced ham, or hard-boiled eggs.
- Swap the Cheese – Replace the sharp cheddar with feta, goat cheese, or Parmesan for a slightly different taste.
- Incorporate Veggies – Use up any vegetables you have on hand such as celery, cucumber, bell pepper, or radishes.
- Add Mix-Ins – Include toasted almonds, walnuts, or sunflower seeds for a bit of crunch.
Ways to Serve
I haven’t found much this English pea salad recipe doesn’t go well with. However, it’s particularly delicious with main courses like BBQ Pulled Chicken, Tex Mex Burgers, Quinoa and Black Bean Burgers, and Sheet Pan Lemon Chicken Thighs.
Frequently Asked Questions
Yes, green peas are safe to eat raw. However, the texture is much more pleasant when they are blanched, which just means that they are boiled briefly and then plunged into ice water. This makes them softer and easier to digest.
You can store leftovers in an airtight container in the refrigerator for up to 2 days. Just keep in mind that the bacon will lose some of its crunch as it sits. So, if possible, I recommend leaving it out until just before serving. Also, make sure to give the salad a good stir before serving to redistribute the ingredients.
More Fresh Salad Recipes
Favorite Tools
Pin this now to save it for later
Pin It Now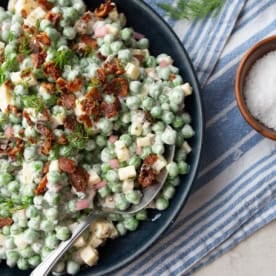
English Pea Salad
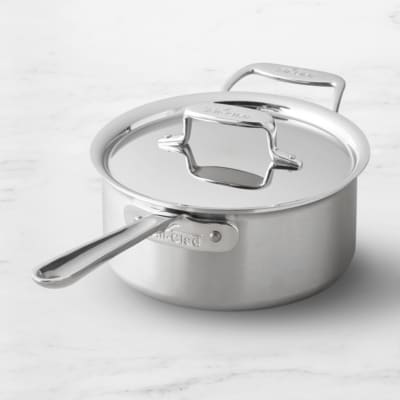
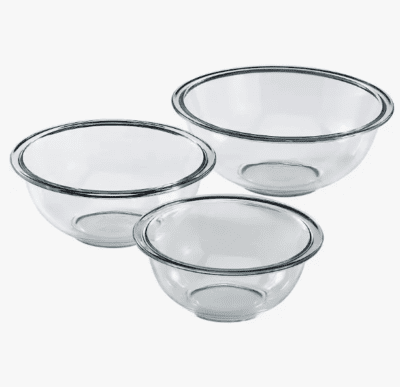
Equipment
- Large Saucepan
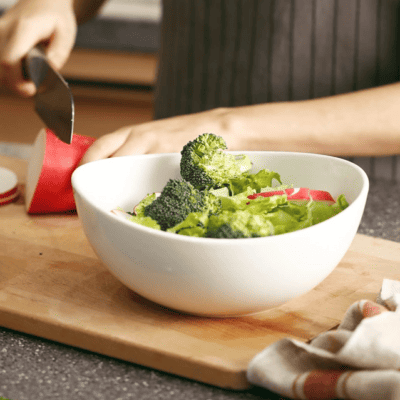
- Mixing Bowl
- Whisk
Ingredients
- 4 cups green peas, fresh or frozen
- 1/3 cup sour cream
- 2 tablespoons mayonnaise
- 2 teaspoons white wine vinegar
- 1/2 teaspoon honey
- 1 tablespoon finely chopped fresh herbs (I like fresh basil, fresh mint, fresh dill or a combination)
- 4 ounces extra sharp cheddar cheese, diced
- 10 slices bacon, cooked to crispy and chopped
- 1/4 cup diced red onion (or use pickled red onion; see note)
Instructions
- If using fresh peas: Bring a large pot of salted water to a boil. Fill a bowl with ice water and set it near the stove. Add the peas to the boiling water and boil for 2 minutes. Drain and then transfer the peas to the ice water to stop the cooking process. If using frozen peas: Defrost until still cold but no longer frozen.
- Pat the peas dry with clean dish towels.
- In a medium mixing bowl, whisk together the sour cream, mayonnaise, vinegar, honey, and herbs.
- Gently fold in the peas, cheese, bacon, and onion.
- Serve immediately with some extra sprigs of fresh herbs for garnish.
Notes
- 1 Red Onion, thinly sliced
- 1/2 cup Water
- 1/2 cup Apple Cider Vinegar
- 2 Tablespoons Sugar
- 2 teaspoons Kosher Salt
- Thinly slice the red onions. Gently pack them into jars or high-sided bowls.
- Heat water in the microwave just until warm to the touch (1 to 2 minutes). Stir in apple cider vinegar, sugar, and kosher salt until salt dissolves.
- Pour liquids over red onions. (Note: If they are not fully covered, you may need to mix up more of the liquid mixture to pour over top.)
- Let pickles marinate, covered in the refrigerator, for at least 30 minutes and up to a month.
- Drain pickles before using.
Nutrition
Nutrition information is automatically calculated, so should only be used as an approximation.