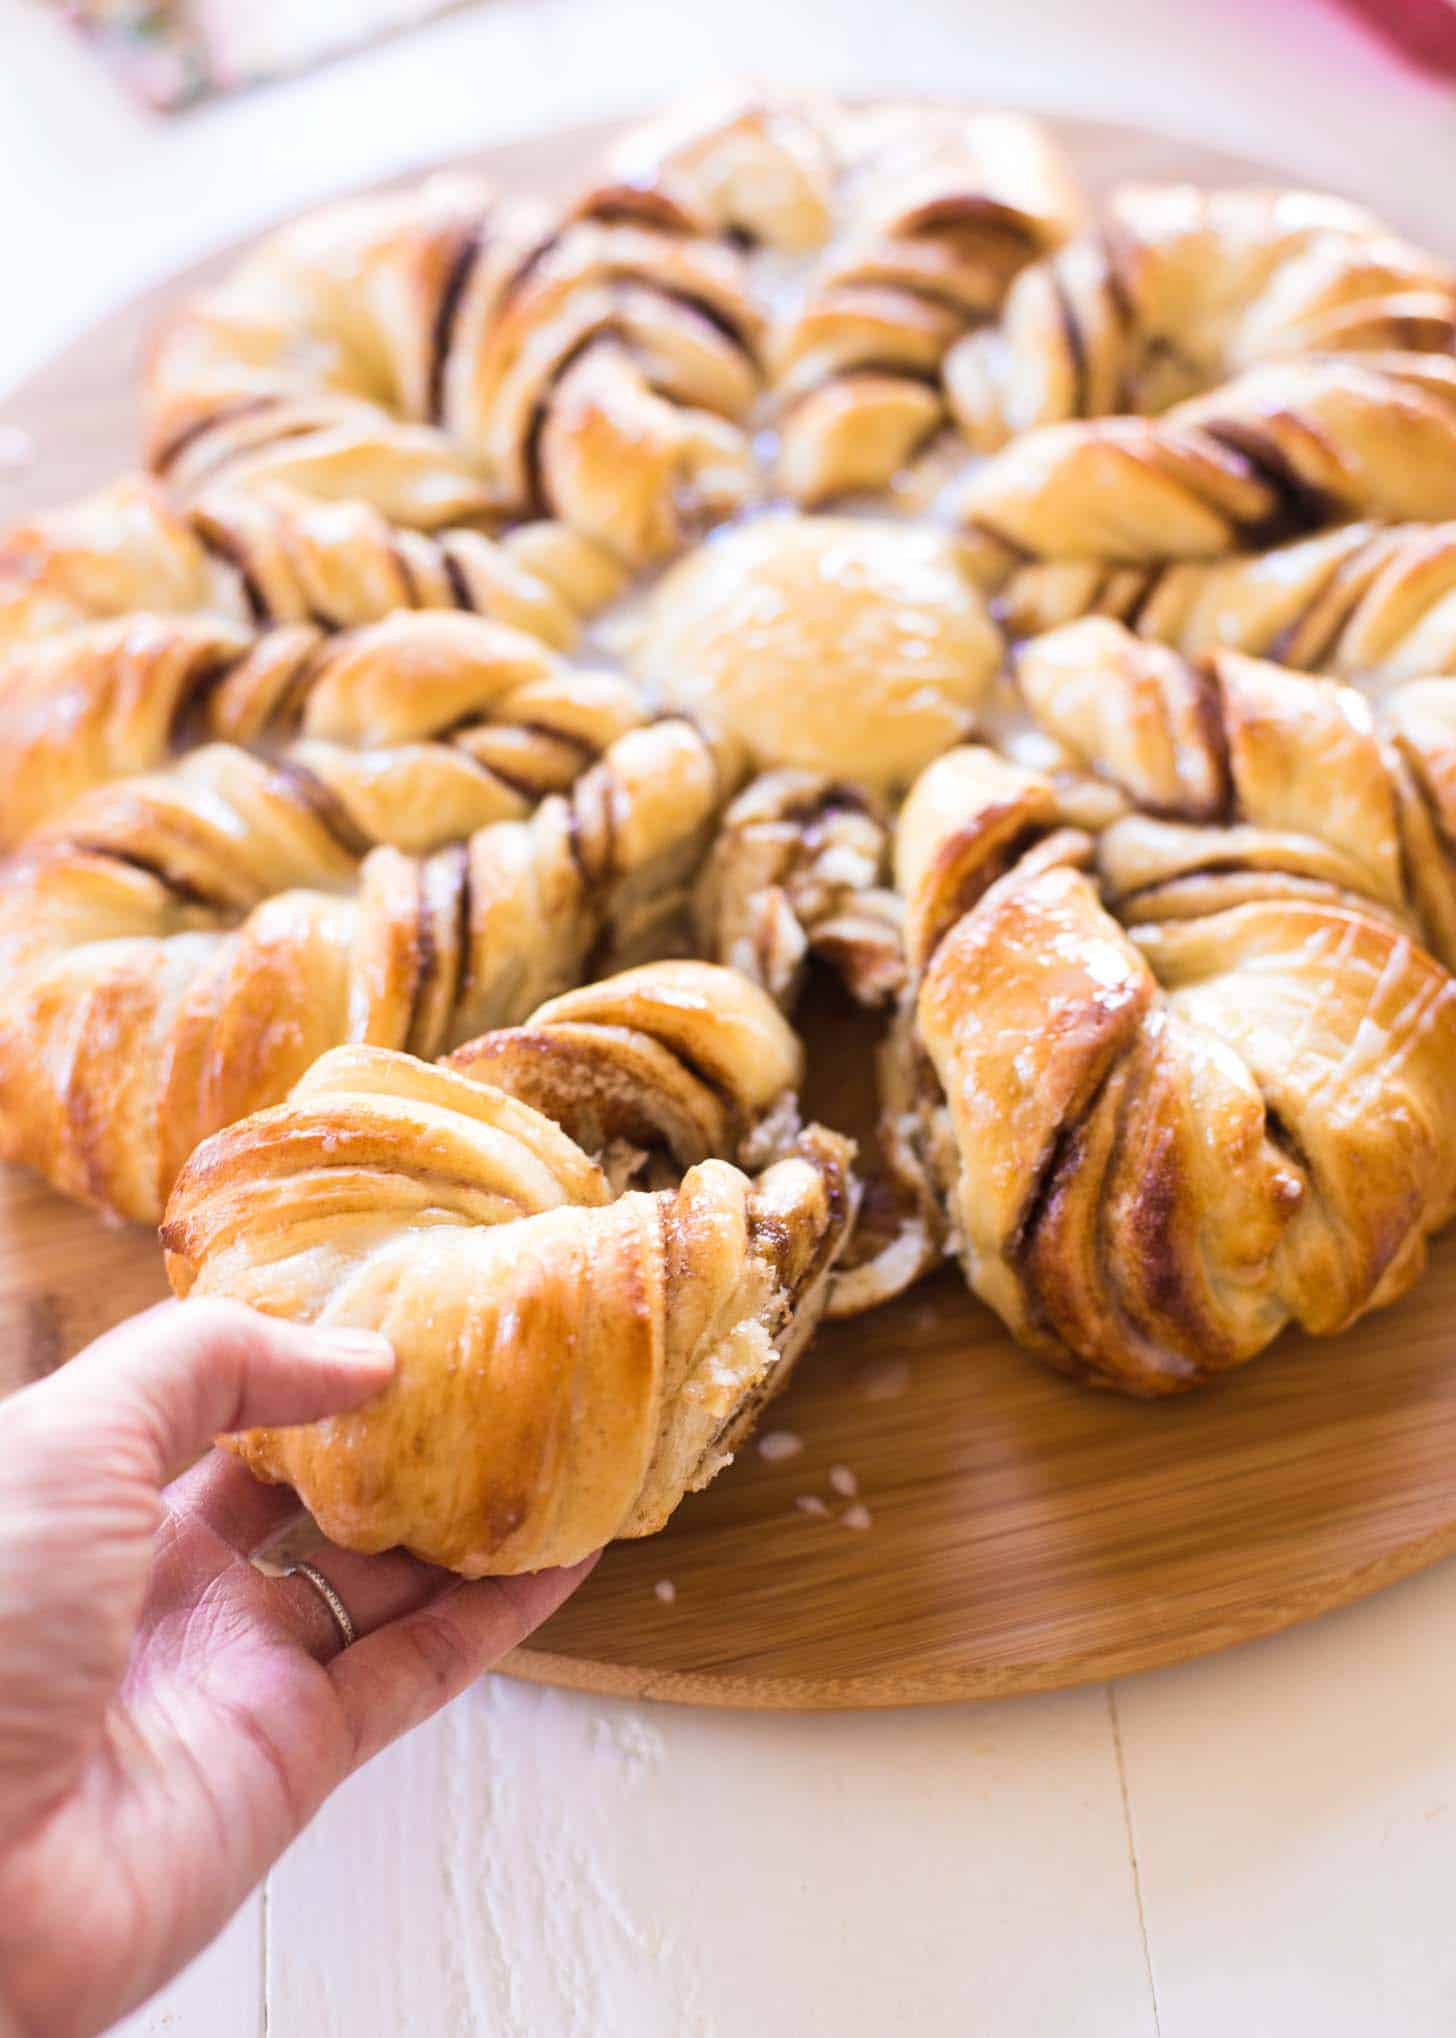
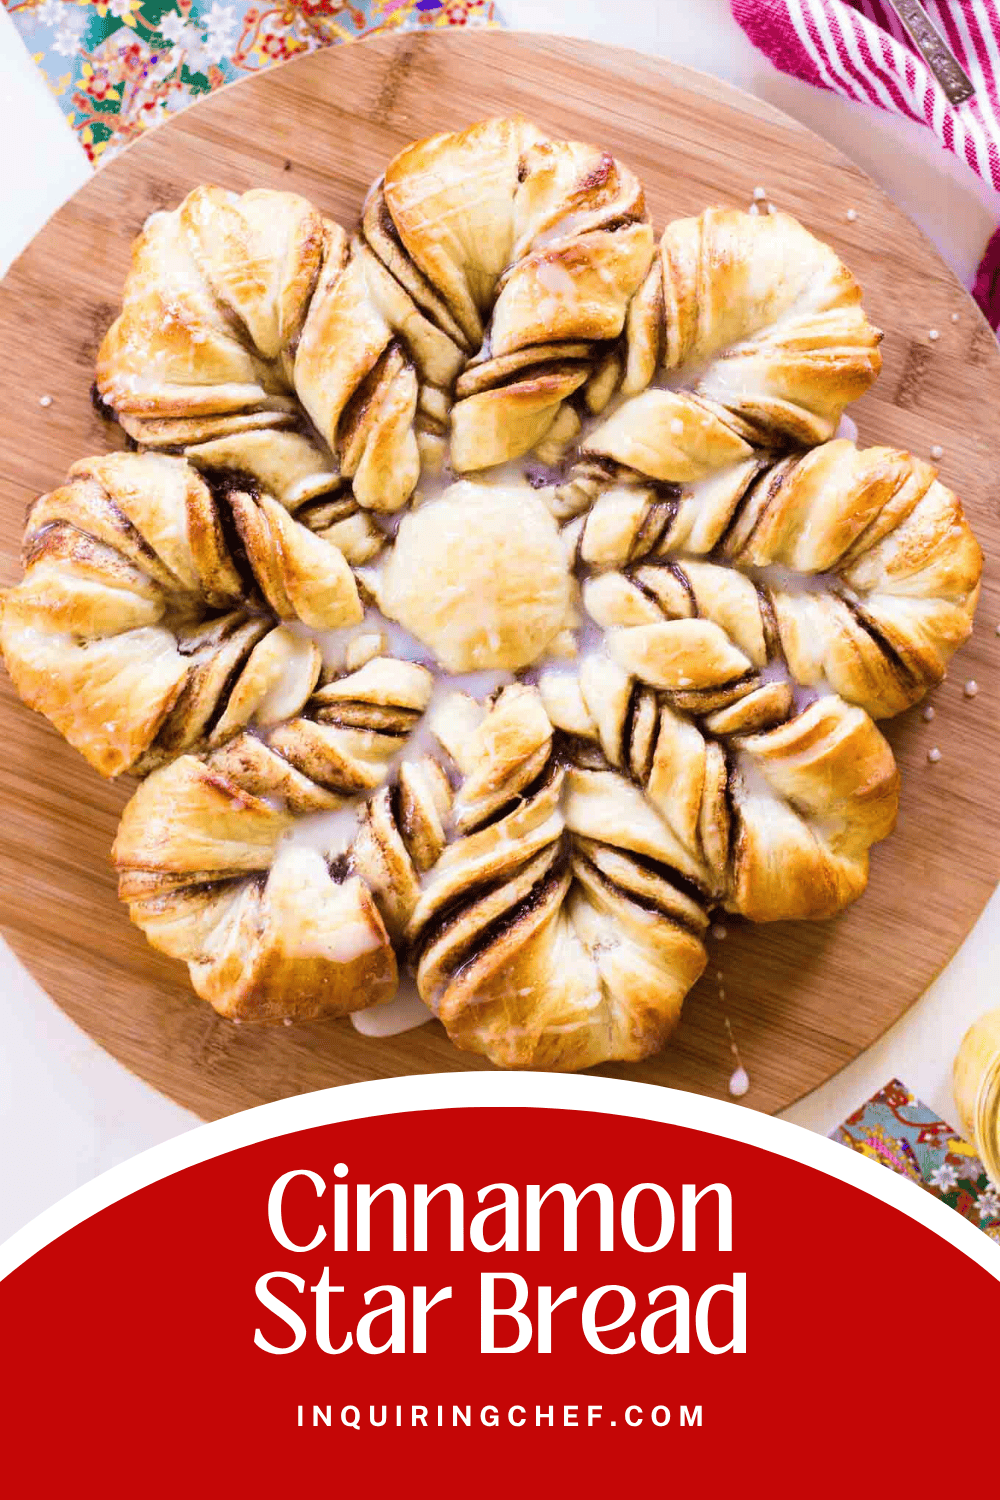
Cinnamon Star Bread
Published Dec 18, 2017•Updated May 30, 2025
This post may contain affiliate links. Please read our disclosure policy.
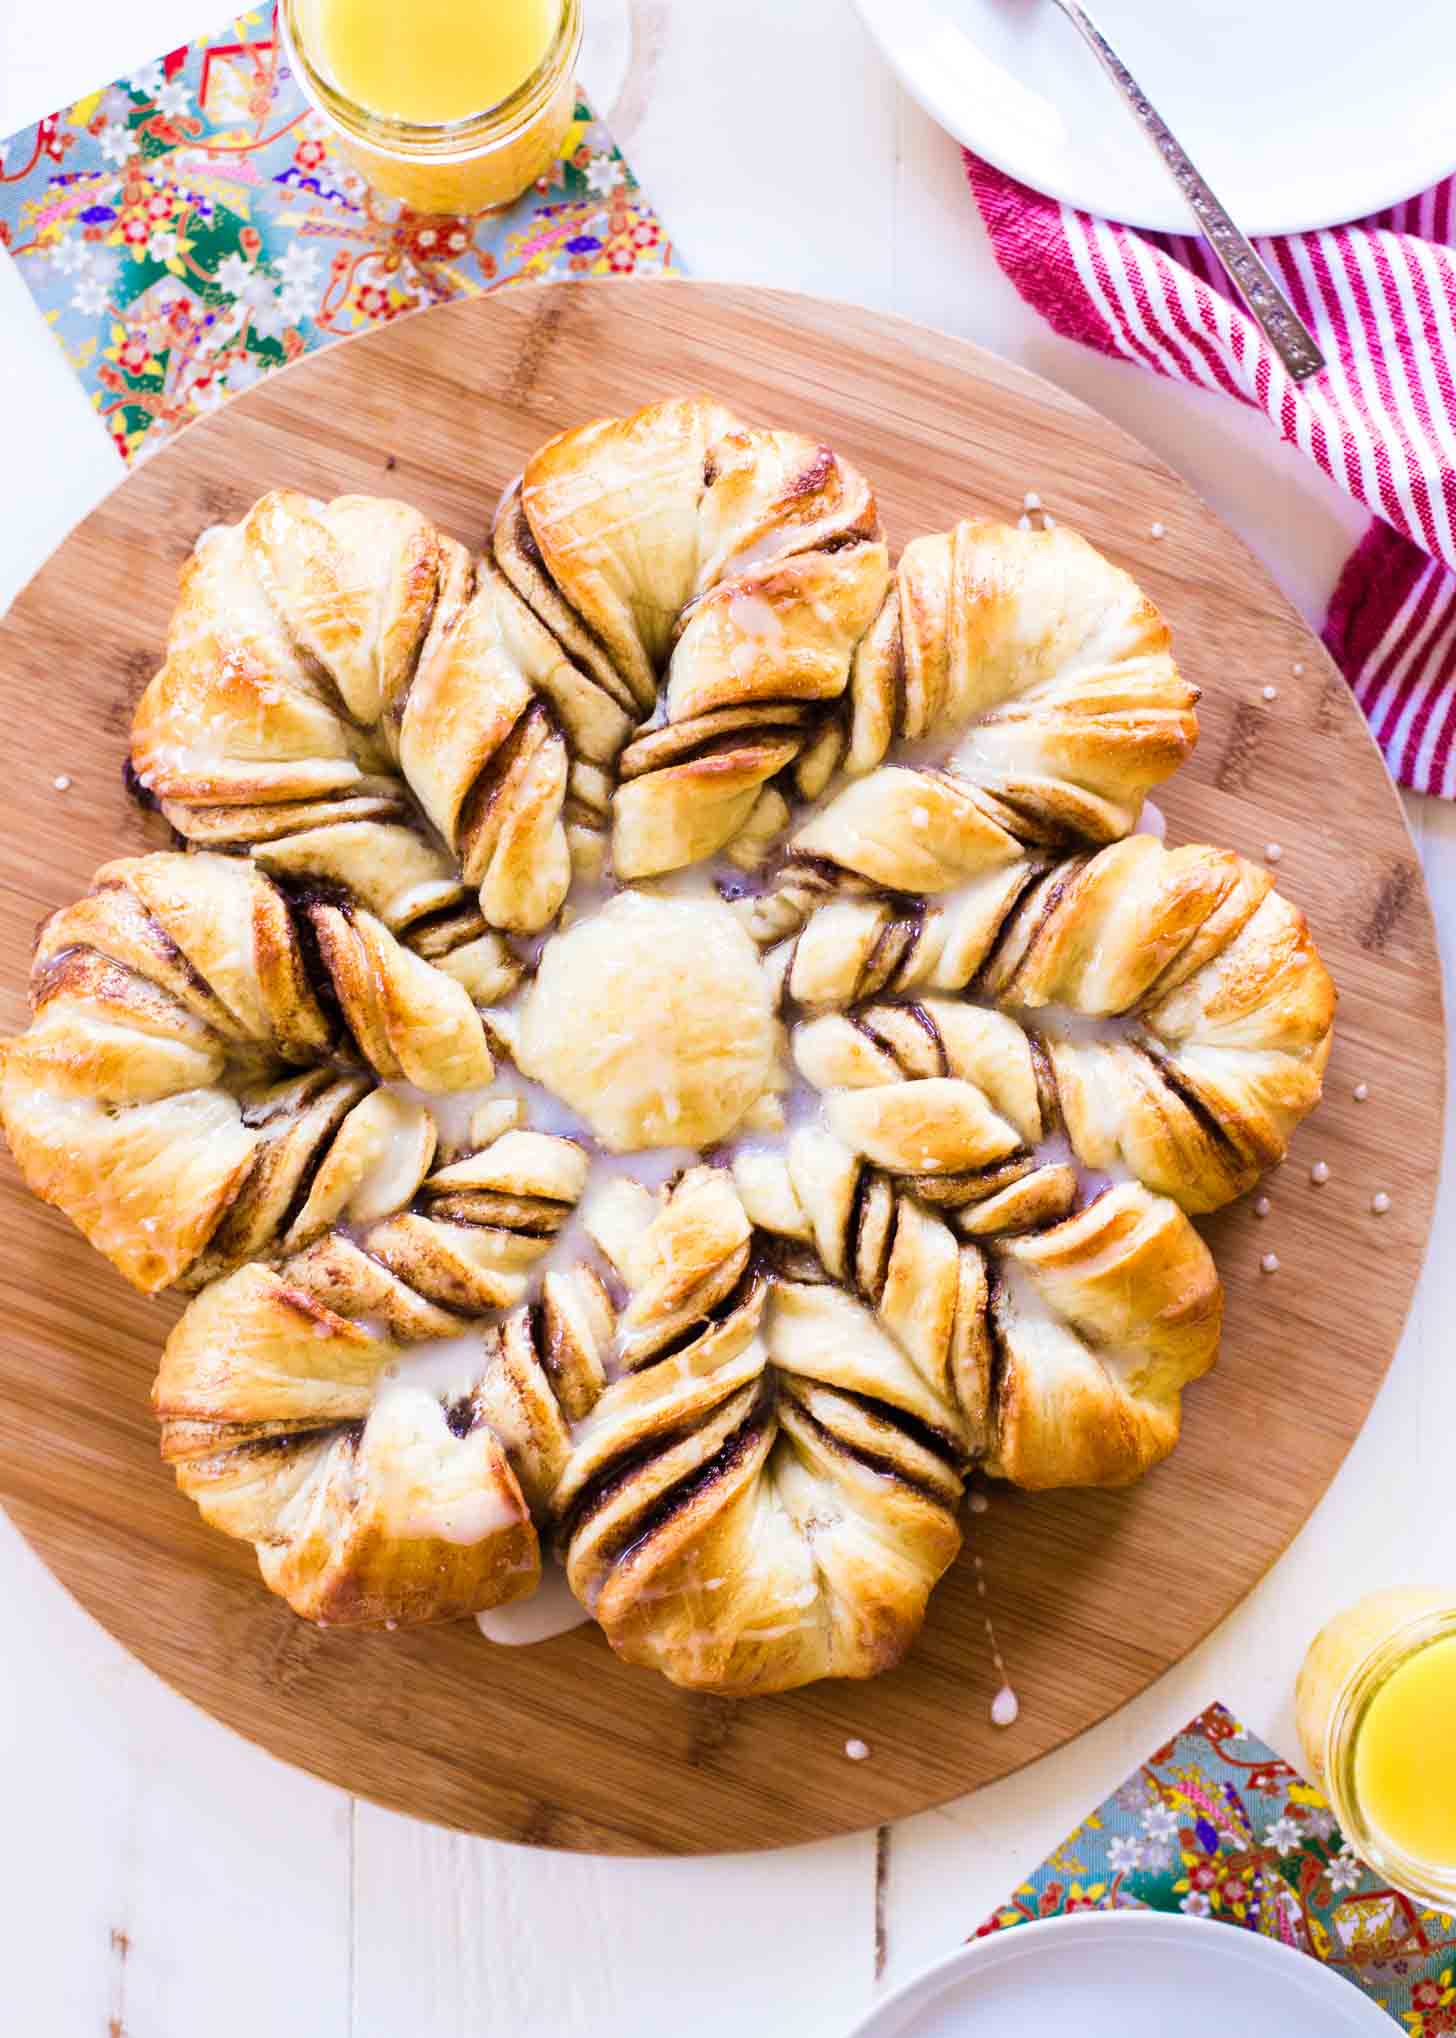
With layers of cinnamon sugar and a sweet glaze, this cinnamon star bread is a festive alternative to classic cinnamon rolls.
It’s feeling super festive around our house. The toddler excitement for Christmas is palpable – the air is buzzing with it. I can’t help but have picked up some of that excitement myself. I was running a few final errands over the weekend and pulled up to a stoplight. When I looked in my rearview mirror, guess who I saw? Santa. In the SUV behind me. I’m sure he has more than a few final errands.
We’ve been baking throughout December but have a few more baked goods still on the list. This one will surely be making an appearance on Christmas morning. It feels special enough for Christmas, but is actually easy (and fun!) to make. I tested this recipe five times in recent weeks and have become super fast at building the star. It doesn’t take long even the first time – see many photos below to help you along!
This bread was inspired by a gorgeous photo I came across at King Arthur Flour, though my version uses my favorite one hour dough. The dough is light, fluffy and rises fast. It makes a great base for the caramelized cinnamon sugar throughout the star. The final star is drizzled with a light sugar glaze. Which is optional. Though I’d recommend that you opt in.

Pin this now to save it for later
Pin It NowHow to Shape Star Bread
Shaping this bread isn’t hard, but photos tell it best.
Note: The day I was photographing this, the food blog gods were smiling and my dough rolled into perfectly round circles. In all other tests, I rolled out wonky lopsided circles. The finished bread looked great either way. Don’t sweat it if it doesn’t look perfect.
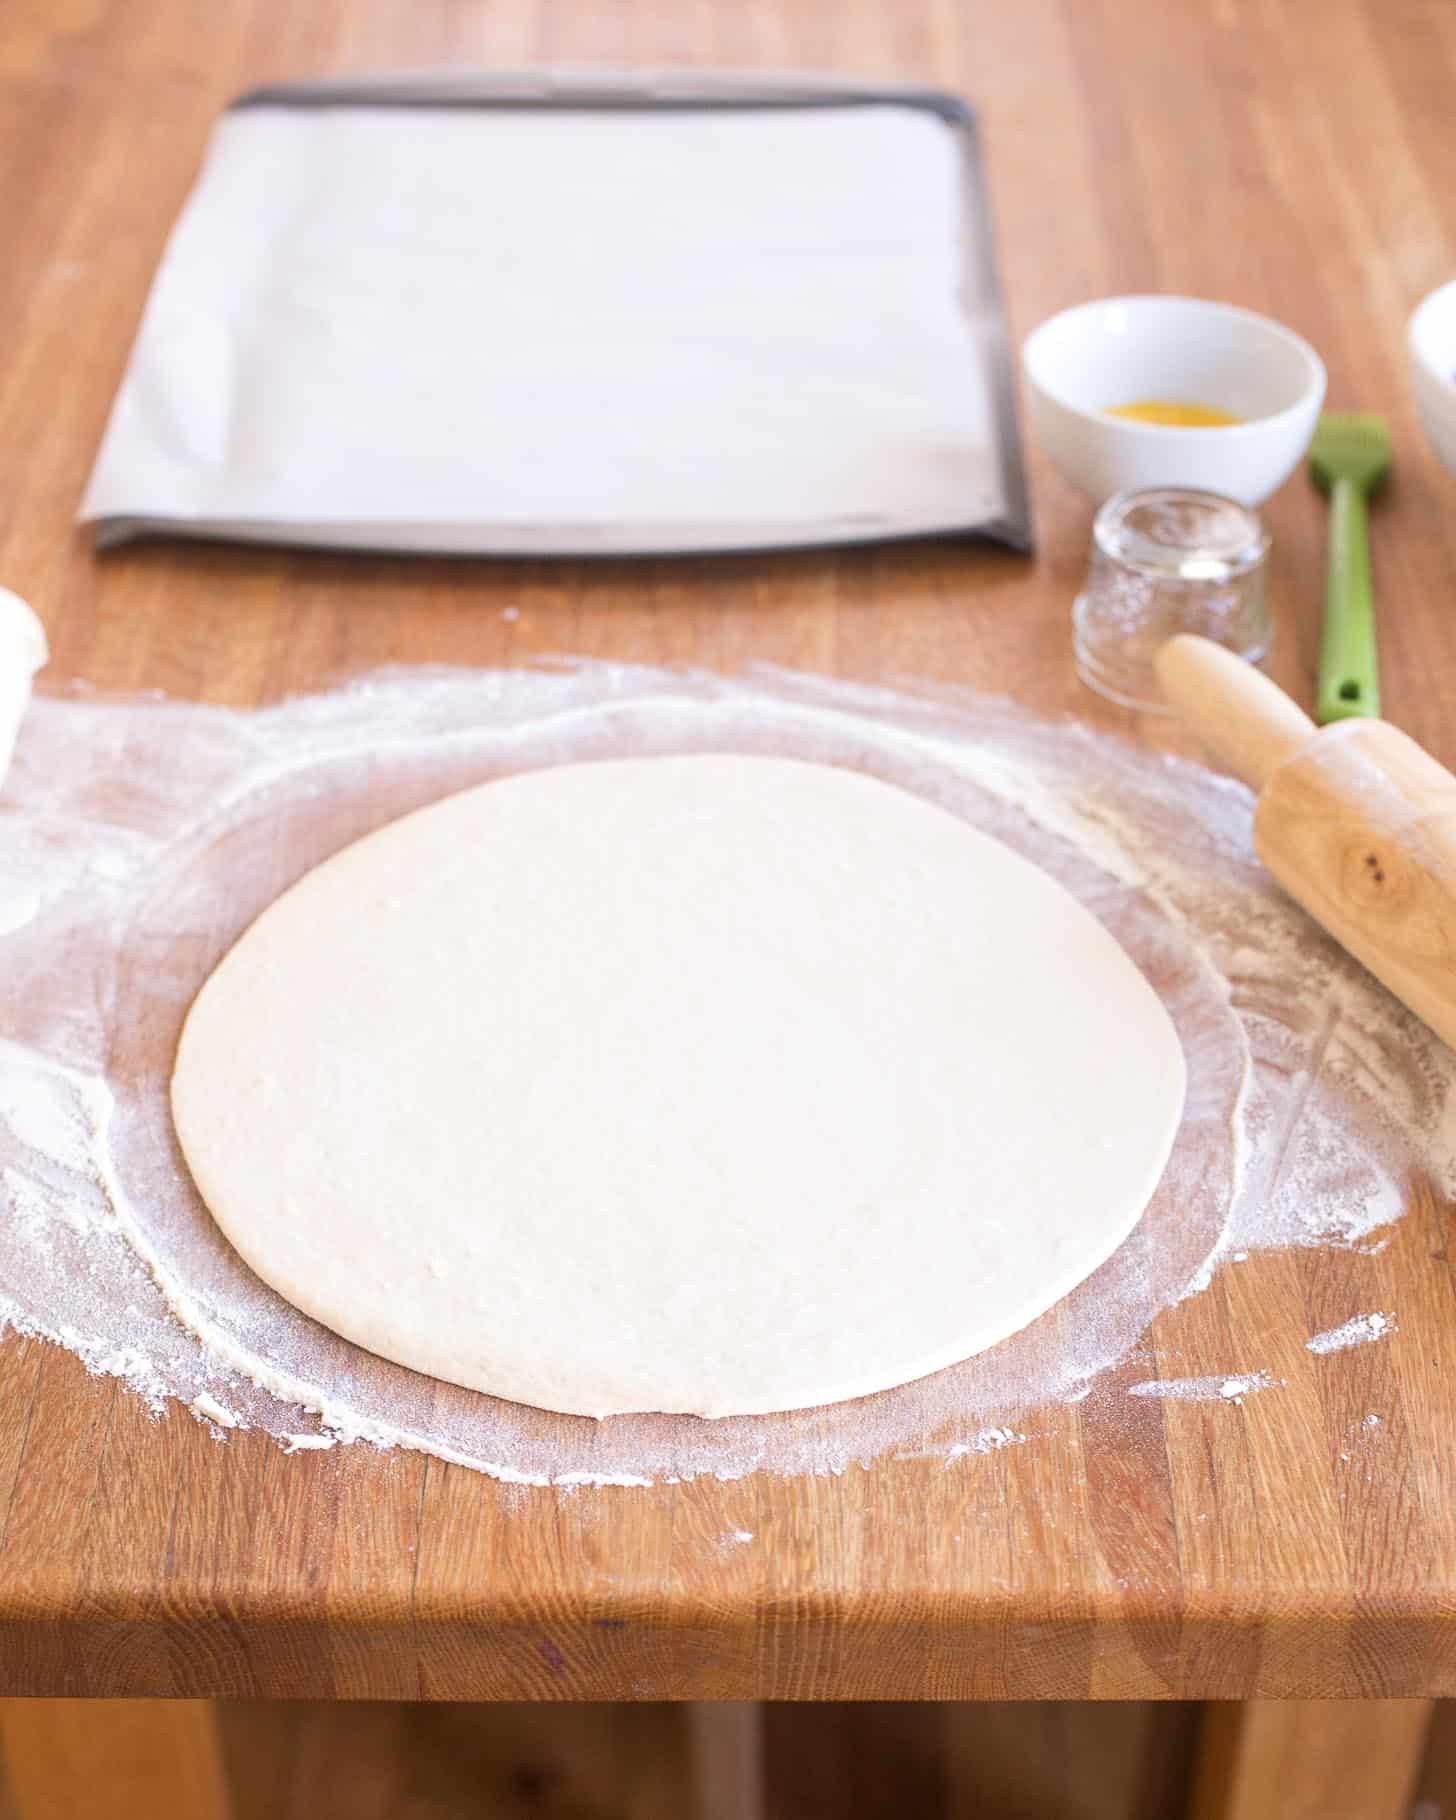
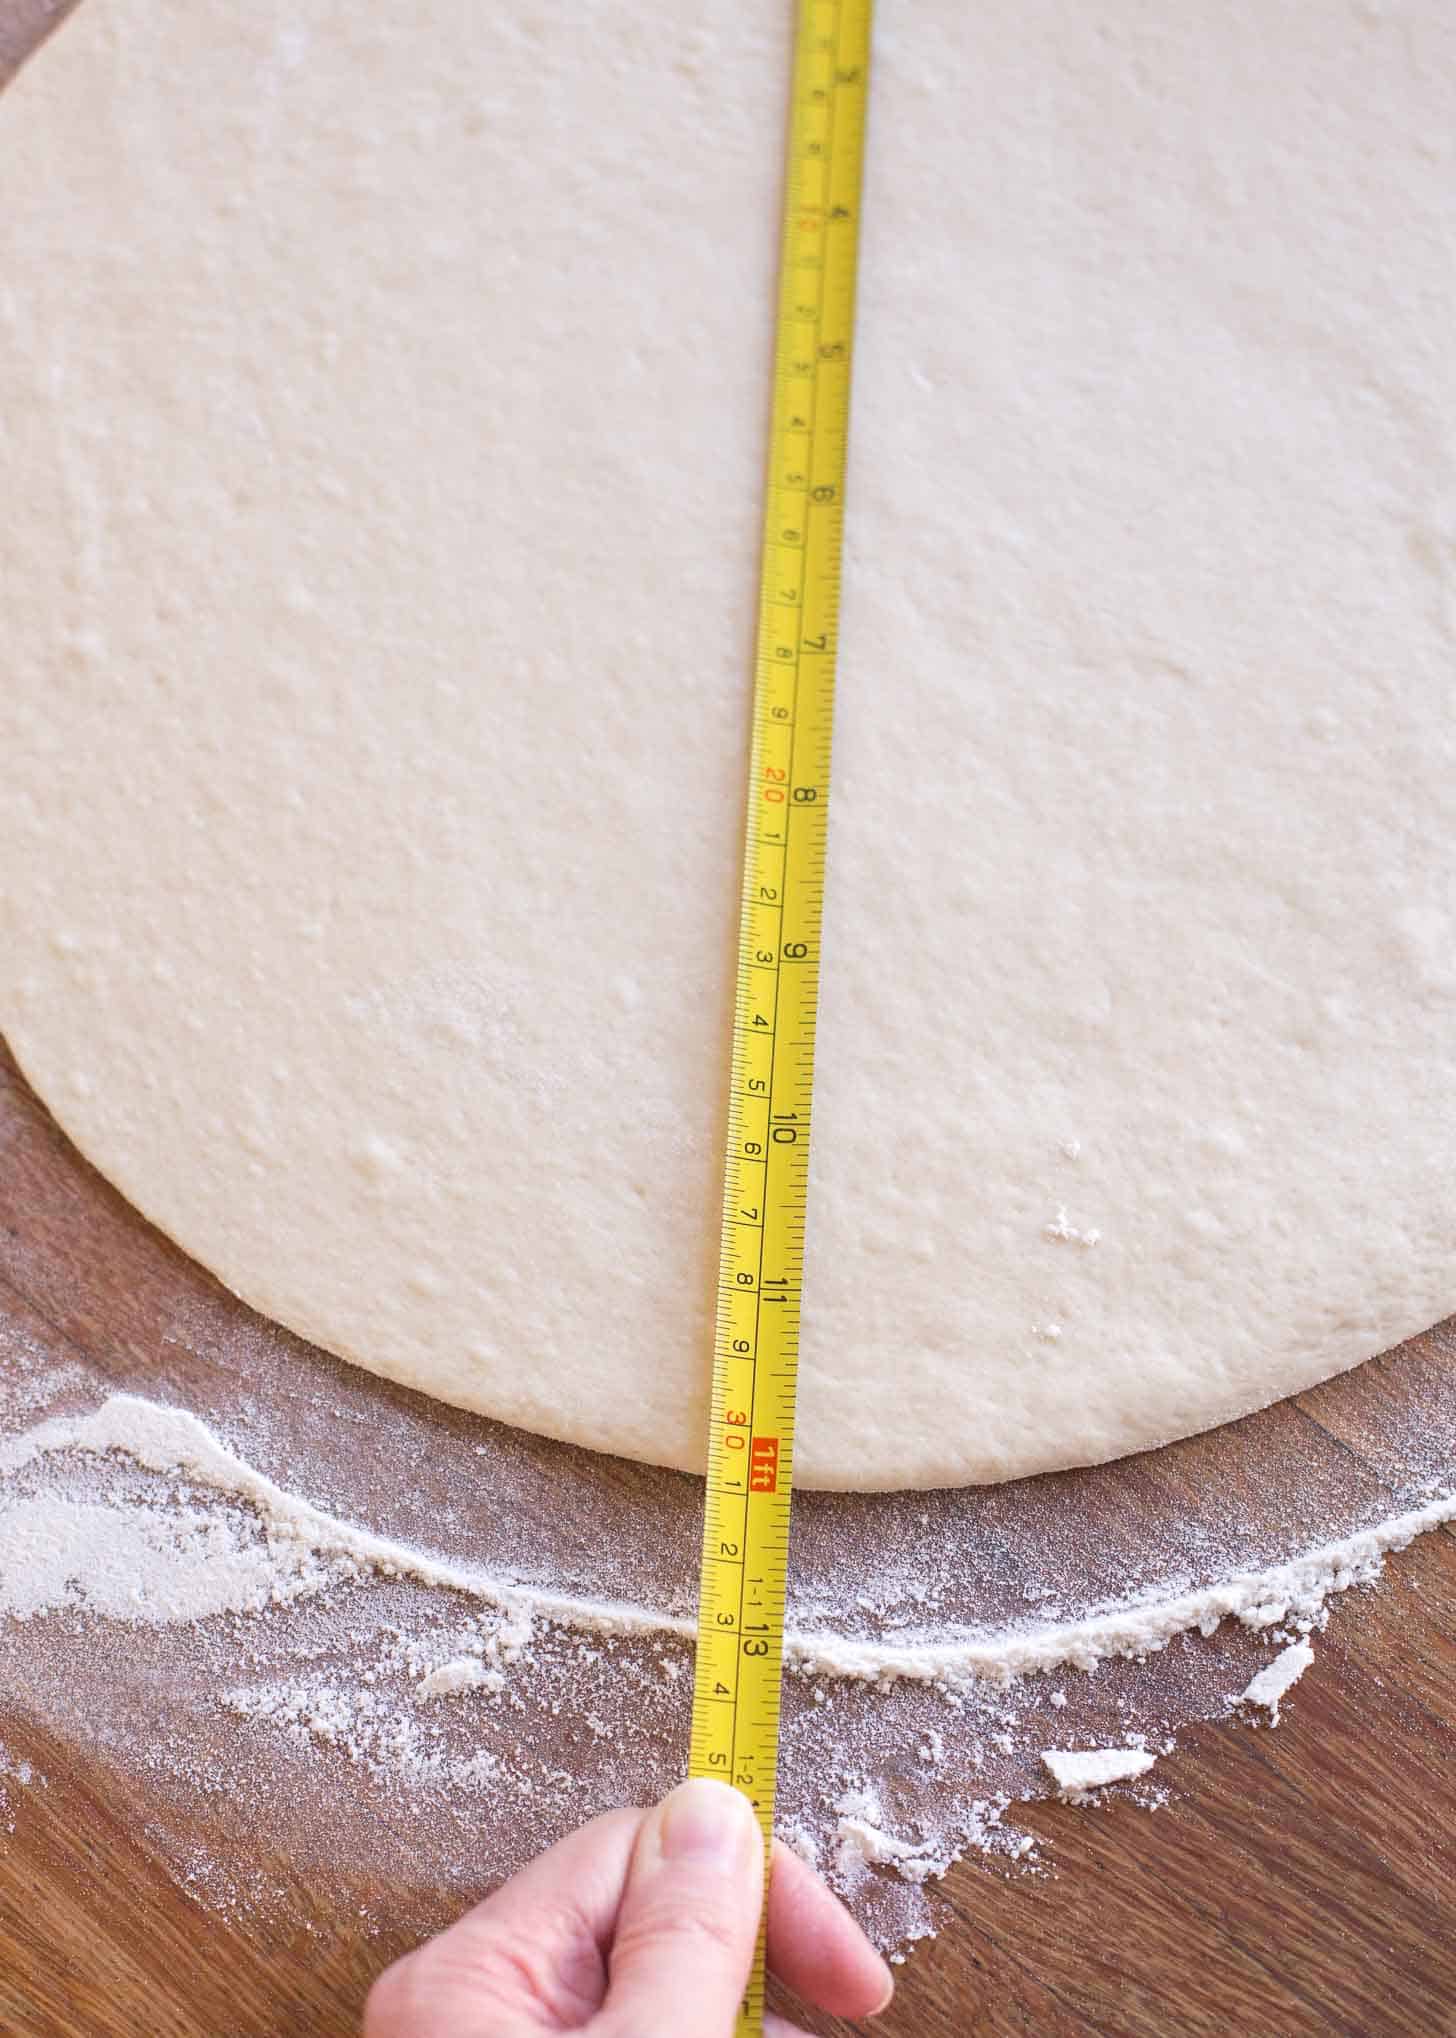
The dough circles should be about 12 inches across. Use a ruler or the long edge of a standard sheet of paper (11 inches) as a guide.
Transfer the first dough circle to a parchment-lined sheet pan. Brush with butter.
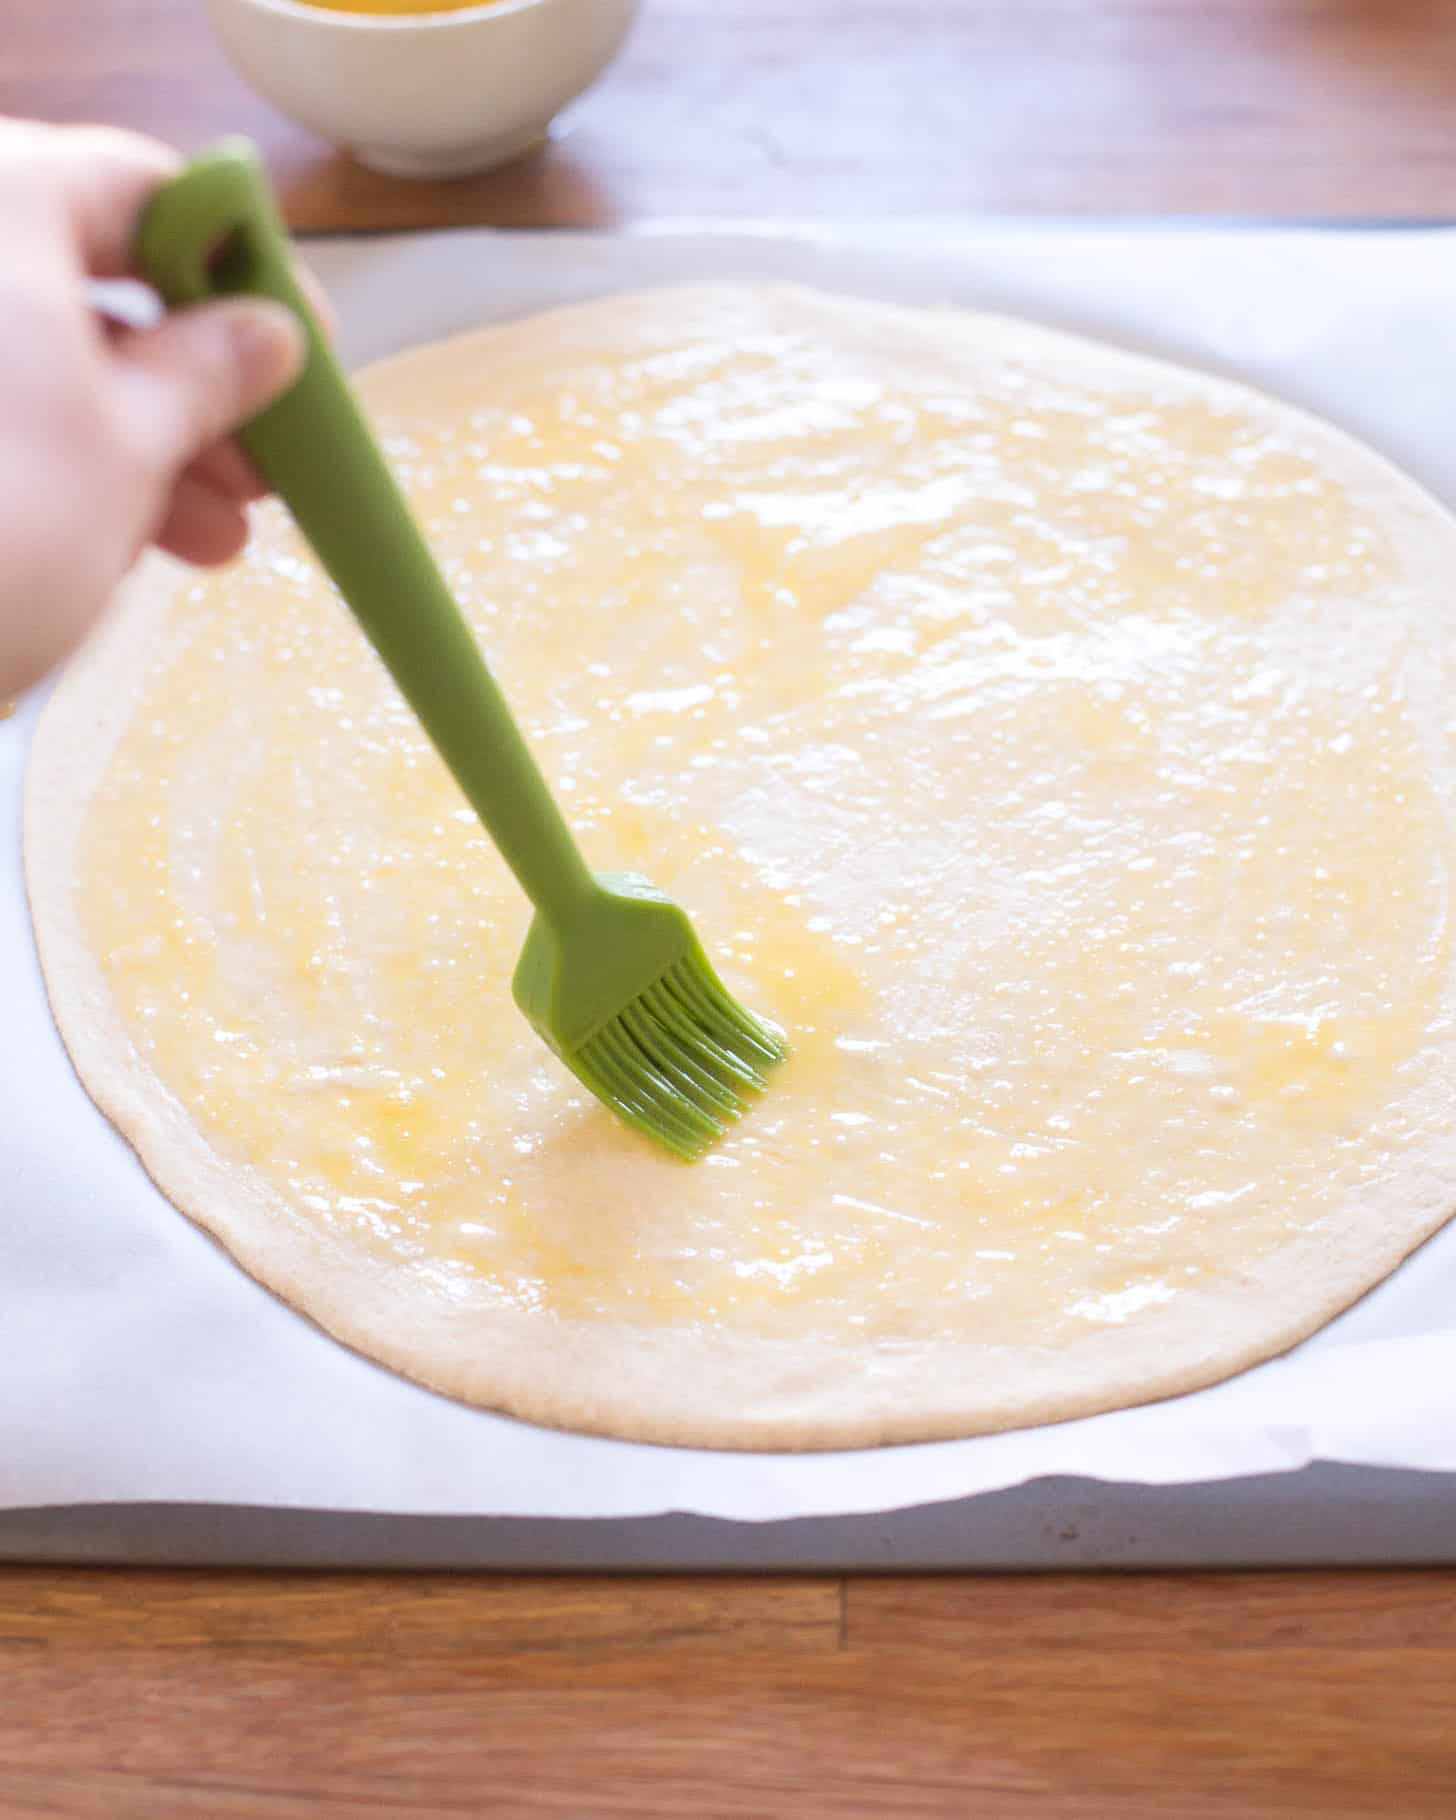
Top with cinnamon sugar.

Repeat the process with remaining dough + melted butter + cinnamon sugar.
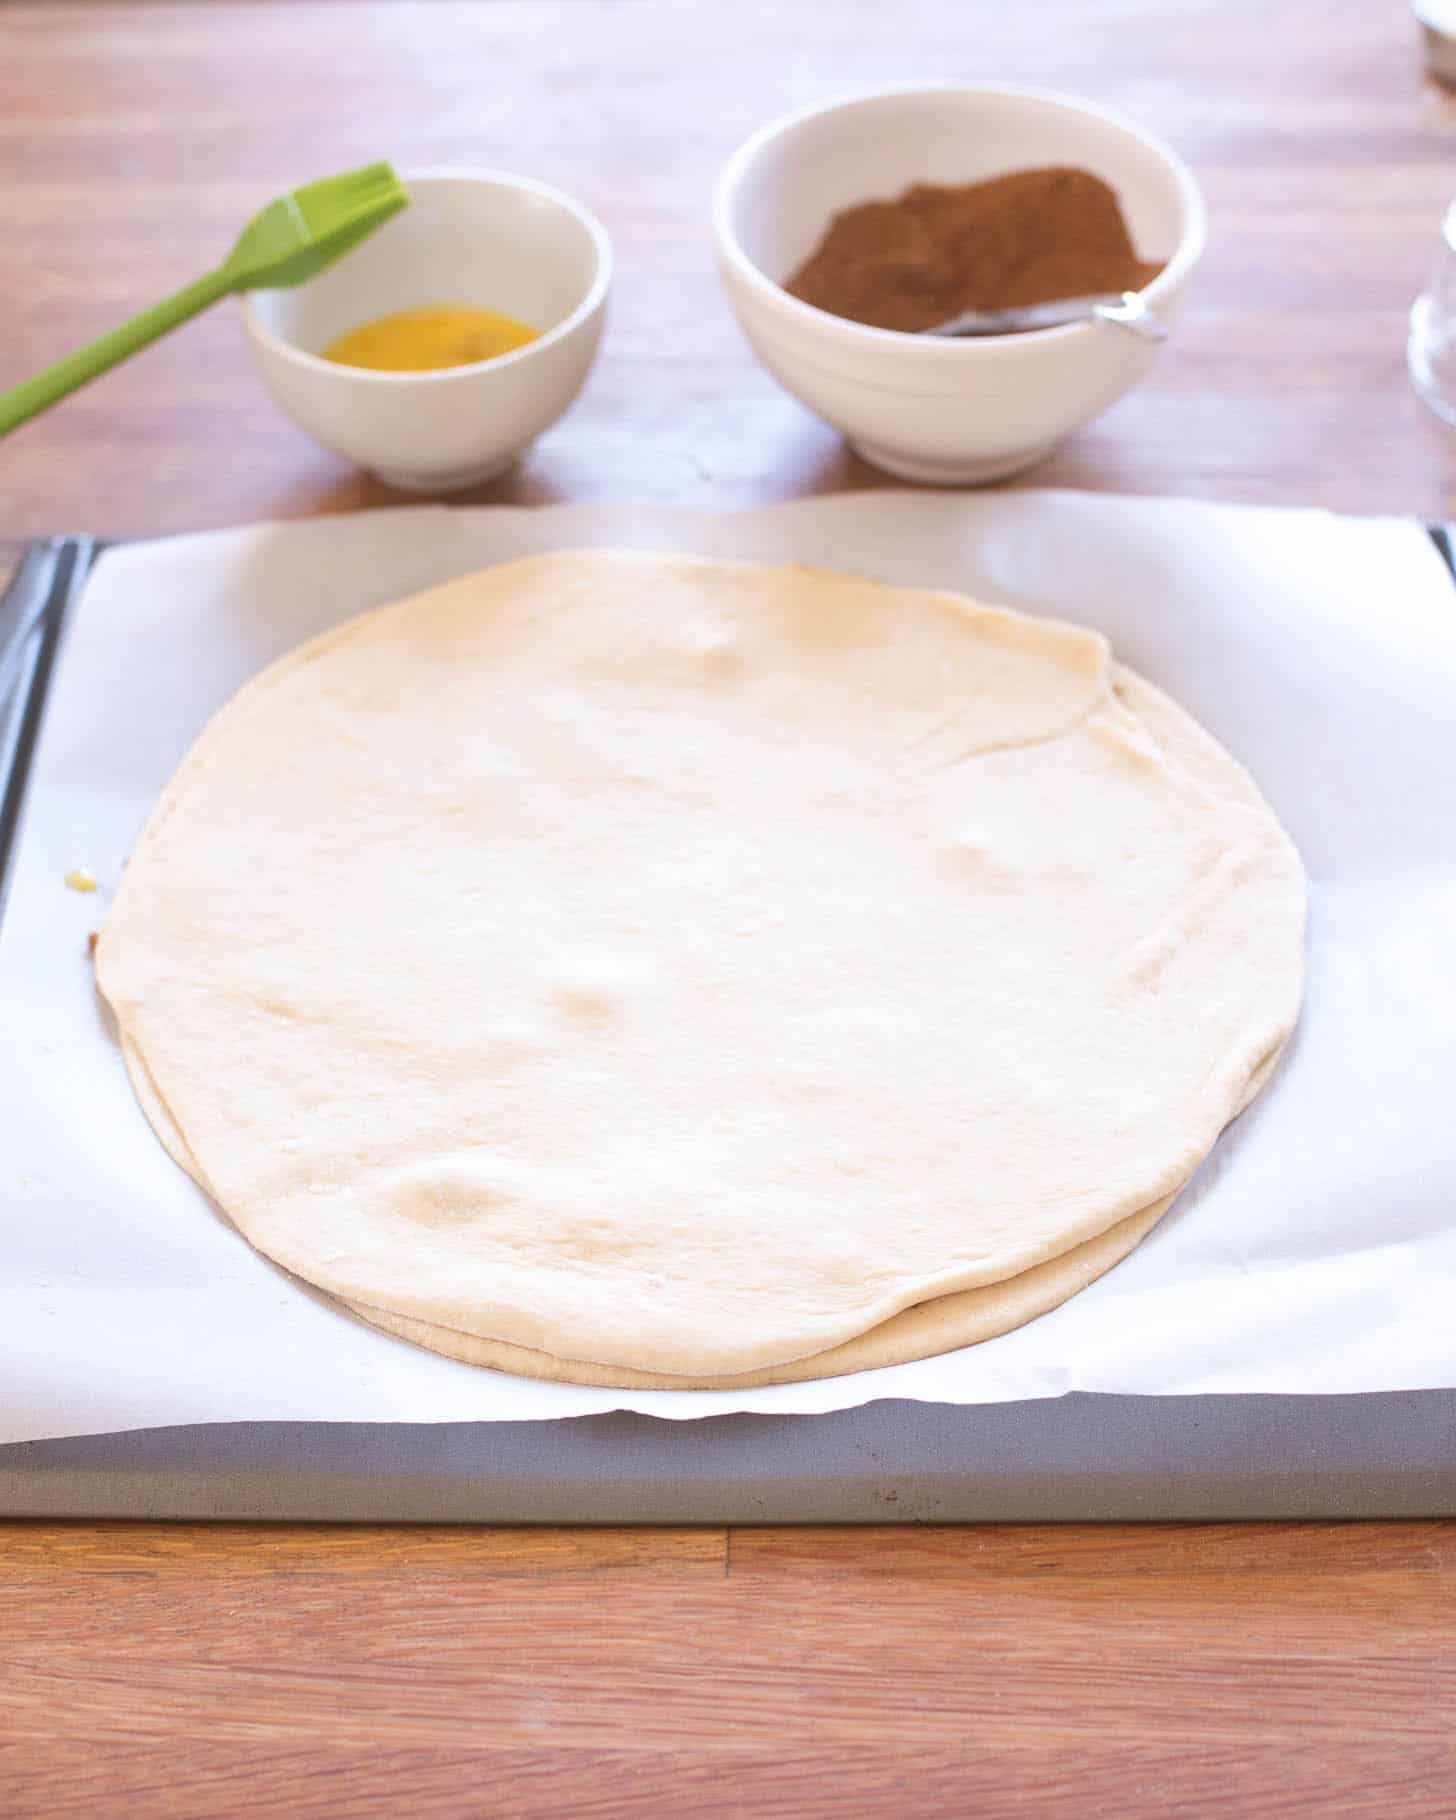
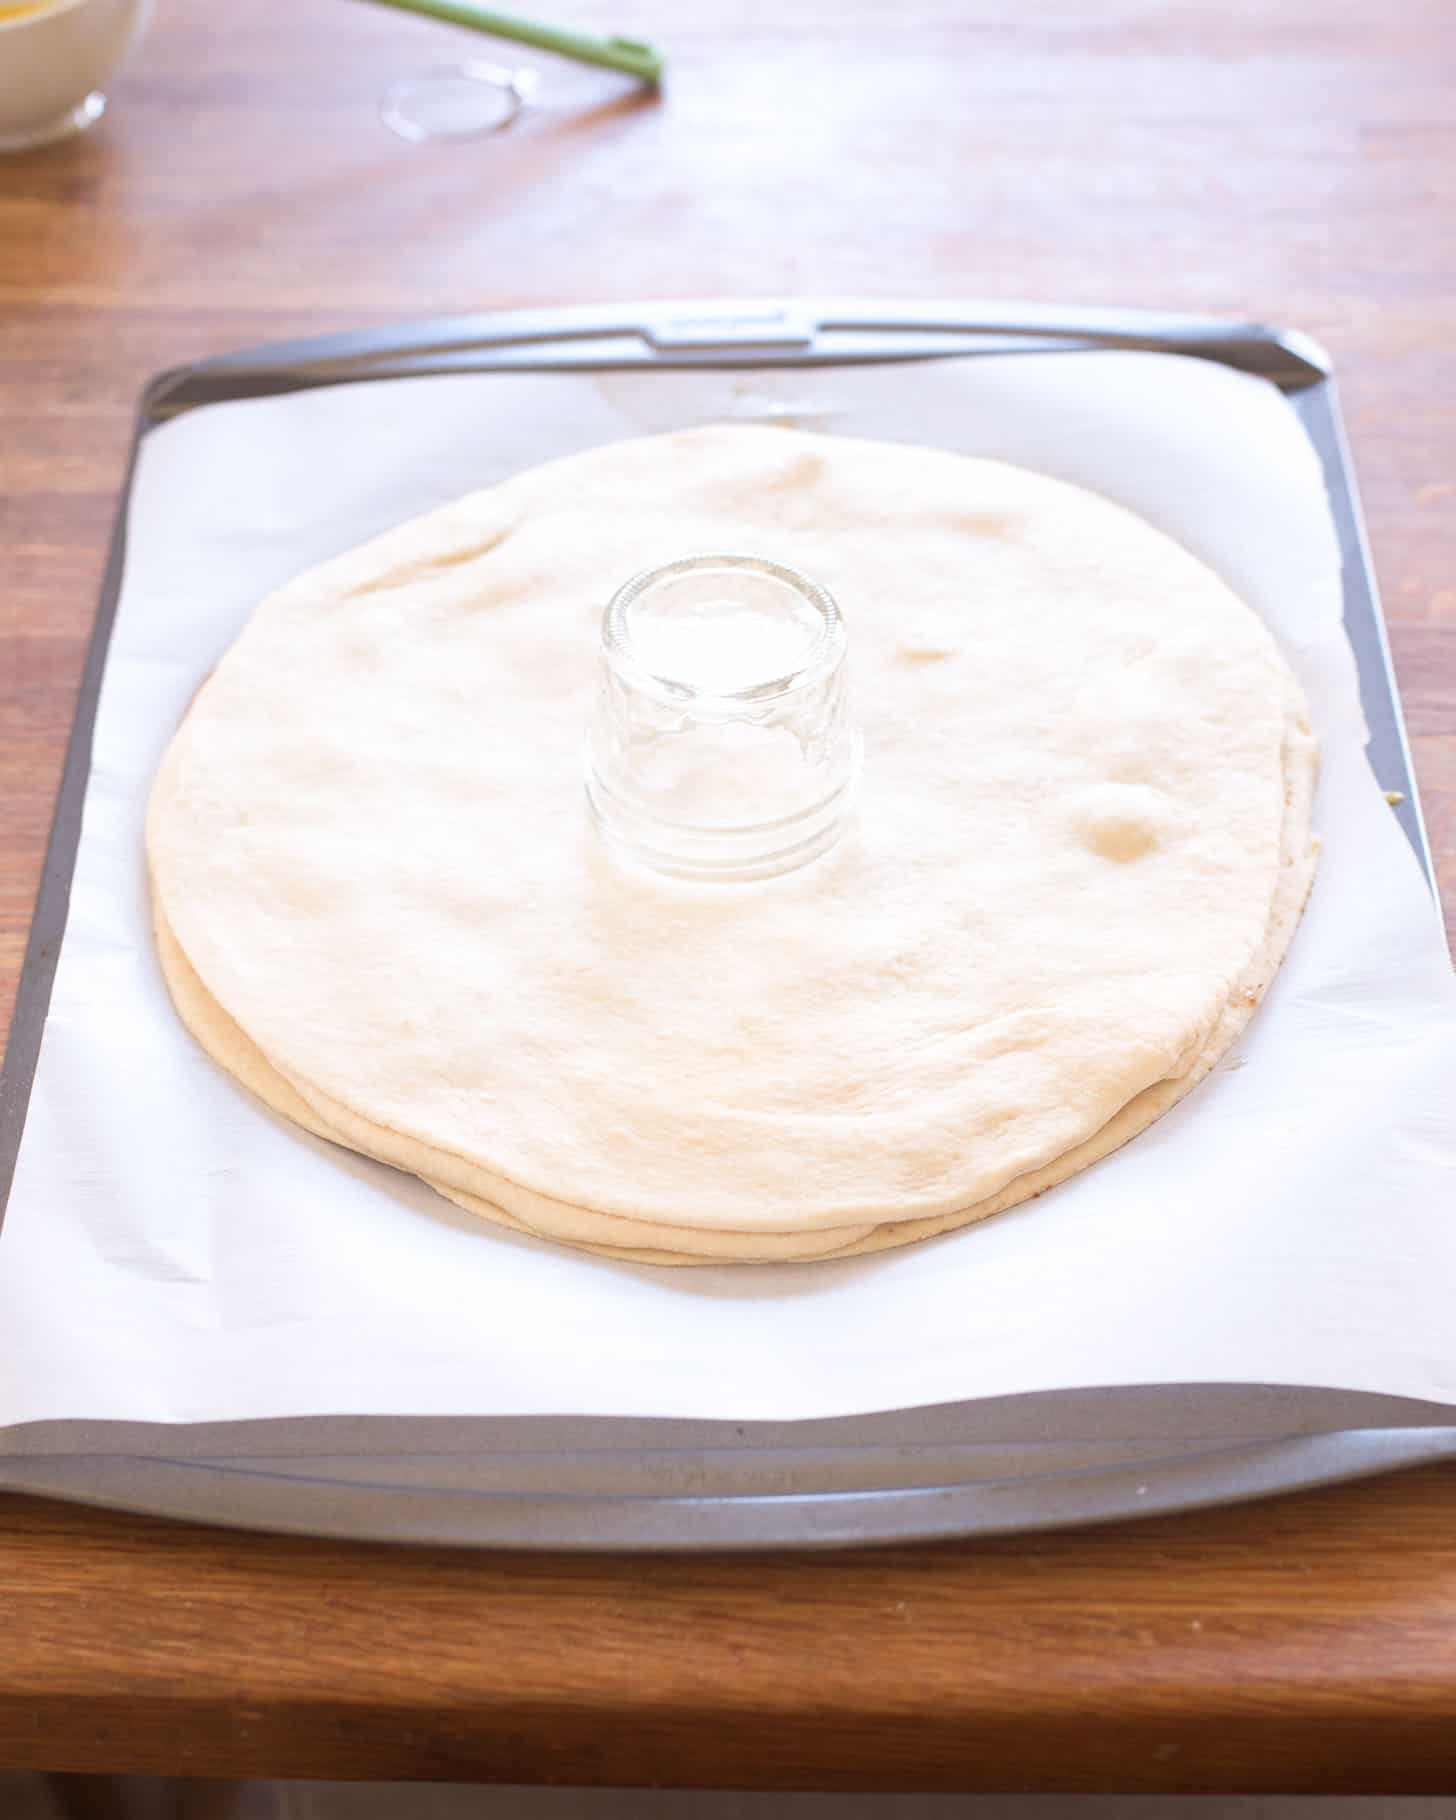
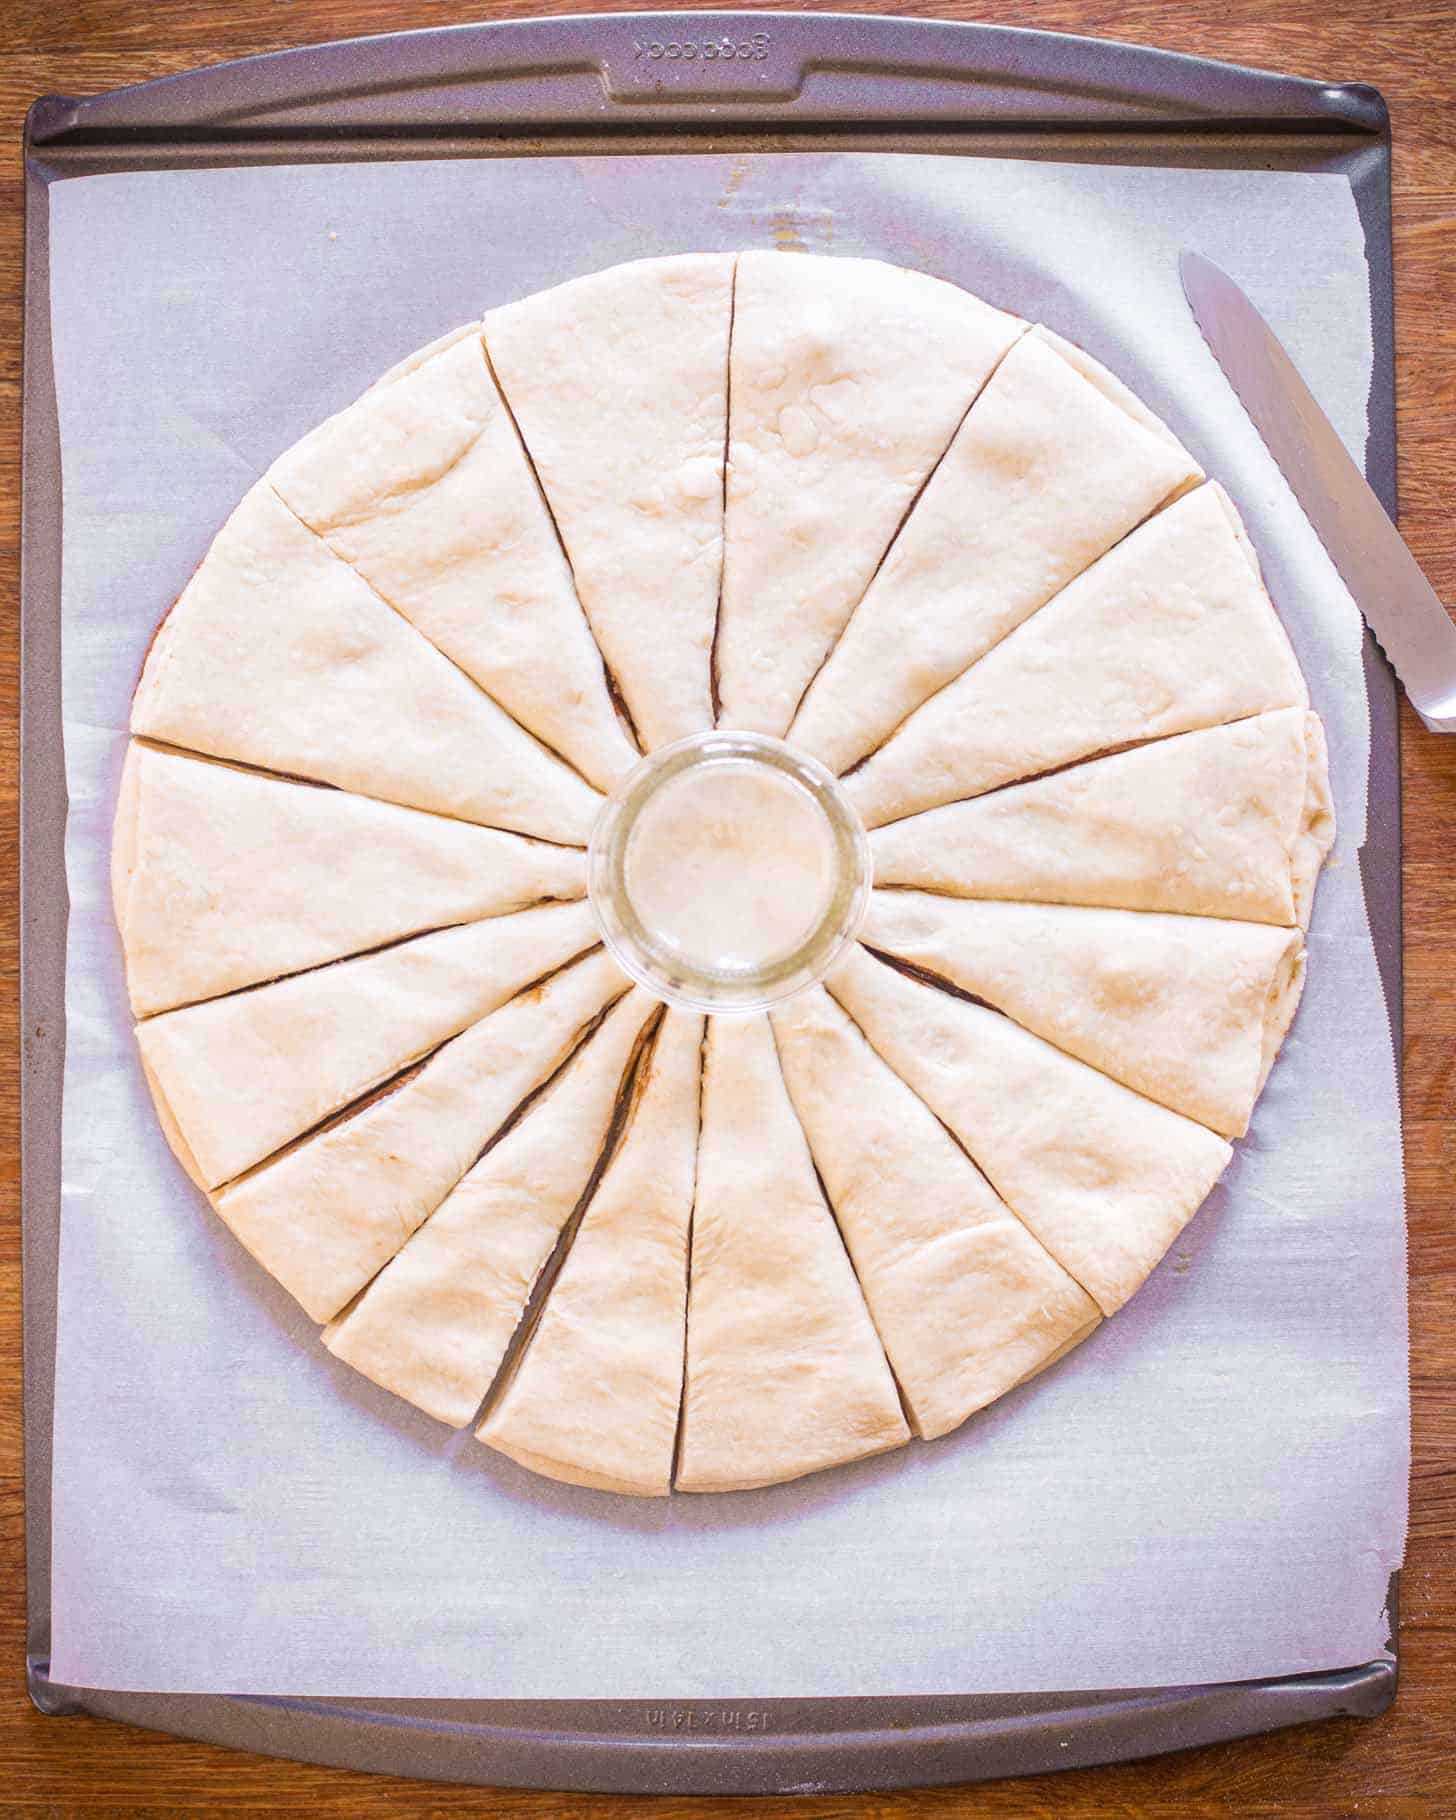
Finish with a bare piece of dough on top. Place a small bowl in the center to act as a guide for shaping the star.
Make 8 small slits in the dough.
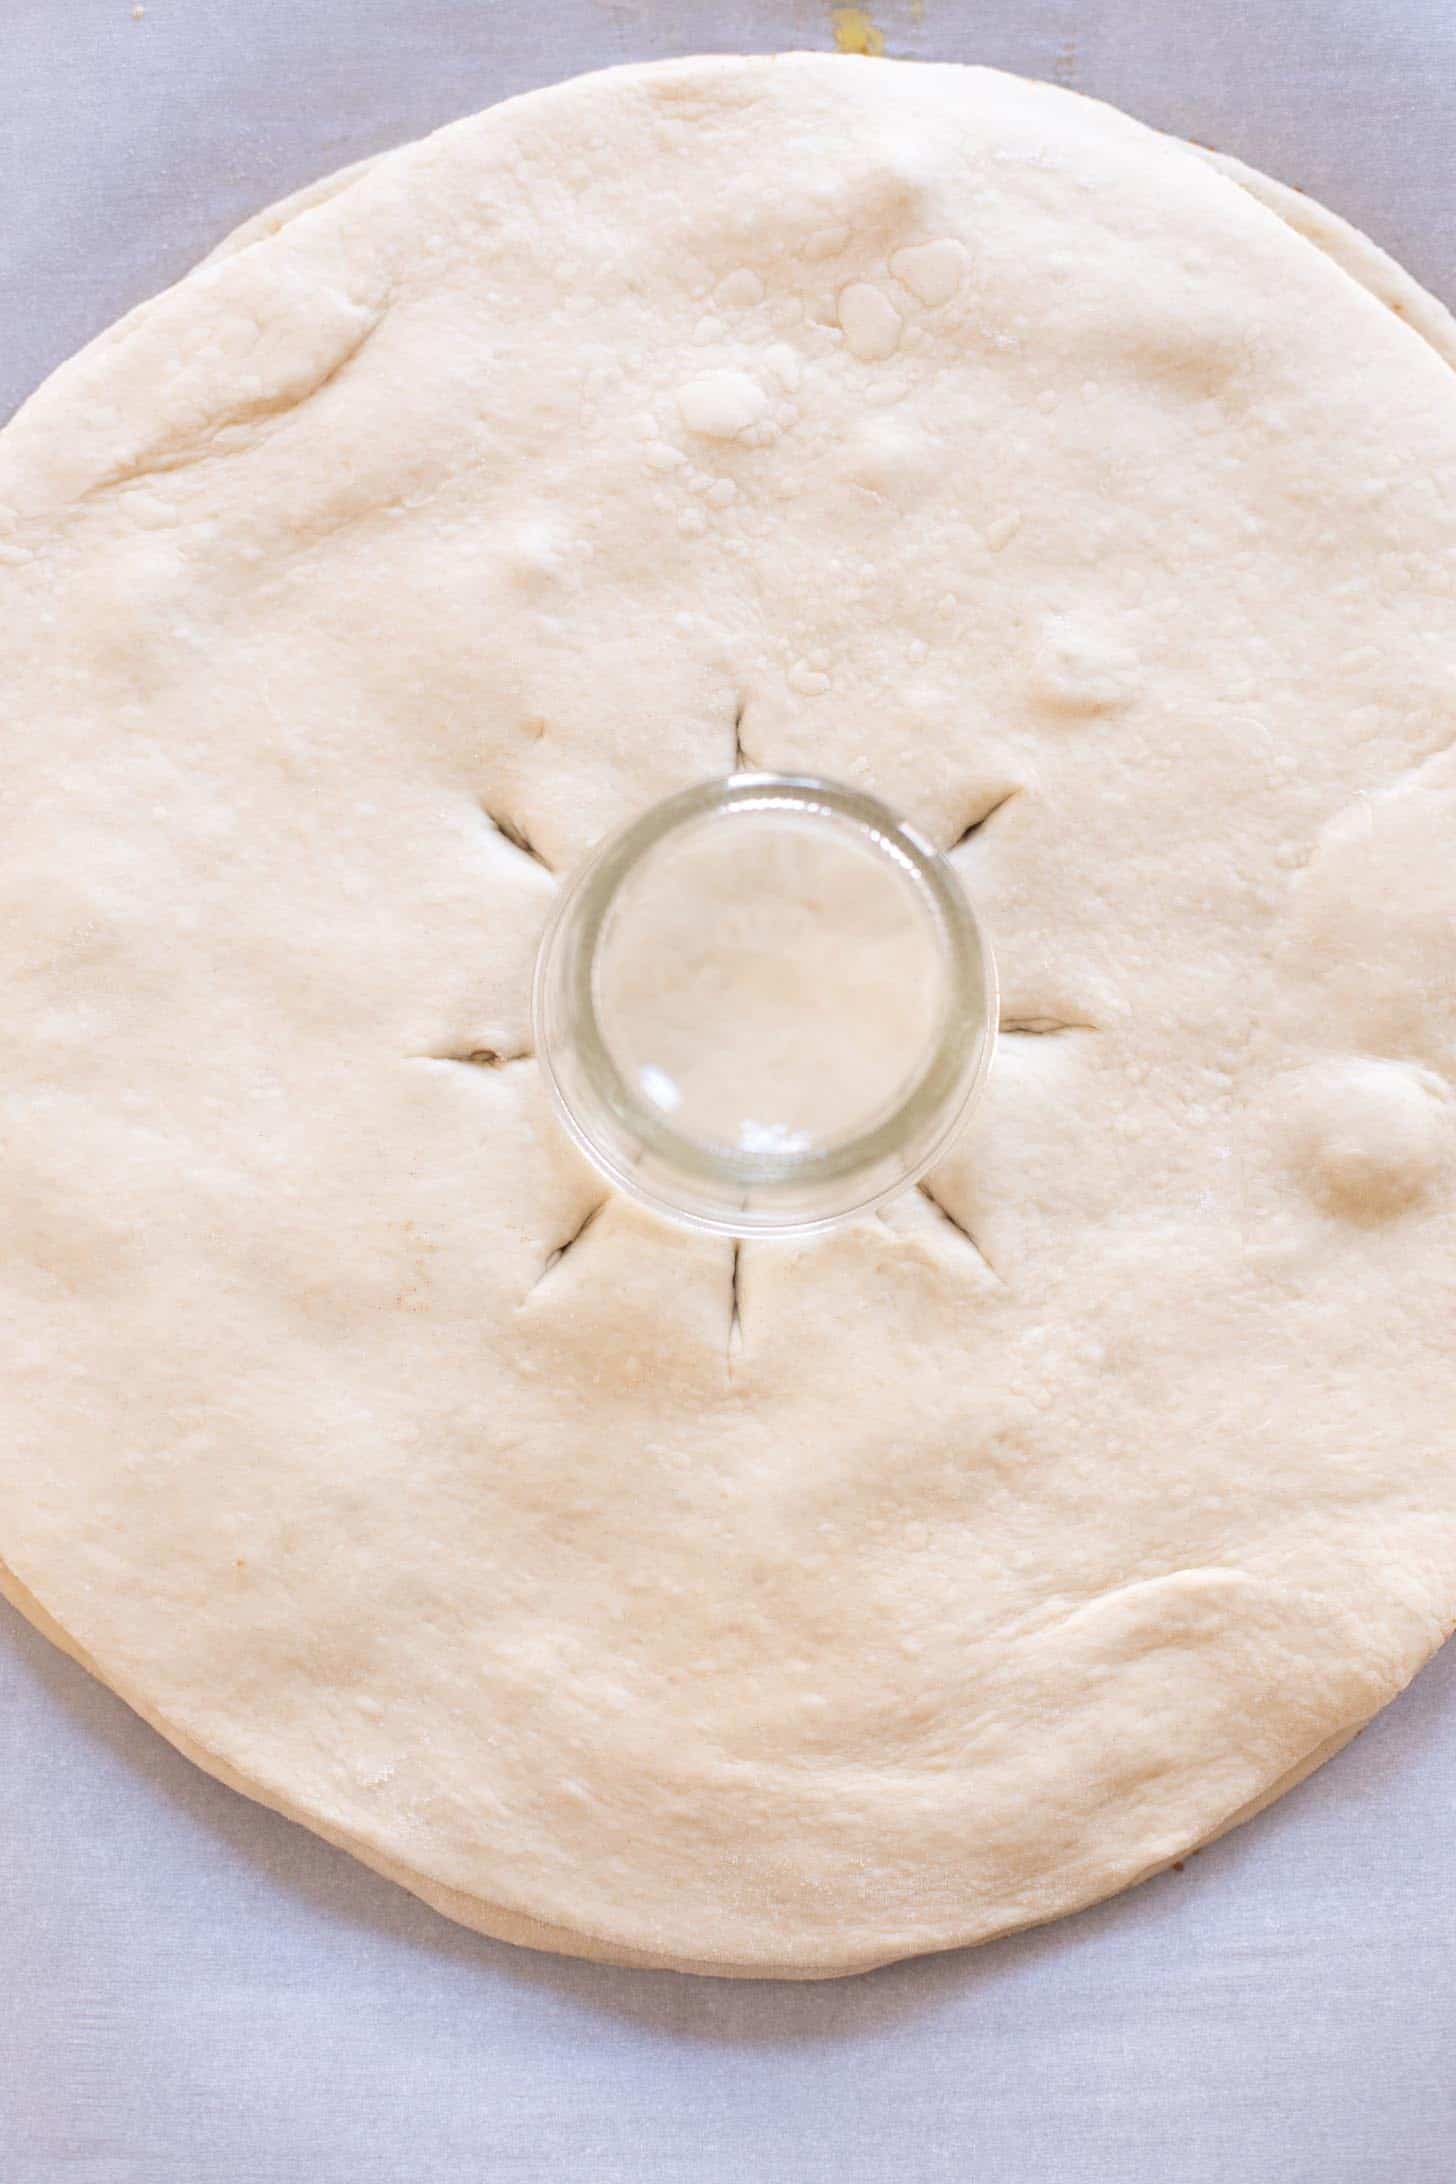
And then make 8 more small slits between those (for a total of 16 slits). Looks like the sun. If the sun was filled with butter, cinnamon and sugar.
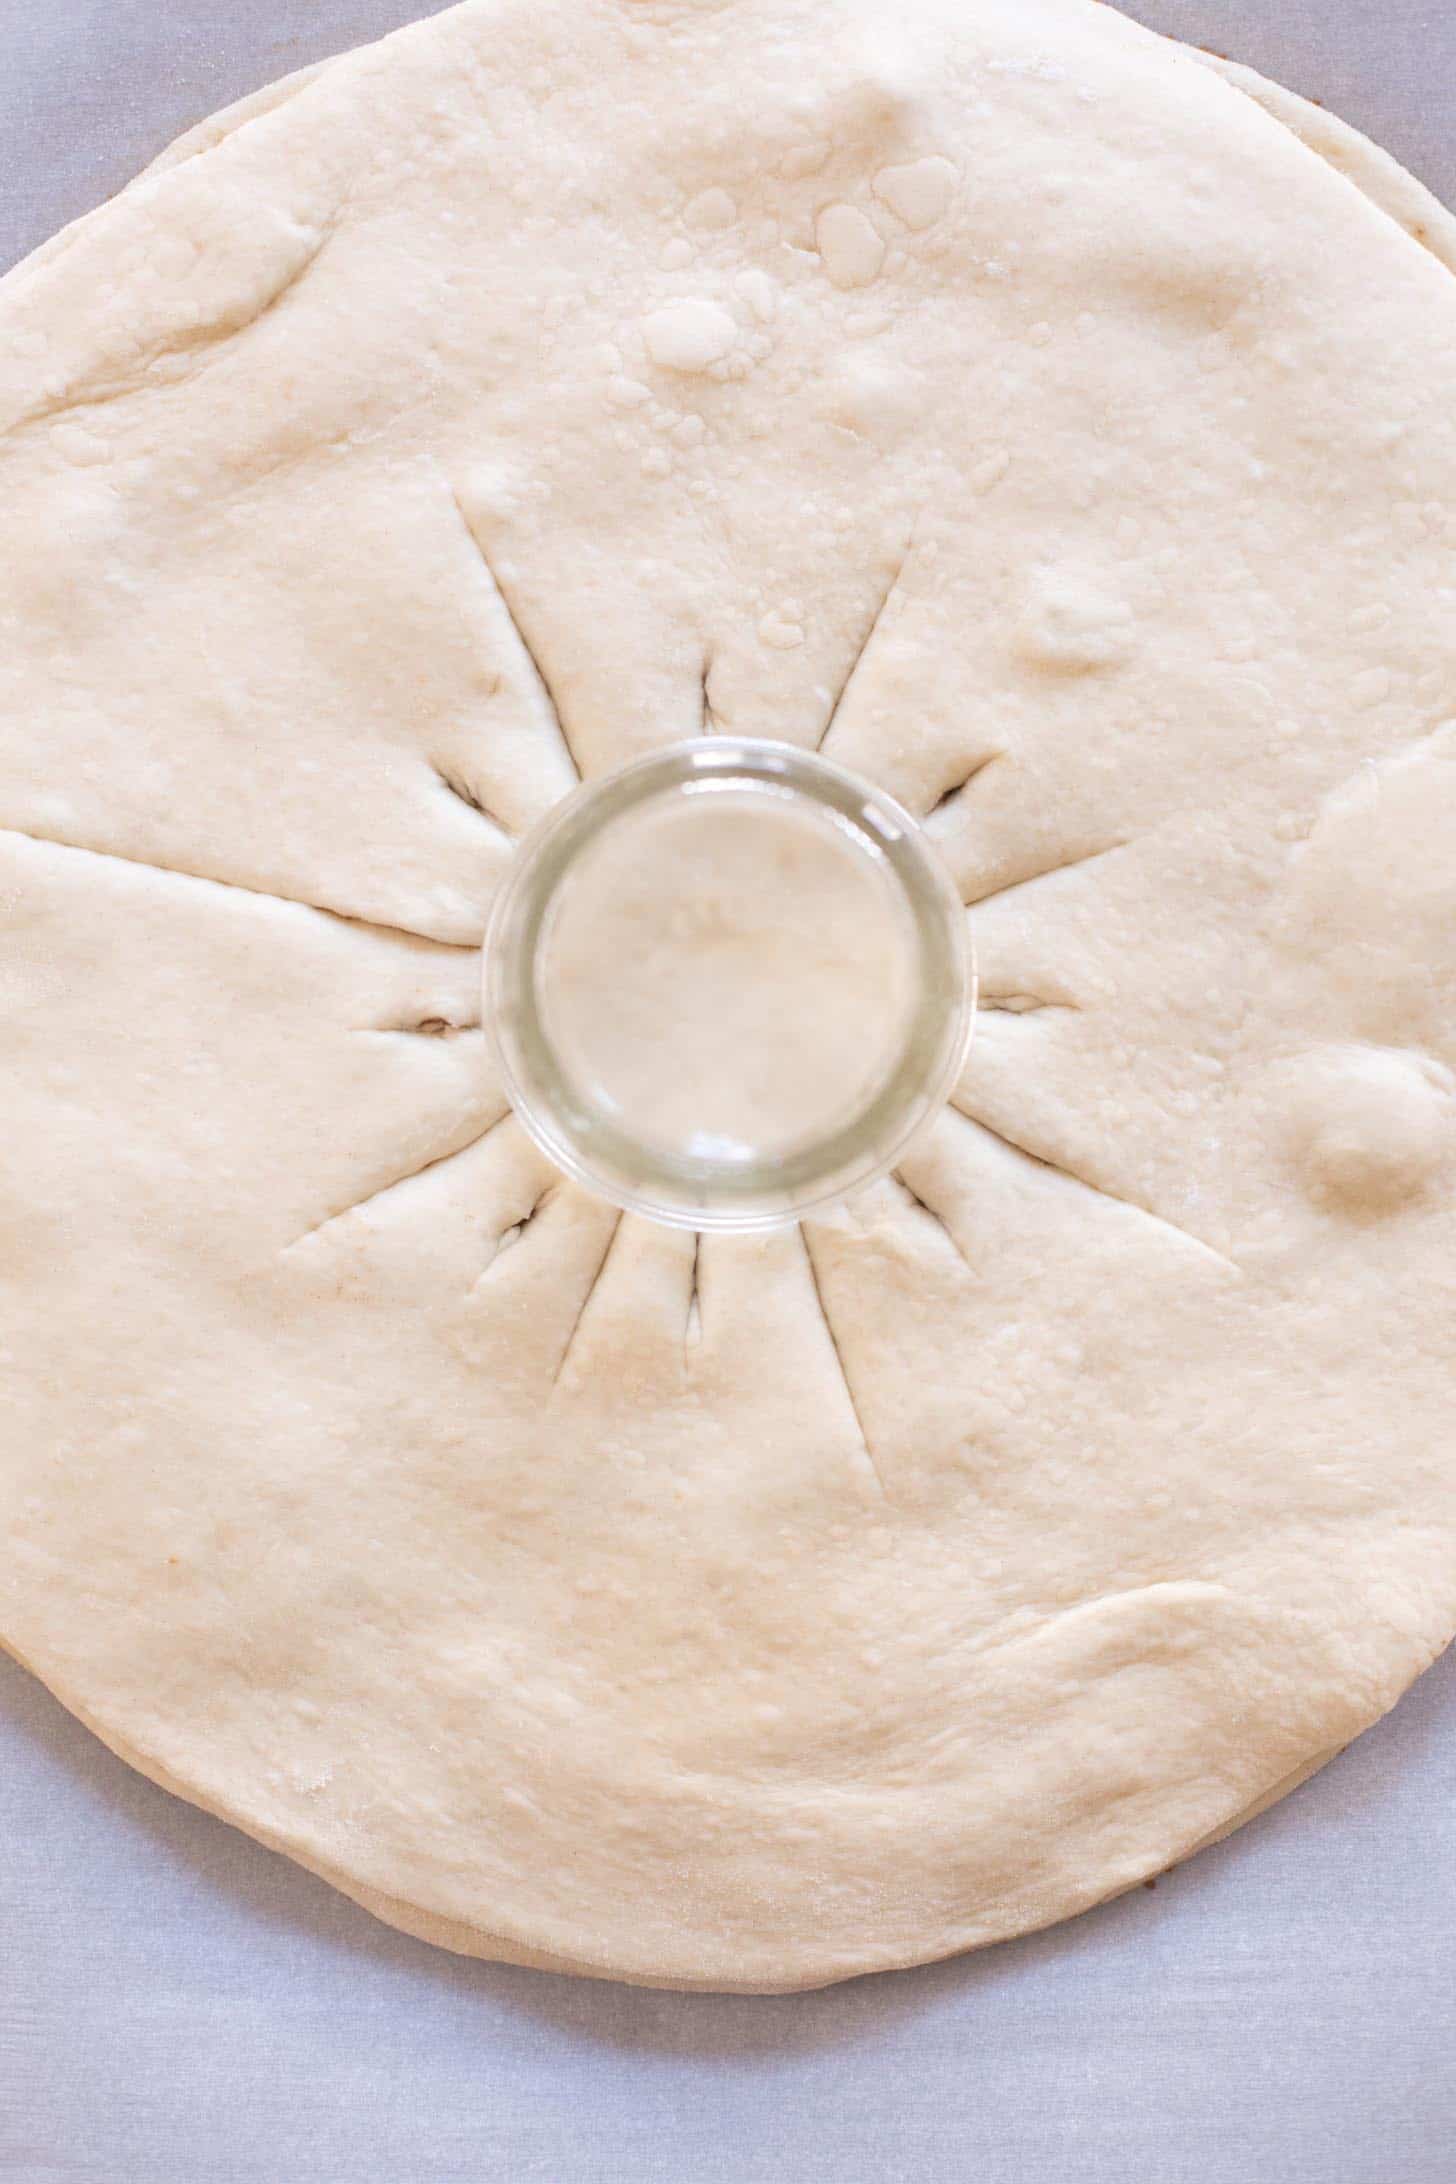
Use a serrated knife to slice through all of the layers to form 18 strips of dough. It’s already pretty, but not done yet.
Using both hands, take two adjacent strips and twist them outwards, revealing the layers inside.
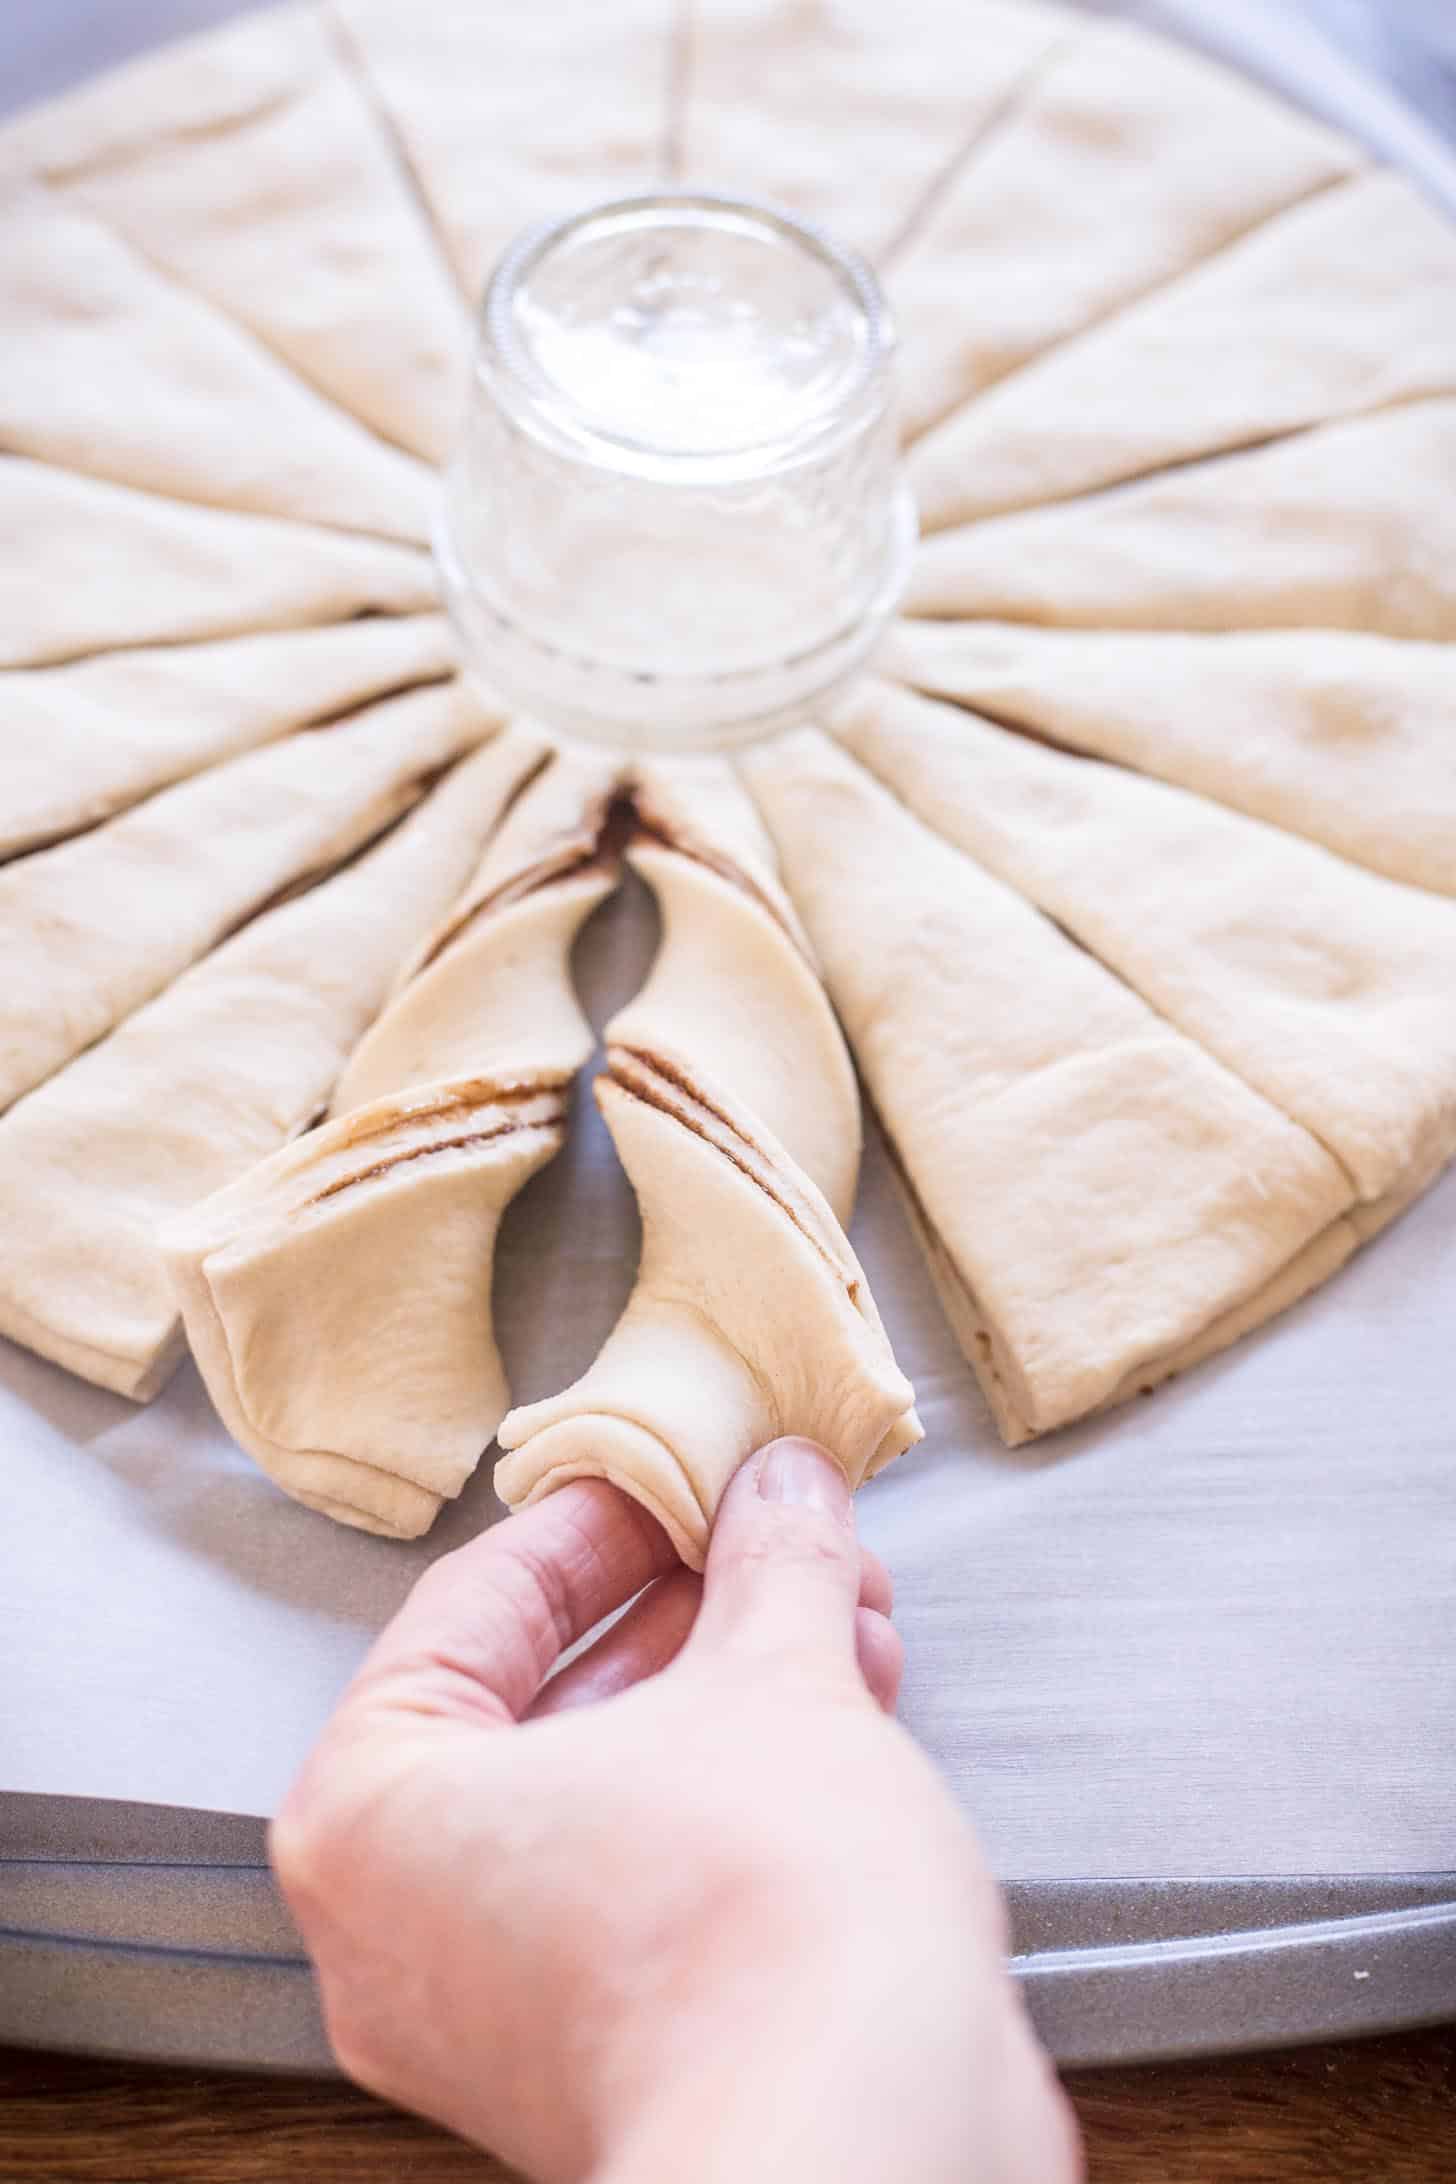
Pinch the strips together and tuck them under. Repeat all the way around the bread, forming a star!
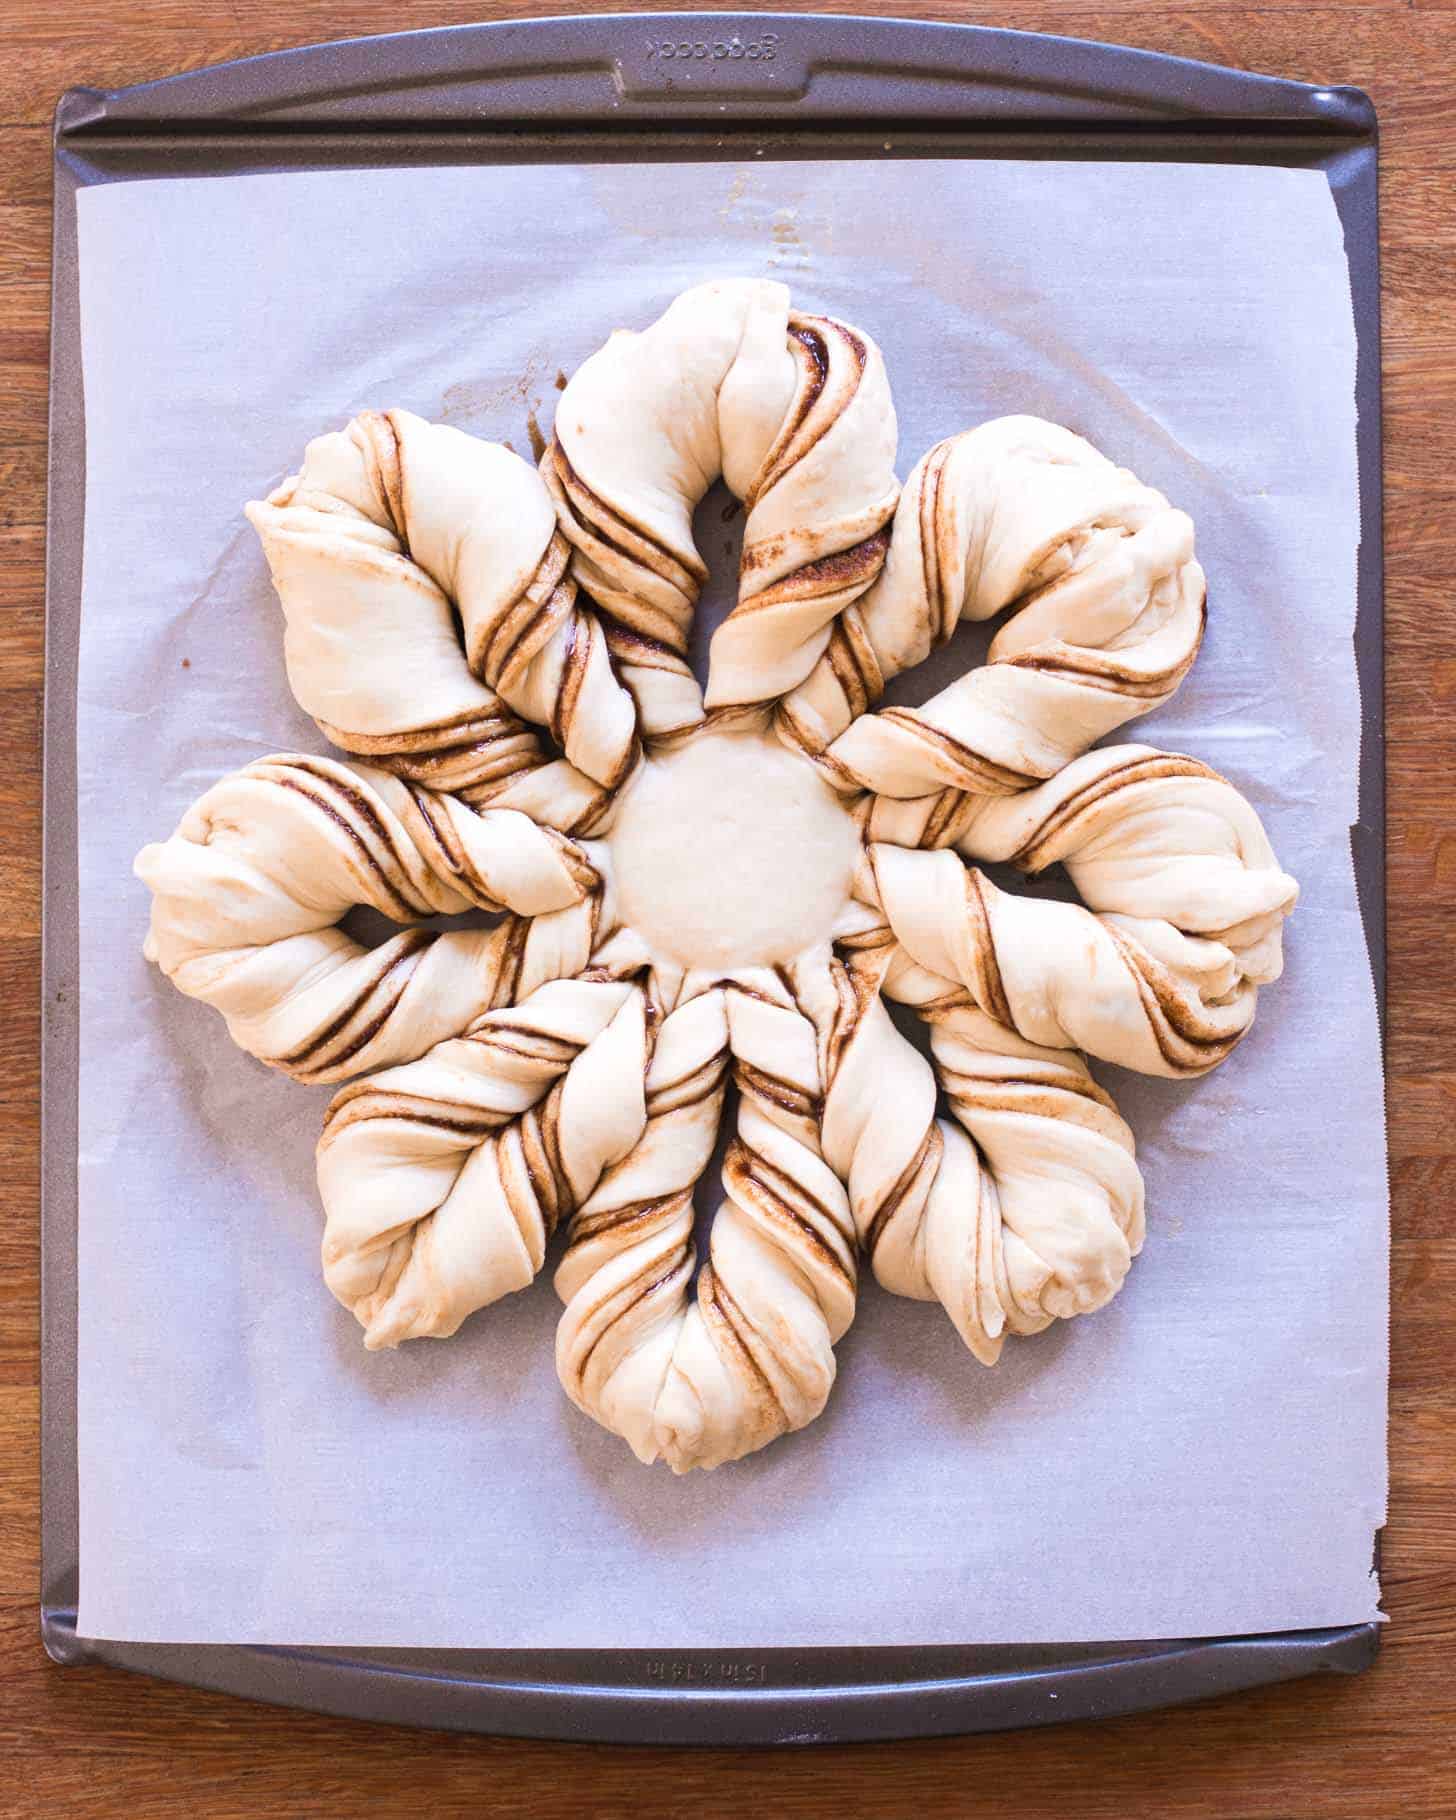
Let the star rise for 20 minutes in a warm spot. Then brush with egg wash and bake at 400 degrees F for 15 to 17 minutes.
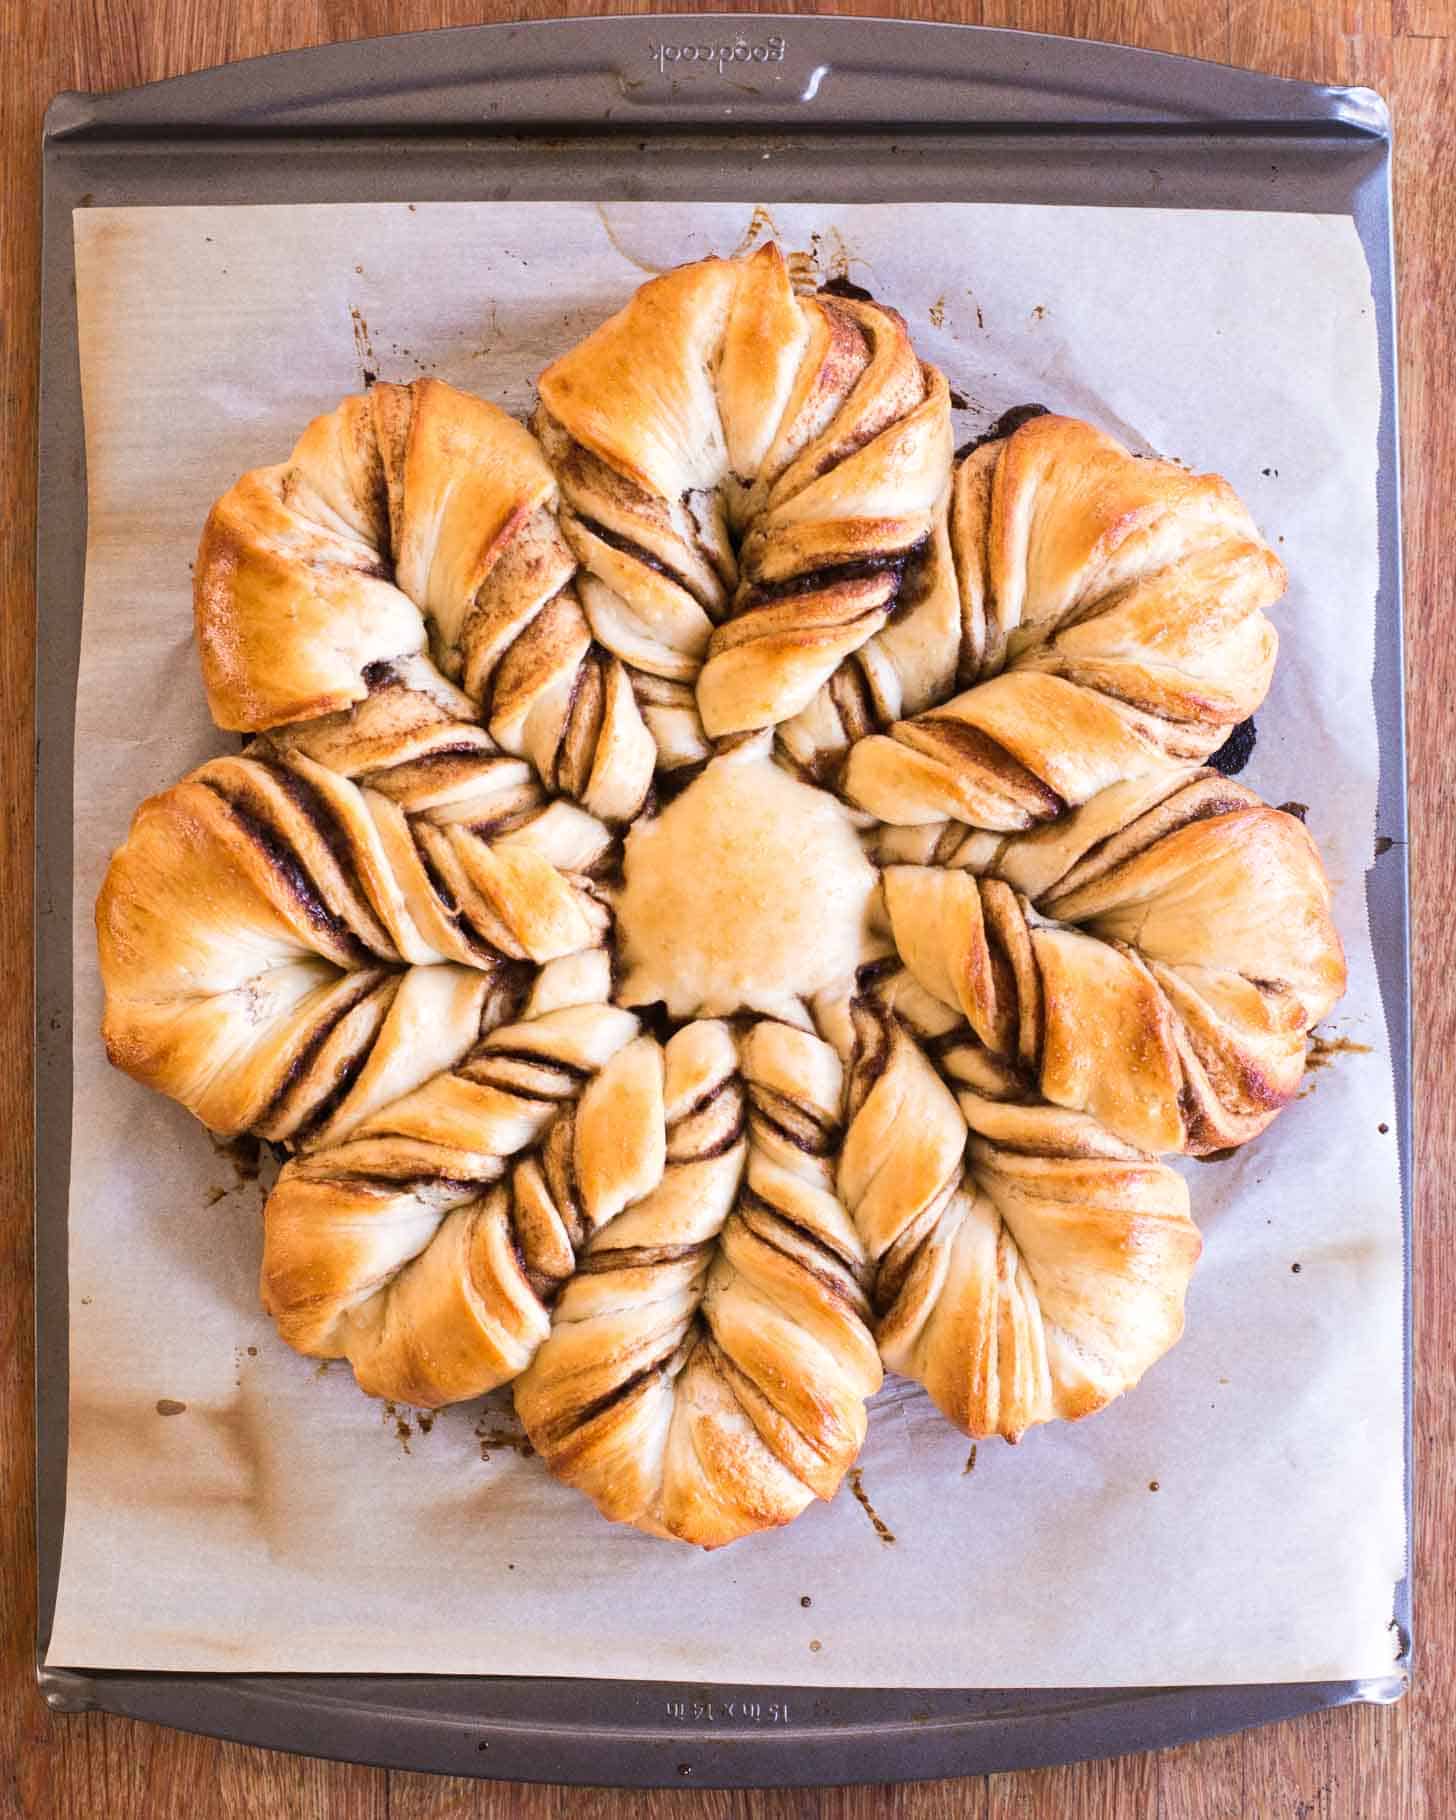
Drizzle with a glaze (just powdered sugar + vanilla + water).
There you go! Grab a slice and stay awhile.
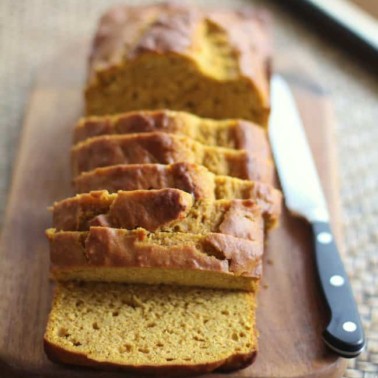
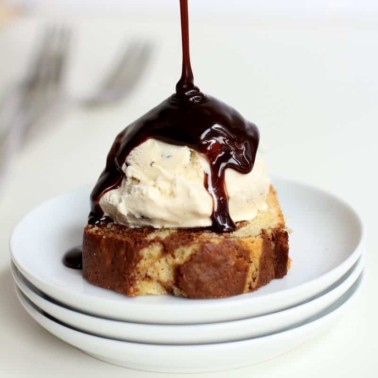
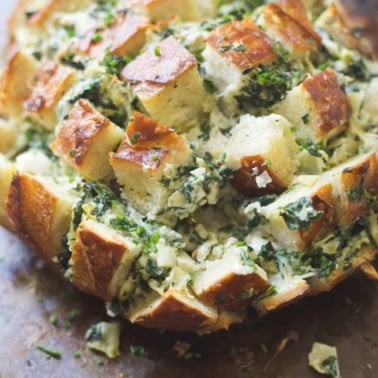
More Fun Bread Recipes

Favorite Tools


Pin this now to save it for later
Pin It Now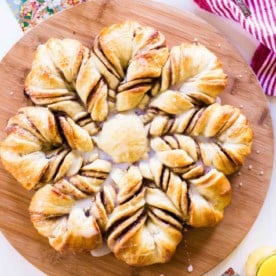
Cinnamon Star Bread
Equipment
- Stand Mixer
- Small Mixing Bowls
- Rolling Pin
- Half Sheet Pan
- Parchment Paper
- Serrated Knife
Ingredients
For dough:
- 1½ cups warm Water (110 degrees F / 45 degrees C)
- 1 Tablespoon Instant Yeast
- 2 Tablespoons Granulated Sugar
- 2 Tablespoons Unsalted Butter, softened
- 1/2 teaspoon Kosher Salt
- 4 cups All-Purpose Flour (500 grams)
For assembling star bread:
- 1/2 cup Granulated Sugar
- 1 Tablespoon Ground Cinnamon
- 4 Tablespoon Unsalted Butter
- 1 Egg
For topping (optional):
- 1 cup Powdered Sugar
- 1/2 teaspoon Vanilla Extract
- 1 to 2 Tablespoon Water
Instructions
- Make dough:In the bowl of a stand mixer fitted with the dough hook, stir together warm water, yeast, and sugar (portion for dough). Let stand until creamy, about 5 minutes.
- To the yeast mixture, add the butter (portion for the dough), salt, and 2 cups of the flour. Mix on low-speed until the ingredients begin to come together.
- Still on low-speed, add 1 cup of the remaining flour and mix for 1 minute more.
- Add the remaining 1 cup flour. Mix on low-speed until the final addition of flour is fully incorporated into the dough. Increase the speed to medium and knead until the dough is smooth and elastic, about 5 minutes. (It should make a slapping sound against the sides of the bowl.)
- Remove the bowl from the mixer and cover it with a dish towel. Let the dough rise in a warm place until doubled in volume, about 20 minutes.
- While dough rises, prepare filling / egg wash. In one small bowl, combine sugar (portion for assembling) and cinnamon. In another small bowl, melt butter. In a third small bowl, whisk egg.
- Line a sheet pan with parchment paper.
- Shape dough:Turn dough out onto a lightly floured surface and form into a ball. Using a serrated knife, slice dough into three even pieces.
- Working with one portion of dough at a time, roll out into a 12-inch circle (no need to be super precise – it’s okay if it looks messy!). Transfer dough circle to prepared sheet pan. Brush with melted butter. Top with half of the cinnamon-sugar mixture.
- Roll out a second circle the same size as the first. Place it on top of the filling-covered circle. Repeat the process by adding butter and then the remaining half of the cinnamon-sugar. Top with the final dough circle.
- Place a 3-inch small bowl or round biscuit cutter in the center of the dough.
- Use a serrated knife to cut 16 strips from the center bowl to the outside of the dough, slicing through all of the layers.
- Using both hands, take two adjacent strips and twist them outwards, revealing the layers inside. Pinch the ends of the strips together and tuck them under slightly. Repeat with all remaining dough strips to form 8 spokes on the star.
- Remove the bowl from the center of the dough. Allow dough to rise for 20 minutes.
- Heat oven to 400 degrees F / 200 degrees C.
- Just before baking, brush bread with whisked egg.
- Bake until light golden brown, 15 to 17 minutes.
- Glaze bread (optional)Whisk together powdered sugar, vanilla extract, and 1 Tablespoon water. Add more water a bit at a time until glaze is smooth and pours easily. Drizzle over bread.
- Serve immediately.
Notes
Nutrition
Nutrition information is automatically calculated, so should only be used as an approximation.


Thank you. I’ve seen these recipes and they always seemed so complicated. I’ve made this today as a test run for when my son comes home from the Army this Christmas. It’s amazing. Thank you
I’m SO glad you gave it a try! I worked so hard to try to make the instructions as clear and easy as possible, and I agree. I think it’s so much fun to make and the result is so impressive without being all that complicated at all. I hope you have a wonderful visit with your son. Thank you to him (and you!) for his service.