One Hour Dinner Rolls
Published Oct 28, 2020•Updated Jul 04, 2025
This post may contain affiliate links. Please read our disclosure policy.
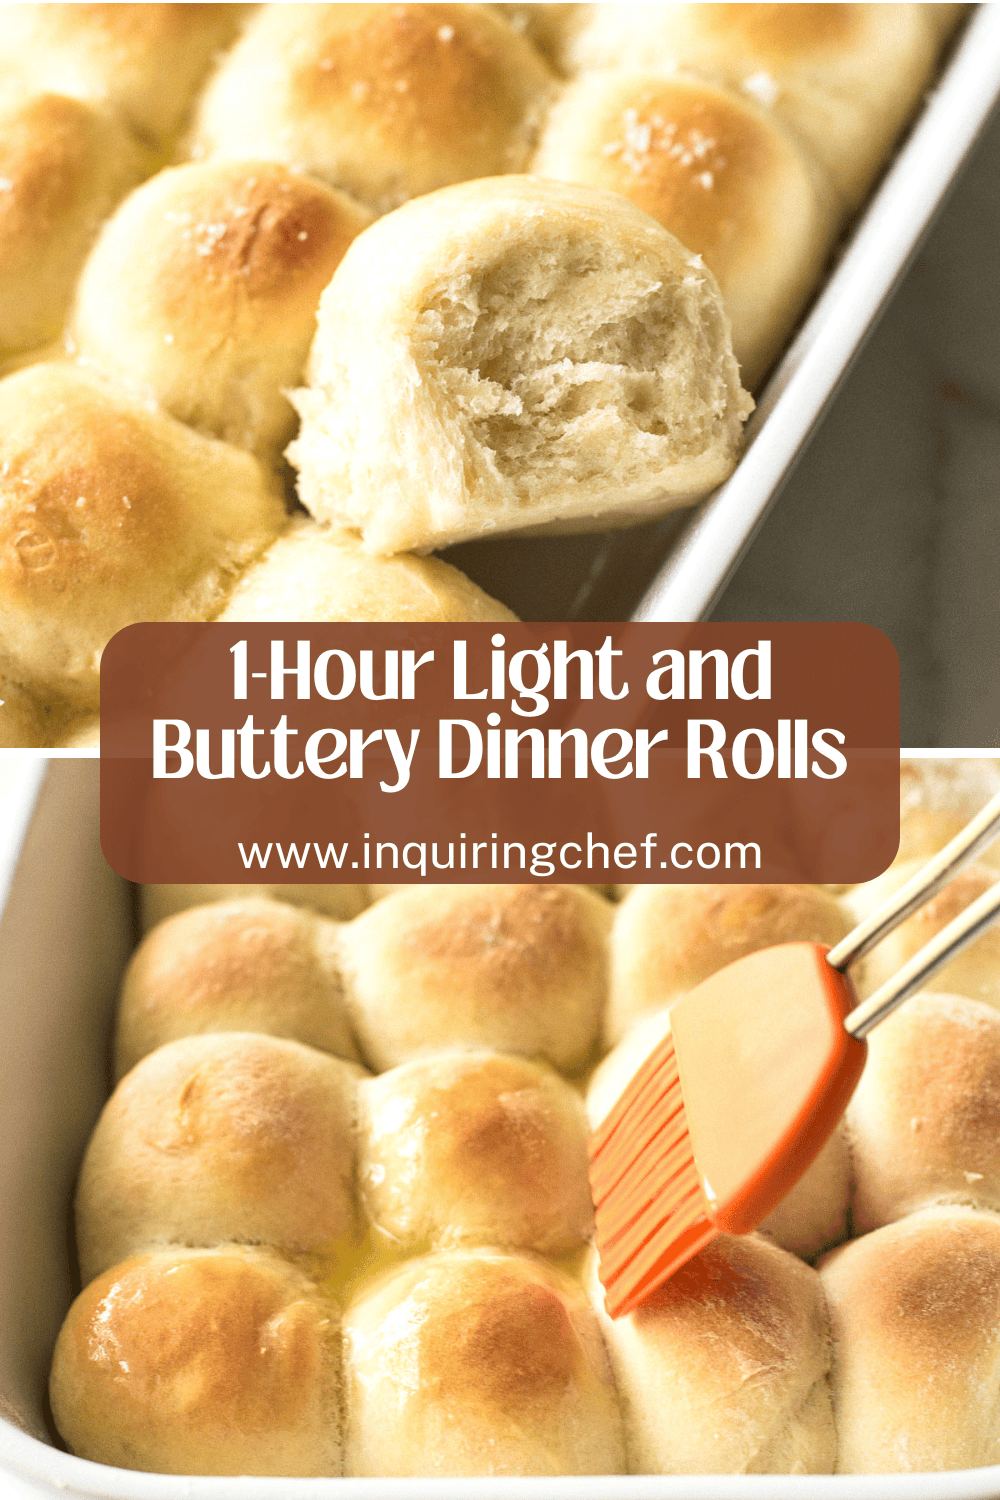
Got an hour? That’s all you need to make these incredibly light, fluffy one hour dinner rolls. I first created this recipe in 2012 and it has earned itself many super-fans over the years. You can be next! Just read on for more about this easy dinner roll method.
Amber says: ⭐⭐⭐⭐⭐ Awesome recipe! Followed the recipe exactly but made 12 larger sized rolls instead of 24. They turned out perfect.
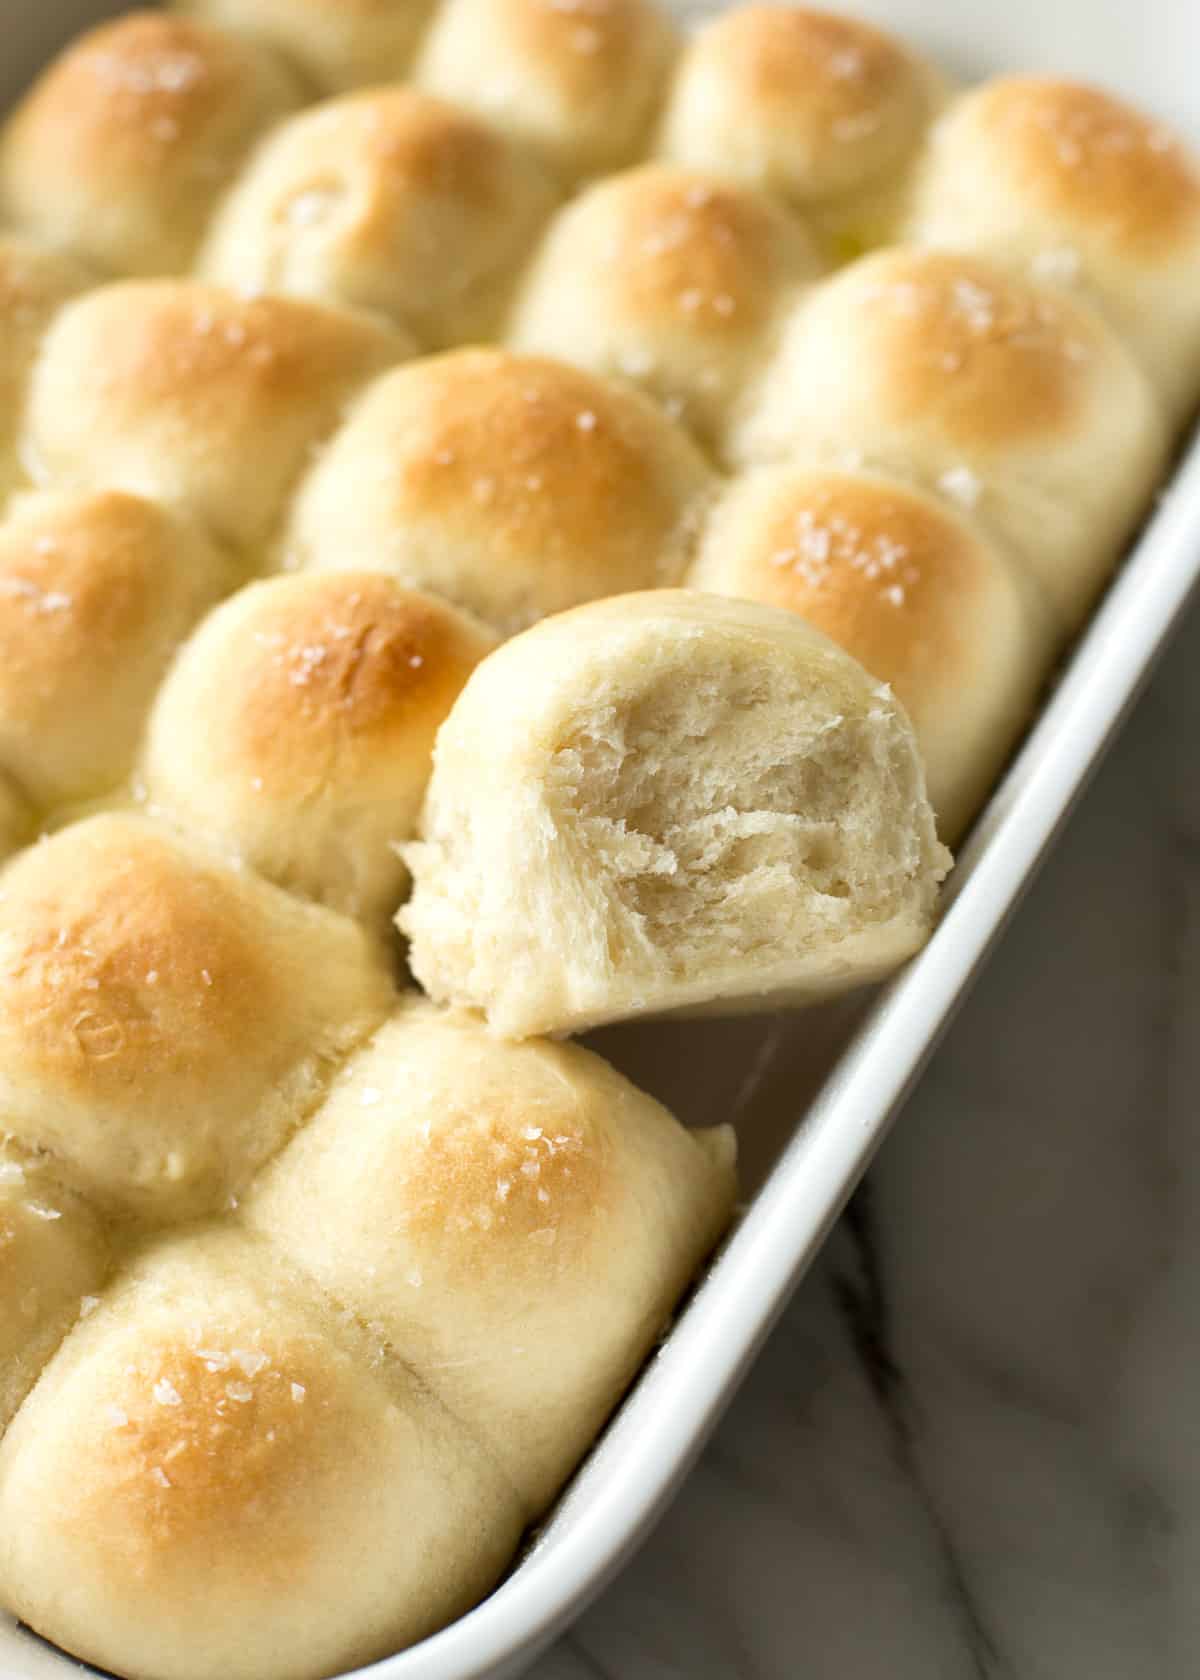
These classic dinner rolls have been a staple around our table since I first published them back in 2012 (!). Check out the comments to hear from many fans of these soft, light, buttery rolls. And even if you’ve never made homemade dinner rolls, give this one a try. You just need one bowl. They’re easy and turn out great every time.
I love to serve them with everything from Thanksgiving favorites (my spatchcock turkey and favorite Thanksgiving sides beg for these homemade dinner rolls). Throughout the year I pair them with Creamy Tomato Basil Soup, Lemon Chicken and Orzo Soup, or Tuscan Kale and White Bean Soup.
Ingredients
- Fast-Acting or “Instant” Yeast – This dough rises quickly and requires yeast labeled as Fast Acting, Instant, Quick-Rise, Bread Machine, or RapidRise. Do NOT use “Active Dry Yeast” for this recipe; it needs to be dissolved in water before using.
- Unsalted Butter – Butter shows up in this recipe in two places. Mix some softened butter into the dough and brush melted butter over the tops before and after cooking.
- Warm Water – Use water that is warm to the touch. Check the label on your brand of yeast for the recommended water temperature to get the best results.
- Sugar, Flour, Kosher Salt – Standard pantry ingredients for bread-baking.
Pin this now to save it for later
Pin It Now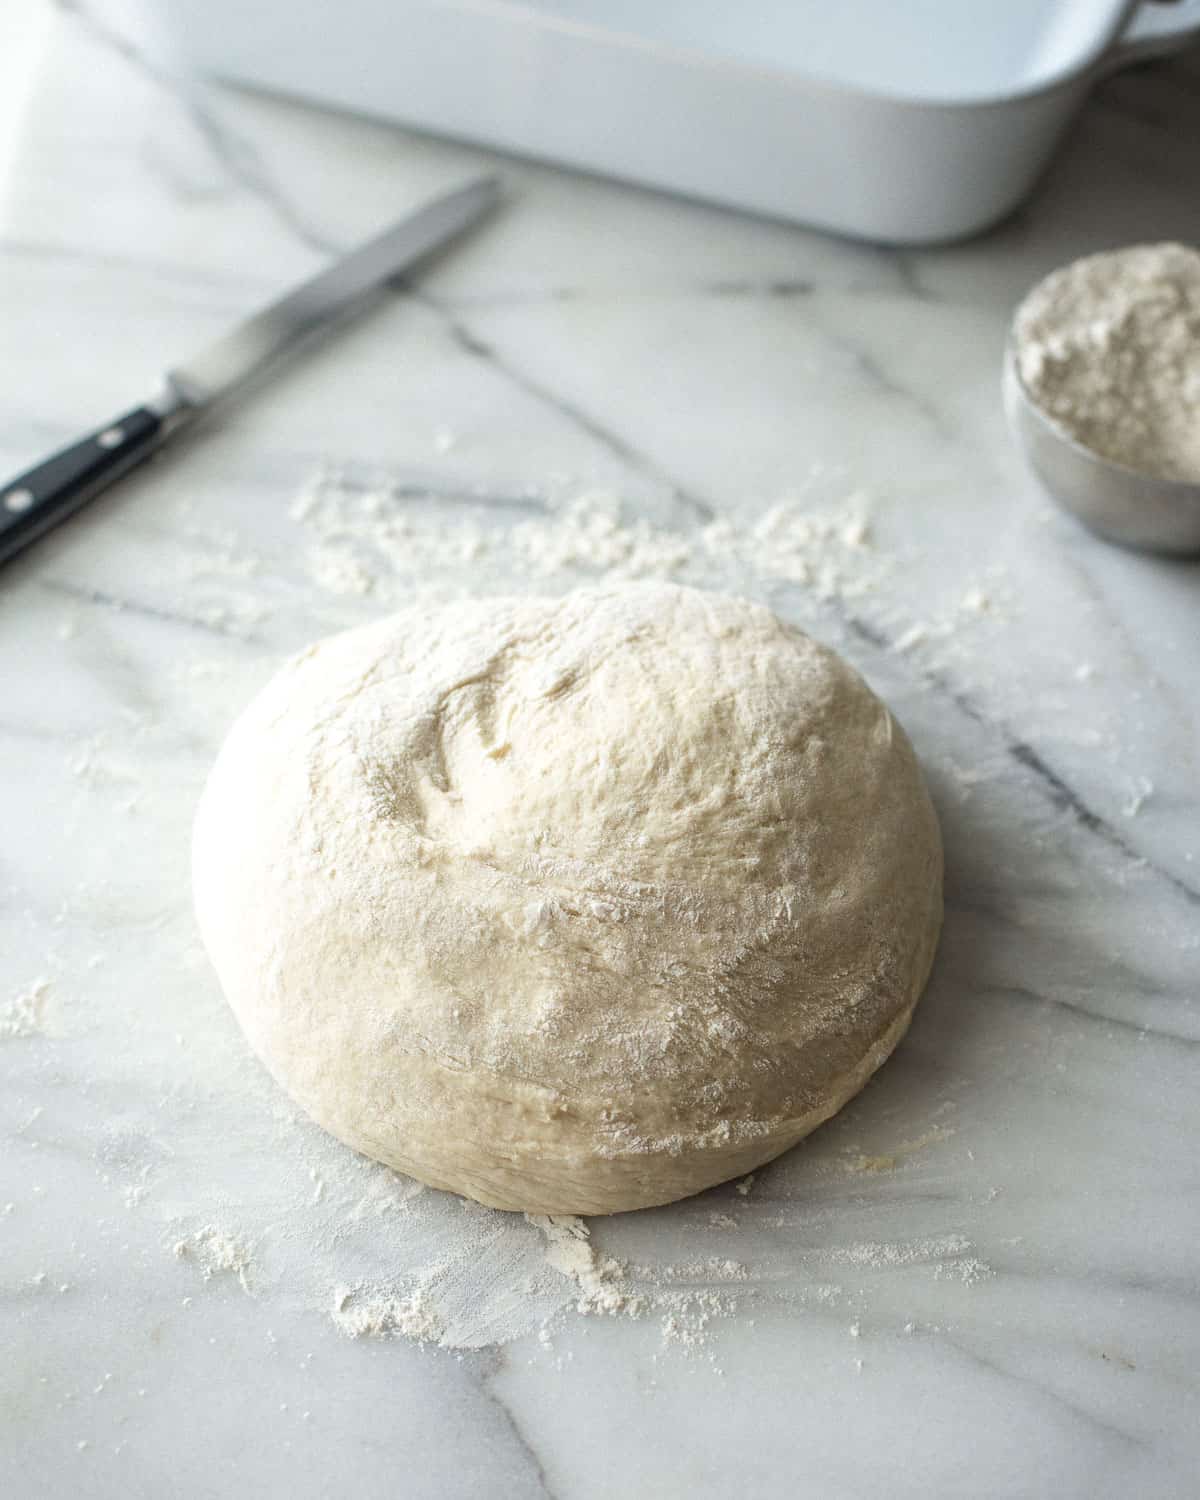

How to Make Dinner Rolls Ahead
To make the dinner rolls ahead, bake them as written and allow them to cool completely. Cover tightly and store at room temperature for up to 24 hours.
To Reheat: To reheat the rolls place a piece of foil on a sheet pan. Add the rolls and brush them with some melted butter. Enclose the rolls tightly with foil, sealing the edges. Warm the rolls in foil in a 350°F / 177°C oven for about 15 minutes. Serve immediately.
To Freeze and Reheat Dinner Rolls
To Freeze: After testing many different methods, I have found that the best way to prepare and freeze these dinner rolls is to bake them completely as directed. Allow them to cool and then freeze flat on a baking sheet until solid, 2 to 3 hours. Transfer to a freezer-safe bag and freeze for up to 3 months.
To Reheat: Take the rolls out of the freezer about 3 hours before baking and let fully defrost at room temperature. Place them on a sheet pan and cover tightly with foil. Bake, covered, in a 350°F / 177°C oven until warmed through, 20 to 25 minutes. Brush generously with melted butter.
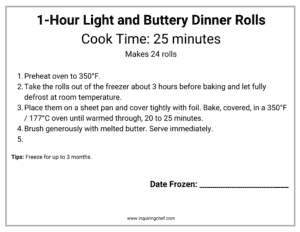
Printable Freezer Label
Print and attach the label below so cooking instructions are ready when you are!
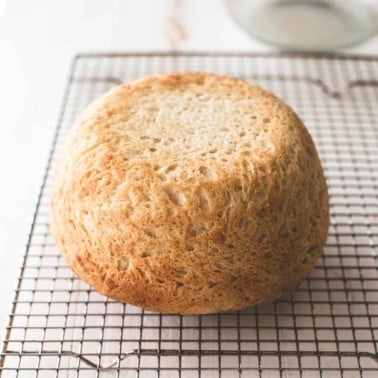
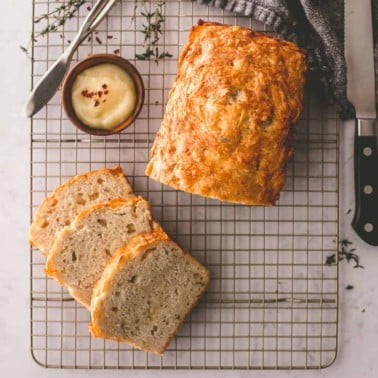
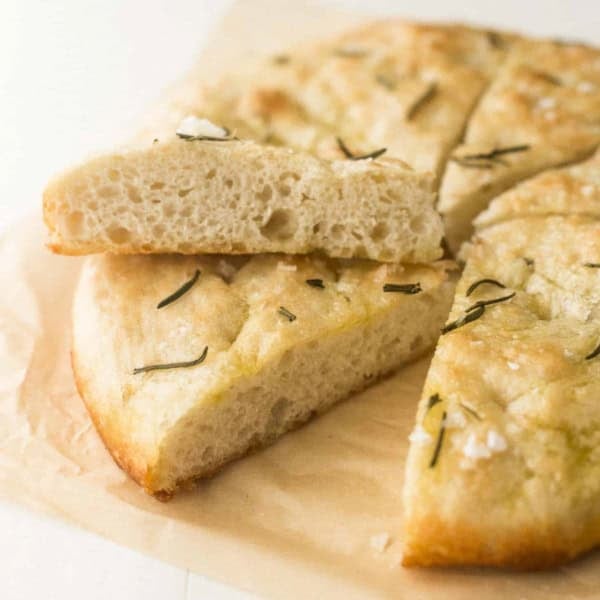
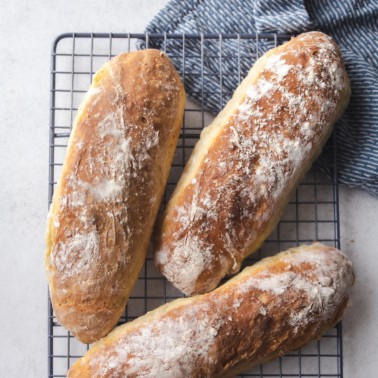
More Homemade Bread Recipes


Pin this now to save it for later
Pin It Now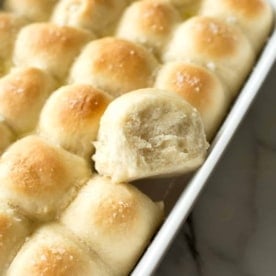
One Hour Dinner Rolls
Equipment
- Stand Mixer
- 9×13 Baking Dish
- Serrated Knife
Ingredients
- 1 1/2 cups Warm Water (110°F / 43°C)
- 1 Tablespoons Instant or “Fast-Acting” Yeast
- 2 Tablespoons Granulated Sugar
- 2 Tablespoons Unsalted Butter, softened to room temperature (2 Tbsp = 28g)
- 4 cups All-Purpose Flour, divided (4 cups flour = 500g)
- 1 teaspoon Kosher Salt
For topping:
- 3 Tablespoons Unsalted Butter, melted (3 Tbsp = 40g)
- 1 teaspoon Sea Salt or Kosher Salt
Instructions
- In the bowl of a stand mixer fitted with the dough hook, stir together warm water, yeast, and sugar. Let stand until creamy, about 5 minutes.
- Lightly grease a 9×13 baking pan.
- To the yeast mixture, add 2 Tablespoons softened butter, 2 cups of flour, and salt (making sure that the salt is added on top of the flour and doesn't come in contact with the yeast until you begin mixing). Mix on low until the ingredients begin to come together.
- Add remaining 2 cups of flour and mix again on low until flour is fully incorporated.
- Increase the speed to medium and knead until the dough is smooth and elastic, about 5 minutes. (You will know it is ready when the dough starts to make a slapping sound as it hits the sides of the bowl.)
- Remove the bowl from the mixer and cover it with a dish towel. Let the dough rise in a warm place until doubled in volume, about 20 minutes. (Note: I like to turn on the oven's light and let the dough rise inside the oven. The light produces just enough heat to help the dough rise quickly.)
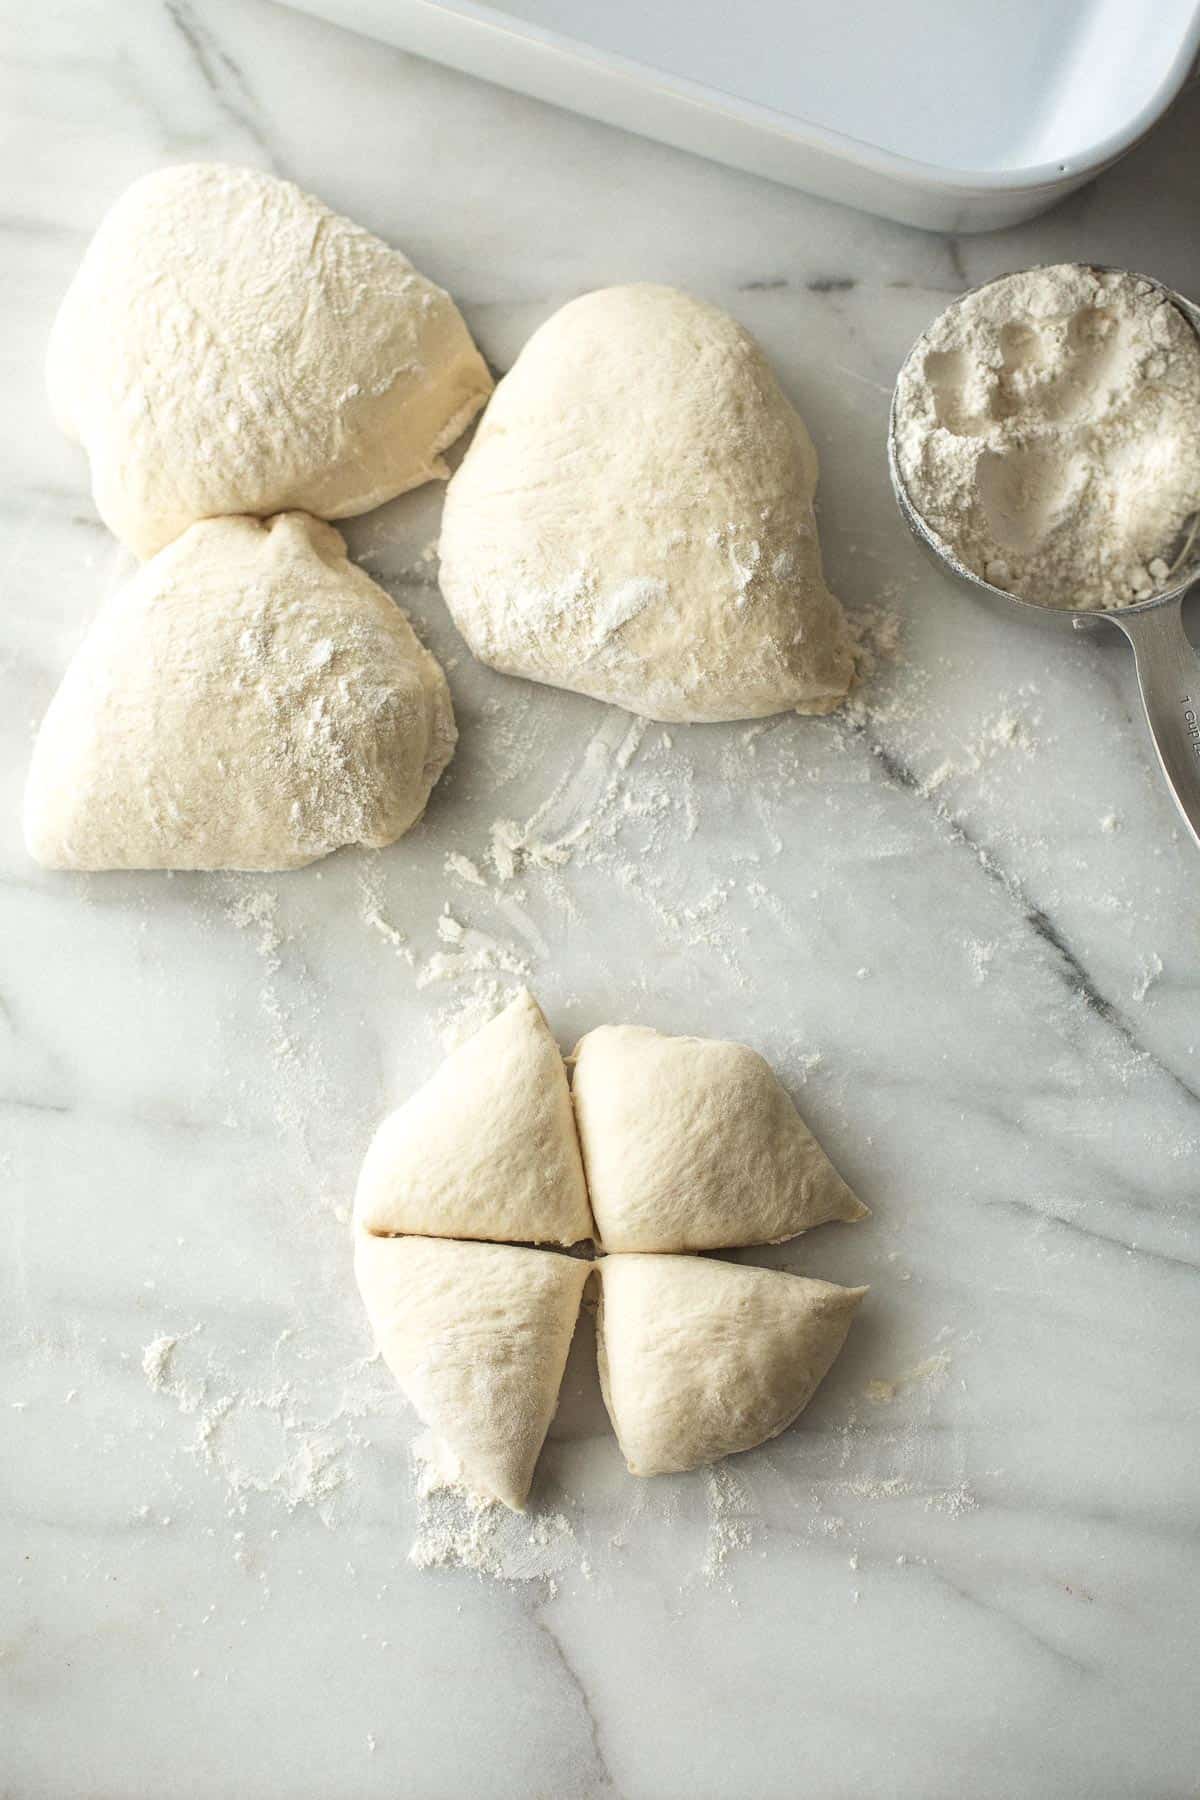
- Turn the dough out onto a lightly floured surface and form it into an even ball.
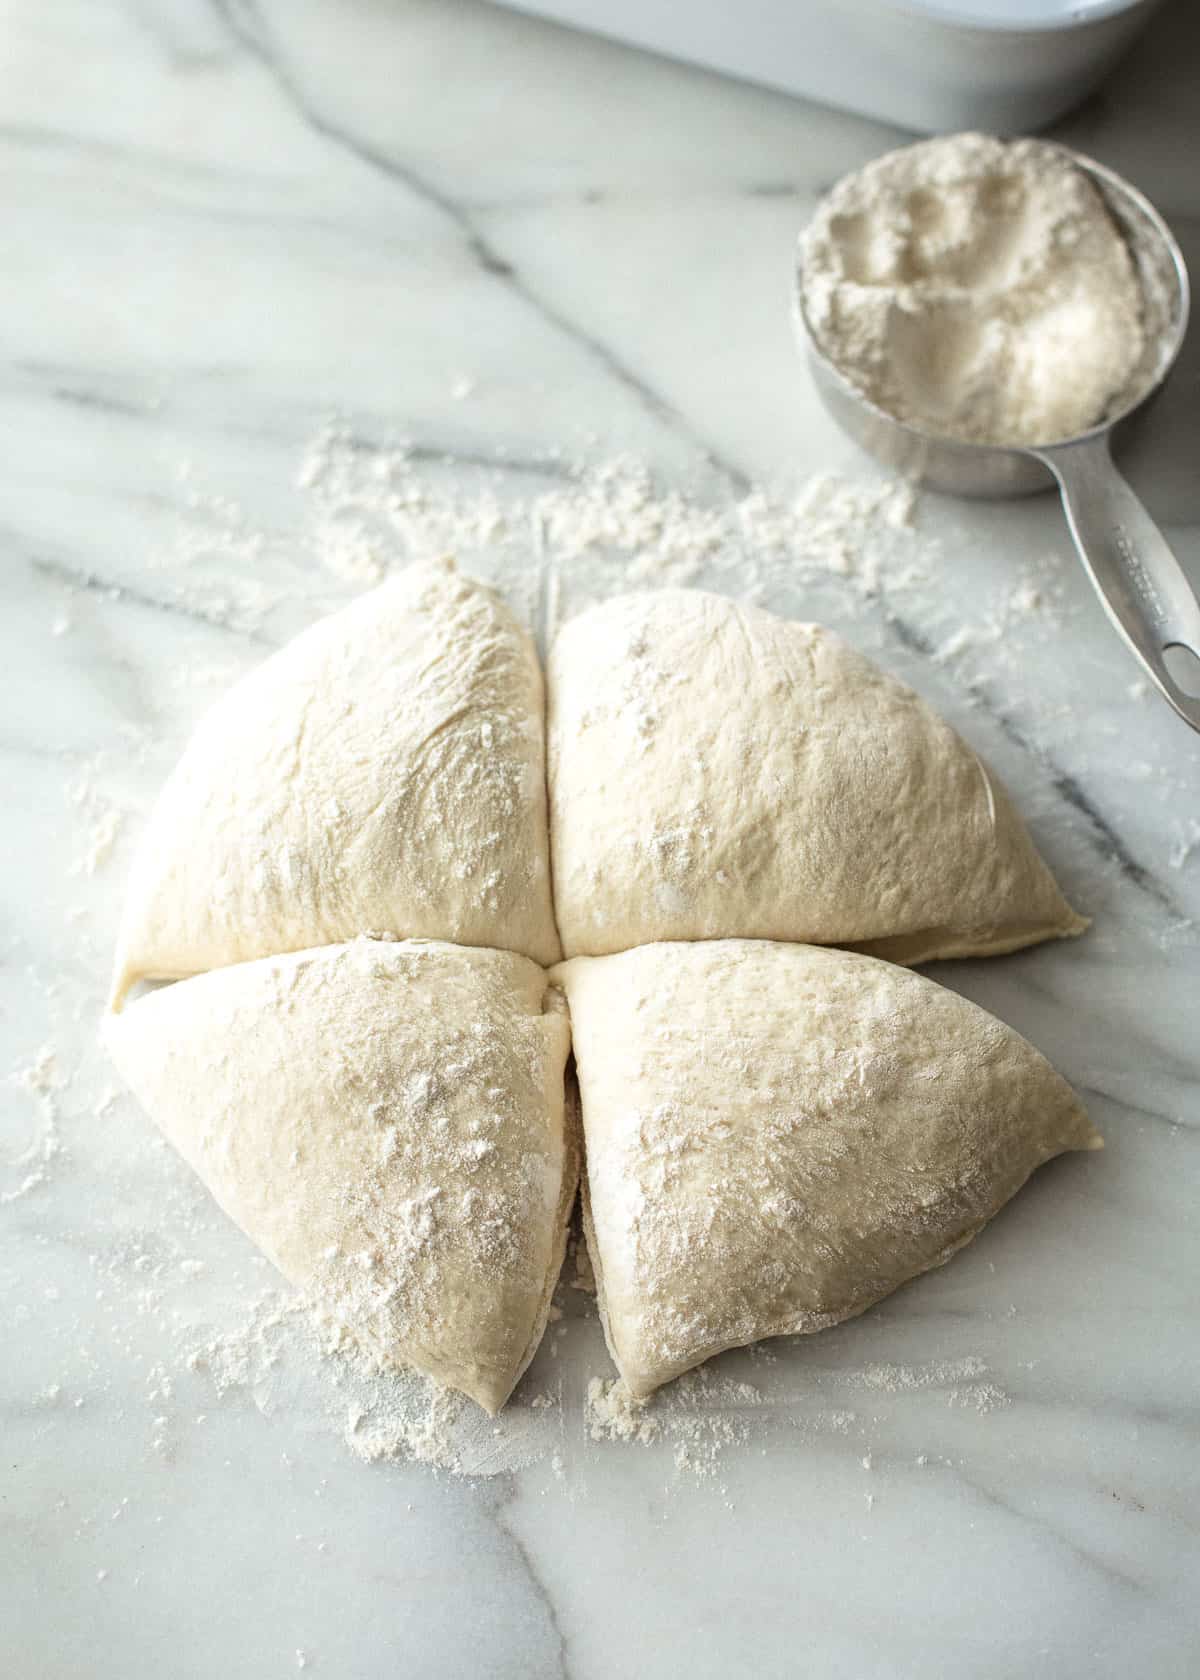
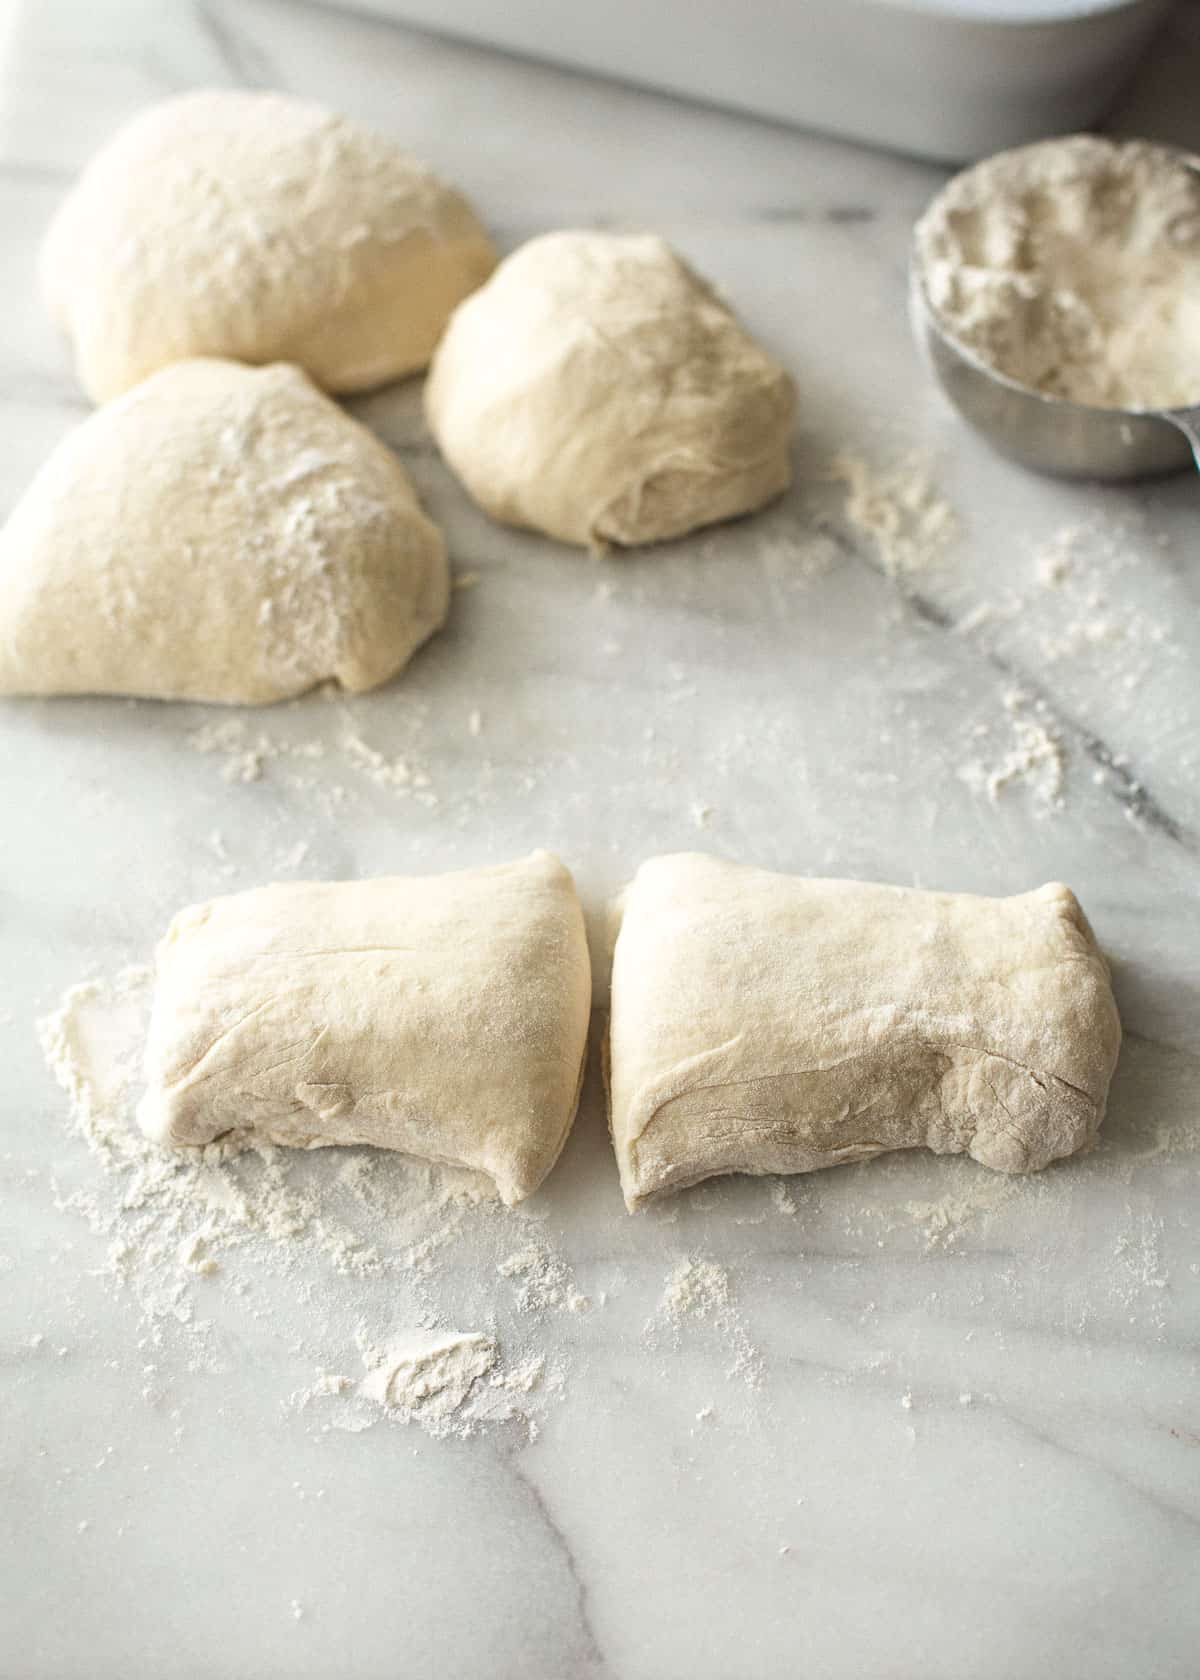
- Using a serrated knife, cut the dough into quarters. Slice each quarter of dough into 6 even slices (you should have 24 even pieces of dough). With lightly floured hands, roll each piece of dough into a ball.
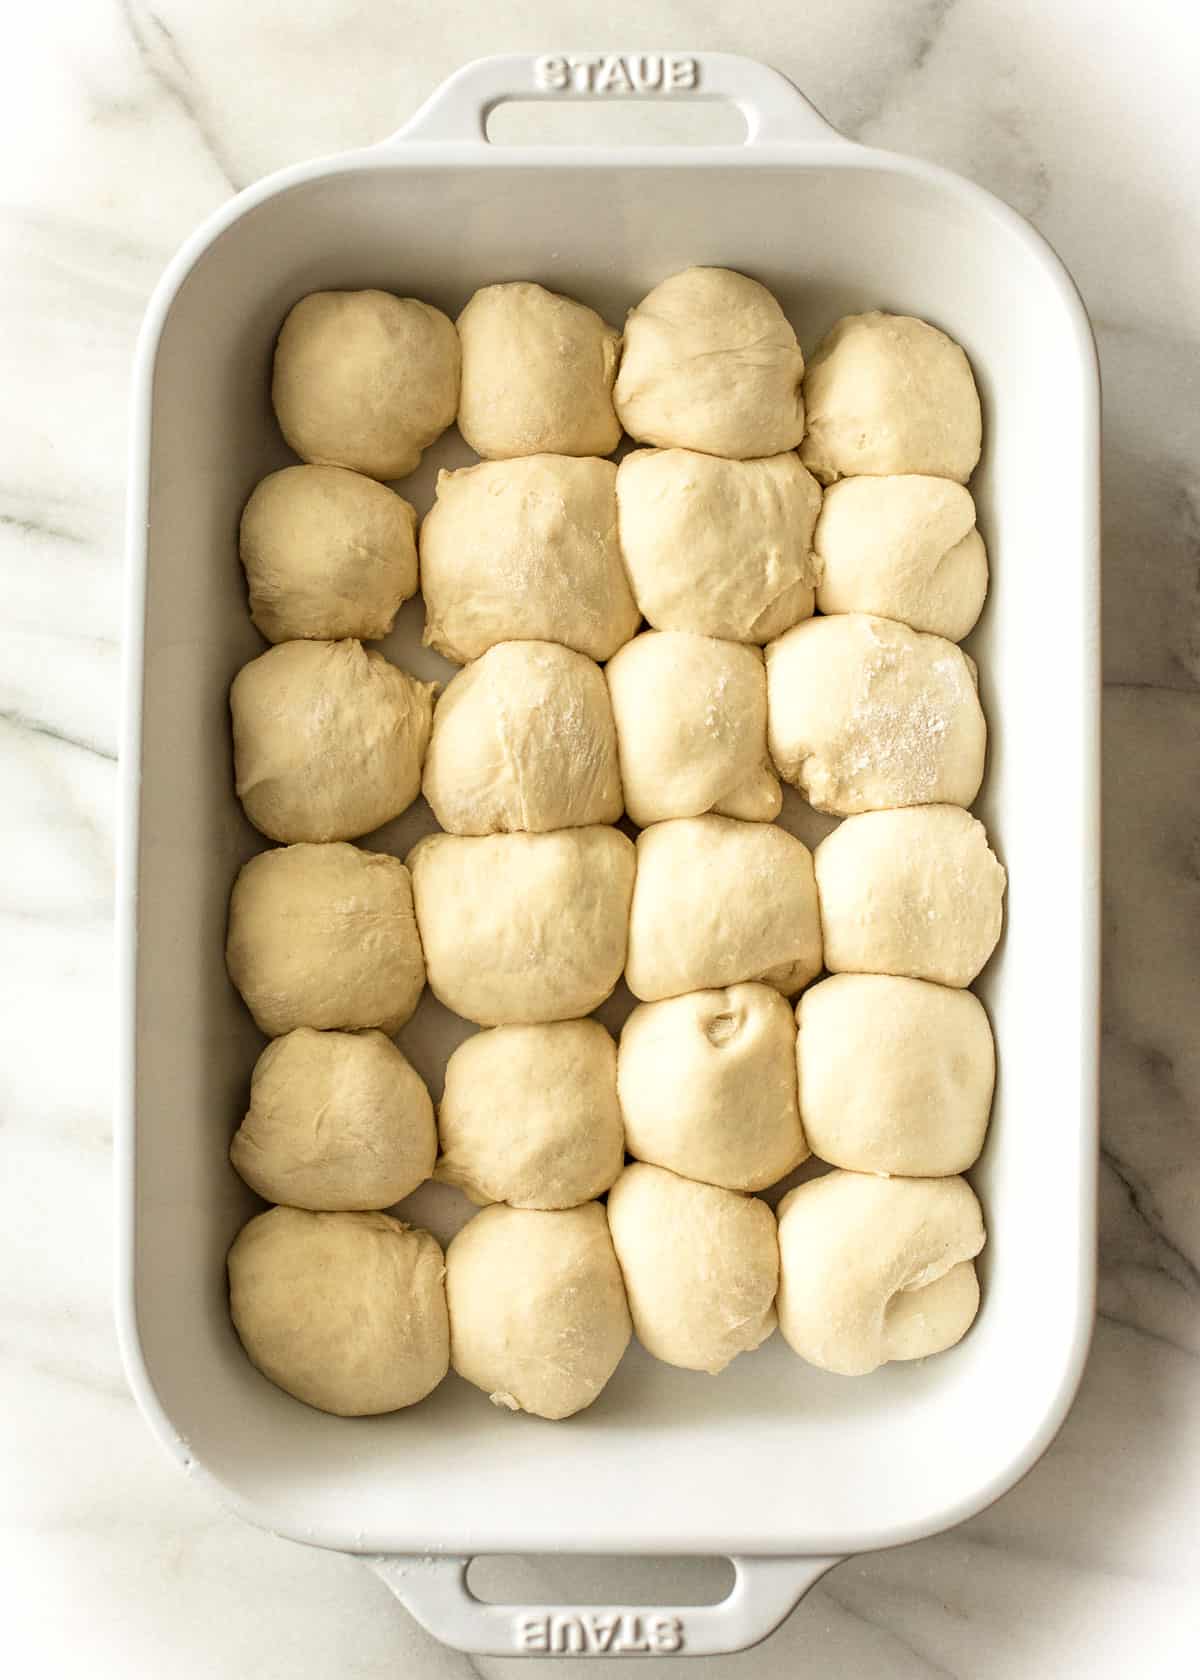
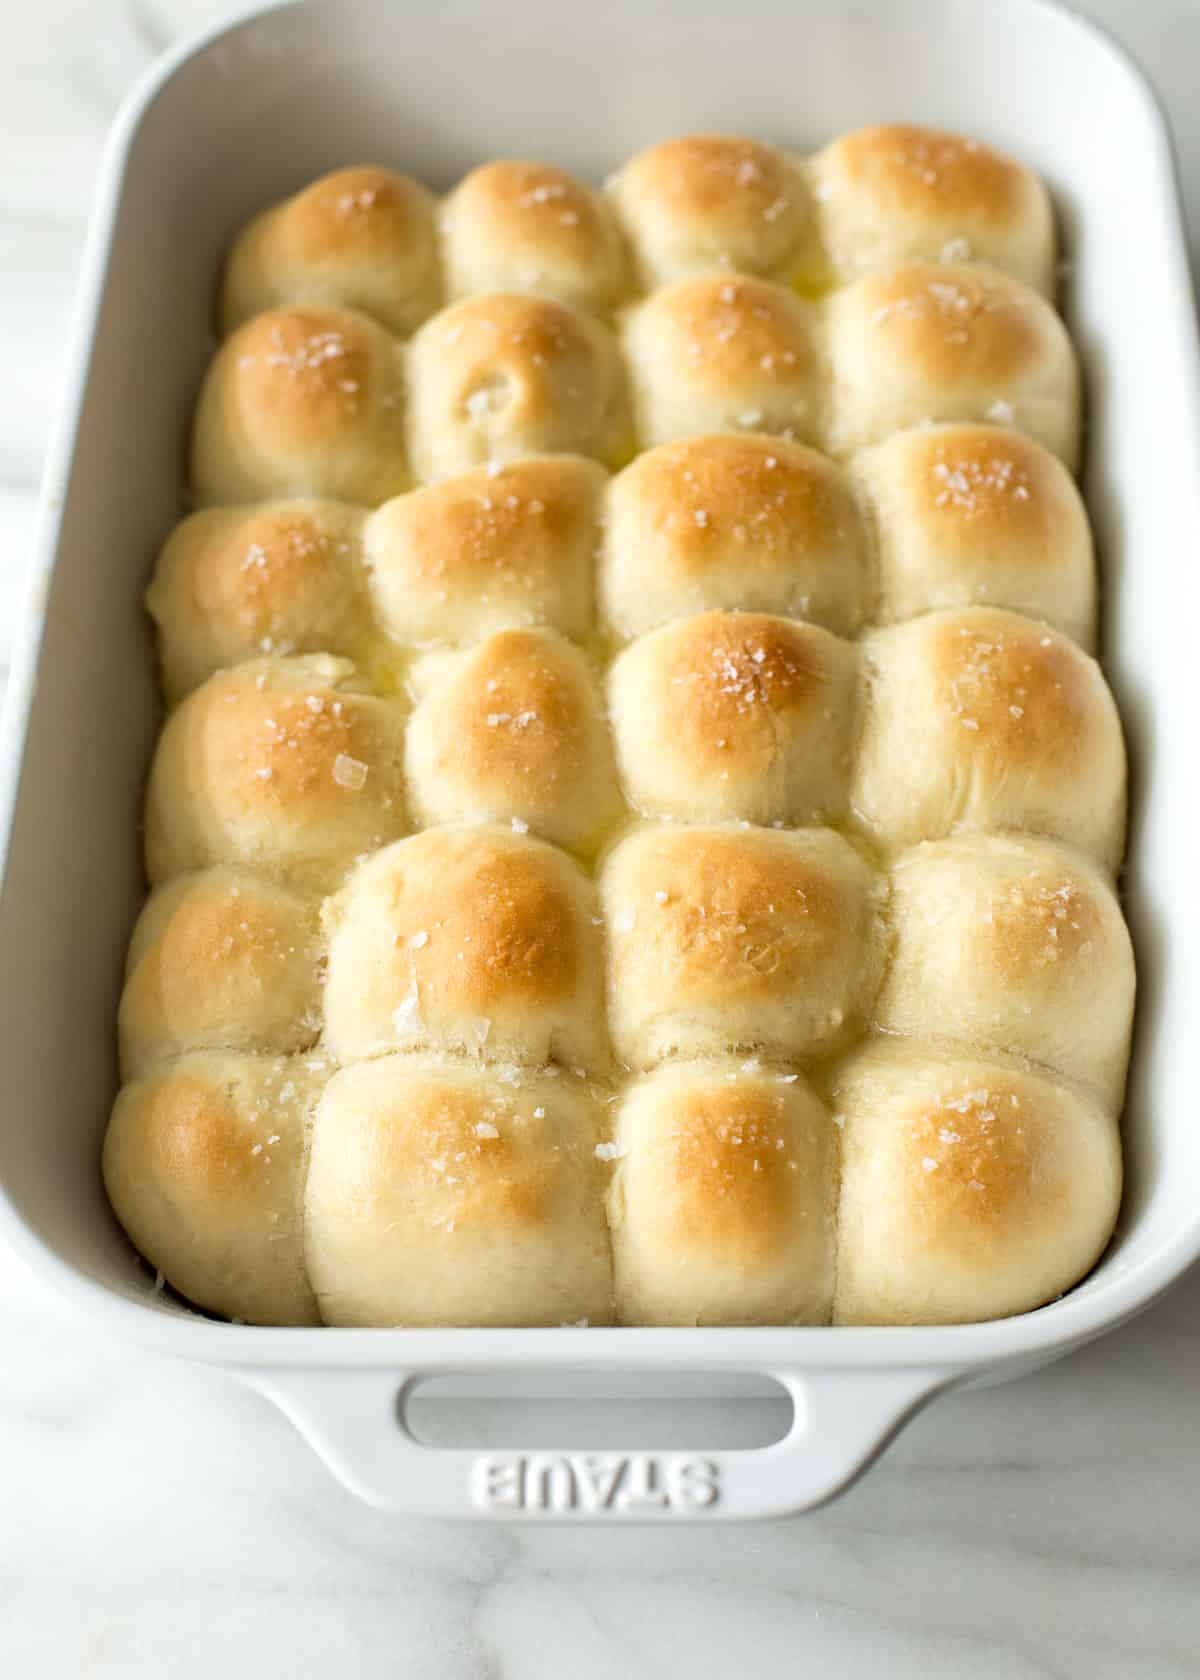
- Place rolled dough in even rows in prepared pan.
- Heat oven to 400°F / 200°C. Cover the rolls with a dish towel and put them near the warm oven to rise for 20 minutes.
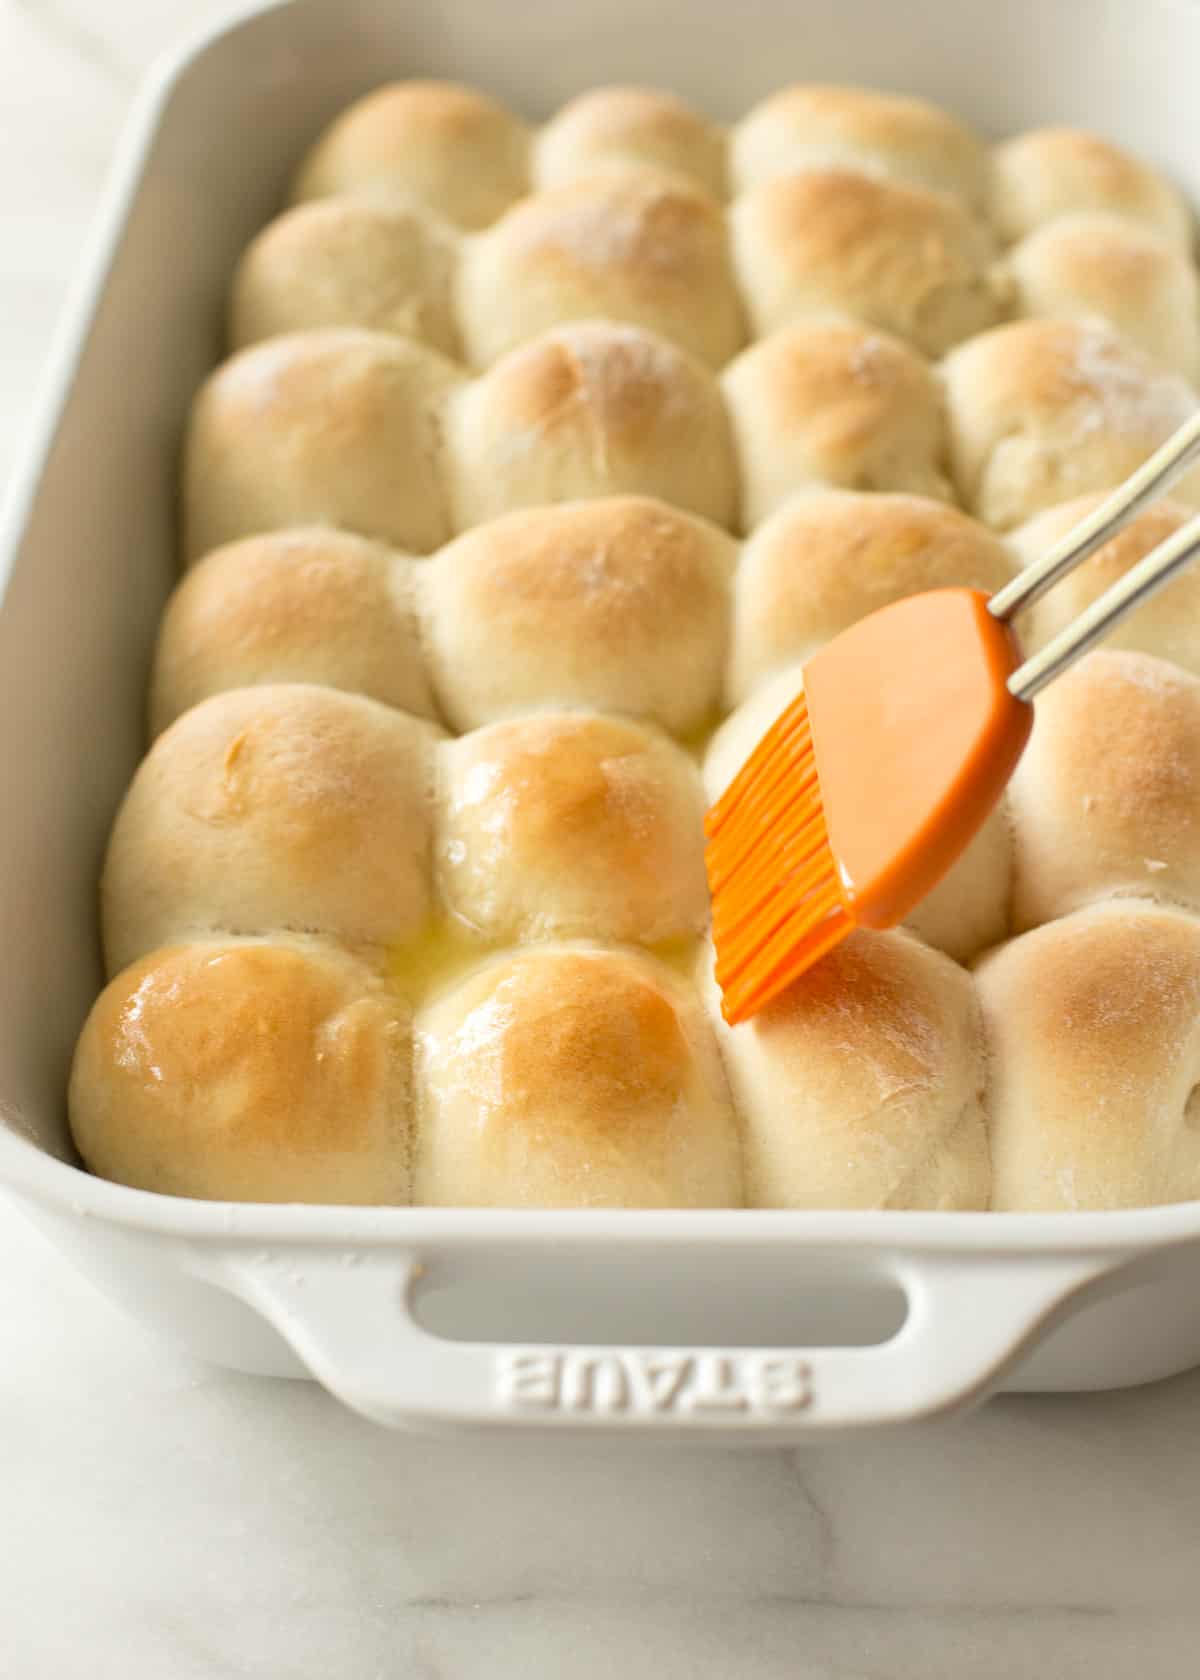
- Lightly brush the rolls with half of the melted butter (reserve the other half).
- Bake until golden brown, 18 to 22 minutes.
- Immediately after removing the rolls from the oven, brush them with the remaining melted butter and sprinkle with salt.
- Flip the pan over to remove the rolls.
Notes
Nutrition
Nutrition information is automatically calculated, so should only be used as an approximation.


Love this recipe – so nice to have a dinner roll recipe that doesn’t take hours! 🙂
Sara – I completely agree! It’s so satisfying to make these yourself, but I love that this recipe takes so little effort.
This is my weakness. Buttery, yummy, dinner rolls. Perfect for Thanksgiving Jess! So beautiful they look like they came from a bakery. 🙂
Totally my weakness too, Karista. I have such a soft-spot for bread still warm from the oven.
These looks amazing – and your pictures are fantastic!
I’m always impressed with people make breads, your rolls look amazing.
If you haven’t already, I’d love for you to check out my SRC entry: Thai Peanut Noodles with Chicken.
Lisa~~
My grandma would absolutely love these. Who doesn’t love a soft, buttery roll?! It’s my turn to host our little group Christmas party this year so maybe these will have to feature on the menu.
Wow, I can’t believe these only take an hour. I always use store-bought rolls on Thanksgiving, but I guess I need to get my butt in gear and start making some real ones! They are beautiful.
Perfect rolls! And beautiful step by step photos. I love your cutting technique – I simply tear small pieces of dough and my rolls are all of different sizes 🙂
Yay! I love that you made these rolls! They really are so good. Now I can see myself putting a batch together… problem is they always just get devoured before dinner! Thanks for the lovely write-up!
Holly – So true! I really can imagine these disappearing before they ever make it to the table. Thanks for the great recipe – I will definitely make it again and again!
LOVELY! Love these photographs. I cooked from Holly’s blog last year—she has some amazing recipes, that’s for sure!
I’m going to have to make these rolls. We could all use a few extra minutes to do something else (like get the pile of dirty dishes out of the sink) on Thanksgiving day!
What a great pick! I love freshly baked rolls, but I usually don’t have the time to prepare them far enough in advance… so the idea of being able to make perfectly fluffy rolls in an hour? Colour me excited.
BTW, I was assigned your blog for my SRC pick this month – I made your chickpea and sweet potato curry on a crappy rainy day, and it was a huge hit. Thanks for a great recipe. 🙂
Isabelle – you’ll have to try these! I never have time to bake my own bread for dinner when there are other things to make, but this recipe makes it so easy!
Can these rolls be frozen for a few days?
Hi Jo. These rolls can absolutely be frozen for a few days. Either before or after baking. I prefer to freeze them once they are in the pan (formed into balls) but before baking. I let them come to room temperature before baking.
Do they rise first after they thaw or do you just put them in the oven after thawing?
Hi Kathy. I get so many questions about this this time of year that I just updated the recipe with freezer instructions. I let them go through both rises and then freeze. To reheat, I just let them defrost at room temp for 1 hour and then bake. You can actually bake them straight from the freezer, but I find they cook more evenly if allowed to defrost for a short time first. Hope that helps!
Wonderful recipe! Made soft pretzels with some of the dough.They were to die for! I will use this recipe for soft pretzels from now on! Very easy, very tasty and lots of options!
Thanks Jess!
Oh what a good idea! I think we’ll have to do soft pretzels this week – I bet that was so good!
These were wonderful. I needed a non-dairy recipe so I substituted vegan butter sticks and it turned out great. I’m making and freezing the dough today to bake on TG. Can you tell me how long it takes for a pan of frozen rolls to come to room temperature? Thanks for a great recipe!
I’m so glad you liked these Kerry, and so glad to hear the the substitution worked. I’ve found that if I take the frozen pan of rolls out in the morning for lunch or around lunch for dinner, they bake up well. That’s not super precise, but I’d leave them out for 3-4 hours at room temp before baking. (I’ve also had great success with taking them out of the freezer and putting them the fridge for about 24 hours; then they just need about 30 to 60 minutes at room temp before baking.)
Two small issues for experienced bakers, but big ones for newbies.
1. 1 1/2 cups water is not enough to hydrate 4 cups of flour. I needed two cups.
2. even with proofed or rapid rise yeast these rolls took two hours not twenty minutes for the first proofing. Once they start to rise the dough doubles easily. You don’t want the first proof to go much beyond doubling. Remember your using a tablespoon of yeast.
Other than those two issues which may be seasonal and humidity related, it’s a great recipe.
I think this may depend on where you live. I’ve made this recipe to the T for years now and always get asked if I can make them to bring for Thanksgiving. I also make them for my kids or soup nights. I’ve never experienced any of these issues. However, I live near sea level. Also, I would look for instant yeast. If you let it rise for too long, you risk having the dough over proof before you’ve ever put it in the oven. I would stick with 20 minutes per proof but my trick to creating a warm environment sufficient for the yeast to activate well is to take a cup of hot tap water (as hot as you can get) and put it in the microwave for 2 minutes. Then stick the cup in the corner and cover the bowl with a slightly moist and clean dish towel. Your dough should at least double in 20 minutes using this method. (It’s never failed me before and got this from another blog)