Mixed Berry Cobbler
Published May 24, 2025
This post may contain affiliate links. Please read our disclosure policy.
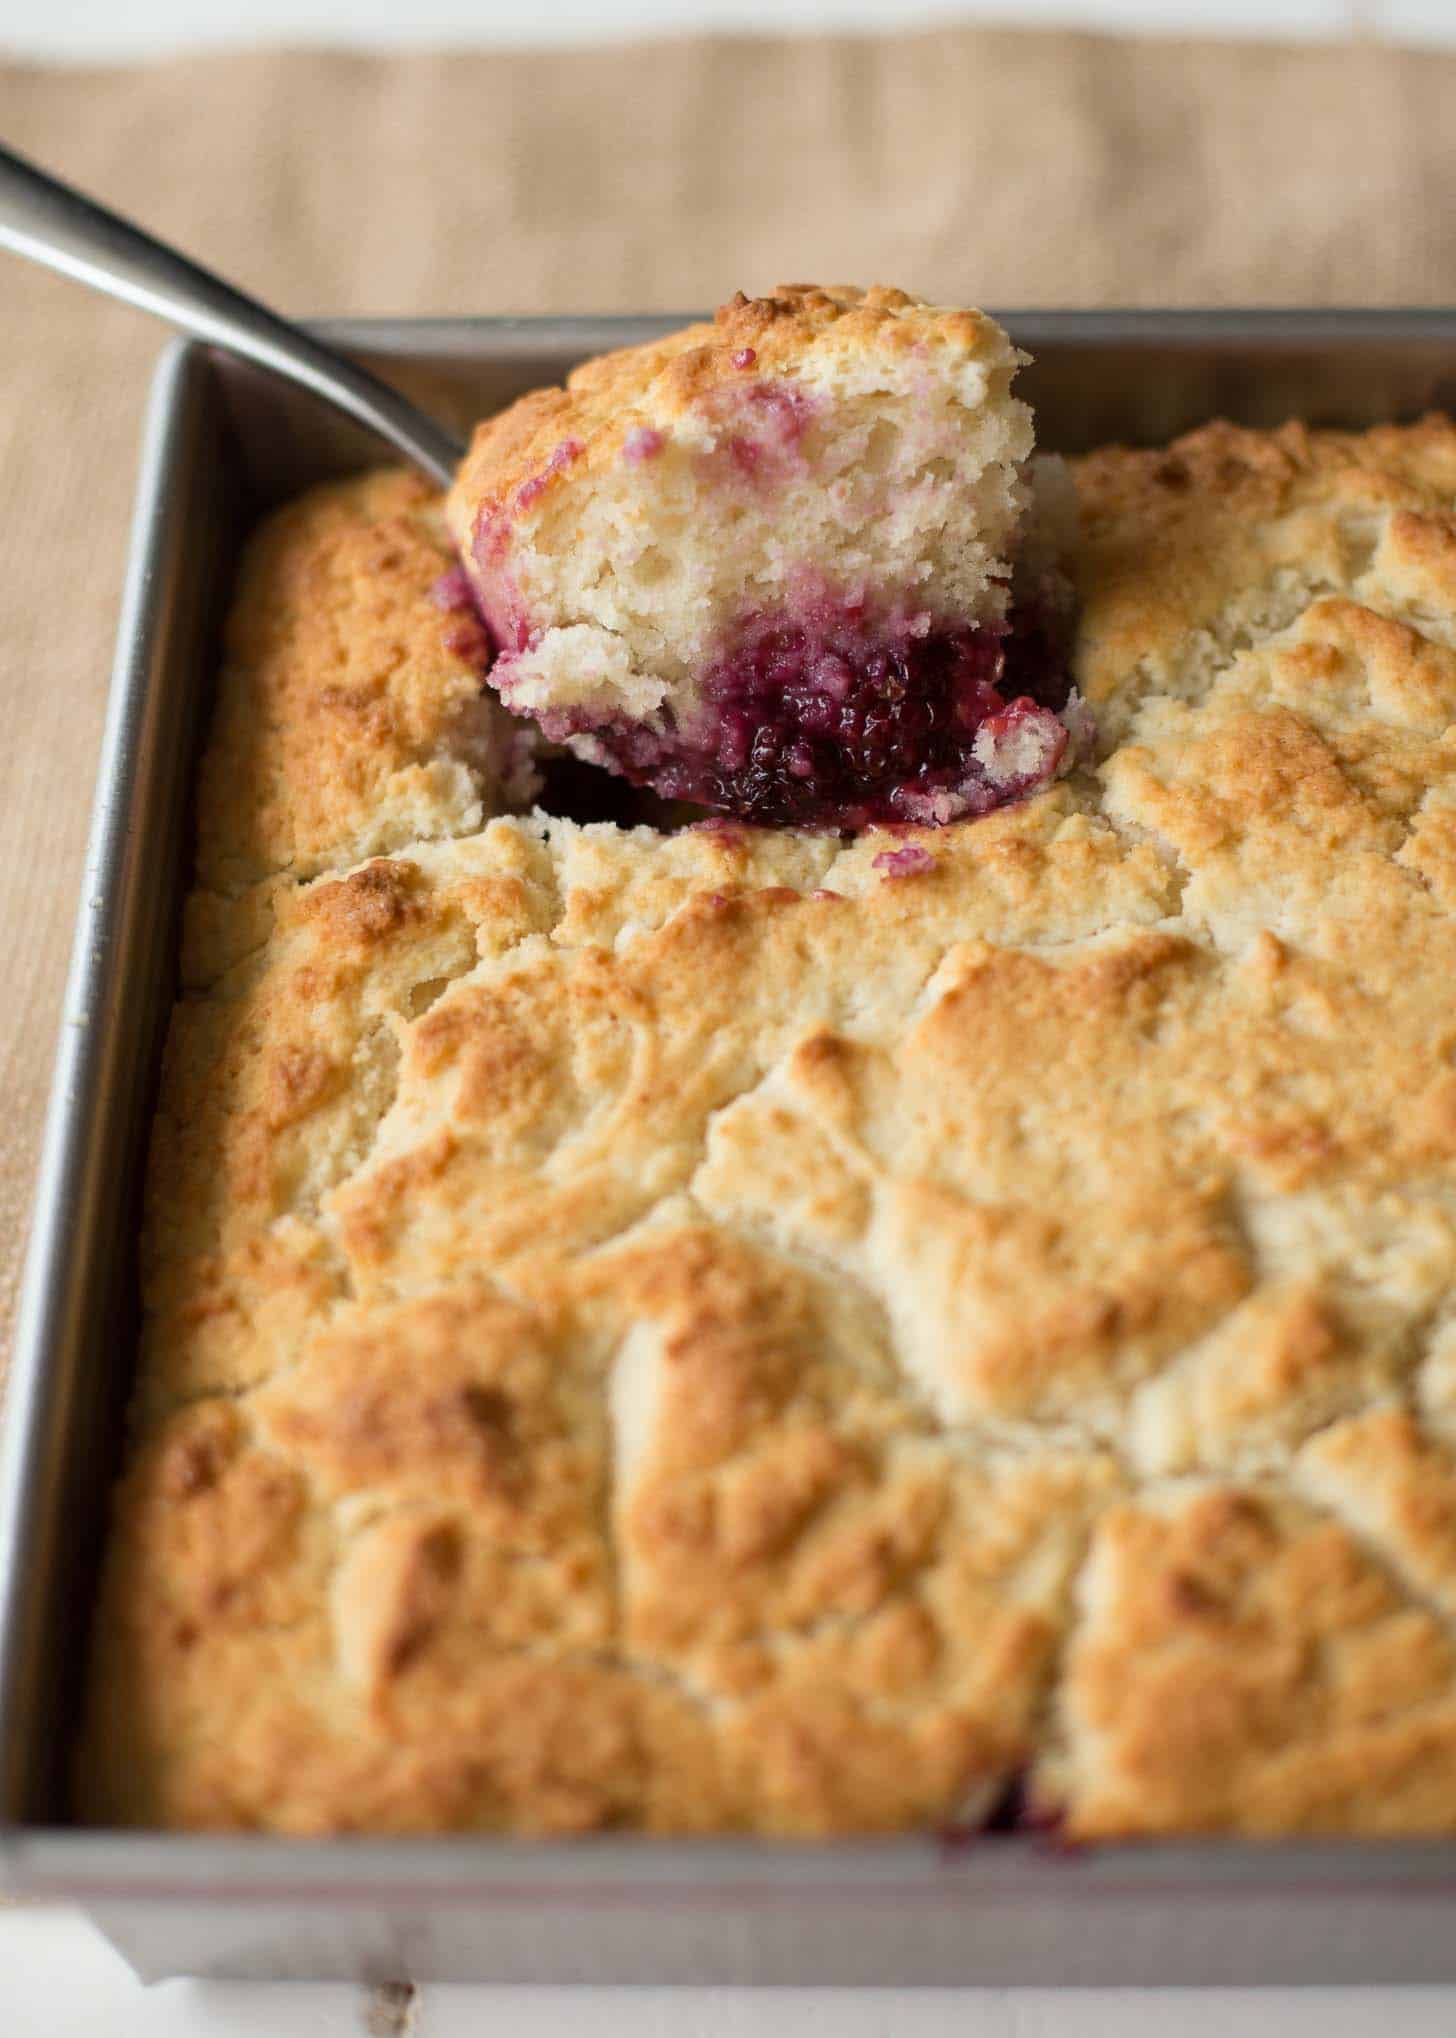
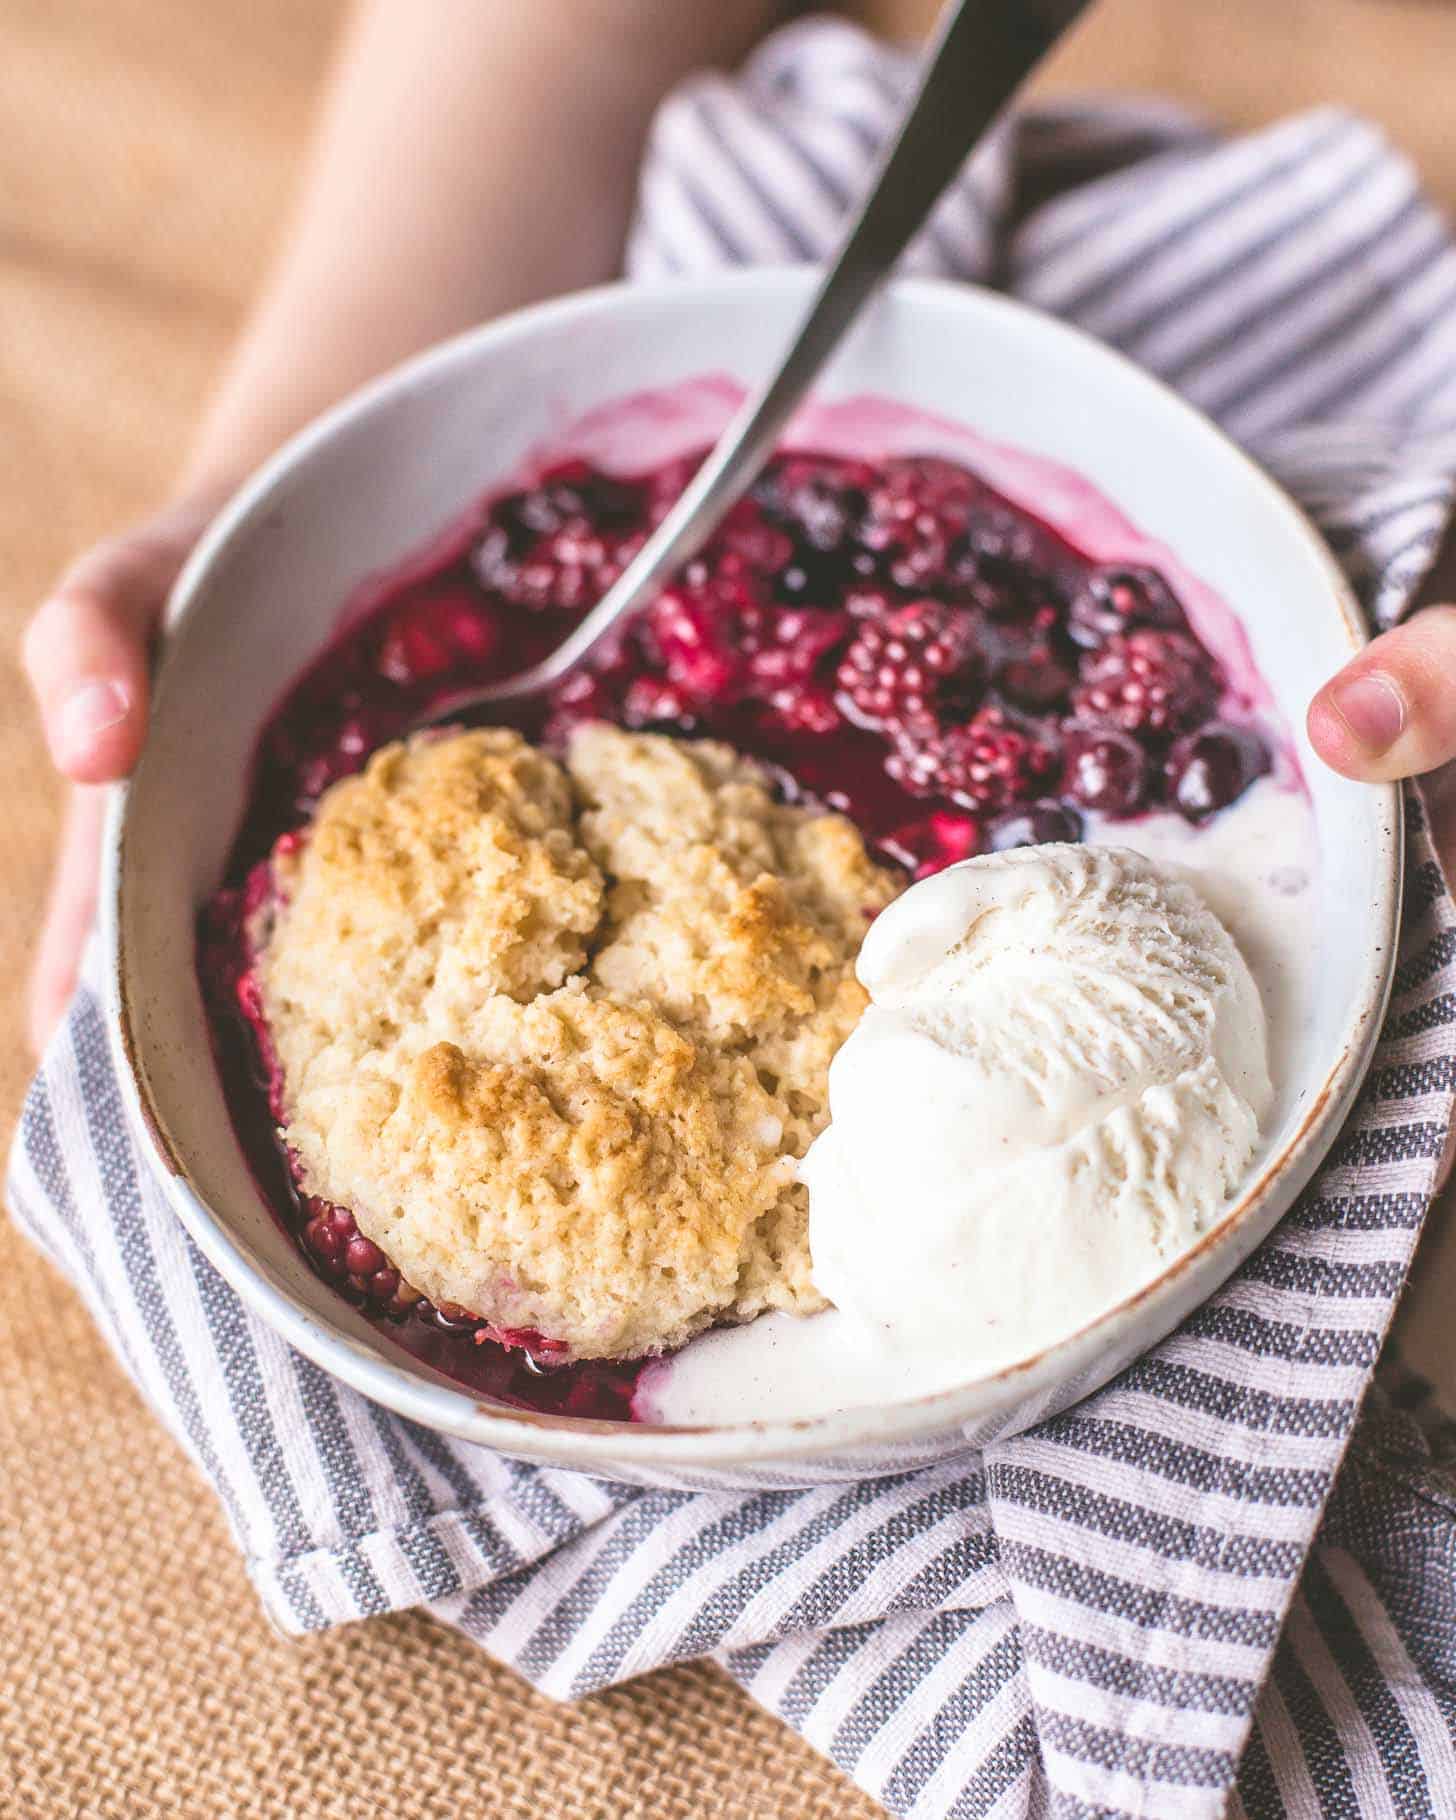
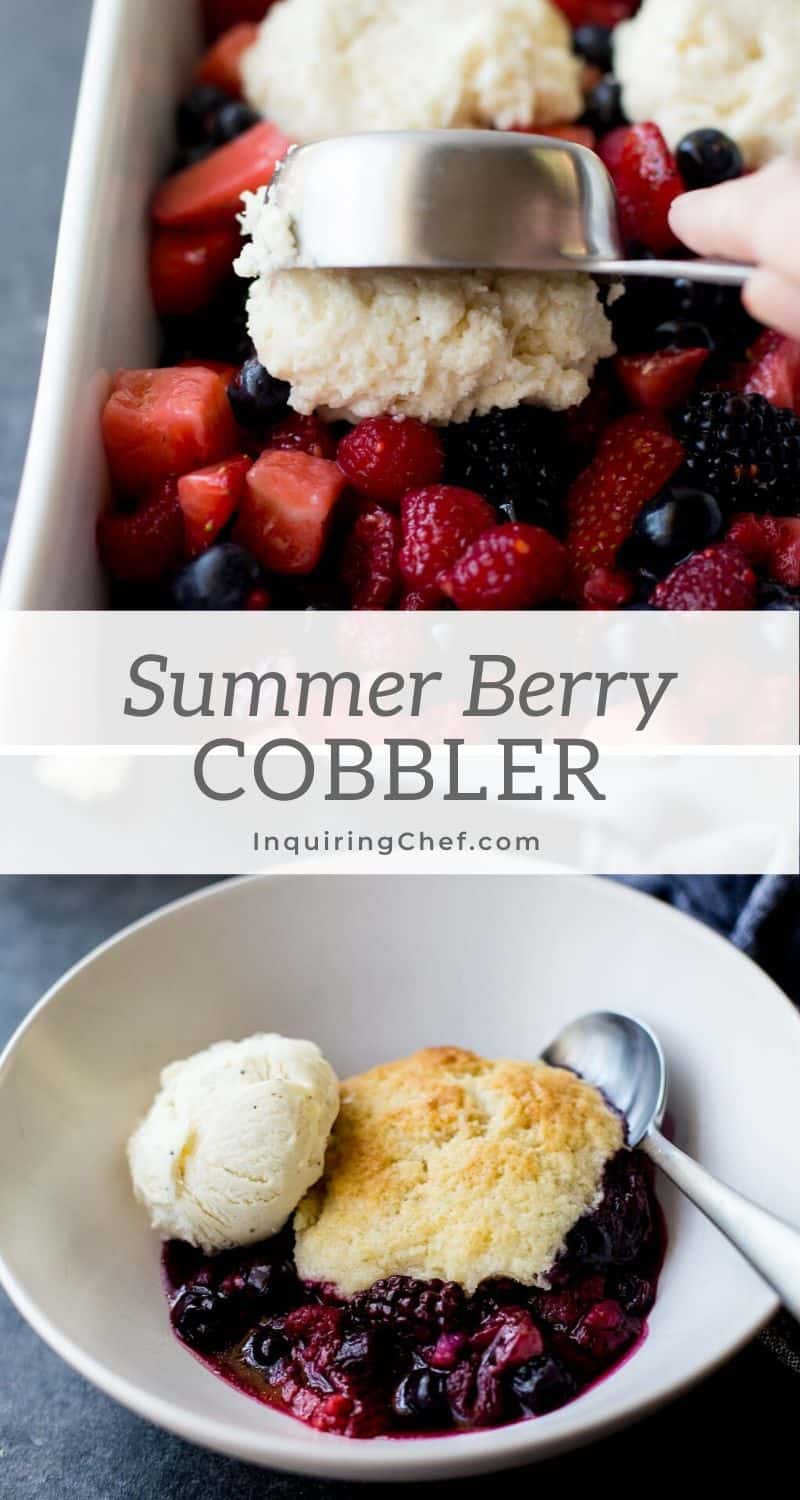
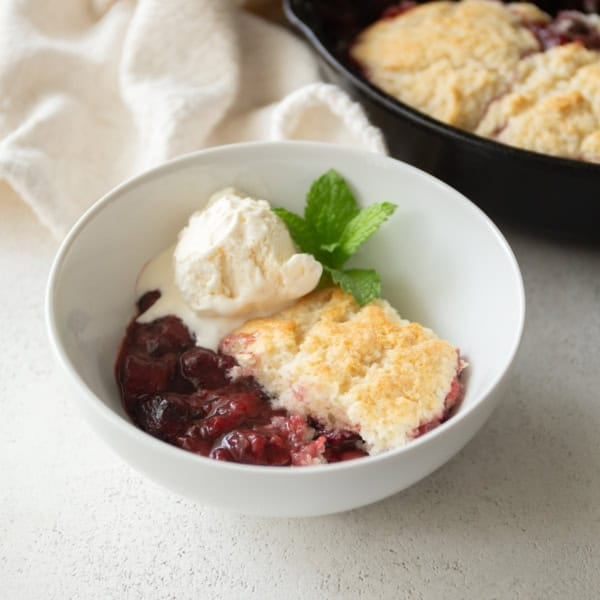
Mixed Berry Cobbler is the best version of this classic dessert with jammy fruit topped with a simple, tender, sweet biscuit. Make it with fresh or frozen berries for a sweet fruit-forward dessert you can make all year long. After decades of making cobblers, I’ve found the secret to the best results – baking the fruit before adding the topping.
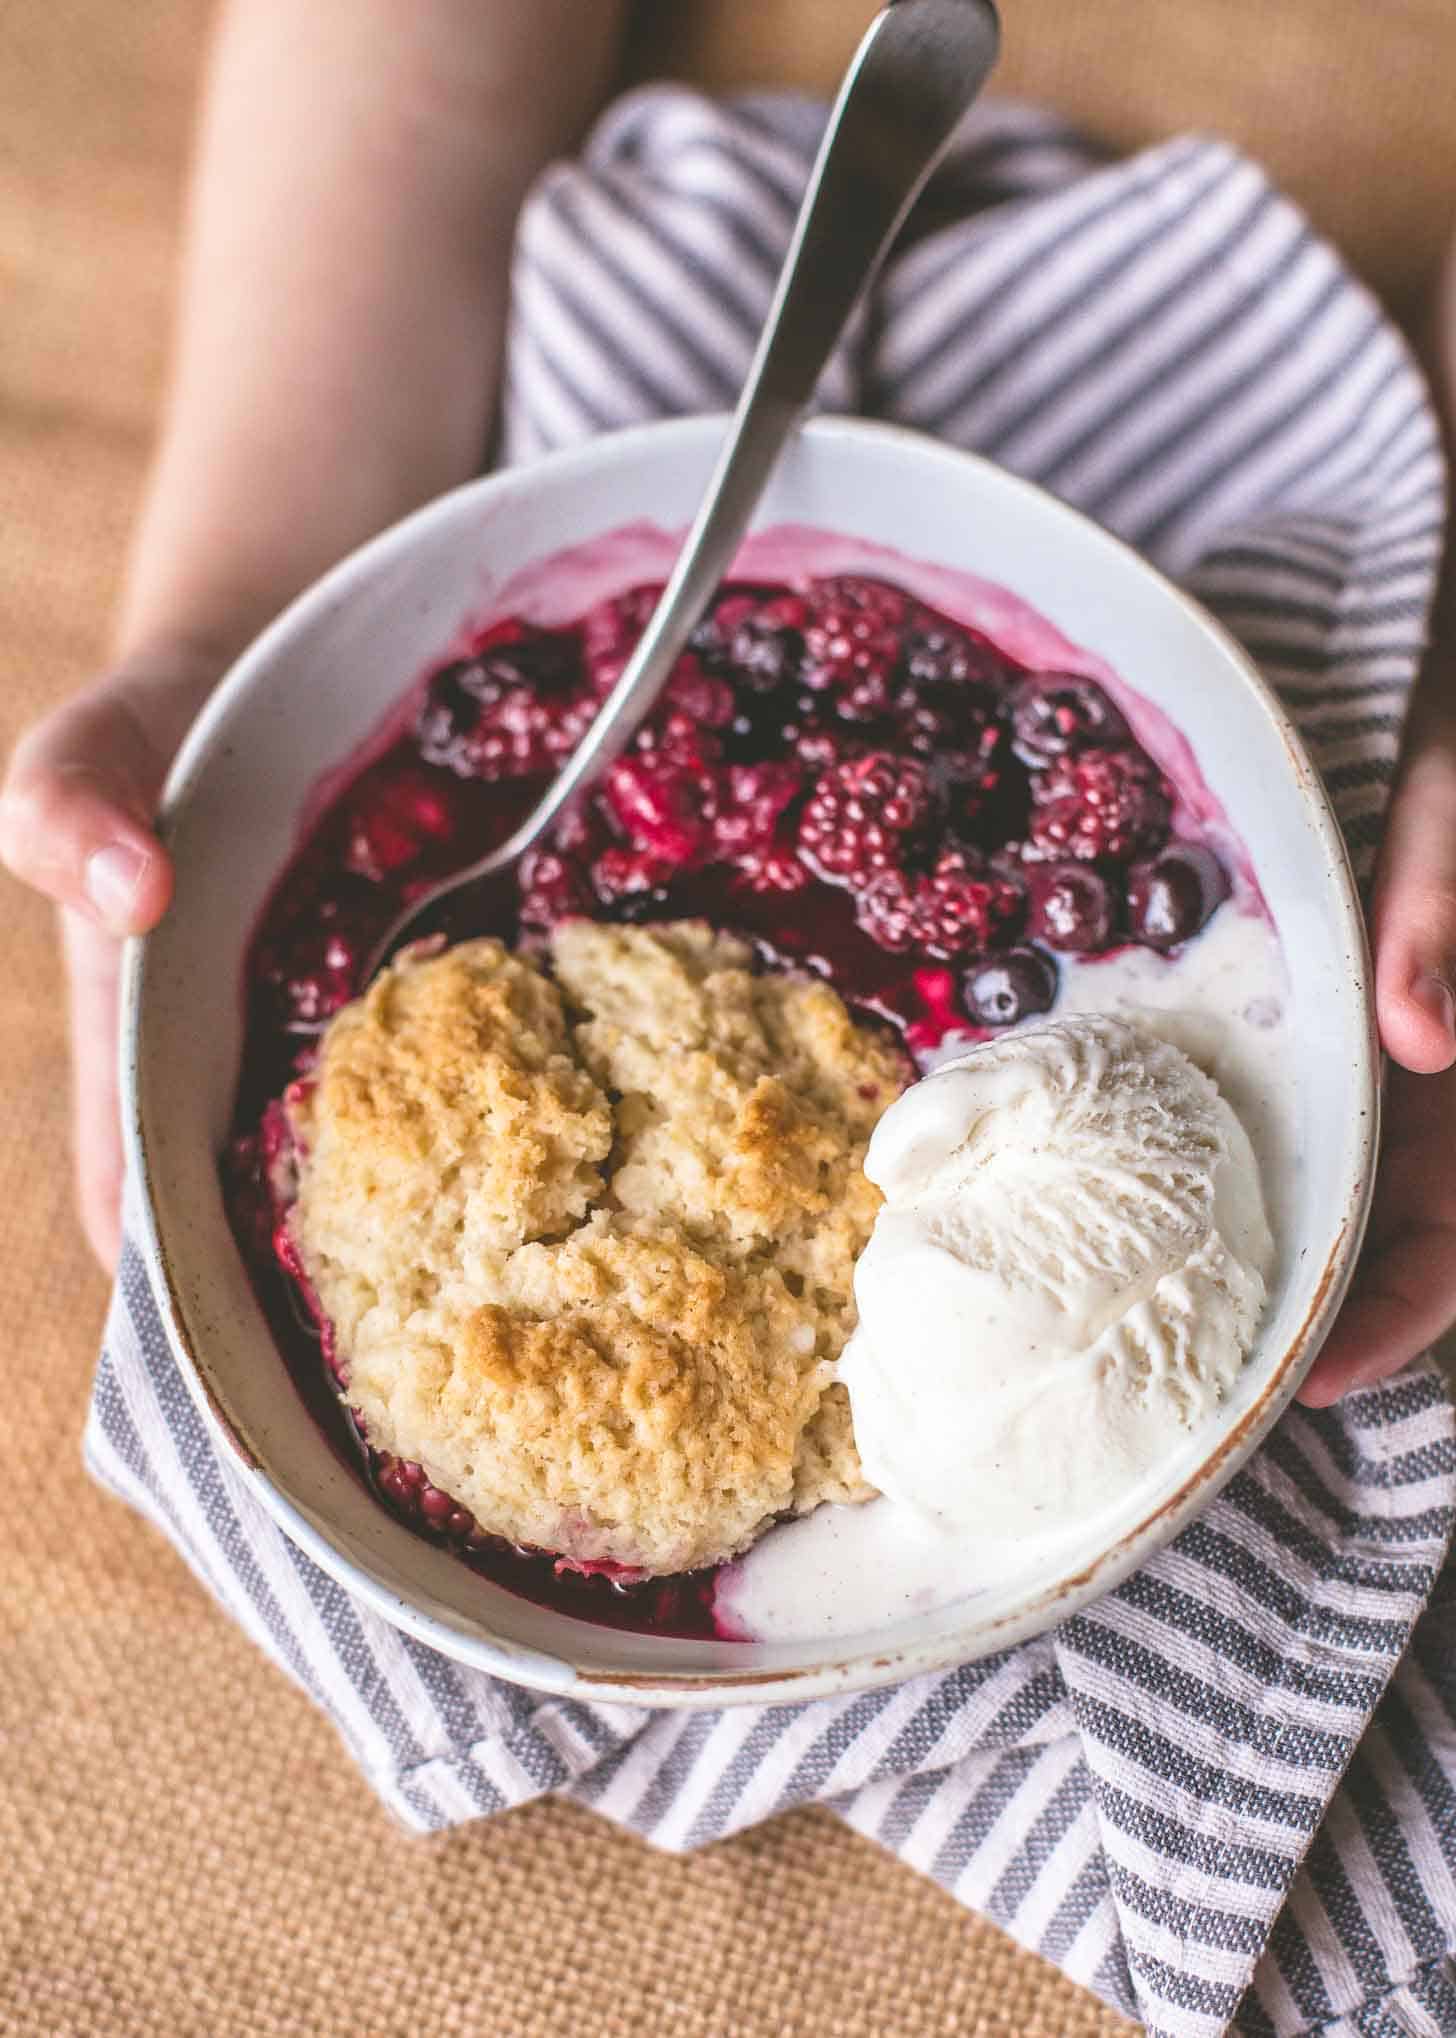
I’ve been working on writing up this recipe for a go-to Mixed Berry Cobbler since early spring. I wanted one that checked all the boxes – a berry layer that is rich, thick, and jammy plus a topping that is light and tender. The topping here is a buttermilk drop biscuit. But it’s NOT a finicky biscuit. This is the easiest drop biscuit you’ll ever make. (More on that below.)
Pin this now to save it for later
Pin It NowIngredients
- Mixed Berries – The real star of cobbler is the fruit. Okay….maybe the star is the biscuits. Either way, you’re going to want some really good berries to create the fruit filling. If it’s not the season for fresh berries, frozen berries are a great way to go. See below for thoughts on choosing the “right” fruit for cobbler.
- White Sugar – You don’t need a ton of sugar for this recipe, but a bit of sugar mixed with the filling and the topping help to highlight the natural sweetness of the fruit.
- Cornstarch – I’m partial to a thicker fruit filling, so I find cornstarch a must-have. This will help to thicken the juices of the fruit as it cooks.
- Lemon Juice – A bit of fresh lemon juice brightens the flavor of the fruit. If you don’t have lemon juice, feel free to skip it – the dish will bake just fine without it.
- Buttermilk – It’s hard to beat the subtle tangy flavor and ability to make tender biscuits you get from buttermilk. See below for lots of other ways to use it up if you’ve bought a jug of it. If you don’t have buttermilk, check the recipe for my go-to substitute.
- All-Purpose Flour, Baking Powder, Kosher Salt, Unsalted Butter, Pure Vanilla Extract – Standard baking items you’ll need for the biscuits.
Choosing Fruit for Cobbler
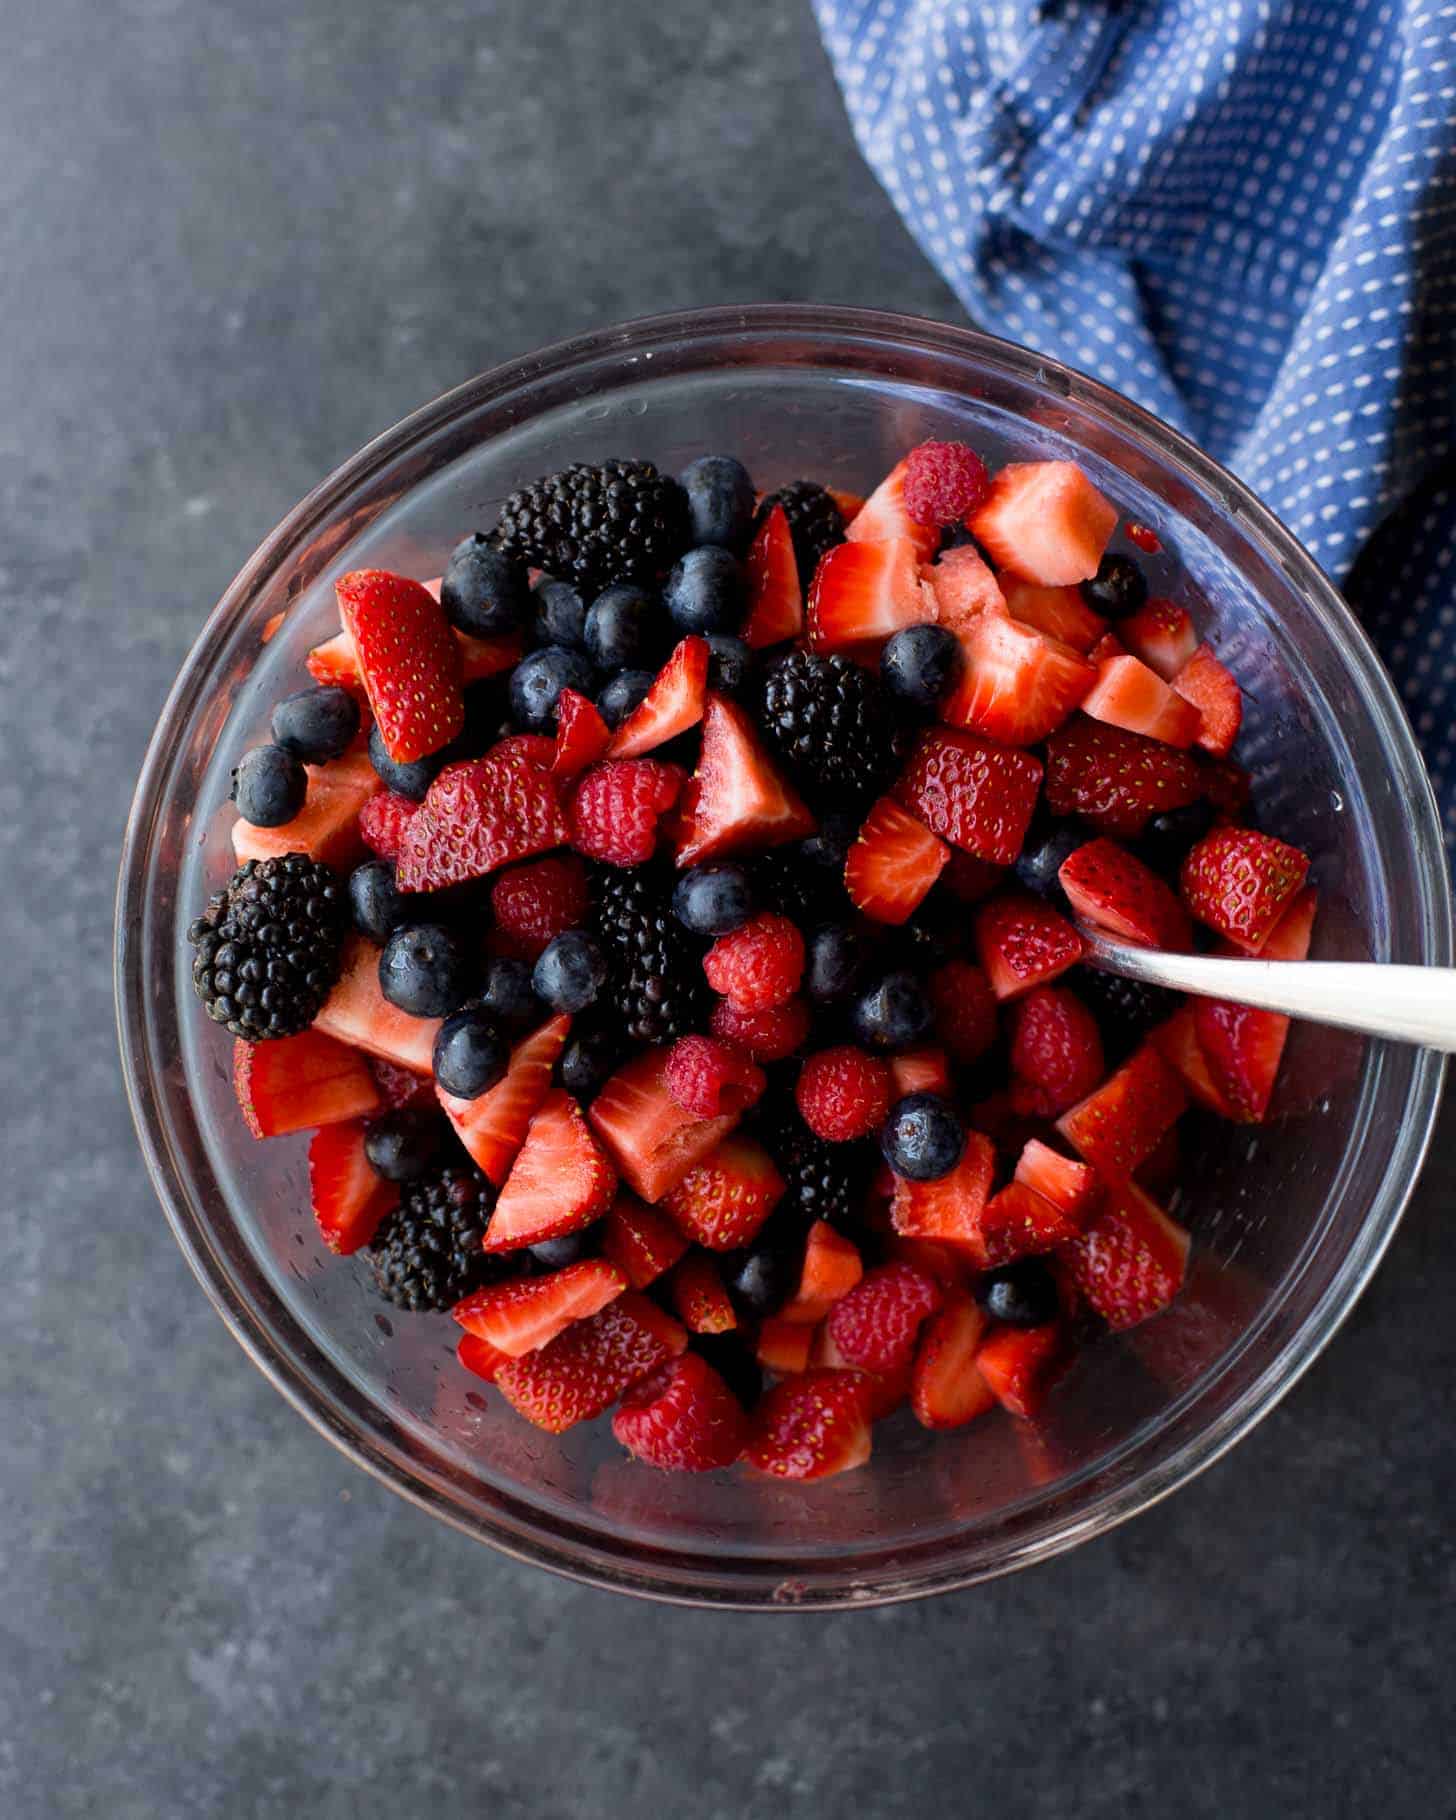
The berries or other fruit you choose for cobbler will affect the texture of the filling. Strawberries, raspberries, and any frozen berries tend to release more liquid and will lead to a thinner fruit base (great for spooning over ice cream). Blueberries, blackberries, cherries, and peaches hold up a bit better and will usually give you a thicker base. It’s great either way, just be sure to factor that in when you’re choosing fruit!
Fruit options for cobbler:
- Strawberries, chopped
- Blackberries
- Blueberries
- Raspberries
- Peaches, sliced or chopped (great with blueberries or blackberries)
- Cherries, halved and pitted
- Apples
- Pears
- Plums
Why Pre-Cook Fruit Filling?
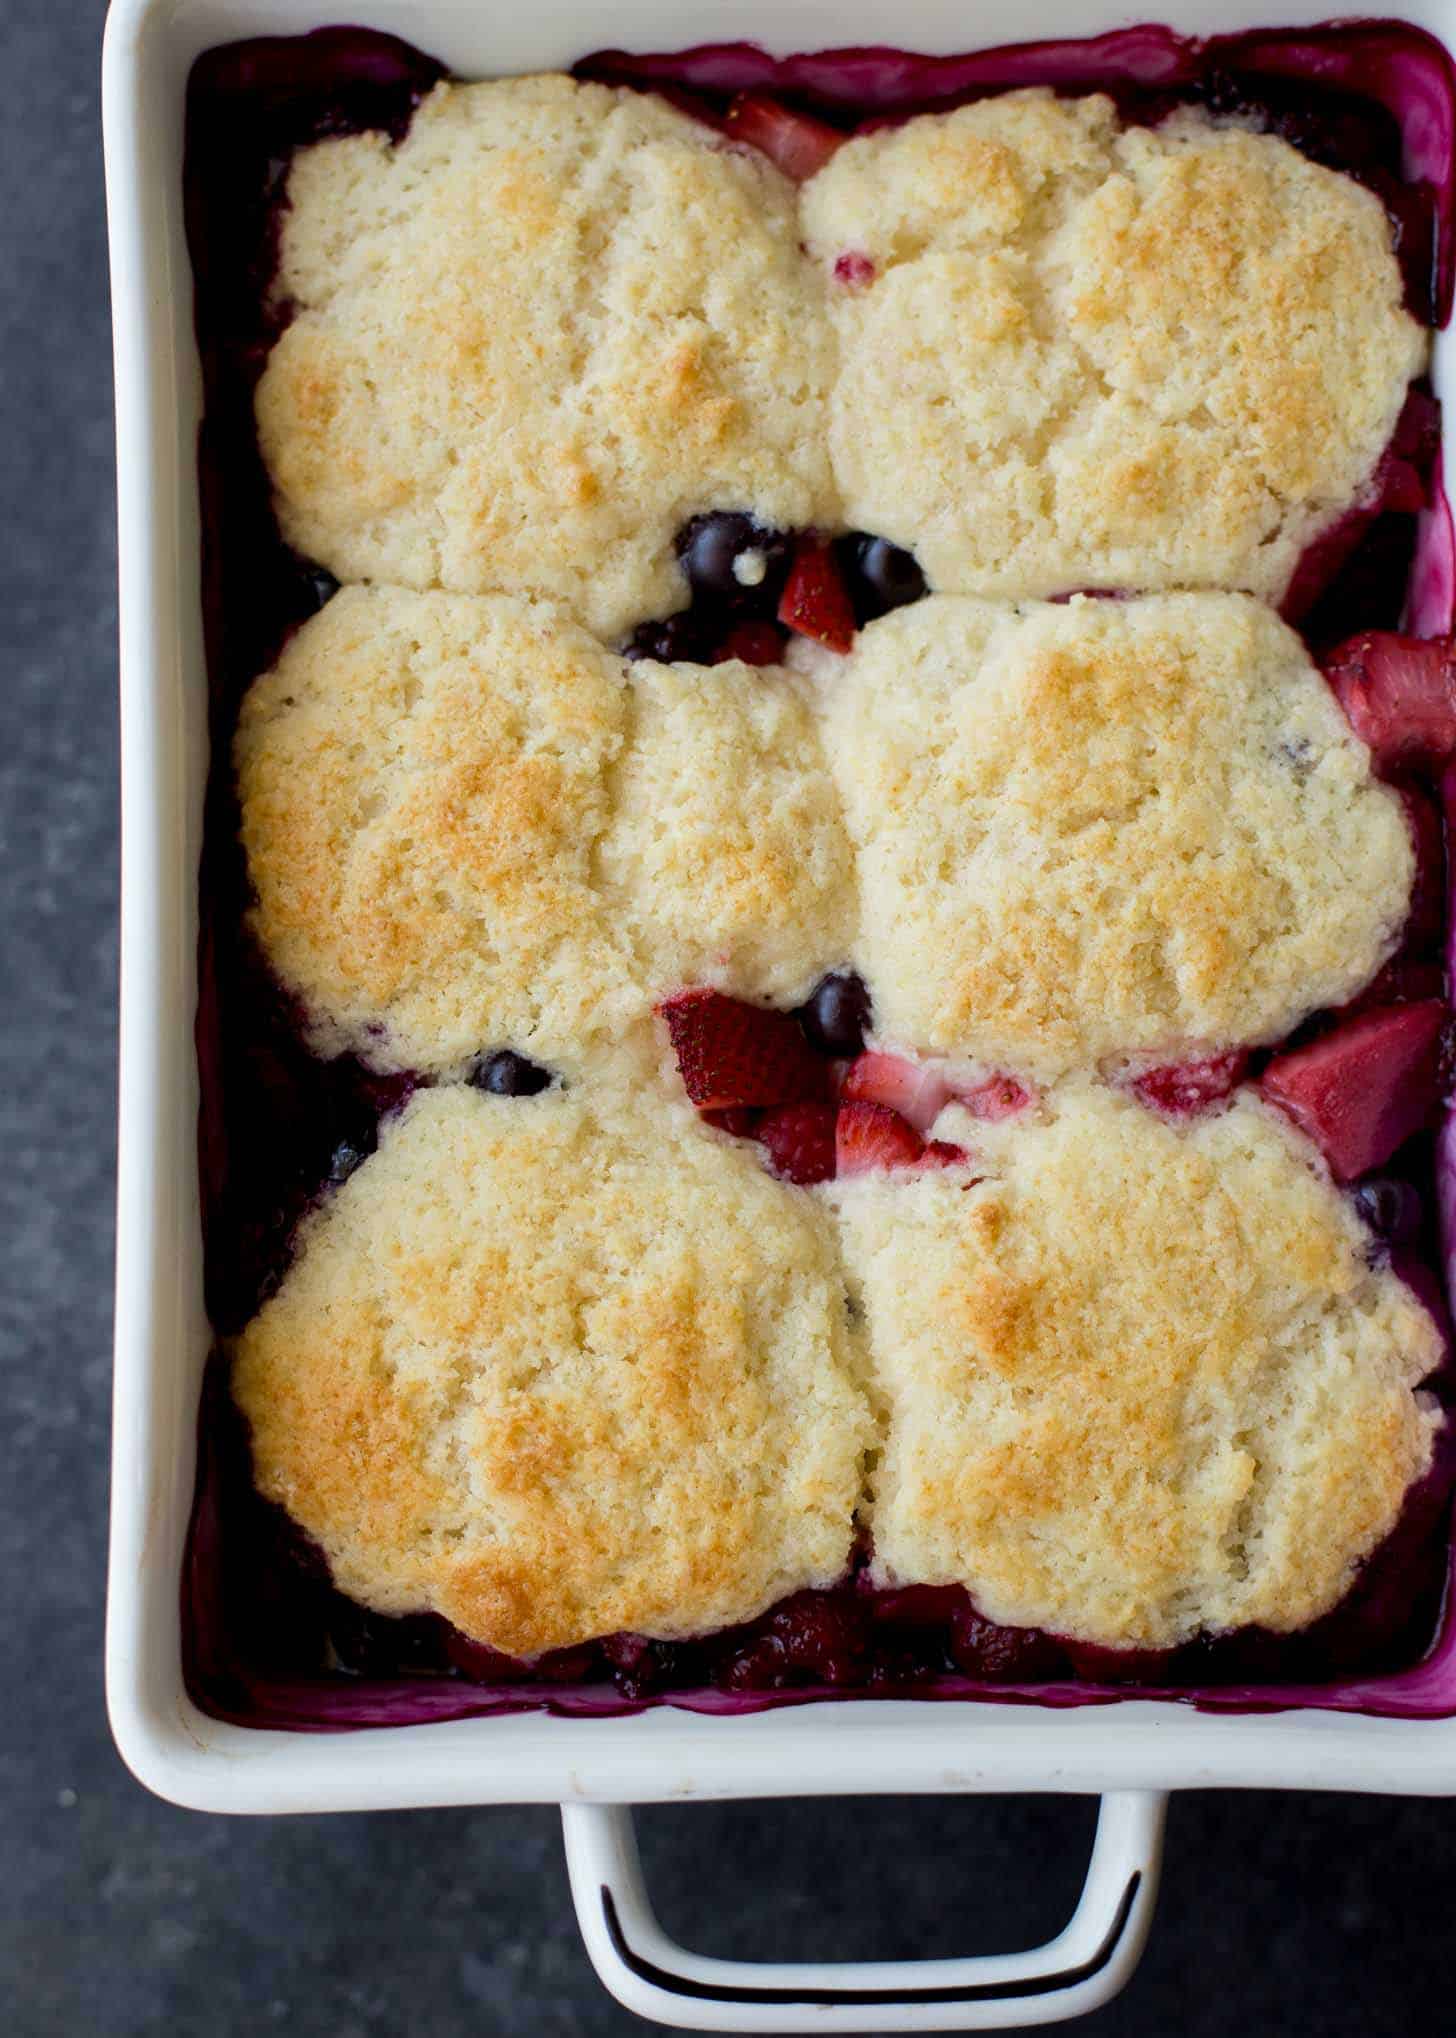
The best way to get a thick filling in which the berries have a jammy consistency is to pre-bake the fruit filling. After about 15 minutes in the oven, the berries have started to soften, and that is the time to add the biscuit topping.
If you are using any of the fruit that I mention above that leads to a more liquid-y filling, you can bake that for a few extra minutes (try 5 minutes extra / 20 minutes total) before adding the buttermilk biscuit topping. A few extra minutes allows more of the liquid to cook off.
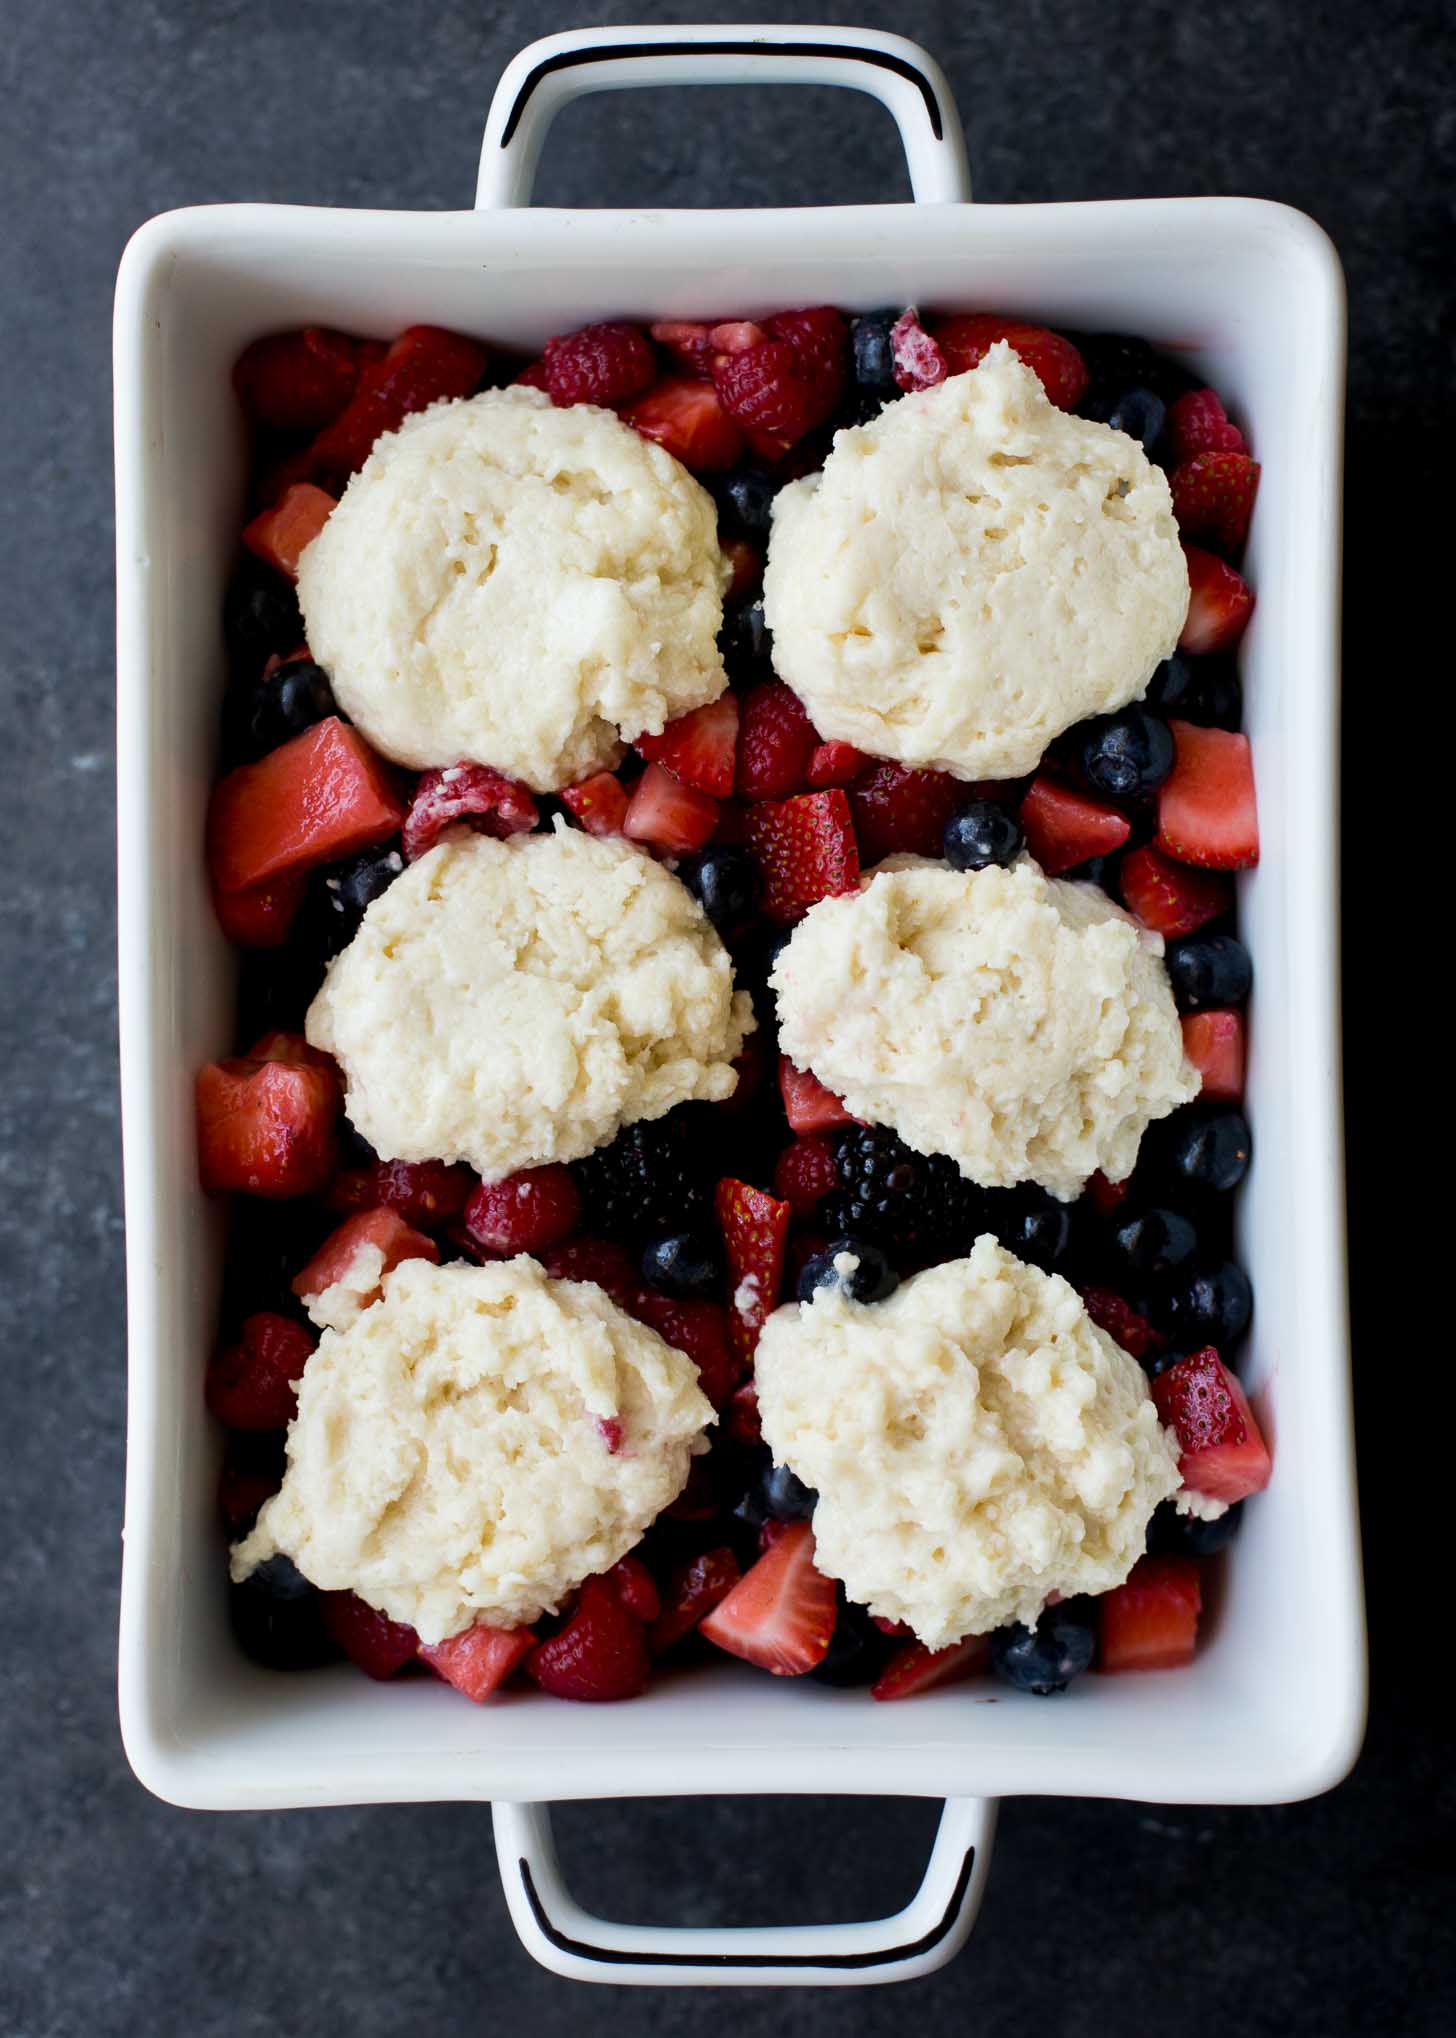
Shortcut Drop Biscuits with Melted (!) Butter
Surely I’m not alone in that homemade biscuits = a project. Traditional buttermilk biscuits have to be made just right for that great, light, tender texture. But the biscuits that top this Mixed Berry Cobbler are NOT finicky biscuits. They have a secret.
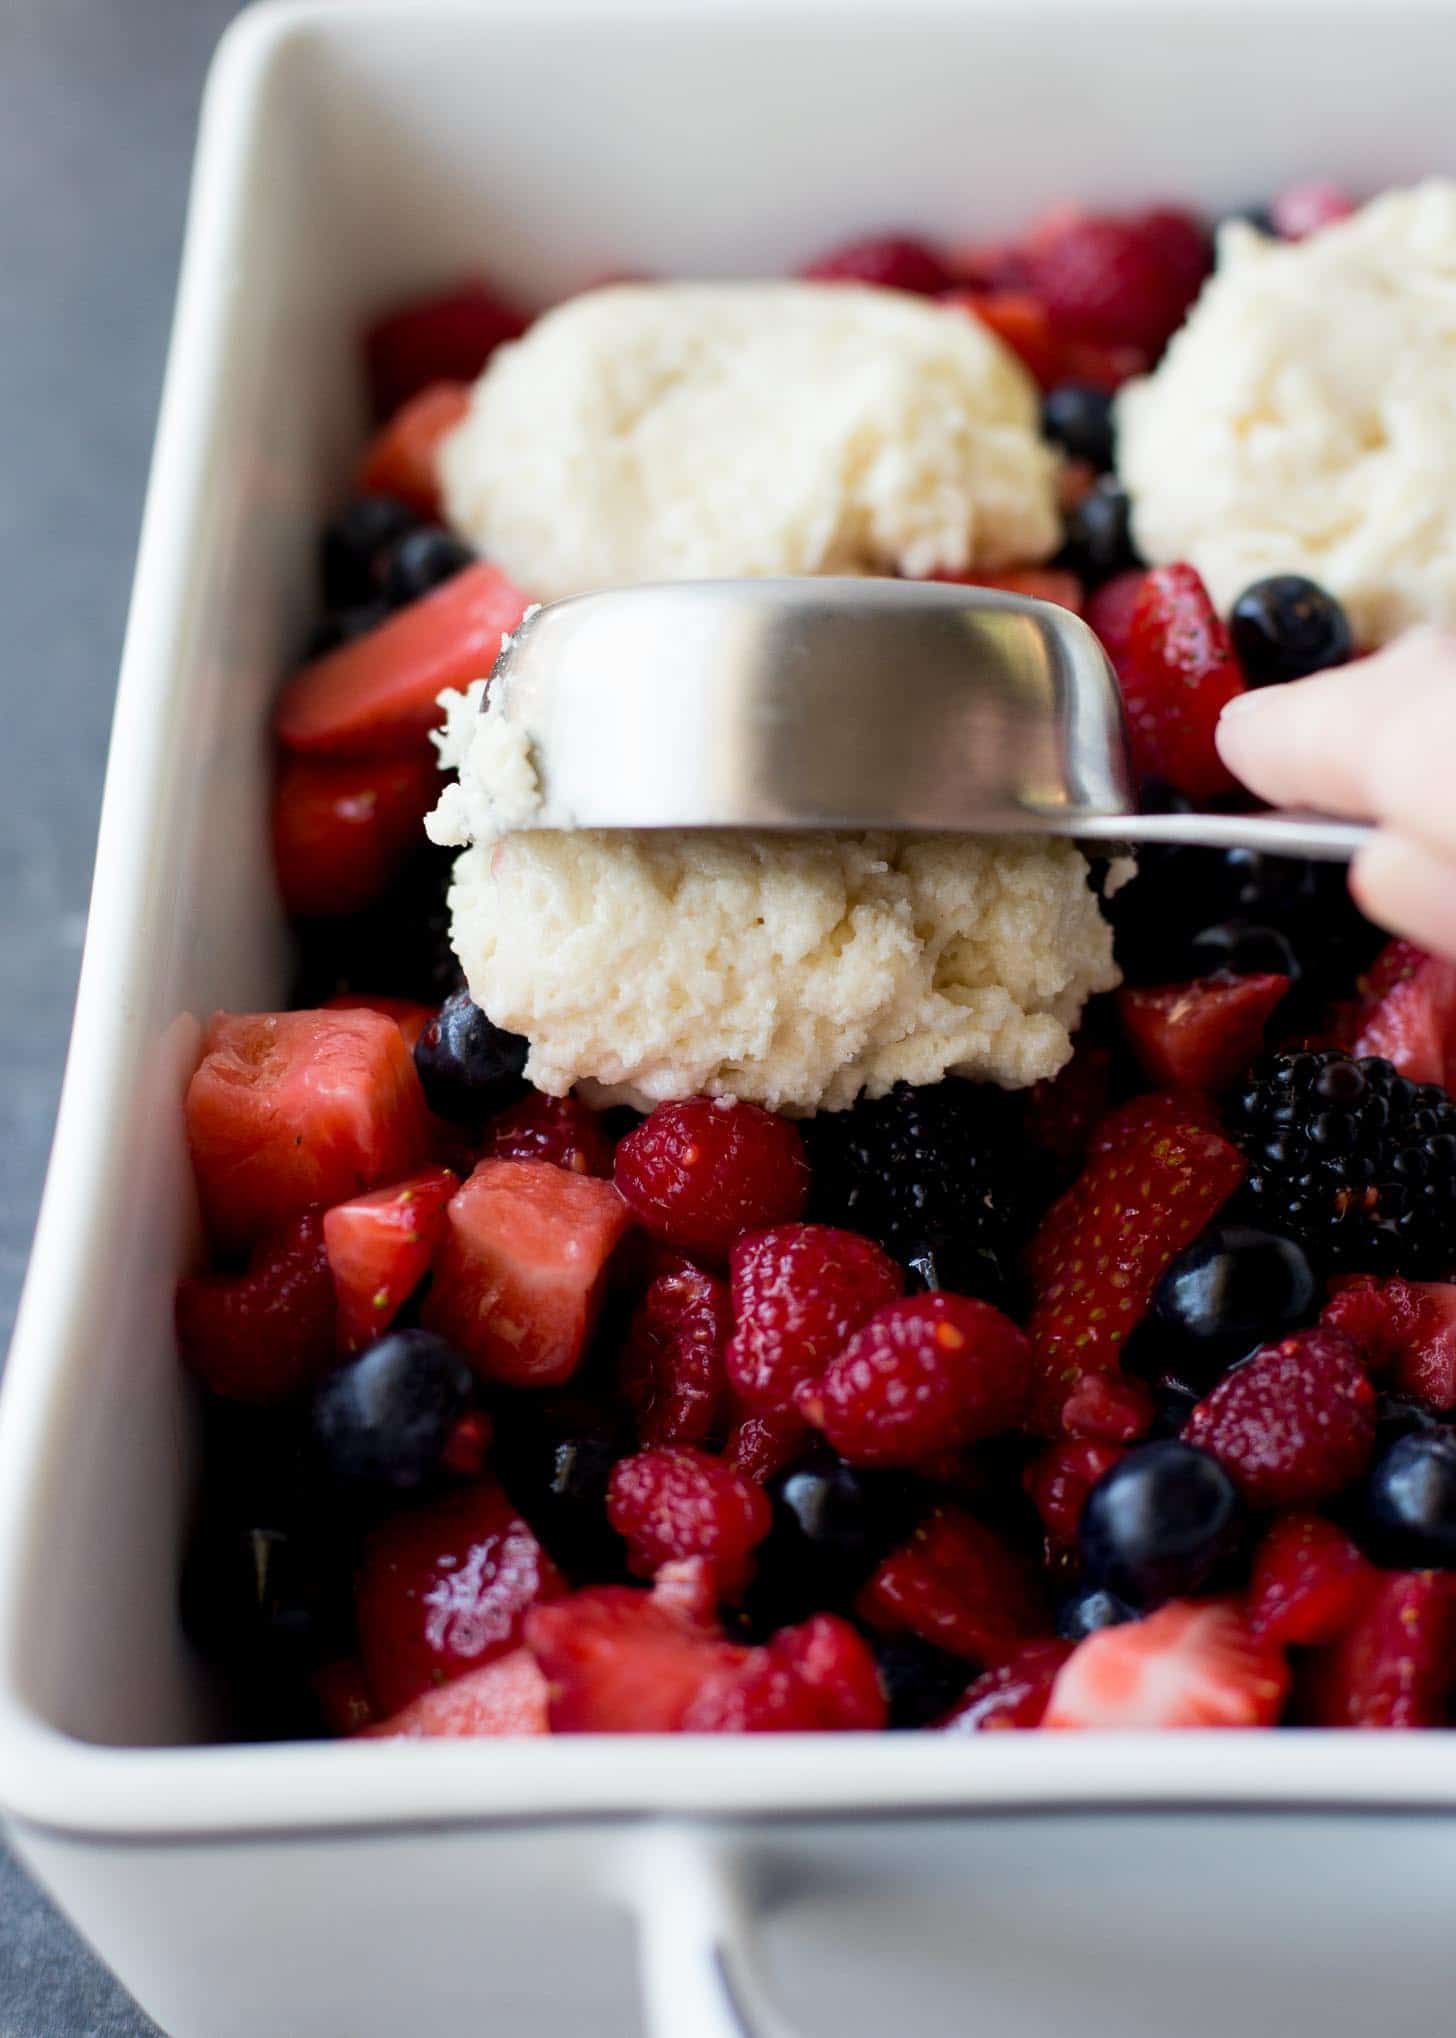
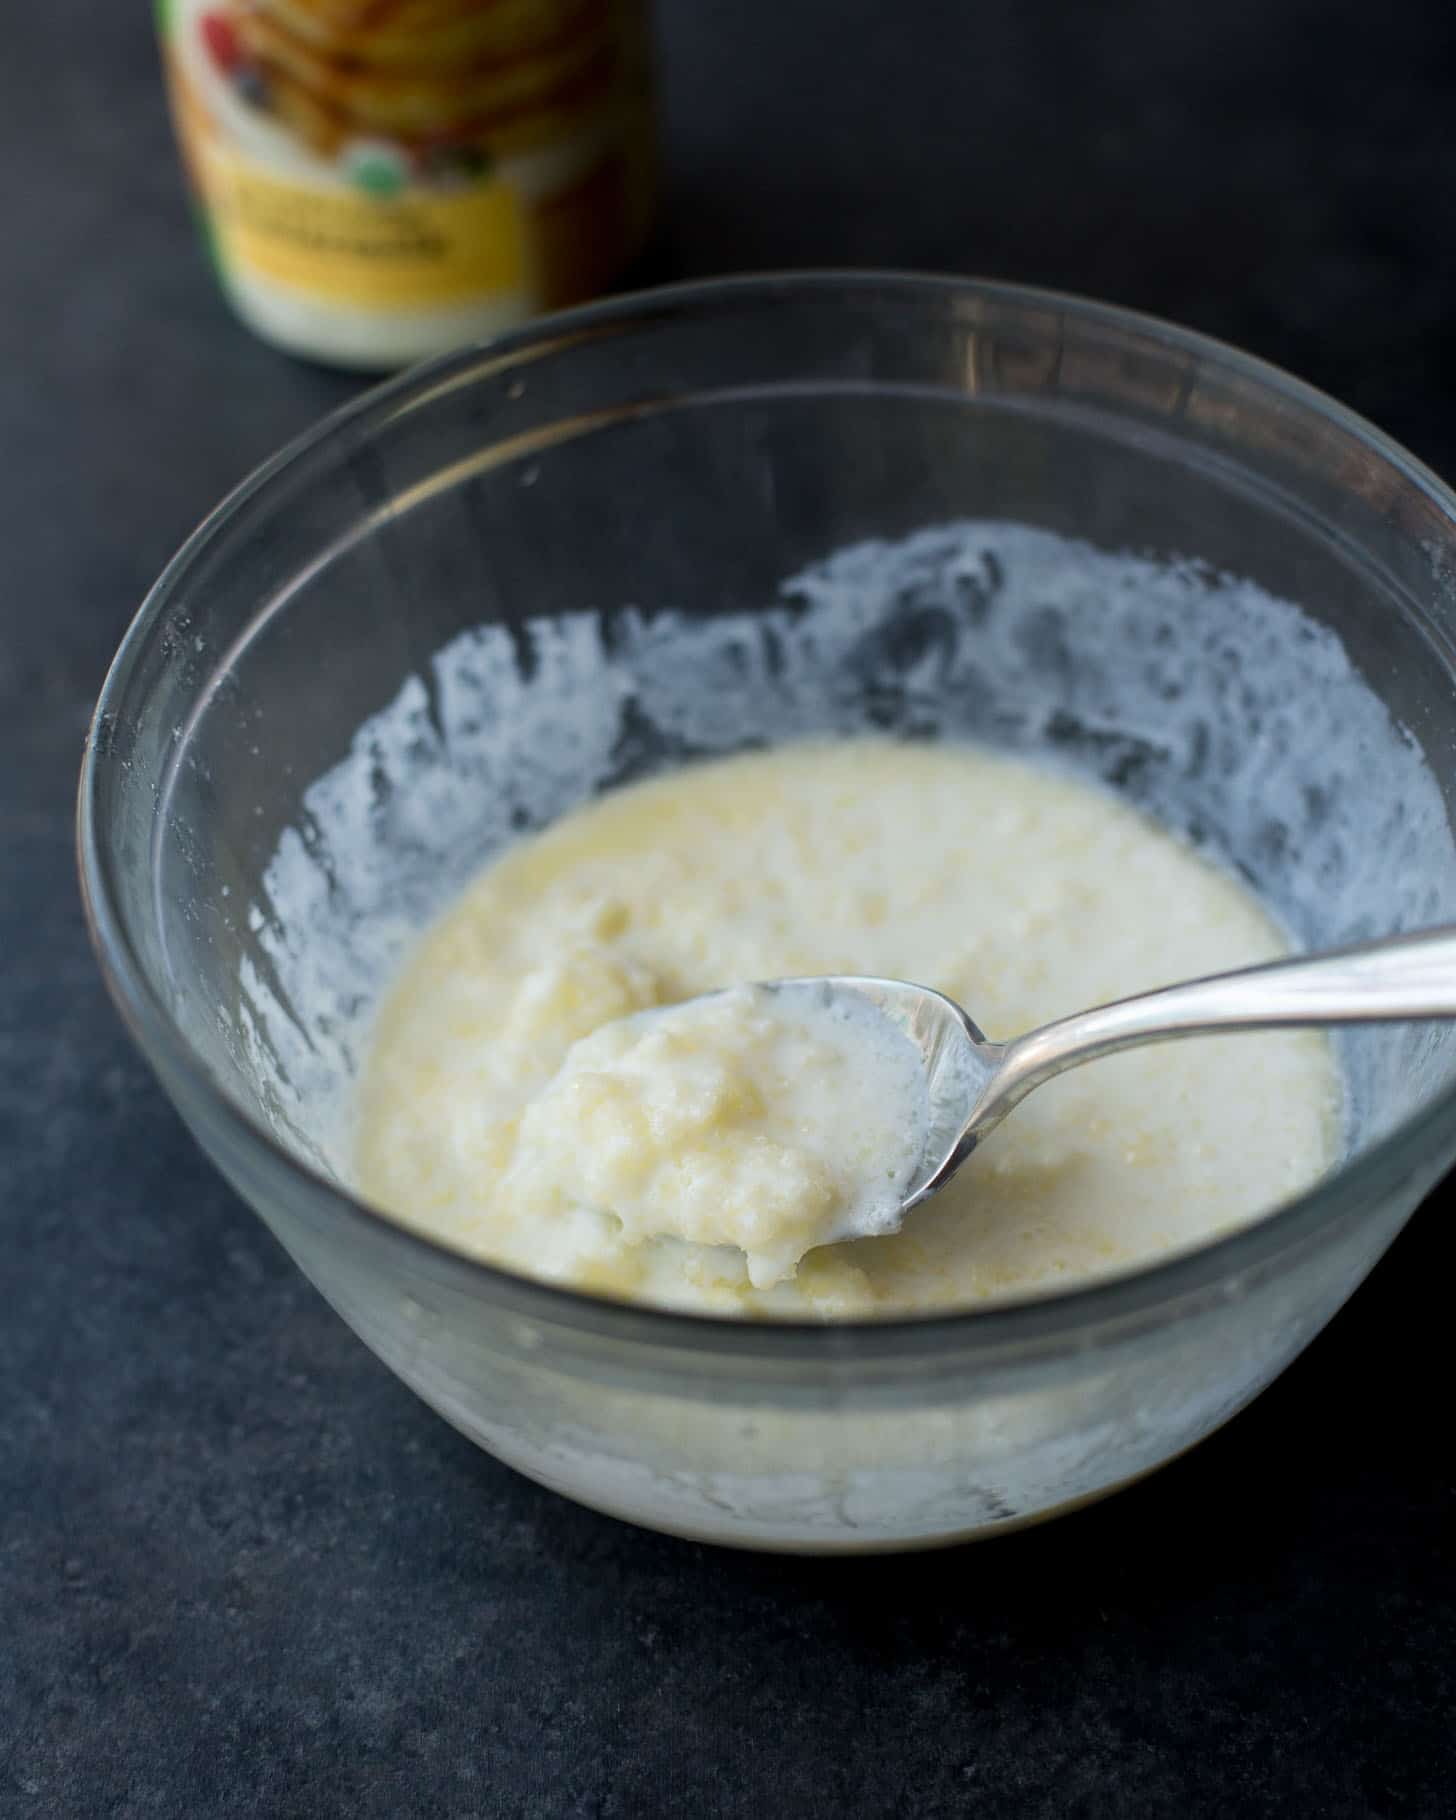
They use a method I came across in a very old copy of Cooks Illustrated. Most traditional biscuit recipes have you keep the butter cold so that pieces stay intact until the biscuits are in the oven. In the shortcut version you melt the butter. Yes – melt it! Then whisk very cold buttermilk into the hot, melted butter. When the two combine, it causes the butter to seize up, creating the very same little clumps of butter.
Here is what the mixture looks like right after cold buttermilk is added to hot butter. It looks lumpy and curdled, but that’s exactly what you want. This method takes the guesswork out of the process of making drop biscuits.
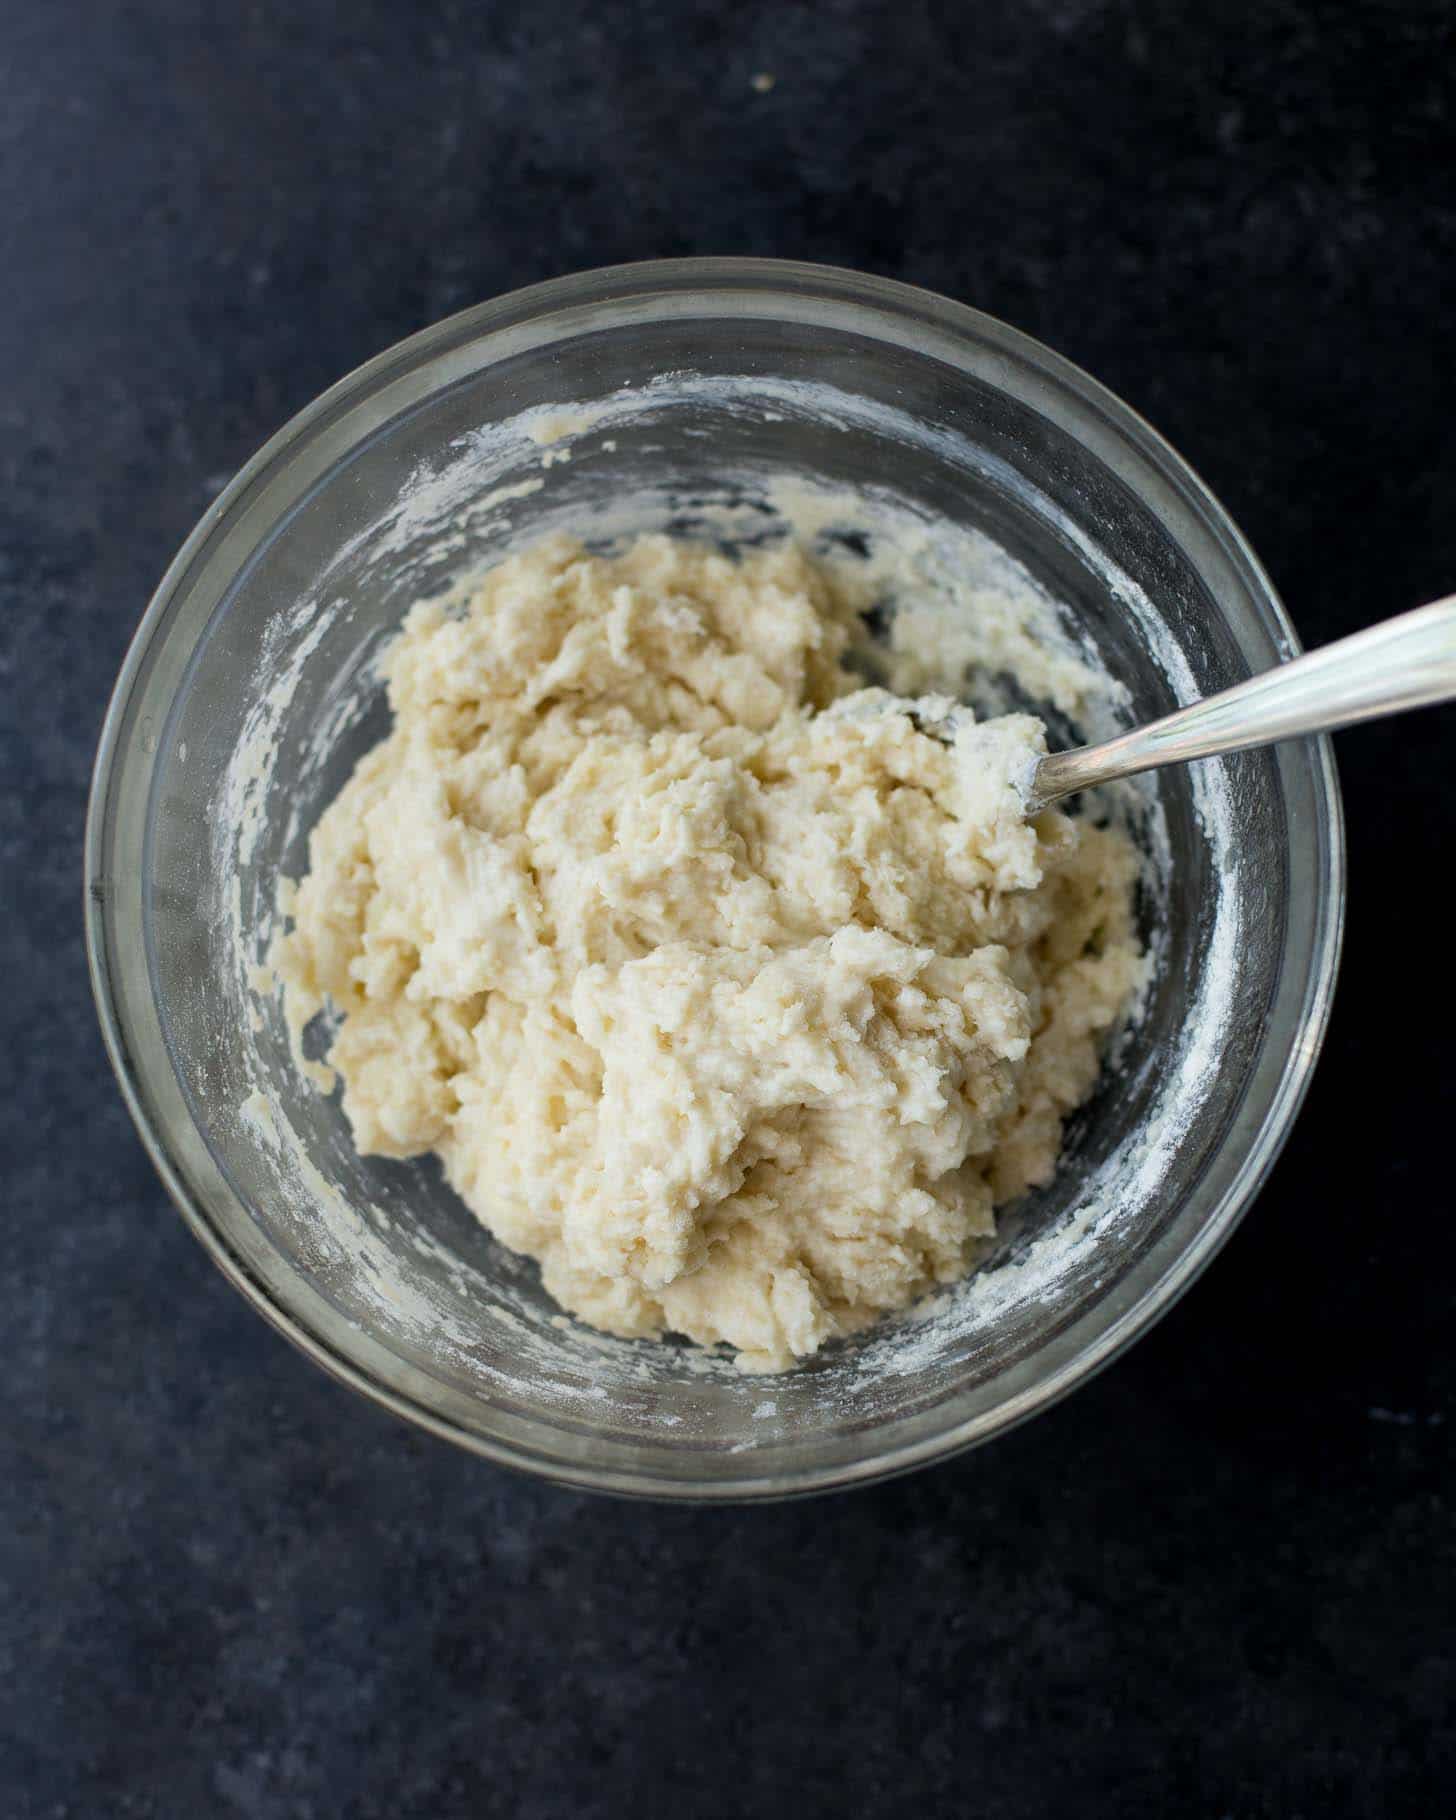
P.S. I have a savory version of drop biscuits using this same method!
Extra Thick Cobbler Topping
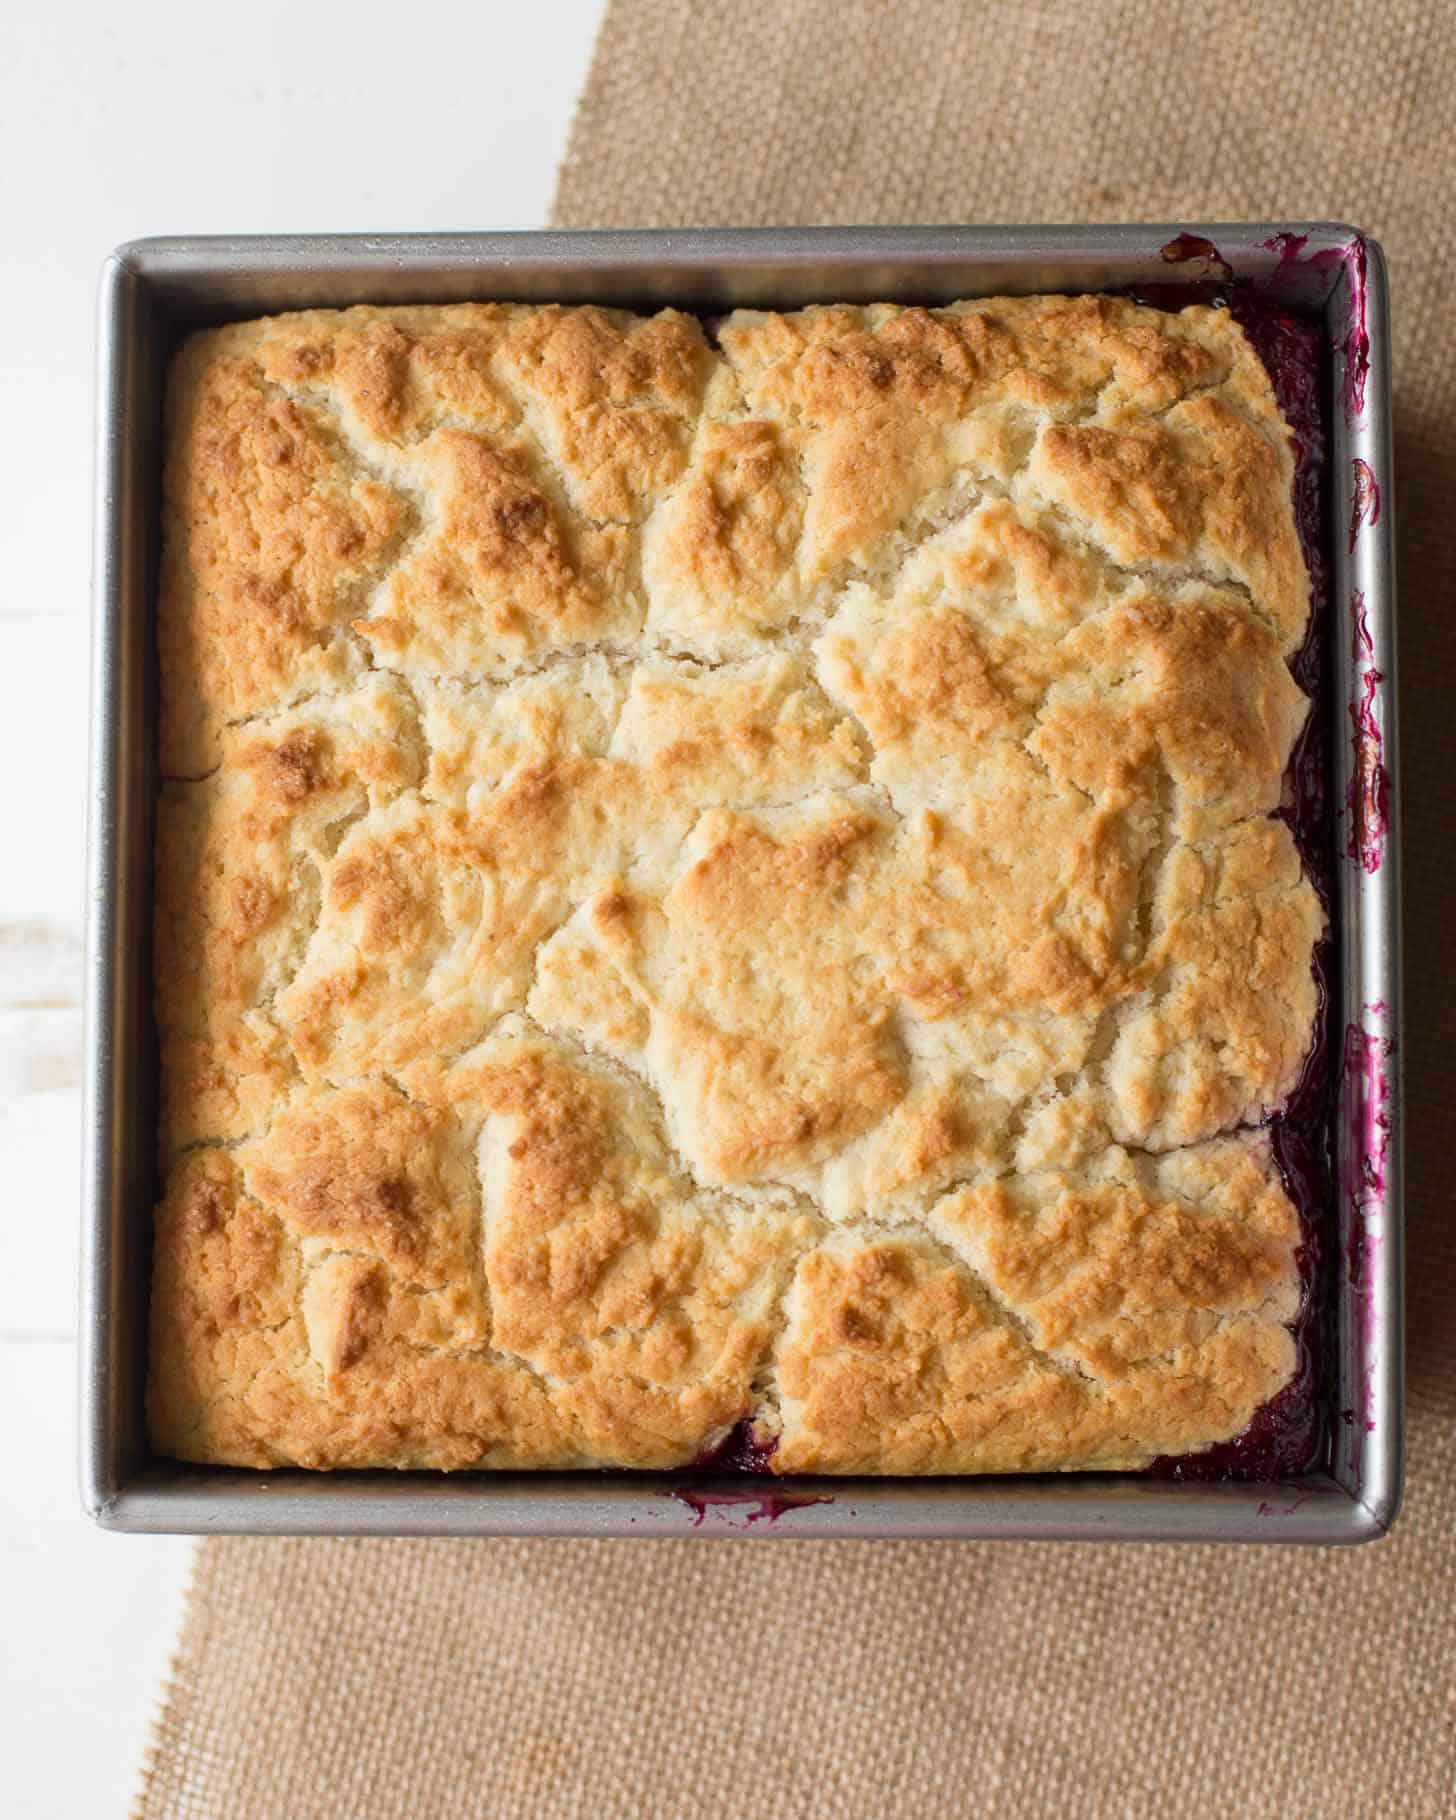
Want a serious dose of topping on your cobbler? Try doubling the biscuit recipe. When you double the biscuit topping of this cobbler, you get a crazy thick, tender layer on top. Just be sure to increase the baking time once the topping is added by about 5 minutes. The cobbler below is exactly what my kids want in a cobbler – “more cake”!
Leftover buttermilk? Try these recipes
Pin this now to save it for later
Pin It Now
Simple Mixed Berry Cobbler
Equipment
- 9×9 Baking Dish
- Half Sheet Pan
- Mixing Bowls
Ingredients
Fruit Filling:
- 5 cups Berries (see note)
- 1/4 cup White Sugar
- 1 Tablespoon + 1 teaspoon Cornstarch
- 2 teaspoons Lemon Juice
Buttermilk Biscuit Topping:
- 1 1/4 cups All-Purpose Flour (156 grams)
- 1/3 cup White Sugar (66 grams)
- 2 teaspoons Baking Powder
- 1/4 teaspoon Kosher Salt
- 5 Tablespoons Unsalted Butter
- 1/2 cup Cold Buttermilk
- 1 teaspoon Pure Vanilla Extract
Instructions
- Spray a 9×9 baking dish (see note) with nonstick cooking spray. Place the baking dish on a sheet pan (this will catch any berry filling that bubbles over during cooking).
- Preheat oven to 375° F.
Prepare Fruit Filling:
- Stir together fruit, sugar (portion for filling), cornstarch, and lemon juice. (If using frozen berries, do not defrost them first.) Spread out in baking dish.
- Transfer to oven and bake for 15 minutes to start fruit cooking. (Note: If using frozen berries, bake the fruit for an extra 5 minutes.)
Make Topping:
- While fruit filling bakes, combine flour, sugar (portion for topping), baking powder, and salt. Set aside.
- Melt butter in the microwave until hot (or melt it on the stove). While butter is still hot, stir in buttermilk and vanilla extract. (The mixture will look slightly curdled or separated which will help to keep the biscuits light; even if your mixture doesn't look curdled – don't worry – just proceed with the recipe as written.)
- Pour butter-buttermilk mixture over dry ingredients and stir gently until just combined. Do not overmix – stop stirring as soon as no dry spots remain.
Finish Baking:
- Spray a 1/4 cup measuring cup with nonstick cooking spray. Use the measuring cup to scoop out biscuit dough and drop it onto the top of the warm fruit filling (I like to make one biscuit per serving).
- Bake until filling is thick and bubbling and a tester inserted in the biscuits comes out clean, 28 to 32 minutes.
- Let cool for 10 minutes before serving (the filling will continue to thicken as it cools).
Notes
Nutrition
Nutrition information is automatically calculated, so should only be used as an approximation.



I made your cobbler for a bringing back the 70″s party. What a hit. I used the buttermilk and set it in the freezer for a few minutes, The butter was shocked. So much fun watching it seize up because I knew why. I used a combination of frozen blue berries and fresh strawberries and an apple that looked sad and needed to be included. It was a BIG hit. I gave you all the credit on the desert name tag. Thank you for your love of cooking.
Oh yay! I love this so much! Thanks so much for the note Sharon!
Can I replace buttermilk with 2% milk & BUTTERMILK POWDER (putting the powder in with dry ingredients)?
I’m going to double the topping too! I’ll be using my frozen berries, so I think doubling the topping will help absorb more of the extra juice. (Not to mention that theirs never too much cakey, biscuity topping in cobbler) lol.
I lost my favorite cobbler recipe. Ugghhh. So I looked around for one that “spoke to me”, and this one sounds like it fits the bill
Thanks for sharing it.
Have a great day!
I haven’t tried it with the powdered buttermilk + milk, but I really think that should work just fine. And yes – as you can see in the post, we love a double topping around here! And I agree – with frozen berries it might be the perfect thing to give you plenty of topping to soak up the juice. Make sure you let it sit for a few minutes before serving – I always feel like that’s extra helpful with frozen berries. Enjoy!