Red, White, and Blue Pinwheel Cookies

Published Jul 02, 2018•Updated Jun 14, 2026
This post may contain affiliate links. Please read our disclosure policy.
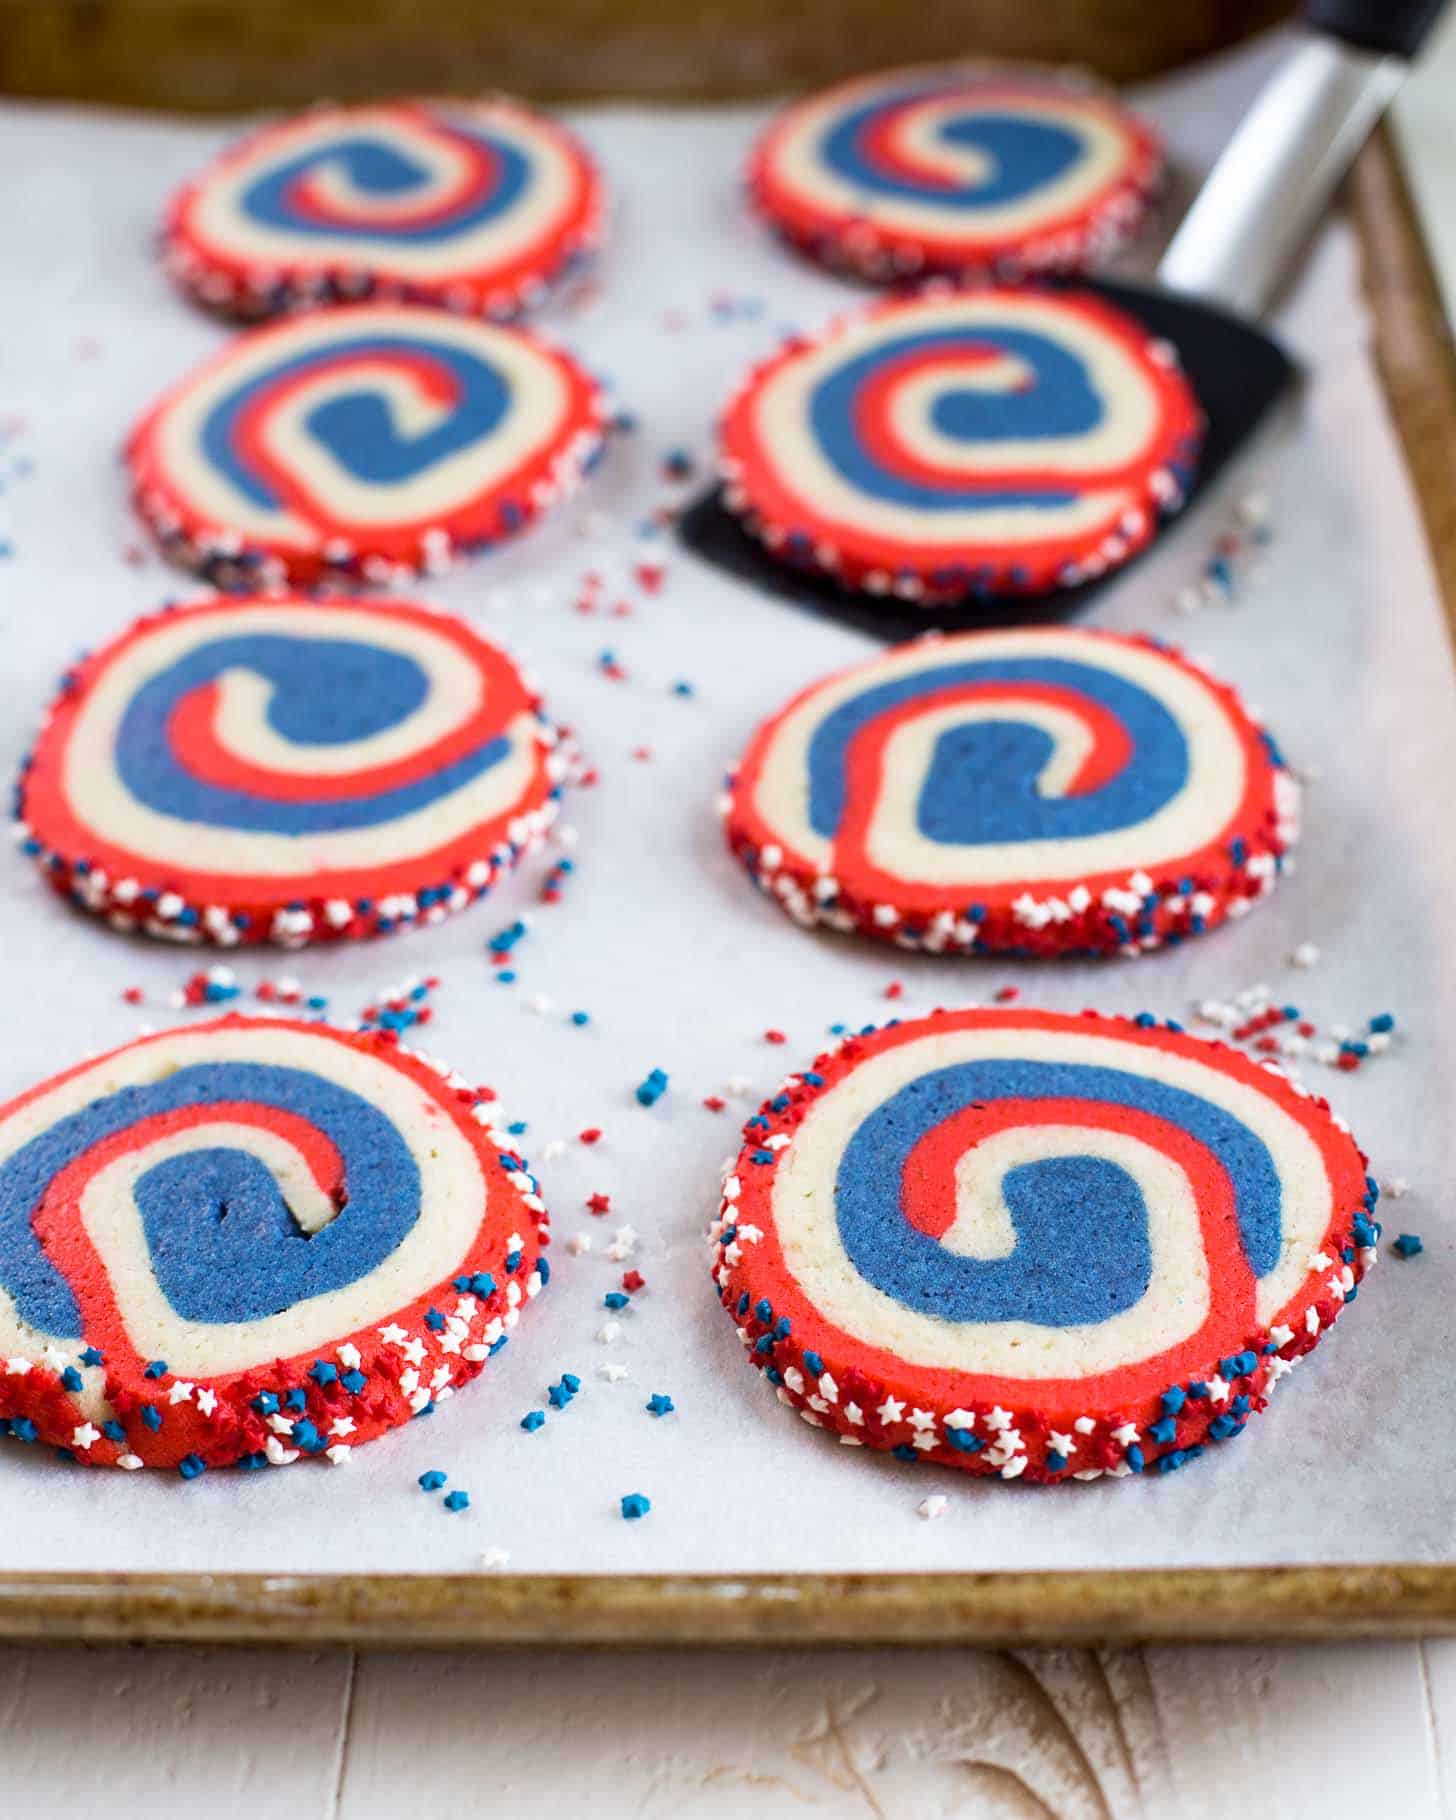
Want to go patriotic with your next dessert? Red, White, and Blue Pinwheel Cookies are just the thing. Buttery and soft, refrigerate them ahead of time to just slice and bake when you’re ready to serve!
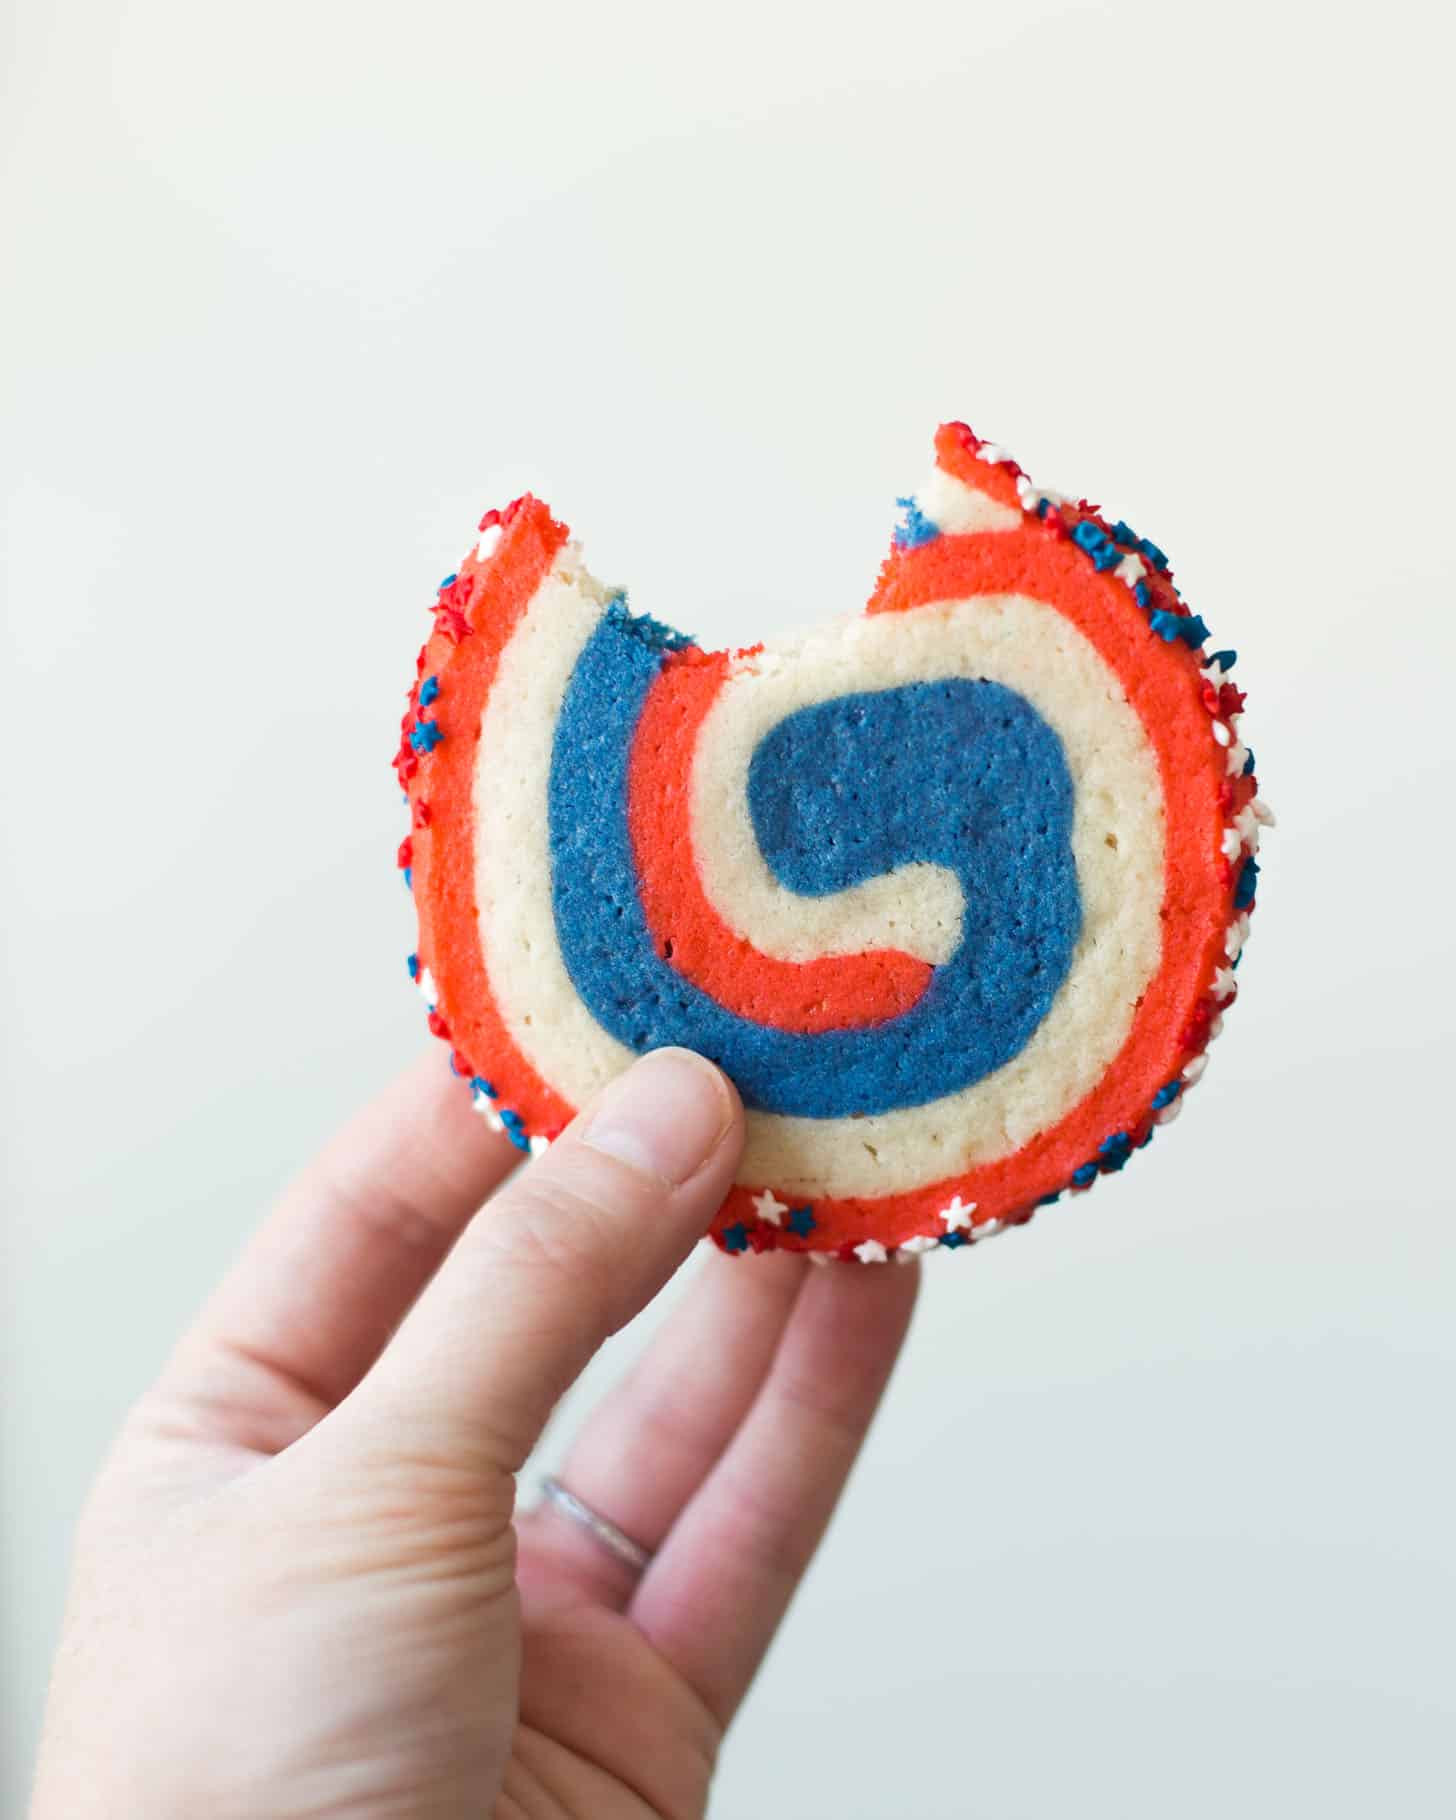
Pinwheel cookies are so much fun, and these are super convenient too! This recipe is as classic as they come. It’s adapted from one of my mom’s go-to Christmas cookies (find them under Christmas Pinwheel Cookies).
What you’ll love about these cookies is that they are:
- slice-and-bake (so you can make them ahead and refrigerate or freeze)
- buttery soft
- easy to customize (patriotic sprinkles!)
- fun and patriotic
How to Make Pinwheel Cookies
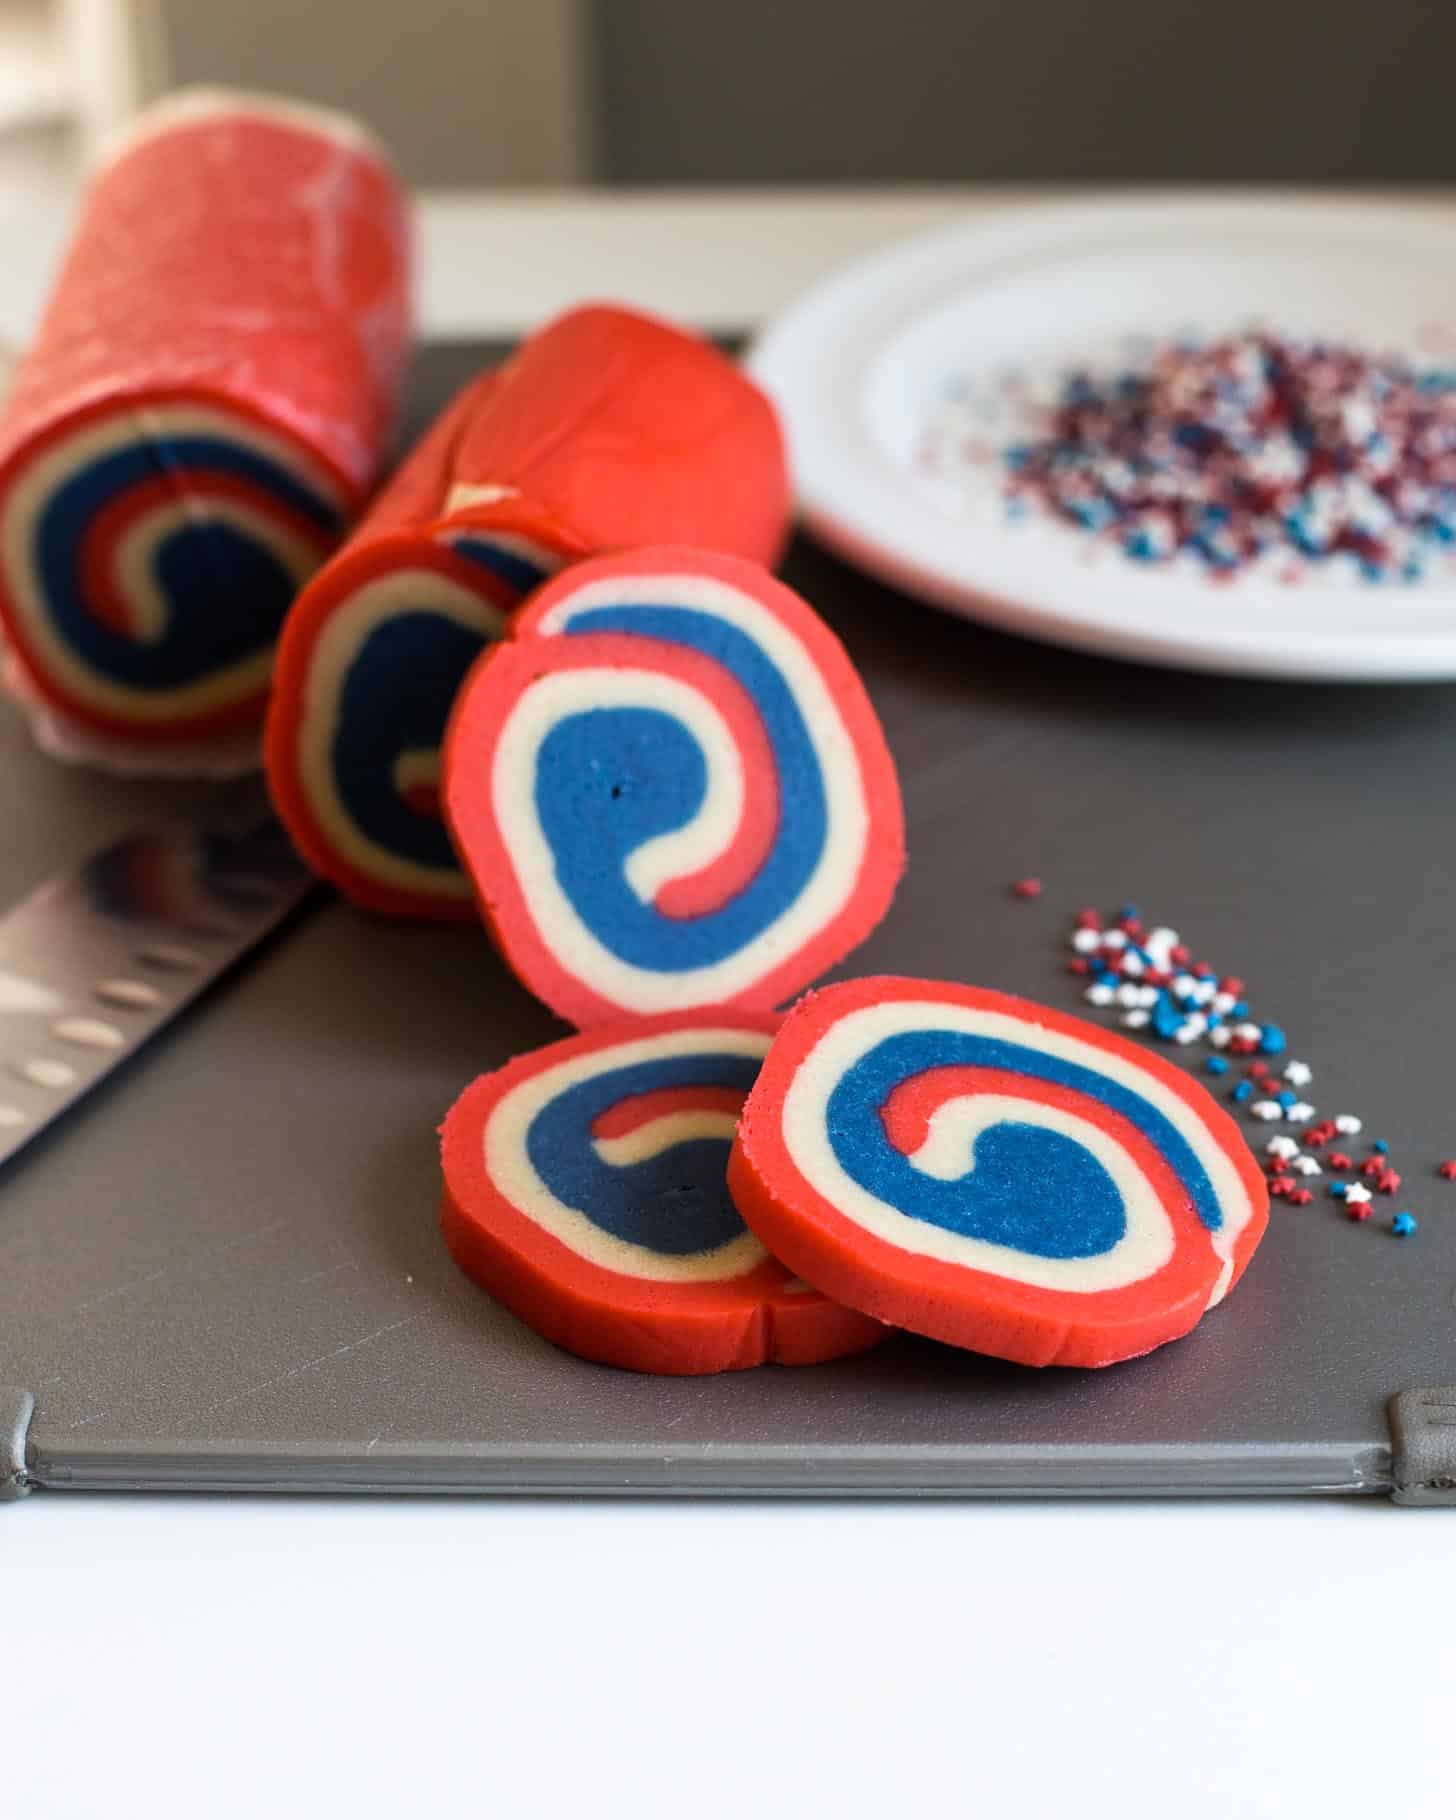
Though these look complicated, it’s really just one batch of dough, divided in three and mixed with some food coloring (I use food gel these days because it delivers reliably vivid colors). You just stack the dough as shown below.
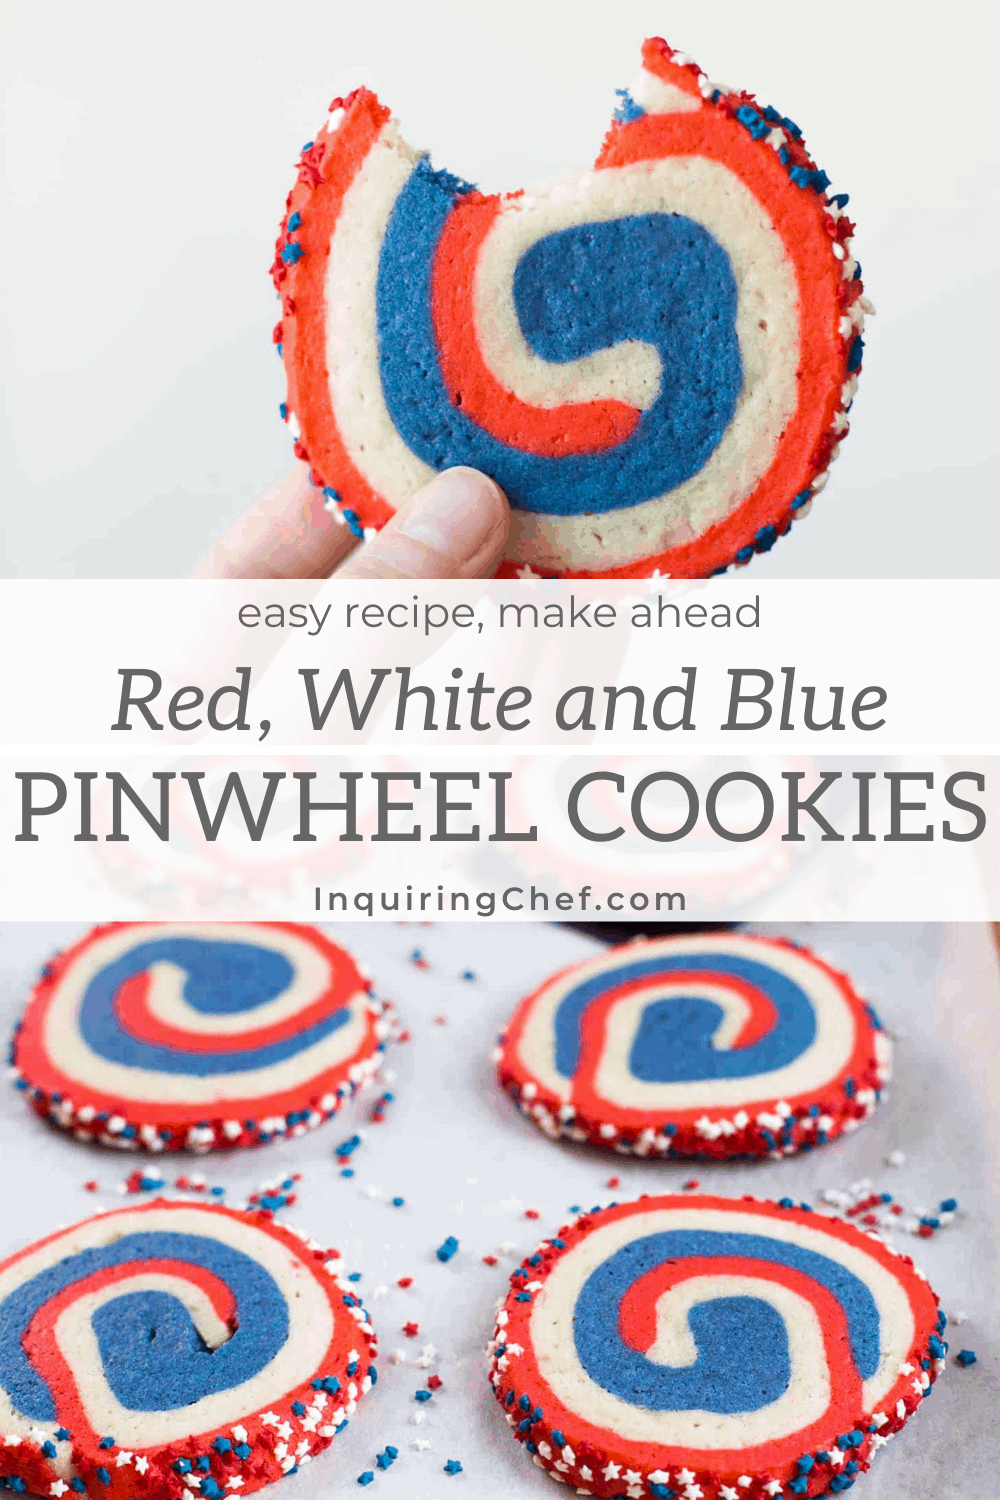
Pin this now to save it for later
Pin It Now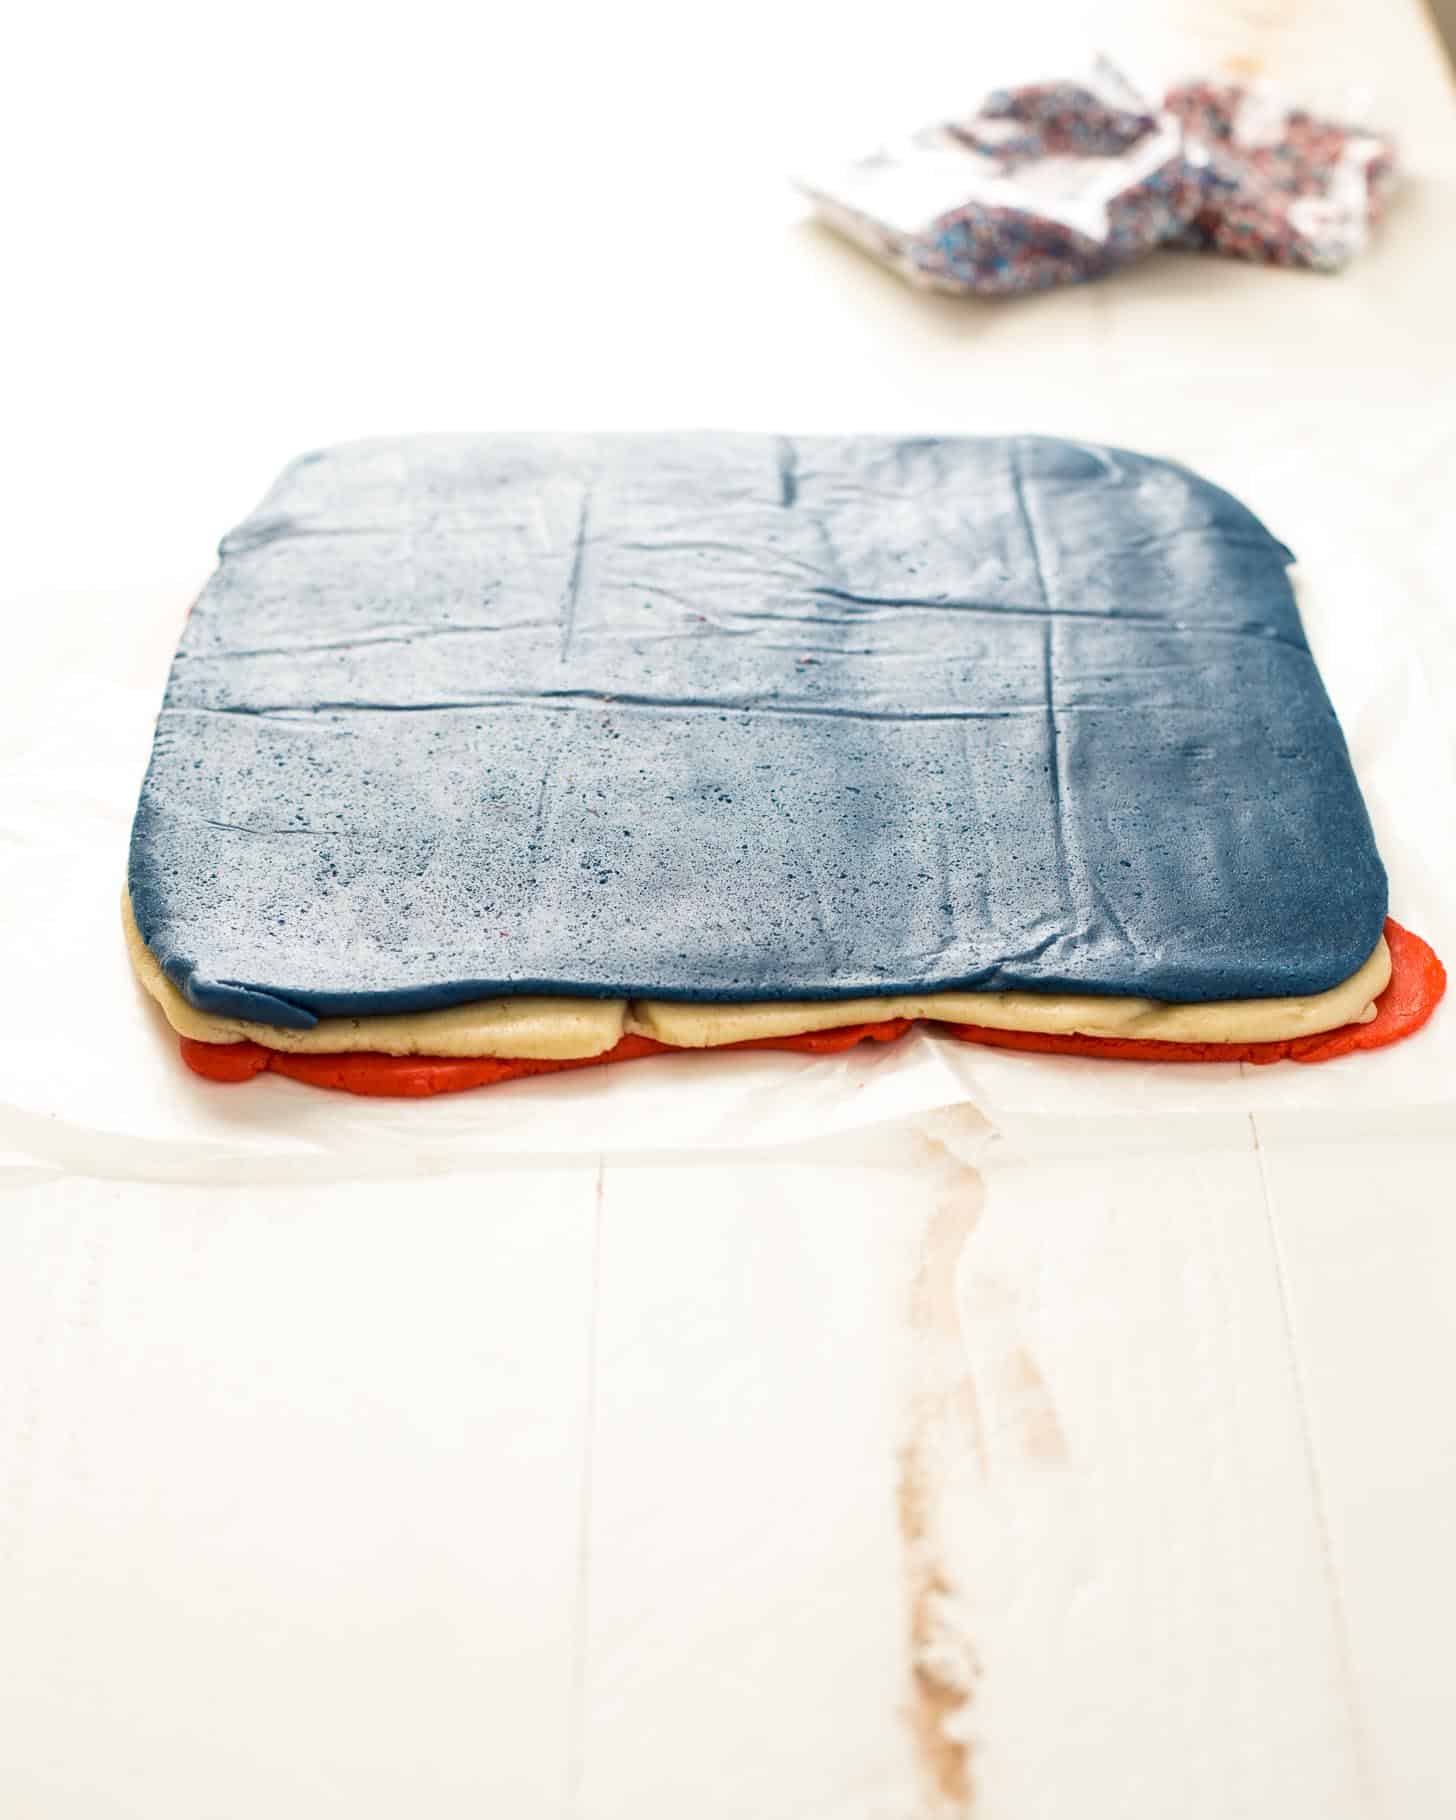
Then roll into a log, wrap in wax paper, and refrigerate it. When it’s time to bake, just roll the dough in some sprinkles (optional, but super fun!), slice, and bake.
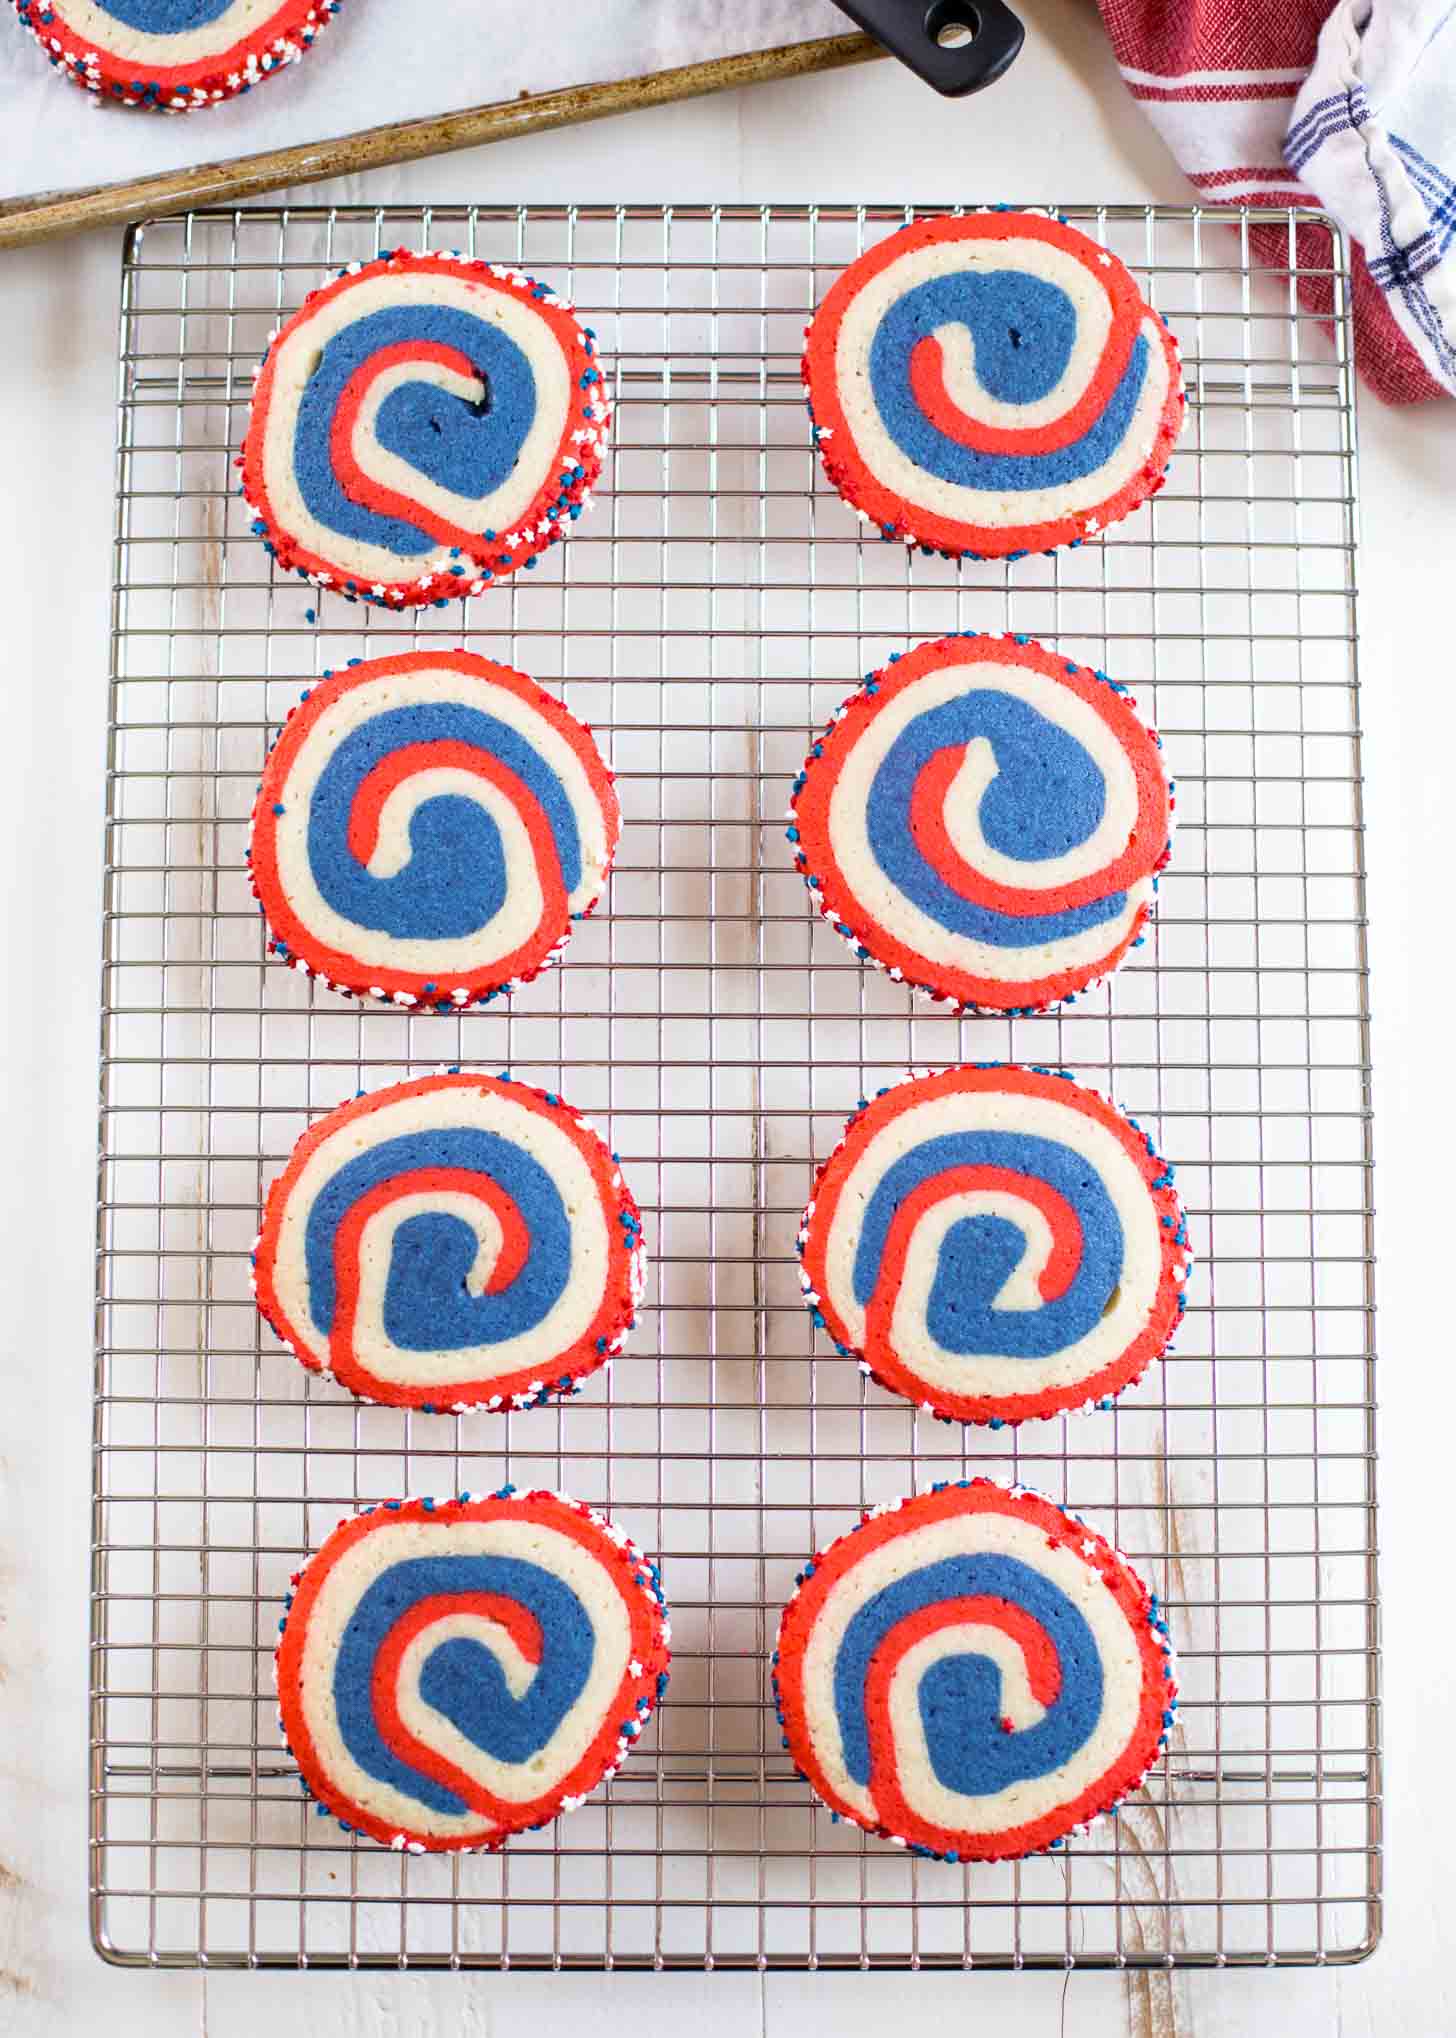
Serve with a side of fireworks!
For detailed photos of the process for making these cookies, check out this post.
More Easy Cookie Recipes
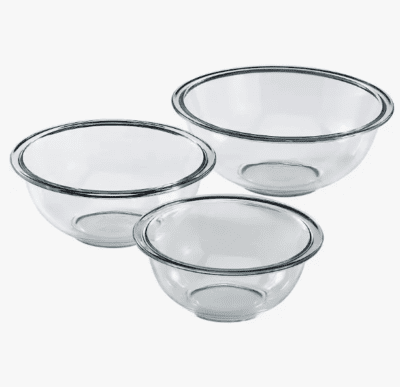
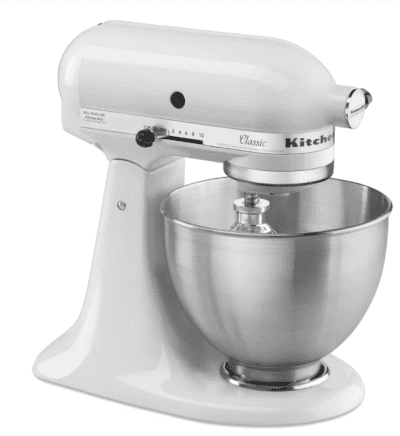
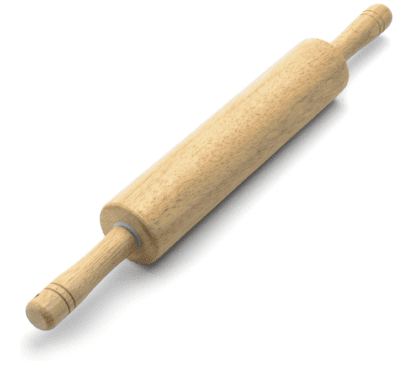
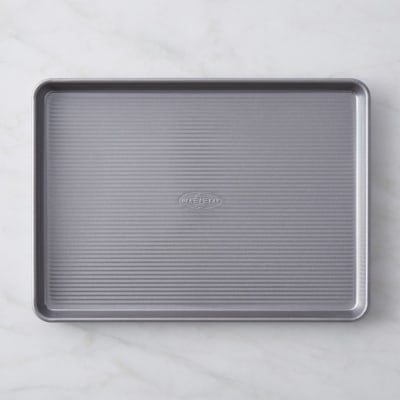
Favorite Tools
Pin this now to save it for later
Pin It Now
Red, White, and Blue Pinwheel Cookies
Equipment
- Stand Mixer
- Parchment Paper
- Half Sheet Pan
- Sharp Knife
- Cooling Rack
Ingredients
- 4 cups All-Purpose Flour
- 2 teaspoons Baking Powder
- 1/2 teaspoon Salt
- 1 1/3 cup Unsalted Butter, softened
- 1 1/2 cup Granulated Sugar
- 2 Eggs
- 1 teaspoon Vanilla Extract
- Red and Blue Food Coloring / Food Gel
- Sprinkles (optional)
- Wax paper, for rolling dough
Instructions
- In a mixing bowl, whisk together flour, baking powder, and salt. Set aside.
- In the bowl of a standing mixer, beat the butter on medium-high until smooth.
- Add sugar and beat on high until light and fluffy, ~2 minutes.
- Add eggs one at a time, mixing between each addition. Add vanilla and mix for 1 minute more.
- Add dry ingredients in three increments, mixing between each one.
- Divide dough into three even portions.
- RedPut the first portion of dough in the mixer and add red food coloring / gel, while mixing, until the dough is a nice bright red. Set red dough aside and wipe out bowl.
- BluePut the second portion of dough in the mixer and add blue food coloring / gel, while mixing, until the dough is a nice bright blue. Set red dough aside.
- Working with one portion of dough at a time, roll each into a 11″ x 11″ square. (I use a permanent marker to draw a square on a piece of wax paper and use that as a guide. The squares don’t have to be perfect, just generally around the same size.)
- Refrigerate dough squares for 30 minutes until chilled (this will make them easier to layer without the colors bleeding together).
- Remove dough from refrigerator and stack the three portions of dough (in any order). Gently press dough layers together.
- Using the bottom sheet of wax paper to lift dough, roll it into a log. Press gently as you roll to avoid gaps. Wrap the dough tightly in wax paper.
- Refrigerate for 2 hours or up to 5 days. (At this point the dough can be wrapped in foil and frozen for up to 3 months; defrost in the refrigerator for 2 to 3 hours before baking.)
- Preheat oven to 375 degrees F.
- If using sprinkles, remove the dough from the wax paper and roll in sprinkles to coat on all sides.
- Using a sharp knife cut roll into 1/8″ slices. Place slices on an ungreased baking sheet. The cookies will spread slightly as they bake, so leave ~2″ between.
- Bake until cookies appear just set in the middle, 8 to 10 minutes. (The texture will be tender and buttery. I’ve been known to bake these for as little as 6 minutes. Soft, gooey, delicious.)
- Transfer to a cooling rack and allow to cool completely.
- Store in an airtight container for up to 3 days.
Nutrition
Nutrition information is automatically calculated, so should only be used as an approximation.










These turn out amazing when i follow recipe. I also add half tsp almond extract for a yummy addition. Also just use food coloring .
So glad you enjoyed them!