Peanut Butter Cup Cookie Bars
Published Sep 05, 2019•Updated Mar 27, 2024
This post may contain affiliate links. Please read our disclosure policy.
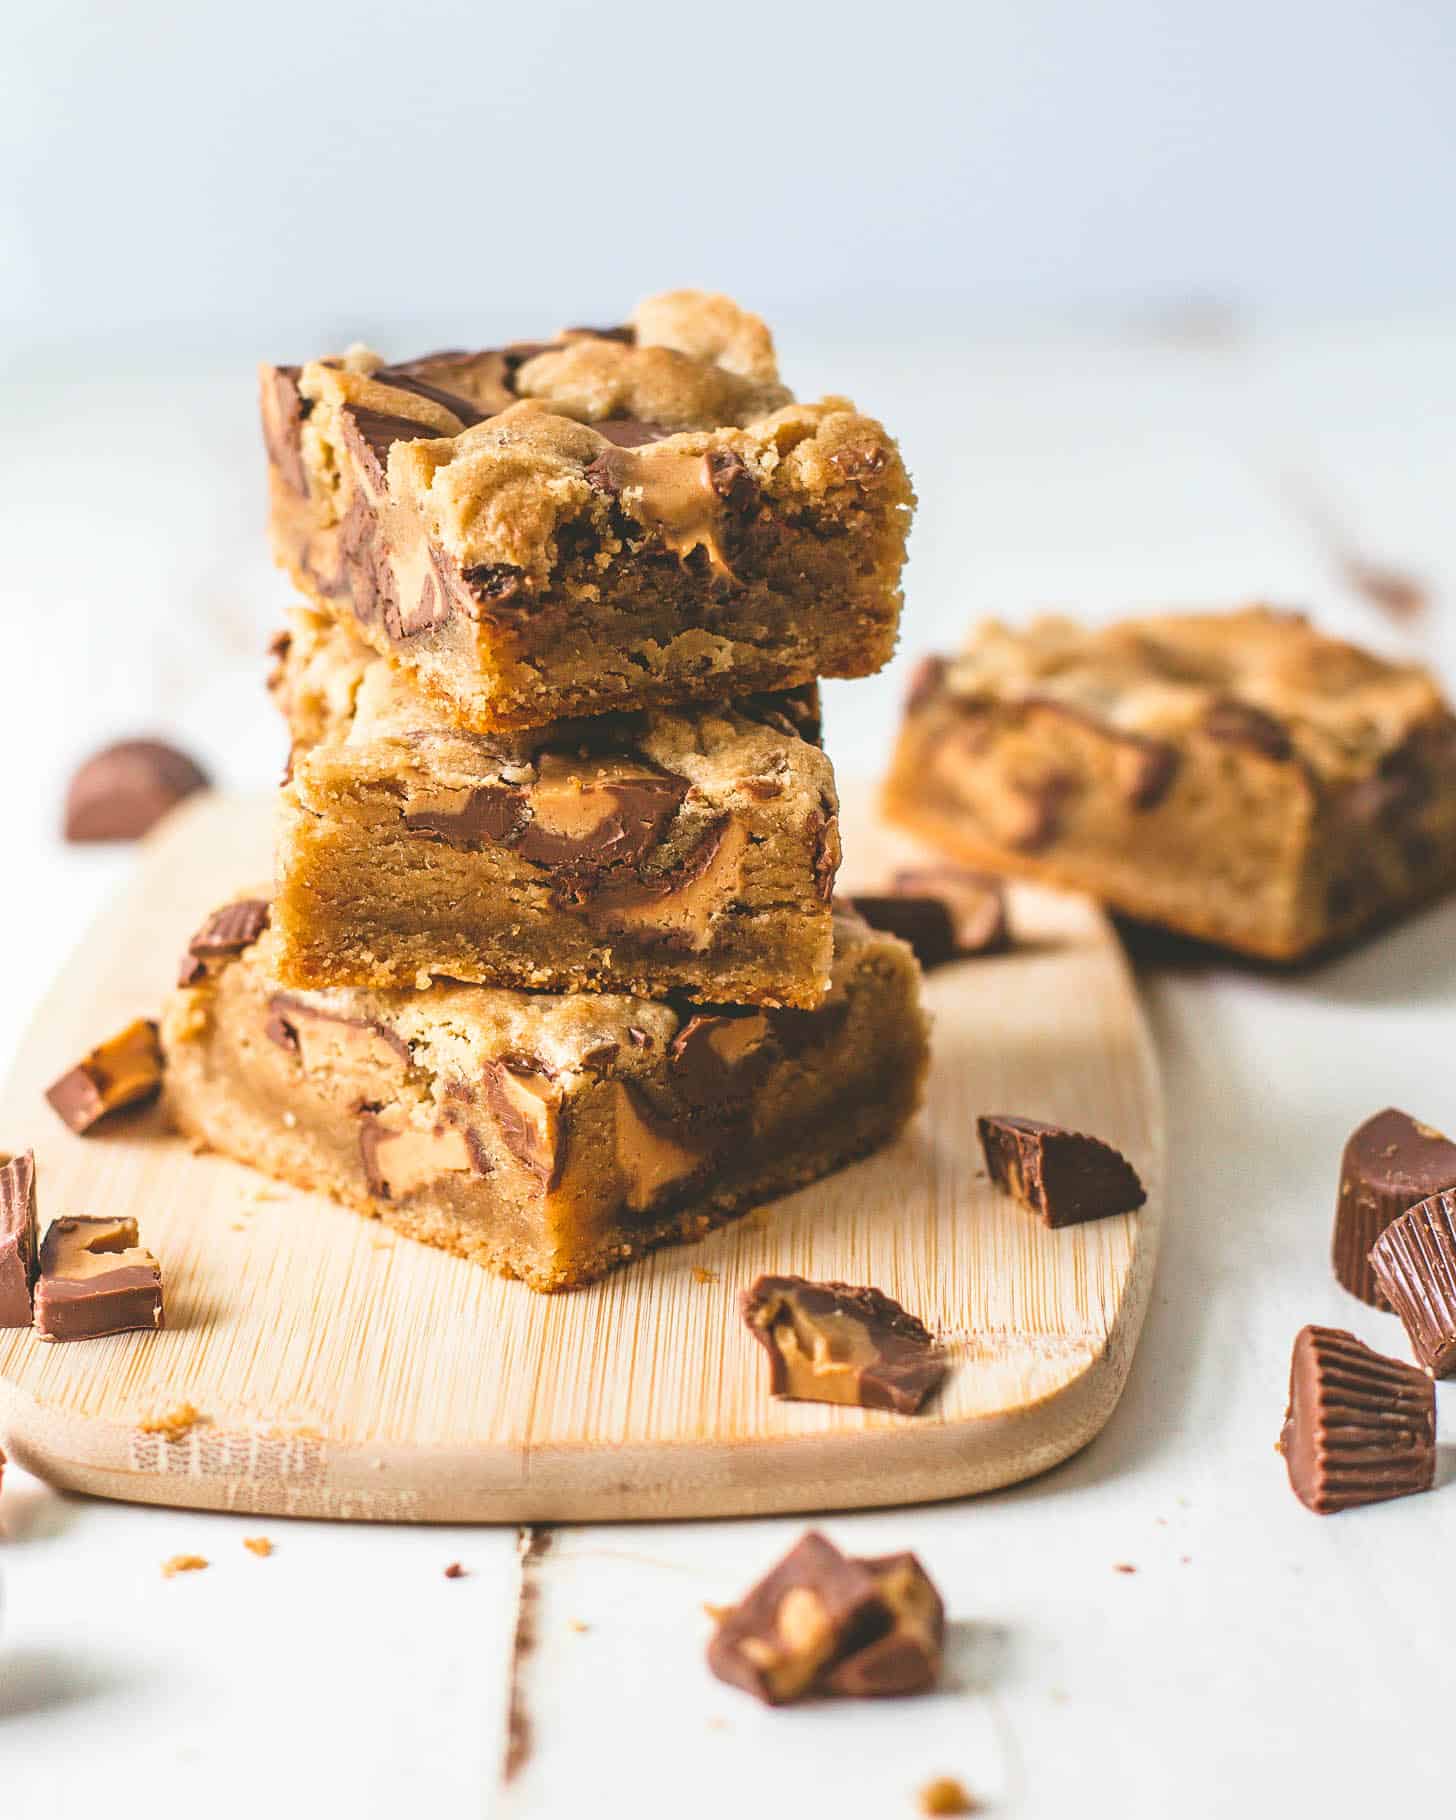
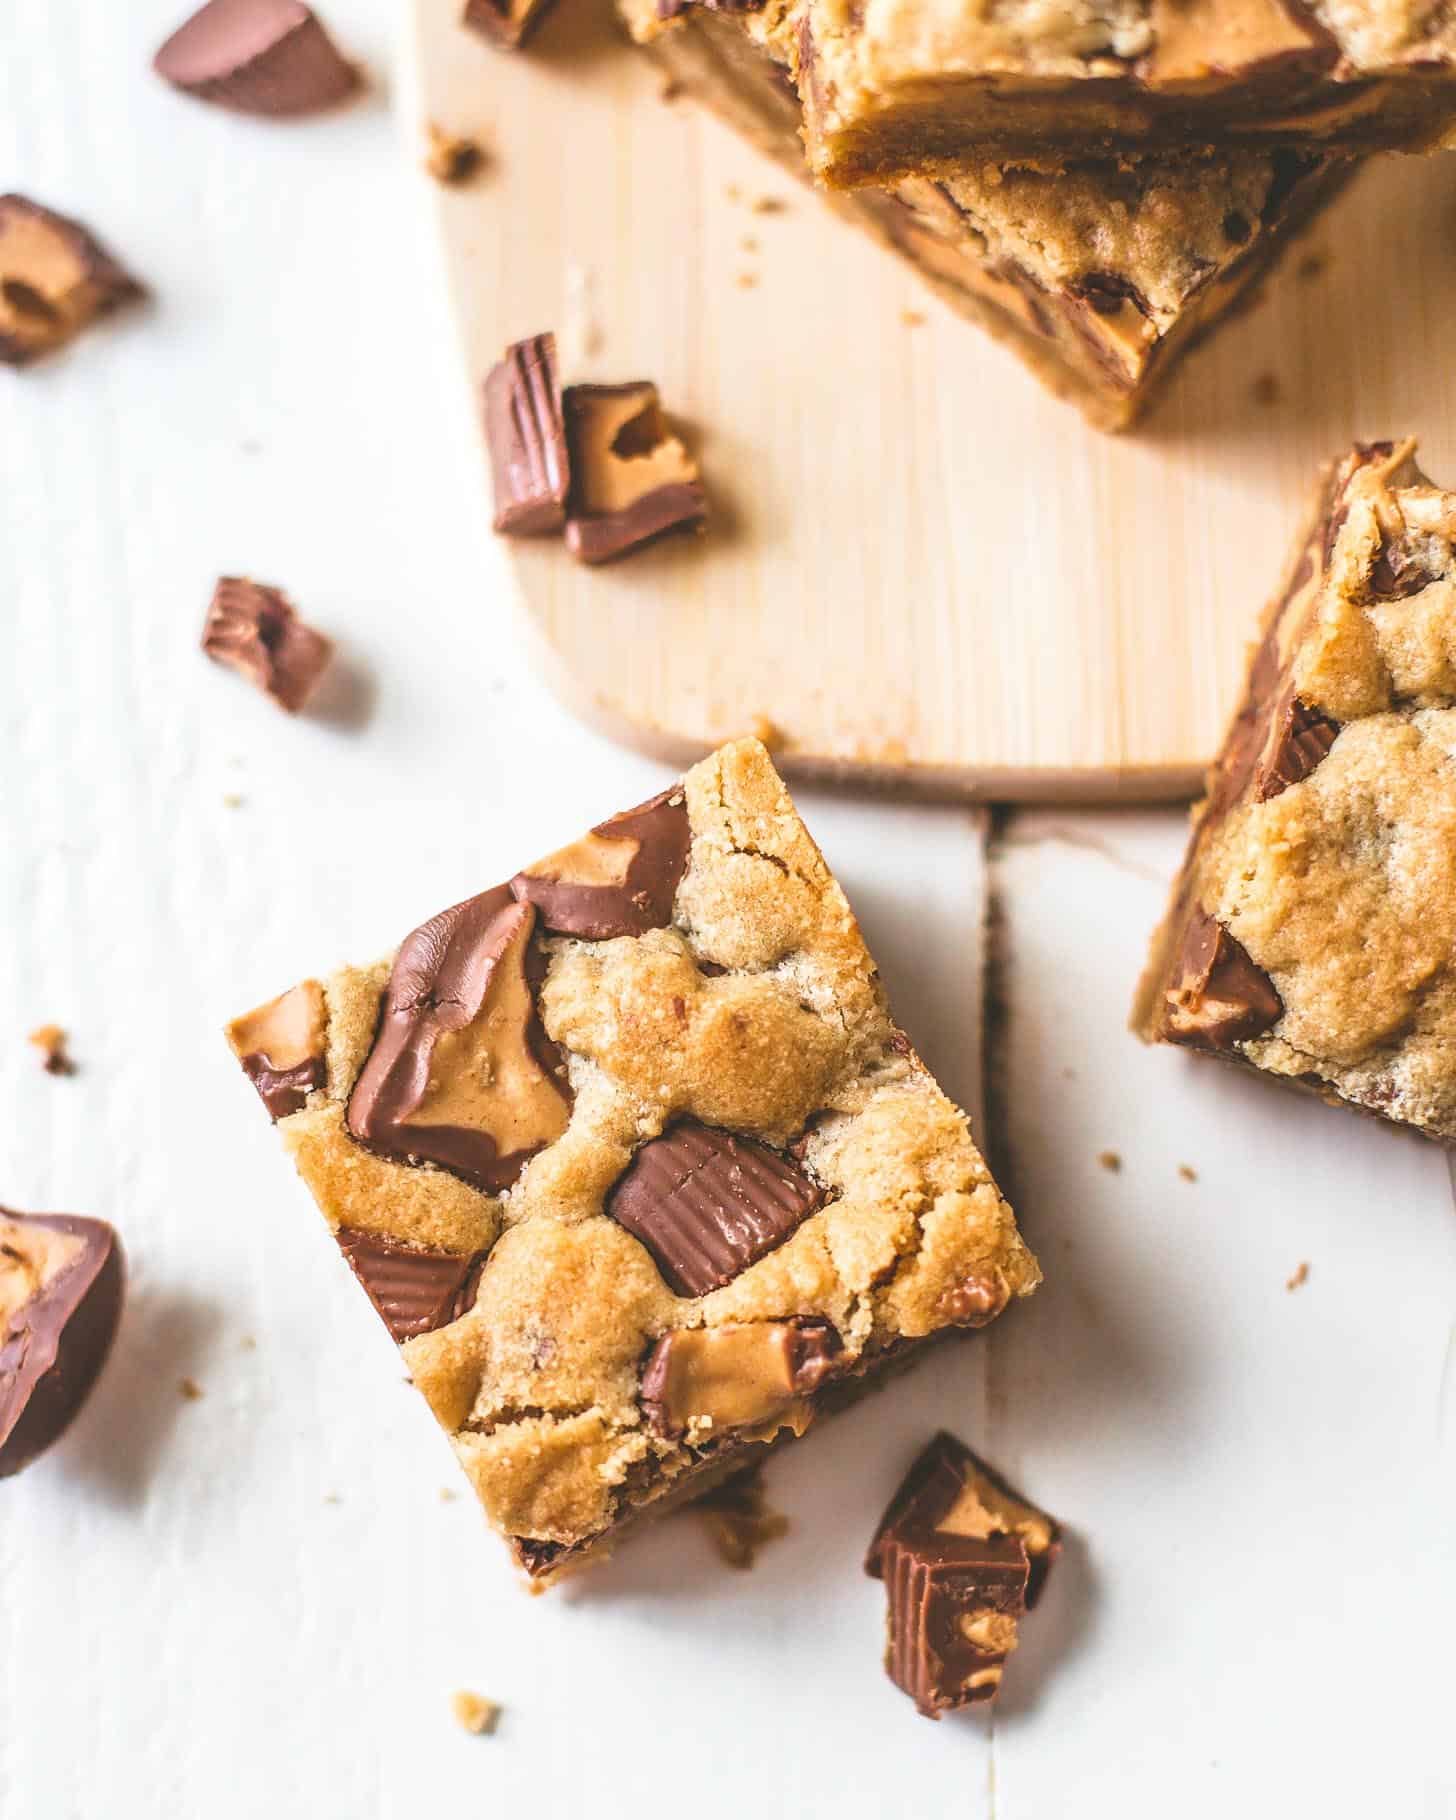
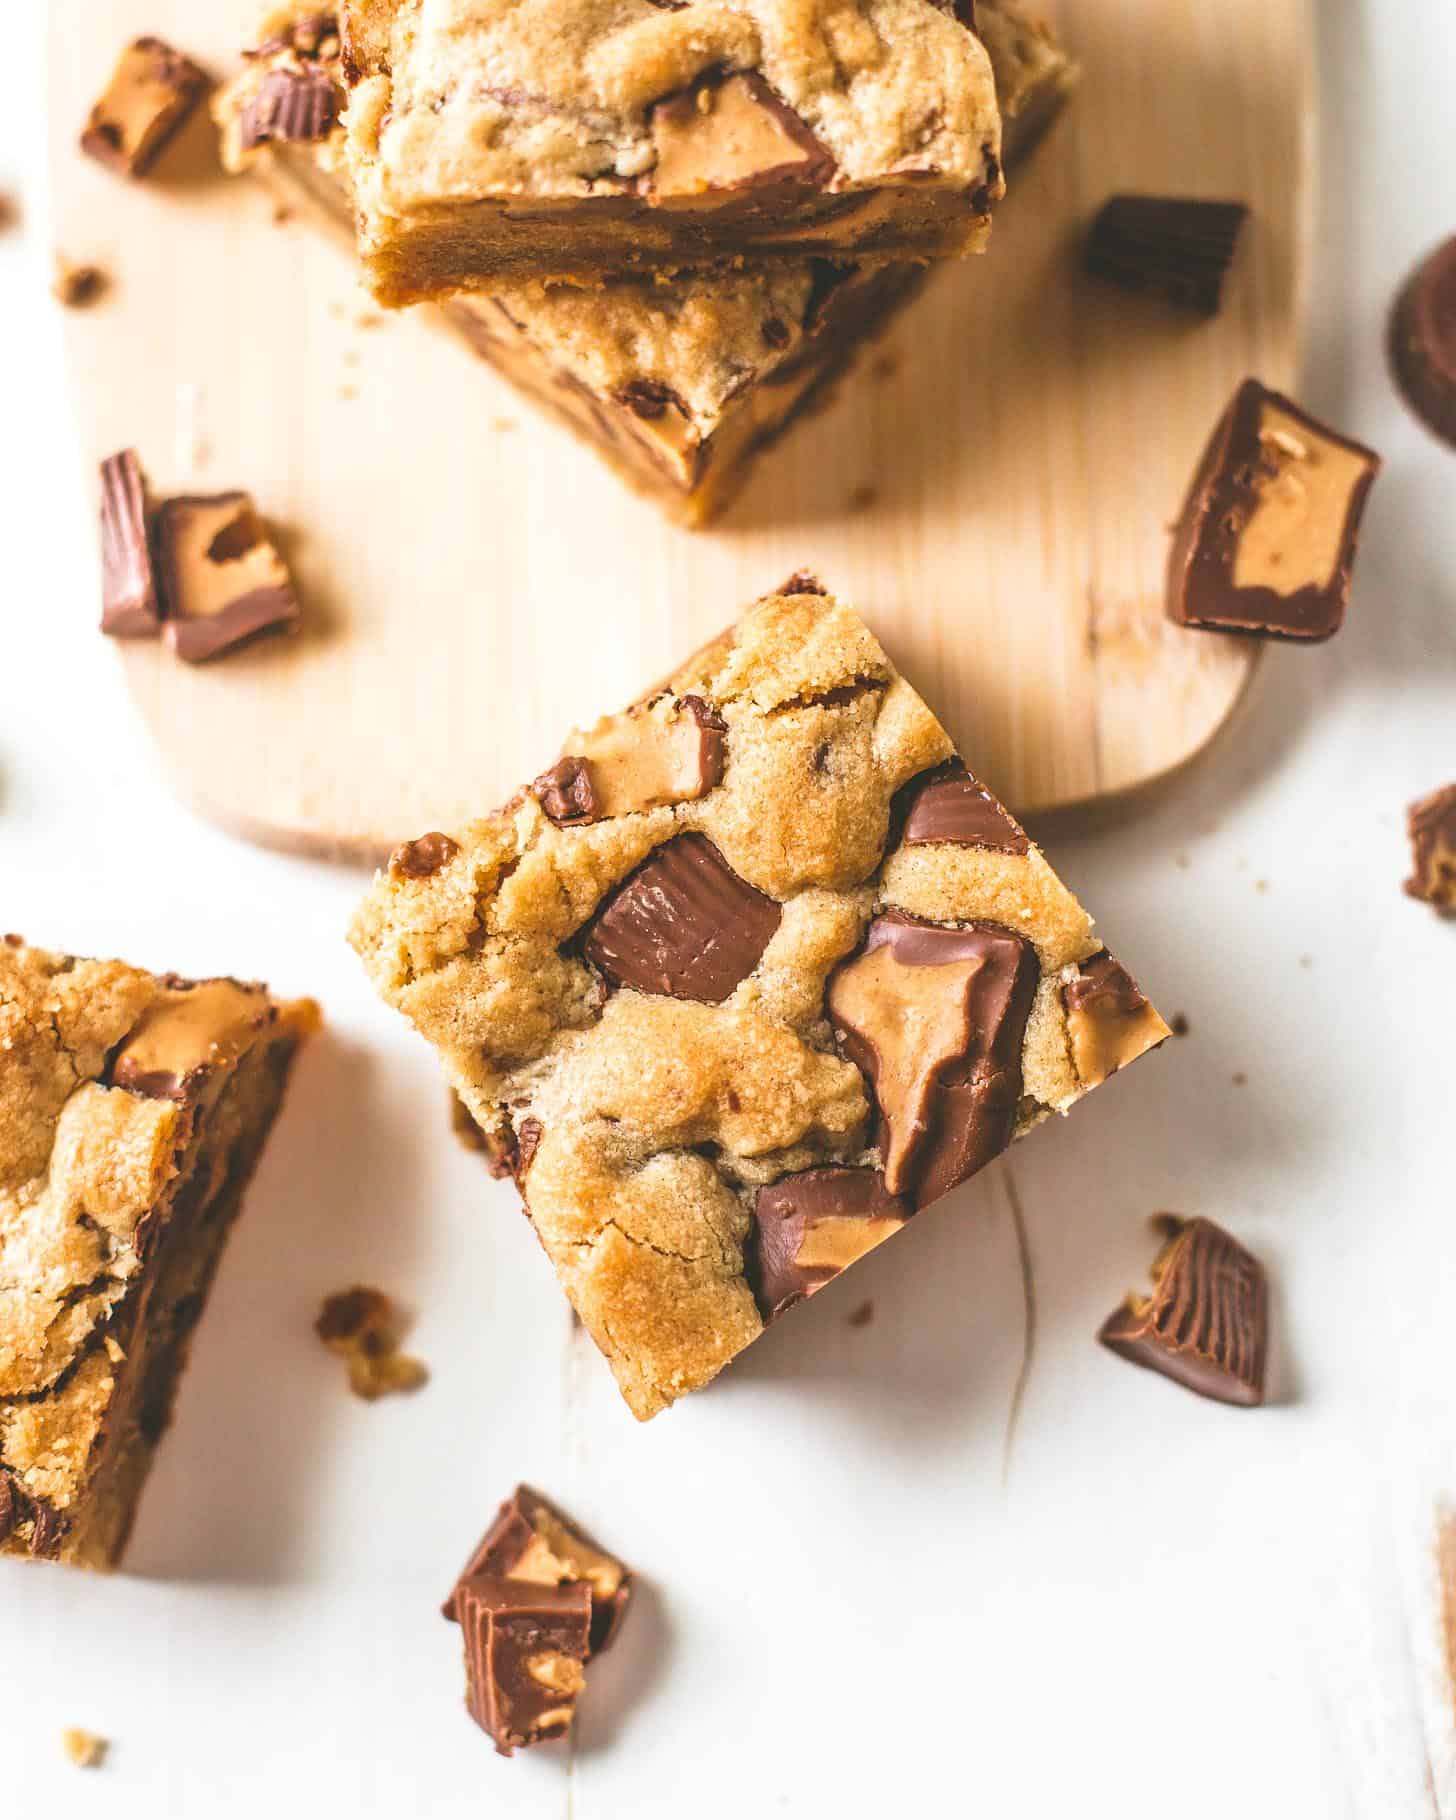
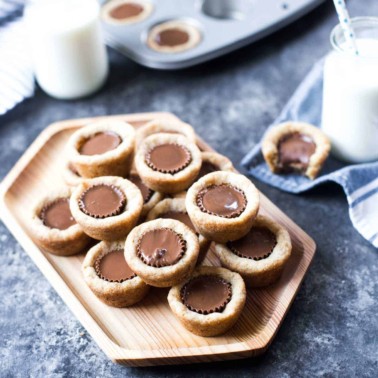
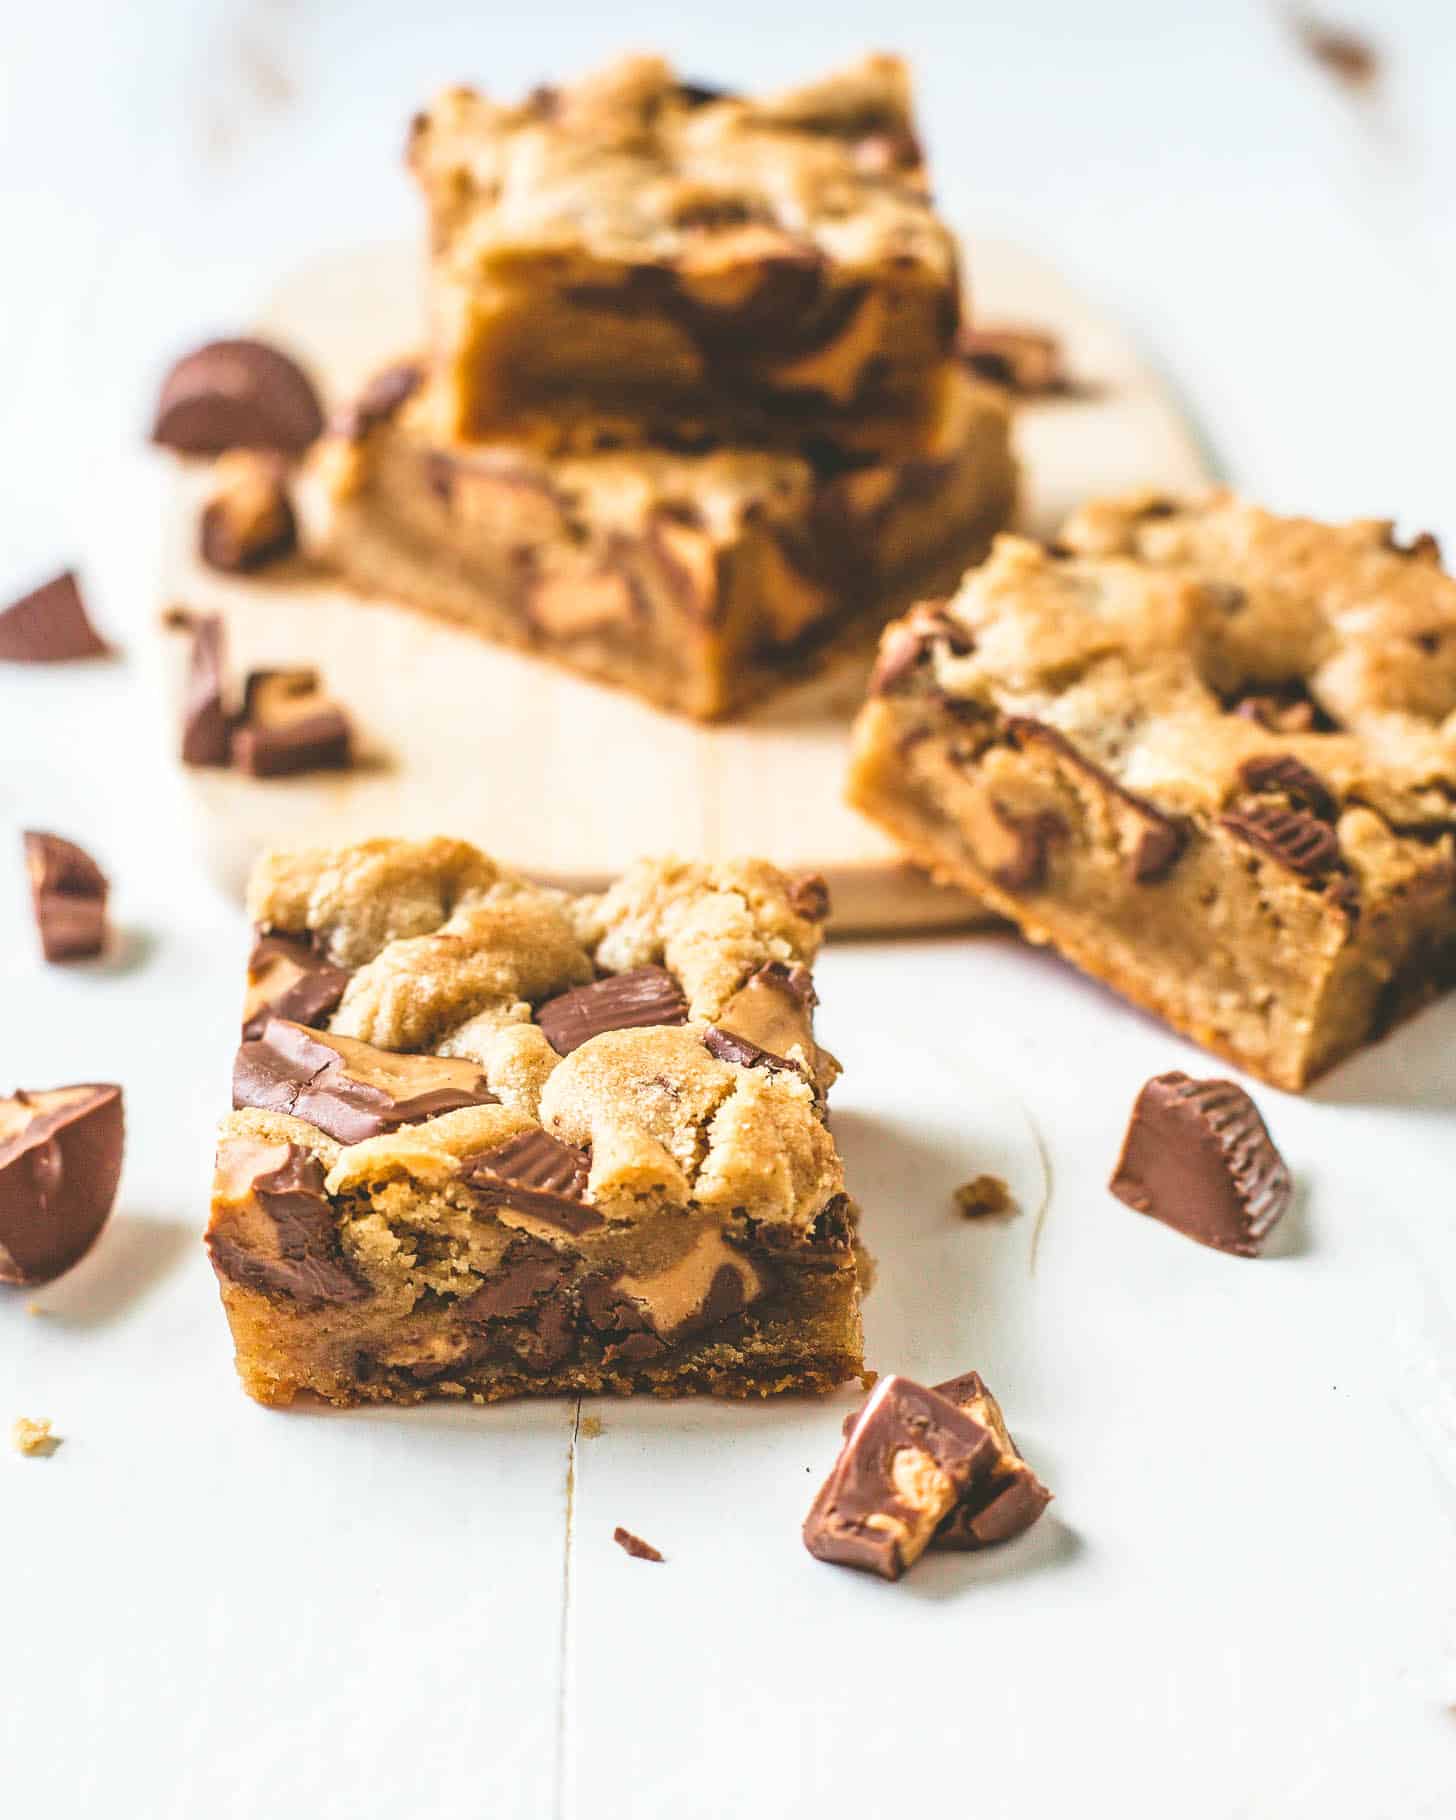
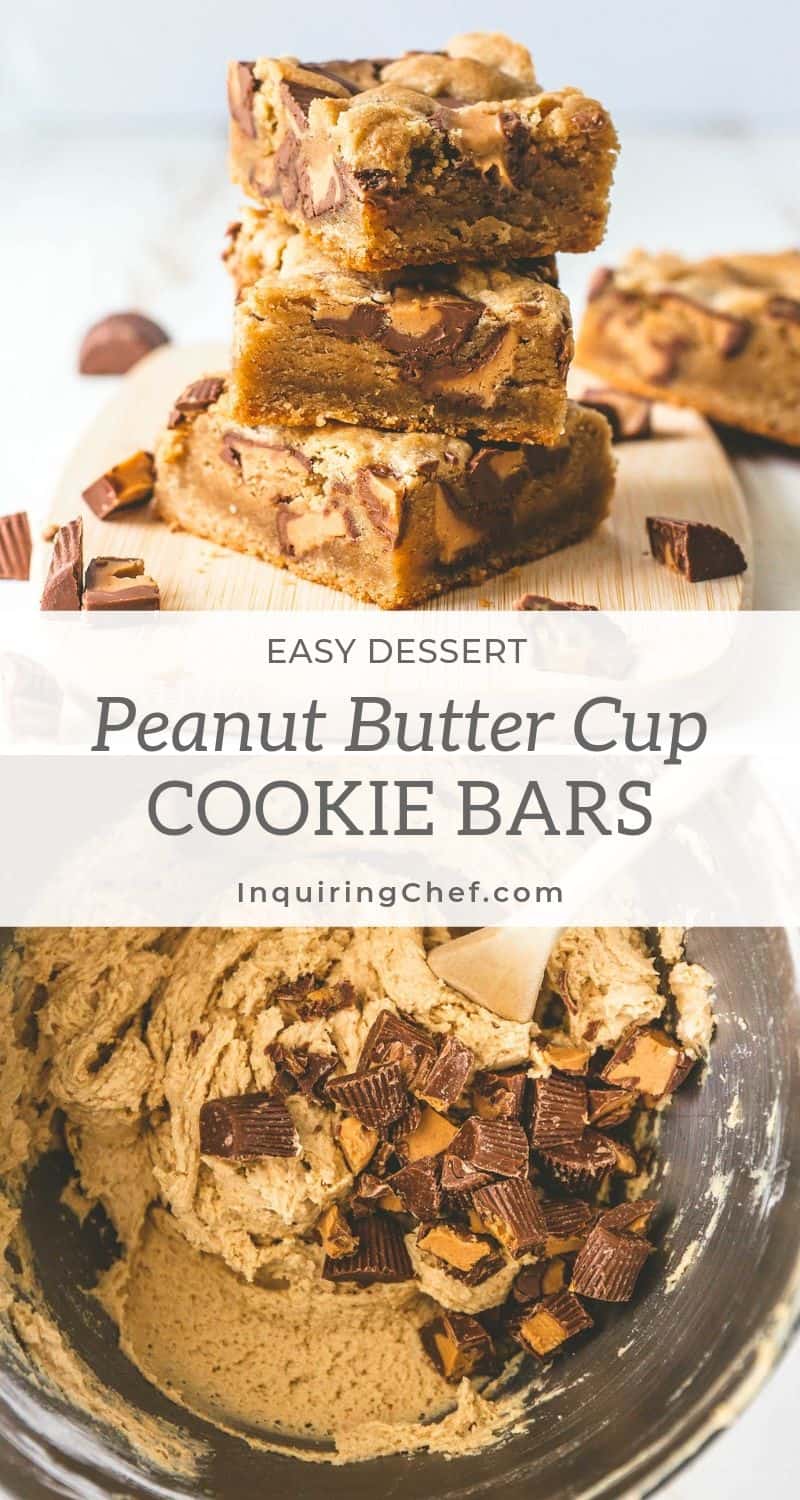
Peanut Butter Cup Cookie Bars are soft peanut butter bars that are absolutely packed with peanut butter cups. This is an easy dessert recipe that can be made a day or two ahead and will disappear almost as fast as you can put them on the table.
Pin this now to save it for later
Pin It NowI’ve been testing these peanut butter bars all summer long. And there was a stretch of time during which every time I made a batch, I went back and added even more peanut butter cups. Because “too many peanut butter cups” is a phrase uttered by no one. ever.
These bars are tender with a slightly crisp top and a soft center. The peanut butter flavor really comes through, giving them a great balance of salty and sweet.
Peanut Butter Cup Cookie Bar Ingredients
- Unsalted Butter, room temperature – It’s always a good idea to use unsalted butter so you get consistent results (some brands of salted butter are more salty than others). Make sure the butter is softened before you bake with it. (I like to set it on a plate on top of or near the stove as the oven heats up to speed the softening process along.)
- Creamy Peanut Butter – I only tested this using commercial creamy peanut butter (JIF). It would probably be great with crunchy peanut butter if you prefer some added texture.
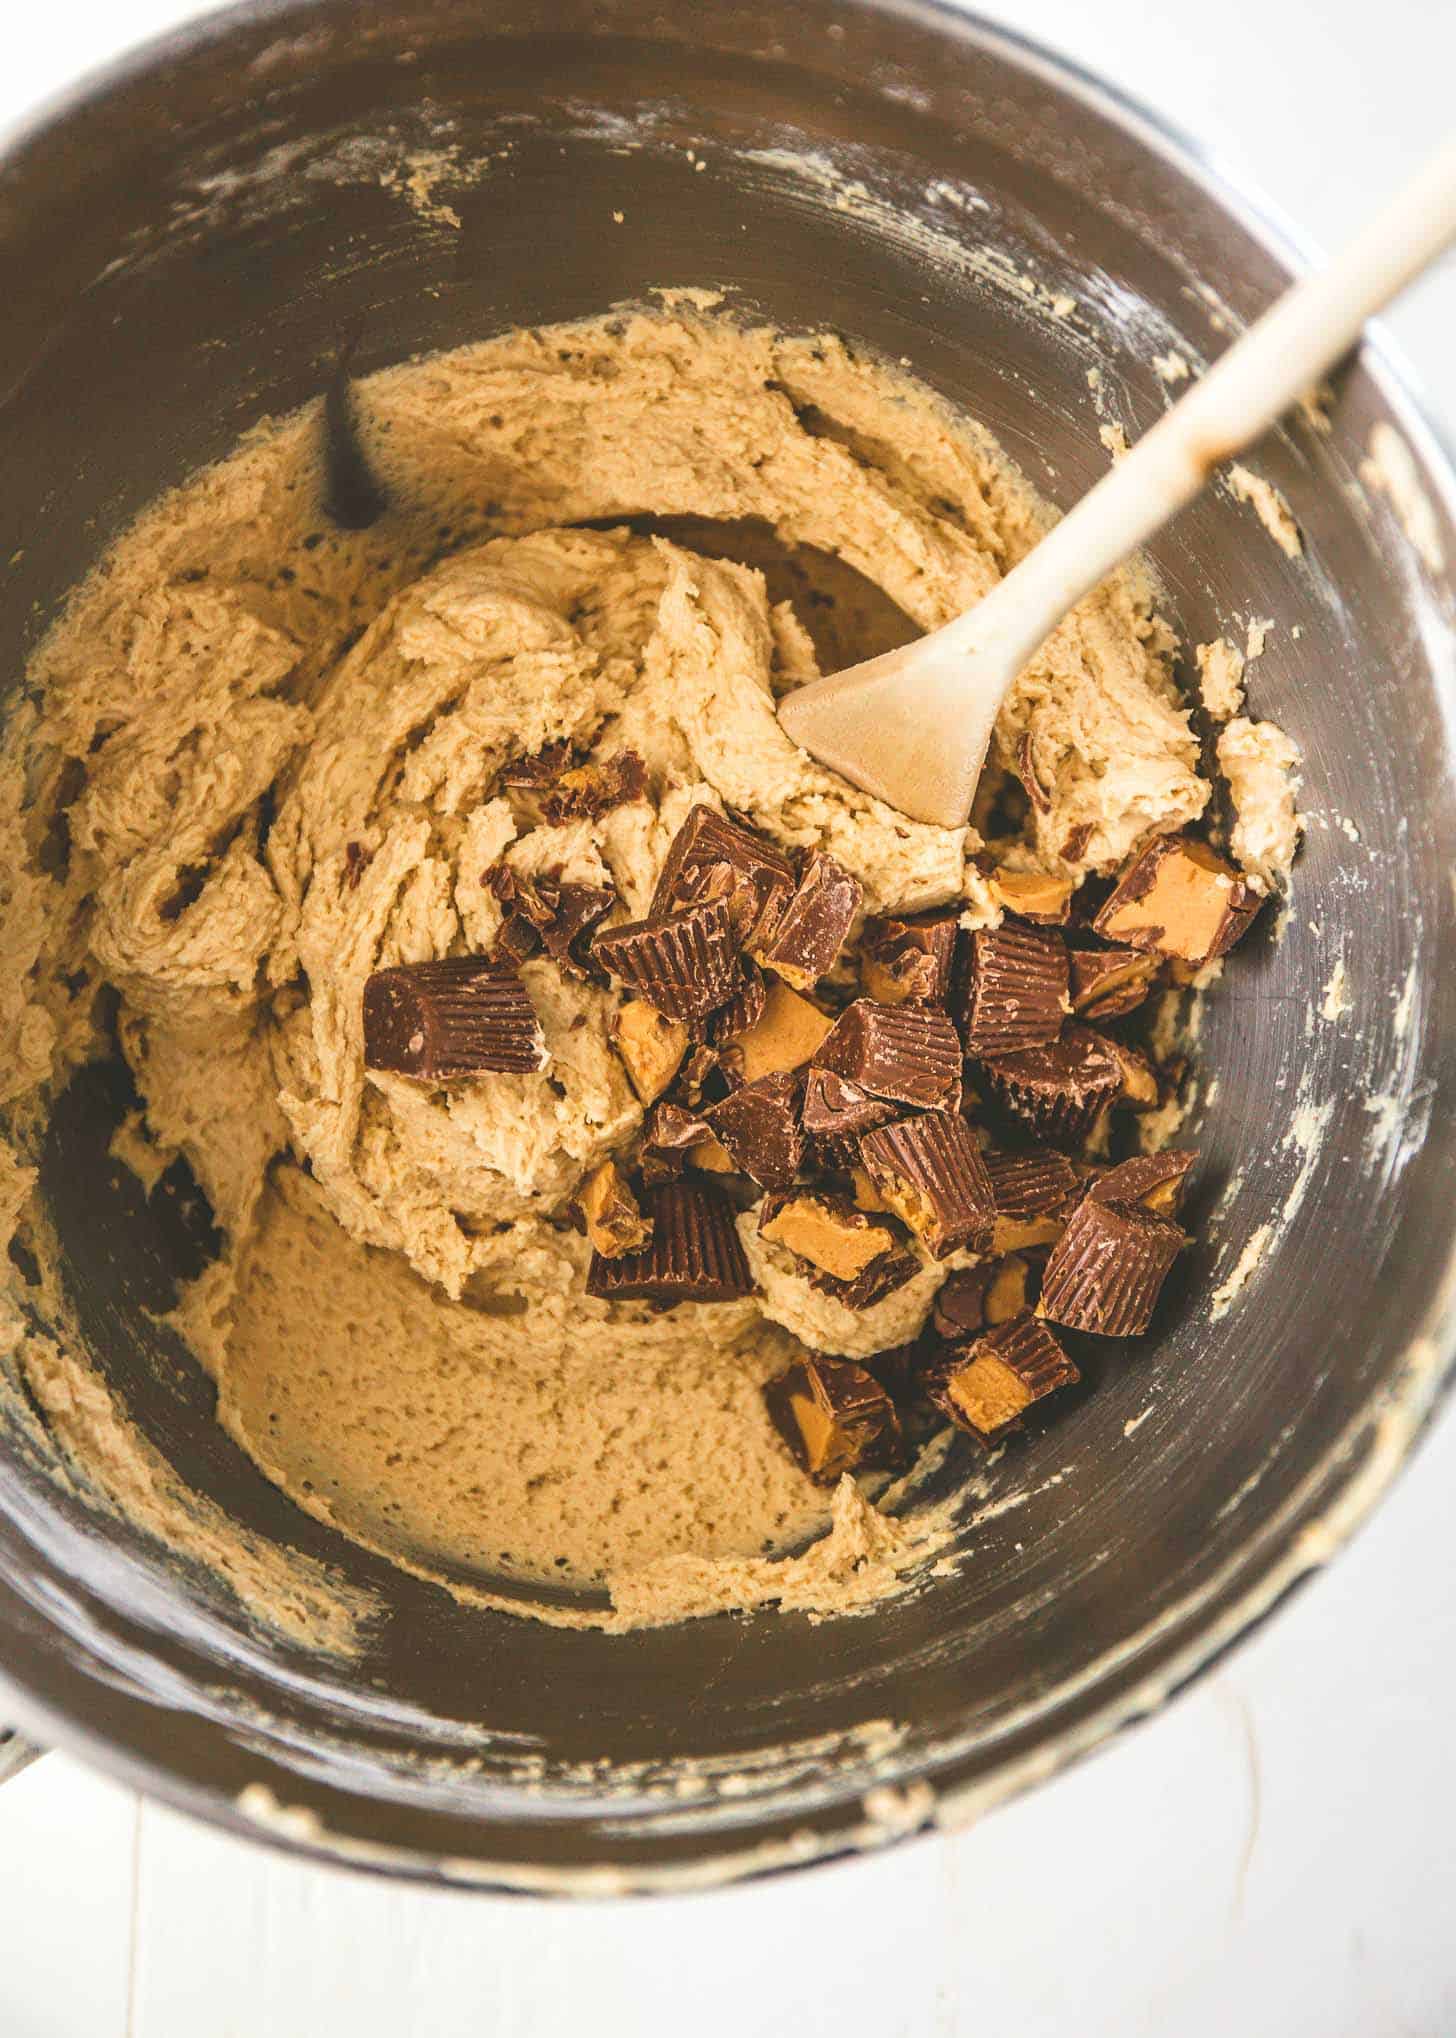
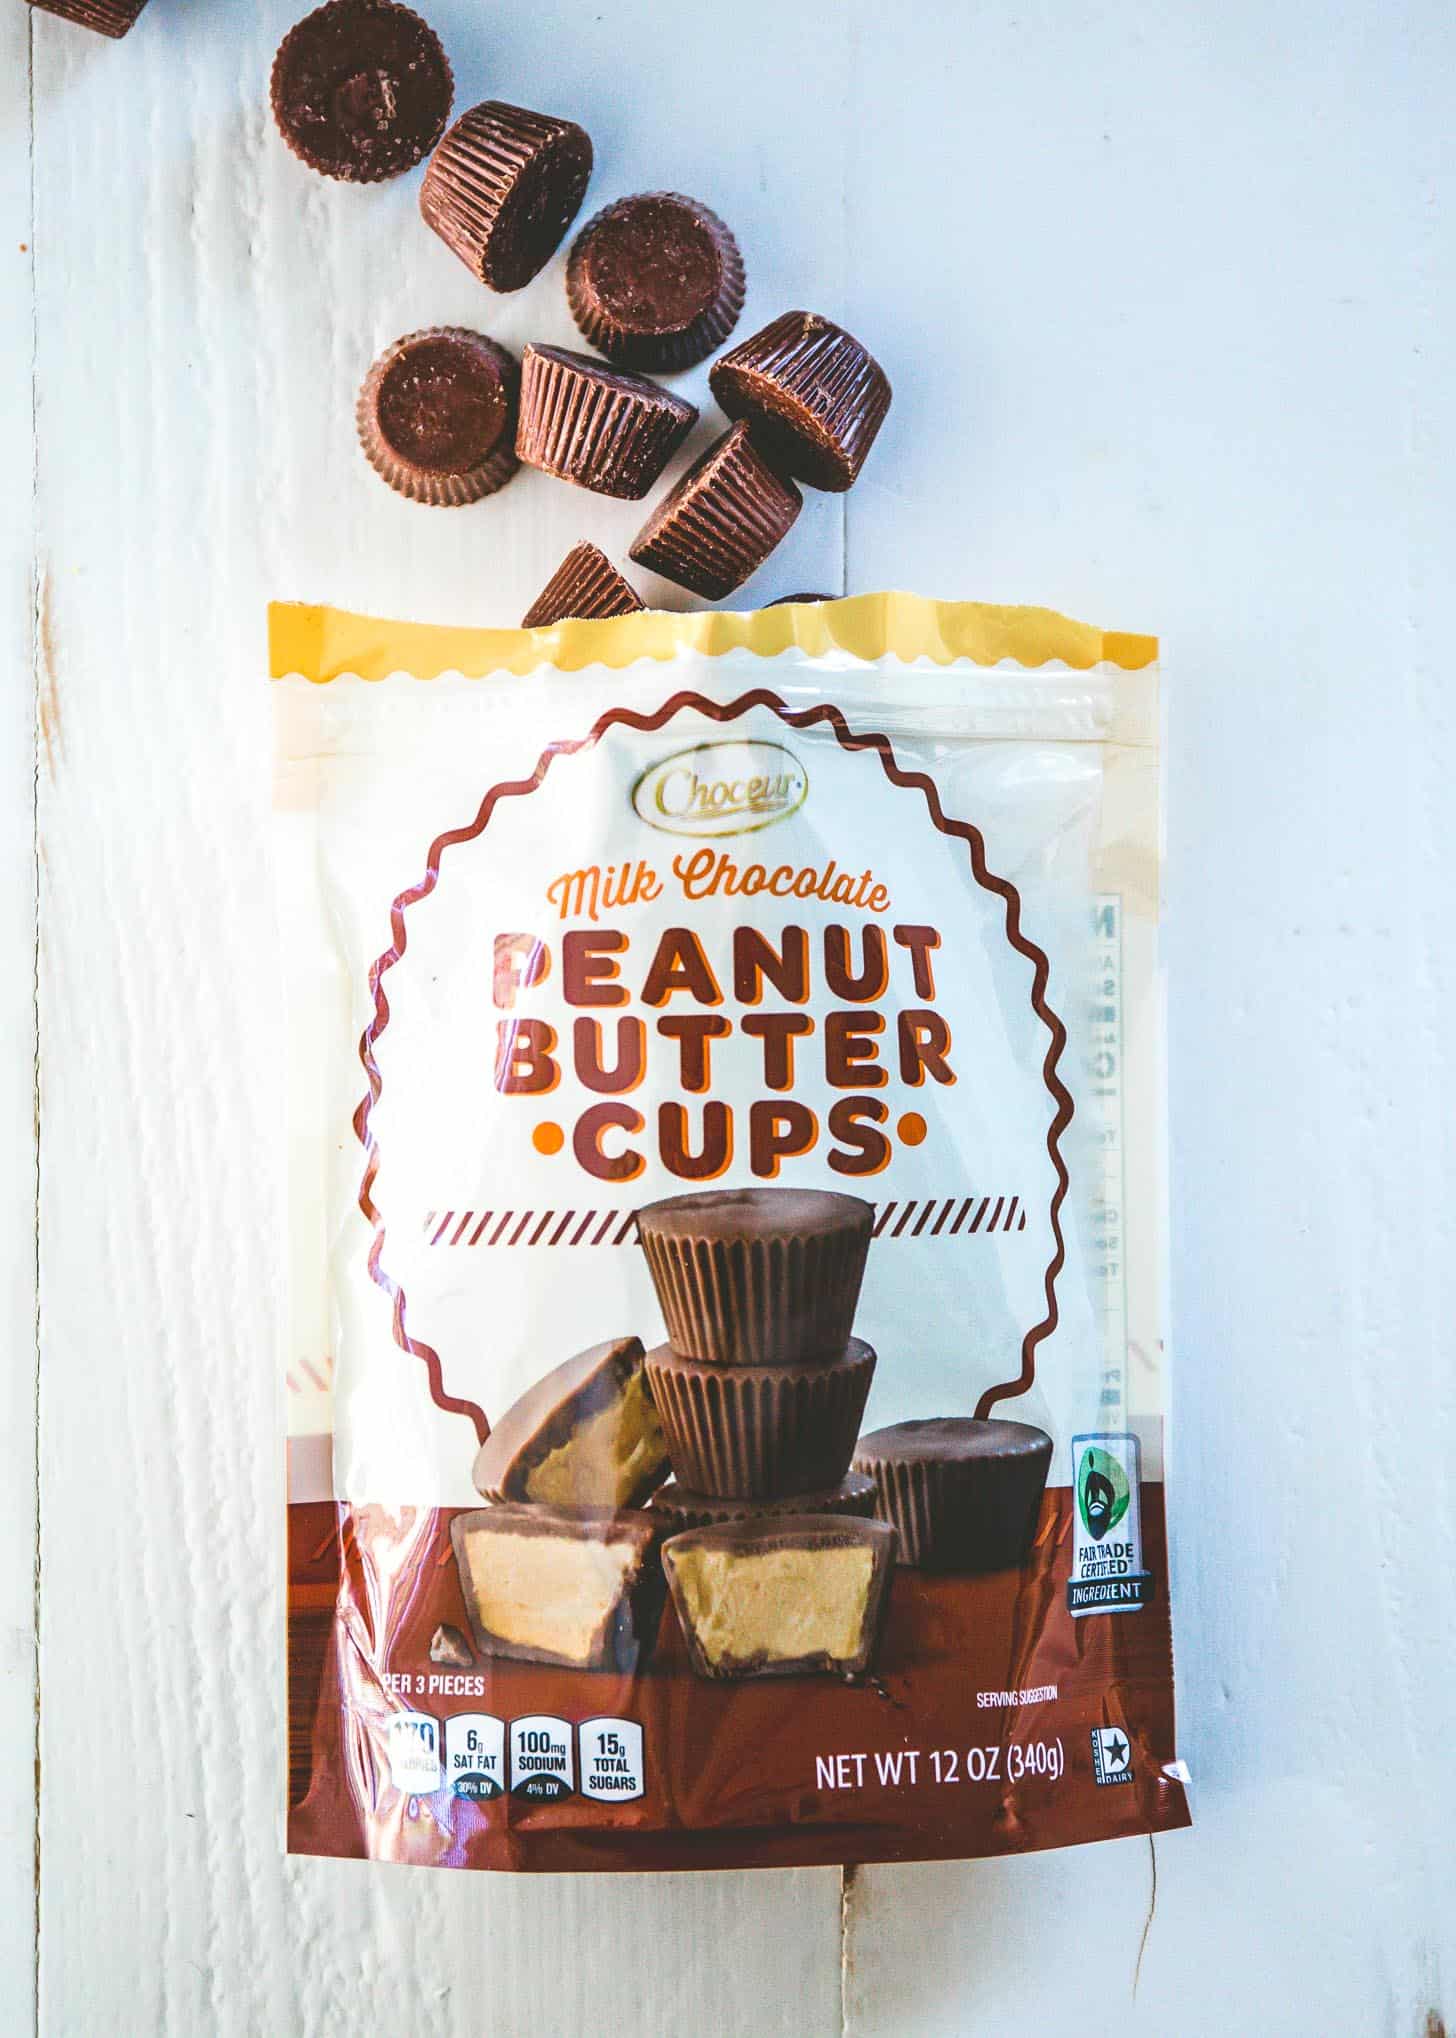
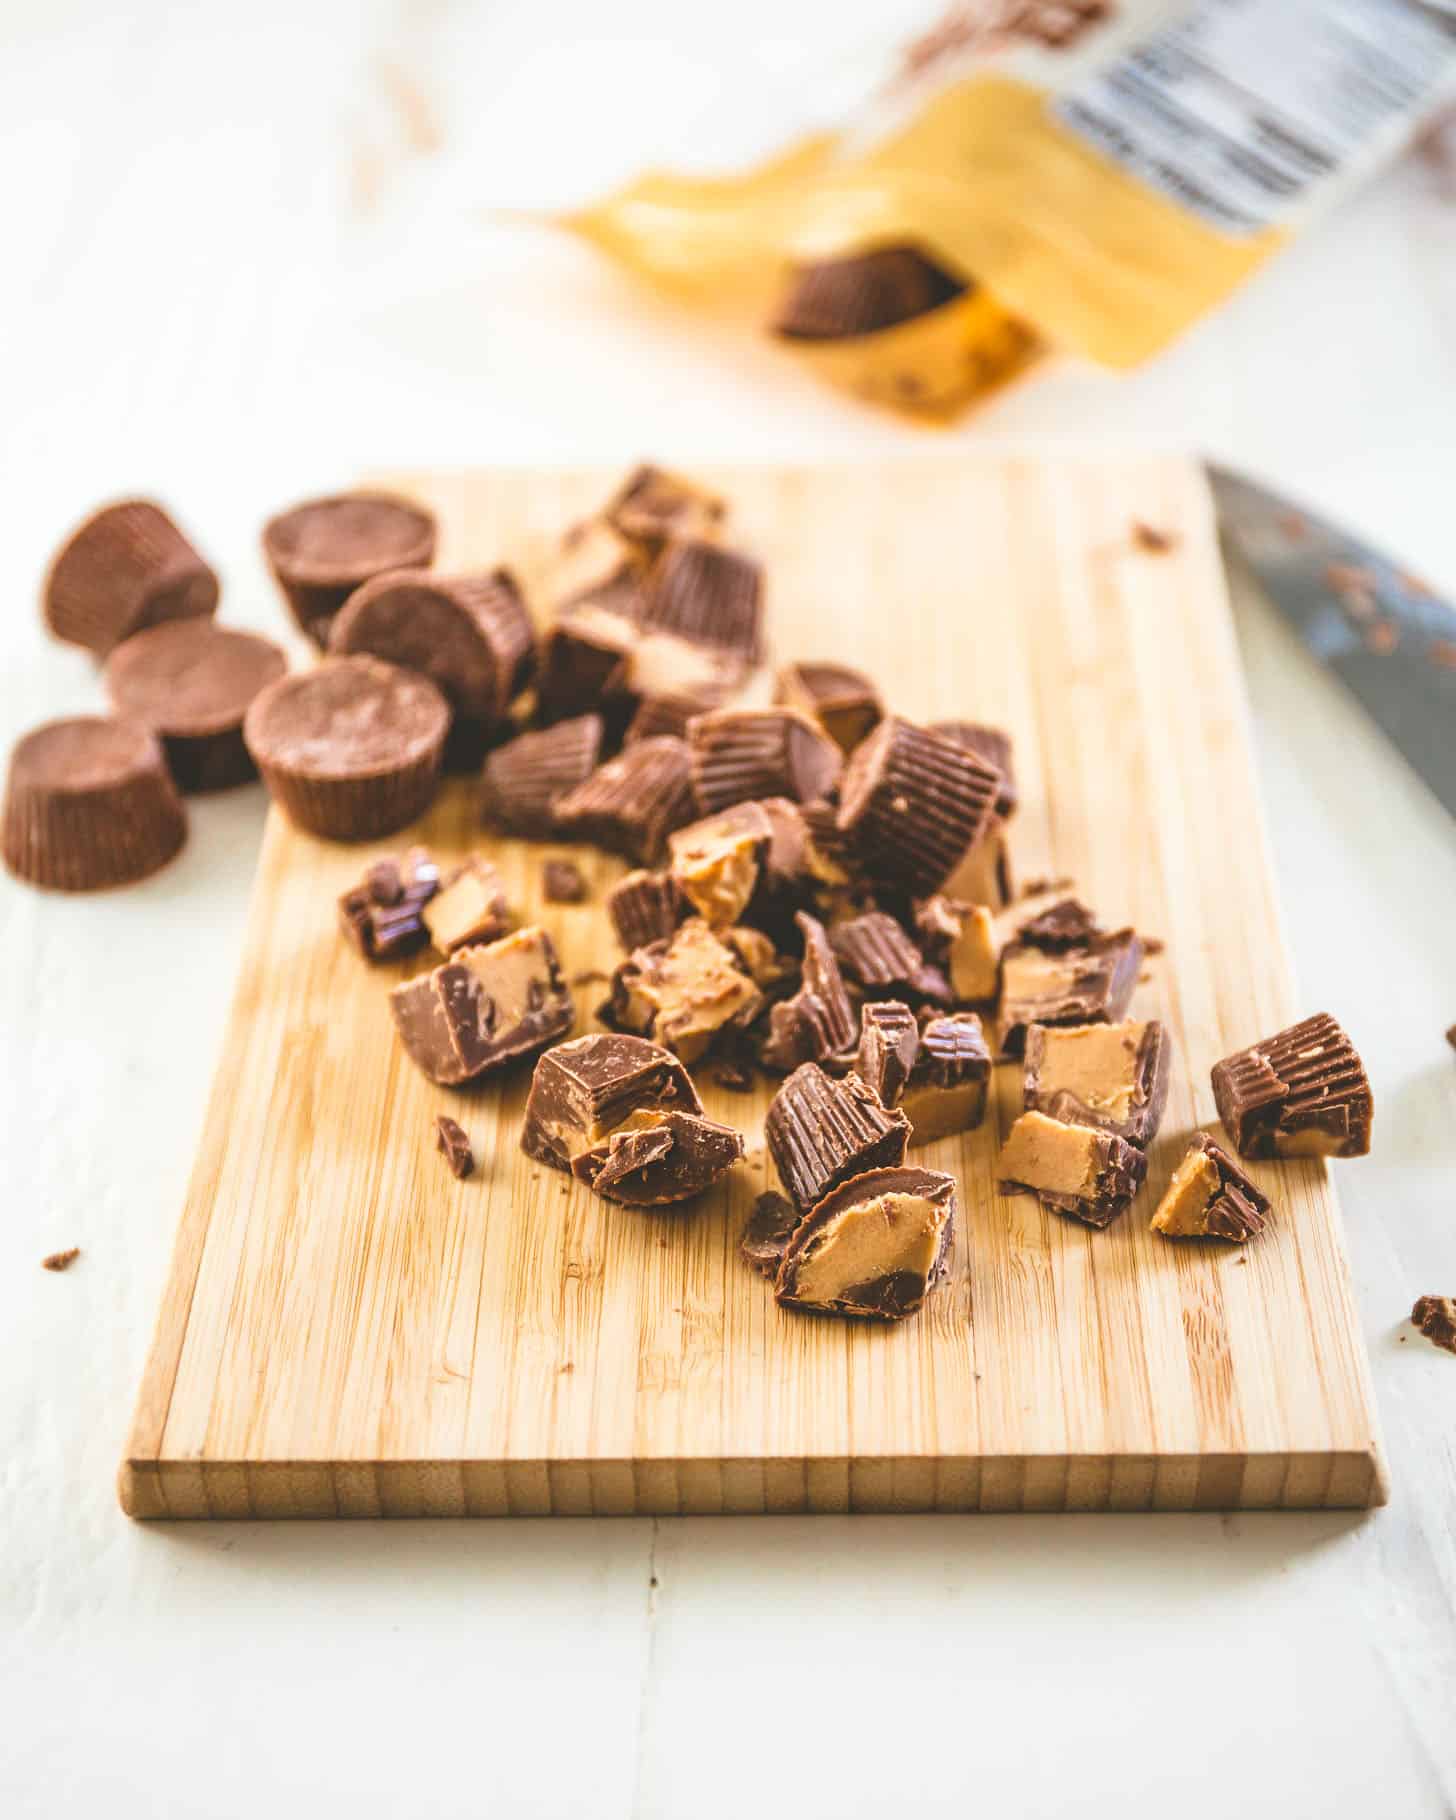
- Chocolate Peanut Butter Cups – While I tried these with a few different types of peanut butter cups, including Reese’s cups in two sizes, I kept coming back to the Aldi version (shown below). These have a thick chocolate exterior and a super creamy peanut butter filling. Any type of chocolate peanut butter cup will be great. Refrigerate the peanut butter cups for 10 minutes to make them much easier to chop.
- Other baking ingredients like eggs, all-purpose flour, brown sugar, granulated sugar, baking soda, and pure vanilla extract.
How to Freeze Brownies, Blondies, and Cookie Bars
Brownies, blondies, and cookie bars freeze well, making it easy to portion out a serving or two for a small treat or to pack into lunch boxes. For best results, slice them into squares and wrap them individually in plastic wrap. Store all of the individually portioned bars in a freezer-safe plastic bag. Defrost at room temperature or enjoy straight out of the freezer.
More Chocolate and Peanut Butter Combos


Pin this now to save it for later
Pin It Now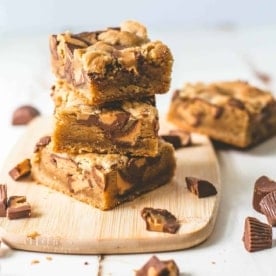
Peanut Butter Cup Cookie Bars
Equipment
- 9"x9" baking pan (or use an 8"x8" for thicker bars)
- standing mixer
Ingredients
- 1 and 3/4 cup All-Purpose Flour (220 grams)
- 1/2 teaspoon Baking Soda
- 1/2 teaspoon Salt
- 8 Tablespoons Unsalted Butter, room temperature
- 1/2 cup Light Brown Sugar, packed (100 grams)
- 1/2 cup Granulated Sugar (100 grams)
- 1/2 cup Creamy Peanut Butter (see note)
- 2 Large Eggs
- 1 teaspoon Pure Vanilla Extract
- 12 ounces Chocolate Peanut Butter Cups, chopped (see note)
Instructions
- Preheat the oven to 325° Spray a 9"x9" baking pan with nonstick cooking spray. (You can use an 8"x8" baking pan for thicker bars if you prefer.)
- In a large bowl, whisk together the flour, baking soda, and salt until evenly combined. Set aside.
- In a standing mixer, beat together butter, both sugars, and peanut butter until light and creamy, 3 to 4 minutes.
- Add eggs one at a time, mixing on low between each addition. Add vanilla and mix on low until fully blended, about 1 minute.
- Add dry ingredients and mix on low just until combined.
- Stir in peanut butter cups.
- Pour batter into prepared baking pan. Bake until the middle is just set, 26 to 28 minutes (note: add 4 t0 6 minutes if using an 8"x8" pan).
- Allow bars to cool completely in pan.
- Slice and serve. Bars can be stored in a sealed container at room temperature for up to 3 days.
Notes
Nutrition
Nutrition information is automatically calculated, so should only be used as an approximation.


The recipe says “pour”. Mine is a huge clump of dough???
You’re right – just scrape it into the pan. “Pour” is probably not the best word. We’ll update that!
Was an 8×8 or 9×9 used for the bars in the recipe picture?
That’s an 8×8, so they’re a bit on the thicker side.
These are a favorite in our house. I bake them in a 7×11 pan because I prefer them a bit thinner than the 8×8 pan. They can be a slight bit greasy/oily but I have not experimented with reducing the butter because the flavor is great!
No idea what I did wrong. The tips browned nicely, the bottoms are really oily/undercooked.
That’s so strange! What kind of pan did you use? Was it glass?
Do you recommend a glass or metal baking pan?
Either will work! I’ve made it in both multiple times.
If making these in a 9×13 pan, how would the cooking time change? I don’t want to overcook them. Thanks!
I would double the recipe to bake them in a 9×13 pan and then just start with the cook time listed in the recipe. It will probably take a bit longer to bake, so just check it every few minutes and pull it out when moist crumbs cling to a knife inserted in the center. I agree though – these are not nearly as good if they’re overcooked – so definitely keep an eye on it!
I made these last night! They’re so wonderful — and even better the next day. We just love them. I may have hid them from our two year old son, or he would devour them all.
Yay! So glad you liked them Joy!! I’ve been keeping a few small squares stashed in the fridge for a treat or lunches for the kids (or me)!
These look incredibly delicious! I must make them soon!! I’ve been anxiously awaiting this recipe, and it does not disappoint.
Thank god I am not allergic to peanut butter like others, At least I can have them and try them for sure. Thank you for sharing this.
My thoughts exactly Arzoo – thank goodness there are no peanut butter allergies in our house!
There’s just severe peanut butter cup addictions! 😉