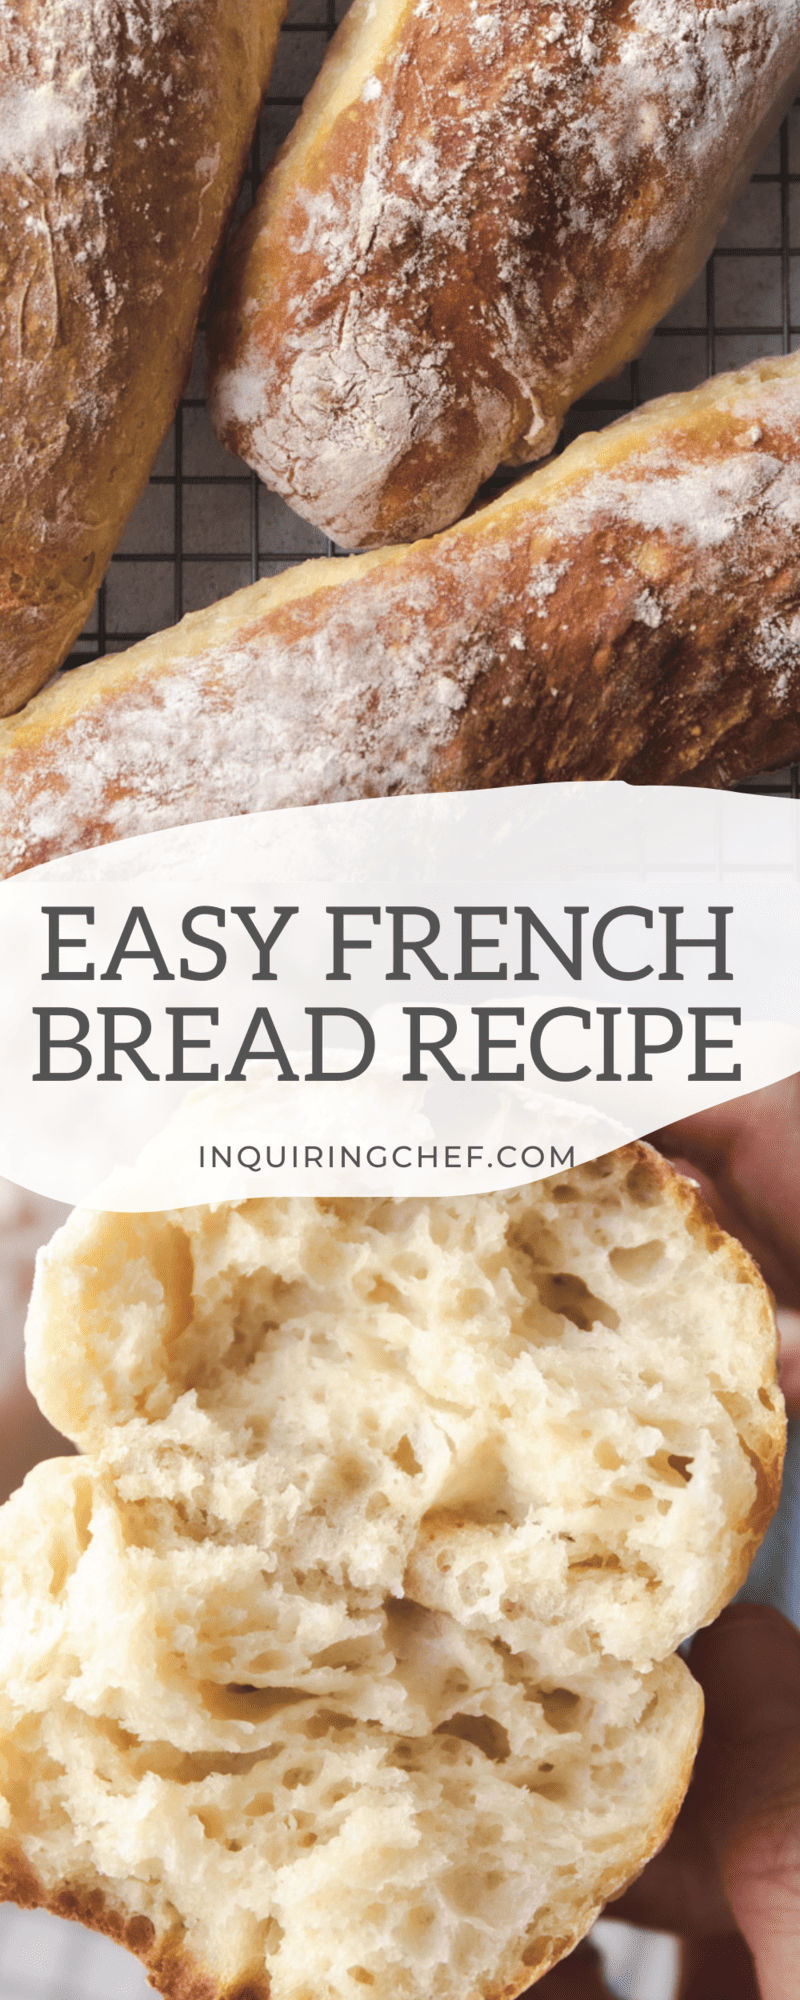
No-Knead French Bread
Published May 30, 2023•Updated Apr 05, 2024
This post may contain affiliate links. Please read our disclosure policy.
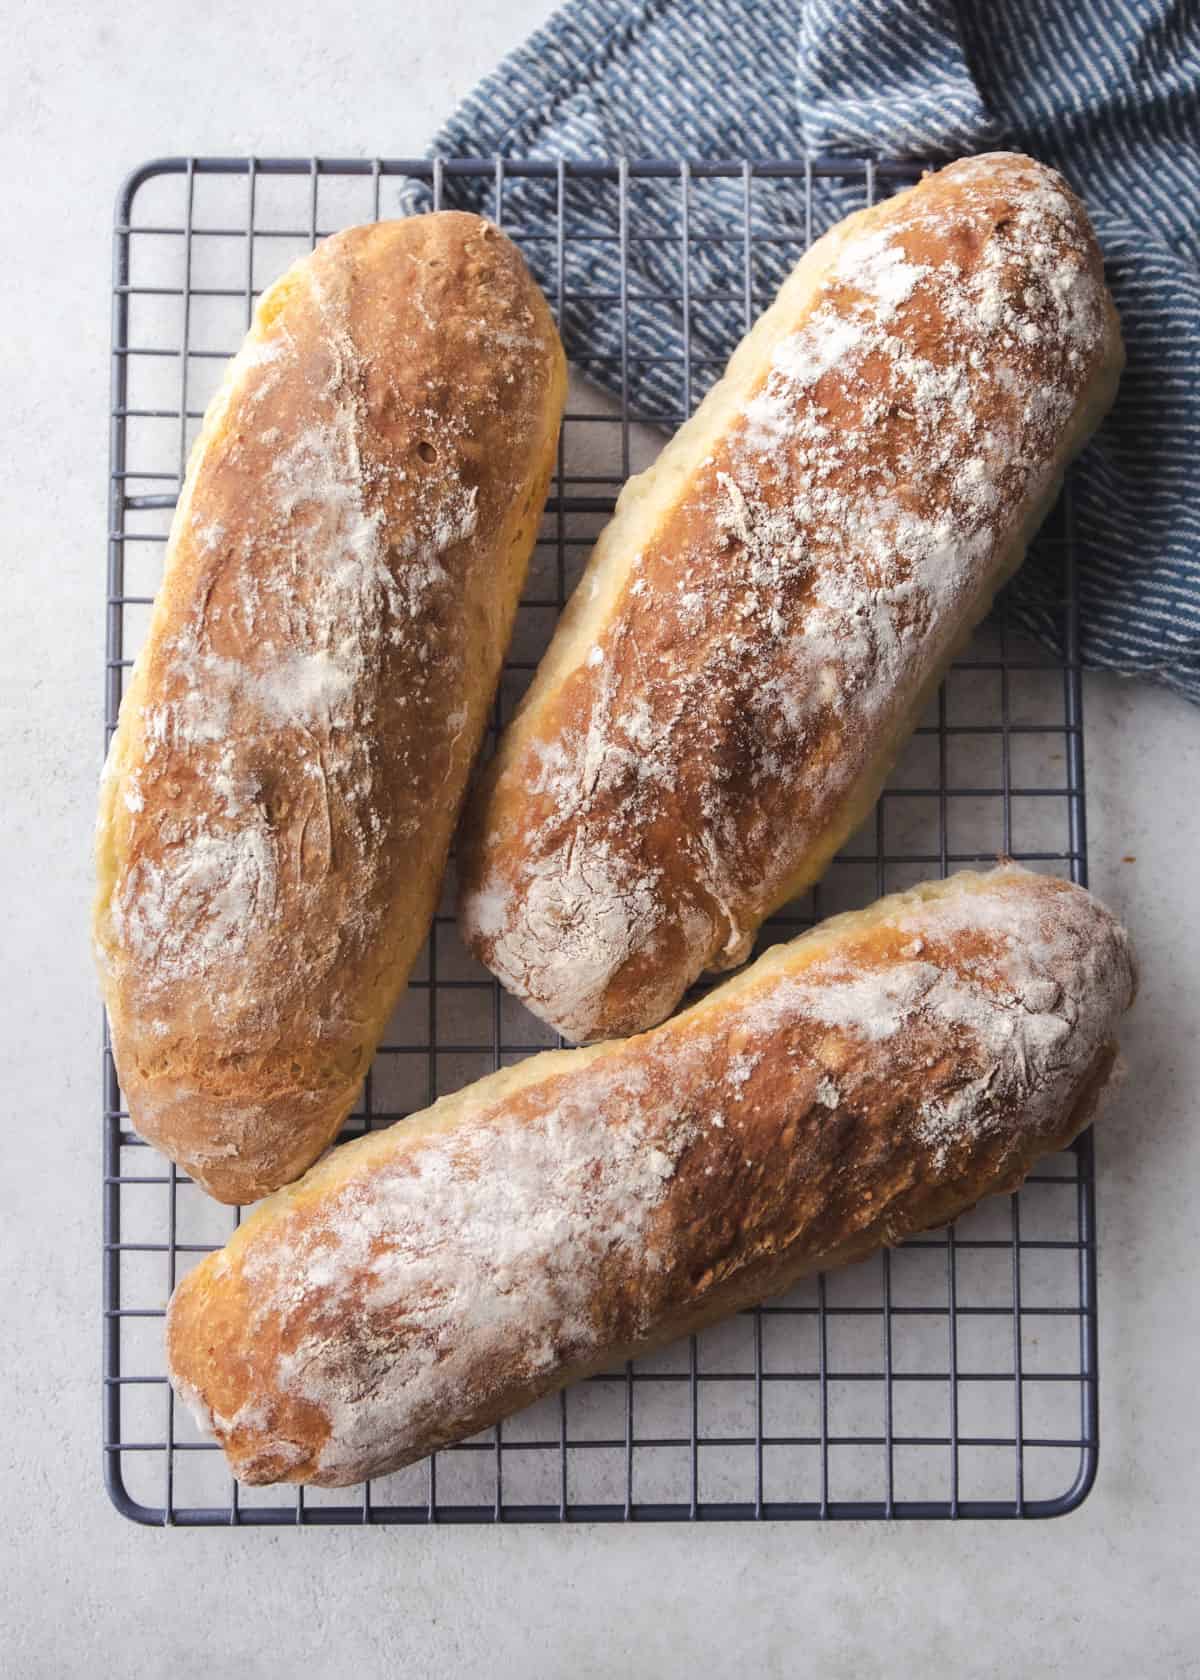
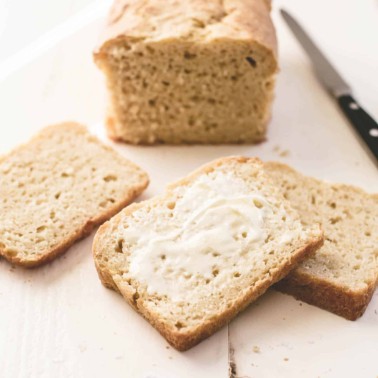
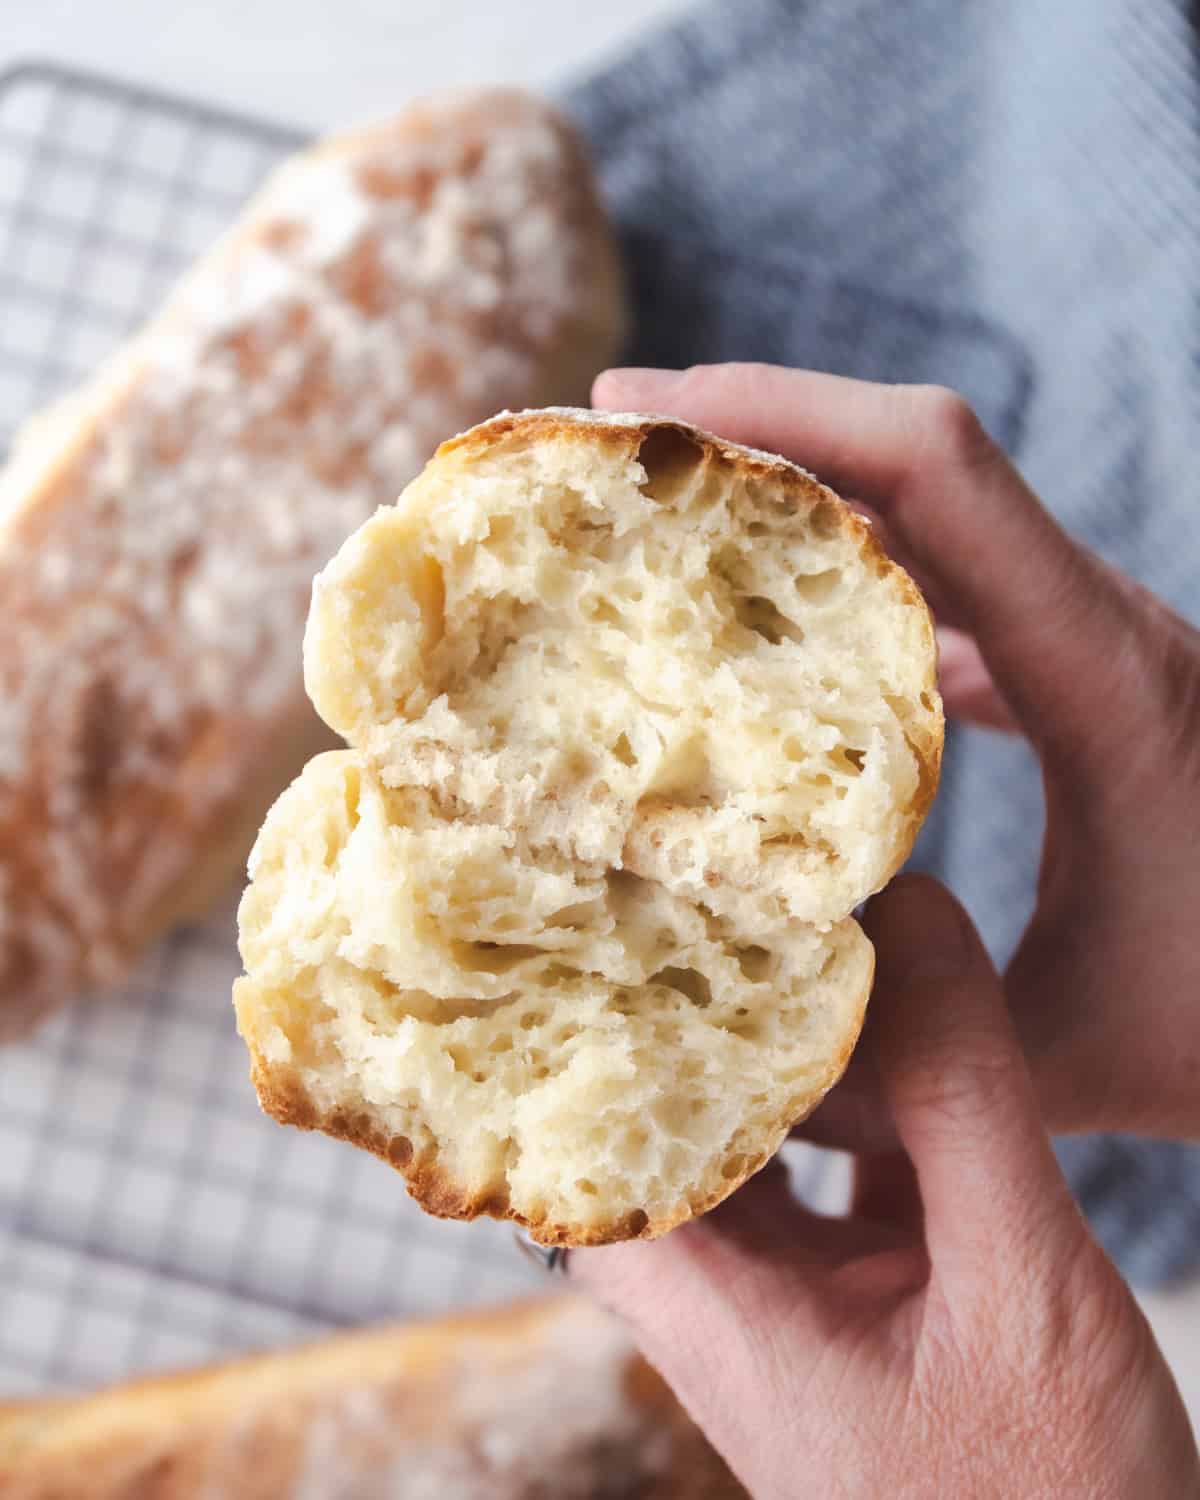
Bakery-fresh No-Knead French bread is easier than ever with this simple recipe. These loaves come out of the oven golden brown, and the centers are light, airy, and oh-so-soft and chewy.
Once you learn how to make French bread from scratch, and you experience a home filled with the smell of warm, freshly baked bread, you will want to serve it with everything from pastas to chicken dinners. It’s also pretty cool to say that you baked your own bread.
What makes this recipe for French bread so easy is that it doesn’t require any special equipment (no fancy bread makers, stand mixers, or dough hooks here!), and you can use a simple all-purpose flour that you likely already have in your pantry. Serve it with butter, honey butter, homemade jam, or eggs for breakfast, sandwiches for lunch, or to accompany a cozy family dinner. French bread can do it all!
What is French bread?
French bread, also known as a baguette, is a type of bread made with flour, water, yeast, and salt. What distinguishes this type of bread from other breads is its long, slender shape, and its soft, light center that is a little airy, and pleasantly chewy. In fact, besides the slight difference in shape, French bread’s soft middle is what sets it apart from an Italian loaf, whose center is thicker and more dense.
How to Make It
- Proof the yeast (first rise). Whisk together flour, salt, sugar, and yeast. Pour warm water over the mixture and stir to combine. Cover with a clean dish towel, or a small tea towel, and allow to rise for about 45 minutes.
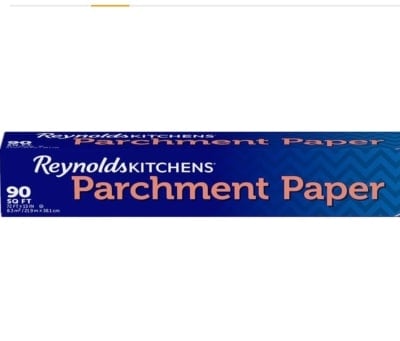
- Prep the baking dish. Lining the dish with parchment will keep the loaves separate and make them easy to remove from the pan. Fold the parchment paper into thirds, then pinch up the folds so there are two dividers for each loaf. Place the parchment in the baking dish.
- Shape the dough. Turn the dough out onto a flour-dusted countertop. Before you begin working the dough, dust your hands and the top of the dough with more flour to prevent sticking. Divide the dough into three portions, then roll each into a baguette-shaped loaf. Transfer the loaves into the pan.
- Second rise. Preheat the oven and place the pan with the dough near the oven as it heats. Let the loaves rise 30 minutes more.
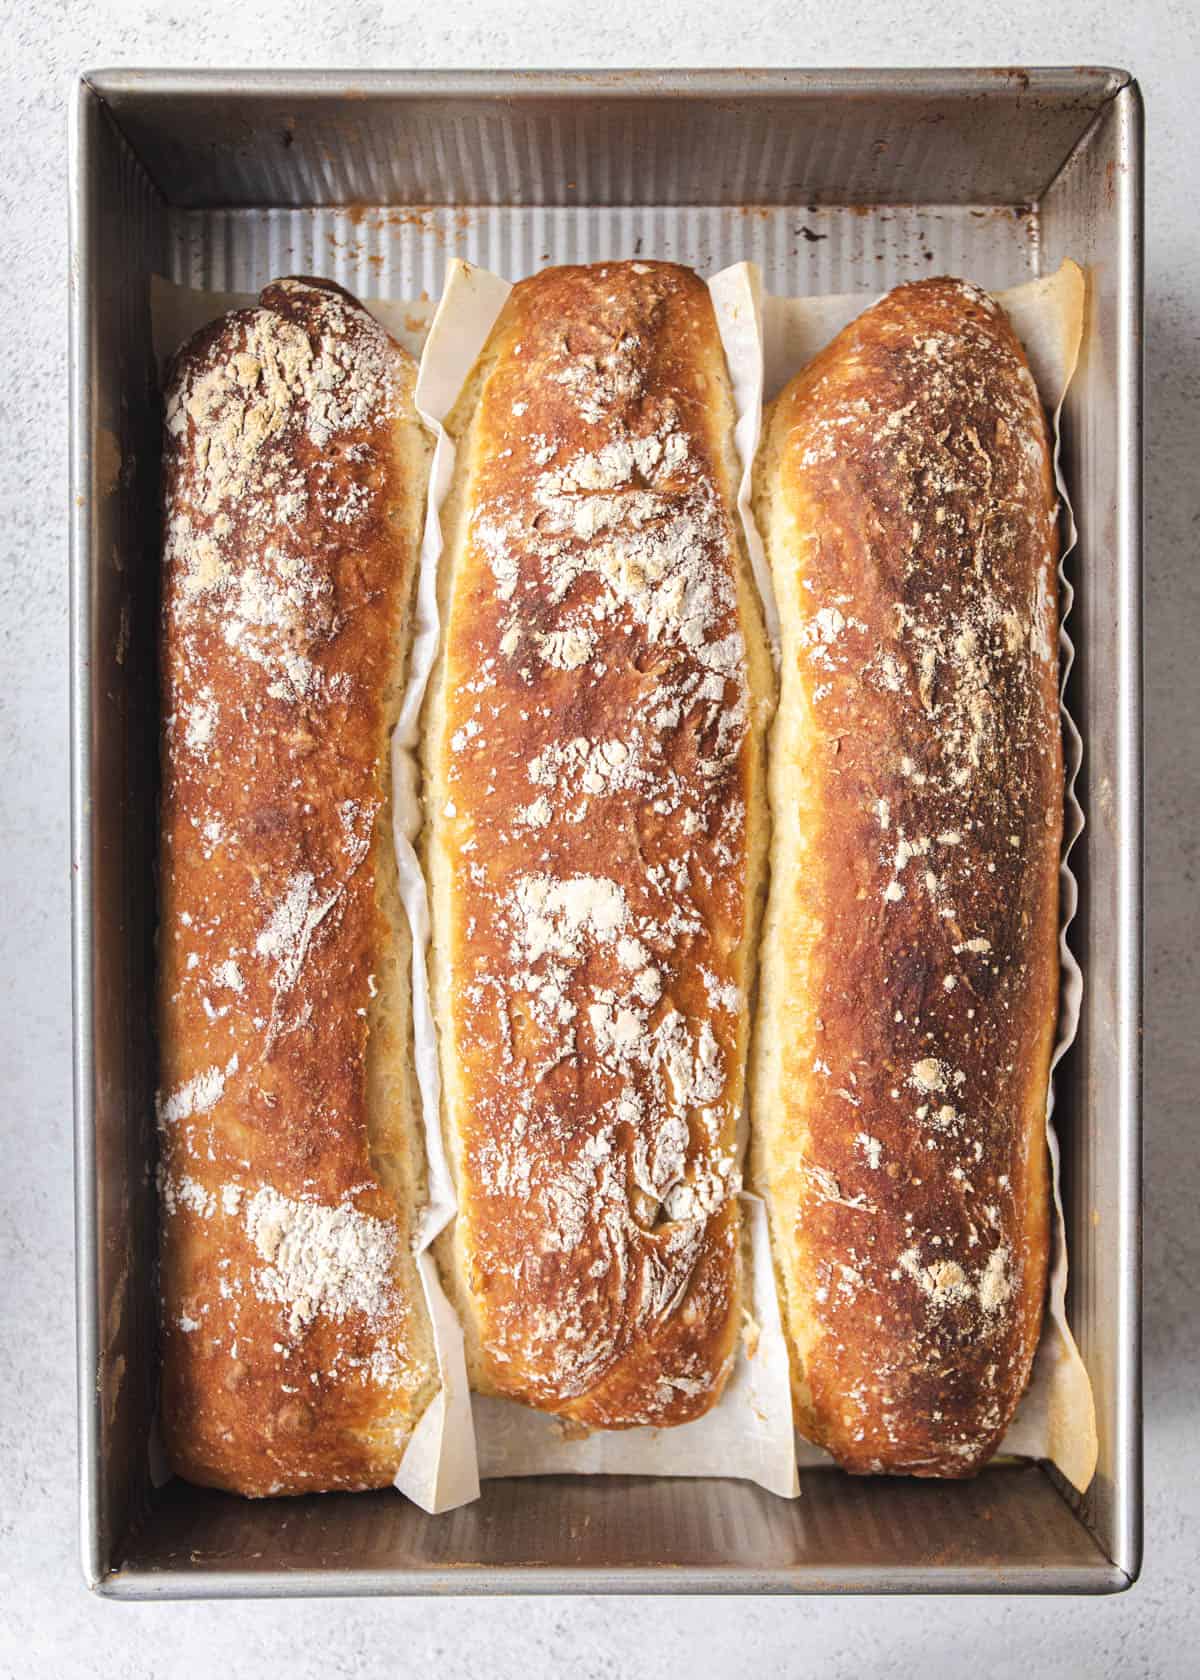
- Bake the bread. Bake for 30 to 32 minutes, or until the top is deep golden brown and crisp.
- Cool the bread. Place loaves on a cooling rack, allowing them to cool slightly, and serve!
Pin this now to save it for later
Pin It Now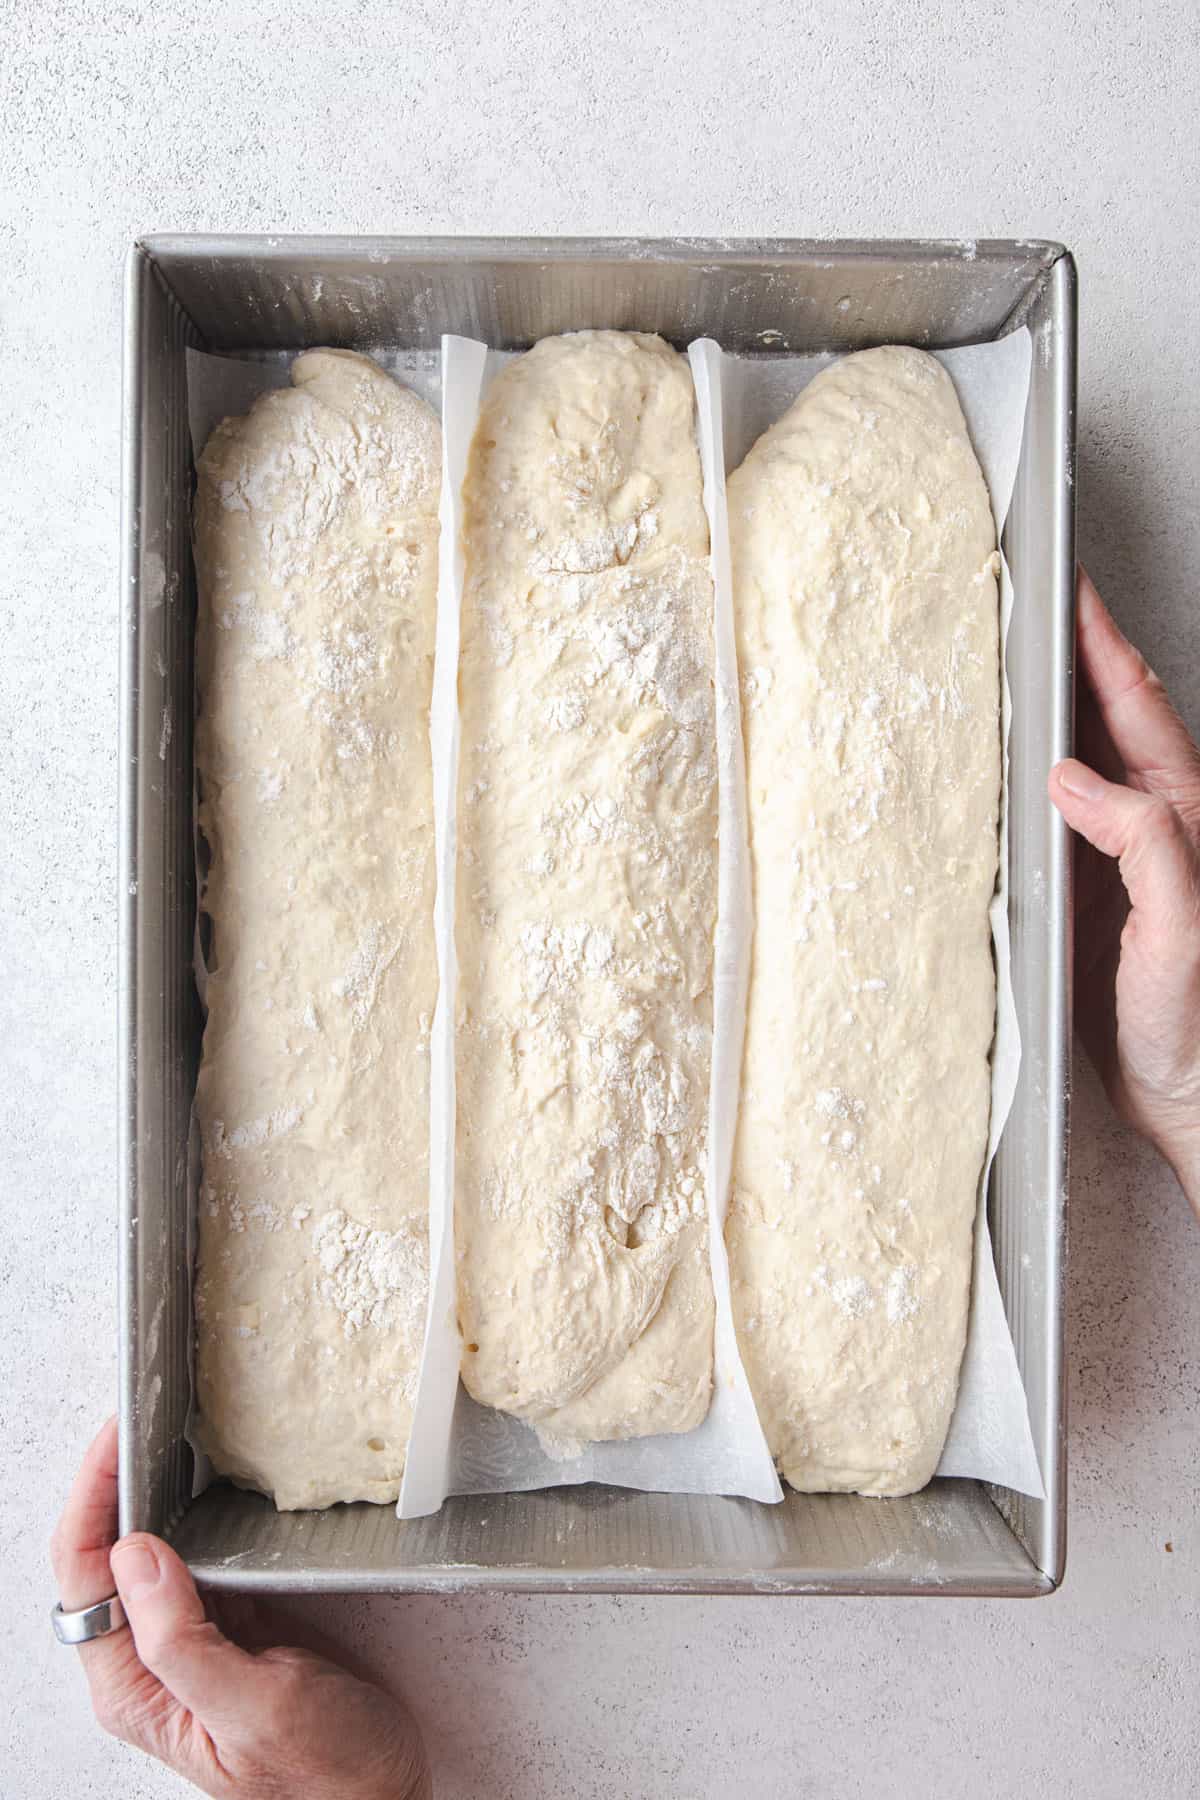
Ingredients
- All-Purpose Flour – No specialty flours are needed here. All-purpose flour is great for getting the job done.
- Kosher Salt – Morton’s salt is my go-to salt for this easy bread recipe.
- Sugar – White sugar helps the dough rise so your loaves are soft and fluffy.
- Fast-acting or “Instant” Yeast – Your local grocer will have a few different kinds of yeast, be sure to use Fast Acting, Instant, Quick-Rise, Bread Machine, or RapidRise yeast only.
- Warm water – If you’ve baked with yeast before, then you know how finicky this ingredient can be. Always check the label on your preferred brand of yeast for the most precise water temperature. Water that is too hot or too cold will prevent the yeast from activating.
How to store
Homemade French bread will stay fresh and soft for 2 days when stored at room temperature. Use the toaster when you’re ready to enjoy so that the bread is warm and toasty again. To freeze the bread, wrap it snuggly in plastic wrap, making sure the entire loaf is completely sealed, and freeze for up to 6 months.
Recipe Tips
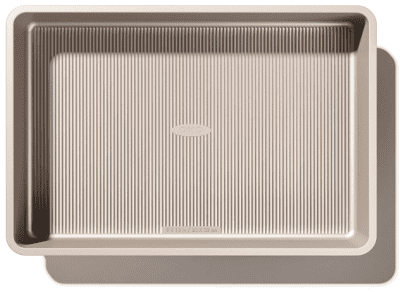
- The kind of baking dish you use with bread can make all the difference. If you have a metal dish, use that for the crispest bread. Glass dishes will work too.
- The most foolproof way to get just the right water temperature for the yeast is by using a thermometer. You want the water to be warm, but not hot. When in doubt, consult the back of the yeast package, and use the thermometer.
Variations
- Use an egg wash – A simple egg wash will add a little shine to the loaves, and give the bread a slightly darker golden brown color.
FAQs
To keep this recipe as easy and accessible as possible, we eliminated the need to use a stand mixer or a dough hook attachment. You only need everyday kitchen equipment like a large mixing bowl and a baking pan.
The simple trick to make French bread soft again is warming it up. Just place a slice in the toaster or warm an entire loaf in the oven for soft and chewy French bread.
French bread is done when an instant read thermometer reaches 210°F in the center of the loaf. This means the bread will need to bake for between 30 to 32 minutes, depending on the oven. The top of the bread will be a beautiful golden brown color when it’s done.
More Easy Bread Recipes
Favorite Tools

Pin this now to save it for later
Pin It Now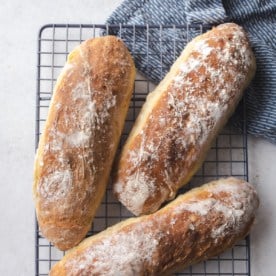
No-Knead French Bread
Equipment
- Large Mixing Bowl
- 9×13 Baking Dish
- Parchment Paper
Ingredients
- 4 cups all-purpose flour, plus more for dusting (500 grams)
- 2 teaspoons kosher salt (I use Morton’s coarse kosher salt)
- 1 tablespoon sugar
- 2 1/4 teaspoons fast acting or “instant” yeast (see note)
- 2 cups warm water (473 milliliters) (see note)
Instructions
- In a large mixing bowl, whisk together flour, salt, sugar, and yeast. Pour water over dry ingredients and stir until no dry spots remain. The dough will be very sticky, but just scrape down the sides as you stir.
- Cover the dough with a clean dish towel and leave it on the kitchen counter to rise until doubled in size, 45 minutes. (If your kitchen is on the colder side, let the dough rise for 60 minutes.)
- While the dough rises, set out a 9×13 baking dish (a metal dish will give you the most crisp bread, but a glass dish will also work). Take a piece of parchment paper that is about 13×16 inches (the pre-cut sheet sheets of parchment paper are perfect for this). Starting with the short end facing you, fold the parchment into thirds. Start with the left long side and fold it in toward the right, then take the right long side and fold in toward the left, like you are folding a letter. Unfold and you should have two folds across the paper. Place the parchment in the pan and pinch each of the folds up so that they serve as dividers for the dough.
- When the dough is done rising, generously dust a clean counter with some flour. Turn the dough out onto the countertop. Dust the top of the dough and your hands with more flour. (Reminder – the dough is very sticky, but just keep dusting with as much flour as you need. That sticky dough will yield light, tender bread.)
- Use a serrated knife or dough scraper to divide the dough into three even portions. Working with one portion of the dough at a time, gently roll it into a long baguette-shaped loaf, a few inches shorter than the long side of the pan. Transfer the dough into the pan. Repeat with the remaining portions of dough, creating three side-by-side loaves. (If things get sticky, just keep dusting with some more flour. The loaves may not look picture-perfect, but they’ll taste great!)
- Preheat the oven to 450°F / 232°C. Place the pan with the dough near the oven as it heats. Let the loaves rise until rounded and nearly doubled in size again, about 30 minutes more. (Again, if your kitchen is on the cold side, give it 45 minutes to rise here.)
- Bake the bread in the heated oven until the top is deep golden brown and crisp, 30 to 32 minutes. (Use an instant read thermometer if you have one. The bread is done when it reaches 210°F in the center.)
- As soon as the bread is done baking, tip the loaves out onto a cooling rack. (Note: Don’t leave them in the pan or they will steam and lose some of the crisp crust.) Let them cool slightly, slice, and serve!
Notes
Nutrition
Nutrition information is automatically calculated, so should only be used as an approximation.


I love this bread so much💕
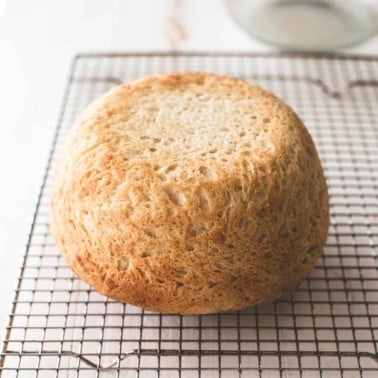
I was wondering if I can make just one large loaf from the recipe?
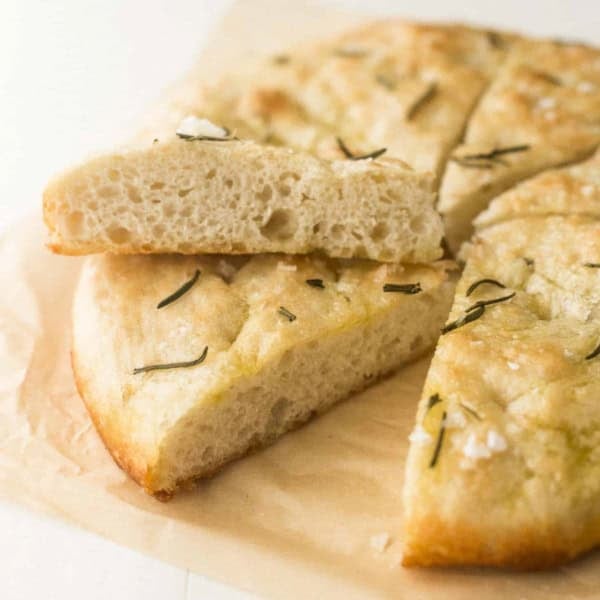
So glad you like it Sharon! Yes – absolutely you can make one large loaf. Since it tends to flatten out a bit, the cook time doesn’t change significantly when making one large loaf. I also often make this same recipe into one large focaccia – that recipes is also here on the site.
This is great to know! I’m just cooking for two people. Would it be possible to make one loaf of french bread and one loaf of focaccia with this dough recipe? How would you modify the recipe to make it focaccia? Thank you!
Yes – it’s a great way to make two bread with one batch of dough! Search for the focaccia recipe on this site to see exactly how I do it!
I absolutely love this recipe. So simple and satisfying, and it’s become my Saturday morning activity to prepare this bread for our weekend meals and for dipping with olive oil during happy hour. Thanks so much!
I have two loaves in the oven now. Sooooooo easy. I just snipped “V” ‘s along the tops. Sprayed with water and have a pan of water on the bottom of the oven. Soup and bread tonight. Love his recipe.
I have baguette pans. For two loaves. This recipe works great for a quick bread. I give it a squirt of water when I put it in the oven. Helps the crust crisp. It’s sooooooooooooo easy. I make many kinds of breads. Can’t go wrong with these instructions. Unless you can’t read. 😉. A must have if you like fresh bread in a hurry. Thanks.
Wonderful! Great tips Donita – thanks so much for sharing and for your kind note!
How do you store the bread after it’s cut?
If I’m not freezing it, I keep it in a sealed container or plastic bag in the pantry. It’s best toasted if you’re eating it a day or two after it was baked.
Besttttttttttttt
I used oil instead of flour because the dough was so sticky that I can’t control it. This is really the best and the easiest bread I have ever baked!!!!!!!!!
Yay! So glad you liked it Michelle! It’s definitely a sticky dough to work with, but pays off in the result!
Hi, I want to try to make this bread but I’m wondering if I can skip the sugar; it is just a spoon but I’m trying to avoid sugar. Will it work without sugar?
Thanks
Hi there! You’ll have to have some sort of sweetener to activate the yeast. Honey would work as a substitute.
Easy and delicious! Although, I admit to adding a pan with 4 cups of water in the bottom rack while preheating the oven. I love crusty loaves and that certainly did the trick.
Yes – always a good move for a crispy crust!
So easy and delicious! Will be making weekly! Looking forward to trying your other recipes.
Wonderful! So glad you liked it Diane!
Hi Jess,
Just made this recipe today and it was a total success – and so easy too which is a bonus as it’s often hard to get much bread making done with a 7 month old baby.
Highly recommend giving this recipe a go!
So glad you liked it Emi! And congrats to you – both on the baby AND on attempting to bake with a 7-month-old. That’s no small feat!