Mini Cheesecakes
Published Sep 04, 2020•Updated Apr 10, 2025
This post may contain affiliate links. Please read our disclosure policy.
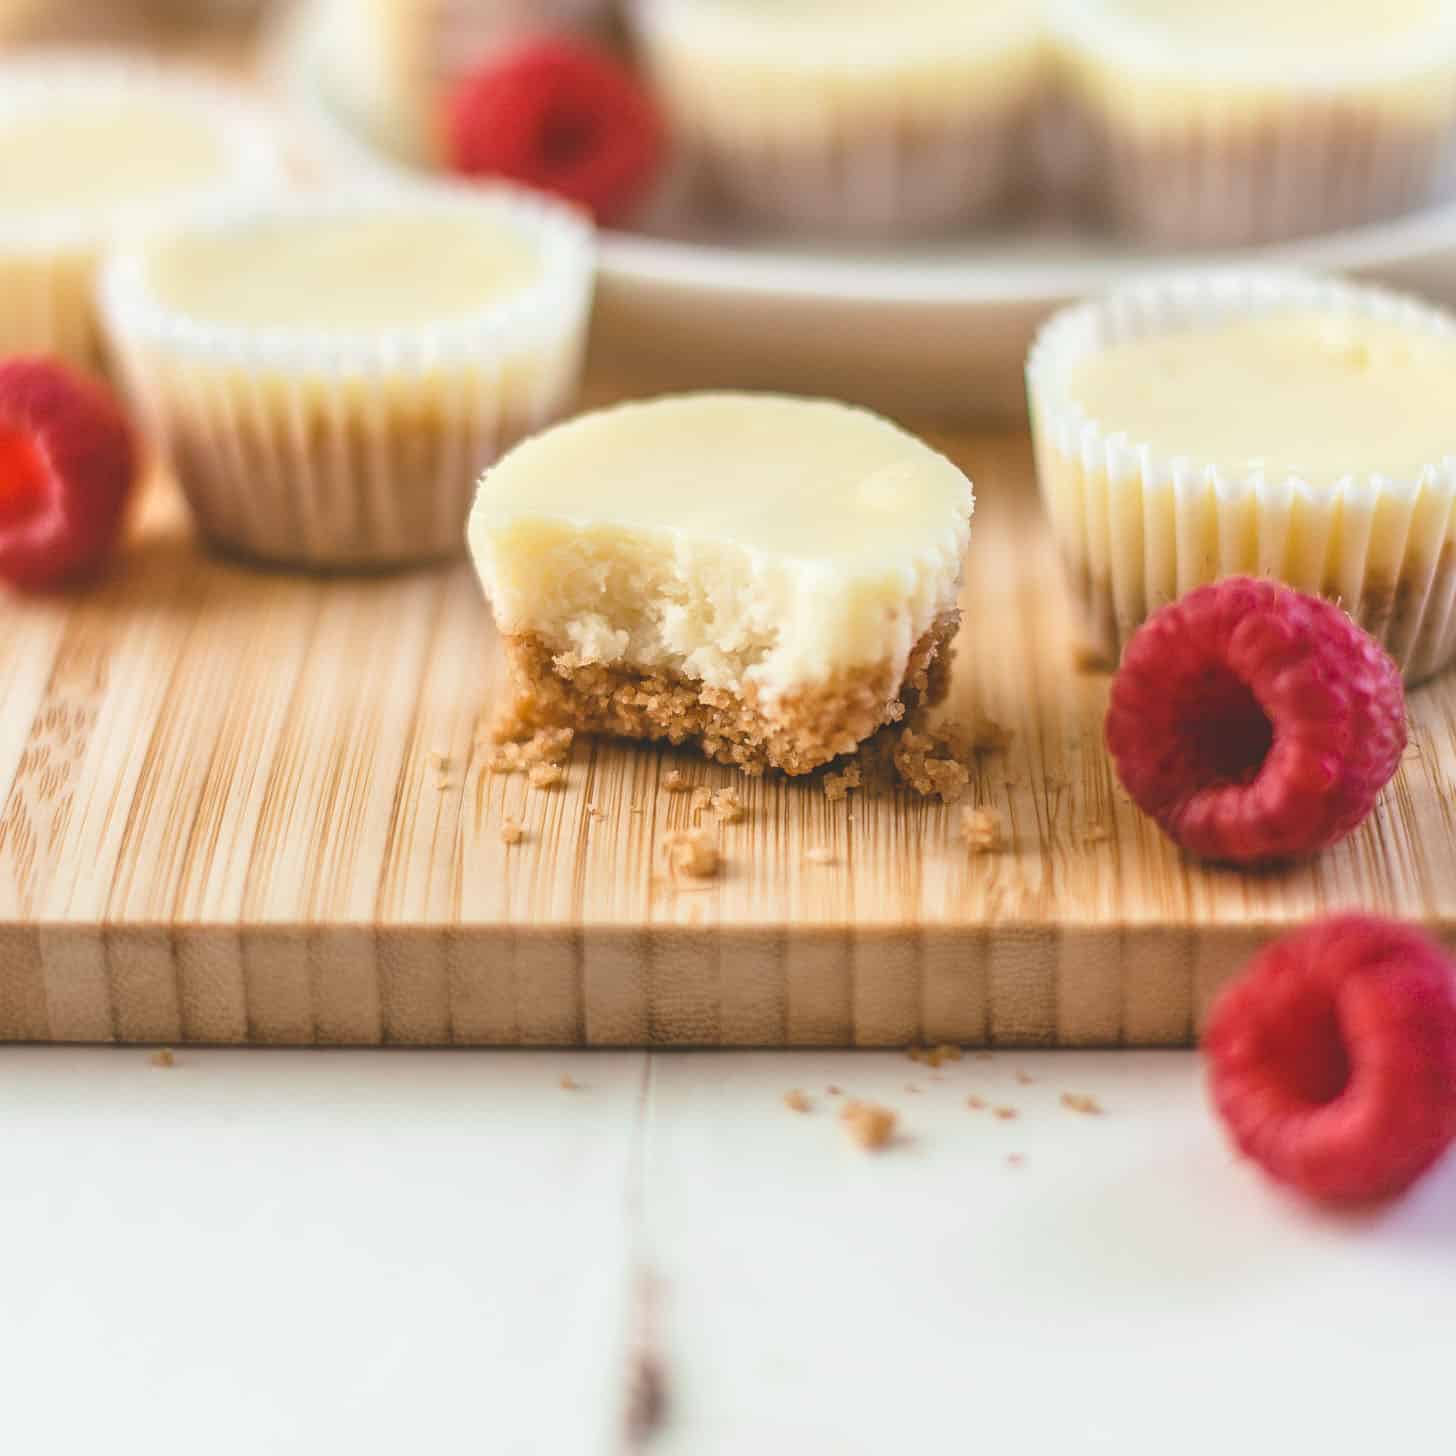
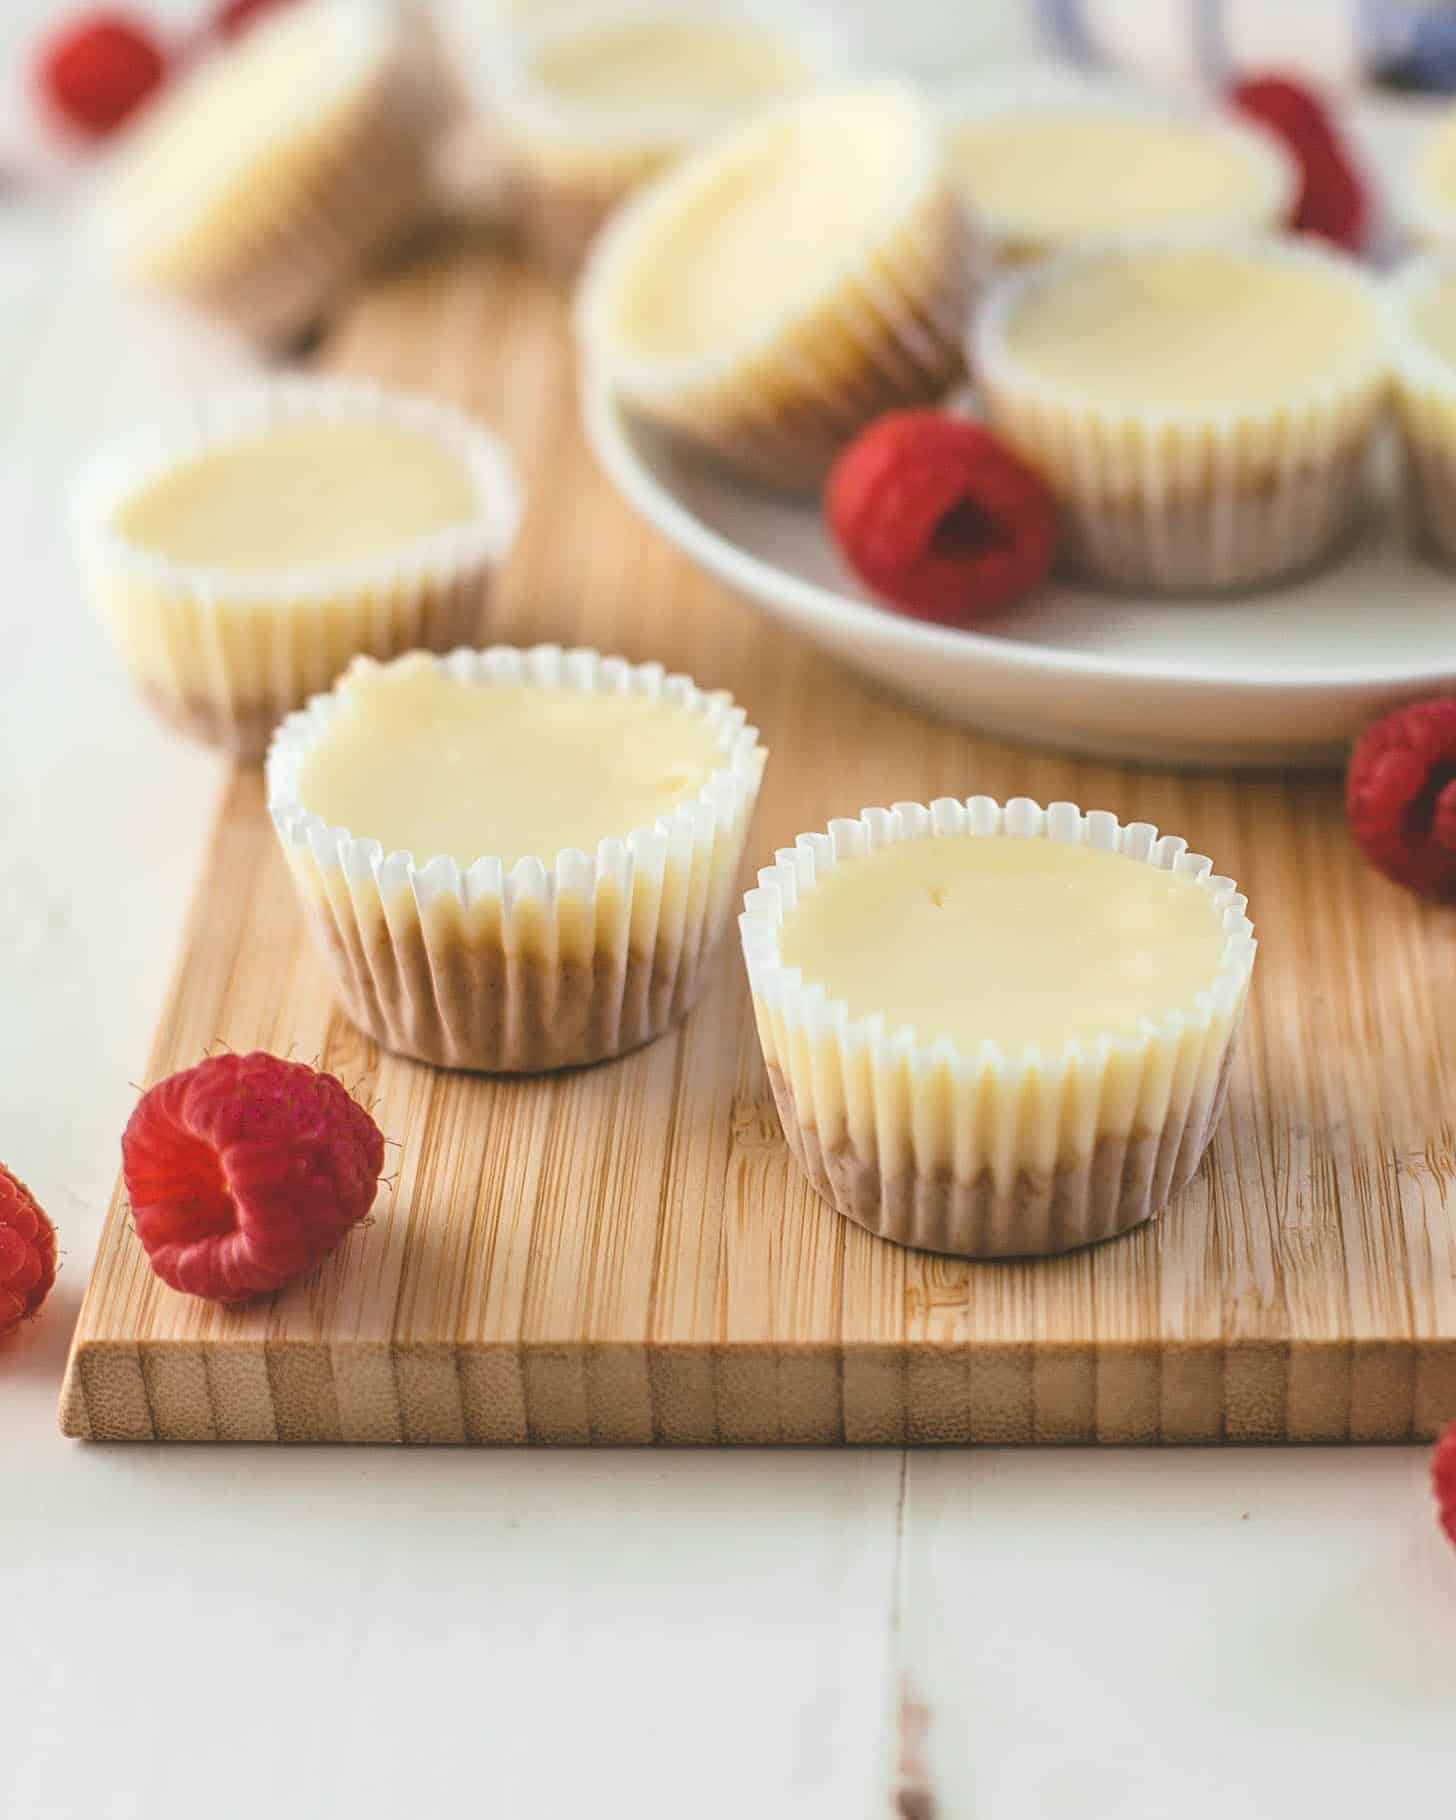
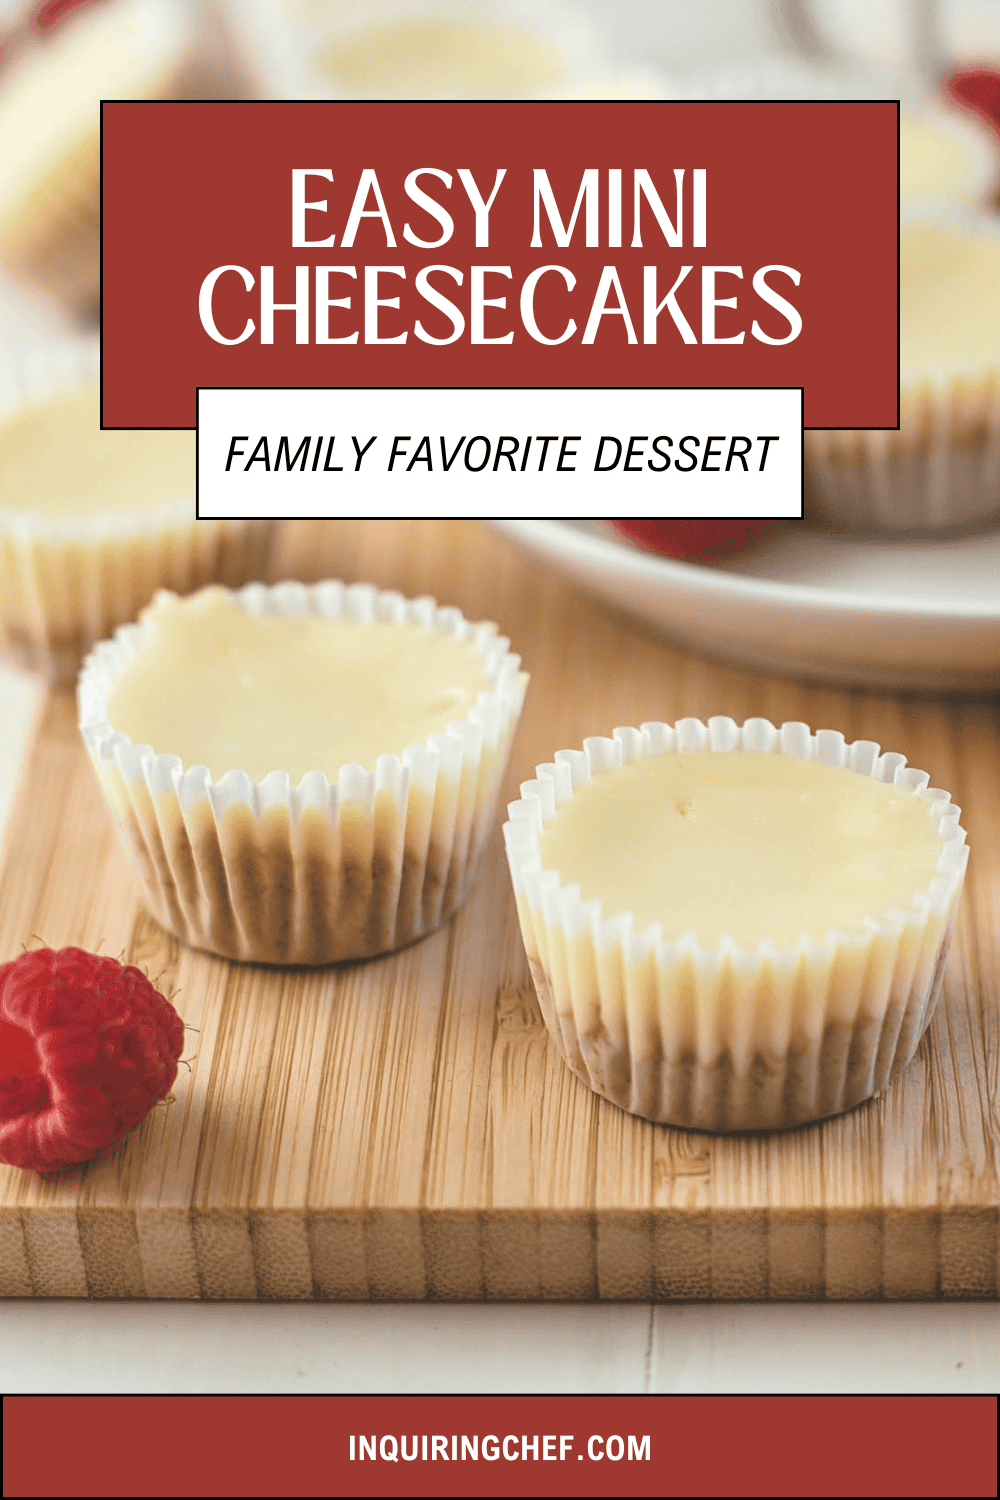
These simple mini cheesecakes are the perfect size to add to a dessert table or for a small sweet treat at the end of a meal. They have just seven ingredients and can be made ahead.
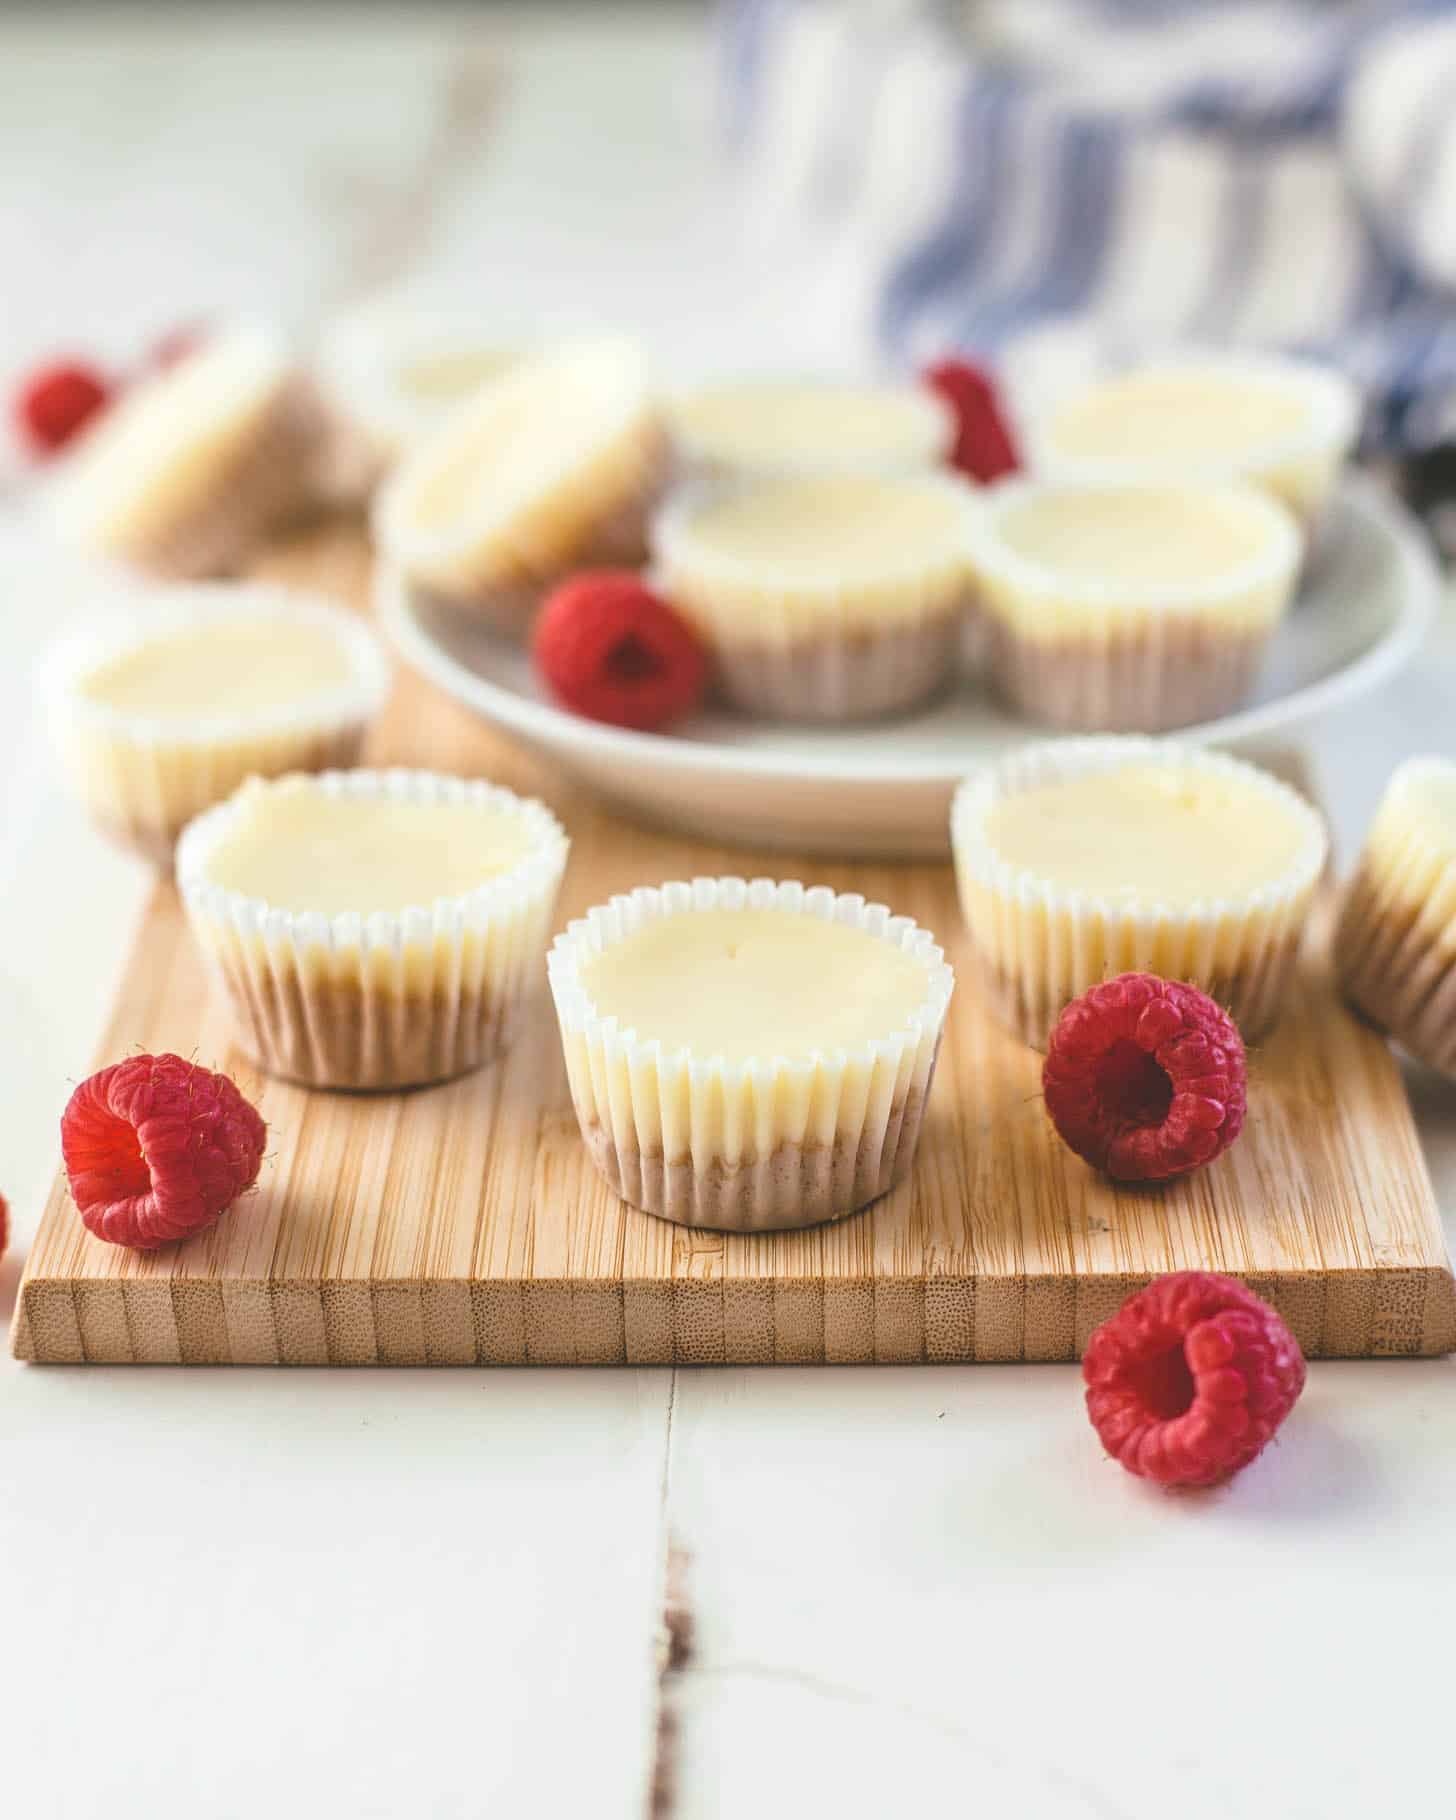
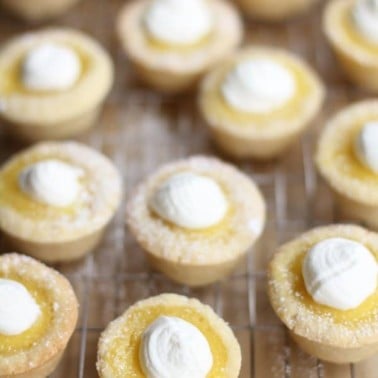
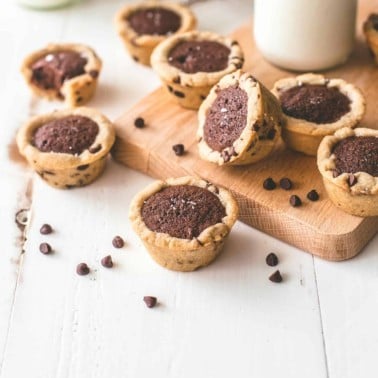
If you’ve clicked around on this site you might have noticed that some of my favorite desserts are bite-sized ones (reference Chocolate Chip Brownie Tarts, Peanut Butter Cookie Cups, Banana Bread Truffles). I love the option of a small sweet treat at the end of a meal, and a bite-sized treat always feels like a perfect afternoon pick-me-up.
I also love that these mini desserts fit right in one of the spaces in my favorite lunchboxes for the kids. Side note – what are we doing about lunches this year? Are any of you packing lunches even though your kids are at home? My girls’ school is entirely online but I’ve been back at my lunchbox-packing routine. I really dislike packing lunches, but then I’m always so glad when everyone gets hangry at 11:59 and all I have to do is pull lunches out of the fridge. We’ll see how long I keep it up.
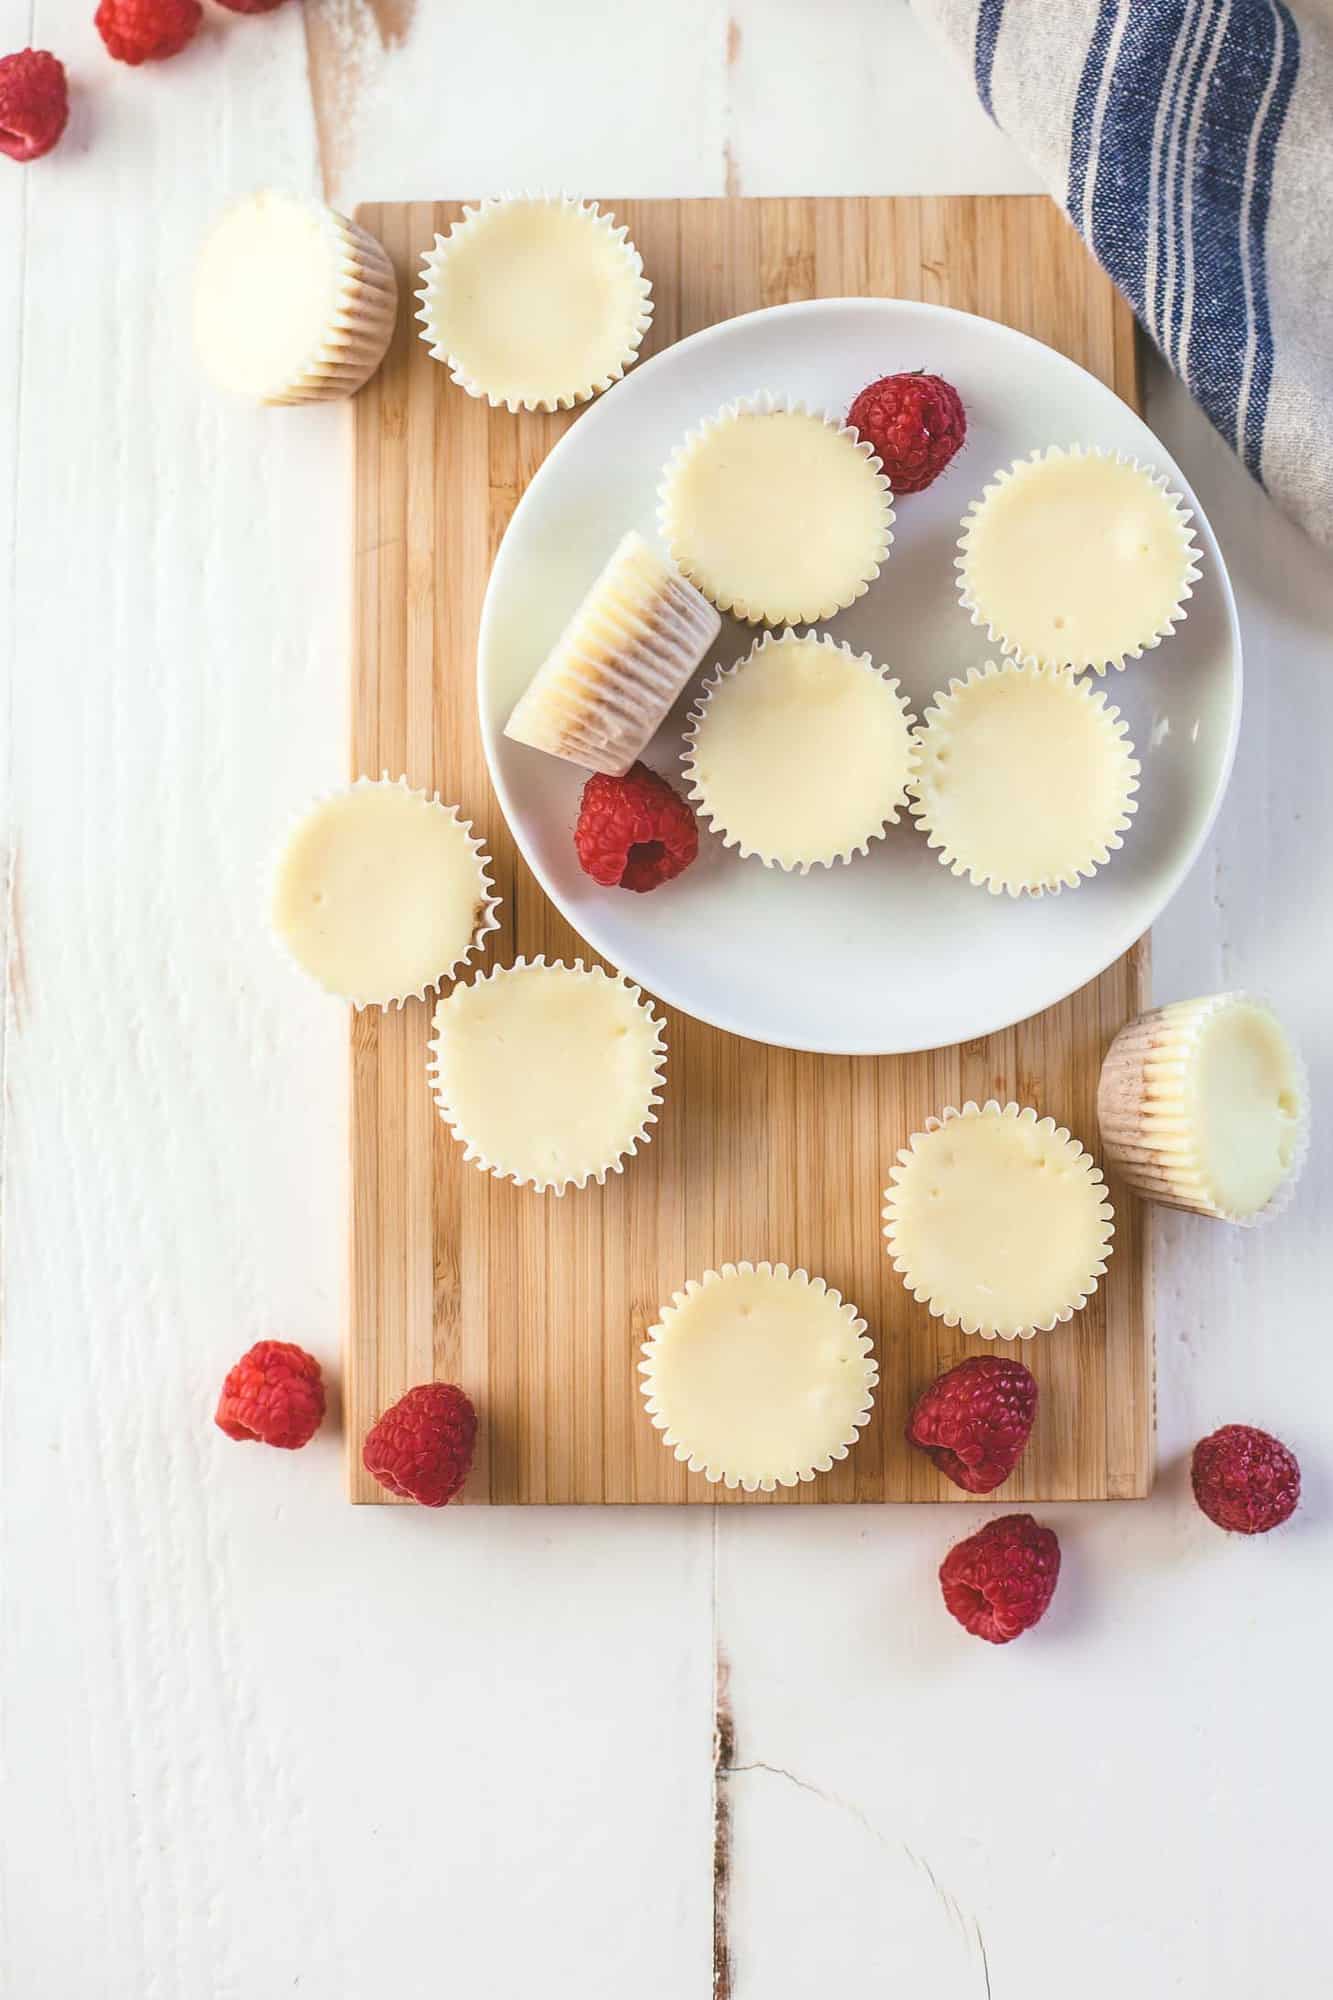
These are SO simple to make. A food processor makes super quick work of both the crust and filling, and there are hardly any dishes to clean up. All you need is a handful of ingredients and a few minutes!
Ingredients
- Graham Crackers – These cheesecakes are so small that you just need a few graham crackers to make the crusts. Want to mix things up? Try cinnamon or chocolate graham crackers (or Oreos!).
- Unsalted Butter – Butter helps to bind the crust together.
- Cream Cheese – Use regular cream cheese (not low-fat) for the creamiest texture. It’s important to get the cream cheese that is sold in a block (not a tub) in order for these to set up correctly.
- Sour Cream – I love sour cream in cheesecake! It gives the filling an extra creamy texture and the tiniest hint of tangy flavor.
- Sugar – Use a small amount of sugar in the crust and the rest to sweeten the filling.
- Egg – Just one egg is needed to help the cheesecakes to firm up.
- Pure Vanilla Extract – Adds a hint of vanilla flavor.
Pin this now to save it for later
Pin It Now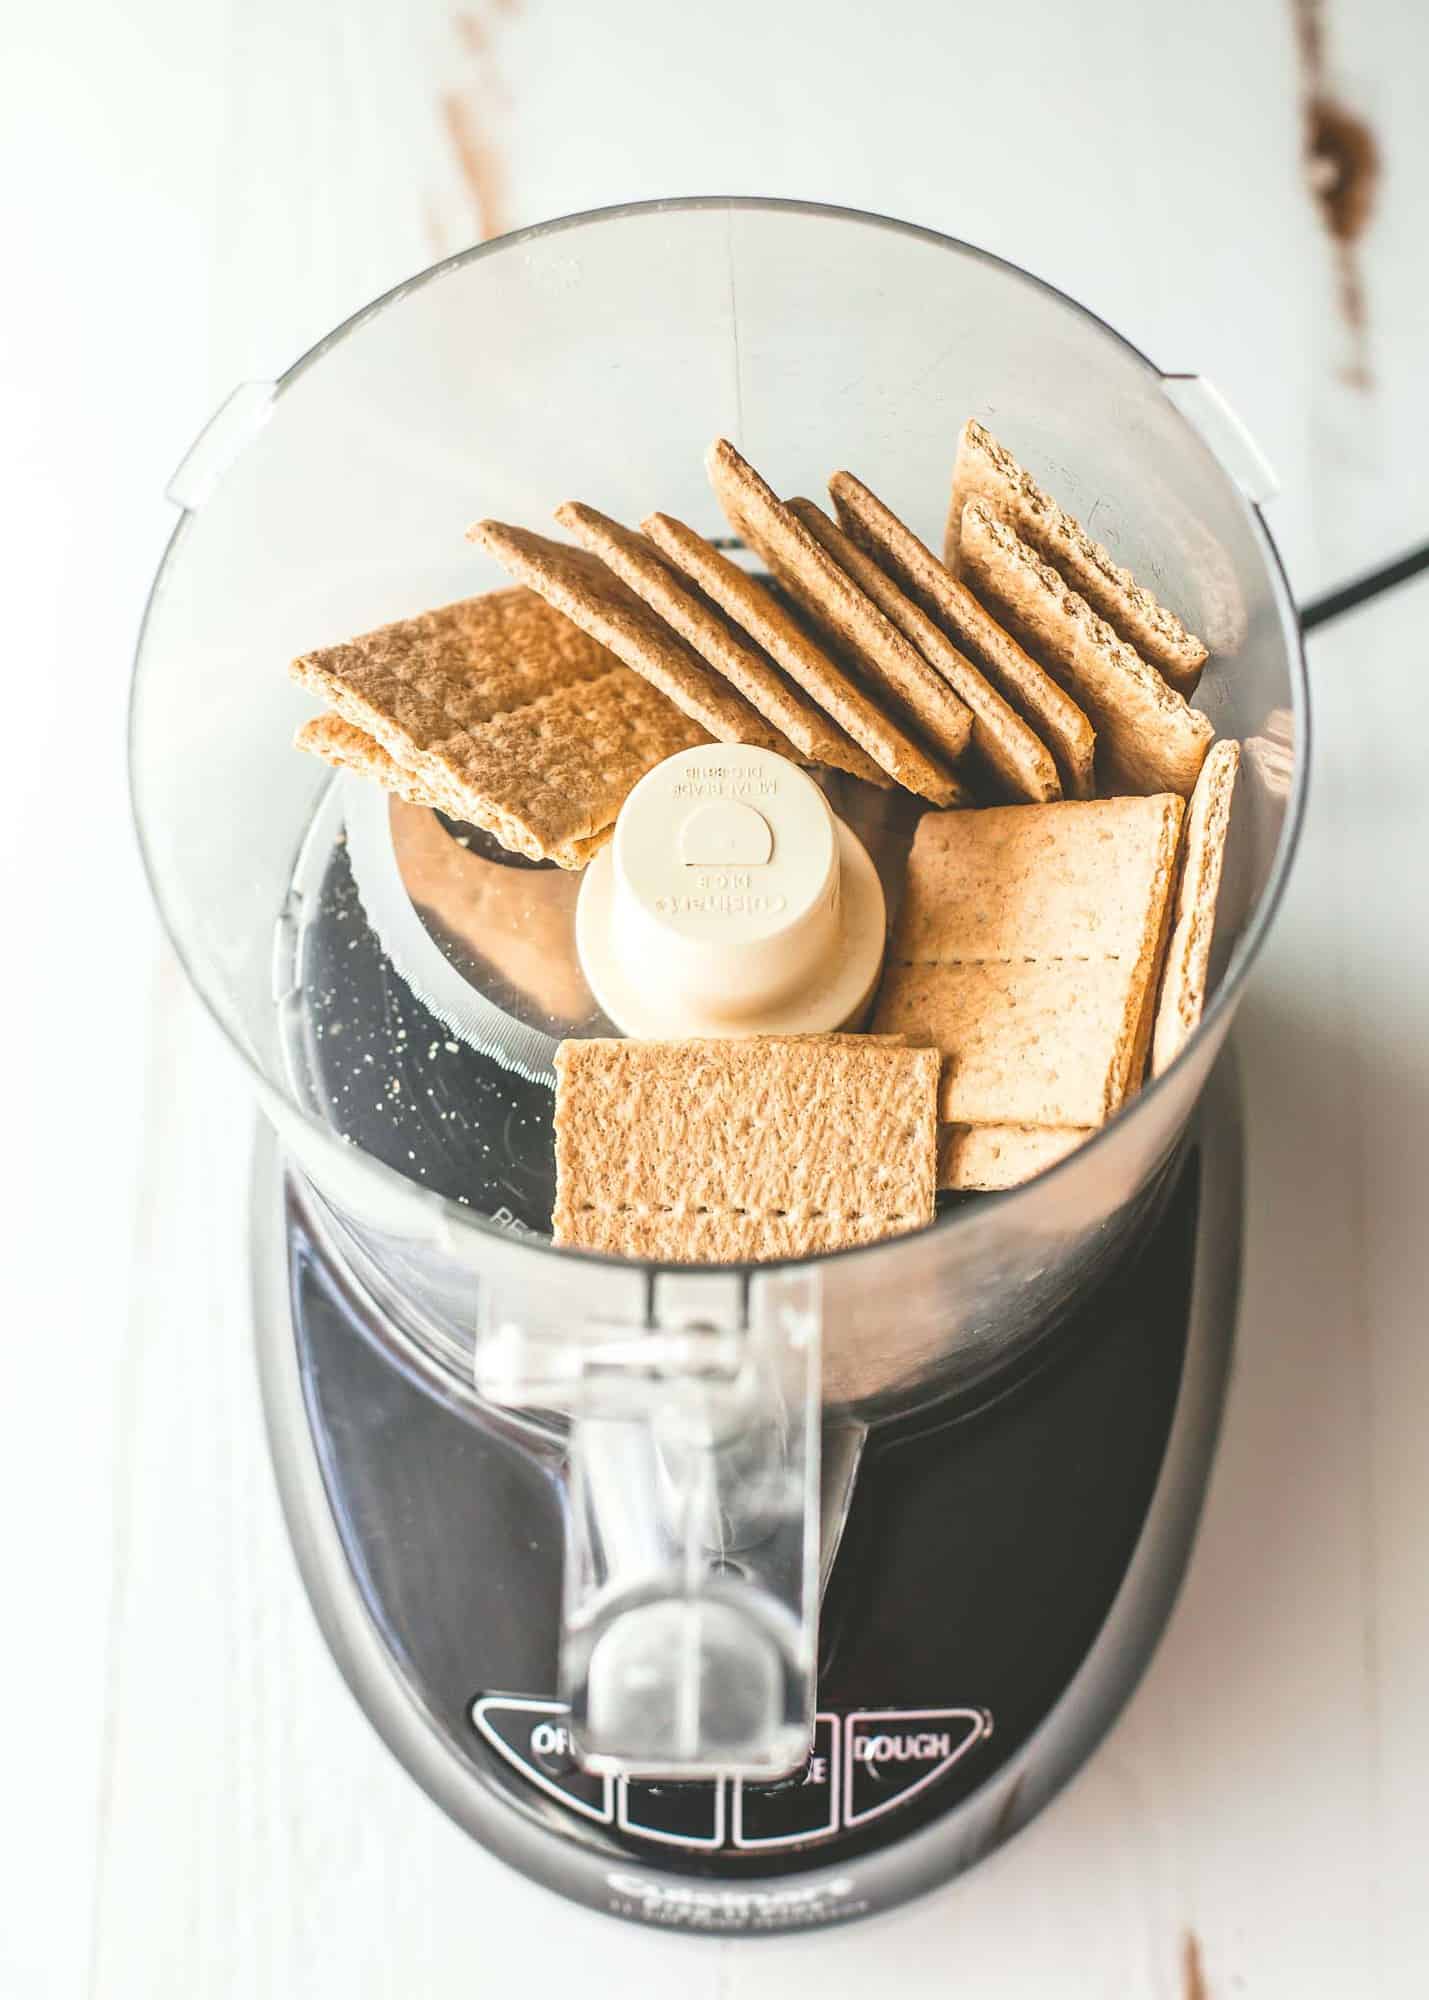
Make Cheesecakes Ahead
Cheesecake is one of the easiest desserts to make ahead. After they have cooled completely, cover them tightly and store in the refrigerator for up to four days. You can serve them chilled straight from the refrigerator or let them come down to room temperature before serving.
Possible Variations on Mini Cheesecakes
- Flavored Crust – Instead of regular graham crackers try cinnamon or chocolate graham crackers. Oreos work great too! (If using Oreos, you can skip the butter and extra sugar in the crust since the Oreo filling will bind the crust together.)
- Add Jam – Drop a ½ tsp of jam onto each cheesecake and gently swirl it in with a knife.
- Top with Berries or Chocolate – To decorate the mini cheesecakes, add some whipped cream to the cooled cheesecakes (this will help the topping to stick) and then top with fresh berries, grated chocolate, or mini chocolate chips.
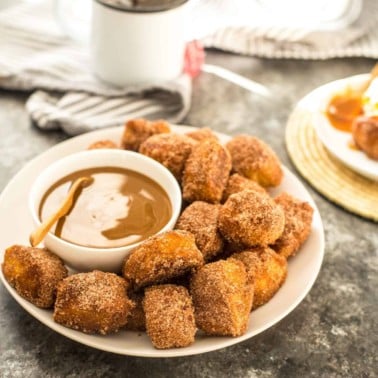
More Bite-Sized Desserts
Favorite Tools
Pin this now to save it for later
Pin It Now
Mini Cheesecakes
Equipment
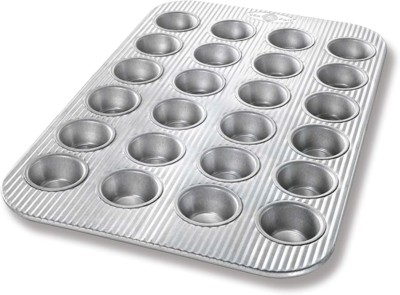
- Mini Muffin Tin
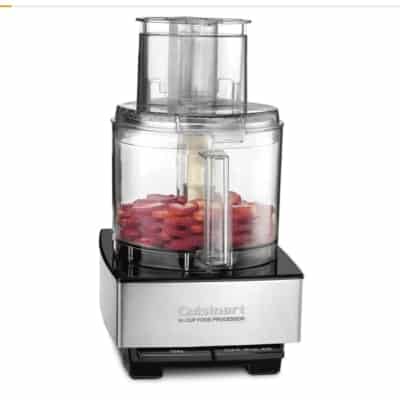
- Food Processor
Ingredients
Graham Cracker Crust
- 4 ounces Graham Crackers (about 8 graham crackers)
- 3 Tablespoons Unsalted Butter, melted
- 1/2 teaspoon Granulated Sugar
Cheesecake Filling
- 1 8-ounce package Cream Cheese, softened
- 1/4 cup Sour Cream, room temperature
- 1/2 cup Granulated Sugar
- 1 large Egg
- 1/2 teaspoon Pure Vanilla Extract
Instructions
- Before getting started, be sure that the cream cheese is very soft and the sour cream is room temperature. That’s the best way to insure that you get a smooth, even cheesecake with no cracks or lumps.
- Preheat oven to 325F degrees.
- Line a mini muffin tin with liners. (Note: You can use nonstick cooking spray instead of muffin liners, but the muffin liners make these much easier to remove from the pan.)
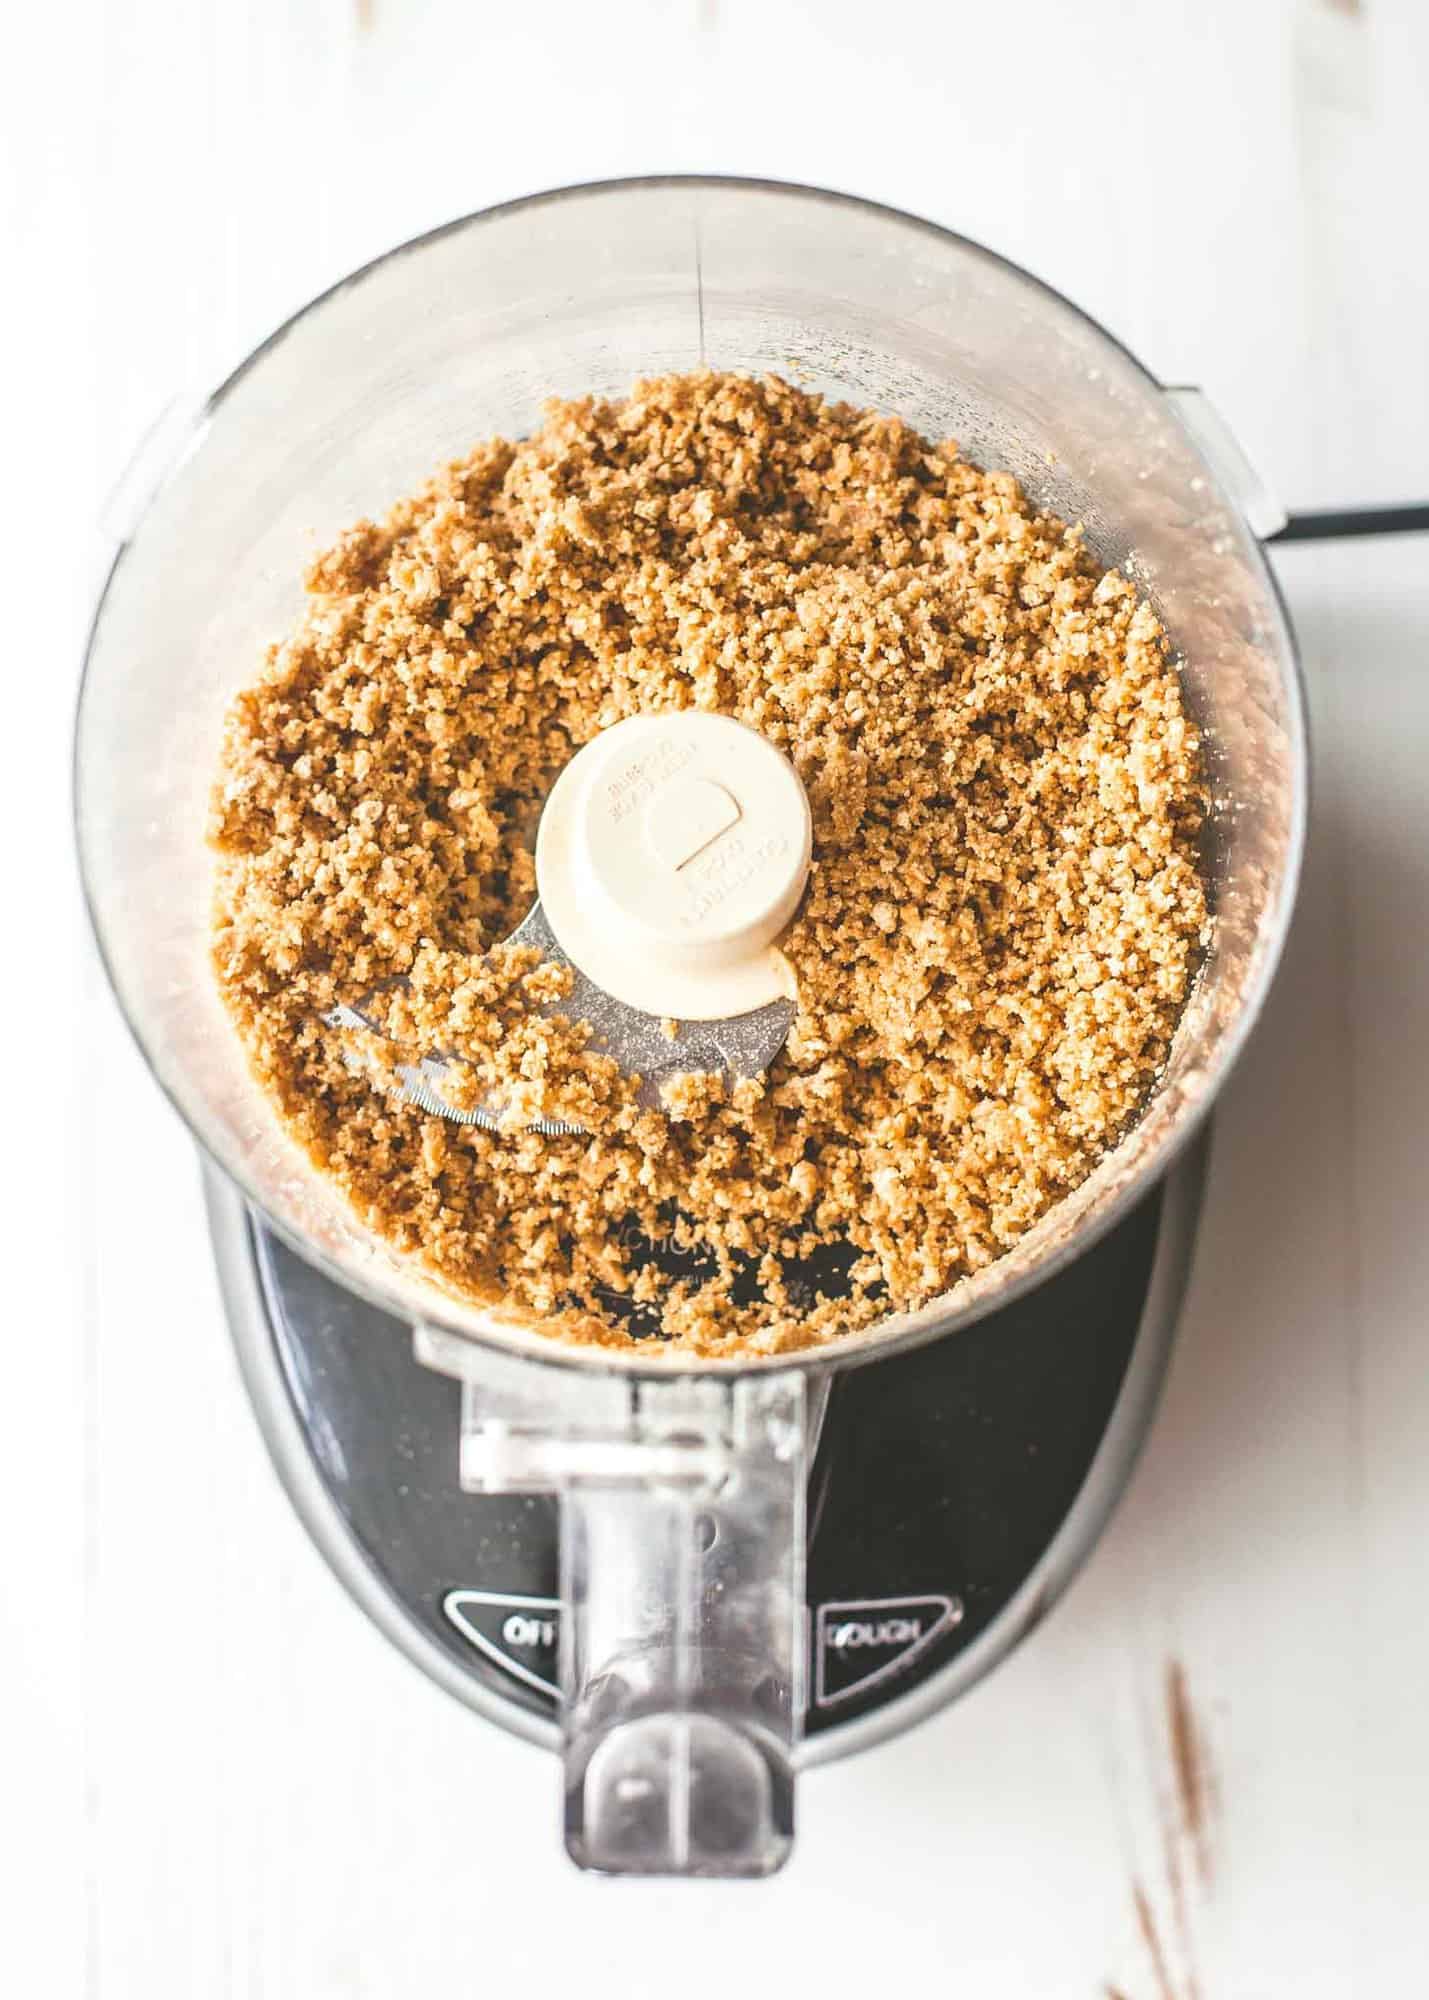
- In the bowl of a food processor, pulse together the graham crackers, melted butter, and ½ tsp sugar until the mixture resembles wet sand. Divide crust between spaces in the mini muffin tin and gently press it down using the back of a spoon or your fingers. You should just have a thin layer of crust in each tin.
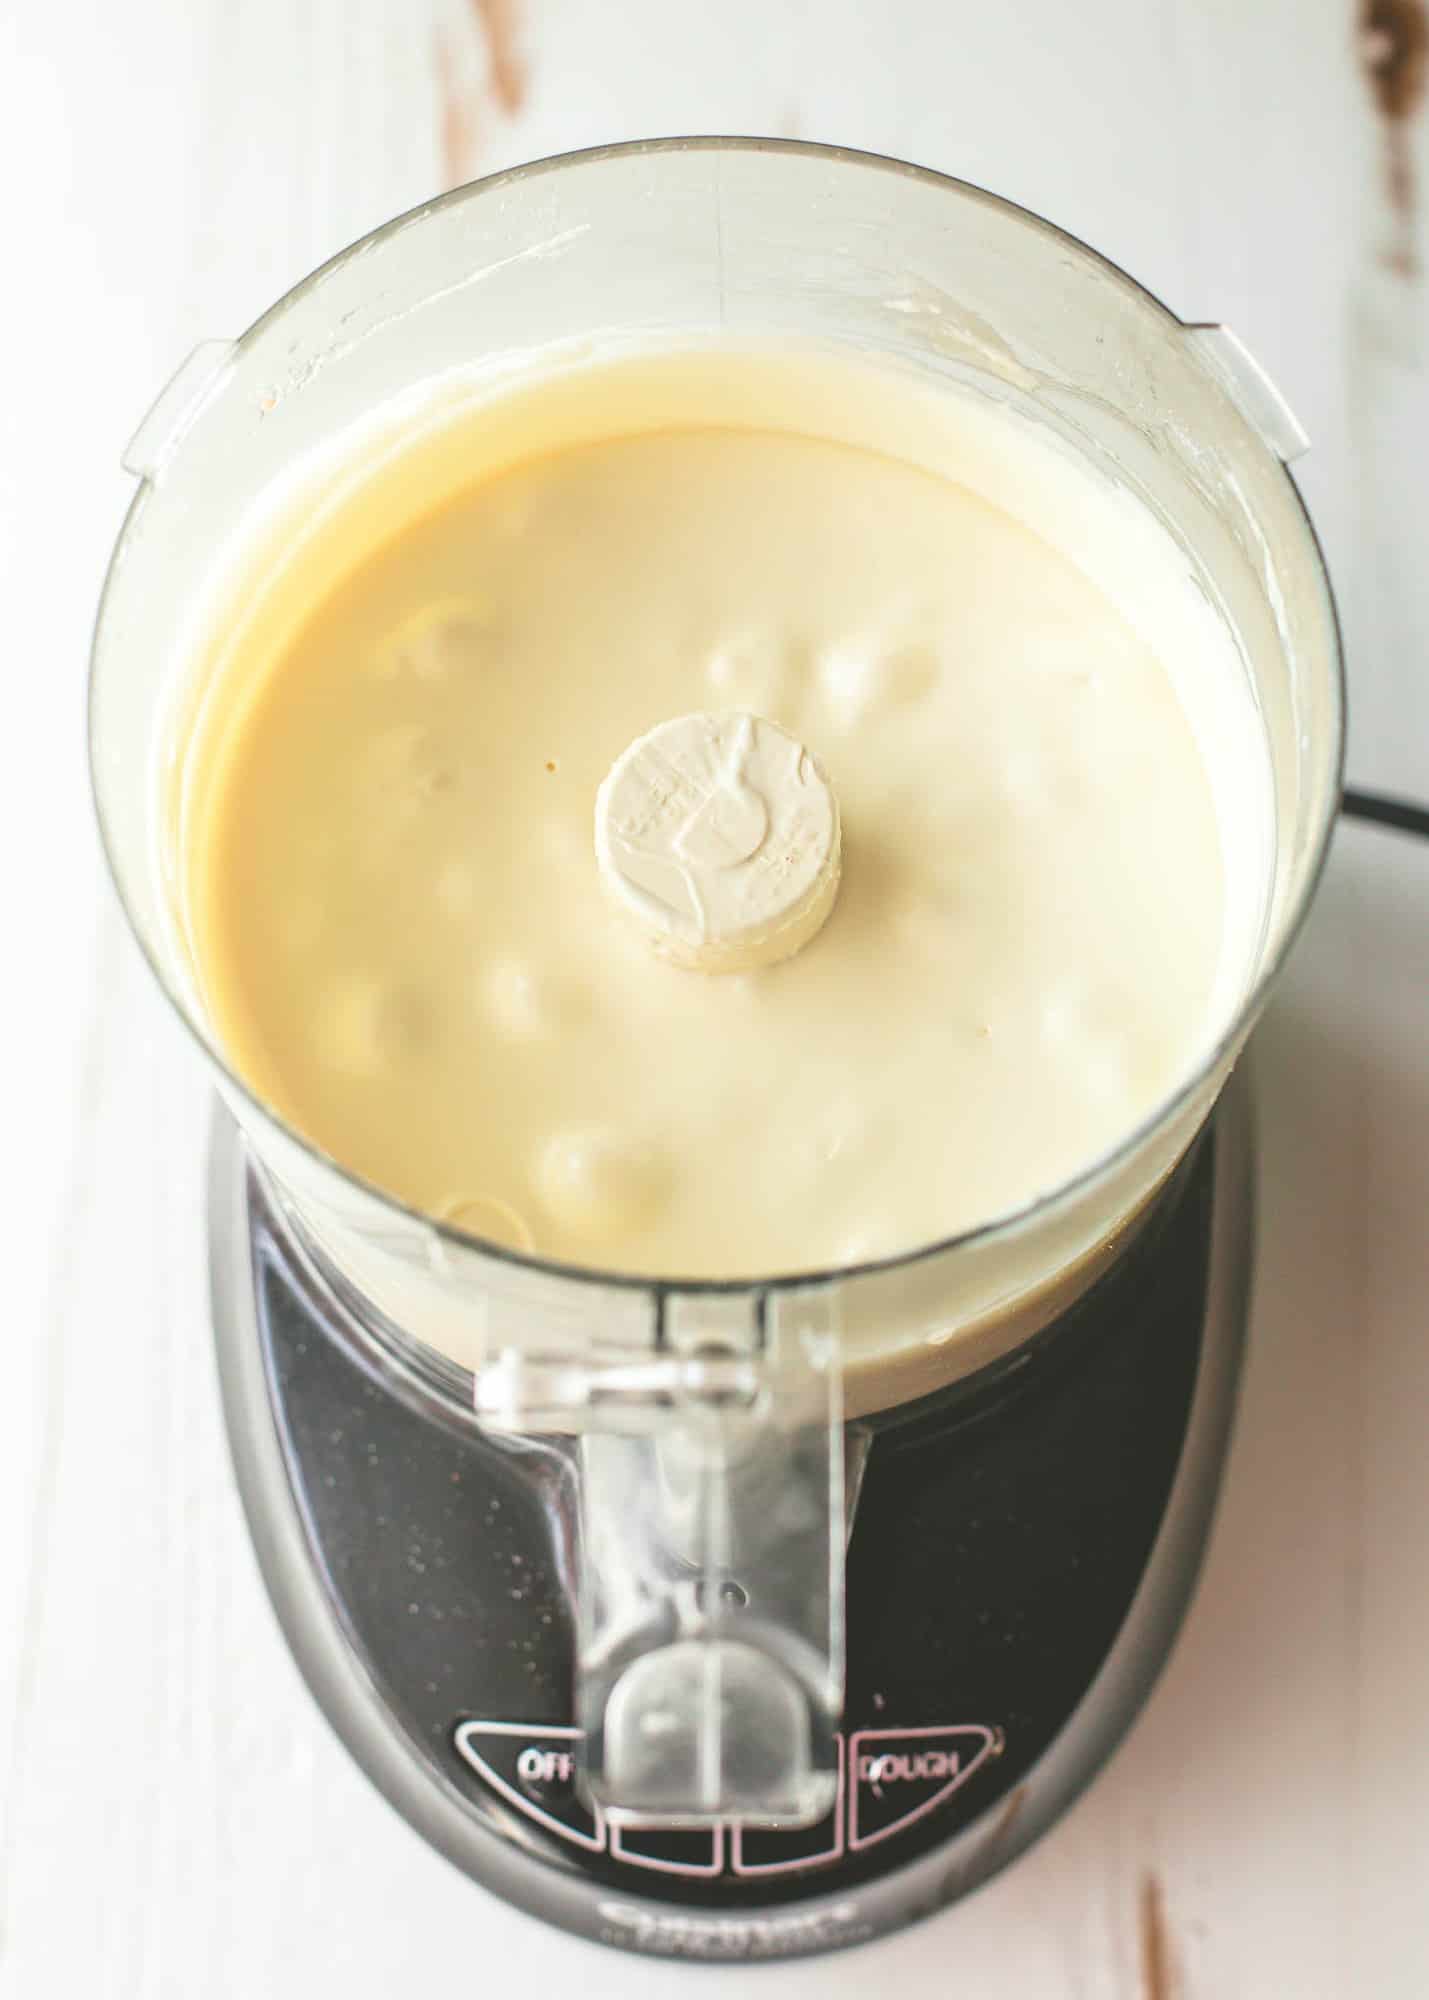
- Wipe out the bowl of the food processor and then combine cream cheese, sour cream, and ½ cup sugar in the food processor. Blend until very smooth. Add egg and vanilla and blend just until the egg is fully incorporated (don’t overmix once the egg has been added or you will get light and fluffy, rather than creamy cheesecakes).
- Spoon cheesecake filling over the crusts, filling each space to just below the top.
- Bake until the cheesecakes are set and the edges are just barely beginning to brown, 15 to 18 minutes.
- Allow cheesecakes to cool completely in the pan.
- Refrigerate cheesecakes before serving. (They can be made up to 4 days ahead and stored in an airtight container in the fridge.)
Notes
Nutrition
Nutrition information is automatically calculated, so should only be used as an approximation.


Can I use nilla wafers instead or gramcrackers? And would the process be the same? Thank you! Can’t wait to hear from you so I can make these ASAP
Yes! you can use nilla wafers, and they are delicious. Just be sure to grind them until they are very fine, like sand, so that they will hold together.
Another way to use the Nilla Wafers is to just pop one into the bottom of the mini muffin pan, flat side down. No need to make a crust when they are already sized and shaped correctly.
Oh yes! That’s such a good point and super easy solution!
I followed this recipe perfectly I thought, yet I only ended up with enough cream cheese filling for 8 cheesecakes. Is the serving size supposed to be 24?
Hi Marcella – did you use a mini muffin tin?
These looks cute… I think I just know right person who would love to make and can make it for me 😉 😀