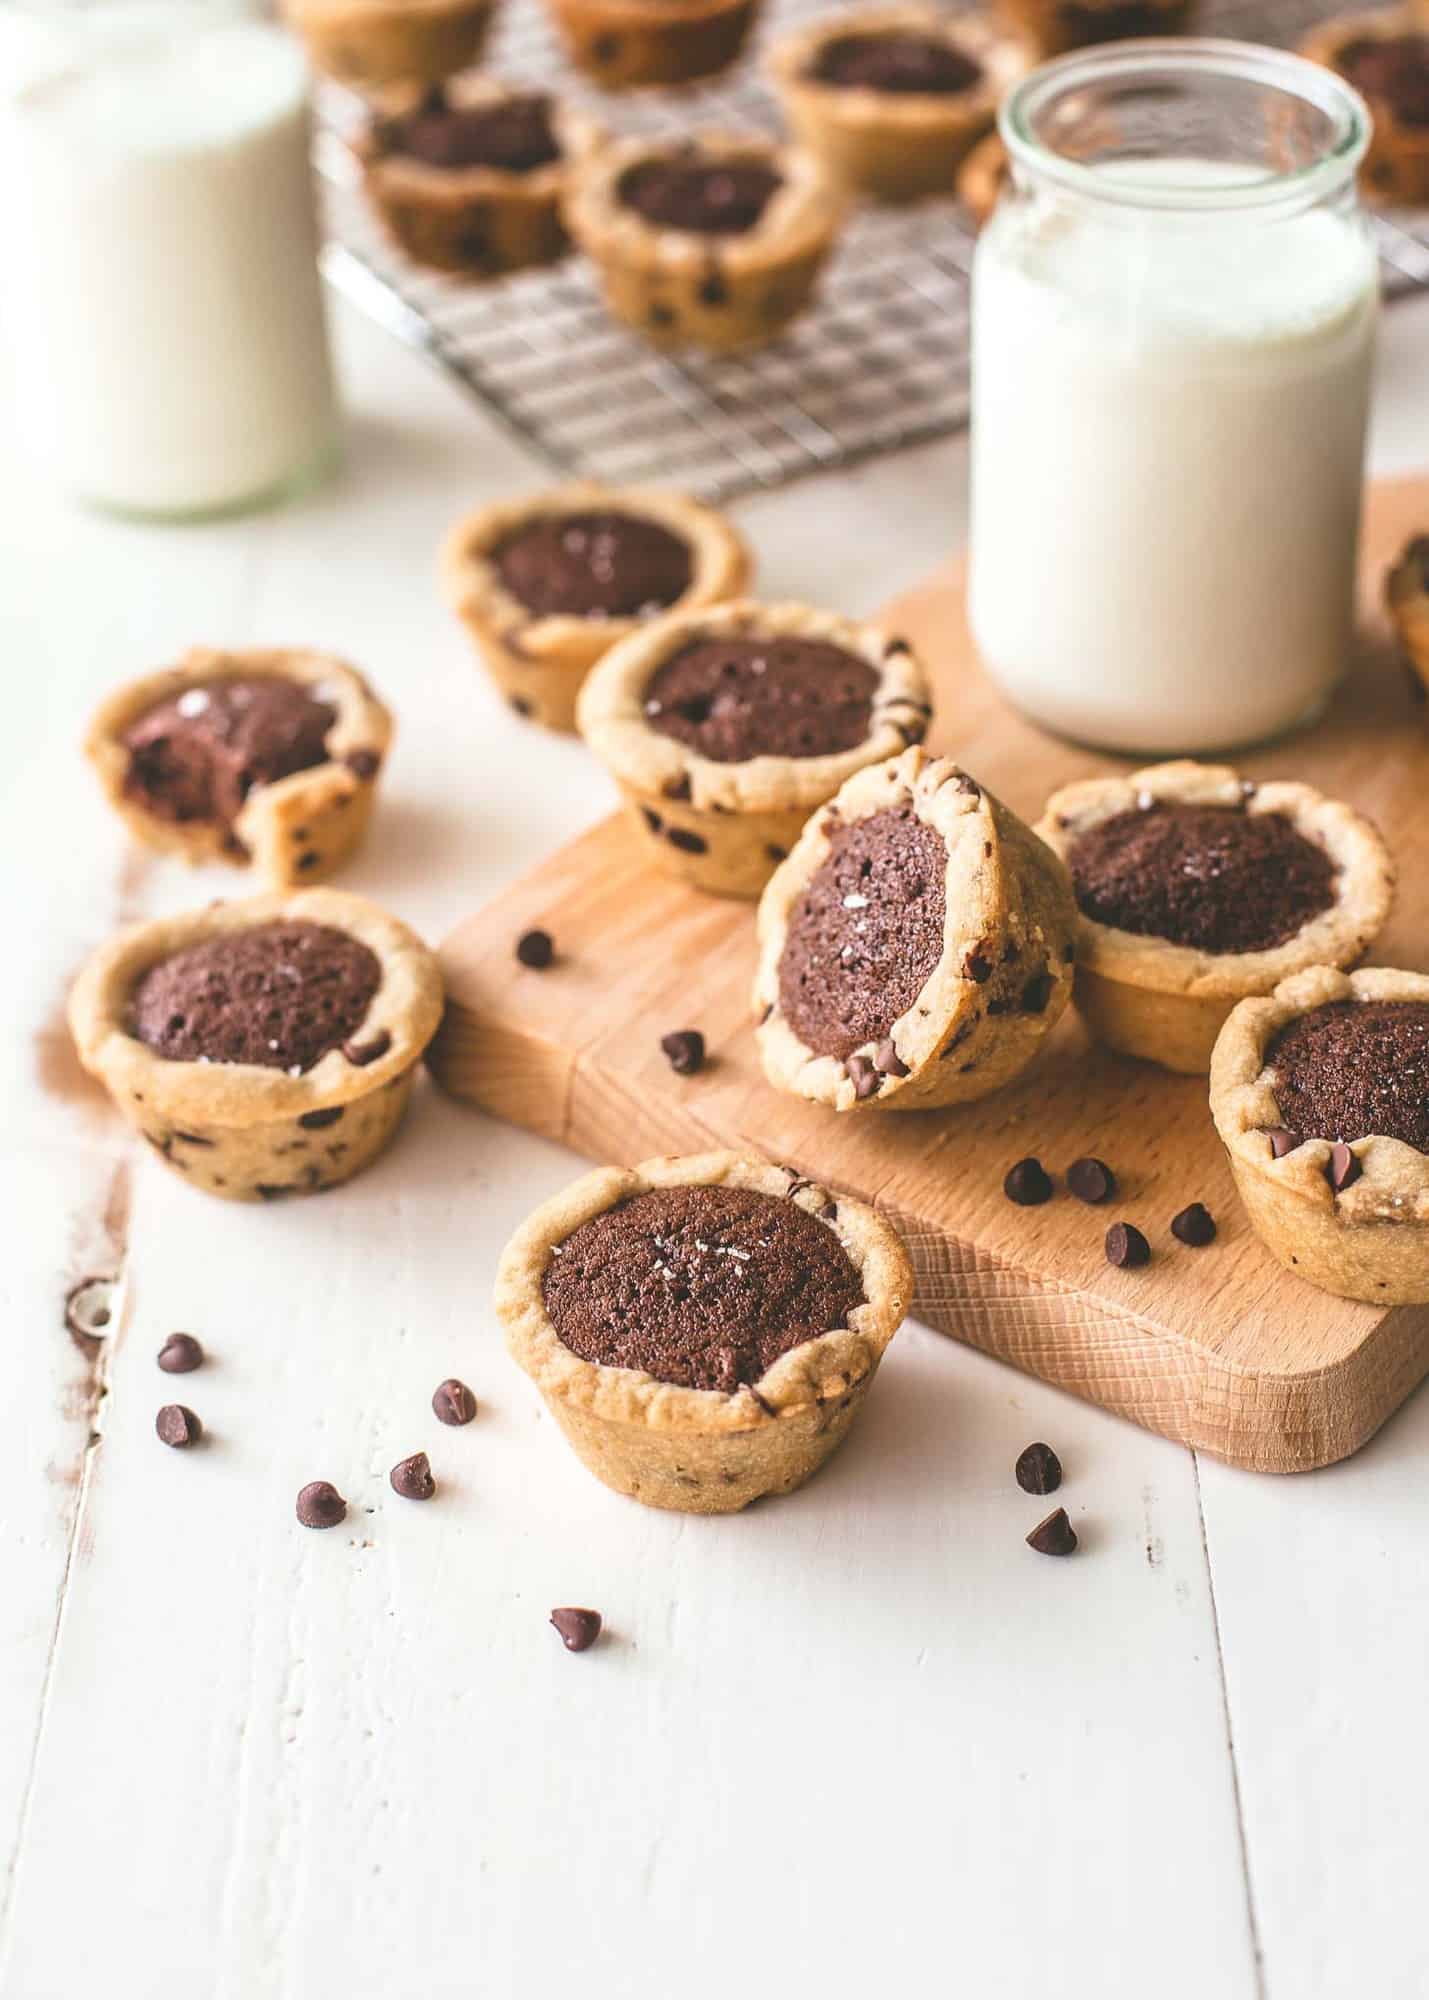
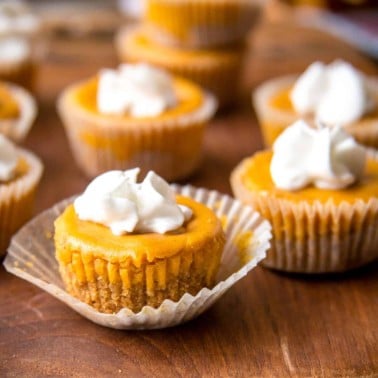
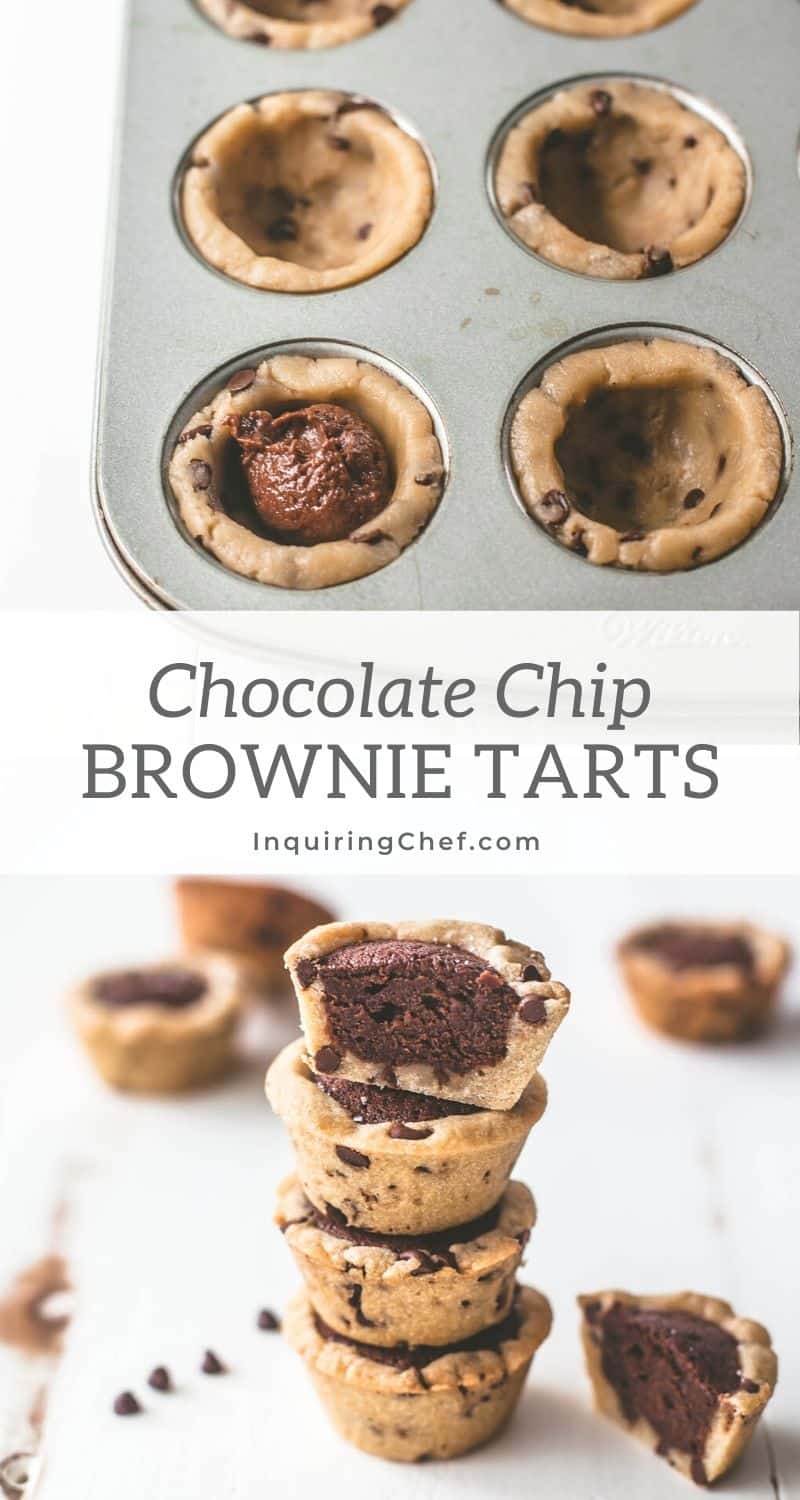
Brownie Tarts
Published Jul 24, 2020•Updated Oct 29, 2025
This post may contain affiliate links. Please read our disclosure policy.
This is one of the most popular recipes on my website! Thanks so much for stopping by! After 10 years, these Brownie Tarts remain one of my favorite sweet little desserts for a part, a dessert spread, or a Cookie Exchange. There’s no mixer required for these sweet two-bite brownie tarts.
Over the years, I’ve received so many comments and questions about this fun recipe that I wanted to revisit it. The post below has been completely updated to answer all of the most commonly asked questions. I’ve also added all new photos! And if you love chocolate chips, don’t miss my most popular dessert recipe (with over 1,000 positive reviews), Crispy and Chewy Chocolate Chip Cookies or my incredibly Easy Banana Bread.
Pin this now to save it for later
Pin It NowThe biggest change to the recipe is that I updated it to create 24 mini tarts. The original version made only 12 mini tarts which I heard over and over, just wasn’t enough! This has been re-worked from the ground up to give you a brand new version of the brownie bites that is even better than the original.
Here’s how to make these sweet bite-sized brownie tarts.
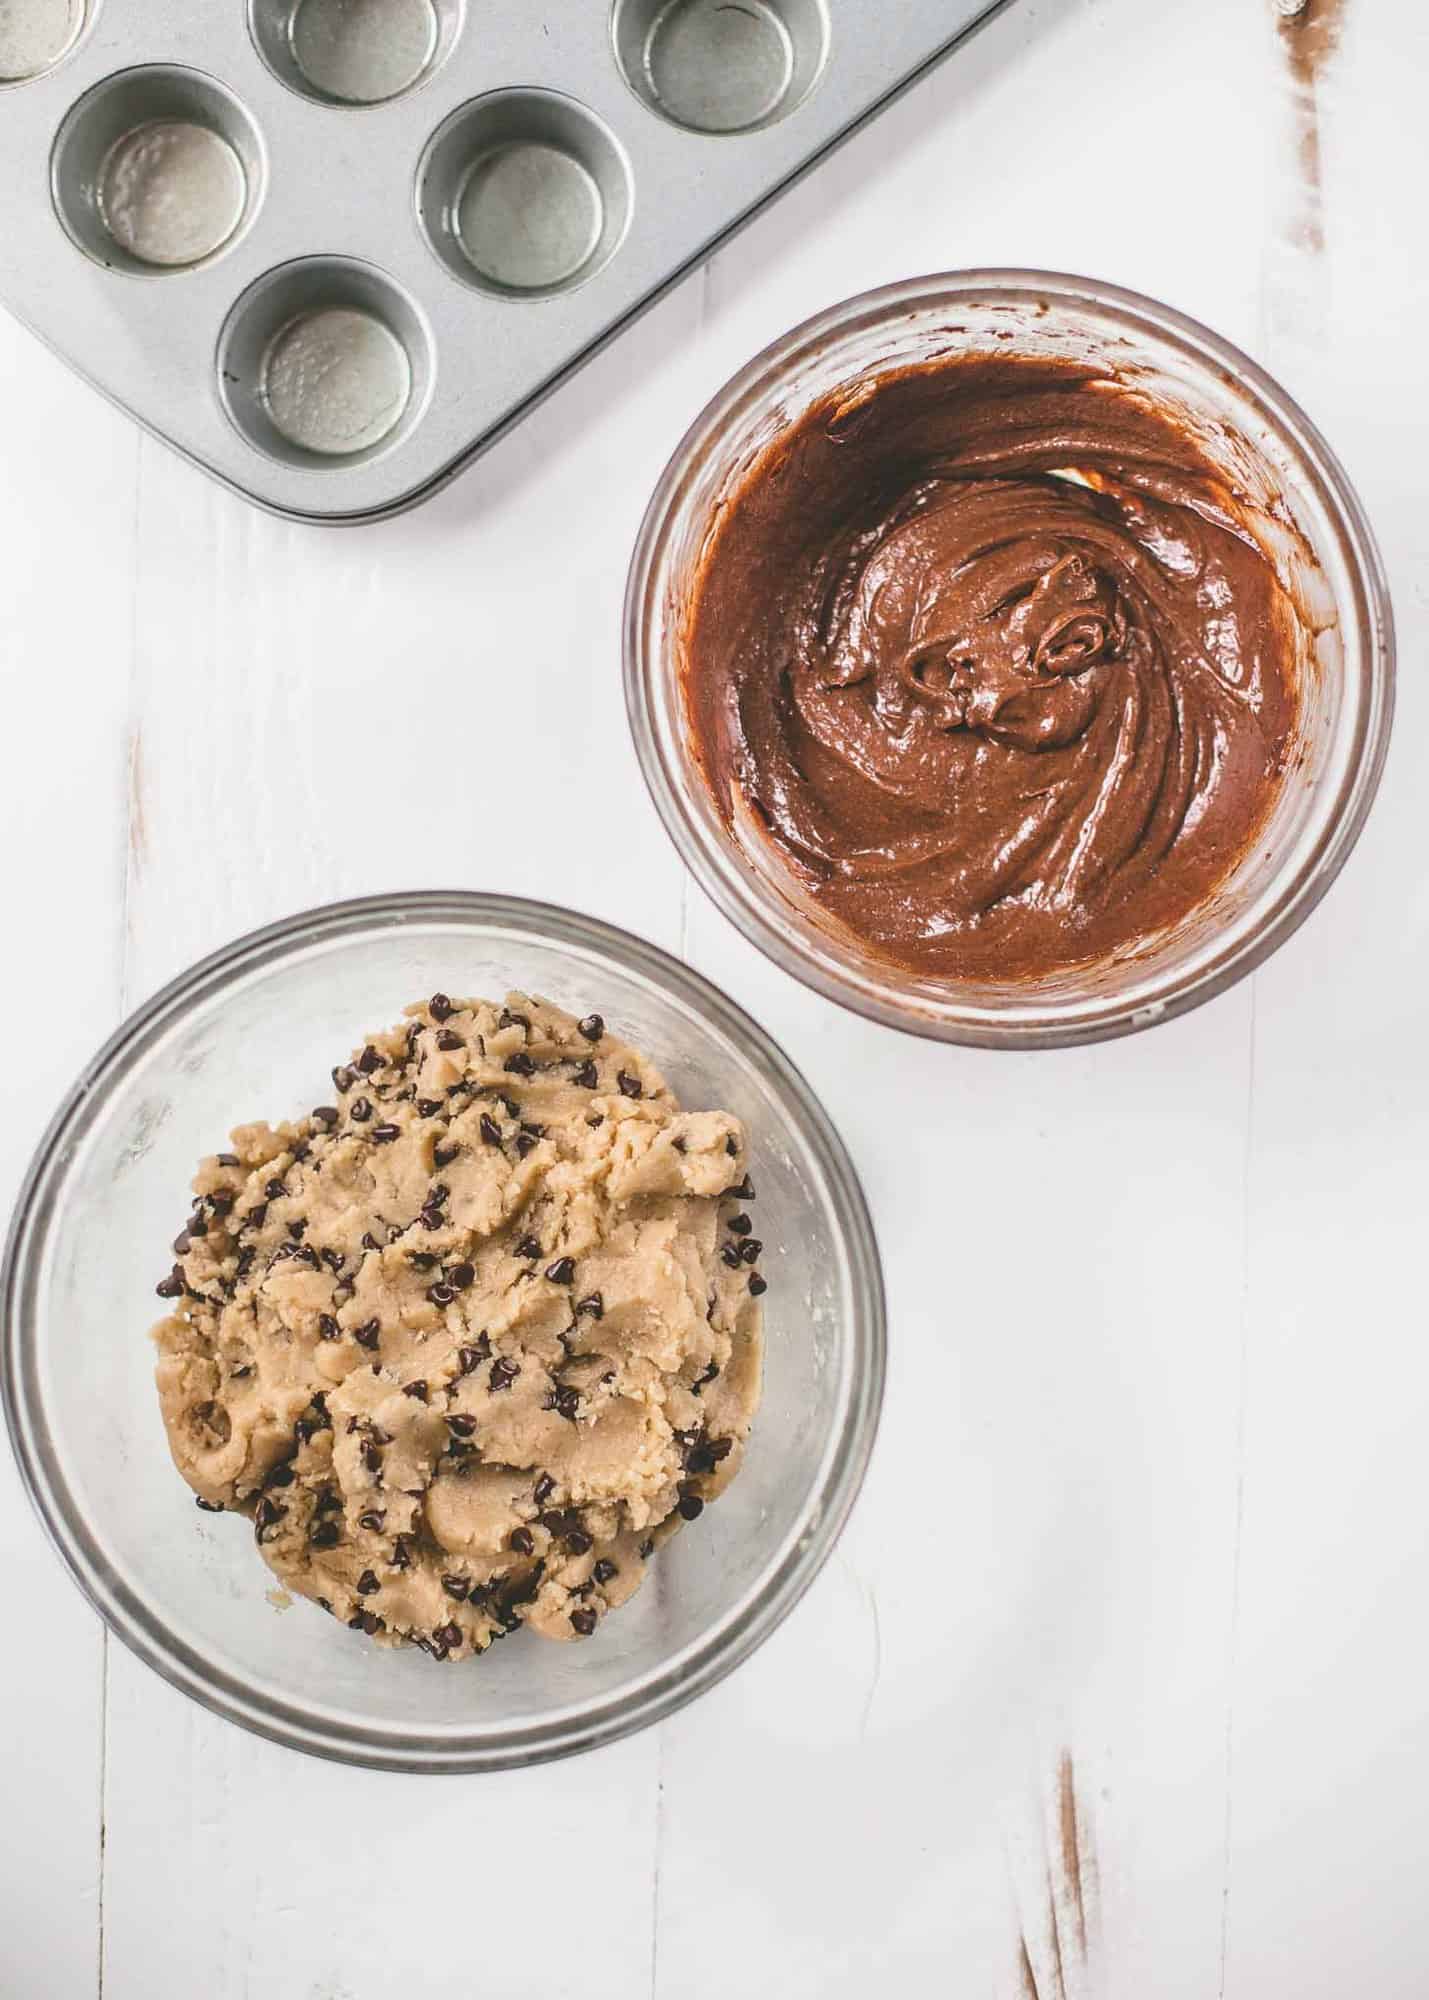
Step 1: Make Chocolate Chip Cookie Crust
The base of these tarts is a basic chocolate chip cookie recipe. To keep things simple, I wanted to be sure that you could dive right into baking these. No need to wait for butter to soften. The cookie crust starts with melted butter. You can easily mix this all by hand – no need to pull out the mixer.
In order to make the crust easy to work with, refrigerate it while making the brownie filling. There’s no set time required for refrigerating the crust, but cold dough is much easier to work with, making the crust easier to form.
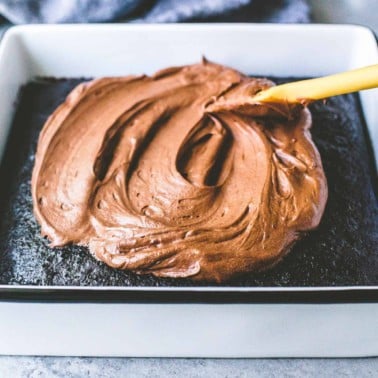
Step 2: Make the Brownie Filling
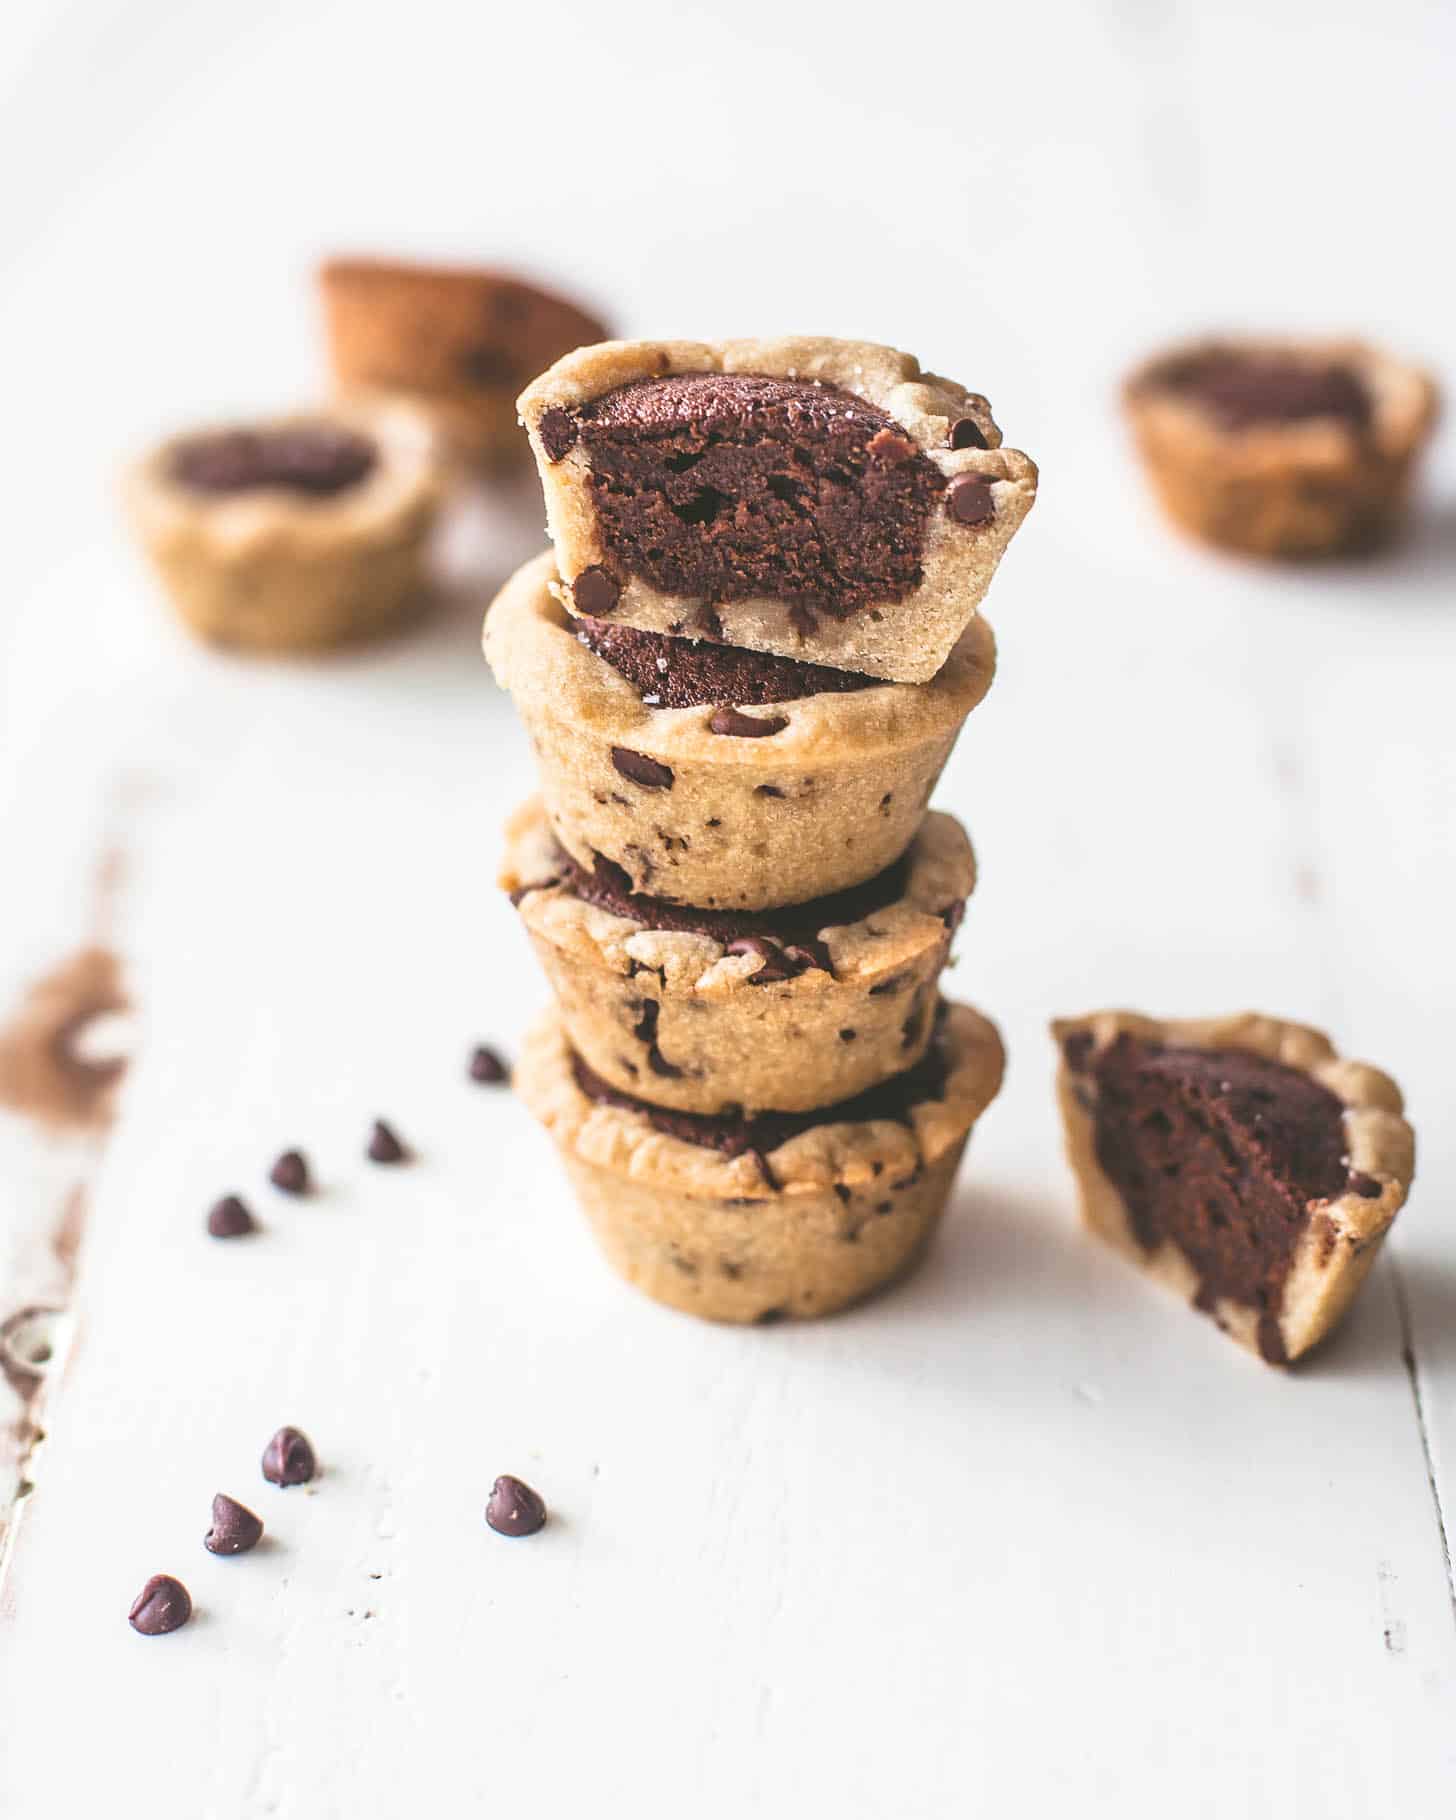
The filling for the tarts is a rich, chocolate brownie. You’ll need a saucepan to melt the butter and can mix all of the other brownie ingredients right inside the saucepan. Just be sure to follow the instructions provided to give the batter some time to cool off before adding the egg. You don’t want the egg to start cooking before these get transferred to the oven!
And don’t sneak any spoonfuls of the brownie batter! This recipe makes exactly enough to fill the tarts.
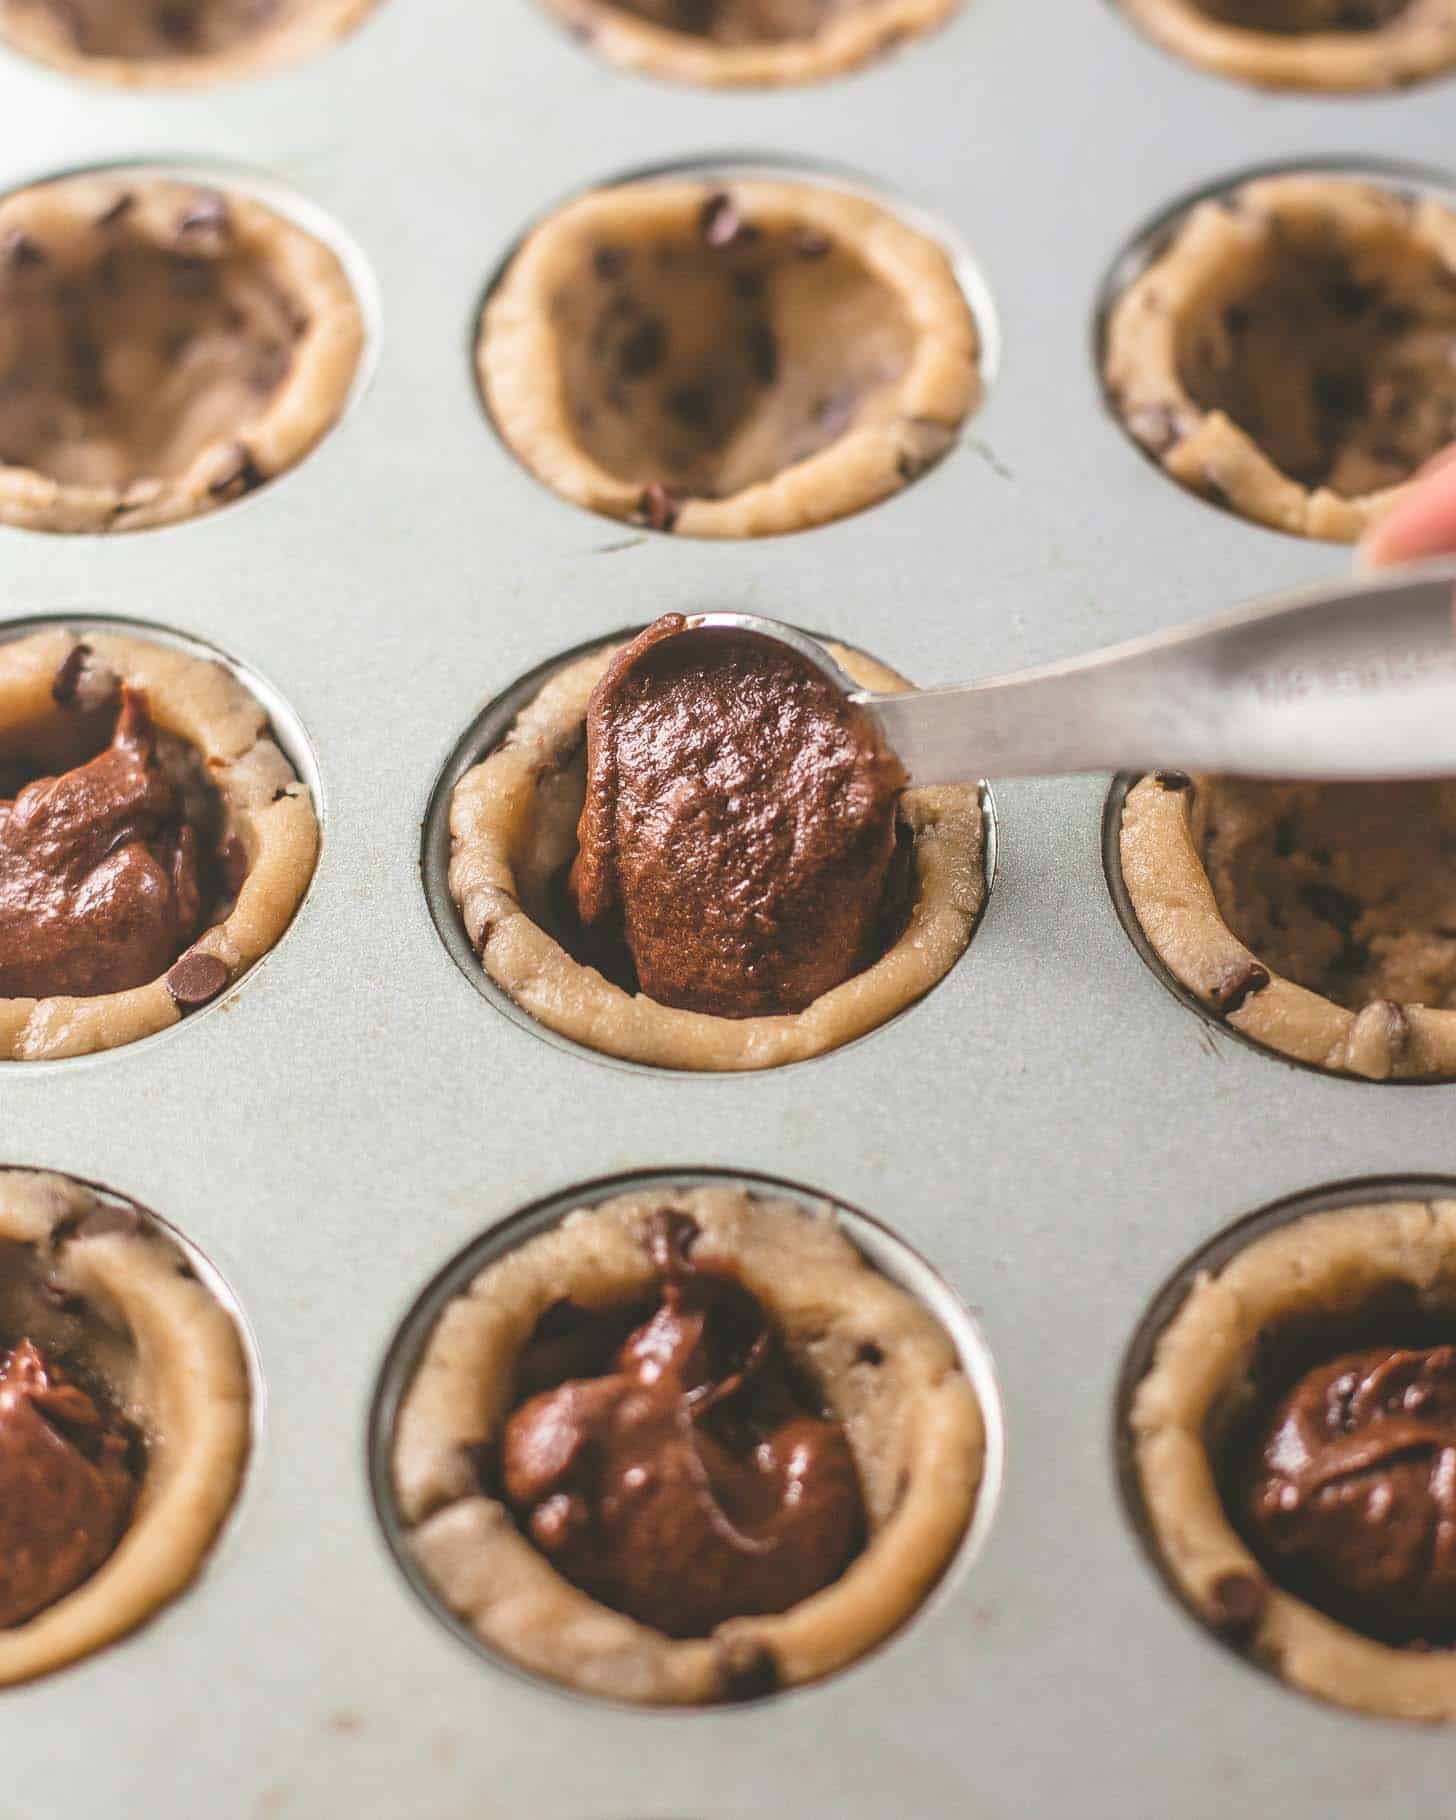
Step 3: Assemble the Brownie Bites
This step is the only one that takes a bit of time, but they’ll come out great with these steps and tips:
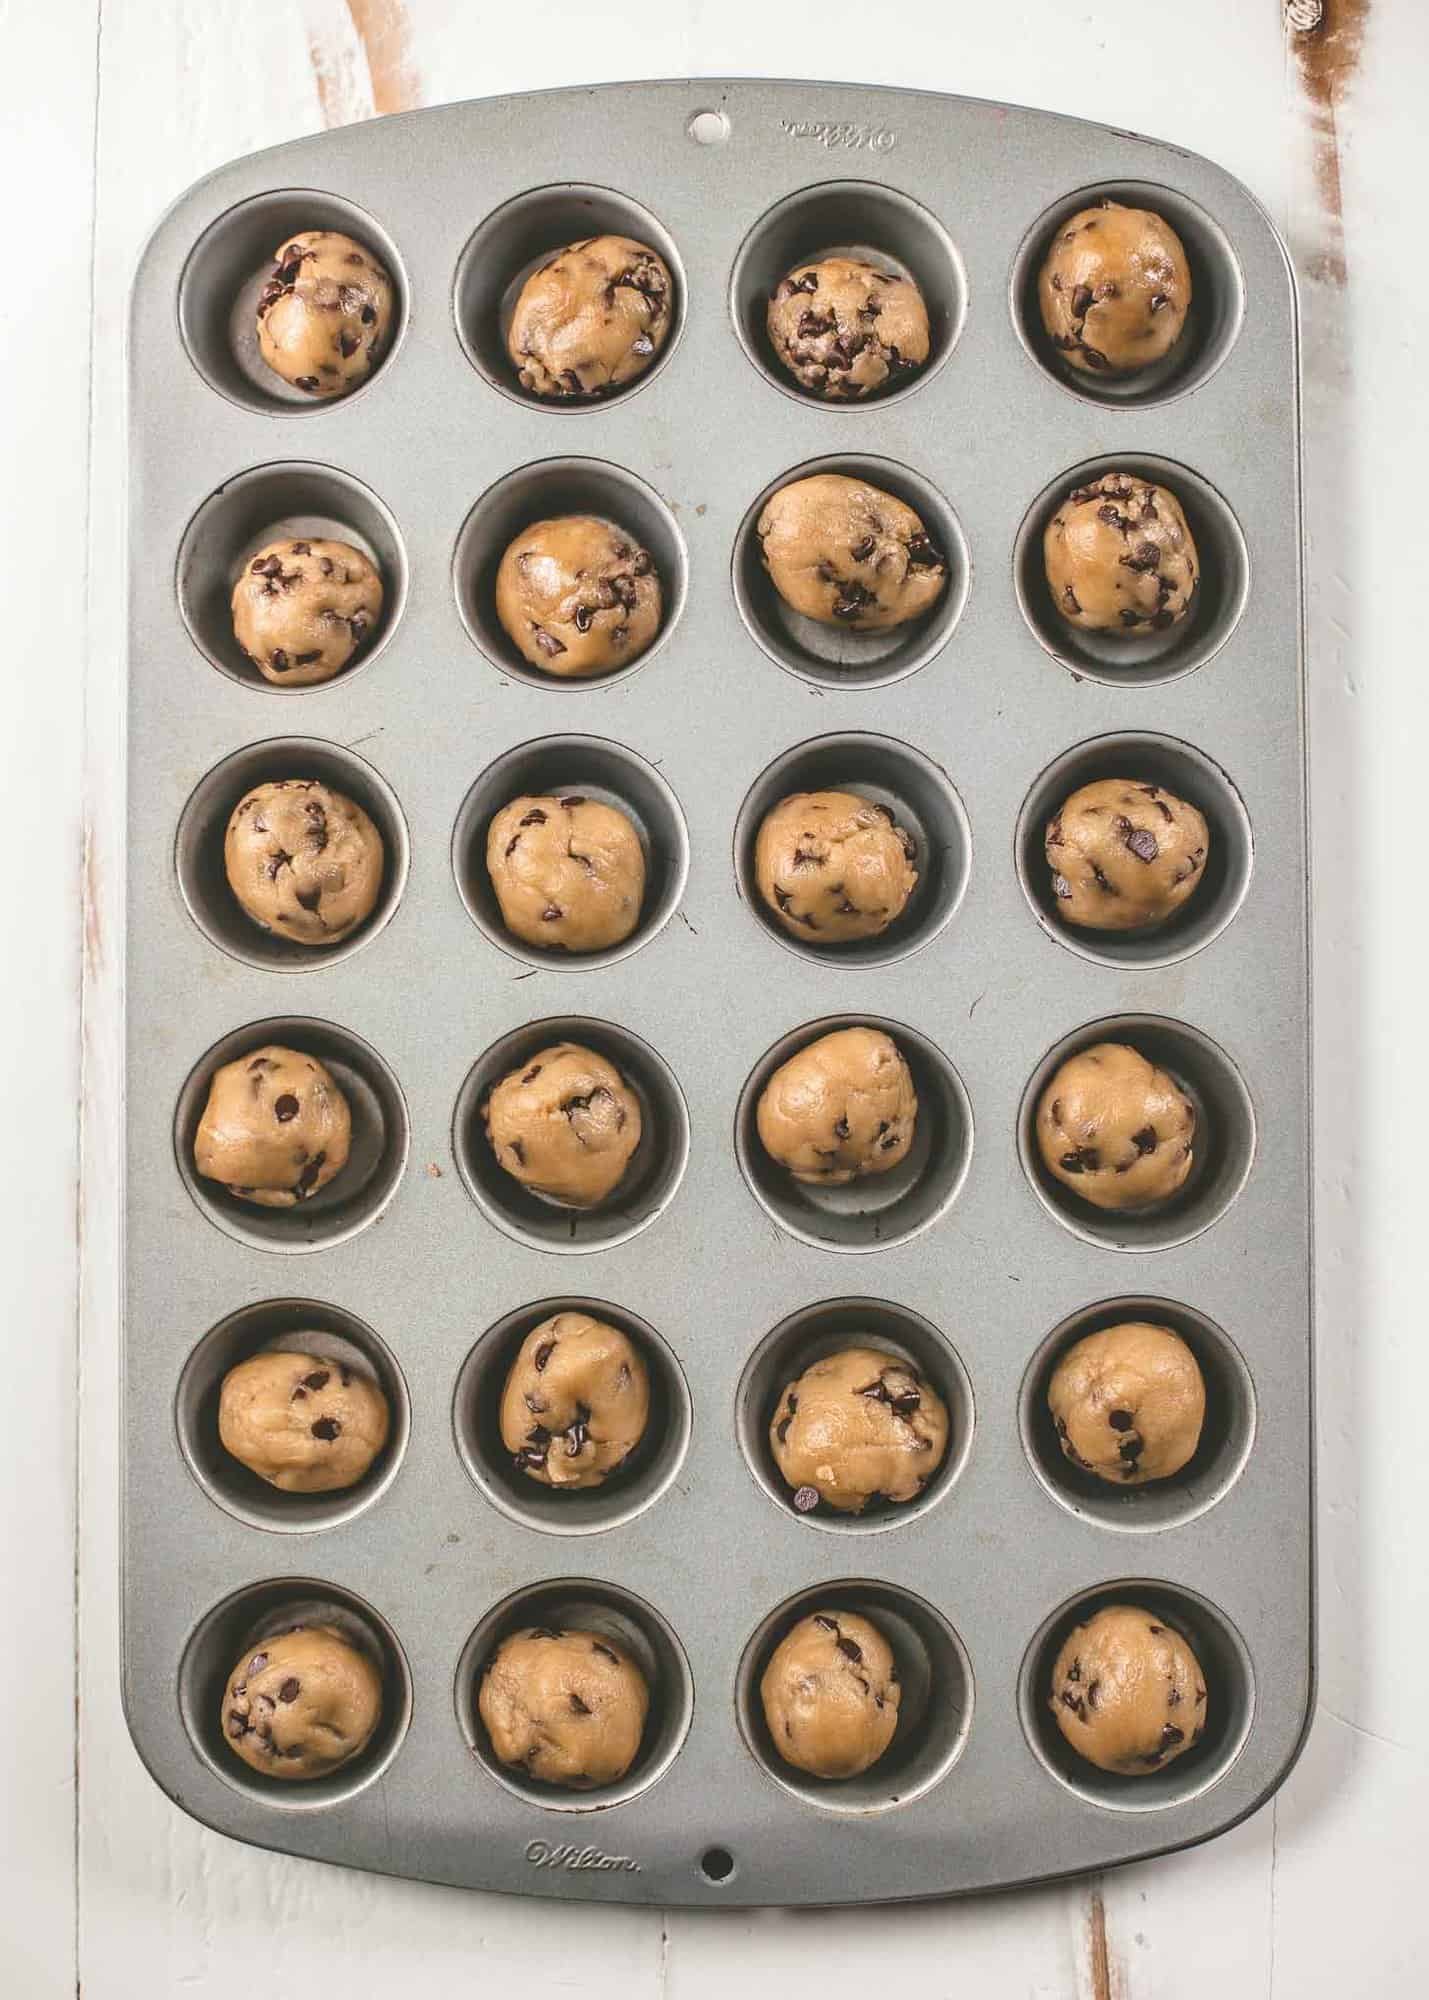
- To start, divide the chocolate chip cookie dough between all 24 spaces of the pan, moving dough around as needed until it looks even.
- Next, roll all of the chocolate chip cookie dough into balls (this will set you up to easily form the tart shells).
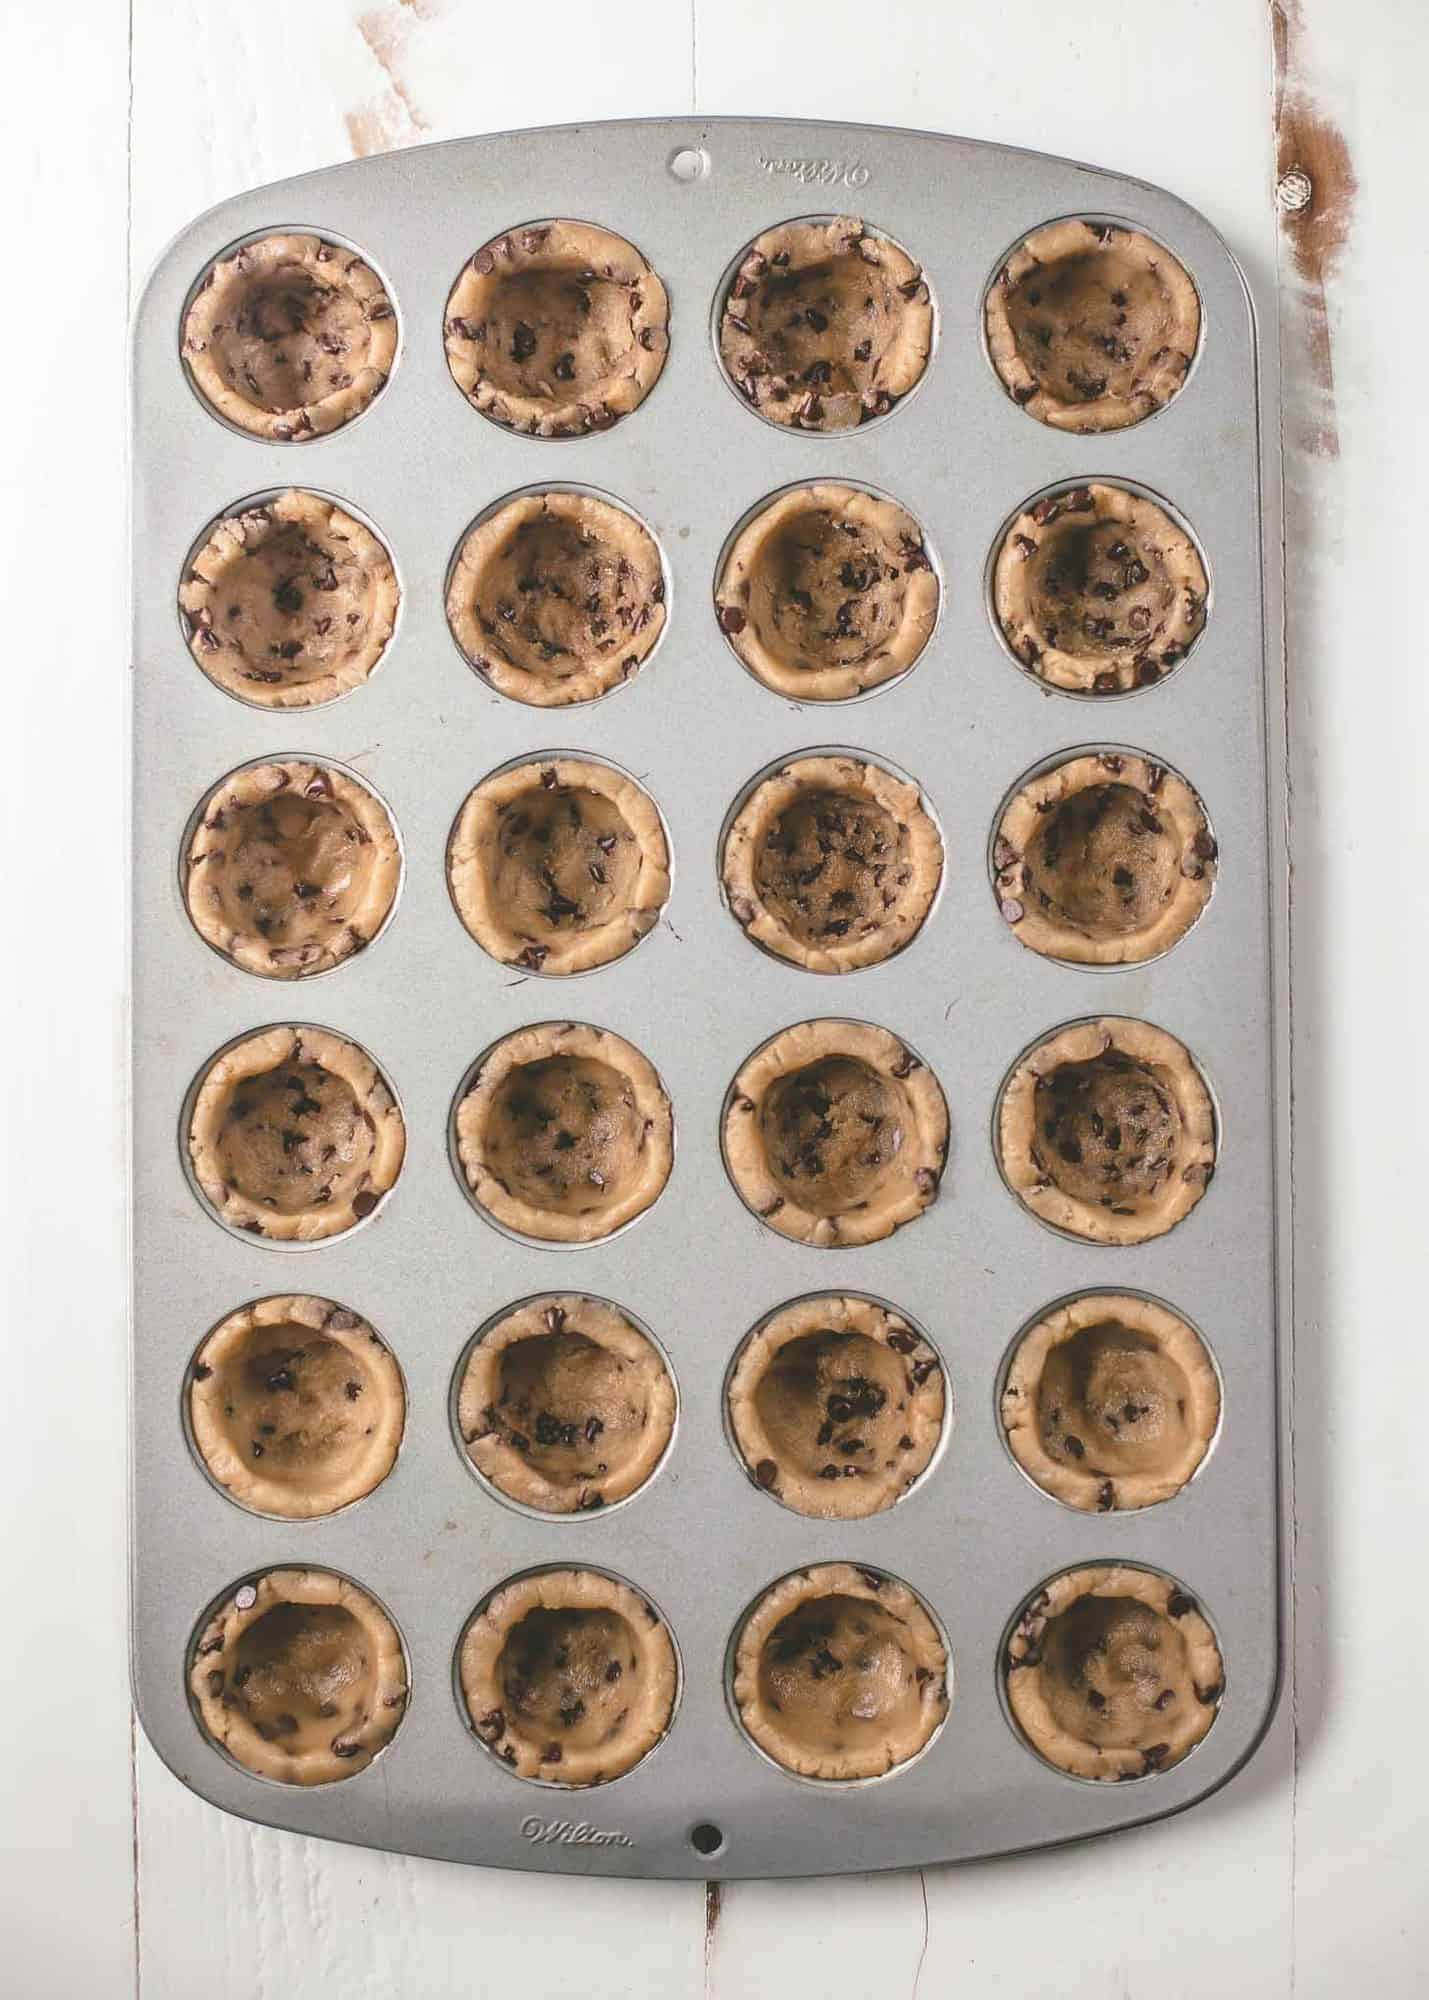
- Using your fingers press down on the center of the dough balls until they are spread out over the entire inside of the muffin tin spaces. If the dough is too sticky to work with, dip the tips of your fingers in water.
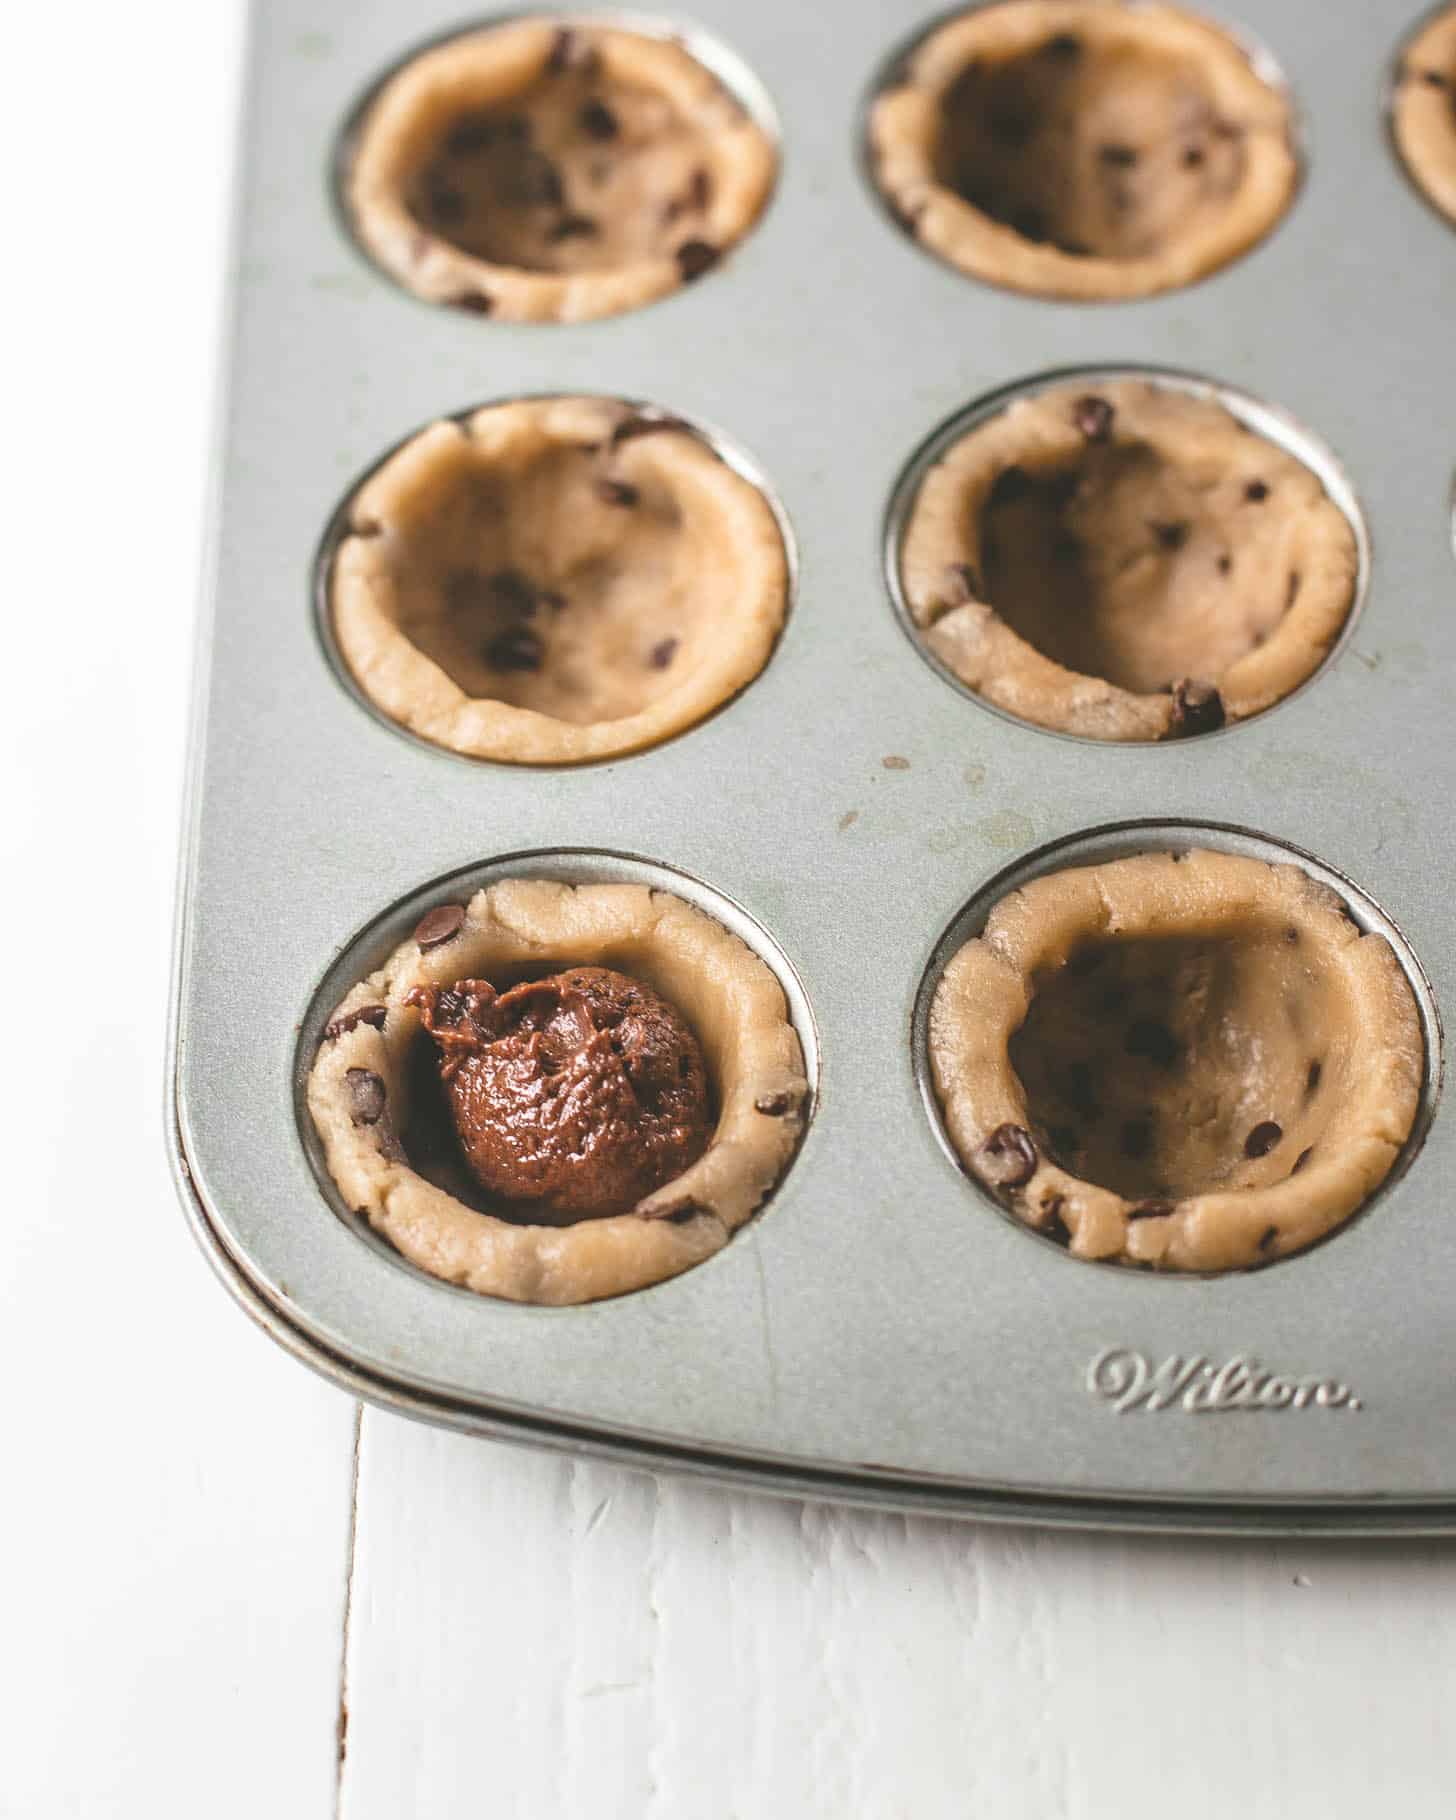
- Fill the cookie crusts evenly with brownie batter. There is just enough batter to fill the tart shells about ¾ full. It will rise nearly to the top of the shells during baking.
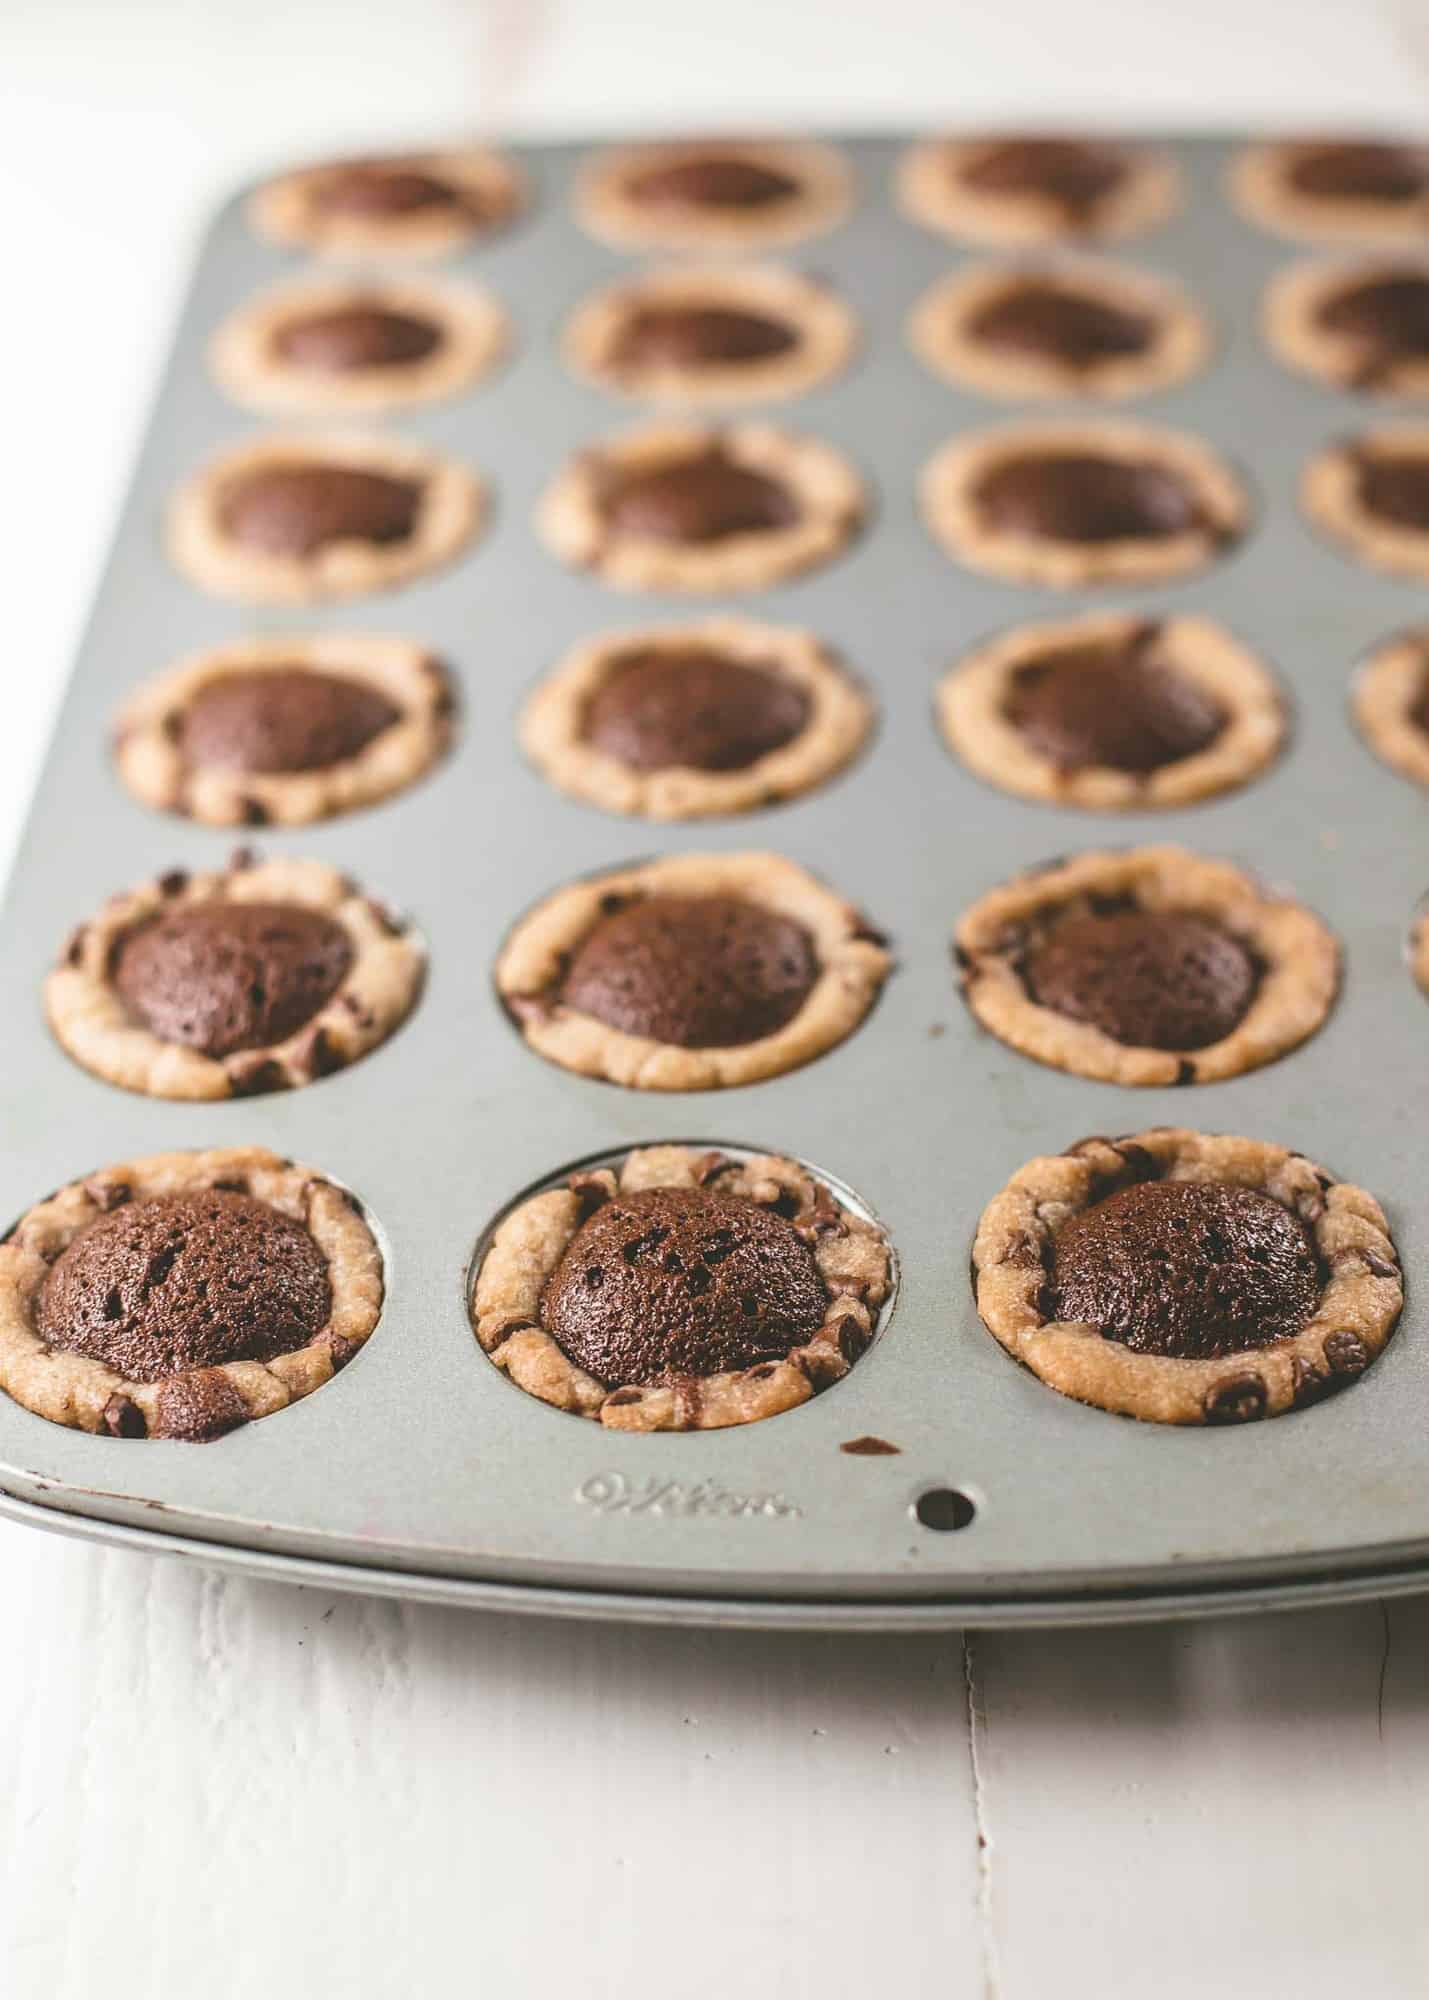
- Look to the center of the brownie filling to tell if these are done baking. The center should look a tiny bit shiny and wobbly but will set up as it cools.
FAQs
It’s important to use unsalted butter in these desserts so that you have control over how much salt they contain. If all you have is salted butter, you can definitely still make these, but skip the pinch of salt in the cookie crust and be aware that the finished Chocolate Chip Brownie Tarts may not be as sweet.
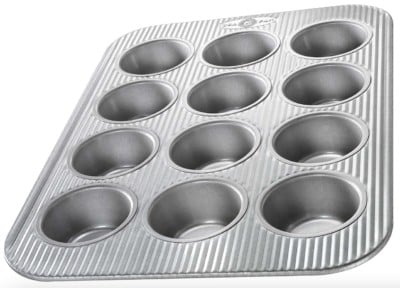
Yes! One of the most common questions I get about these brownie tarts is if they can be baked in a regular muffin tin. If you don’t have a mini muffin tin, I’ve got you covered! See the notes section in the recipe for alternative baking instructions, but the ingredients and process for shaping the tarts is the same. You’ll need to make a single batch of chocolate chip cookie crust but a double batch of brownie filling.
This makes 12 tarts in a regular muffin tin (below is an image of the recipe in a regular muffin tin).
More Bite-Sized Recipes


Pin this now to save it for later
Pin It Now
Brownie Tarts
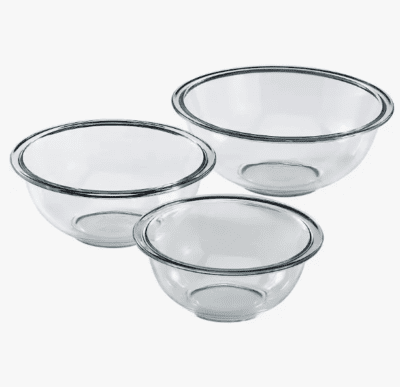
Equipment
- Mixing Bowl
- Small Saucepan
- Mini Muffin Tin
Ingredients
Chocolate Chip Cookie Crust:
- 6 Tablespoons Unsalted Butter, melted
- 1/2 cup Light Brown Sugar, packed
- 2 Tablespoons White Sugar
- 1 Large Egg
- 1/2 teaspoon Pure Vanilla Extract
- 1 1/2 cup All-Purpose Flour (187 grams)
- 1 pinch Kosher Salt
- 1/2 cup + 1 Tablespoon Mini Chocolate Chips
Brownie Filling:
- 6 Tablespoons Unsalted Butter
- 1/4 cup White Sugar
- 3 Tablespoons Unsweetened Cocoa Powder (not Dutch process)
- 1 Large Egg
- 1 Tablespoons All-Purpose Flour
- Flaked Sea Salt, for topping (optional; but I like Maldon Sea Salt Flakes)
Instructions
- Preheat oven to 325 F. Grease a mini muffin tin (you’ll need one that has 24 spaces or will need to bake these in batches; see note if using a regular muffin tin).
- Prepare Crust: In a medium mixing bowl, beat together butter (just the portion for the cookie crust) and both sugars until smooth. (Note: you can do this by hand or using a mixer.) Add egg and vanilla and stir to combine. Add flour and salt and mix well. Stir in mini chocolate chips.
- Put the chocolate chip cookie dough in the refrigerator to chill while making the brownie filling (chilling the dough briefly will make it easier to work with).
- Prepare Brownie Filling: In a small saucepan, heat butter (portion for the filling) just until melted. Remove from heat and whisk in sugar and cocoa powder until smooth. Whisk in egg and 1 Tbsp flour. Set mixture aside until cool enough to touch (this should take about 10 minutes; you can transfer the batter to a mixing bowl and put it in the refrigerator if you want to cool it more quickly.)
- Assemble the Brownie Bites: Divide the cookie dough evenly between the spaces of a muffin tin. (Just drop the dough into the spaces to start, and rearrange as needed utnil each space contains about the same amount.) Roll each ball of dough into an even round. Use your fingers to press the dough out into the sides of the muffin tin, creating a thin tart shell. (Note: if the dough sticks, dip your fingertips in water first.)
- Divide brownie batter evenly between tart shells.
- Bake until the brownie filling is puffed and just barely set in the middle, 9 to 11 minutes.
- If you'd like, add a tiny pinch of flaked sea salt (like Maldon) to the top of each tart as soon as they come out of the oven. (This is optional, but I always love the balance and texture that comes from a tiny pinch of salt on sweet baked goods.)
- Let tarts cool in the muffin pan.
- Store in a sealed container at room temperature for up to 3 days.
Notes
Nutrition
Nutrition information is automatically calculated, so should only be used as an approximation.


Any idea when you will have the updated version of the new savage? Mary
thanks for the reply – they turned out great!
2 questions, First – is the problem with scaling it up baking them in a 24 cup tin? If you made the double batch and used 2 separate 12 cup tims I wouldn’t think there would be an issue??
Second – I just made these (haven’t tasted yet) – just 12. I took them out with the edges of the brownie just set as instructed (around 11 minutes). I had a small ramekin also in the oven with the extra brownie batter. I left it in a few more minutes and noticed that it puffed. My mini muffins never did that and I was already skeptical that the cookie part was raw so I put them back in for a few minutes until they puffed (still not cooked through but not really wobbly). This also made the cookie crust more set. I cooled them all the way in the pan and just removed them. They look perfect. The cookie still seems a but underdone on the bottom, but the top seems to have a little crisp to it. I am optimistic that they will be delicious and not dry. When you say the edge of the brownies are just set are yours puffed up?
Hi Tracy – hope the final result turned out! Your question about scaling up is a good one, but based on the experience of other readers, baking them in two separate muffin tins doesn’t seem to resolve the problem. I’m working on a recipe for a larger batch, so that will be coming out soon. You are correct that the brownie center always puffs up slightly at the end of baking. Since each oven is a bit different, the point at which both the cookie and brownie are cooked just right varies, but it sounds like you found just the right moment!
Are these good if I bake them the day before I serve? If they are, what is your recommended method of storing? Love the recipe!!
Really nice recipe. Can you make this in advance ? Can I prepare them on December
24 and serve them the 25? Thanks. Merry Christmas!
Hi. These are quite decadent, but I’m having a hard time getting these out of the tin without coming apart. What type of utensil did you use to scoop out the tarts in one piece? Your pictures posted are beyond perfect!!
Thank you!
Hi Katie! The only trick you need is to let the tarts cool completely in the muffin tin before trying to take them out. During testing I made this mistake many times and they would fall apart when I tried to take them out if they were still warm. It’s always tempting to eat them a little bit warm, but these need to cool for a good long time before being moved. Hope that helps, and hope you enjoy them!!
LOVE! LOVE! LOVE! These look so indulgent + delicious! Can’t wait to try them! Thank you! 🙂
They lokk great, I will try them today. Thanks for charing the recipe
These look so yummy! I’d like to make them for company this weekend. Can I double or triple the recipe?
Hi Lital! I apologize – I just saw your question, but yes I have made a double batch of these and it turned out great. I’m sure you should be fine if you double or triple them!
Hi well i love baking and its something totally so new to try it out..thanks for new ideas, I’ll sure bake them soonand let my friends know about it too