Brownie Tarts

Published Jul 24, 2020•Updated Oct 29, 2025
This post may contain affiliate links. Please read our disclosure policy.
This is one of the most popular recipes on my website! Thanks so much for stopping by! After 10 years, these Brownie Tarts remain one of my favorite sweet little desserts for a part, a dessert spread, or a Cookie Exchange. There’s no mixer required for these sweet two-bite brownie tarts.
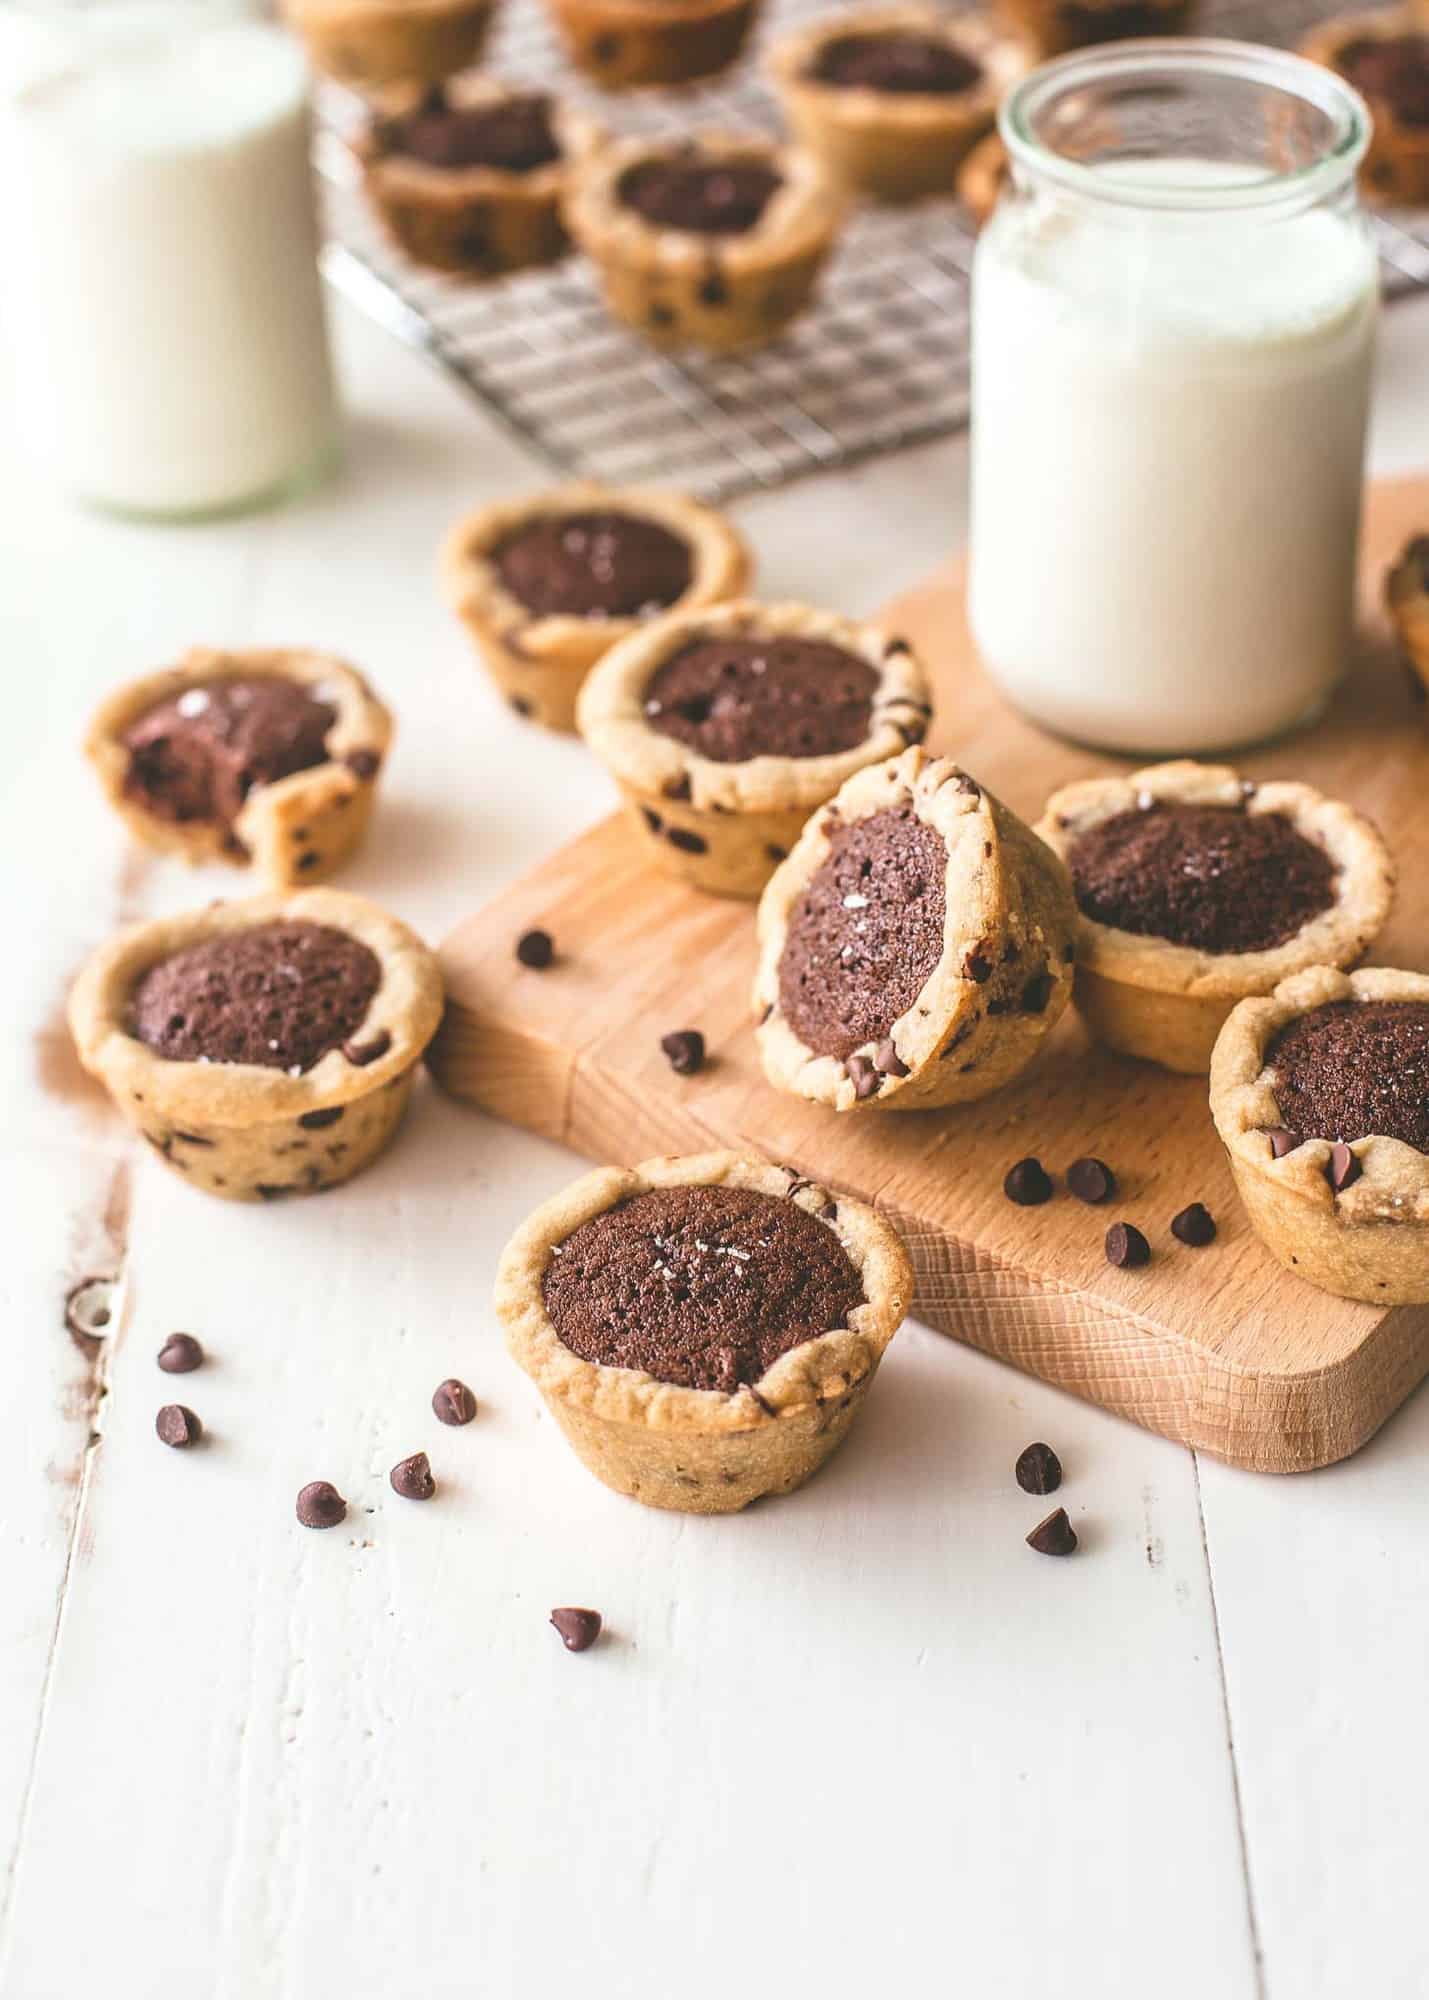
Over the years, I’ve received so many comments and questions about this fun recipe that I wanted to revisit it. The post below has been completely updated to answer all of the most commonly asked questions. I’ve also added all new photos! And if you love chocolate chips, don’t miss my most popular dessert recipe (with over 1,000 positive reviews), Crispy and Chewy Chocolate Chip Cookies or my incredibly Easy Banana Bread.
Pin this now to save it for later
Pin It NowThe biggest change to the recipe is that I updated it to create 24 mini tarts. The original version made only 12 mini tarts which I heard over and over, just wasn’t enough! This has been re-worked from the ground up to give you a brand new version of the brownie bites that is even better than the original.
Here’s how to make these sweet bite-sized brownie tarts.
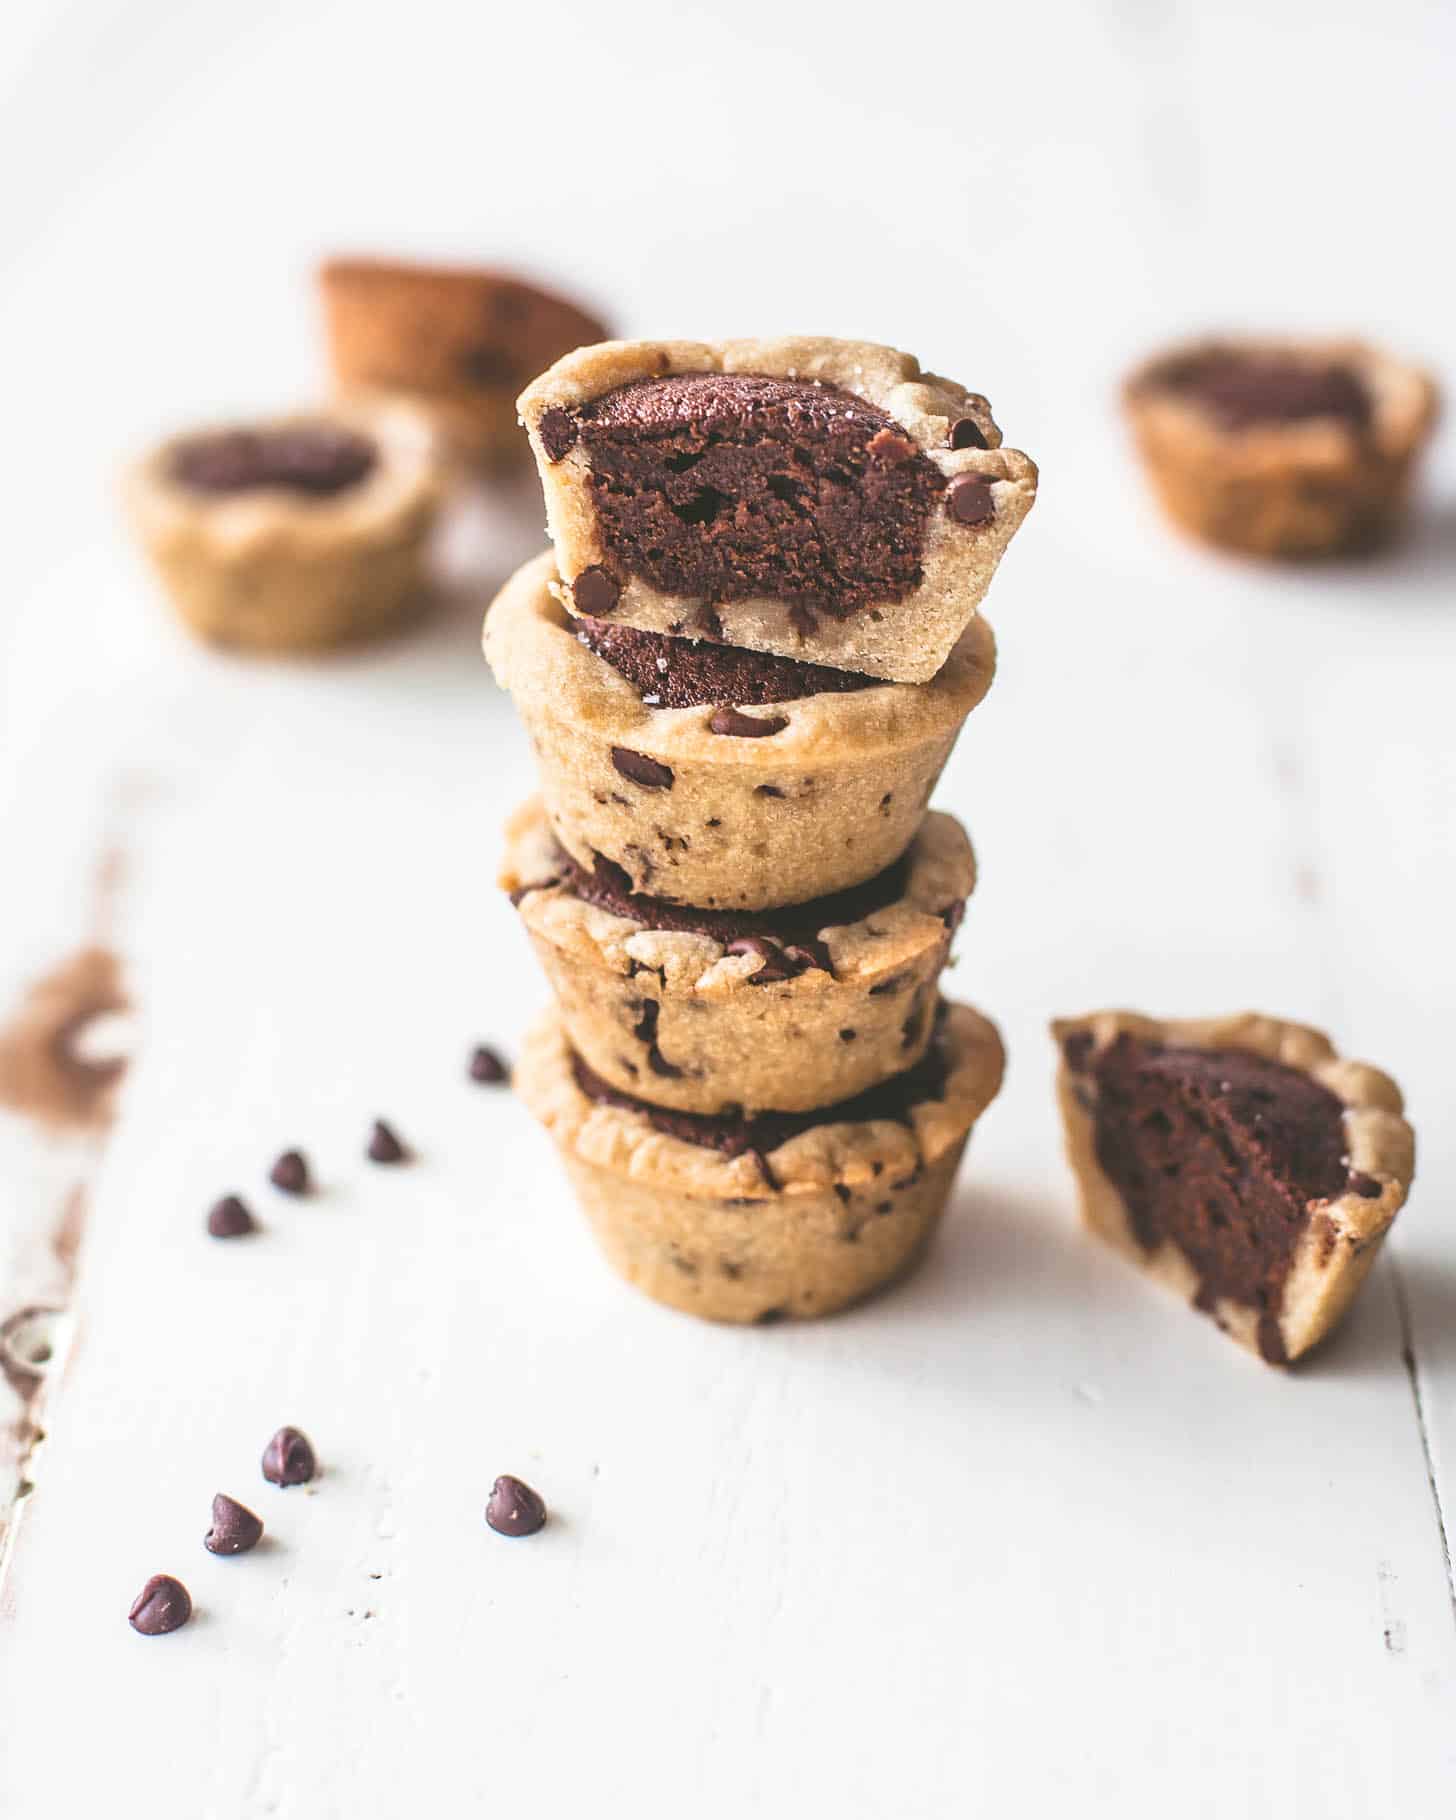
Step 1: Make Chocolate Chip Cookie Crust
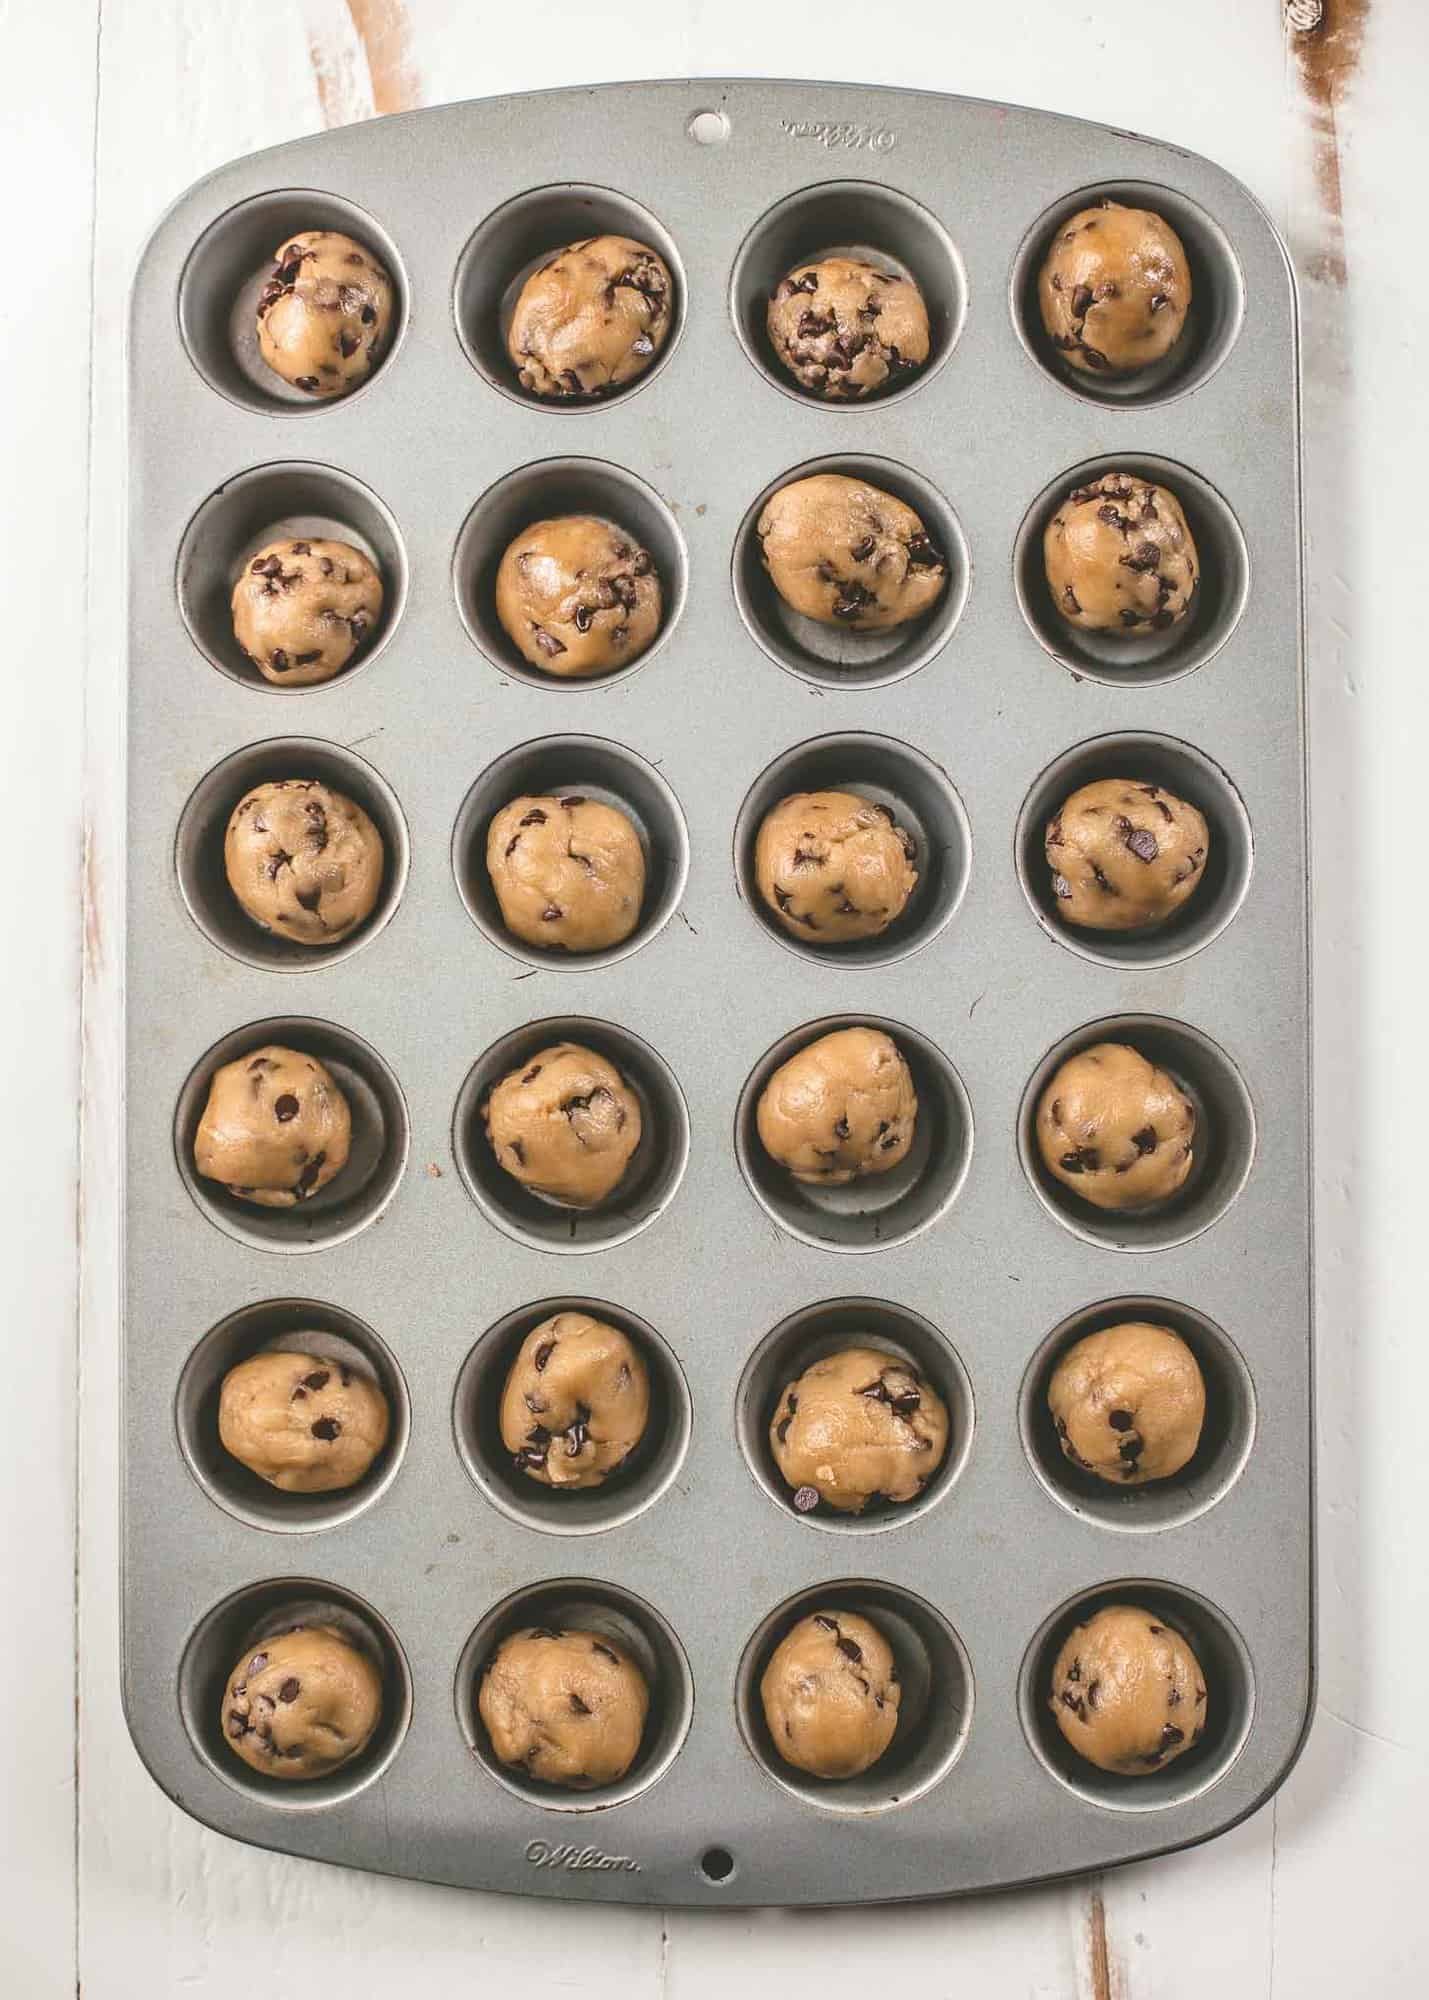
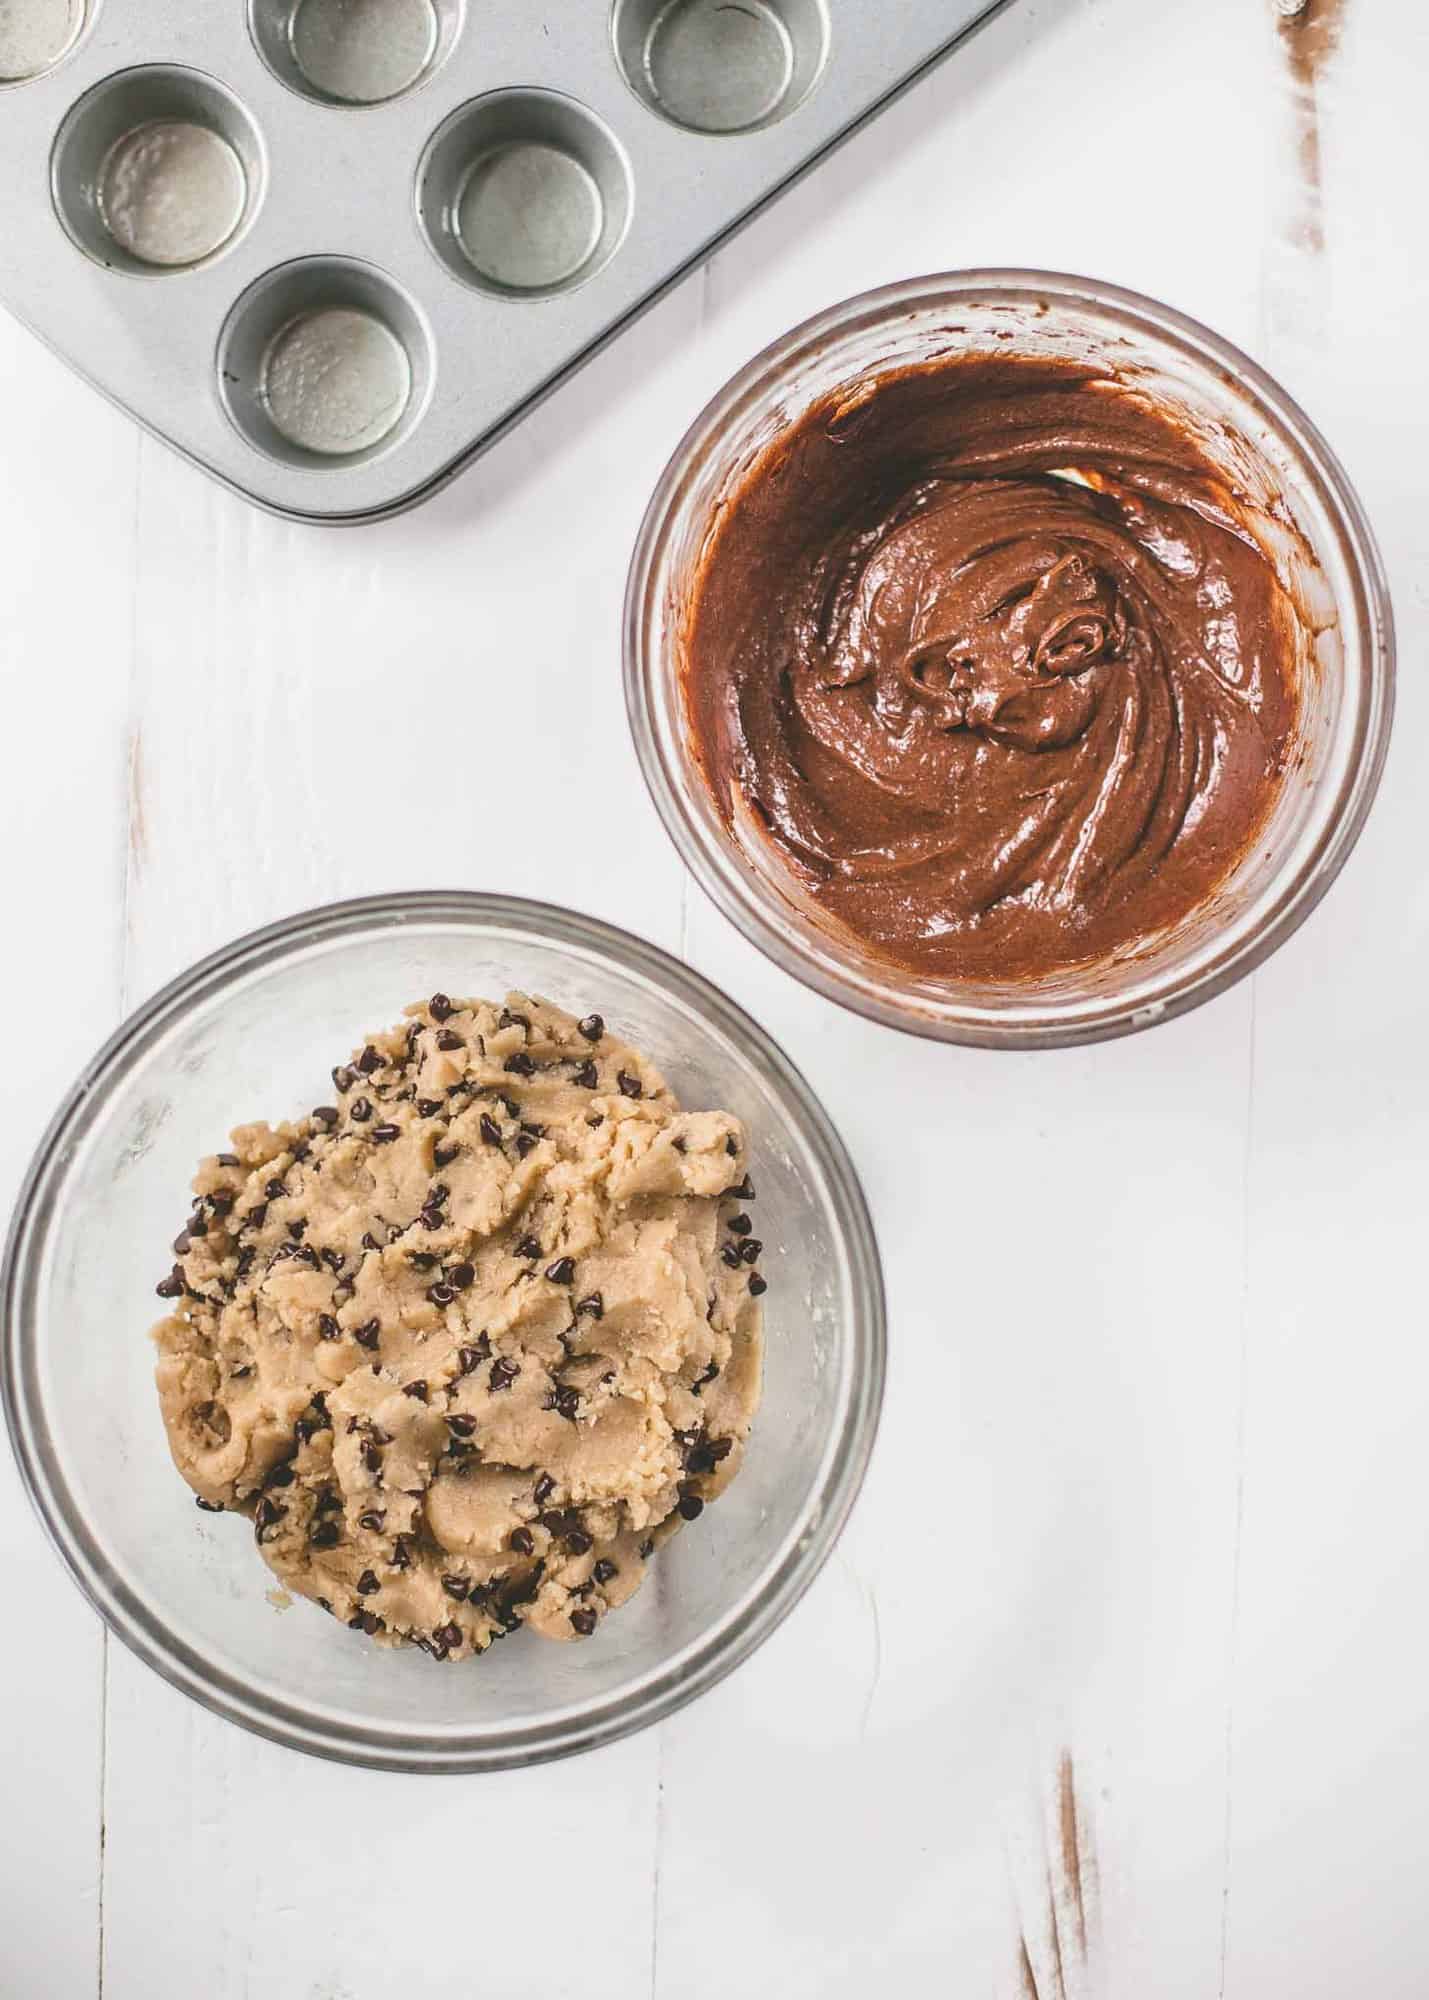
The base of these tarts is a basic chocolate chip cookie recipe. To keep things simple, I wanted to be sure that you could dive right into baking these. No need to wait for butter to soften. The cookie crust starts with melted butter. You can easily mix this all by hand – no need to pull out the mixer.
In order to make the crust easy to work with, refrigerate it while making the brownie filling. There’s no set time required for refrigerating the crust, but cold dough is much easier to work with, making the crust easier to form.
Step 2: Make the Brownie Filling
The filling for the tarts is a rich, chocolate brownie. You’ll need a saucepan to melt the butter and can mix all of the other brownie ingredients right inside the saucepan. Just be sure to follow the instructions provided to give the batter some time to cool off before adding the egg. You don’t want the egg to start cooking before these get transferred to the oven!
And don’t sneak any spoonfuls of the brownie batter! This recipe makes exactly enough to fill the tarts.
Step 3: Assemble the Brownie Bites
This step is the only one that takes a bit of time, but they’ll come out great with these steps and tips:
- To start, divide the chocolate chip cookie dough between all 24 spaces of the pan, moving dough around as needed until it looks even.
- Next, roll all of the chocolate chip cookie dough into balls (this will set you up to easily form the tart shells).
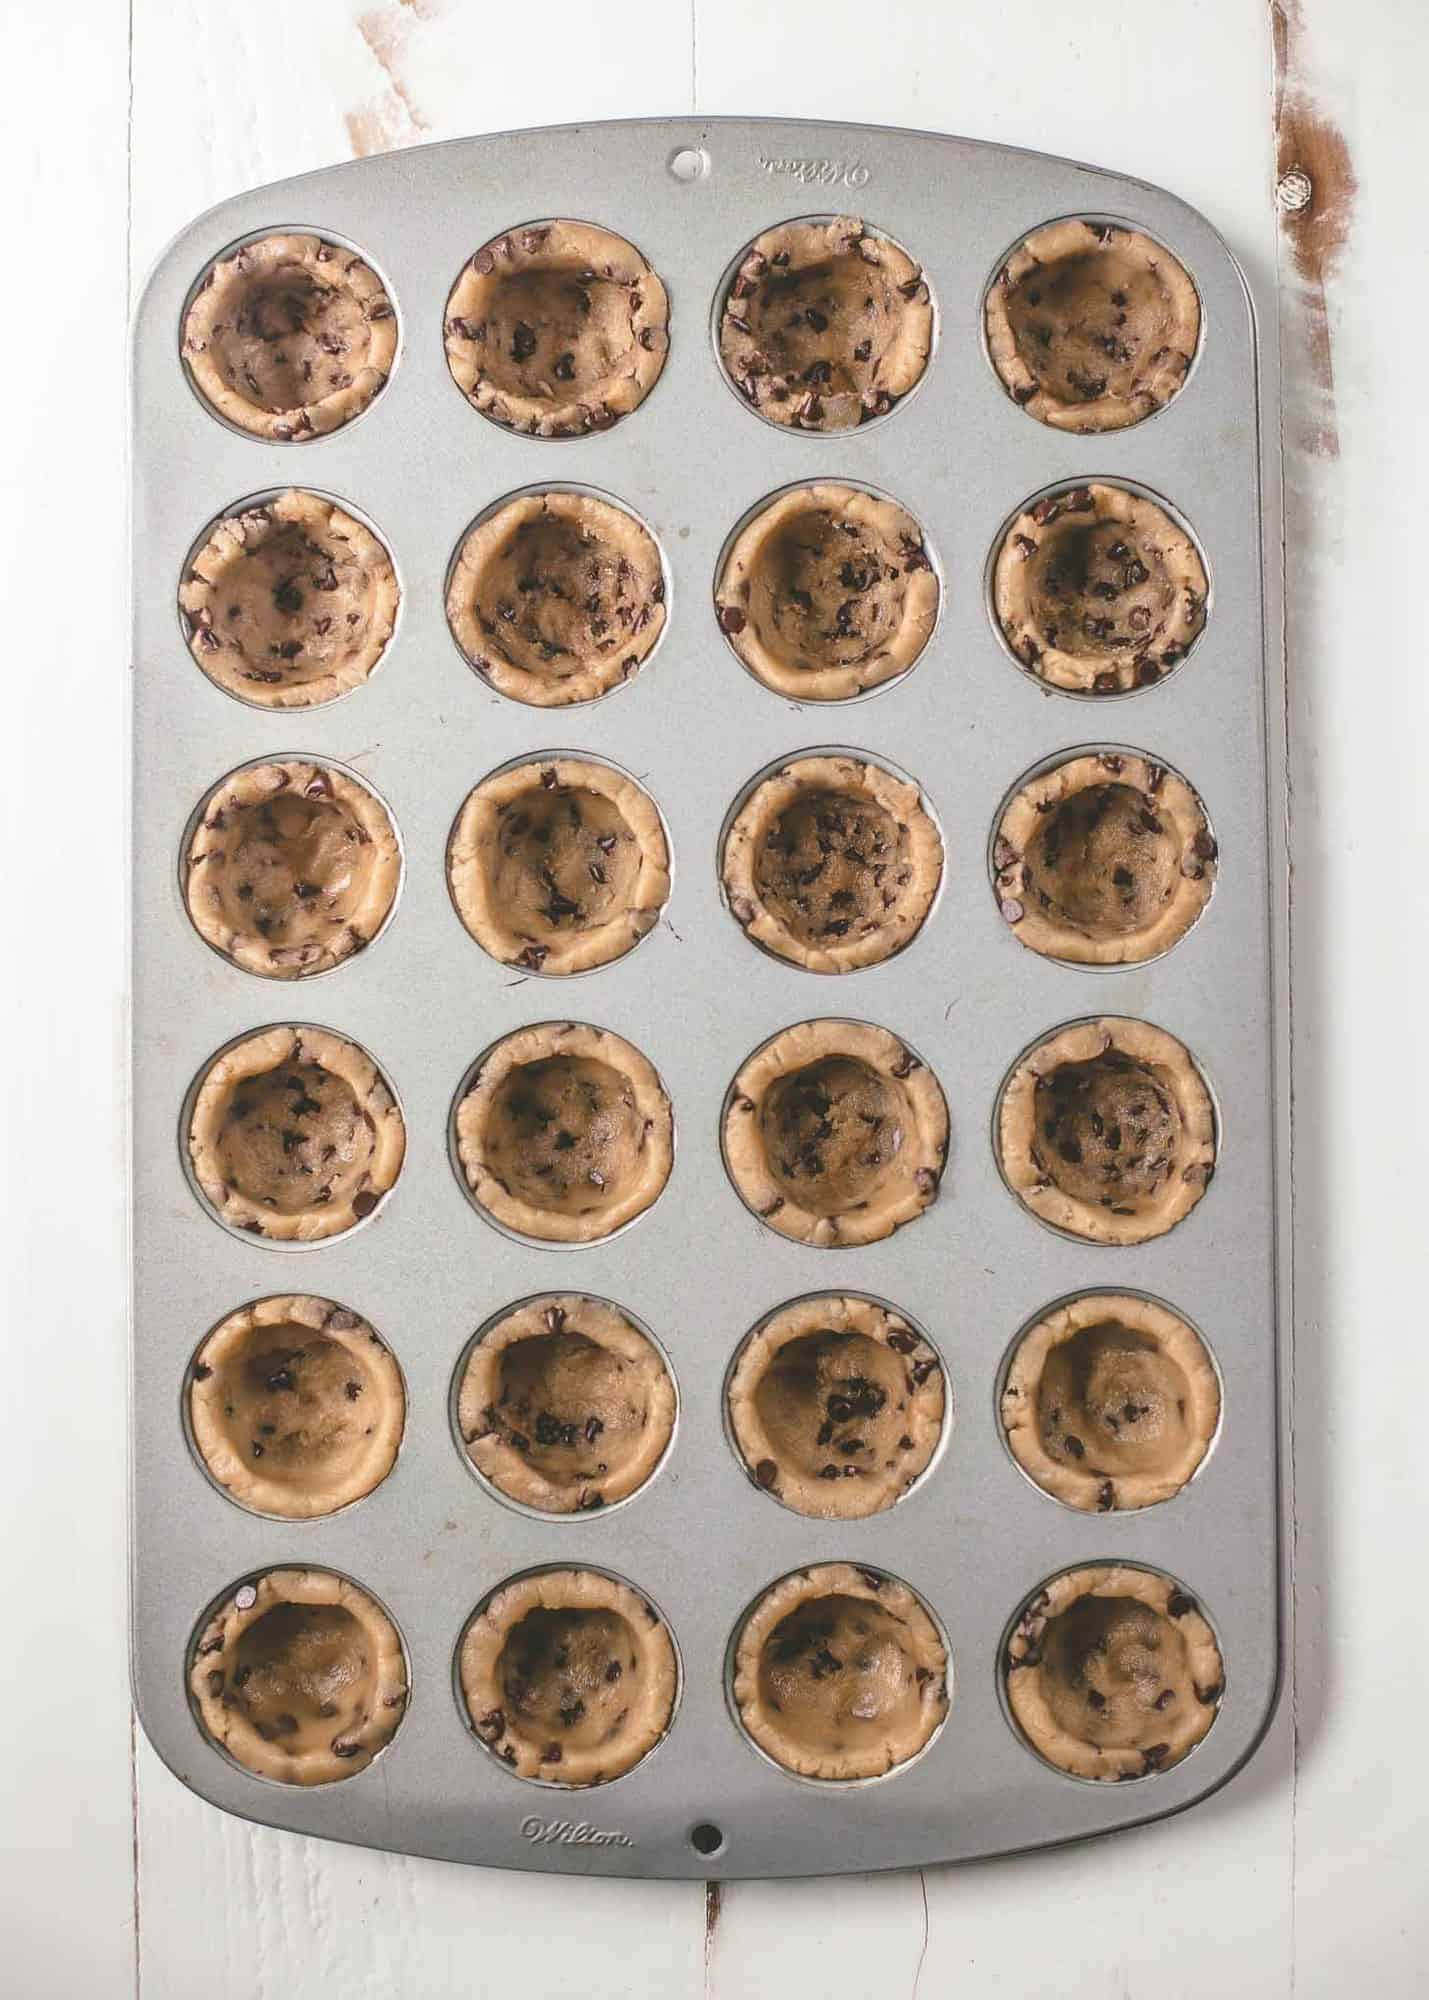
- Using your fingers press down on the center of the dough balls until they are spread out over the entire inside of the muffin tin spaces. If the dough is too sticky to work with, dip the tips of your fingers in water.
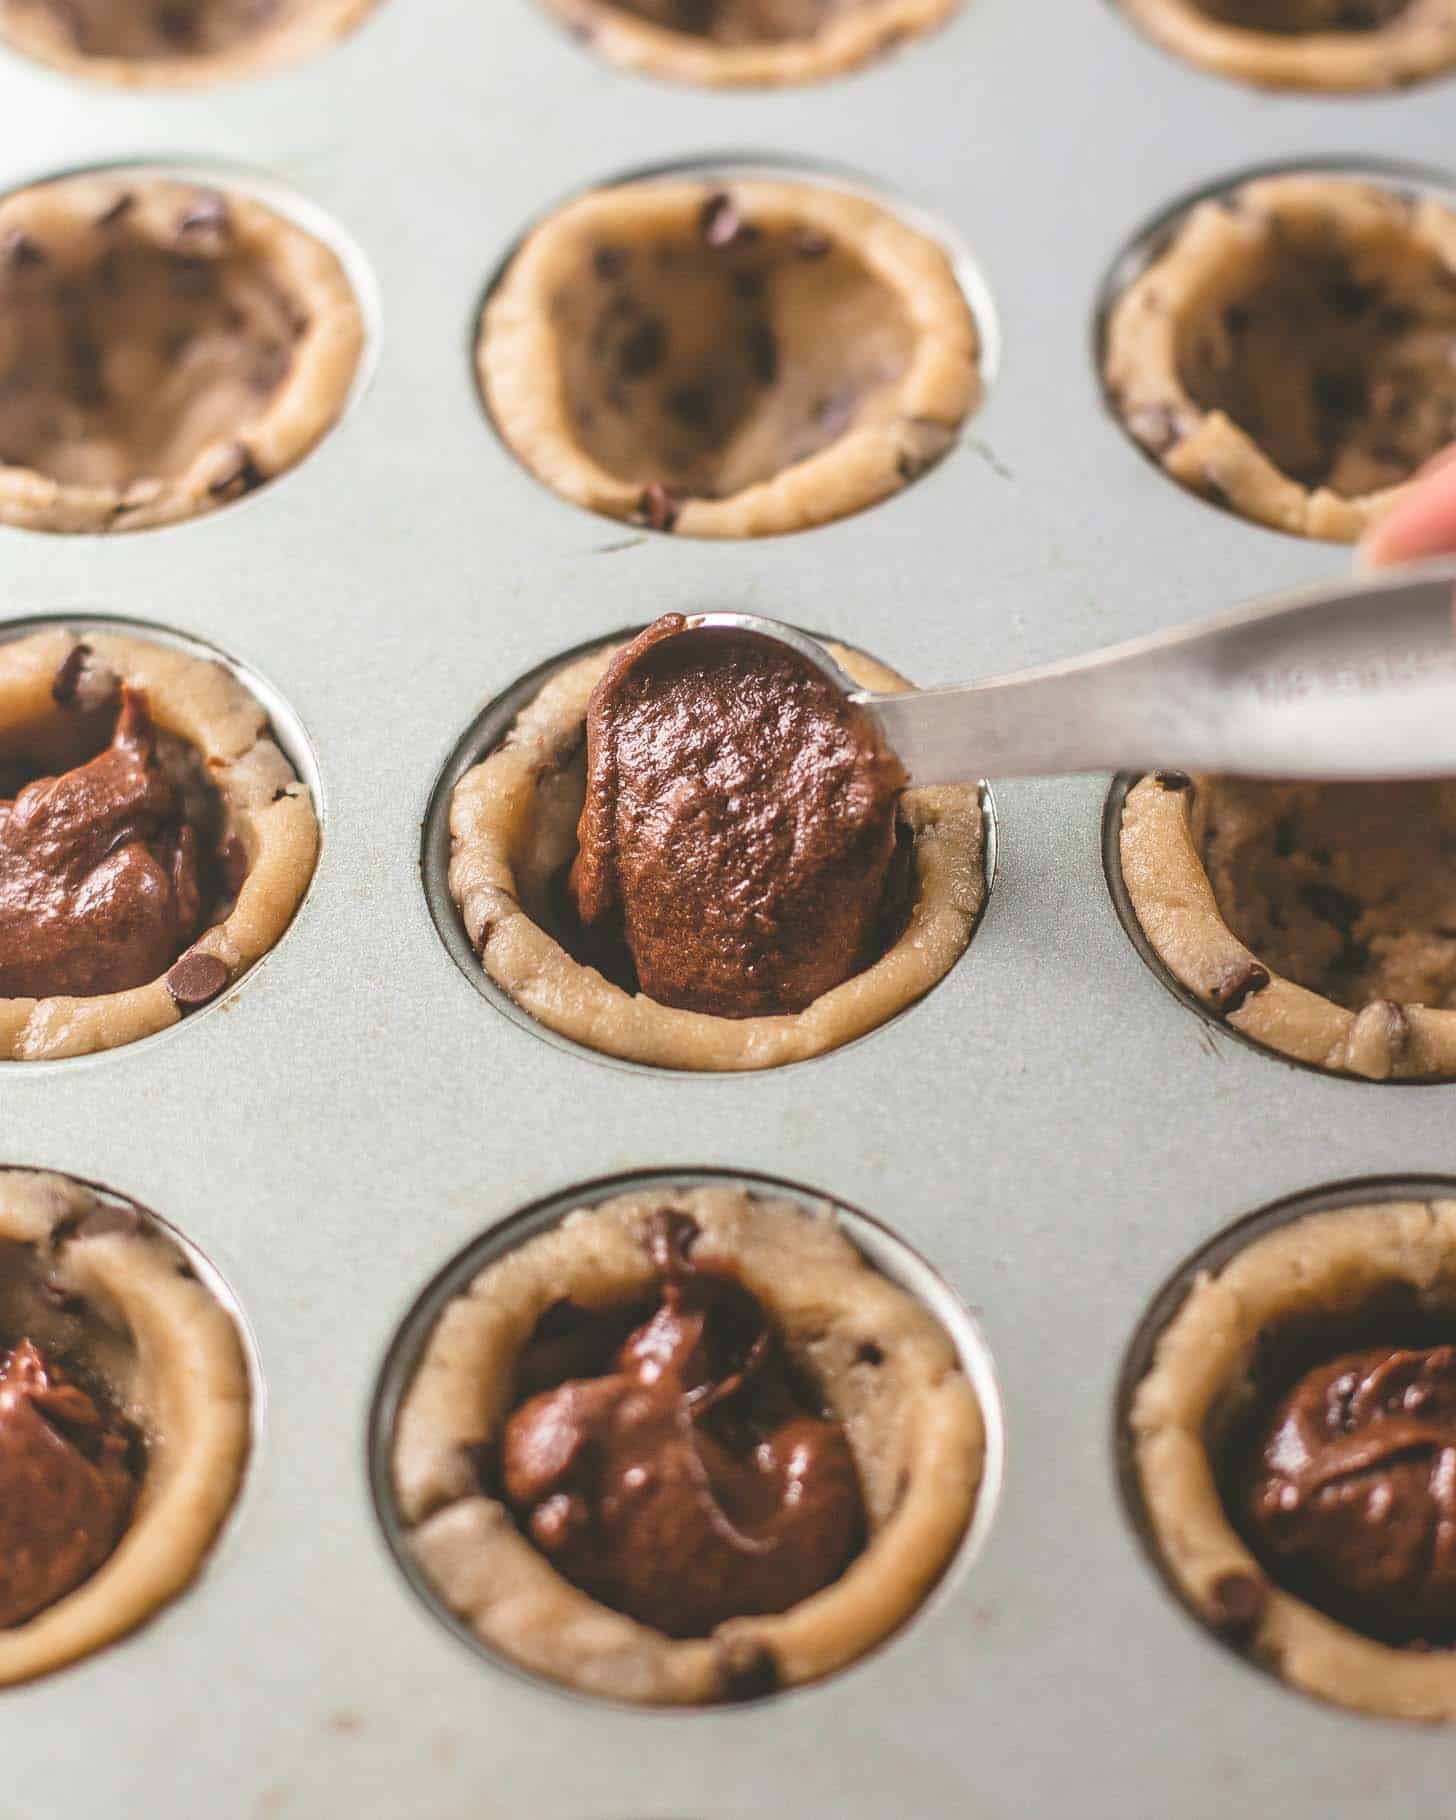
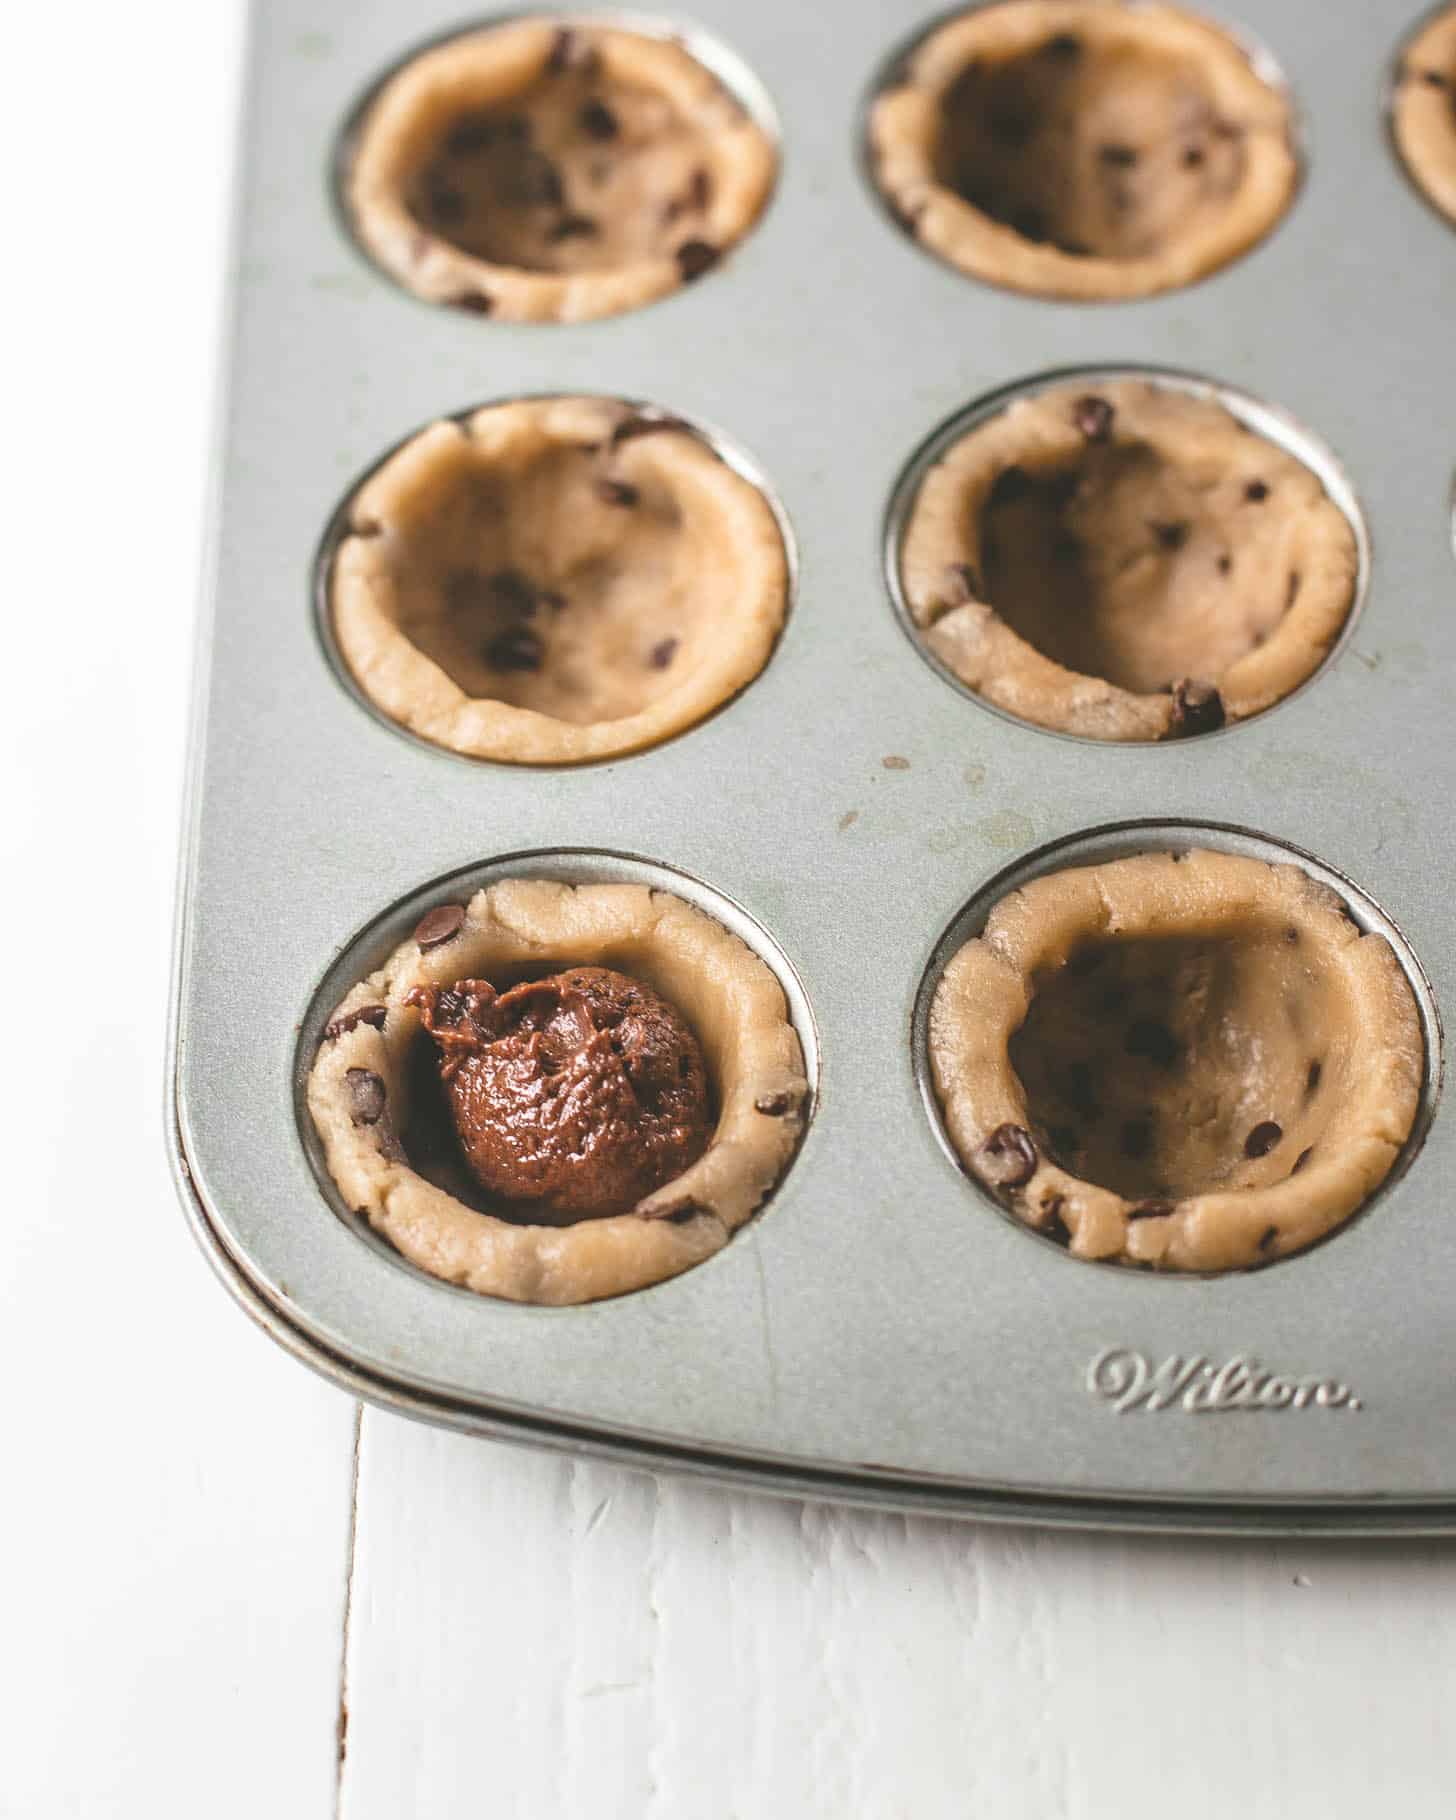
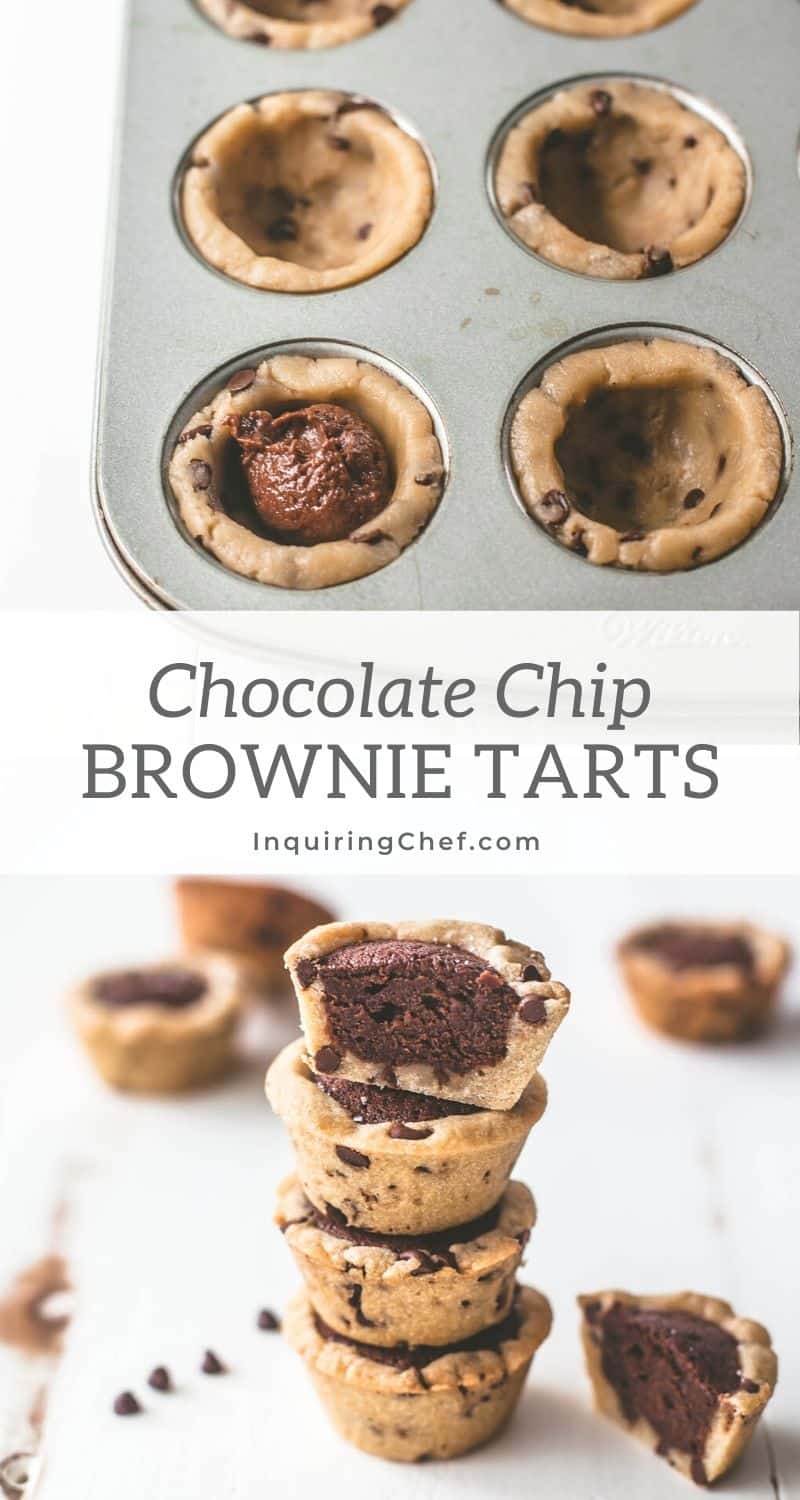
- Fill the cookie crusts evenly with brownie batter. There is just enough batter to fill the tart shells about ¾ full. It will rise nearly to the top of the shells during baking.
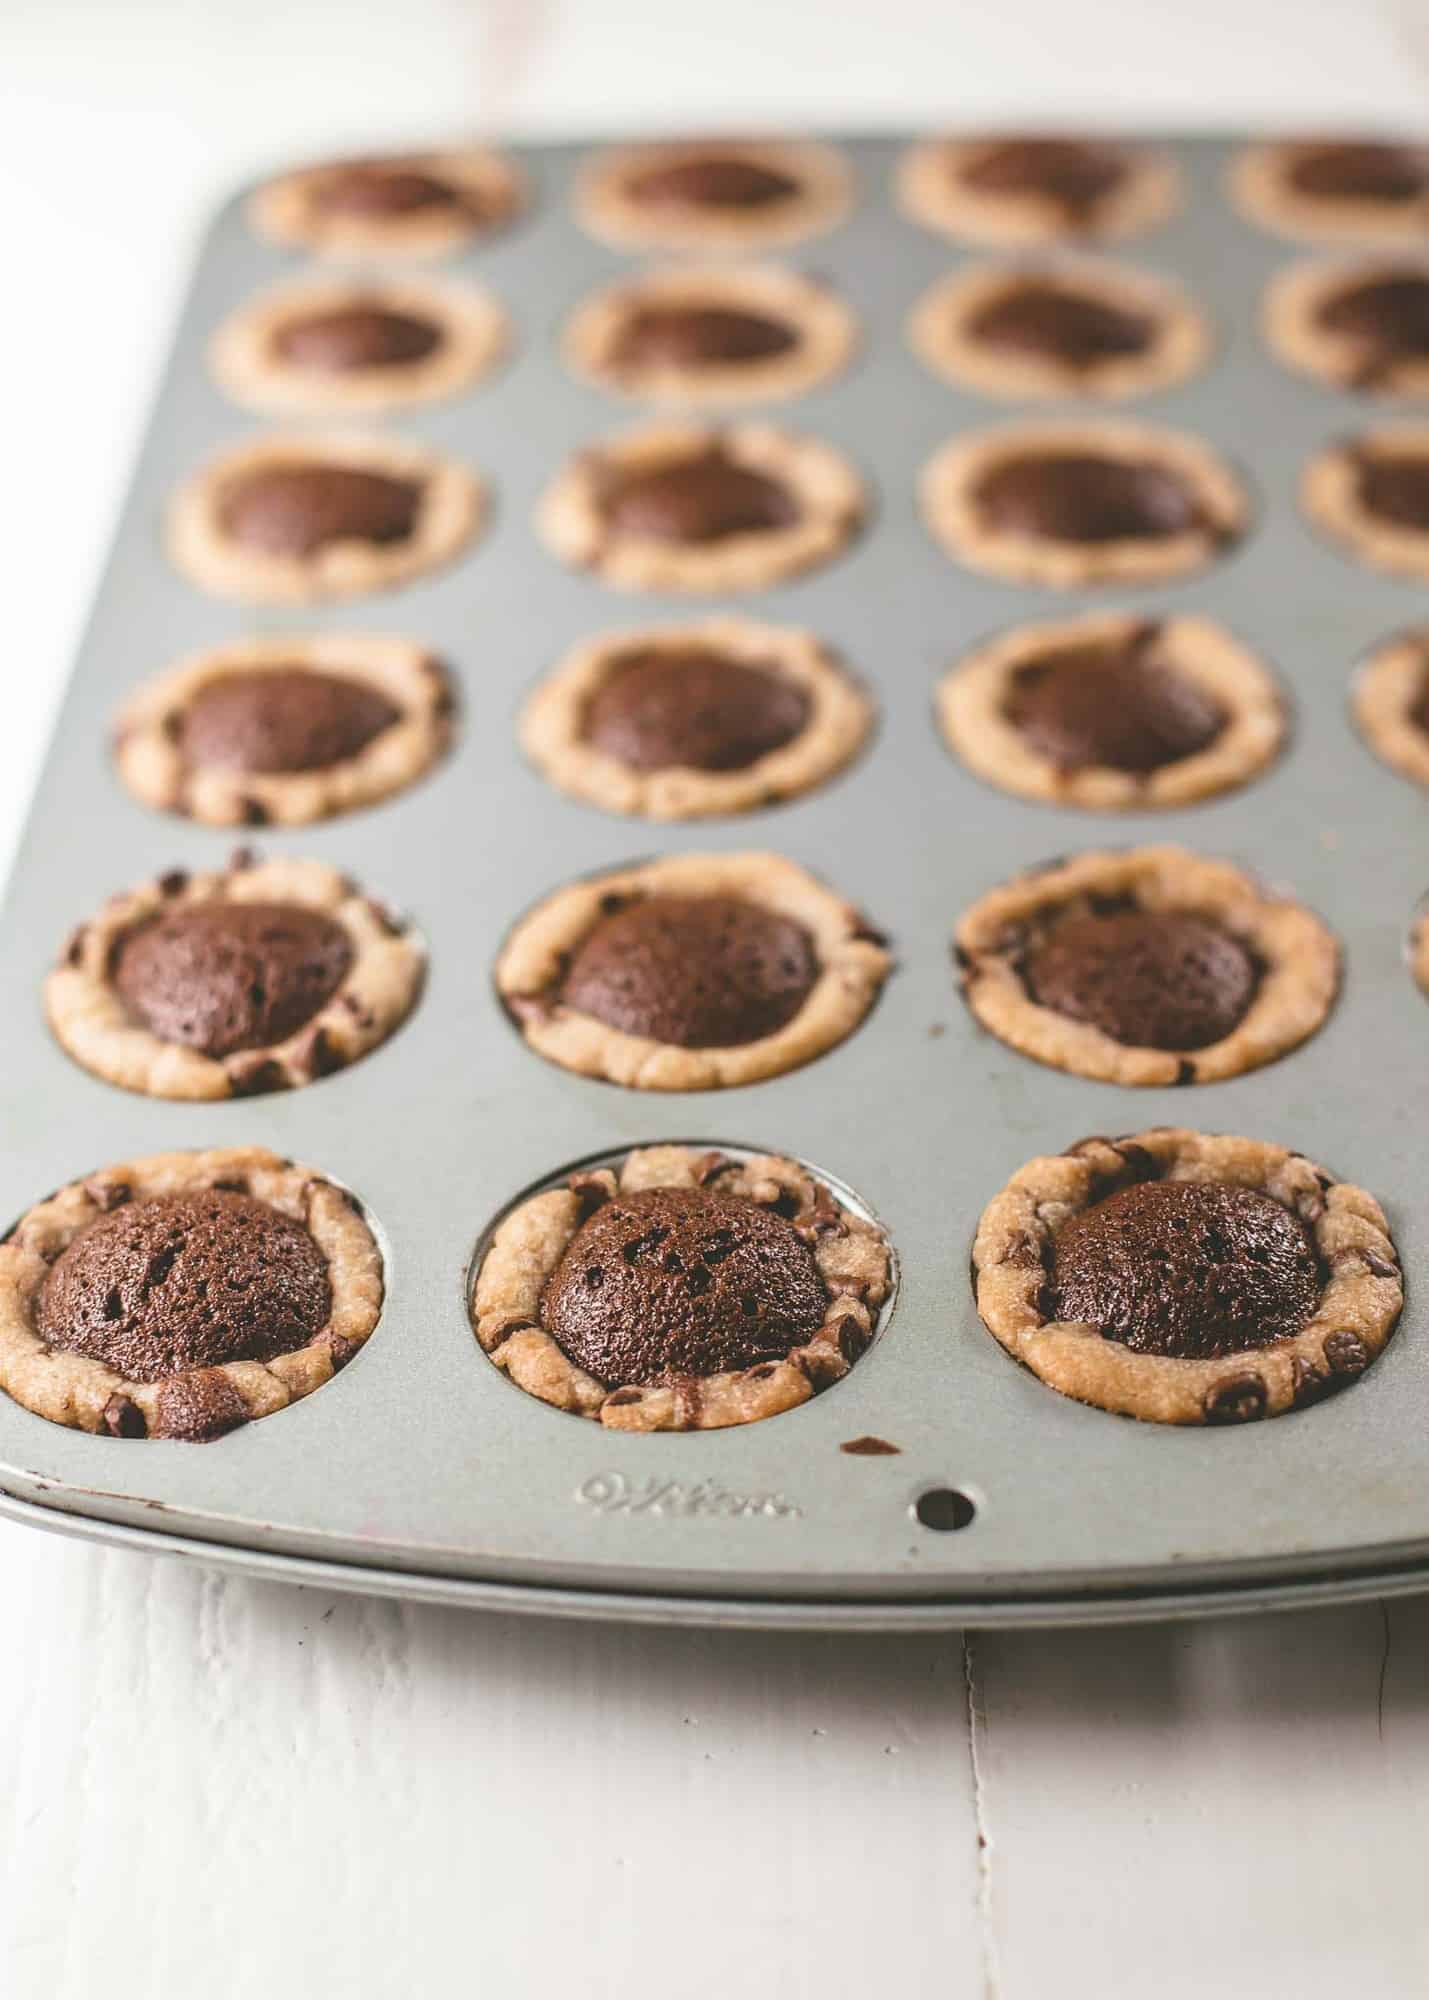
- Look to the center of the brownie filling to tell if these are done baking. The center should look a tiny bit shiny and wobbly but will set up as it cools.
FAQs
It’s important to use unsalted butter in these desserts so that you have control over how much salt they contain. If all you have is salted butter, you can definitely still make these, but skip the pinch of salt in the cookie crust and be aware that the finished Chocolate Chip Brownie Tarts may not be as sweet.
Yes! One of the most common questions I get about these brownie tarts is if they can be baked in a regular muffin tin. If you don’t have a mini muffin tin, I’ve got you covered! See the notes section in the recipe for alternative baking instructions, but the ingredients and process for shaping the tarts is the same. You’ll need to make a single batch of chocolate chip cookie crust but a double batch of brownie filling.
This makes 12 tarts in a regular muffin tin (below is an image of the recipe in a regular muffin tin).
More Bite-Sized Recipes
Pin this now to save it for later
Pin It Now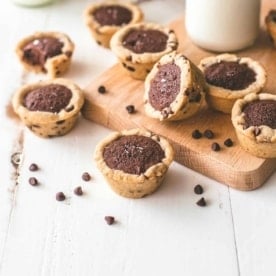
Brownie Tarts
Equipment
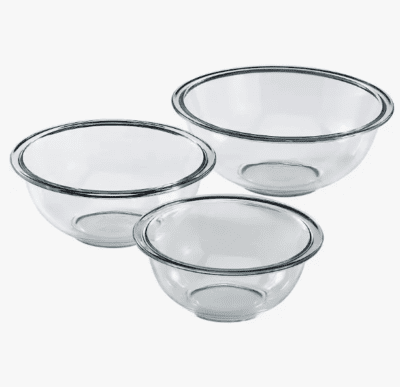
- Mixing Bowl
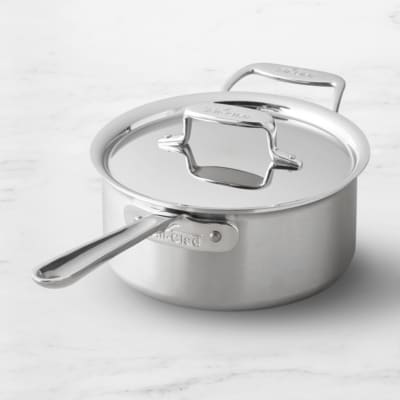
- Small Saucepan
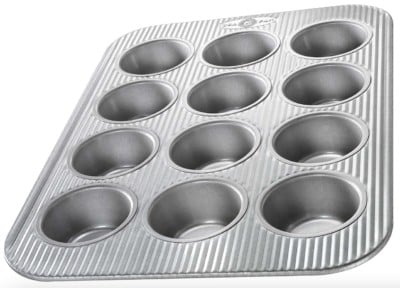
- Mini Muffin Tin
Ingredients
Chocolate Chip Cookie Crust:
- 6 Tablespoons Unsalted Butter, melted
- 1/2 cup Light Brown Sugar, packed
- 2 Tablespoons White Sugar
- 1 Large Egg
- 1/2 teaspoon Pure Vanilla Extract
- 1 1/2 cup All-Purpose Flour (187 grams)
- 1 pinch Kosher Salt
- 1/2 cup + 1 Tablespoon Mini Chocolate Chips
Brownie Filling:
- 6 Tablespoons Unsalted Butter
- 1/4 cup White Sugar
- 3 Tablespoons Unsweetened Cocoa Powder (not Dutch process)
- 1 Large Egg
- 1 Tablespoons All-Purpose Flour
- Flaked Sea Salt, for topping (optional; but I like Maldon Sea Salt Flakes)
Instructions
- Preheat oven to 325 F. Grease a mini muffin tin (you’ll need one that has 24 spaces or will need to bake these in batches; see note if using a regular muffin tin).
- Prepare Crust: In a medium mixing bowl, beat together butter (just the portion for the cookie crust) and both sugars until smooth. (Note: you can do this by hand or using a mixer.) Add egg and vanilla and stir to combine. Add flour and salt and mix well. Stir in mini chocolate chips.
- Put the chocolate chip cookie dough in the refrigerator to chill while making the brownie filling (chilling the dough briefly will make it easier to work with).
- Prepare Brownie Filling: In a small saucepan, heat butter (portion for the filling) just until melted. Remove from heat and whisk in sugar and cocoa powder until smooth. Whisk in egg and 1 Tbsp flour. Set mixture aside until cool enough to touch (this should take about 10 minutes; you can transfer the batter to a mixing bowl and put it in the refrigerator if you want to cool it more quickly.)
- Assemble the Brownie Bites: Divide the cookie dough evenly between the spaces of a muffin tin. (Just drop the dough into the spaces to start, and rearrange as needed utnil each space contains about the same amount.) Roll each ball of dough into an even round. Use your fingers to press the dough out into the sides of the muffin tin, creating a thin tart shell. (Note: if the dough sticks, dip your fingertips in water first.)
- Divide brownie batter evenly between tart shells.
- Bake until the brownie filling is puffed and just barely set in the middle, 9 to 11 minutes.
- If you'd like, add a tiny pinch of flaked sea salt (like Maldon) to the top of each tart as soon as they come out of the oven. (This is optional, but I always love the balance and texture that comes from a tiny pinch of salt on sweet baked goods.)
- Let tarts cool in the muffin pan.
- Store in a sealed container at room temperature for up to 3 days.
Notes
Nutrition
Nutrition information is automatically calculated, so should only be used as an approximation.










I have just made these and they are lovely. It took a lot longer than the 32 minutes that is suggested it takes to make. I will have to make them again and this time remember to put in the chocolate chips into the dough.
Such a cute recipe! Do you think a boxed brownie mix would do the job?
Carly – I can almost guarantee that boxed mix would work great here!
Really looking forward to making these–I’m just wondering how you would adjust the recipe to fit a “normal” sized muffin tin. Do you suggest doubling it?
I haven’t tried it in a normal sized muffin tin, but I would recommend trying to double the recipe. It will probably need a few more minutes in the oven to finish too!
Just wondering if anyone has tried this in a standard tin since I don’t have a mini tin 🙂
Thanks!
I just made them in a standard tin and doubled the recipe. The cookie crust made 9 instead of 12, but there was plenty of the brownie filling. I would suggest increasing the recipe by 2.5 or even 3 depending on how thick you want the crust to be in order to make 12 standard sized tarts. I also increased the cooking time to 18 minutes instead of 10-12. I haven’t tried them yet, but they look and smell delicious!
Hello, I tried the recipe in a normal sized muffin tin two times. I didn’t double it, due to I didn’t recognize that it’s made for a mini muffin tin.
And I always wondered why the crust was just so thin ^^.
They are also really delicious with a thin crust, but i look forward to a new try and hope they will look the same as Jess’ 🙂
Nyam Nyaammm 😀
Love the new logo Jess. These look amazing and I think it’s a good thing the recipe is little because they wouldn’t last long.
Thanks Claire – a super talented friend of mine did the logo. I was in desperate need of something other than “Inquiring Chef” in Helvetica font – ha!
Well, don’t these look delightfully tasty and cute! I’m new here and this post has been a fabulous introduction to your blog. I’ll be staying a while. Thanks for the sweet treats!
Thanks so much for stopping by, Amanda!!
I can’t wait to make these! Thanks for modifying the recipe. Have you ever tried reversing the recipe, brownie on the inside filled with chocolate chip cookie dough?
I haven’t tried that, but I’d be so curious to know how it would turn out! I do think it would work that way.
oh yea, Jess! I am totally feeling your Friday night 🙂
Me too – I’m ready for another one, Francesca! 😉
Dommage que l’on ne puisse pas avoir la traduction en Français car cela a l’air absolument délicieux !!!
Genius idea, Jess. Glad you perfected this and shared!
Thanks Debra!
I love and want to try but difficult to abtain suck materials because where i live there are no mall that sell these materials.(I’m Indonesia Fakfak a stay in west papua)
That’s so challenging, Vien. Even when we lived in Bangkok there were products and tools we couldn’t make. Hope you can find some good substitutions to bake treats that you will love!
I love sweet little nibbles like these choc chip brownie tarts. They look so incredibly – and I am just loving the perfect layered contrast between cookie crust and brownie filling!
I agree Thalia – something about nibble little desserts is so much fun!
Great idea can’t wait to try it out. I will let you know the outcome. Thanks again. Janice Donovan my email address is jnd64@icloud.com.
Thank you Jessie for the nice recipe. Have a wonderful weekend and hugs to Molly and Clara.
These looked so delicious I had to try. So I did and Mmmmm they tasted looked smelt soooo good!! Mouth watering🤤
Thank you for these great mini tart treats! They’re just wha I’ve been looking for to make for a party.
Also they are specifically for mini cupcake tins. Can’t wait to try them!!
Enjoy Donna!