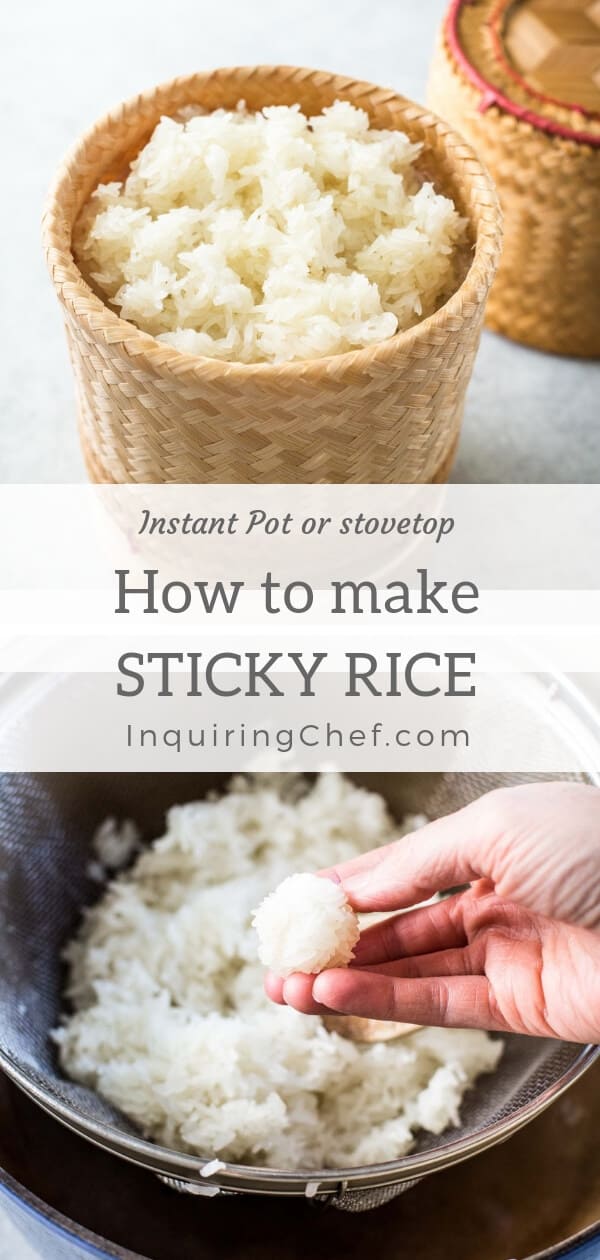
How to Make Sticky Rice (Stovetop or Instant Pot)
Published Feb 19, 2019•Updated May 14, 2026
This post may contain affiliate links. Please read our disclosure policy.
Thai sticky rice (also sometimes called glutinous or sweet rice) is the perfect side dish for grilled meats, spicy Thai salads, or your other favorite Thai dishes. I learned to make this during the five years I lived in Bangkok, and it comes out perfect every time. Keep reading for instructions on the stovetop (no special equipment required) or Instant Pot to make sticky rice that will easily roll into balls.
Today, let’s round out a beloved Northeastern Thailand meal which started with Gai Yang and Green Papaya Salad. We’re talking sticky rice! Throughout much of Thailand, dishes are served with Jasmine Rice, but in Northeastern Thailand (or with meals from that region), sticky rice is used like a utensil. Instead of a fork and spoon, sticky rice is rolled into balls and pinched between your fingers to scoop up salads, sauces, or enjoy with bites of grilled meats.. The individual grains of rice cling to one another, hence the “sticky” in the title.
For the five years that Frank and I lived in Bangkok, sticky rice made a frequent (almost daily) appearance. Here’s how to make authentic sticky rice at home!
What Makes Sticky Rice “Sticky”?
Three things give sticky rice that unique sticky texture:
- Glutinous or Sweet Rice – Start with the right variety of rice. It is labeled “glutinous” or “sweet”. Other types of rice (like jasmine rice) will not work.
- Soaking in Water – Before cooking, the rice must be soaked in water for 4 to 10 hours.
- Steaming – The rice is steamed over simmering water. Authentic sticky rice cannot be boiled directly in water like other types of rice.

Is it Necessary to Pre-Soak Sticky Rice?
Yes. Sticky rice must be soaked in water for 4 to 10 hours before steaming. During this time, the rice grains will swell slightly.
When I first started testing this recipe, I came across a bunch of recipes on the internet that insisted you could make sticky rice with out soaking it first. I tested those methods and never had success in creating the authentic sticky rice that I know and love. Many of those recipes also had you cook the rice directly in water, instead of the traditional method of steaming the rice over simmering water.
Through all of our testing for this recipe, Frank and I agreed that soaking for 4 to 10 hours and steaming were both necessary to achieve that stickiness and roll-ability we look for in authentic Thai-style sticky rice.

How to Make Sticky Rice on the Stovetop
- Soak rice in water for 4 to 10 hours.
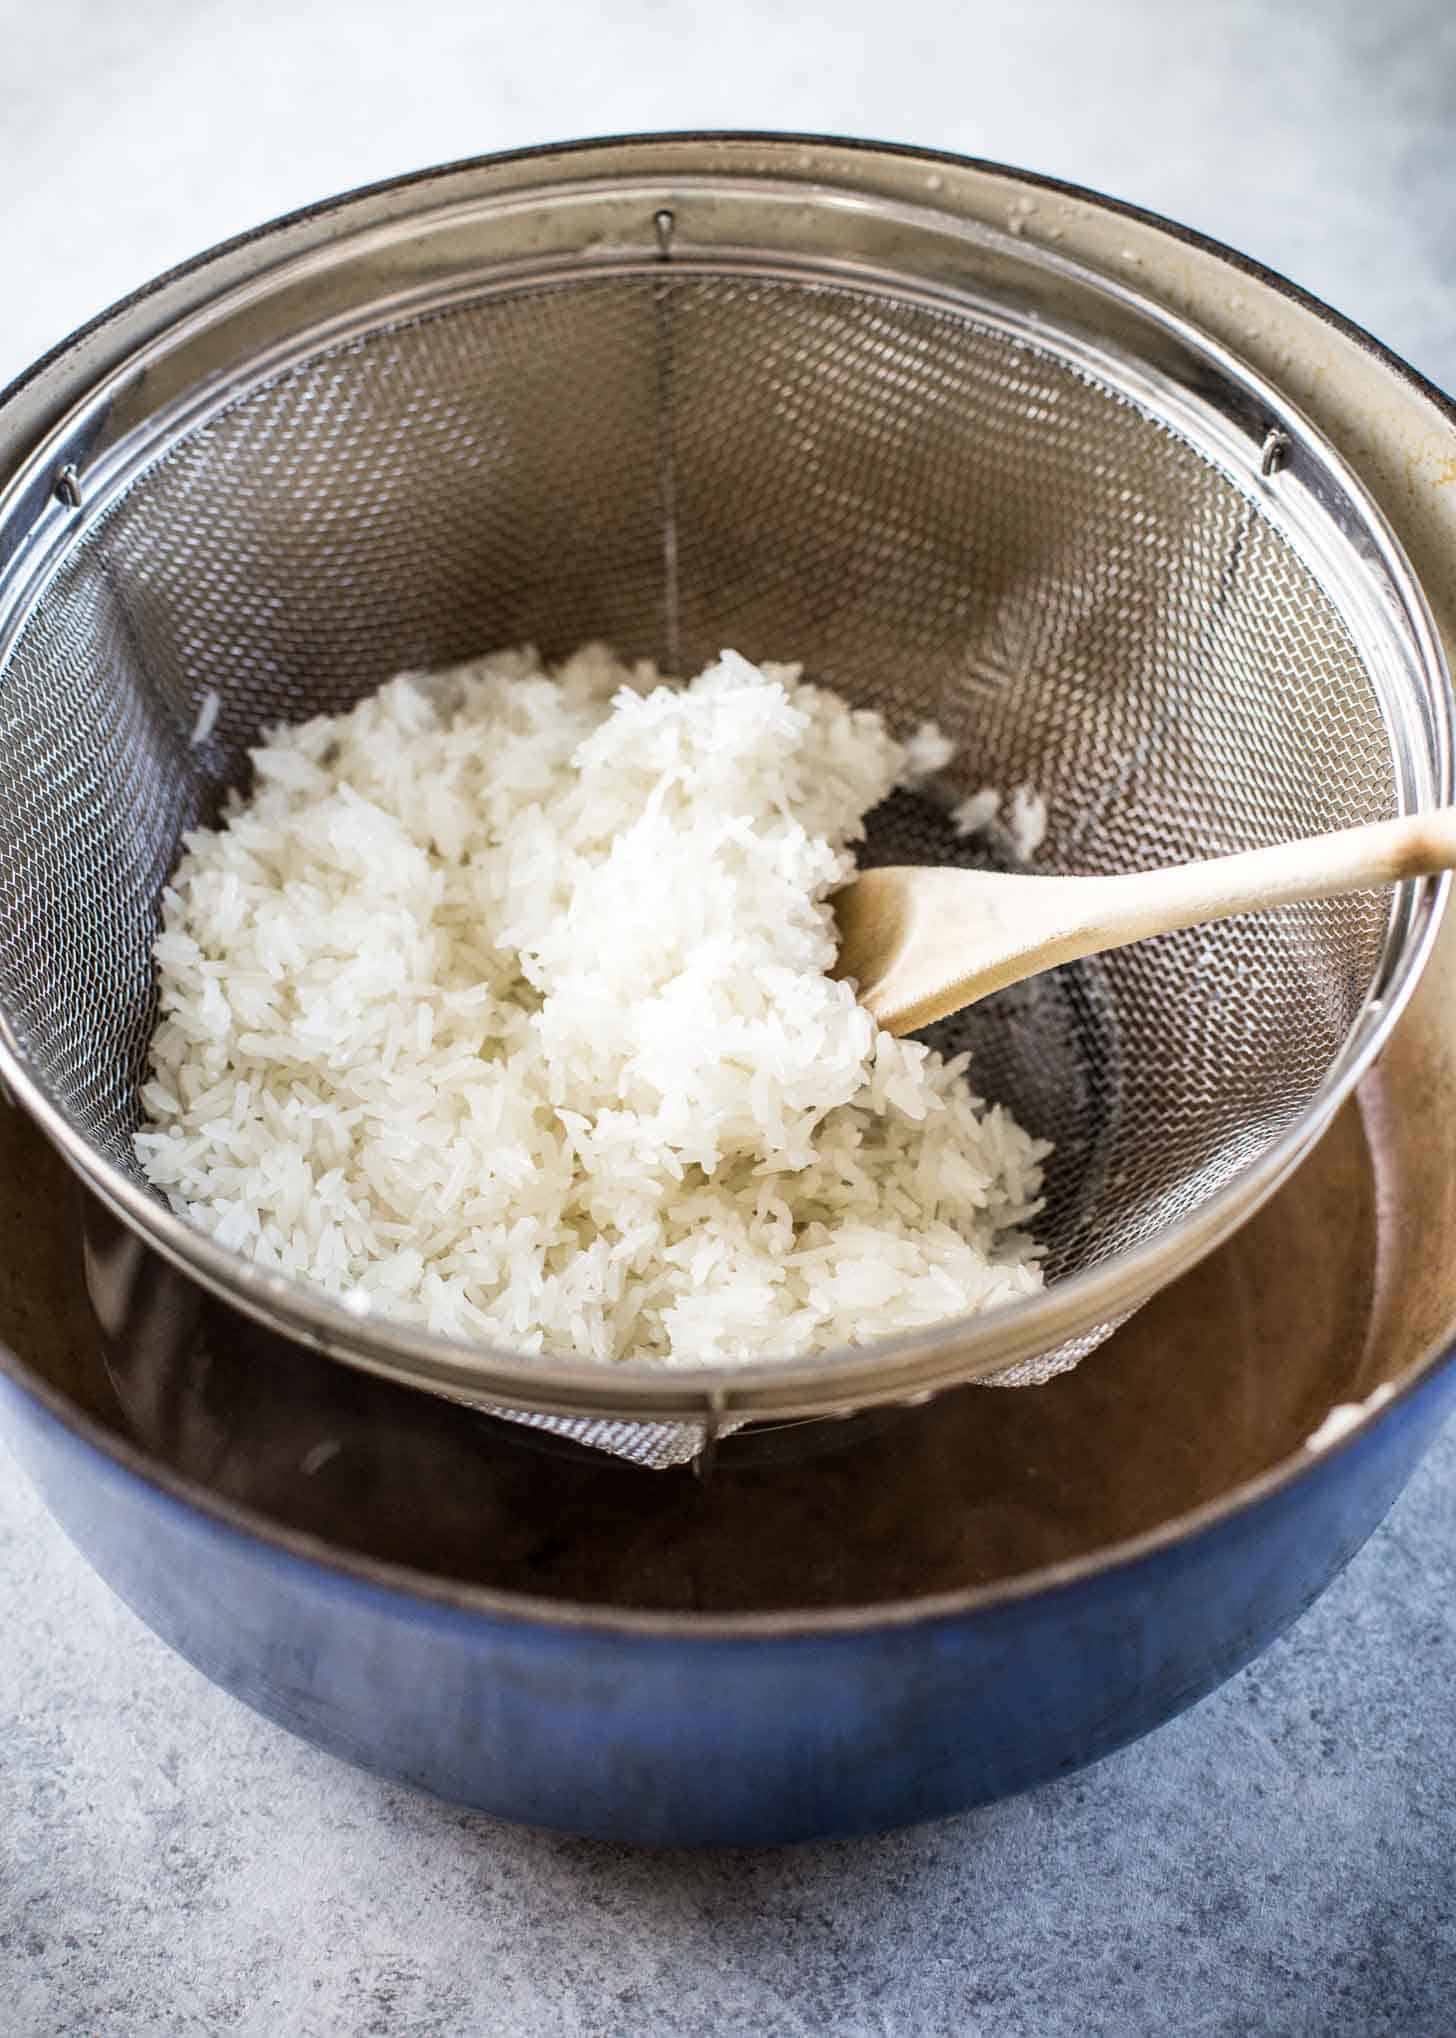
- Place a colander inside a Dutch oven or large pot with a lid. (It’s okay if the lid sits slightly ajar or there is a small gap above the colander.)
- Add water so that it reaches to just below the bottom of the colander.
- Drain the soaked rice into the colander and put it inside the Dutch oven.
- Bring water to a simmer and cover with a lid.
- Steam rice, covered, for 10 minutes.
- Using a large spatula, flip the entire portion of rice like it’s a pancake. (This will help it to cook evenly; don’t worry if it doesn’t easily flip in one movement, just use your spatula to work through all of the rice until it is flipped.)
- Put the lid back on and continue steaming the rice for another 10 to 20 minutes, checking it for doneness every few minutes towards the end of the cooking time.
- Serve warm, within 10 to 15 minutes of preparing it.
How to Make Sticky Rice in the Instant Pot / Pressure Cooker
- Soak rice in water for 4 to 10 hours.
- Add 1 cup water to the bowl of the Instant Pot / pressure cooker.
- Using a colander that will fit inside the bowl of the Instant Pot (and is approved for use under pressure), drain the soaked rice.
- Place the colander with the rice into the bowl of the Instant Pot. (Note: The water should not touch the rice; if needed, add a rack so that the rice sits above the water.)
- Close and lock the lid.
- Set the pressure cook / manual setting on high for 12 minutes.
- Allow the pressure to release naturally for 12 minutes and then manually release.
- Unlock the lid but leave it on, slightly ajar, until ready to serve. Serve rice warm, within 15 minutes of preparing it.

Thai Recipes to Serve with Sticky Rice
- Thai Massaman Curry with Beef
- Thai Red Curry with Chicken
- Thai Basil Chicken (Pad Krapow Gai)
- Thai Green Curry with Chicken
Favorite Tools for Making Sticky Rice
- 6-Quart Instant Pot Duo – This is the Instant Pot that I have.
- OXO Good Grips Stainless Steel Steamer – If cooking in the Instant Pot, you’ll need a steamer that will fit inside. I’ve been using this OXO version in my Instant Pot for several years. It’s approved for use under pressure and the holes are small enough that only a few grains of rice tend to sneak through. I like that it’s adjustable so that it fits many different pots I own.
- Stainless Steel Colander – If cooking on the stovetop, you need a steel colander that will fit inside a pot. This pack includes three colanders in different sizes, so if you don’t already have a colander that will work, this pack will surely have a size that will work.
- Le Creuset Dutch Oven – For stovetop sticky rice, you need a large, sturdy pot for steaming the rice. I use my Dutch oven for everything, and it works well for steaming sticky rice.
Pin this now to save it for later
Pin It Now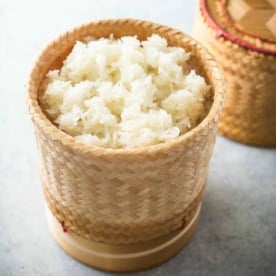
How to Make Sticky Rice (Stovetop or Instant Pot)
Equipment
- Instant Pot/Pressure Cooker or Large Pot
- Colander
Ingredients
- 2 cups Glutinous or “Sweet” Rice (see note)
- Water
Instructions
- Measure rice into a bowl and cover with water by a few inches. Soak for 4 to 10 hours.
If cooking on the stovetop:
- Place a colander inside a Dutch oven or large pot with a lid (it’s okay if the lid sits slightly ajar or there is a small gap above the colander).
- Add water so that it reaches to just below the bottom of the colander.
- Drain the soaked rice into the colander and put the colander inside the Dutch oven.
- Place over medium heat bring to a simmer.
- Cover the Dutch oven / pot and reduce heat so that the water stays at a low simmer. Steam rice, covered, for 10 minutes.
- Using a large spatula, flip the rice like it’s a pancake. (This will help it to cook evenly)
- Put the lid back on and continue steaming the rice for another 10 to 20 minutes, checking it for doneness every few minutes towards the end of the cooking time. (You’re looking for the rice grains to be separate and firm, but stick together when rolled / pressed between your fingers.)
- Take the rice off the heat, but leave the lid on until ready to serve. Serve rice warm, within 15 minutes of preparing it.
- If cooking in the Instant Pot / Pressure Cooker:
- Add 1 cup water to the bowl of the Instant Pot.
- Using a colander that will fit inside the bowl of the Instant Pot (and is approved for use under pressure), drain the soaked rice.
- Place the colander with the rice into the bowl of the Instant Pot. (Note: The water should not touch the rice; if needed, add a rack so that the rice sits above the water.)
- Close and lock the lid.
- Set the pressure cook / manual setting on high for 12 minutes.
- Allow the pressure to release naturally for 12 minutes and then manually release.
- Unlock the lid but leave it on, slightly ajar, until ready to serve. Serve rice warm, within 15 minutes of preparing it.
Notes
Nutrition
Nutrition information is automatically calculated, so should only be used as an approximation.


My late mother in law was a Korean. She taught me how to make sticky rice. It was extremely fast. Buy medium grain rice-I use a cup or two depending upon the quantity i need (if I have leftover it can be refrigerated for a wonderful fried rice the next day). IT IS ESSENTIAL THAT YOU WASH THE RICE IN A BIG STRAINER WITH YOUR HANDS MOVING THE RICE AND WATER, USING COLD RUNNING WATER FOR AT LEAST FIVE MINUTES!!!! Then using a proportion of 1 and 1/2 cups of cold water per cup of rice put the rice and water in a thick pan. Use one teaspoon of salt per cup of rice. Turn on the heat-go to high and bring it to a boil. Let it boil a minute or two. Then put a tight lid on the pot and cut the flame down to very low. Check after thirty minutes or longer to ensure no water is left in the pot (tilt the pot and you will know if any water is still there then put the lid back on) When the water is evaporated the let it sit up to five minutes. IT IS DONE!!! Ta Da. And she was a great lady and cook, God rest her soul. (she grew up in occupied Korea so she cooked Japanese food (but obviously did not care for them for their treatment of the Korean) and she married a US military officer during the Korean war. Strangely he was of Chinese descent so she could cook damned good Chinese food. And since she came to the US she cooked pretty good US food.
Hi Zoe – thanks so much for these tips! This sounds like it will produce a perfect bowl of rice made with medium grain rice. I just wanted to note for others that my recipe produces Thai sticky rice that can be rolled into balls and used to scoop up popular dishes served in Northeastern Thailand. To make Thai-style sticky rice, you must first soak the water as I describe in the recipe. Thai spicy rice must be steamed over a pot of simmering water, not submerged in water. It must start with rice that is labeled “sweet” or “glutinous”.
What about soaking the rice in a broth, will the rice take on the flavor? I’m curious.
I’ve never tried this, but now I’m curious too. I do think it might take on some of the flavor of the broth….
It actually did take on a bit of the flavor. To me it was a light taste and I will definitely try it again.
I didnt have much success with the instant pot method. I used calrose, soaked for 9 hrs, did the 12 minutes pressure cook on high, natural release 12 minutes, and the grains were dry feeling and hard. I did 2 additional rounds of high pressure 5 minutes and quick release, still dry and hard 🙁 i will try the stovetop method next time.
Is there any chance that the rice is old Tami? If I try to cook rice that’s been hiding in the back of the pantry (or on the shelf at the store which, of course, there’s no way to know about), no amount of soaking or cooking will get it cooked right.
It says to use it within 10 to 15 minutes. My question is, how long can you keep it and it to still stay sticky?
Thanks,
Dale
It’s difficult to store sticky rice as it dries out quickly and loses that “sticky” quality. But I’ve had success refrigerating it in an airtight container for up to a day. To reheat, cover it with a damp paper towel and warm in the microwave. It’s good that way but never as good as when it’s served fresh.
If I’m making one cup of sticky rice do I need to adjust the water or time?
No need to adjust the water or time for 1 cup sticky rice. It should work just fine if using less.
I was told by either a Thai or a Laotian (at a Thai-Lao grocery store) that the rice needed to soak for 10 hours and be steamed in the cone-shaped basket or it wouldn’t work. Ok, so I decided it was easier to buy from a restaurant. I then discussed this with a Thai woman who ran a Thai restaurant in Denver. She made a “Huh…No” face and said “No, it’s fine in a rice cooker”. so I bought one of the stovetop steaming rice cookers and did it that way for years. Eventually I bought an electric-boil rice cooker and… I see no difference between steaming or boiling.
Then I went to Chiangmai and surrounding areas in northern Thailand and ate street food as often as I could. The sticky rice in Chiangmai seemed the same as what I got from Thai restaurants at home, and as what I made in my rice cooker. I did not make it to Isan to try khao niao there.
For steaming, the soaking is important. For rice cooker, the soaking seems slightly important if it is the medium-long grain sticky rice rather than the pearl-like short grain sticky rice, but an hour of soak time has been plenty for me, when using the rice cooker, and can be omitted in a pinch. The ratio of rice:water is 1:1 for the short grain and 1:1+TBSP with the medium grain. If I do 2 cups medium grain sweet rice, I’ll do 2 cup H2O +2 TBSP H2O. I prefer the medium grain.
This very morning, before leaving for work, I threw 2 c. short grain sweet rice in the rice cooker with 2 c. H2O and hit Start, and 25 mins later it was ready. Shoveled some in a ziplock to have with leftover stir fry for lunch. Simple. Done.
Great tips! Thank you for sharing!
My go to recipe for sticky rice. My mom is from northern Thailand and I grew up eating sticky rice. I was intimidated making it because she had the traditional steamer, but your instant pot version is so easy to use. I usually soak for 24 hours and will pressure cook for 14 minutes to get the texture that I like and let it natural release. When I remember, I’ll throw in pandan leaves to flavor the rice. Yum! My ultimate comfort food.
How can you modify this recipe to make it sweet for mango sticky rice (khao neao mamuang)??? Thanks!!!
Hi Elizabeth – I have a whole post on how to adapt it to make mango sticky rice here – https://inquiringchef.com/mango-sticky-rice/. Hope that helps!
Hello. Followed the instant pot recipe. Ended up soaking for 18 hours. Placed in basket with a coffee filter @ the bottom to prevent rice falling through slots. At the end of the 12 min slow release I found the rice to be very dry. Not sure if that’s supposed to be? I sort of “fluffed” it up and put it back on for a 10 min pressure cook on low. Still came out dry and I believe not done (I don’t have any experience with sweet rice so I’m not sure). I’m currently trying another 5 min on hi pressure and going to do a 5 minute slow release. Hopefully it will work
Hi Marcus – do you have any idea how old your sweet rice is? I’m suspicious that it might be quite old considering that it didn’t even get tender after a second round in the IP. It shouldn’t need 18 hours to soak. You might just need to try a new bag!
Just got the bag last week. Says best before 9/22. The soak was 18hrs because I started it @ 9pm and didn’t have time to cook it till after 3pm next day. So I just let it soak.
Got it, Marcus. It’s always possible that it was still old, depending on how long it sat in storage or on the shelves before it reached your kitchen. I’ve never had any issue with the rice getting tender using these instructions except when I was using old rice. Soaking for too long can sometimes affect the flavor of the rice, but it shouldn’t have prevented it from cooking. That’s my best guess! Sorry I couldn’t be more help, but maybe others will chime in here in the comments with their suggestions.
Lovely article, as a note though on the soaking process. If you don’t have the plan ahead time of 4 hours there is an easy trick that my Laotian aunt taught me. Rinse the rice really well 3 to 4 times until the water runs clear. Then soak the rice in hot water, either the hottest you can get from your tap or water that you simmered on the stove(don’t boil it, that is too hot and will start cooking the rice).
If you soak the rice in extremely hot water you can cut the soaking time down to an hour. This has saved me multiple times when I impromptu need some sticky rice for dinner.
Thanks so much for sharing that great tip Caleb! I’ve also heard from others who grew up eating sticky rice that you can microwave the rice in water instead of soaking it at all. Haven’t tried it yet, but need to soon.