How to Make Sticky Rice (Stovetop or Instant Pot)
Published Feb 19, 2019•Updated Feb 13, 2024
This post may contain affiliate links. Please read our disclosure policy.
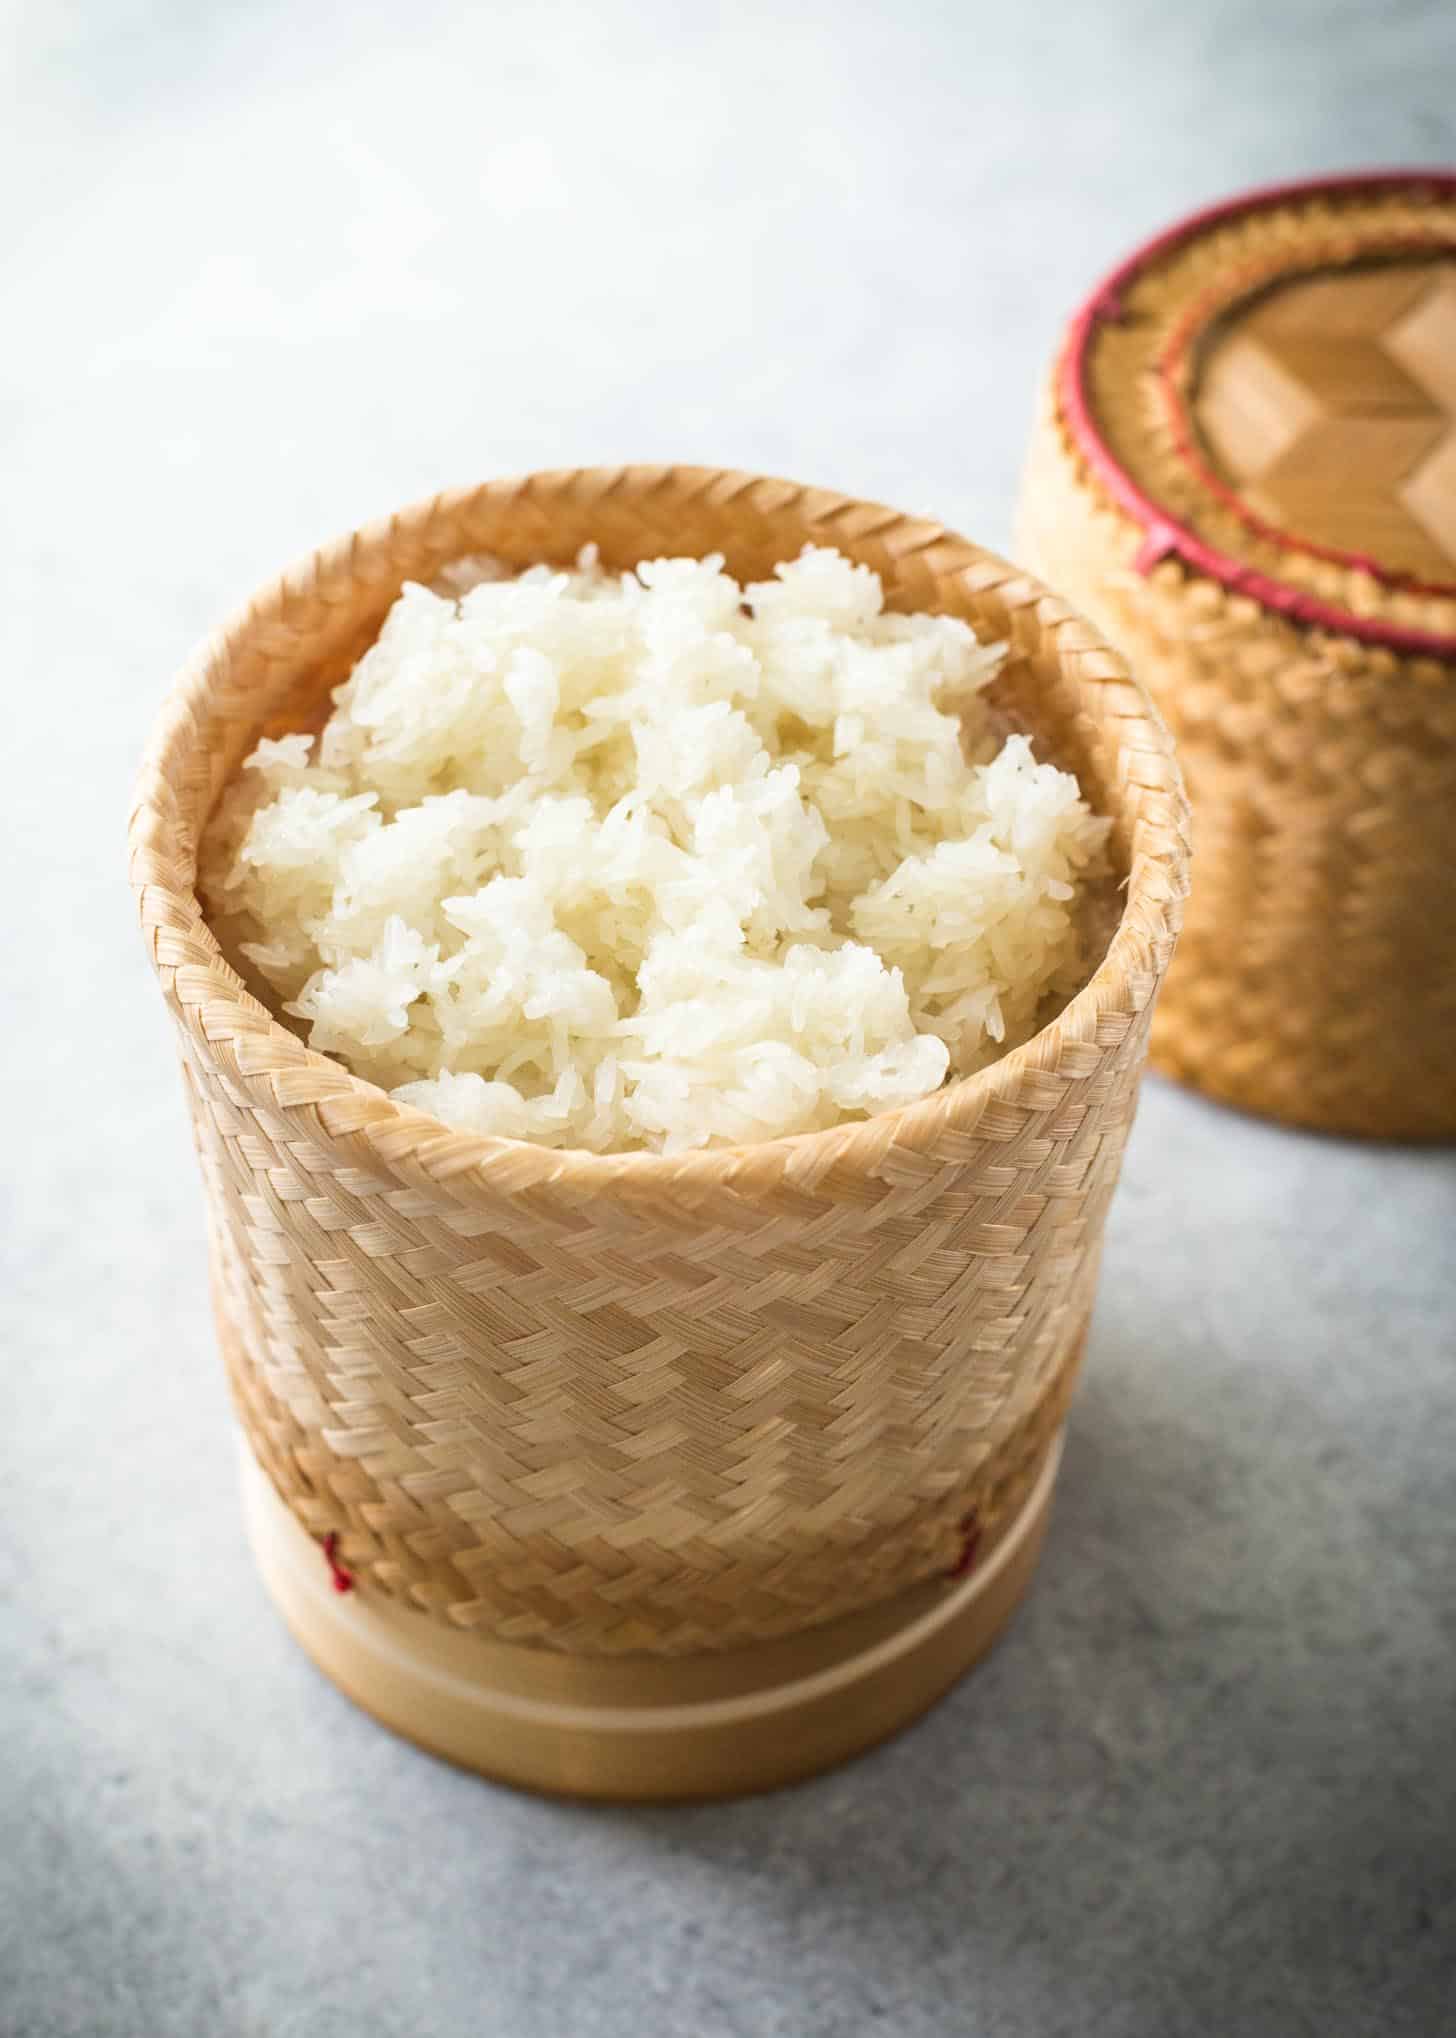
Thai sticky rice (also sometimes called glutinous or sweet rice) is the perfect side dish for grilled meats, spicy Thai salads, or your other favorite Thai dishes. Use these step-by-step instructions for the stovetop (no special equipment required) or Instant Pot to make sticky rice that will easily roll into balls.
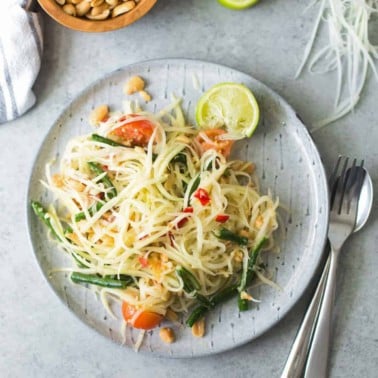
Today, let’s round out a beloved Northeastern Thailand meal which started with Gai Yang and Green Papaya Salad. We’re talking sticky rice! Throughout much of Thailand, dishes are served with Jasmine Rice, but in Northeastern Thailand (or with meals from that region), sticky rice is used like a utensil. Instead of a fork and spoon, sticky rice is rolled into balls and pinched between your fingers to scoop up salads, sauces, or enjoy with bites of grilled meats.. The individual grains of rice cling to one another, hence the “sticky” in the title.
For the five years that Frank and I lived in Bangkok, sticky rice made a frequent (almost daily) appearance. Here’s how to make authentic sticky rice at home!
What Makes Sticky Rice “Sticky”?
Three things give sticky rice that unique sticky texture:
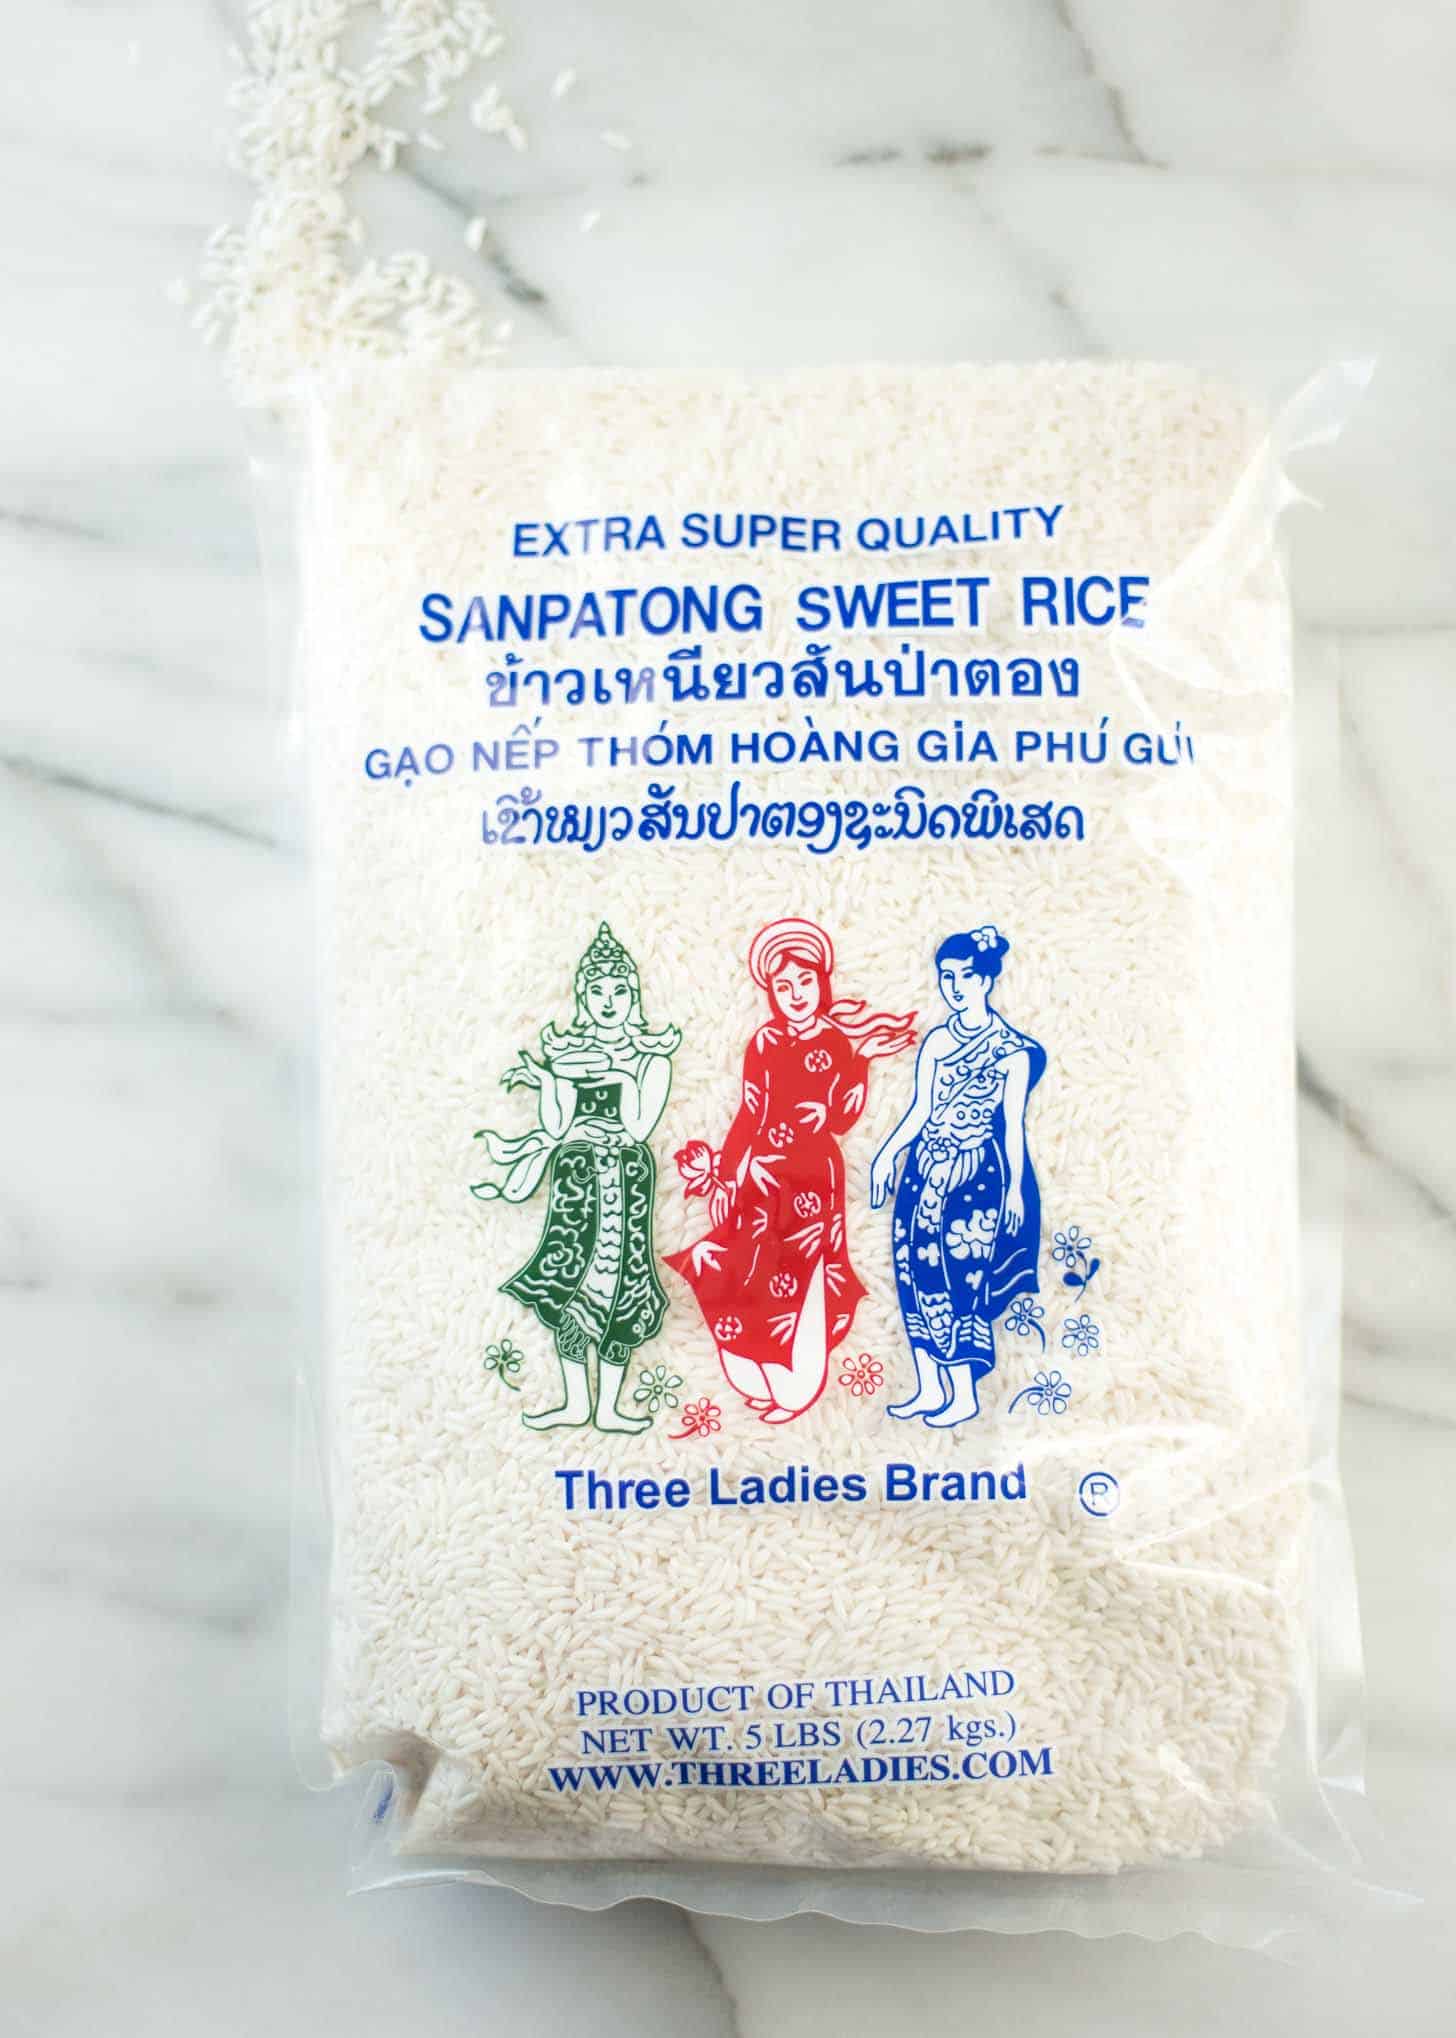
- Glutinous or Sweet Rice – Start with the right variety of rice. It is labeled “glutinous” or “sweet”. Other types of rice (like jasmine rice) will not work.
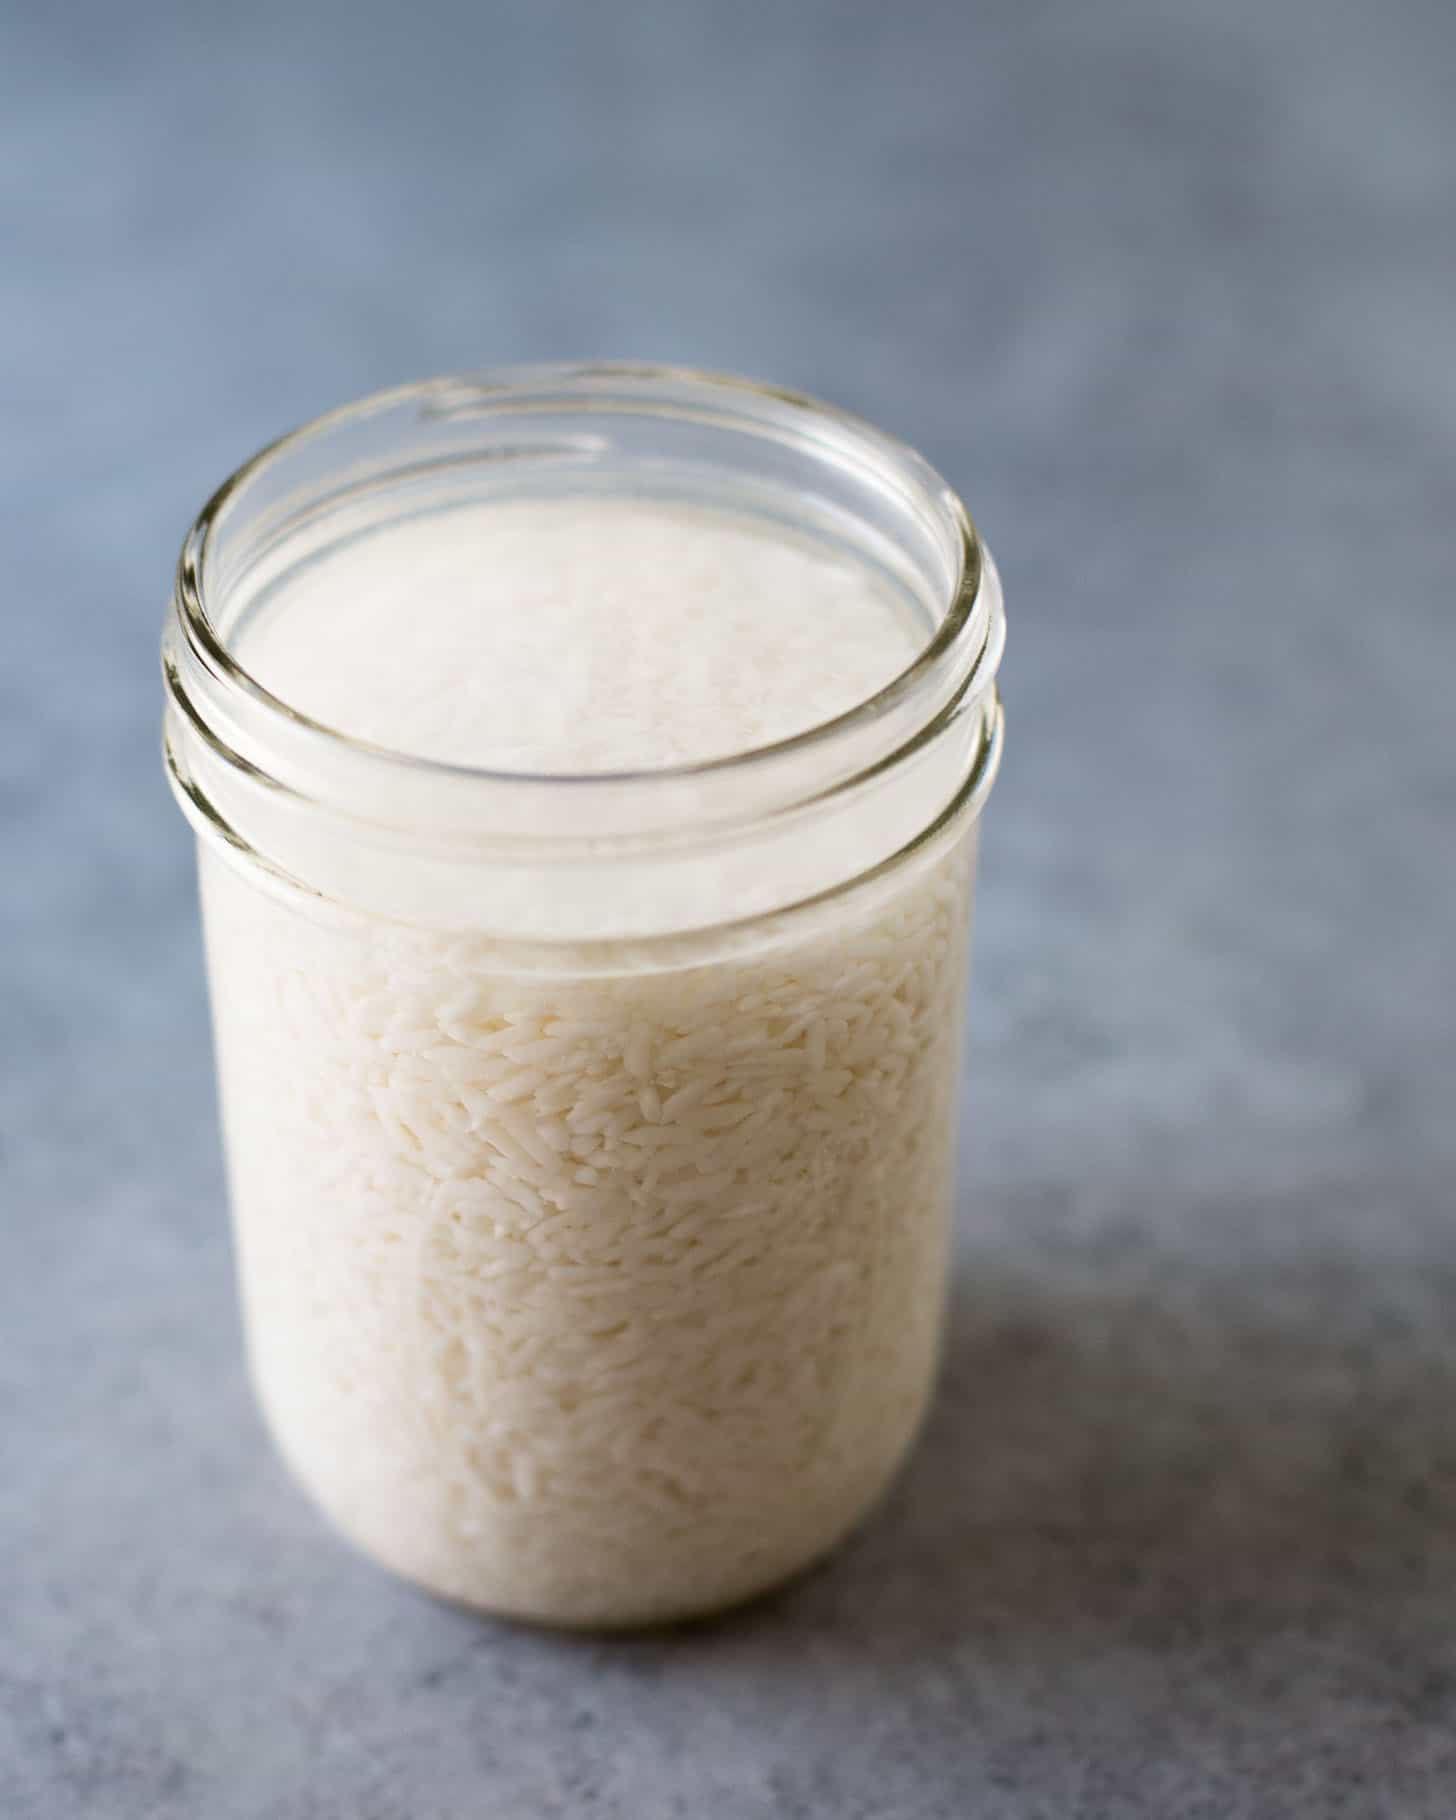
- Soaking in Water – Before cooking, the rice must be soaked in water for 4 to 10 hours.
- Steaming – The rice is steamed over simmering water. Authentic sticky rice cannot be boiled directly in water like other types of rice.
Is it Necessary to Pre-Soak Sticky Rice?
Yes. Sticky rice must be soaked in water for 4 to 10 hours before steaming. During this time, the rice grains will swell slightly.
When I first started testing this recipe, I came across a bunch of recipes on the internet that insisted you could make sticky rice with out soaking it first. I tested those methods and never had success in creating the authentic sticky rice that I know and love. Many of those recipes also had you cook the rice directly in water, instead of the traditional method of steaming the rice over simmering water.
Through all of our testing for this recipe, Frank and I agreed that soaking for 4 to 10 hours and steaming were both necessary to achieve that stickiness and roll-ability we look for in authentic Thai-style sticky rice.
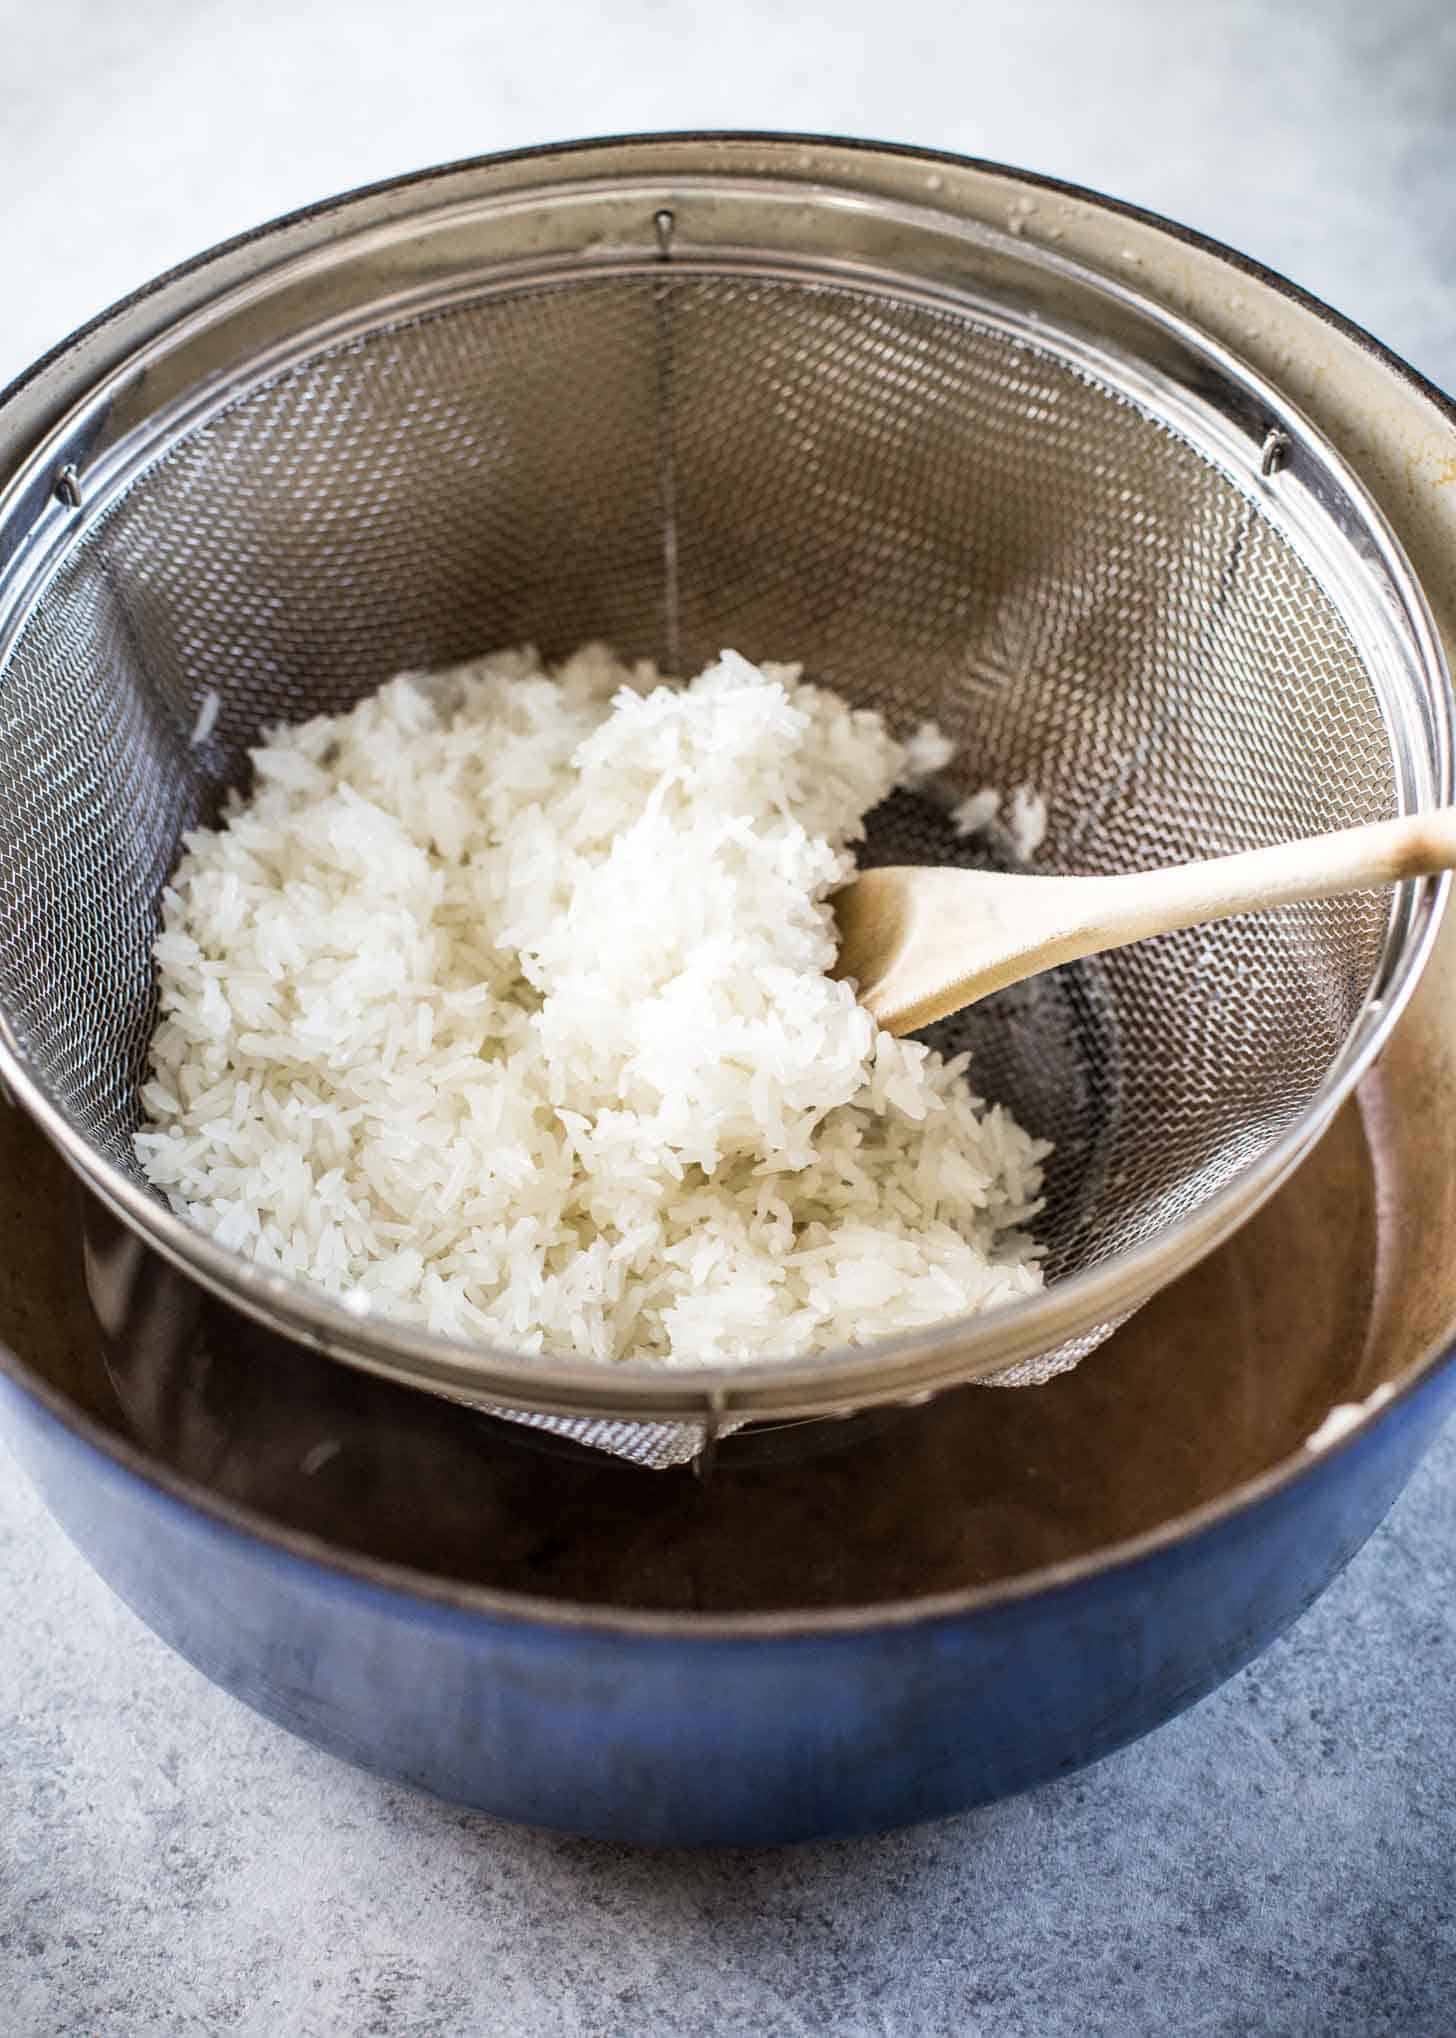
How to Make Sticky Rice on the Stovetop
- Soak rice in water for 4 to 10 hours.
- Place a colander inside a Dutch oven or large pot with a lid. (It’s okay if the lid sits slightly ajar or there is a small gap above the colander.)
- Add water so that it reaches to just below the bottom of the colander.
- Drain the soaked rice into the colander and put it inside the Dutch oven.
- Bring water to a simmer and cover with a lid.
- Steam rice, covered, for 10 minutes.
- Using a large spatula, flip the entire portion of rice like it’s a pancake. (This will help it to cook evenly; don’t worry if it doesn’t easily flip in one movement, just use your spatula to work through all of the rice until it is flipped.)
- Put the lid back on and continue steaming the rice for another 10 to 20 minutes, checking it for doneness every few minutes towards the end of the cooking time.
- Serve warm, within 10 to 15 minutes of preparing it.

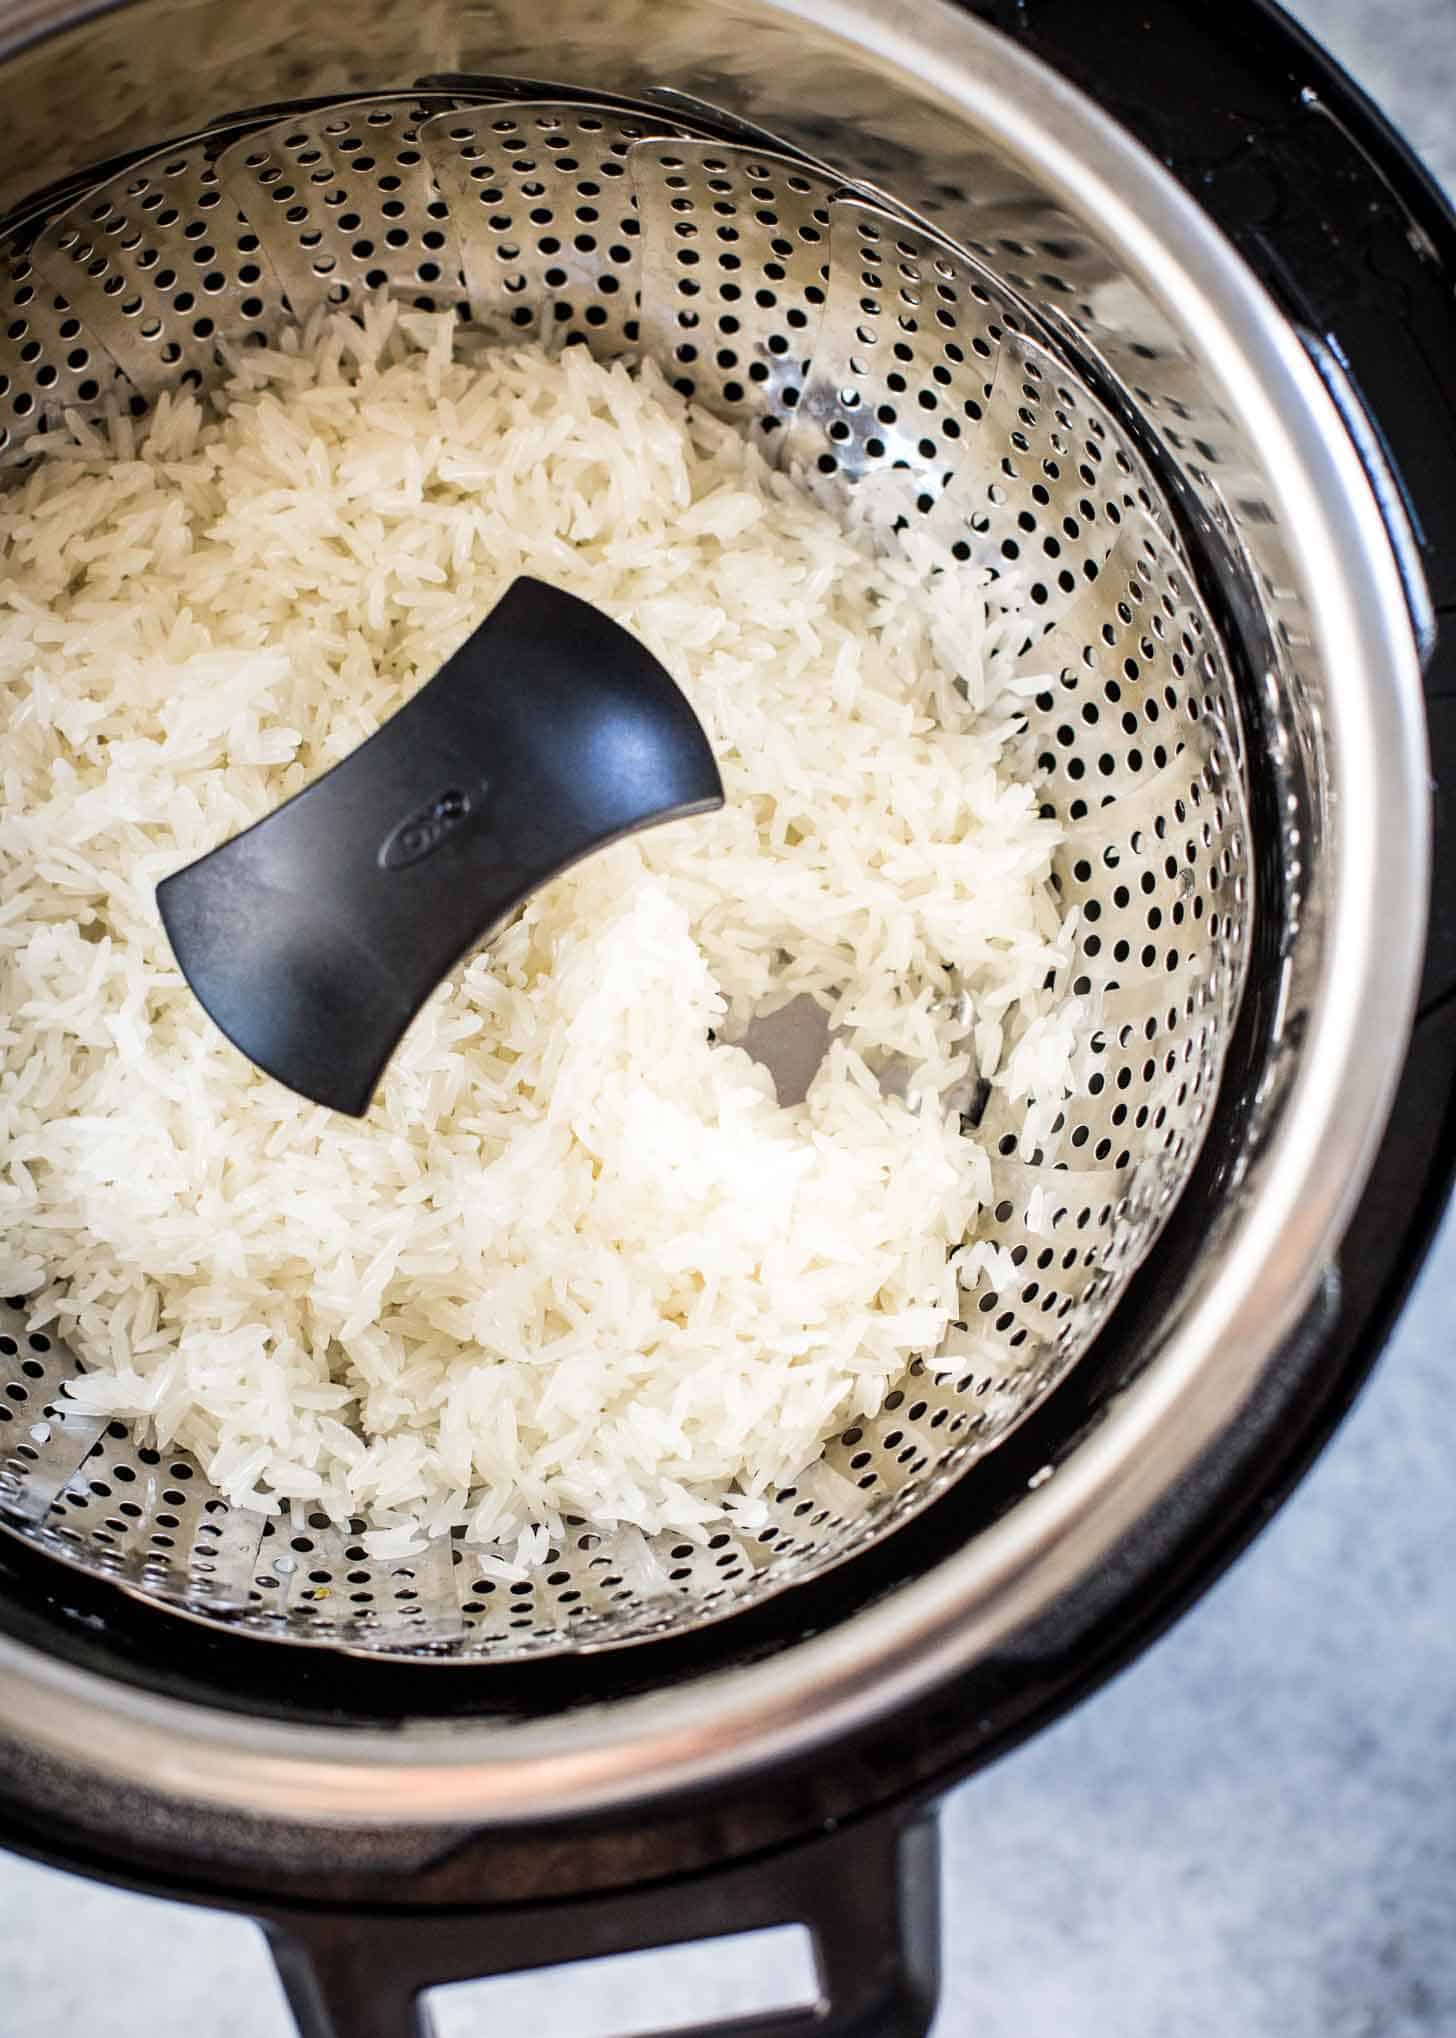
How to Make Sticky Rice in the Instant Pot / Pressure Cooker
- Soak rice in water for 4 to 10 hours.
- Add 1 cup water to the bowl of the Instant Pot / pressure cooker.
- Using a colander that will fit inside the bowl of the Instant Pot (and is approved for use under pressure), drain the soaked rice.
- Place the colander with the rice into the bowl of the Instant Pot. (Note: The water should not touch the rice; if needed, add a rack so that the rice sits above the water.)
- Close and lock the lid.
- Set the pressure cook / manual setting on high for 12 minutes.
- Allow the pressure to release naturally for 12 minutes and then manually release.
- Unlock the lid but leave it on, slightly ajar, until ready to serve. Serve rice warm, within 15 minutes of preparing it.
Thai Recipes to Serve with Sticky Rice
- Thai Massaman Curry with Beef
- Thai Red Curry with Chicken
- Thai Basil Chicken (Pad Krapow Gai)
- Thai Green Curry with Chicken
Favorite Tools for Making Sticky Rice
- 6-Quart Instant Pot Duo – This is the Instant Pot that I have.
- OXO Good Grips Stainless Steel Steamer – If cooking in the Instant Pot, you’ll need a steamer that will fit inside. I’ve been using this OXO version in my Instant Pot for several years. It’s approved for use under pressure and the holes are small enough that only a few grains of rice tend to sneak through. I like that it’s adjustable so that it fits many different pots I own.
- Stainless Steel Colander – If cooking on the stovetop, you need a steel colander that will fit inside a pot. This pack includes three colanders in different sizes, so if you don’t already have a colander that will work, this pack will surely have a size that will work.
- Le Creuset Dutch Oven – For stovetop sticky rice, you need a large, sturdy pot for steaming the rice. I use my Dutch oven for everything, and it works well for steaming sticky rice.
Pin this now to save it for later
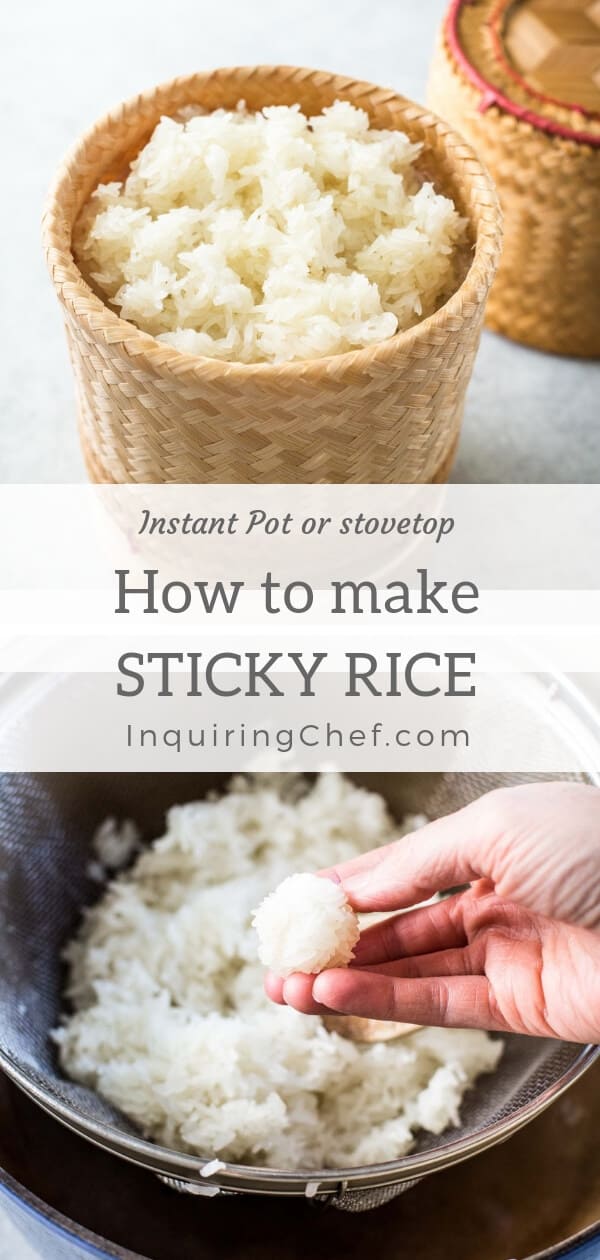
Pin It Now
How to Make Sticky Rice (Stovetop or Instant Pot)
Equipment
- Instant Pot/Pressure Cooker or Large Pot
- Colander
Ingredients
- 2 cups Glutinous or “Sweet” Rice (see note)
- Water
Instructions
- Measure rice into a bowl and cover with water by a few inches. Soak for 4 to 10 hours.
If cooking on the stovetop:
- Place a colander inside a Dutch oven or large pot with a lid (it’s okay if the lid sits slightly ajar or there is a small gap above the colander).
- Add water so that it reaches to just below the bottom of the colander.
- Drain the soaked rice into the colander and put the colander inside the Dutch oven.
- Place over medium heat bring to a simmer.
- Cover the Dutch oven / pot and reduce heat so that the water stays at a low simmer. Steam rice, covered, for 10 minutes.
- Using a large spatula, flip the rice like it’s a pancake. (This will help it to cook evenly)
- Put the lid back on and continue steaming the rice for another 10 to 20 minutes, checking it for doneness every few minutes towards the end of the cooking time. (You’re looking for the rice grains to be separate and firm, but stick together when rolled / pressed between your fingers.)
- Take the rice off the heat, but leave the lid on until ready to serve. Serve rice warm, within 15 minutes of preparing it.
- If cooking in the Instant Pot / Pressure Cooker:
- Add 1 cup water to the bowl of the Instant Pot.
- Using a colander that will fit inside the bowl of the Instant Pot (and is approved for use under pressure), drain the soaked rice.
- Place the colander with the rice into the bowl of the Instant Pot. (Note: The water should not touch the rice; if needed, add a rack so that the rice sits above the water.)
- Close and lock the lid.
- Set the pressure cook / manual setting on high for 12 minutes.
- Allow the pressure to release naturally for 12 minutes and then manually release.
- Unlock the lid but leave it on, slightly ajar, until ready to serve. Serve rice warm, within 15 minutes of preparing it.
Notes
Nutrition
Nutrition information is automatically calculated, so should only be used as an approximation.


I’d like to try your I.P. version, but with brown glutinous rice. How would you suggest adapting water:rice ratio and cook/pressure release times?
Unfortunately, I’ve never tried it with brown glutinous rice, but if you give it a try, I’d love to hear how it goes.