How to Use Pot-in-Pot Method with the Instant Pot
Published Jan 08, 2020•Updated May 08, 2025
This post may contain affiliate links. Please read our disclosure policy.
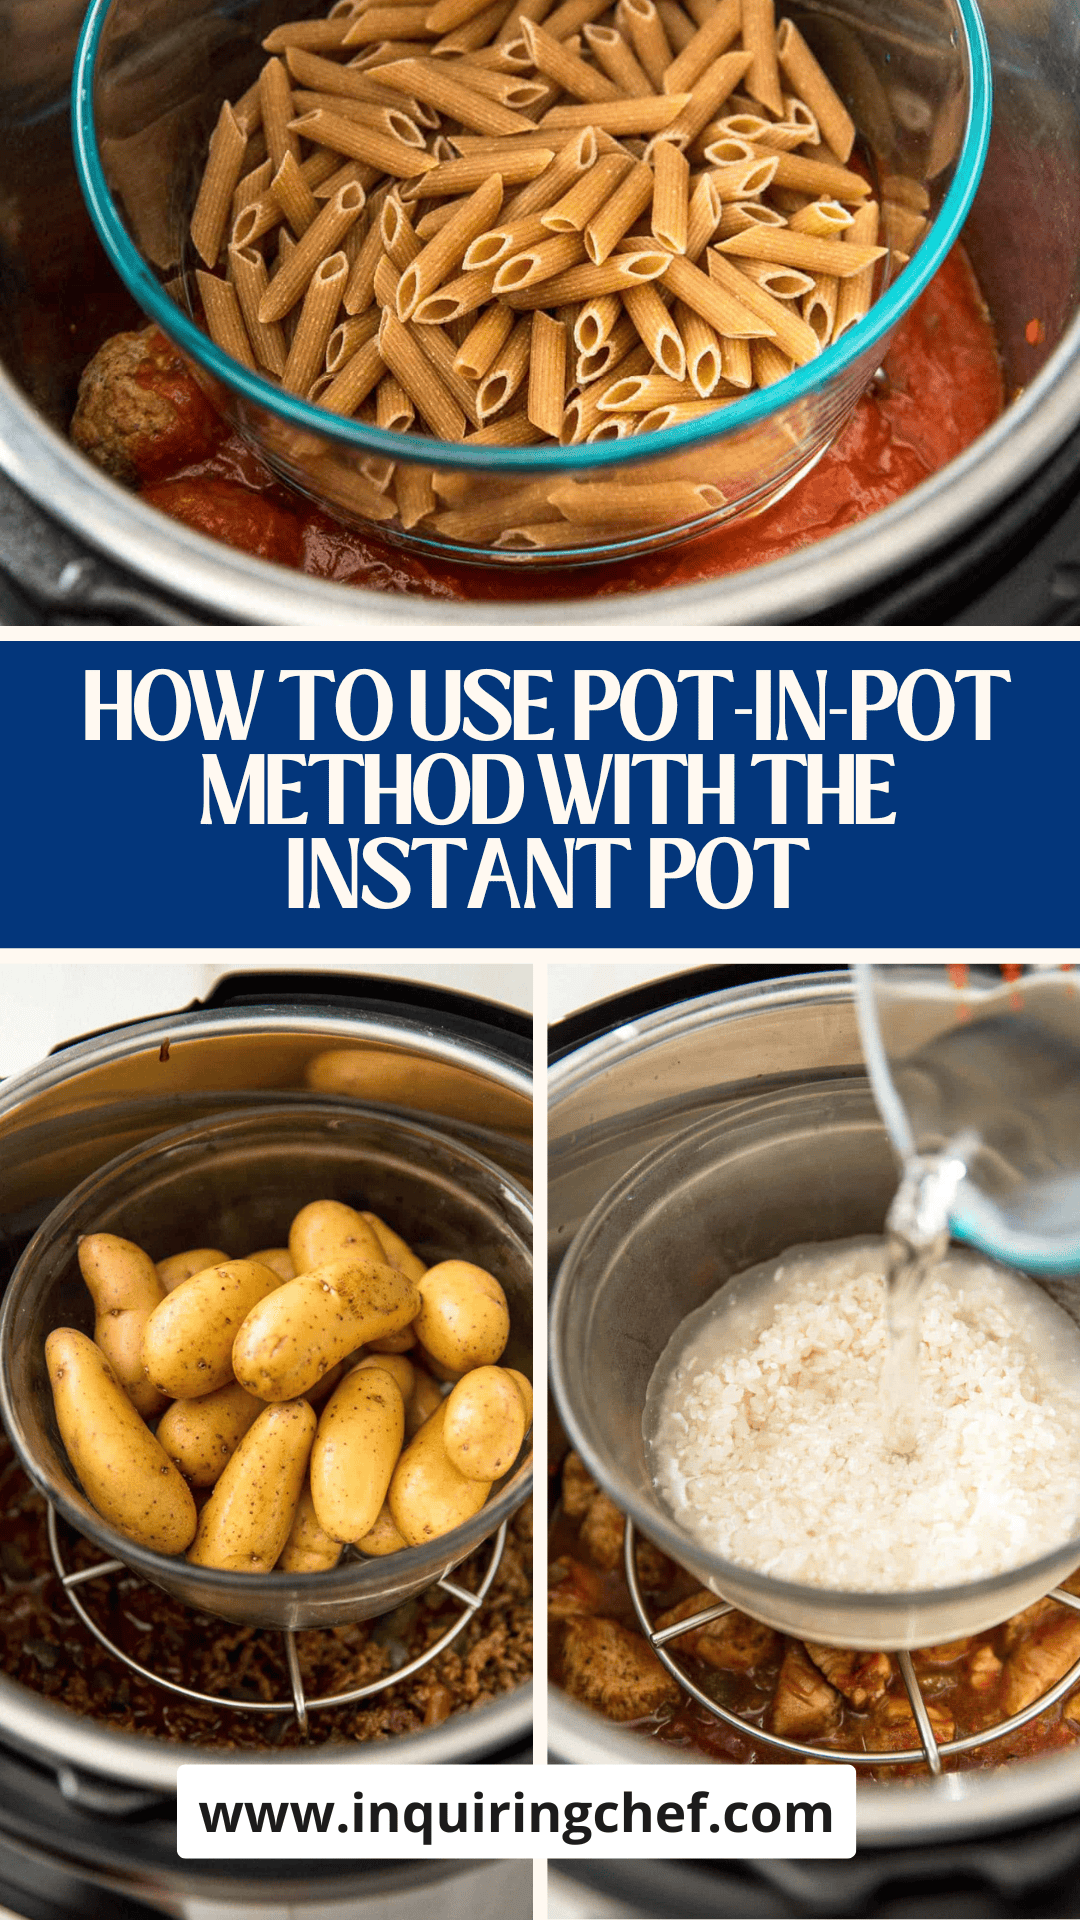
The pot-in-pot method can be used in the Instant Pot to cook something in an elevated dish. It’s useful for everything from desserts to preparing two dishes at once! Read on for all of the tips and tricks you need to master this unique technique.
I’ve recently become a little emphatic about the usefulness of the pot-in-pot method for the Instant Pot. The truth is, once I got over my initial fear of using the Instant Pot (so many buttons, so much steam!), I found it only moderately more useful than my slow cooker. But the pot-in-pot method has totally changed that. Once I discovered that I could cook a complete meal – main dish and side – at the same time, I was hooked. I use this once or twice a week now and love that all messes are contained right inside the machine. See below for my favorite things to cook this way!

Uses for Pot-in Pot
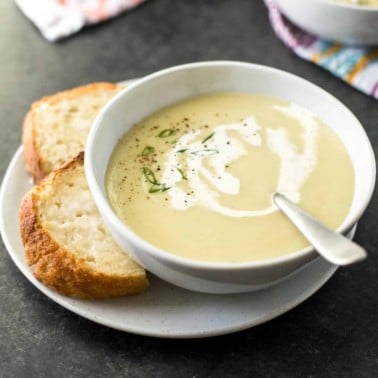
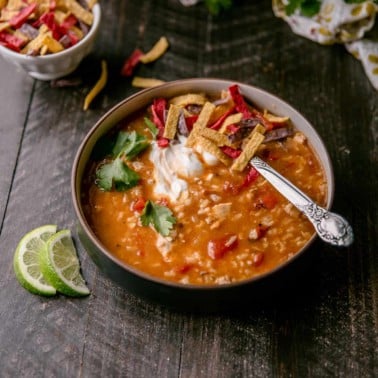
- To pressure cook smaller servings. (Example: want to make soup for 2? Cook it in the elevated pot in a smaller bowl to prevent it from burning on the bottom.)
- To make dishes that should be steamed – like vegetables, desserts, casseroles, meatloaf, etc.
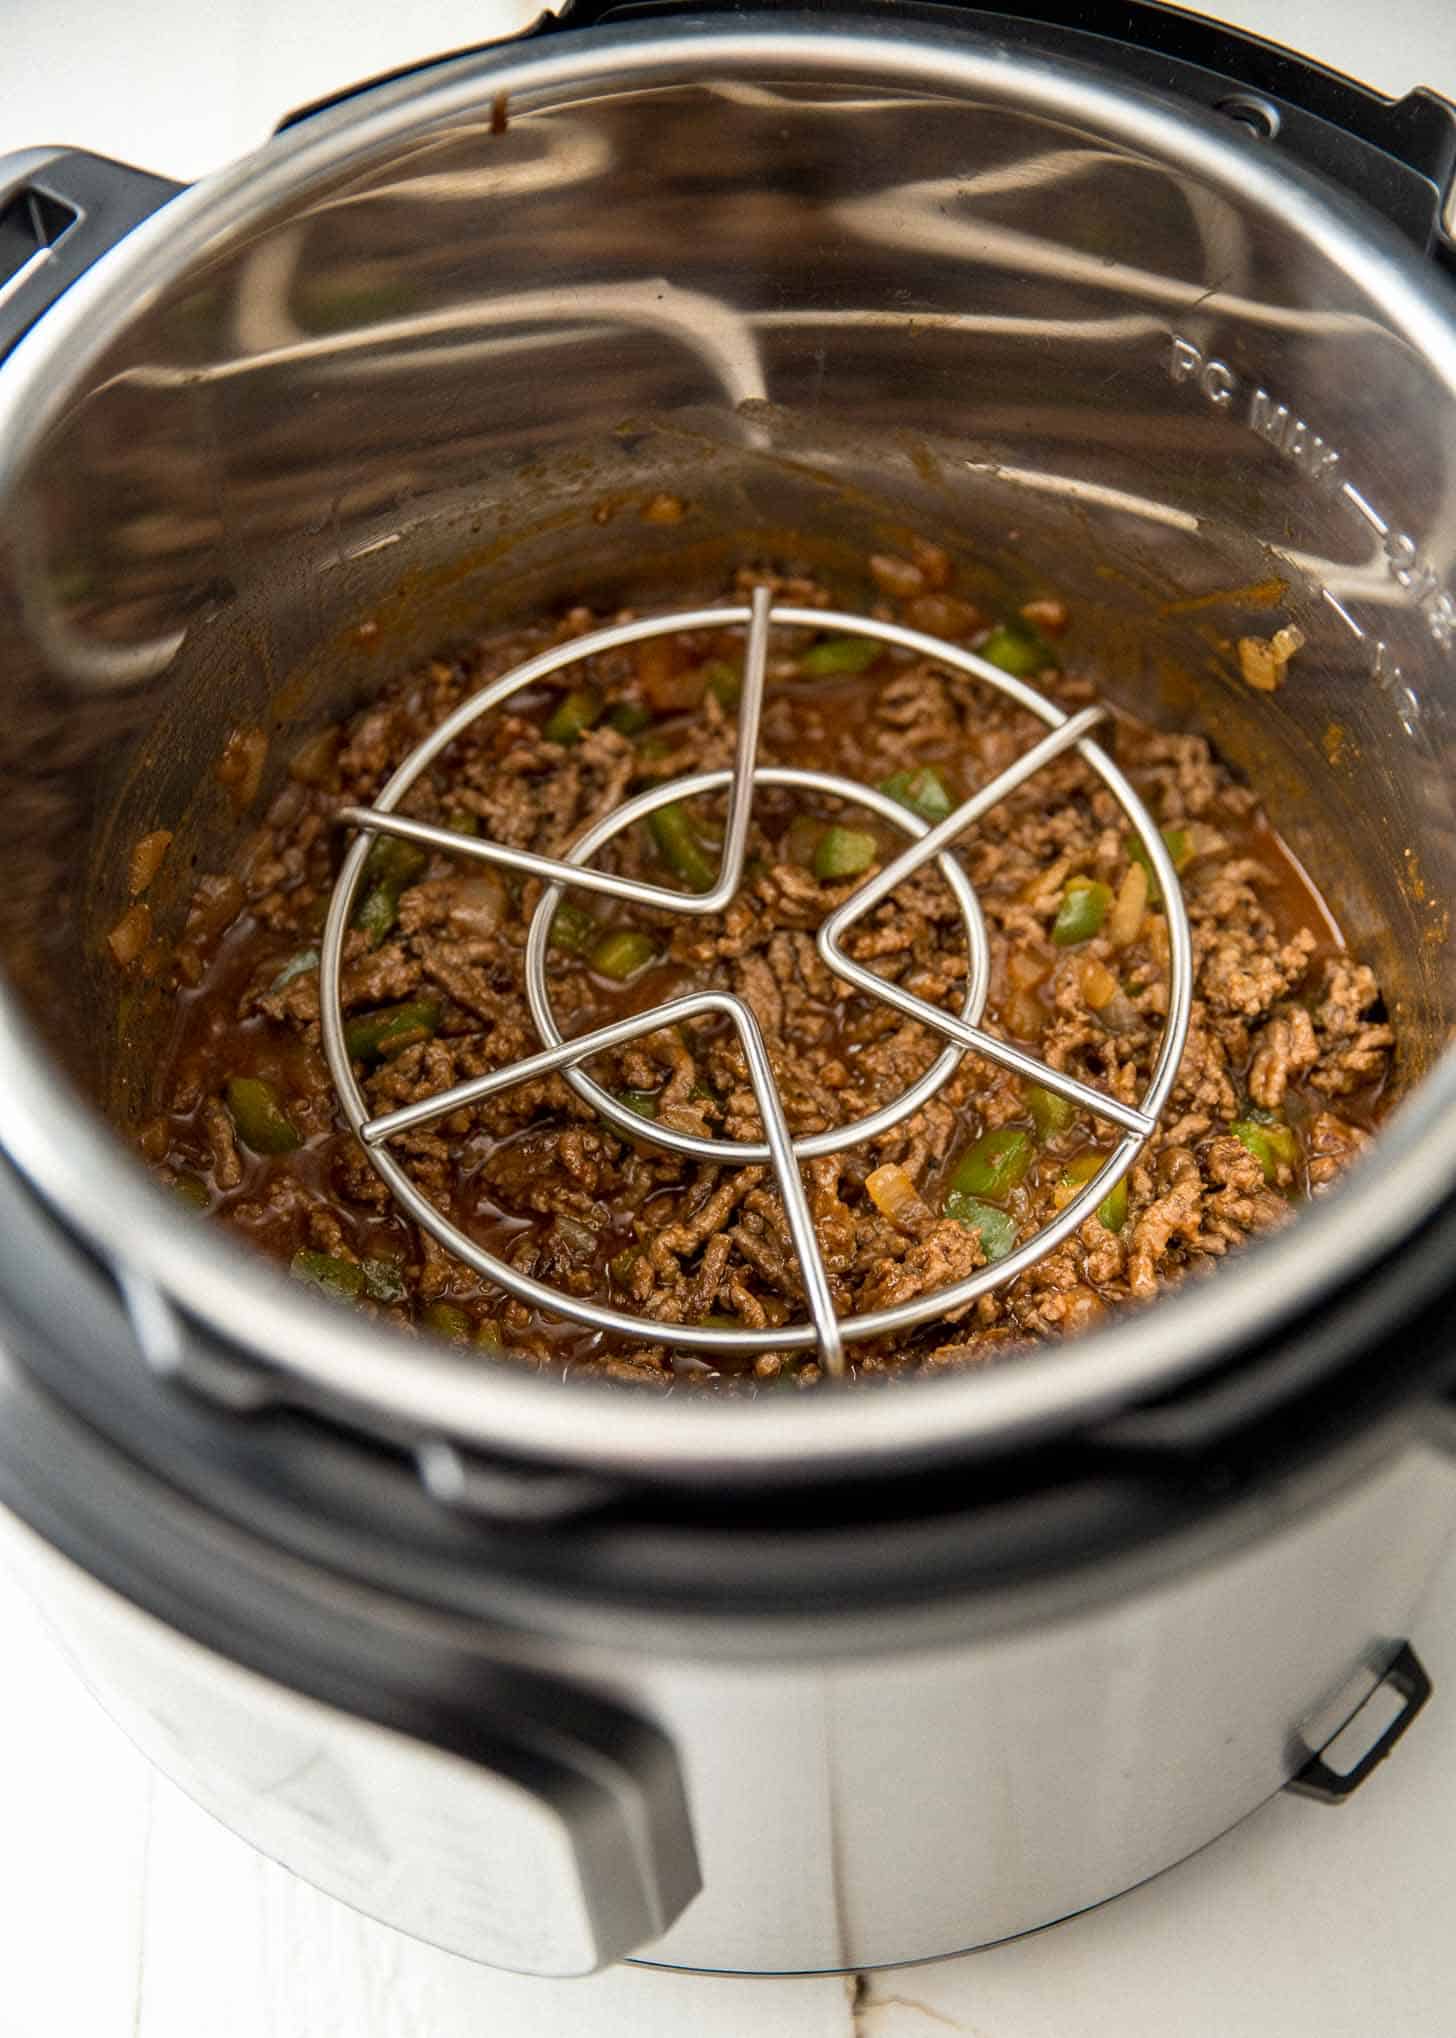
- To cook two dishes at once (like a main dish on the bottom and a starch on top). It’s important to use two dishes that have similar cook times, although the dish cooked on the upper rack will take a minute or two longer than if it cooked in the main insert.
Pin this now to save it for later
Pin It NowRecipes that Use Pot-in-Pot Method
As I mention above, my absolute favorite use for the pot-in-pot method is to cook two things at once. Here are a few of my favorites (with corresponding pressure cook times):
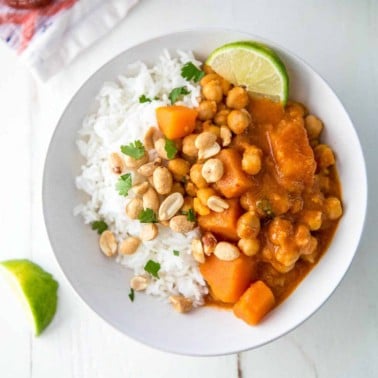
- Chickpea Curry / Basmati Rice (6 minutes)
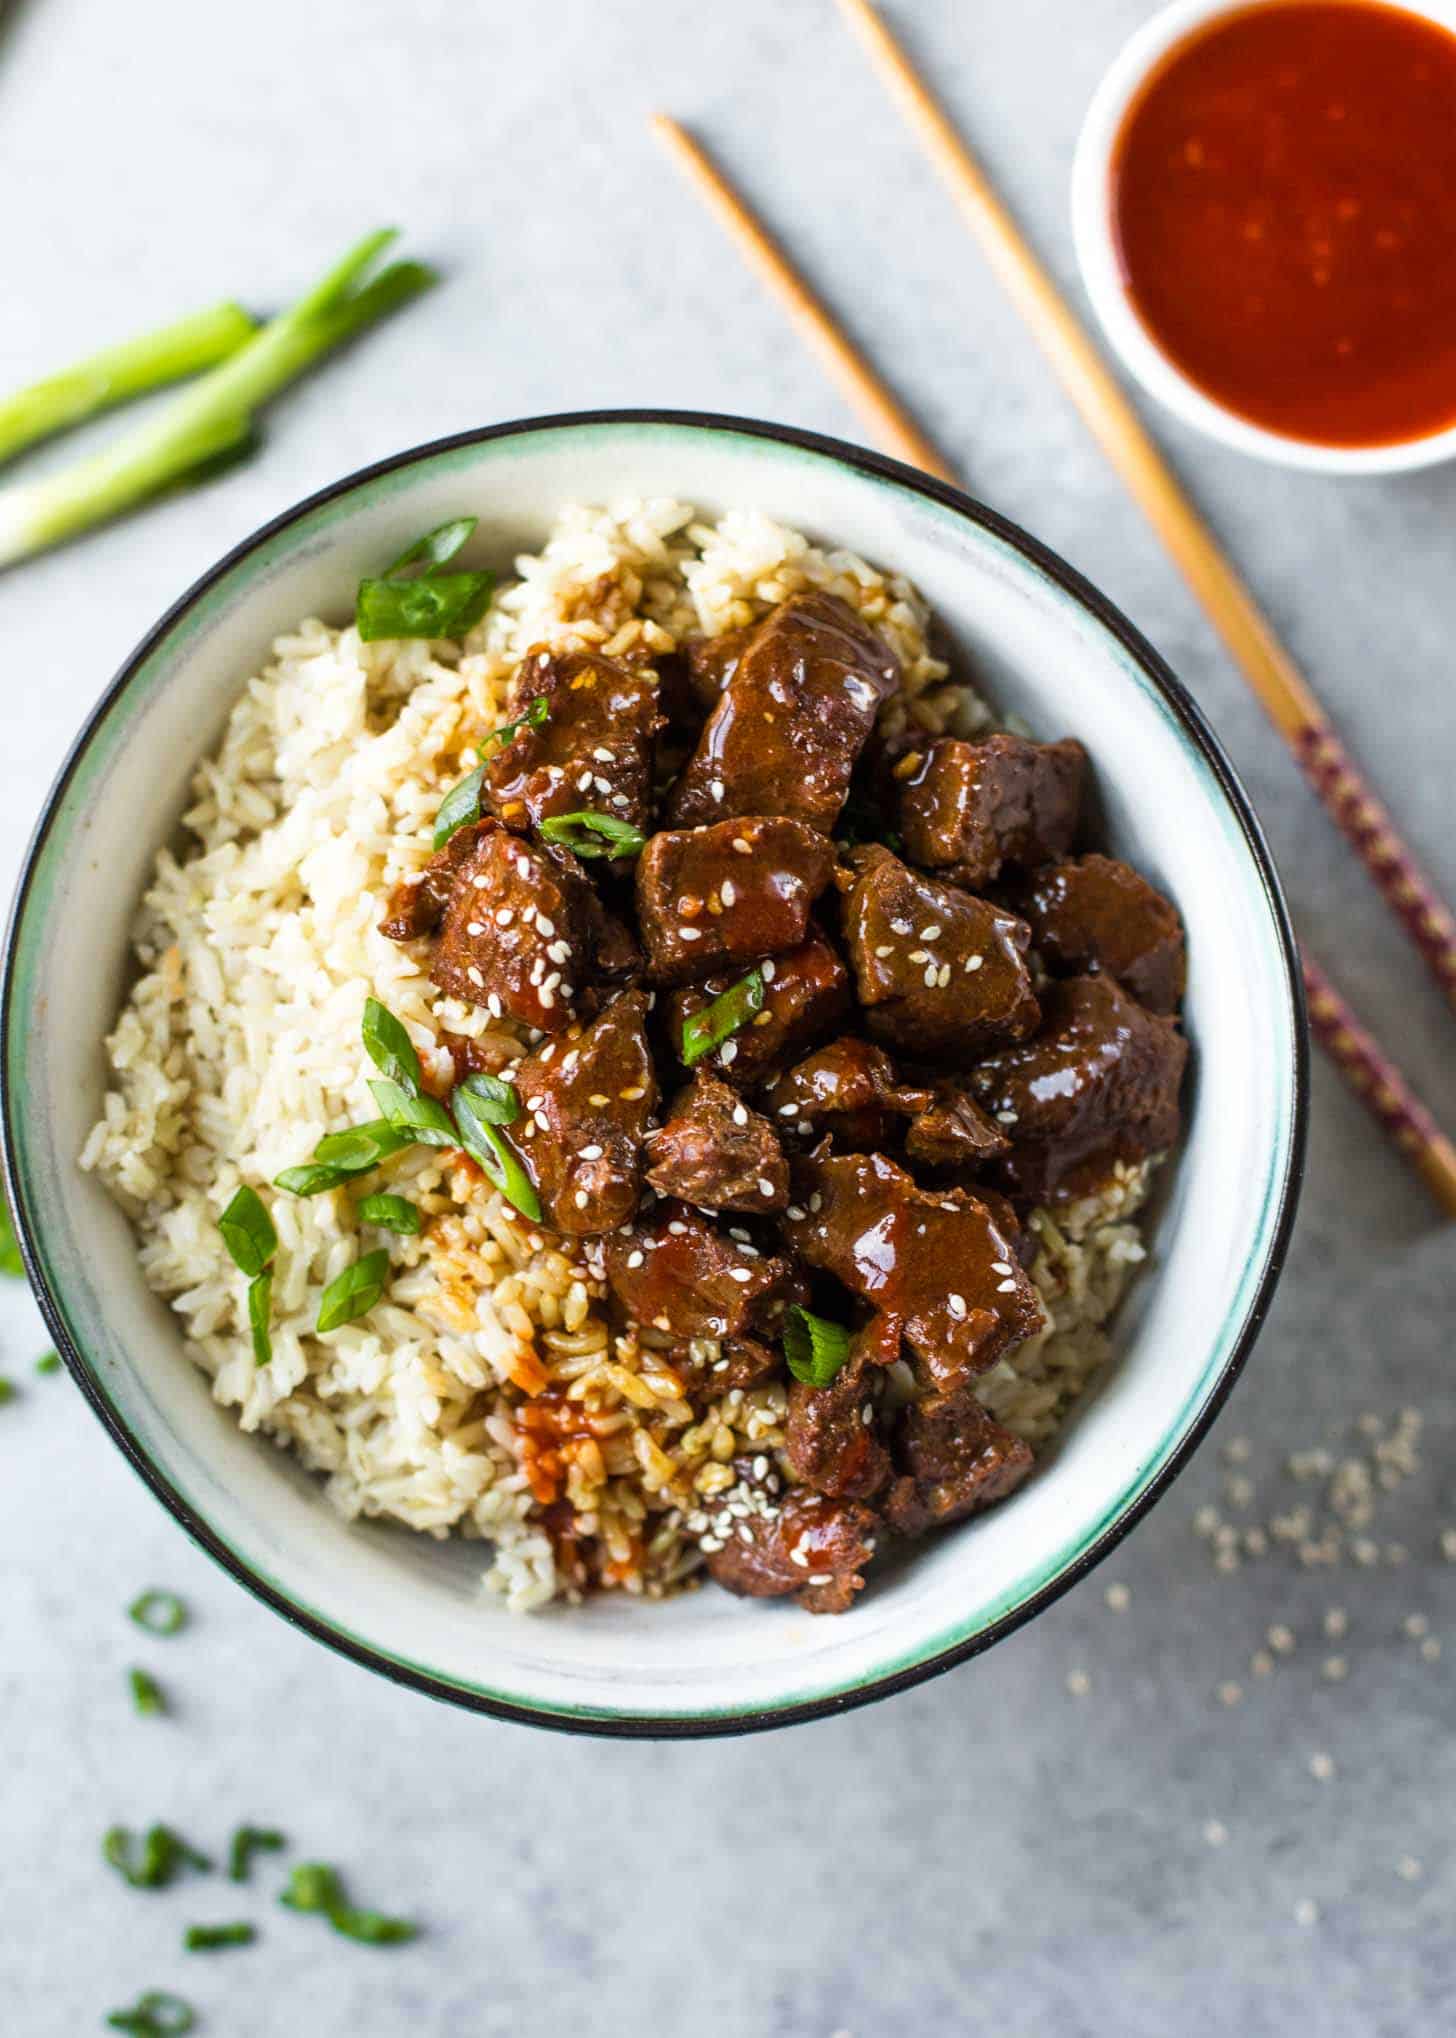
- Korean Beef / Brown Rice (22 minutes)
- Chicken Burrito Bowls / Long Grain White Rice (6 minutes)
- Sloppy Joe’s / Fingerling Potatoes (6 minutes)
- Kung Pao Chicken / Medium-Grain White Rice (4 minutes)
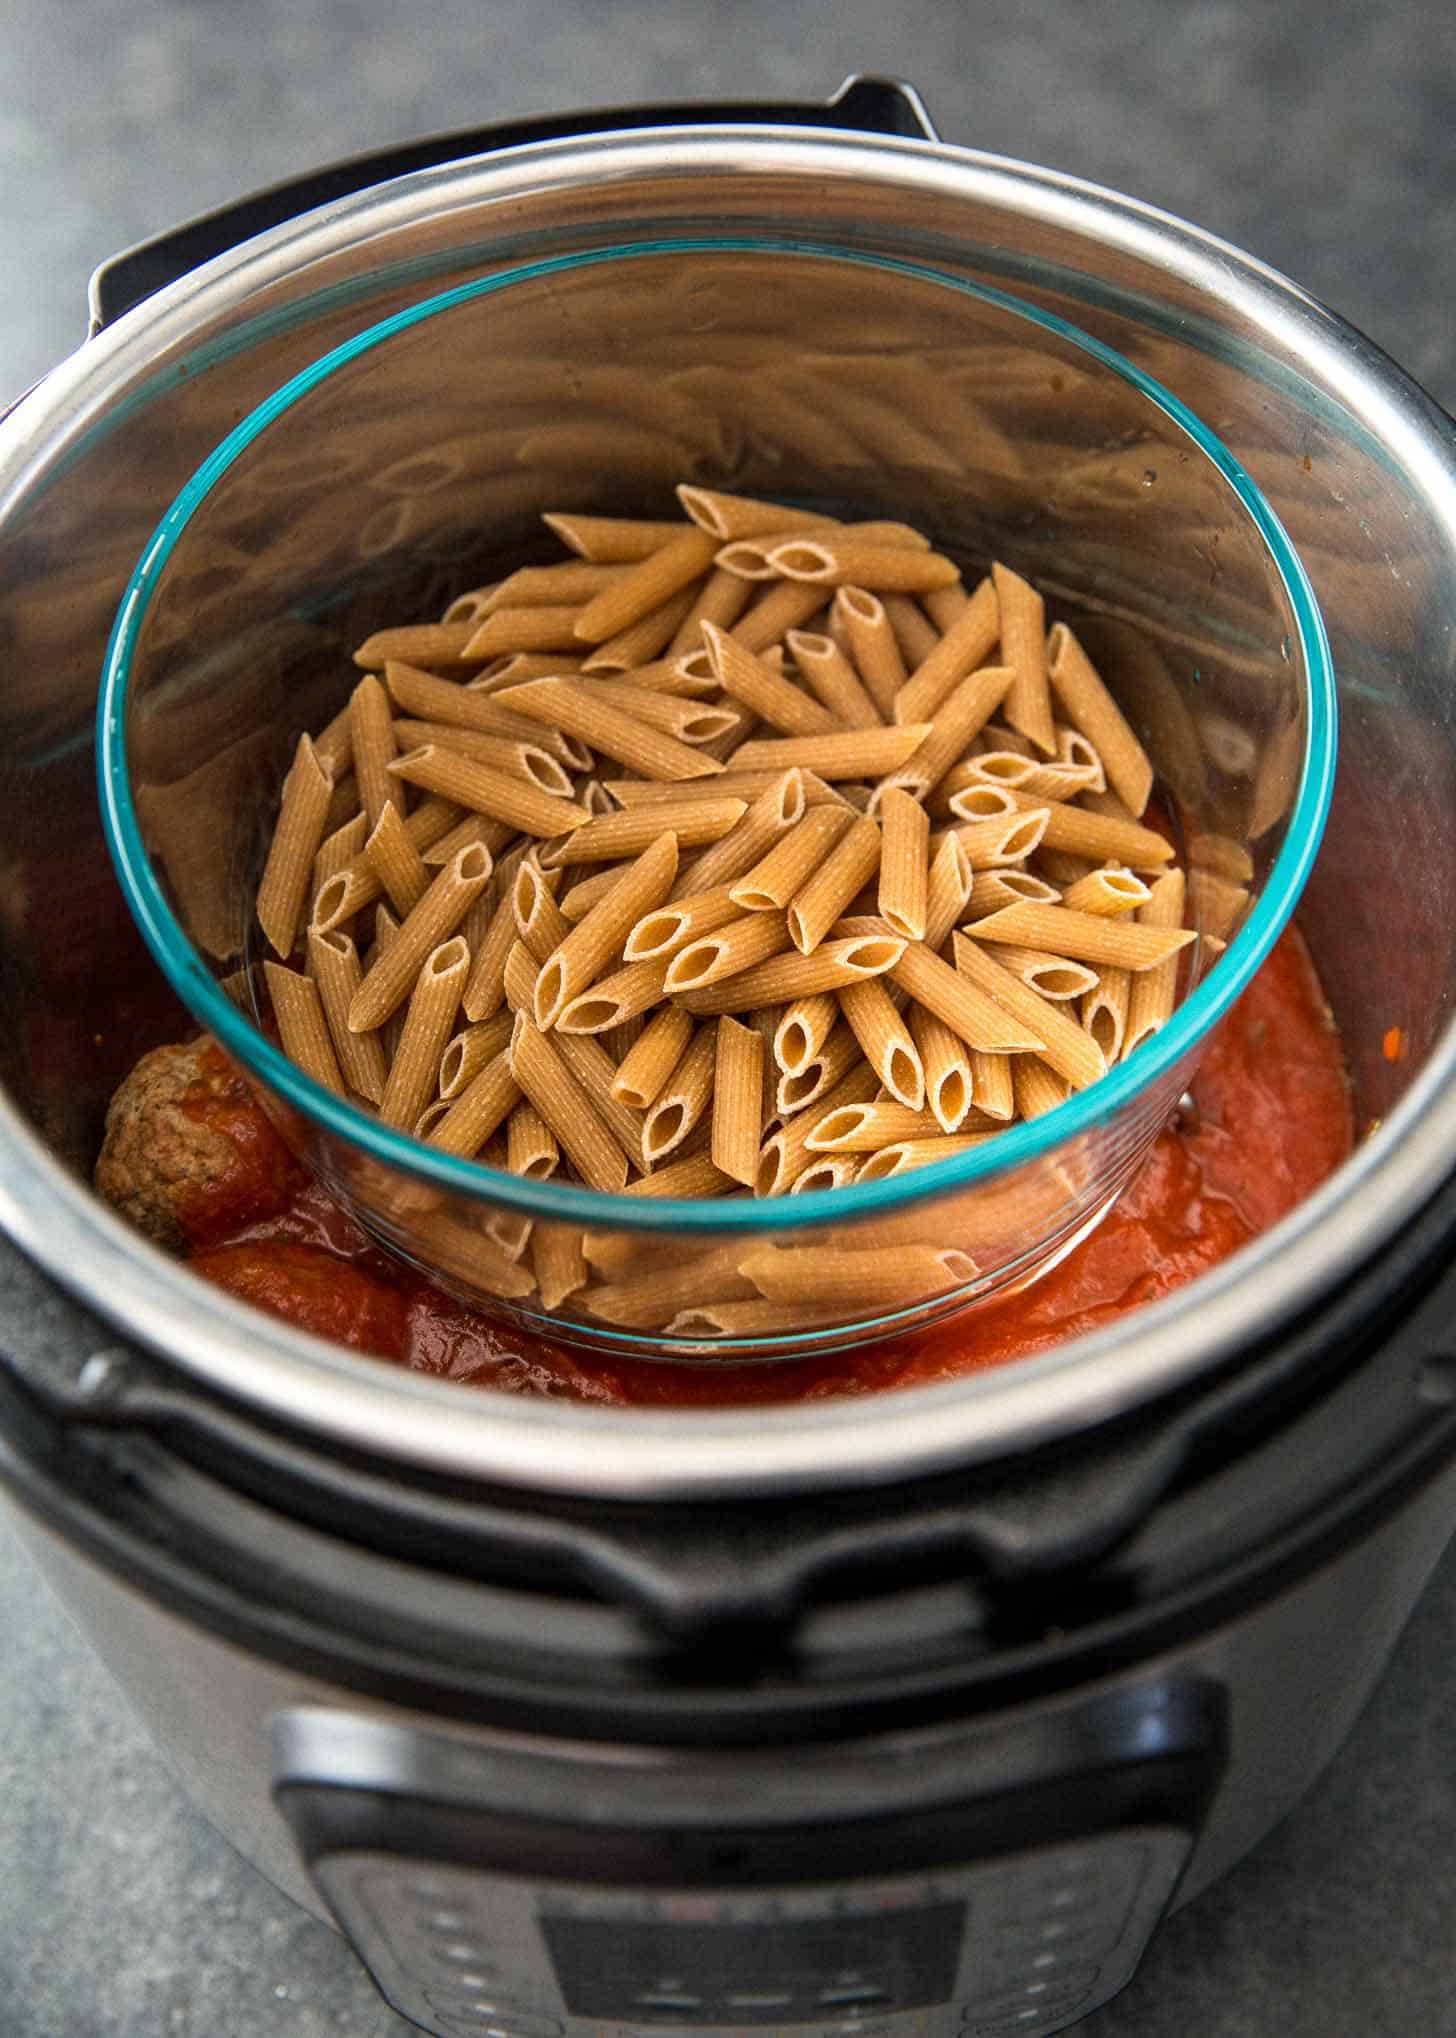
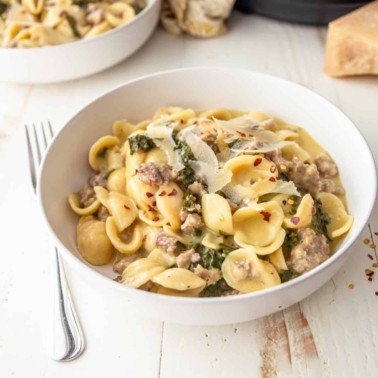
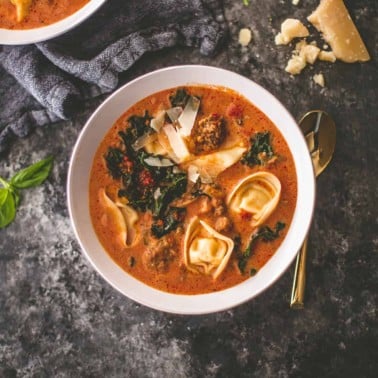
- Meatballs and Marinara / Whole Wheat Pasta (6 minutes)
- General Tso’s Chicken / Long Grain White Rice (6 minutes)
- Thai Panang Curry / Long Grain White Rice (6 minutes)
- Sweet and Sour Chicken / Long Grain White Rice (6 minutes)
- Honey Adobo Chicken / Fingerling Potatoes (6 minutes)
Adjust Timing
Items being cooked in a raised pot using the pot-in-pot method take slightly longer to cook than they would in the main insert because they are not exposed to the direct heat of the bottom of the pan. I always use the same 2-inch metal rack and 7-cup round dish, and everything I cook in this set-up takes 2 minutes longer than if cooking in the main insert. Example: Basmati rice cooks in 4 minutes in the main pot, but needs 6 minutes when cooked elevated using the pot-in-pot method.
Rice in the Pot-in-Pot Method
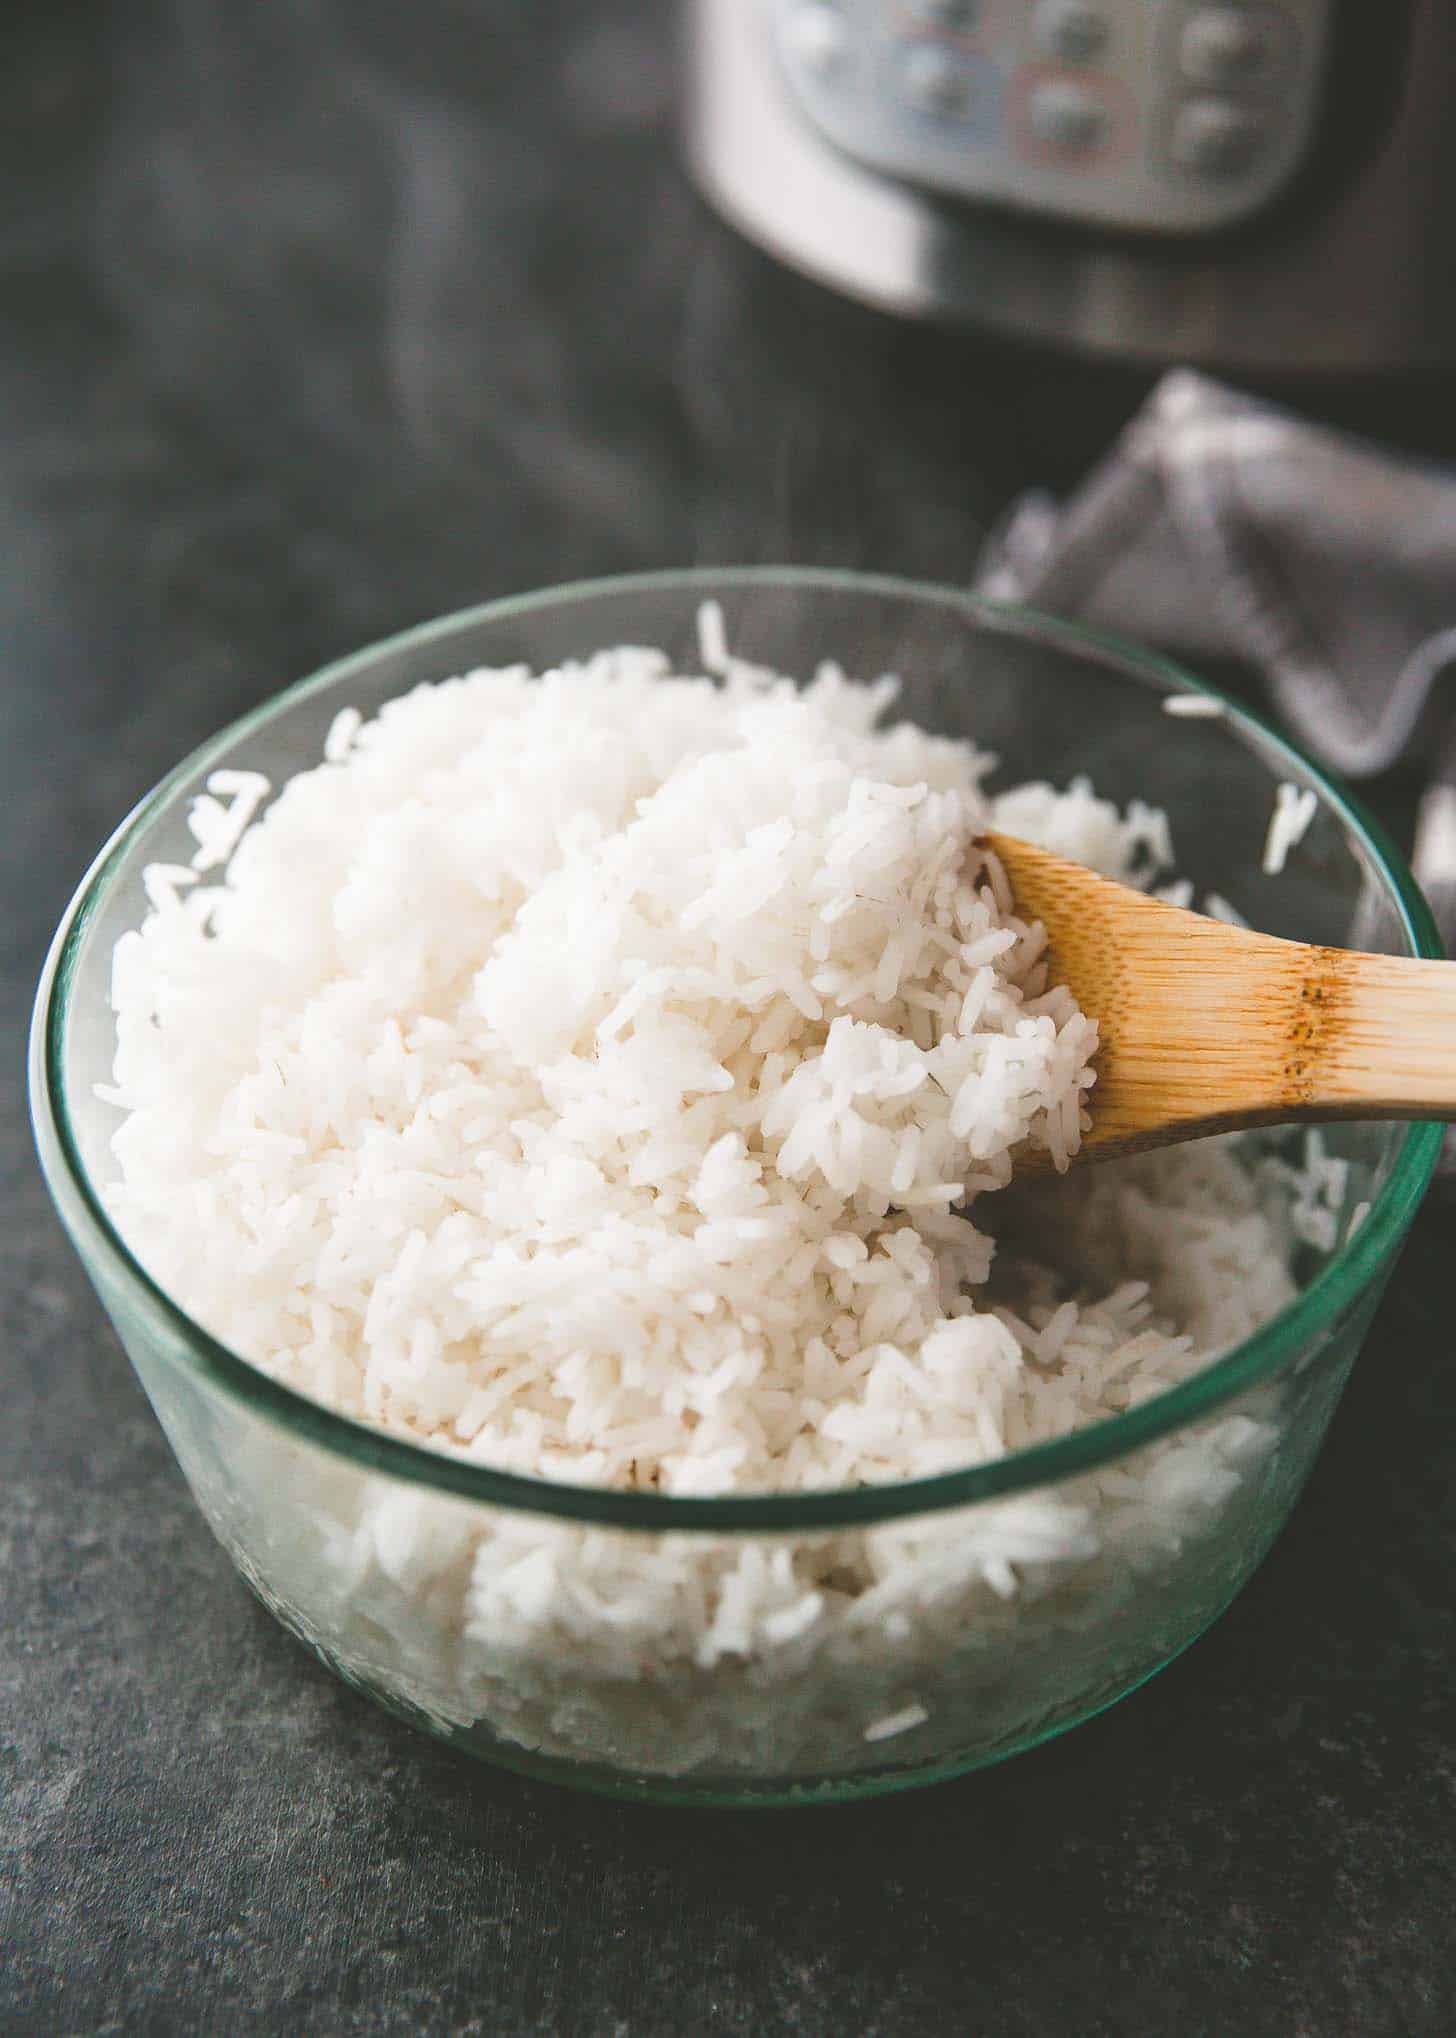
Rice is my go-to when using the pot-in-pot method. It’s a natural accompaniment to saucy dishes that cook so well in the main insert of the Instant Pot. I actually find that I get much more consistent results when I cook rice in the elevated pot-in-pot method than when I cook it in the main insert of the Instant Pot.
- Medium grain white rice takes 4-5 minutes
- Long grain white rice takes 6 minutes
- Brown rice takes 22 minutes
After cooking, let the pressure release naturally for 10 minutes and then release any remaining pressure. Carefully remove the pot with the rice and fluff it with a fork. If the rice is not completely tender, cover it and set it aside for a few minutes – it will continue to soften.
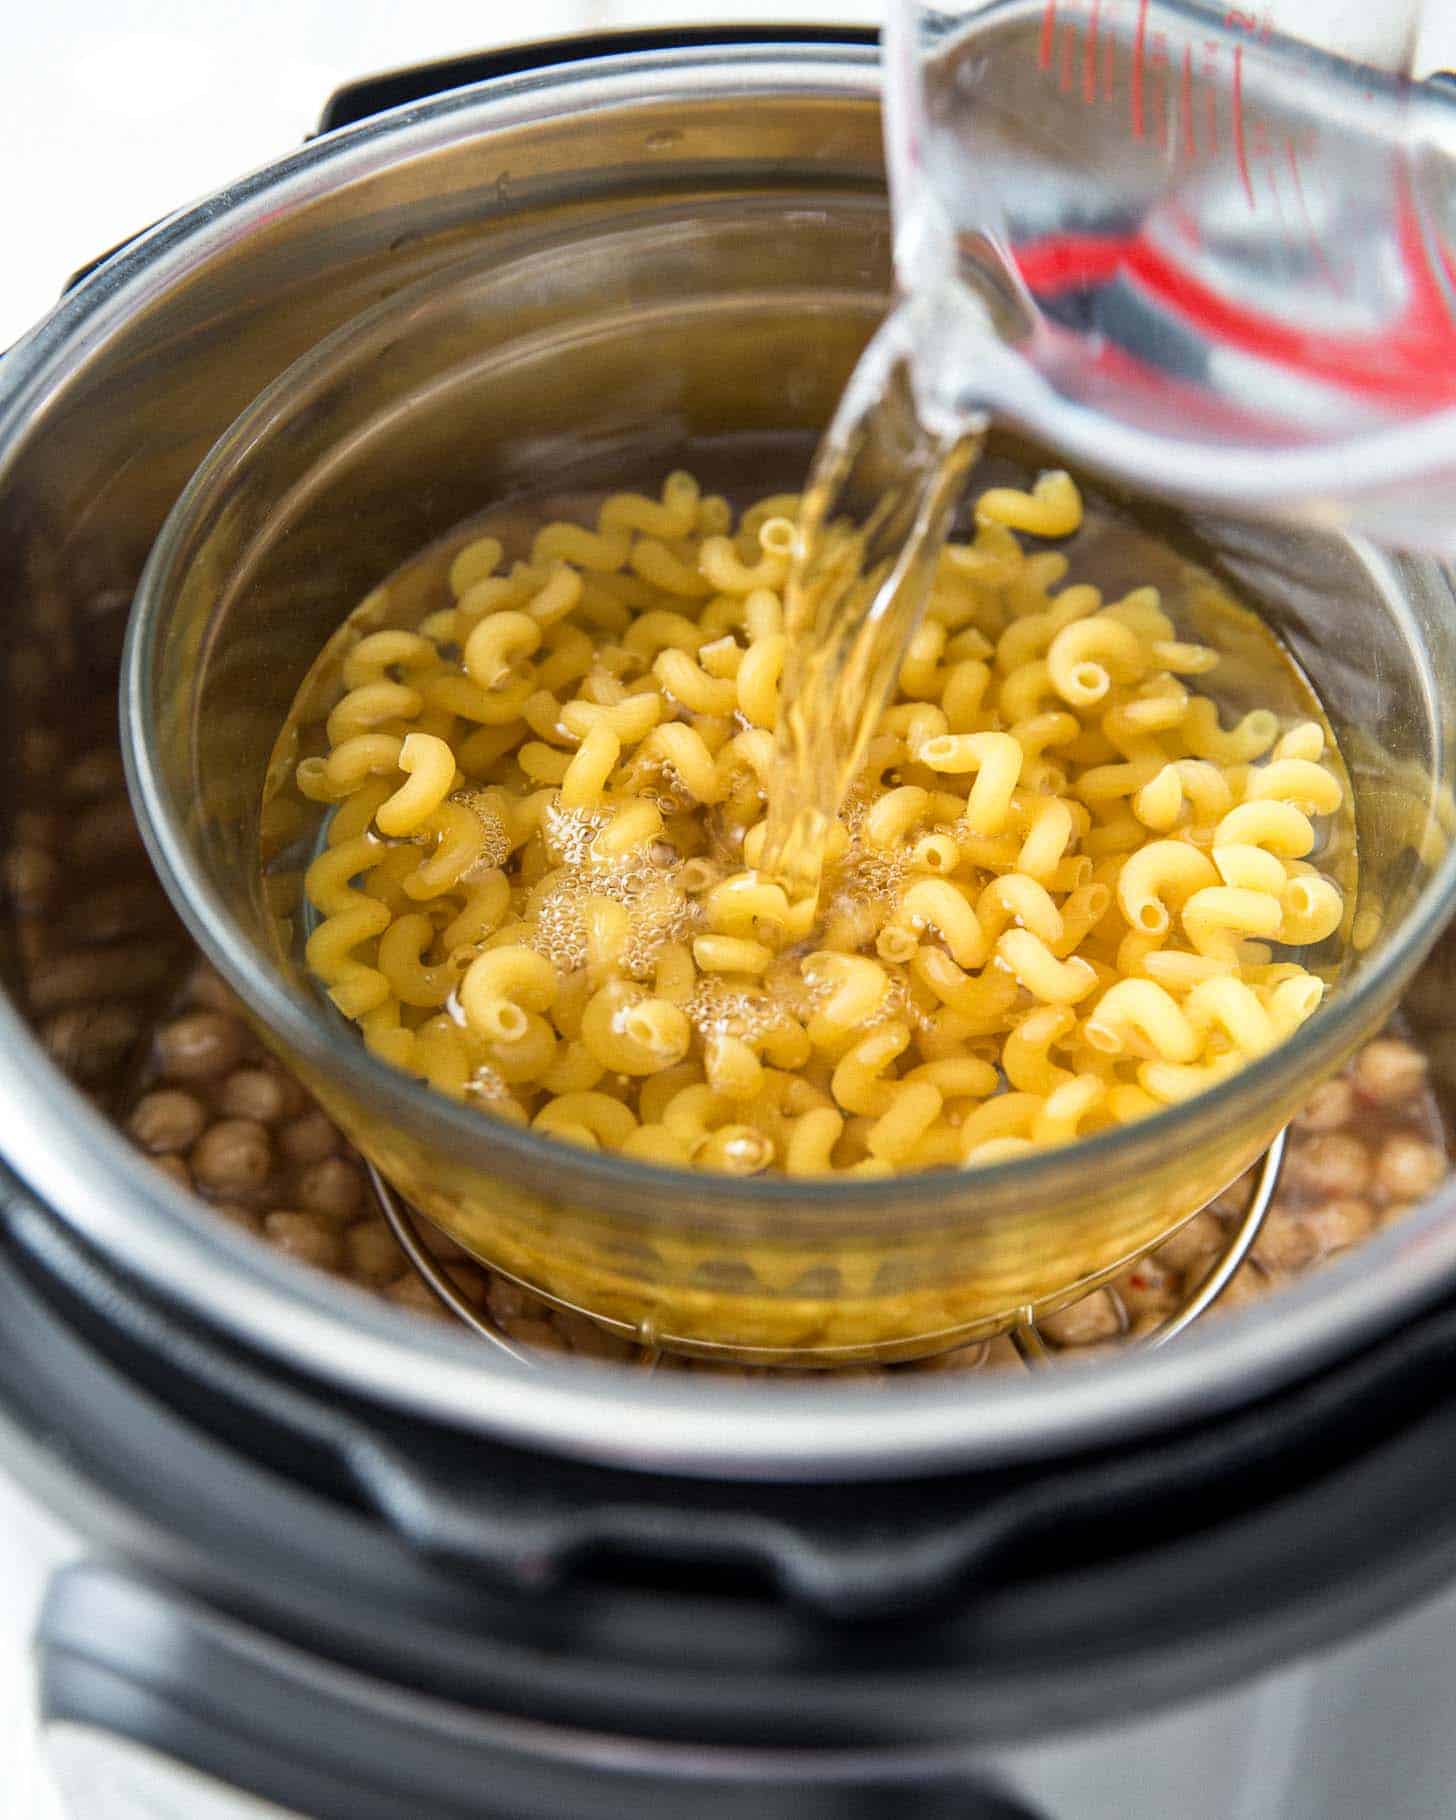
Pasta in the Pot-in-Pot Method
Pasta works well in the pot-in-pot method. Just be sure that it is covered by a couple inches of water so it has room to expand as it cooks. Drain it well at the end of the cooking time. Use this Guide to Pasta in the Instant Pot to determine the time required for cooking the pasta, but add 2 minutes to account for the fact that it is elevated above the heat source.
Potatoes in the Pot-in-Pot Method
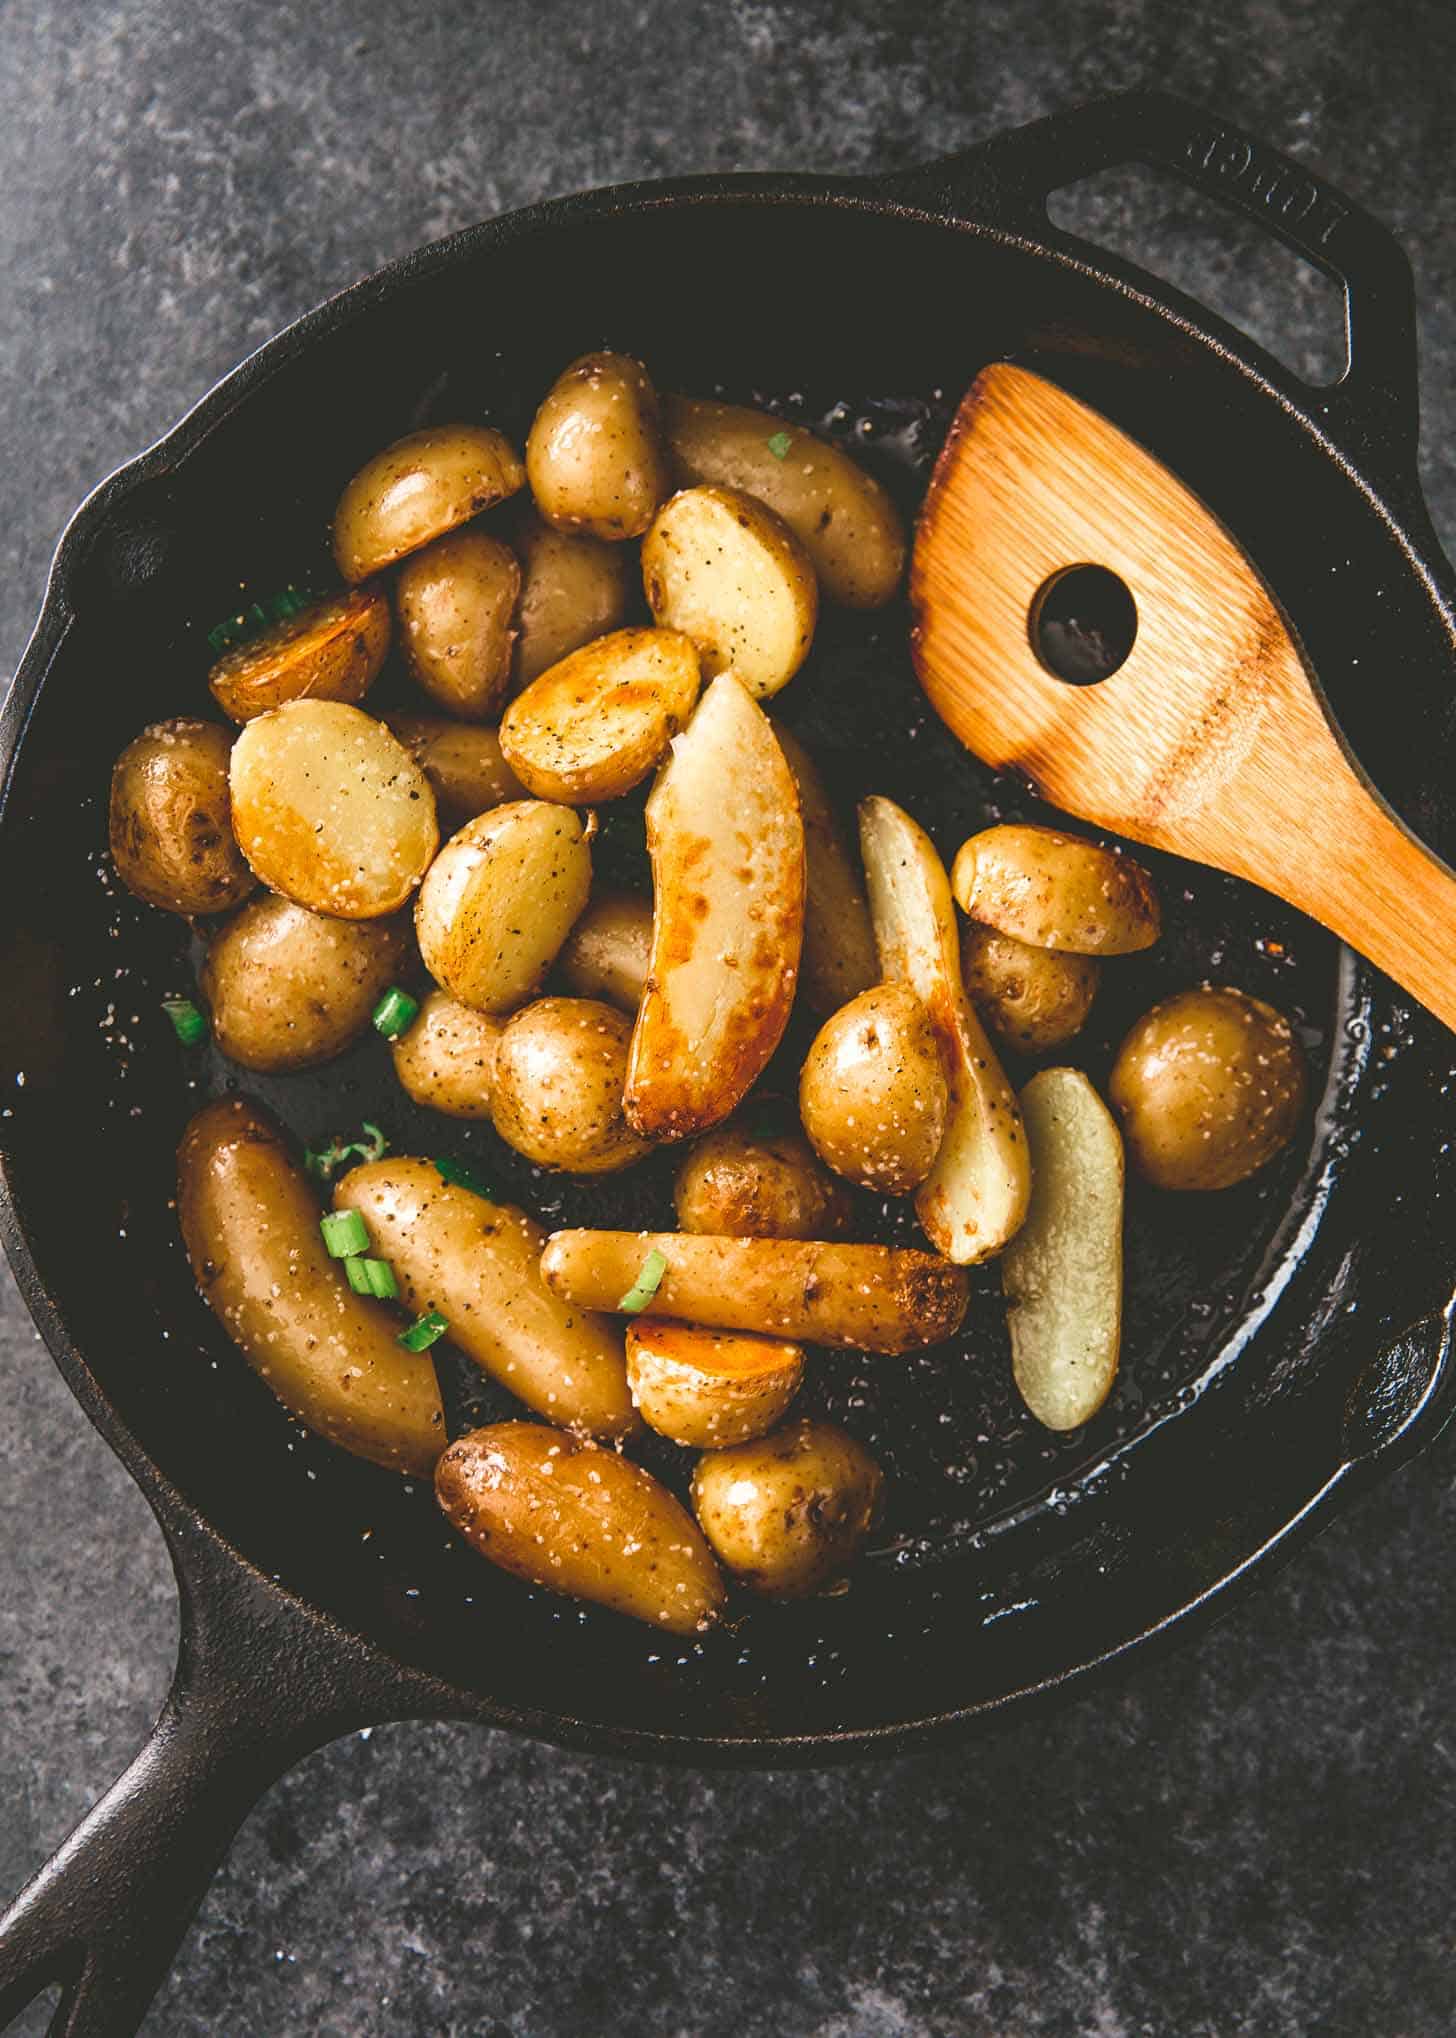
This has been one of my favorite pot-in-pot uses. Cook baby, new, or fingerling potatoes above many other dishes with 6 to 8 minute cook times. Or cook larger potatoes right ton the rack with dishes that have longer cook times. While many things like pasta and rice come out of the pot ready to serve, I find that smaller potatoes cooked this way benefit immensely from one more step. Take the potatoes out, slice them in half and saute them in some oil with salt and pepper.
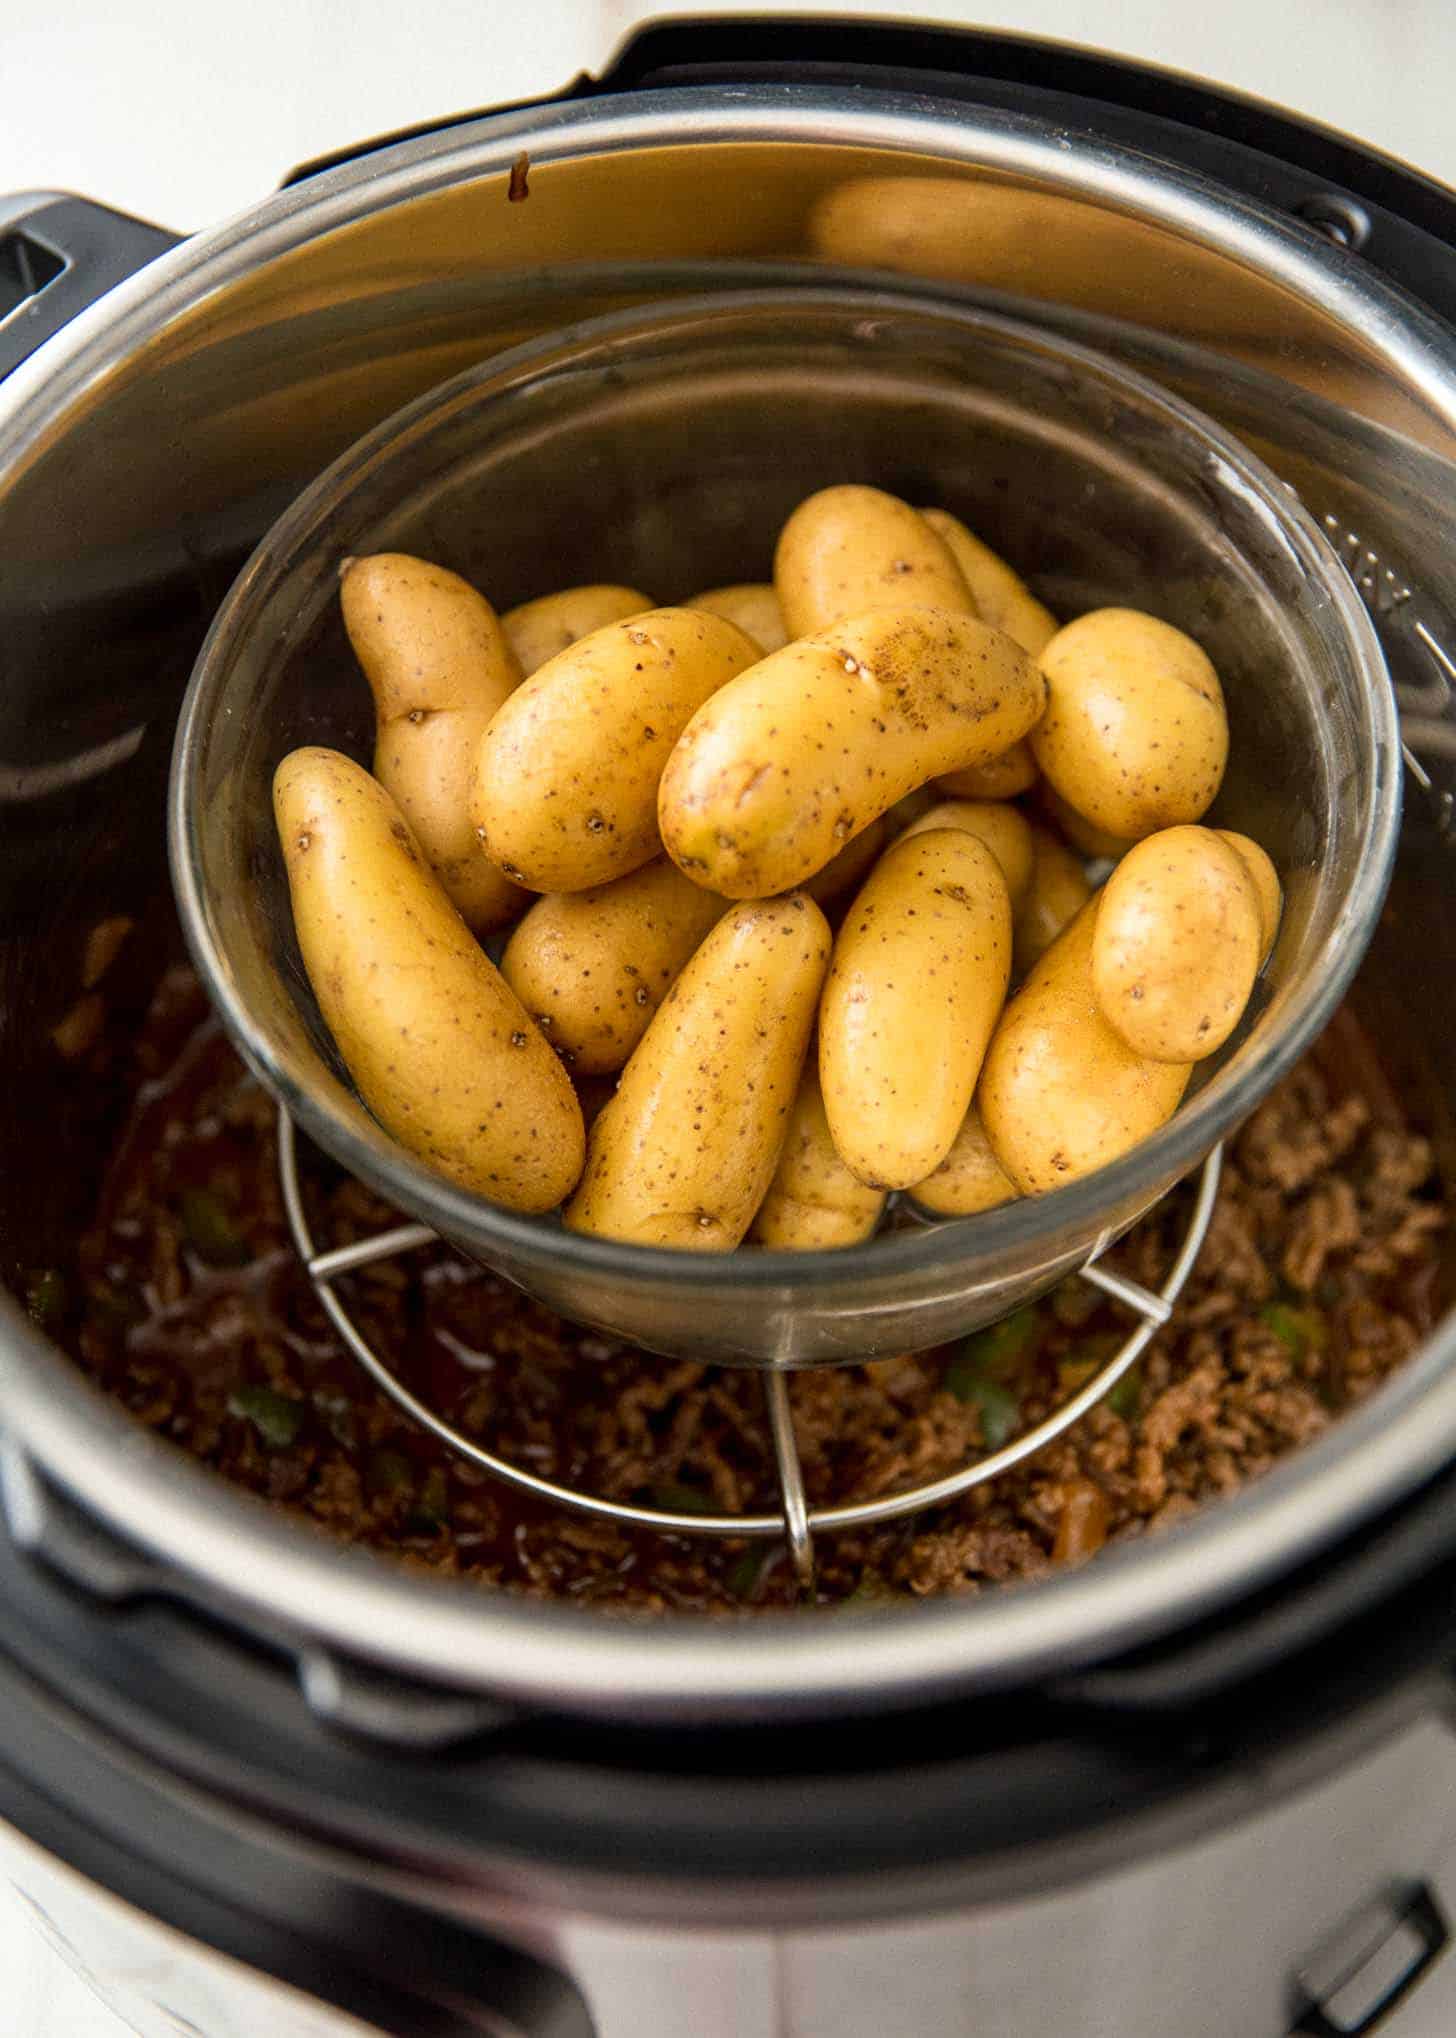
This produces the most delicious crispy / tender potatoes. These are a favorite side dish at our house.
The Most Important Step – Add Liquid
No matter what you’re using the pot-in-pot method for, don’t forget to add liquid to the bottom of the pot. If you’re cooking a saucy dish in the bottom at the same time, this should already be covered. If you are only cooking something in the elevated pot, be sure that you add water to the pot first. Otherwise, you will get the burn message as the pot heats up.
Tools for Pot-in-Pot Method
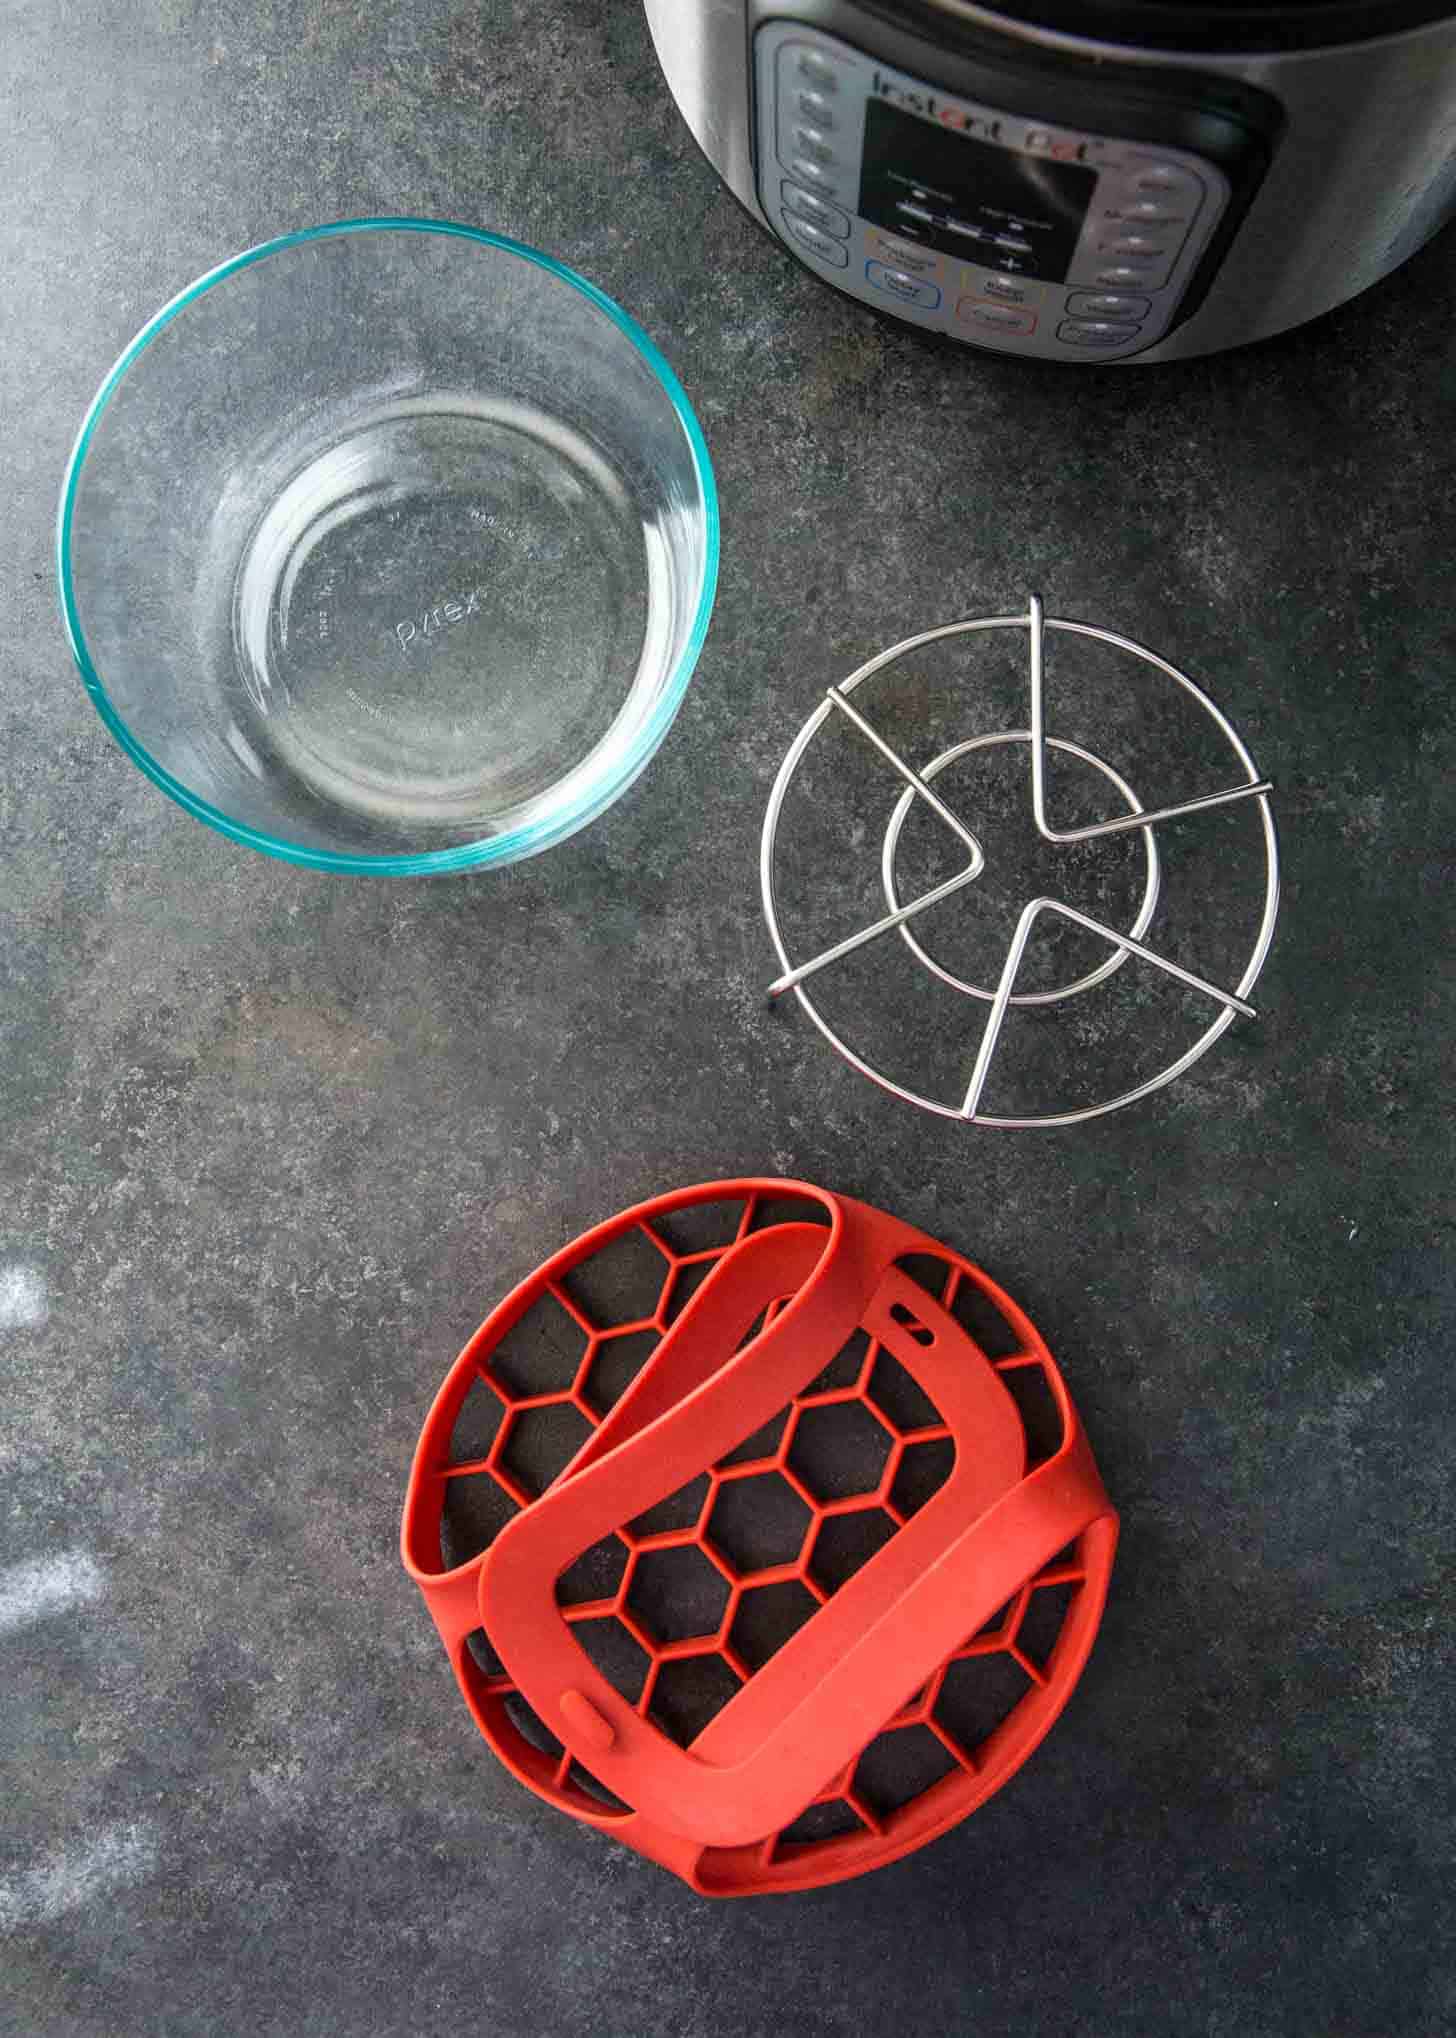
- 6-Quart Instant Pot Duo – This is the Instant Pot / pressure cooker I use to test all meals on this site. It easily makes enough to serve the 5 members of our family (usually without leftovers).
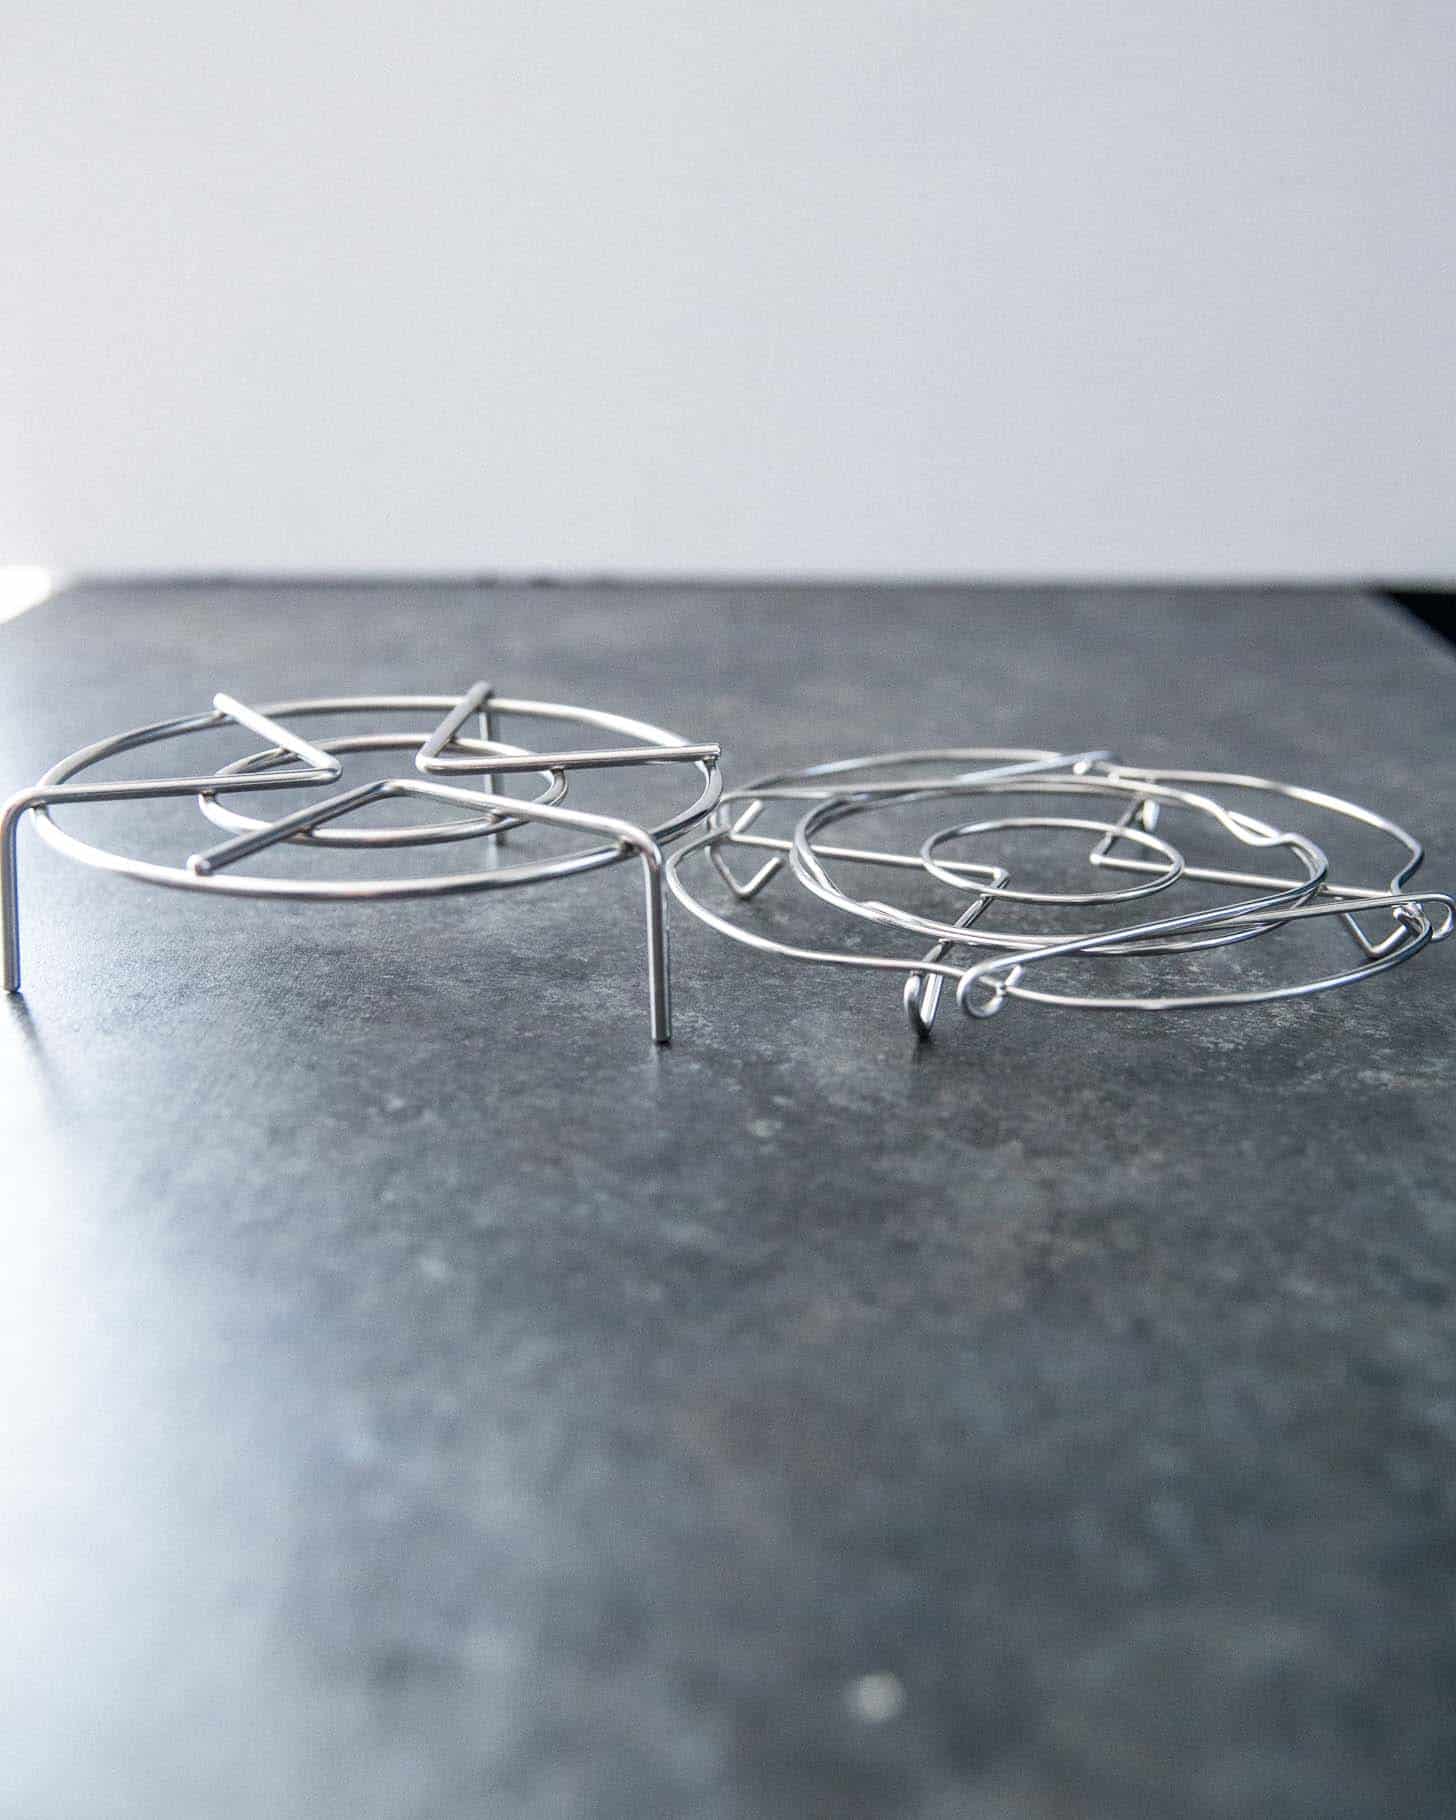
- Instant Pot Rack – This 2.3-inch rack is just the right height to hold a bowl above the other ingredients to cook using pot-in-pot method described in this recipe. It is slightly higher than the rack that comes with many Instant Pot models (shown below).
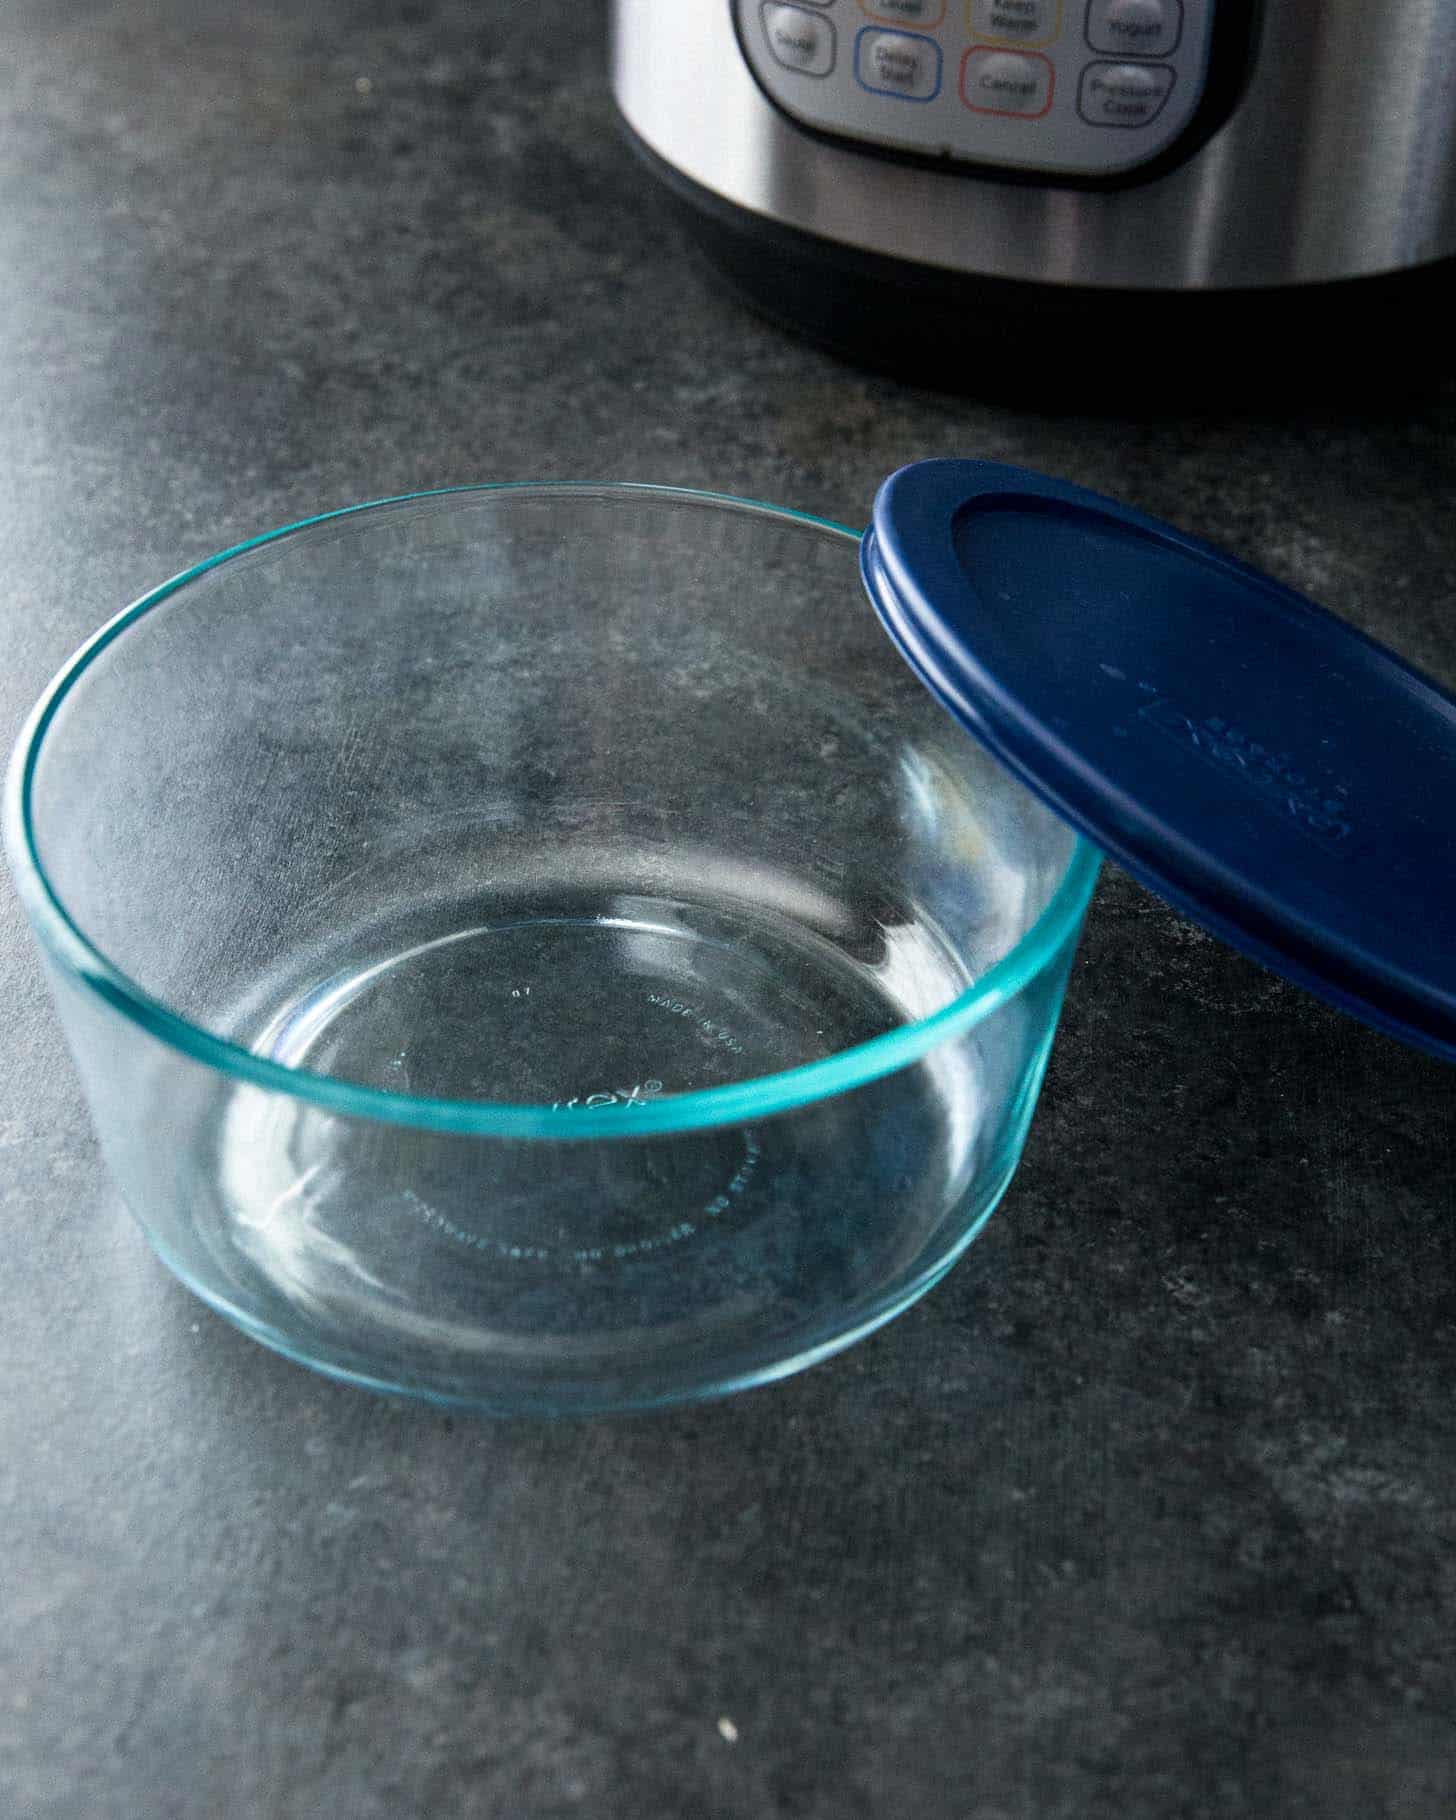
- Instant Pot Bowl (for pot-in-pot method) – I test all of my recipes using a glass bowl for the pot-in-pot method. For a long time I used the medium sized bowl that came in this Anchor 3-Piece Set of Glass Mixing Bowl which worked well. I now prefer the 7-Cup Round Pyrex Dish. It easily fits inside a 6-Quart Instant Pot and (my favorite part) it comes with a lid. So easy for leftovers – just pop the lid on and put it in the fridge! You can also use a stainless steel bowl or any other dish / bowl that is approved for cooking under high pressure.
- OXO Pressure Cooker Sling – This was a tool I thought seemed unnecessary until I bought it. Place this sturdy sling under the bowl in the pot-in-pot method and you can easily lift hot items out at the end of cooking. It also works great for steaming eggs, vegetables, or cooking large vegetables or meat in the pressure cooker. You can also make your own sling by folding a long piece of aluminum foil into thirds and placing it under the bowl. Just grab the ends to lift the bowl out.


You have a good variety of recipes for this method, thanks. The beauty of this is that nothing burns. The more you understand the times required you can cook and leave the pressure to release on its own. Thanks again for your ideas.
Hi , I want to make a chicken enchilada casserole in my IP, using the pot in pot technique. Can you please advise setting, time, temperature. Thank you so much
Hi Linda – beyond the general guidelines I’ve provided here, I can’t provide specifics that will work for each recipe. But if you try it, please pop back into the comments and let us know how it goes!