How to Meal Plan for a Month
Published Mar 18, 2019•Updated Apr 02, 2024
This post may contain affiliate links. Please read our disclosure policy.
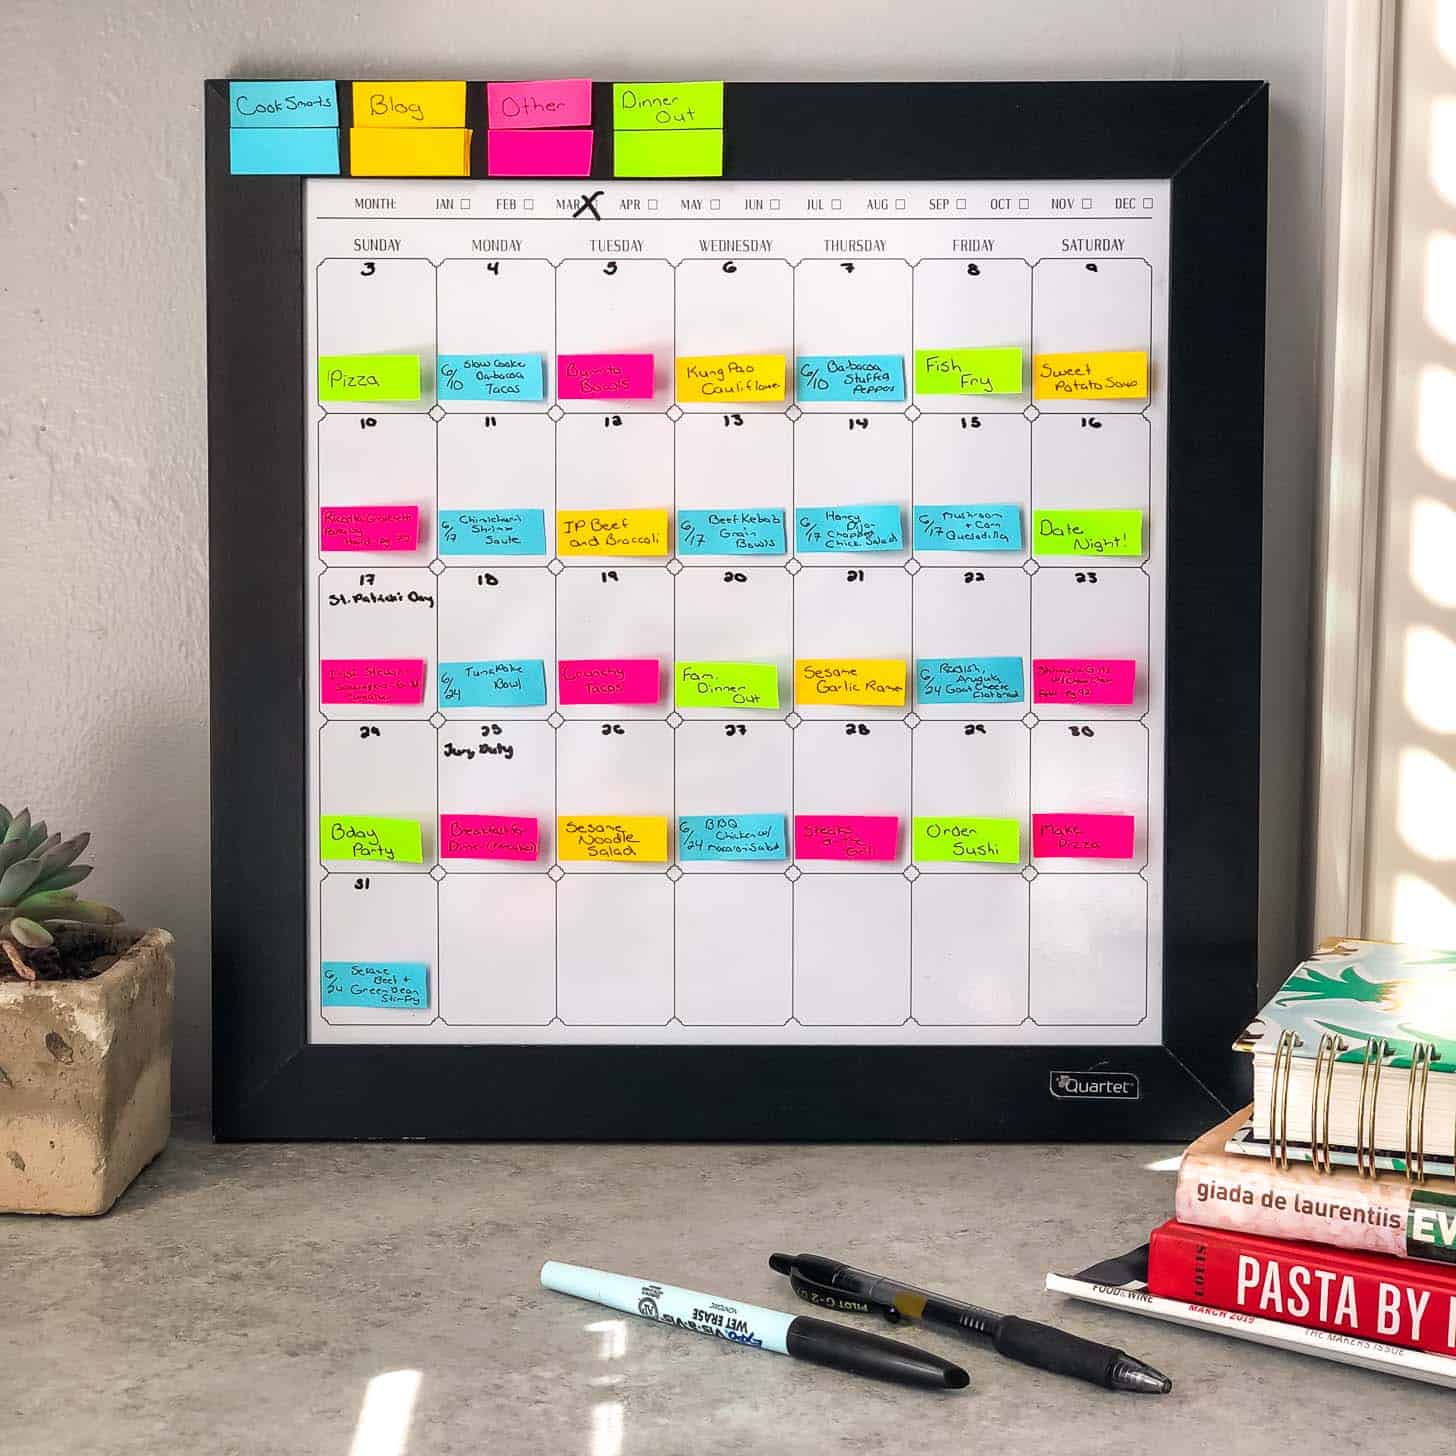
It’s March! It’s Spring! It’s time to clean out the closets, fling open the windows, and hit refresh on routines. In celebration, all this week, we’re doing a little “spring cleaning” in the kitchen and talking about ways to improve and refresh kitchen routines. Starting with…meal planning! It’s not flashy, but it’s really useful. And if you haven’t already, be sure to check out my guide to Kitchen Organization, because there are many tips in there that will help make your meal planning run more smoothly.
Depending on your personality, you probably had one of two reactions to the title of this post. Maybe you’re the sort of person who loves to plan ahead (like me) or you’re a professional meal planner (also me …and maybe no one else). In which case you might be thinking – a month of meals all planned and ready to go? Let’s do this thing!
Or maybe you’re the sort who likes to be spontaneous with your meals. In which case you’re thinking – this lady has totally lost it.
Whether you’d like to try meal planning for an entire month, want to improve your current meal planning process, or are just curious about how I do it, read on!

Why Meal Plan for a Month
I’ve been writing a food blog for nine years and have been a professional meal planner for Cook Smarts for four years. I cook, test, photograph, and write about recipes all week long. In recent years, the Cook Smarts team has had a week-long retreat where we plan an entire year of meals ahead of time. Yes – a YEAR! And just like every home cook, we’re flexible. We change things as we go, but starting out with a framework makes everything go so smoothly. I’ve learned a lot of tricks, but I am certain that the best thing any home cook can do to make life easier in the kitchen is to plan ahead! It saves time, reduces waste, and saves a ton of money.
Pin this now to save it for later
Pin It NowHere are just a few advantages to meal planning for a month at a time:
- Variety – Planning for a month makes it easy to build in lots of variety. New recipes, dinners out, a pizza night here and there, and hosting friends / family all have a place in a month. Example: Our family might not eat fish every week, but a monthly plan means we can plan to make it a couple times a month.
- Flexibility – It’s easy to move meals around in a month-long plan. Example: We decide to order pizza instead of that pot roast in the plan. I pop the meat / veggies in the freezer and move the placeholder for the meal to the following week.
- Convenience – With a meal plan mapped out, it just takes a few minutes to write out a grocery list or shop online whenever you have time instead of feeling crunched to do it right before shopping. Example: If we’re home watching TV on a Tuesday night, I’ll grab my monthly meal plan and make a grocery list or order groceries online (scheduled for delivery the following Sunday or Monday).
- Maximize Freezer Meals – It’s easy to spot busy times when you look at the month as a whole. You can prepare by doubling up on freezer-friendly meals ahead of time. Example: In the monthly calendar, I see a week where I’ve got lots going on at work, the kids have after school activities, and we’ve got family events thrown in. In preparation, I’ll make double batches of chili and slow cooker meals a couple weeks before and toss them in the freezer.
Step 1: Choose a Calendar
Any type of calendar will work. If you already have a calendar system in place, it may be easiest to just incorporate your meal plan into that.
- Pencil and Paper – Classic. Print a free paper calendar or use a wall calendar. Use square Post-its or page marker Post-its to add meals so that you can easily move them around as needed.
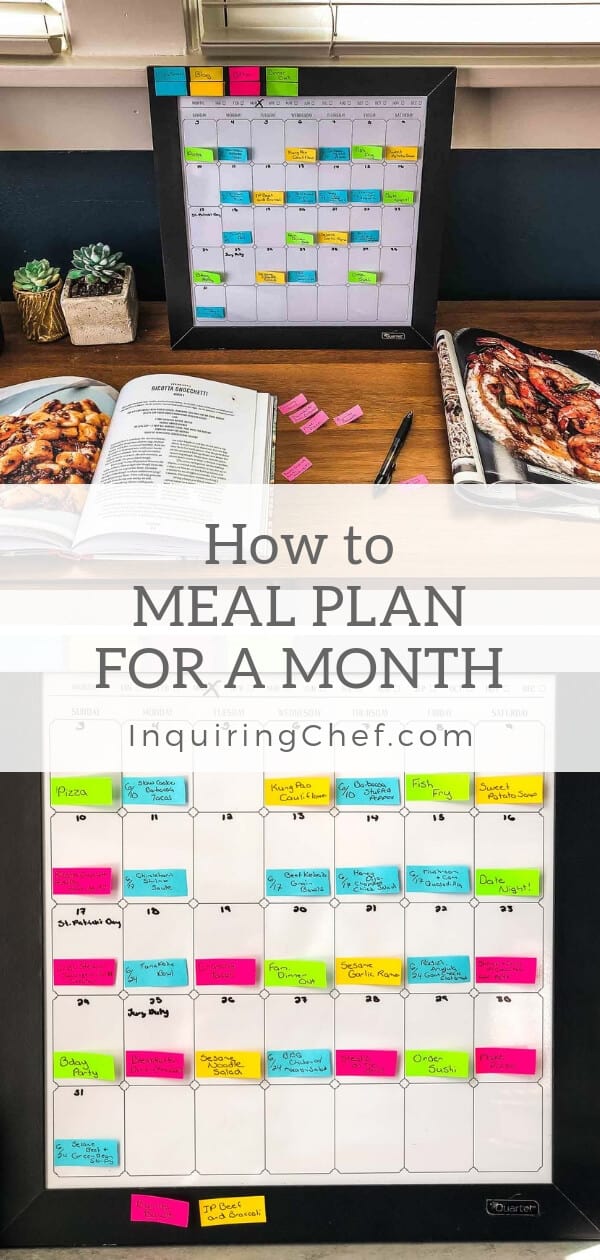
- Dry Erase Wall Calendar – This is what I’ve used for years. I love that I can just wipe it clean and start fresh each month. My exact version doesn’t appear to be available, but this one is very similar and by the same company. As above, pick up some Post-its to add meals.
- Electronic Calendar – If you’re already using a Google calendar or other online system, just add your meal plan to that. Just make sure that you can easily drag meals around to move them as plans change.
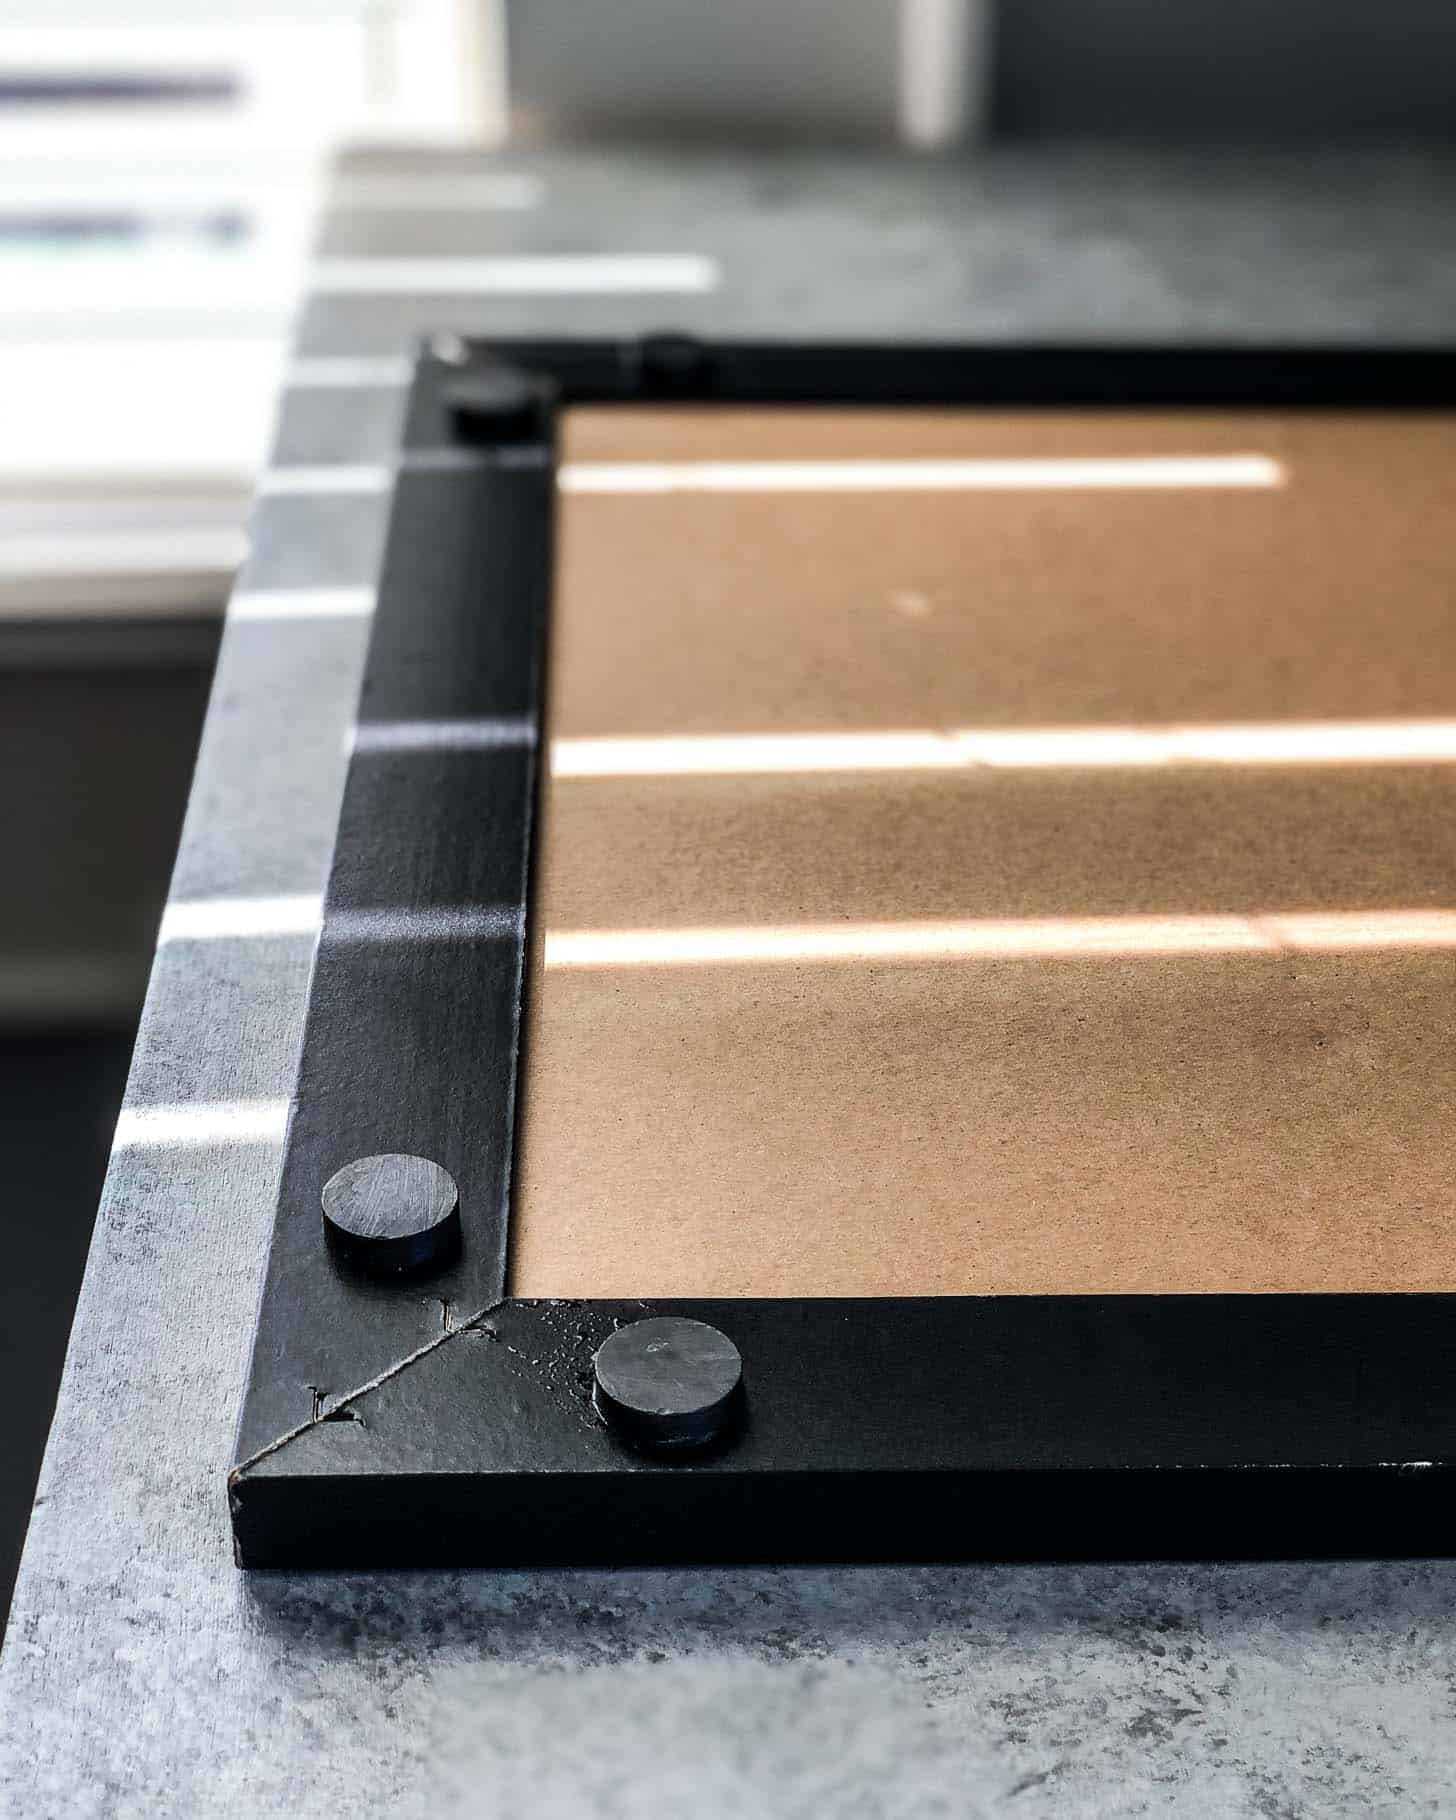
Make sure you have an easy spot to keep the calendar if you’re using a physical one. I glued these magnets on the back of my calendar so that I could store it on the side of the refrigerator.
Step 2: Assign Categories for Meals
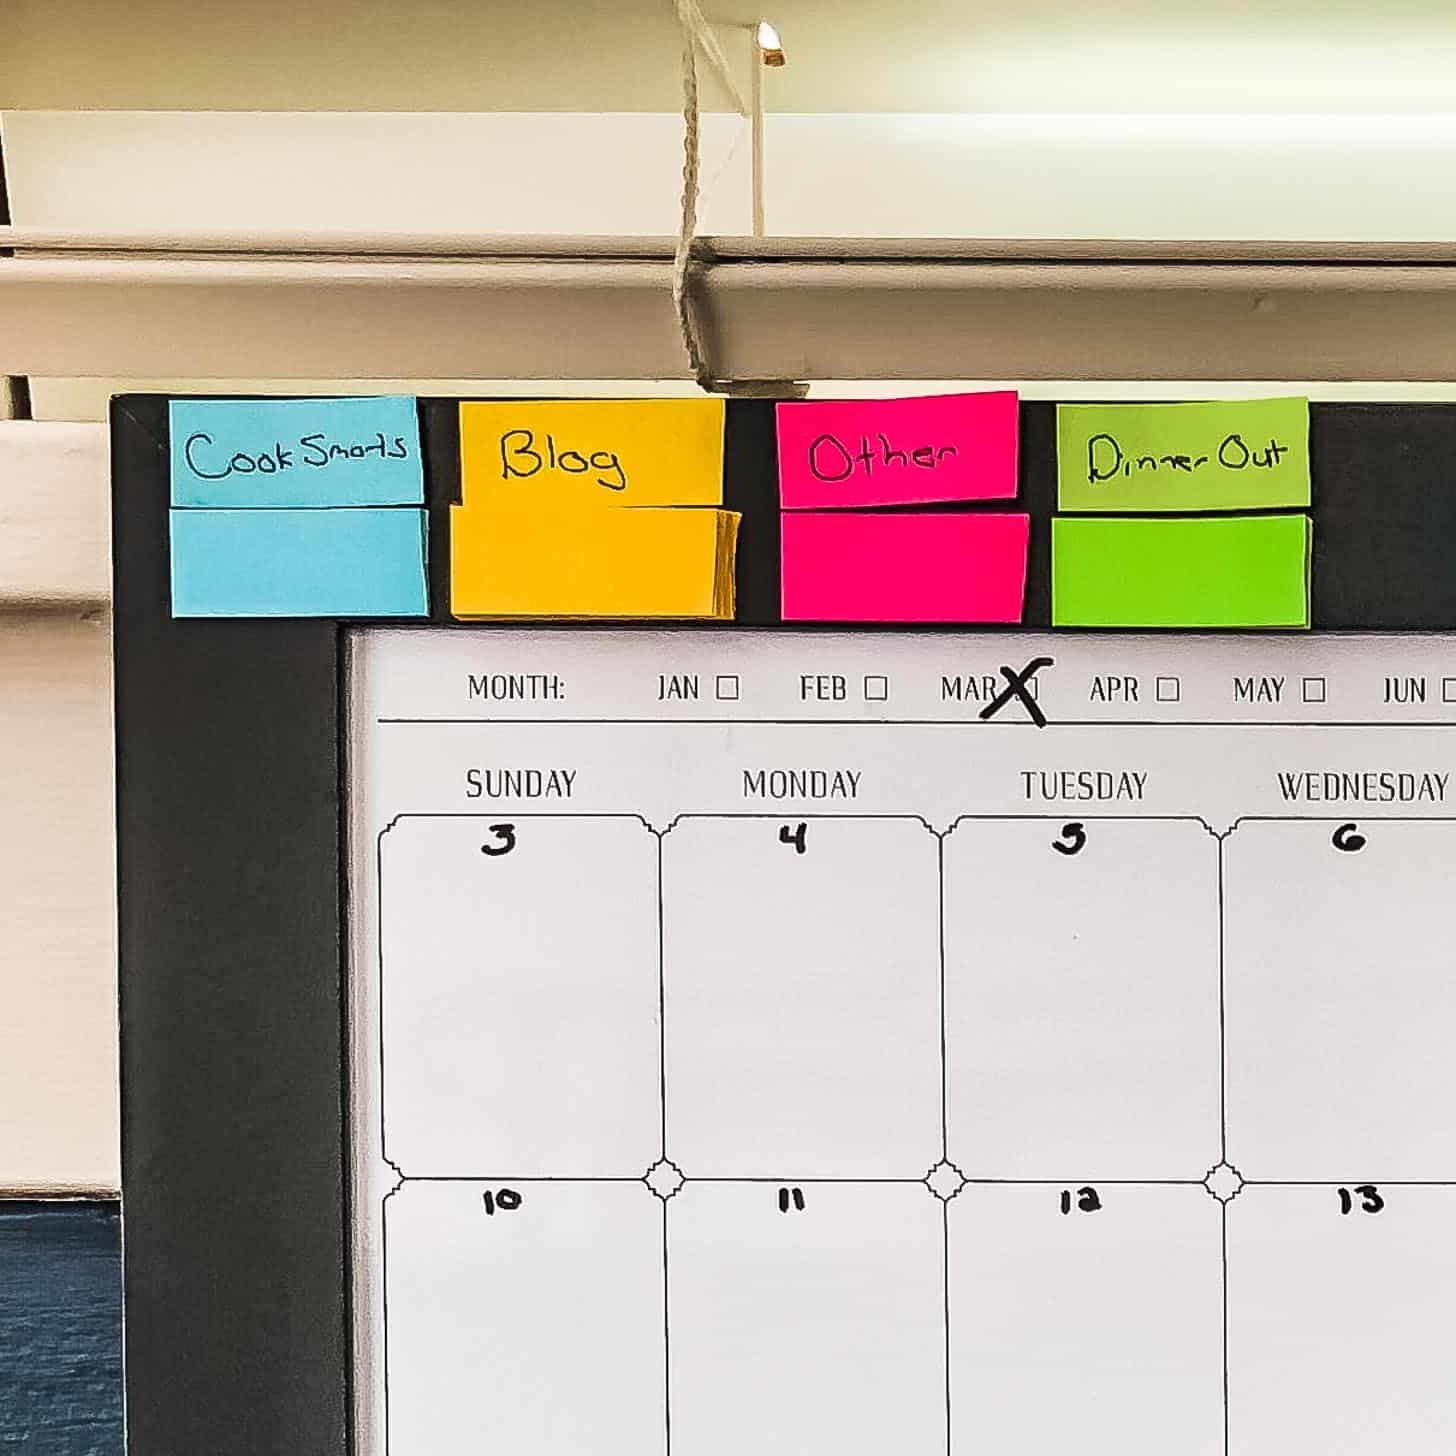
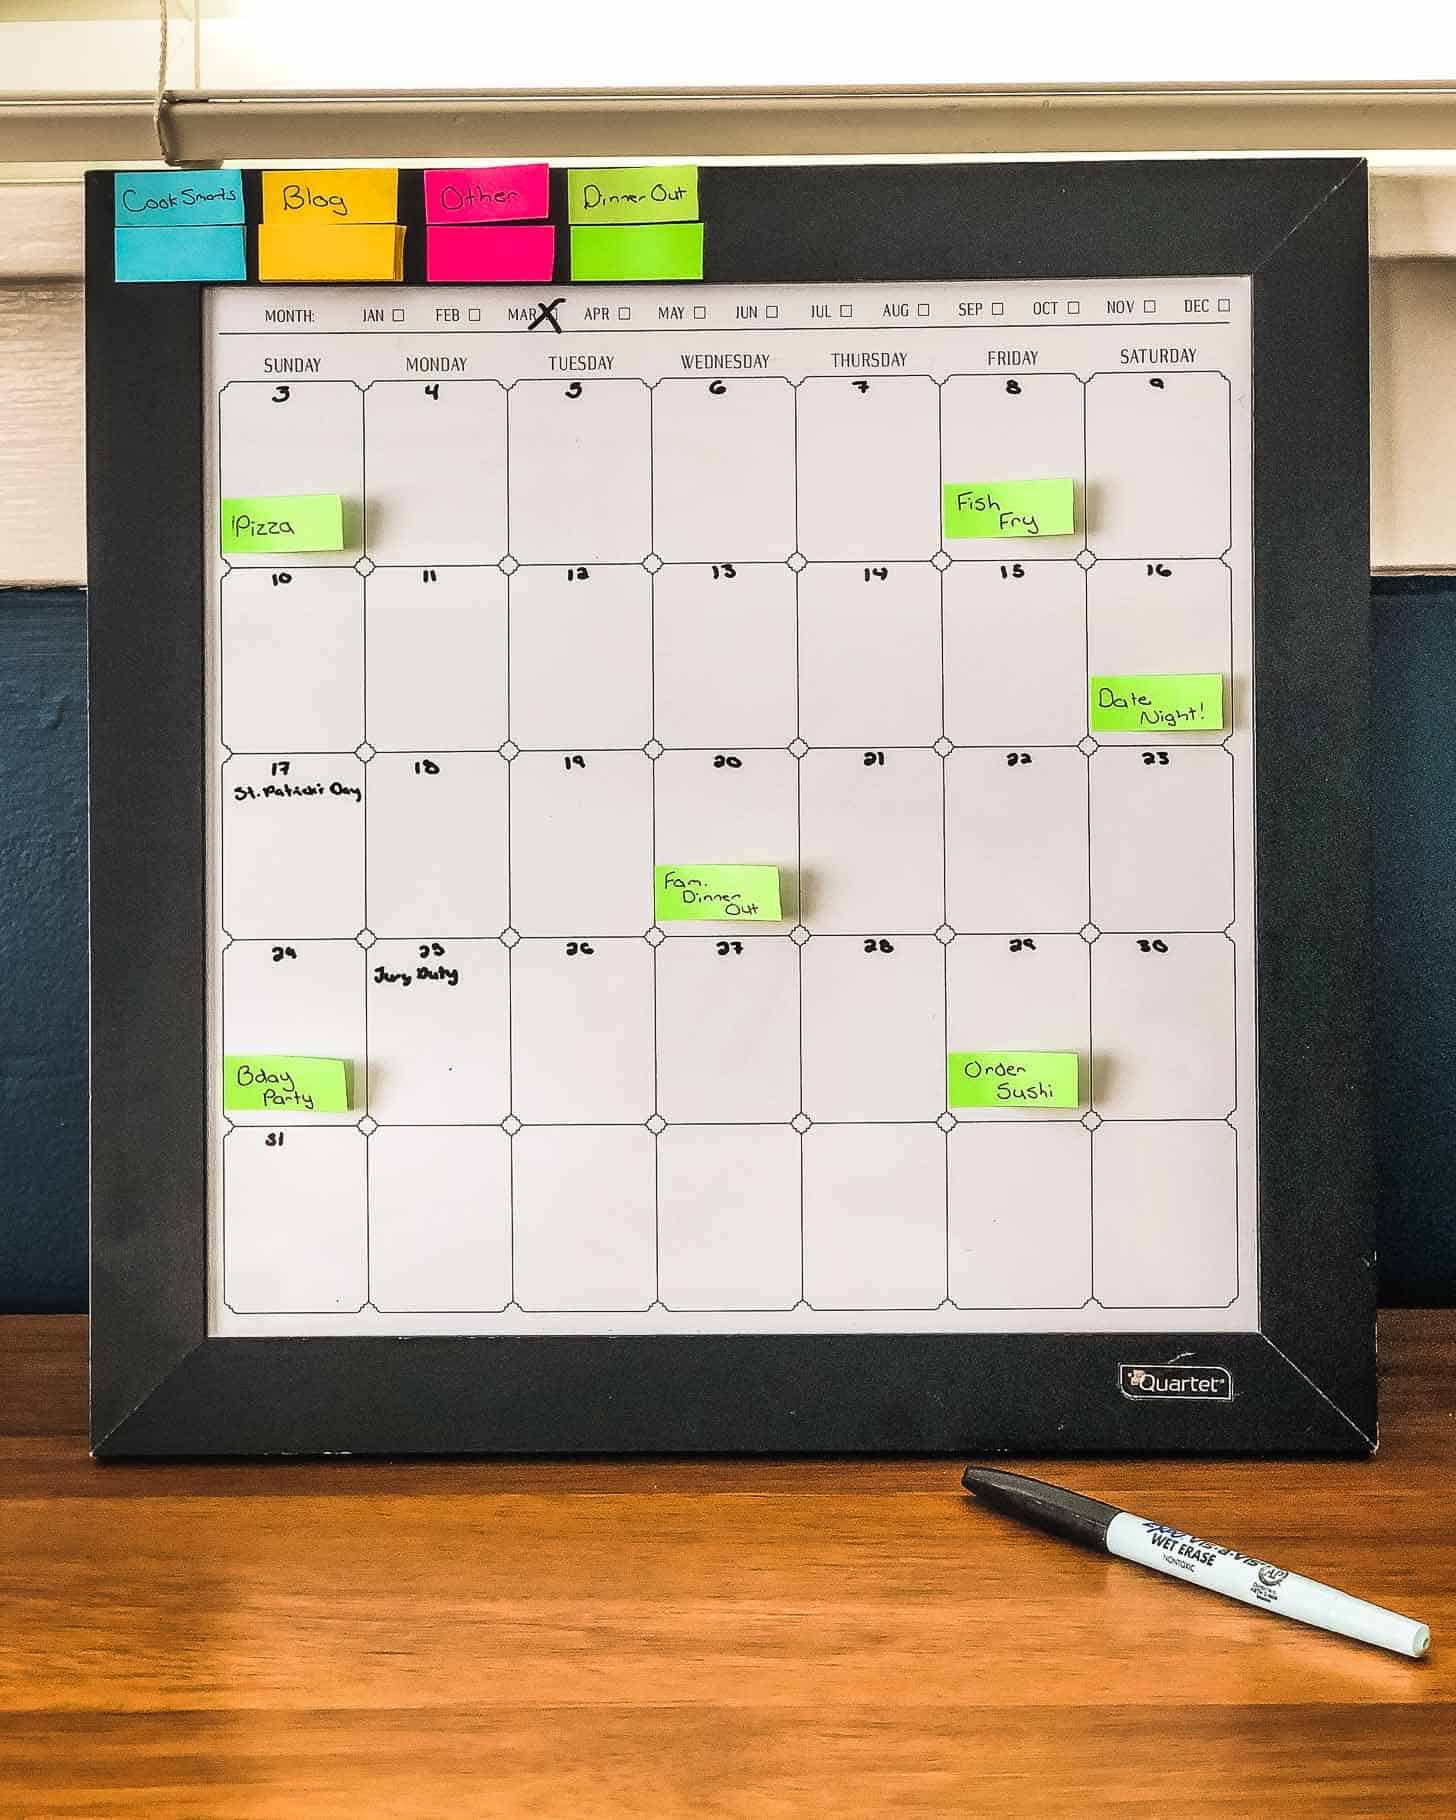
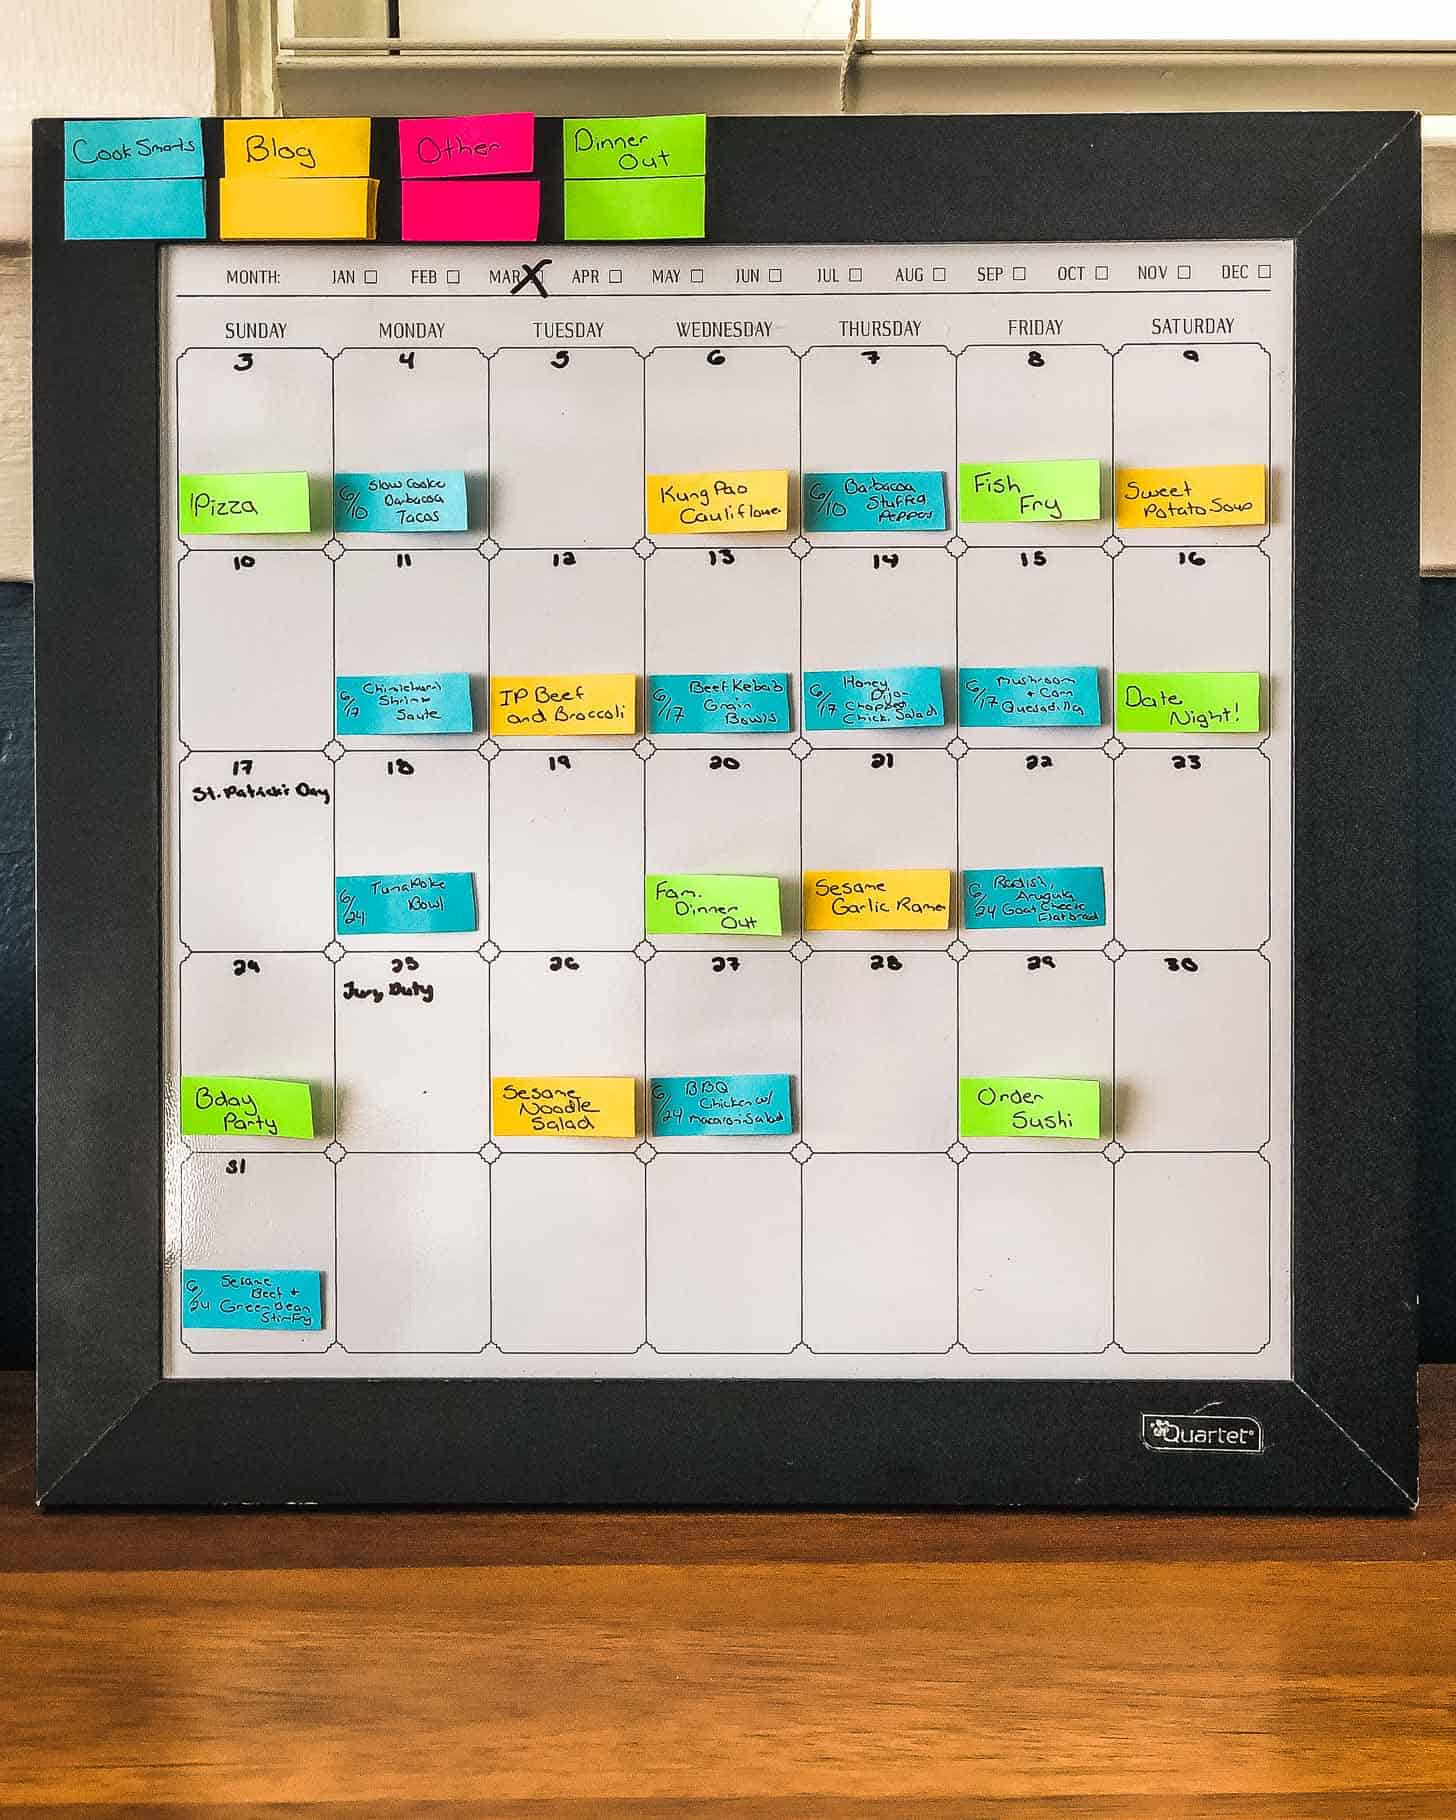
Adding a few categories to your meal plan makes it easy to see what’s planned at a glance. Since I have to test meals for work and the blog, those each have a color in my system. I also have one for “Dinner Out” (for meals that we’ll eat outside of the house) and an “Other” category for meals I want to make just for fun (those I’ve seen on Pinterest, in food magazines, or favorites that the kids have requested). These categories probably won’t work for you, but here are some that might:
- Vegetarian
- Freezer Meal
- Slow Cooker / Crockpot
- Kid-Friendly
- Leftovers
Step 3: Write Down Activities
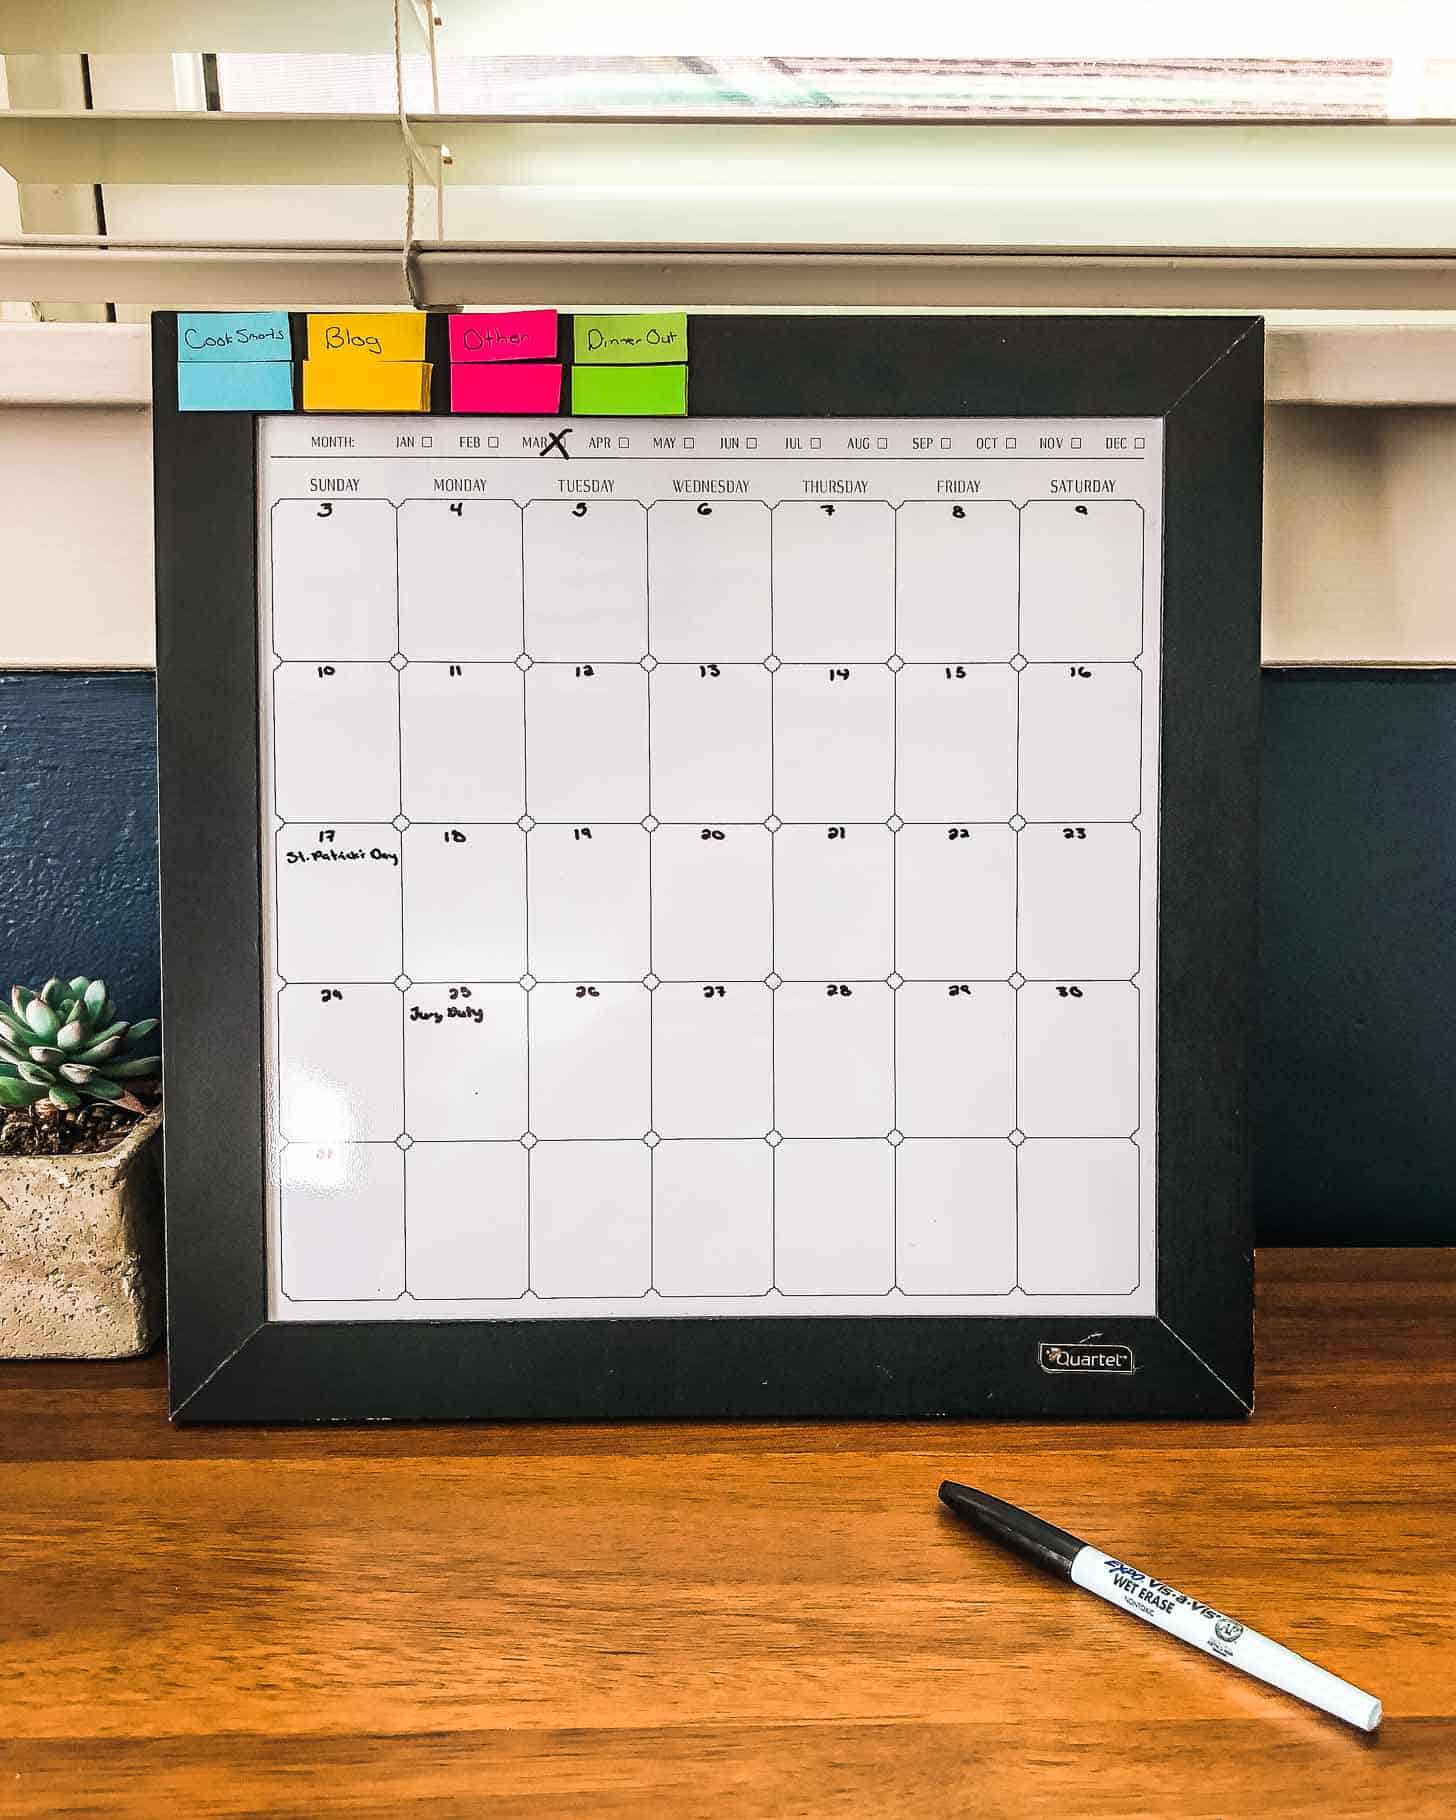
Fill in the calendar with upcoming activities and events. Some examples:
- Holidays
- Birthdays
- Vacations
- Houseguests
- Religious activities
- First day of school / camp
- Recurring activities like sports, lessons, clubs
- Work commitments
Step 4: Add Dinners Out
Write down any night that you’ll be away from home and won’t have to worry about dinner. For me, this includes scheduled nights out – like the fish fry at church and a birthday party. It also includes penciling in a few extras like a date night for Frank and I, a night or two to order Postmates, and maybe a dinner out as a family. These may get moved around as the month goes on, but it’s fun to look forward to these and helps us to keep our budget in check instead of eating out on a whim.
Step 4: Fill in Priority Meals
Fill in the calendar with “priority meals.” Use the categories you identified above to prioritize the things you most want to make. For me, priority meals are those that I need to test for work (some of my testing gets done during the workday, but I often like to make and test meals for dinner too). Write all of these out on a sticky note (or as an electronic note) before adding them to the calendar.
Priority meals might be:
- A family member’s birthday meal
- A meal requested by the kids (even very young kids can often voice their favorites and love being involved in the meal plan!)
- A special meal for a holiday
- A meal you saw online and know you want to make
- Freezer meals that need to get used
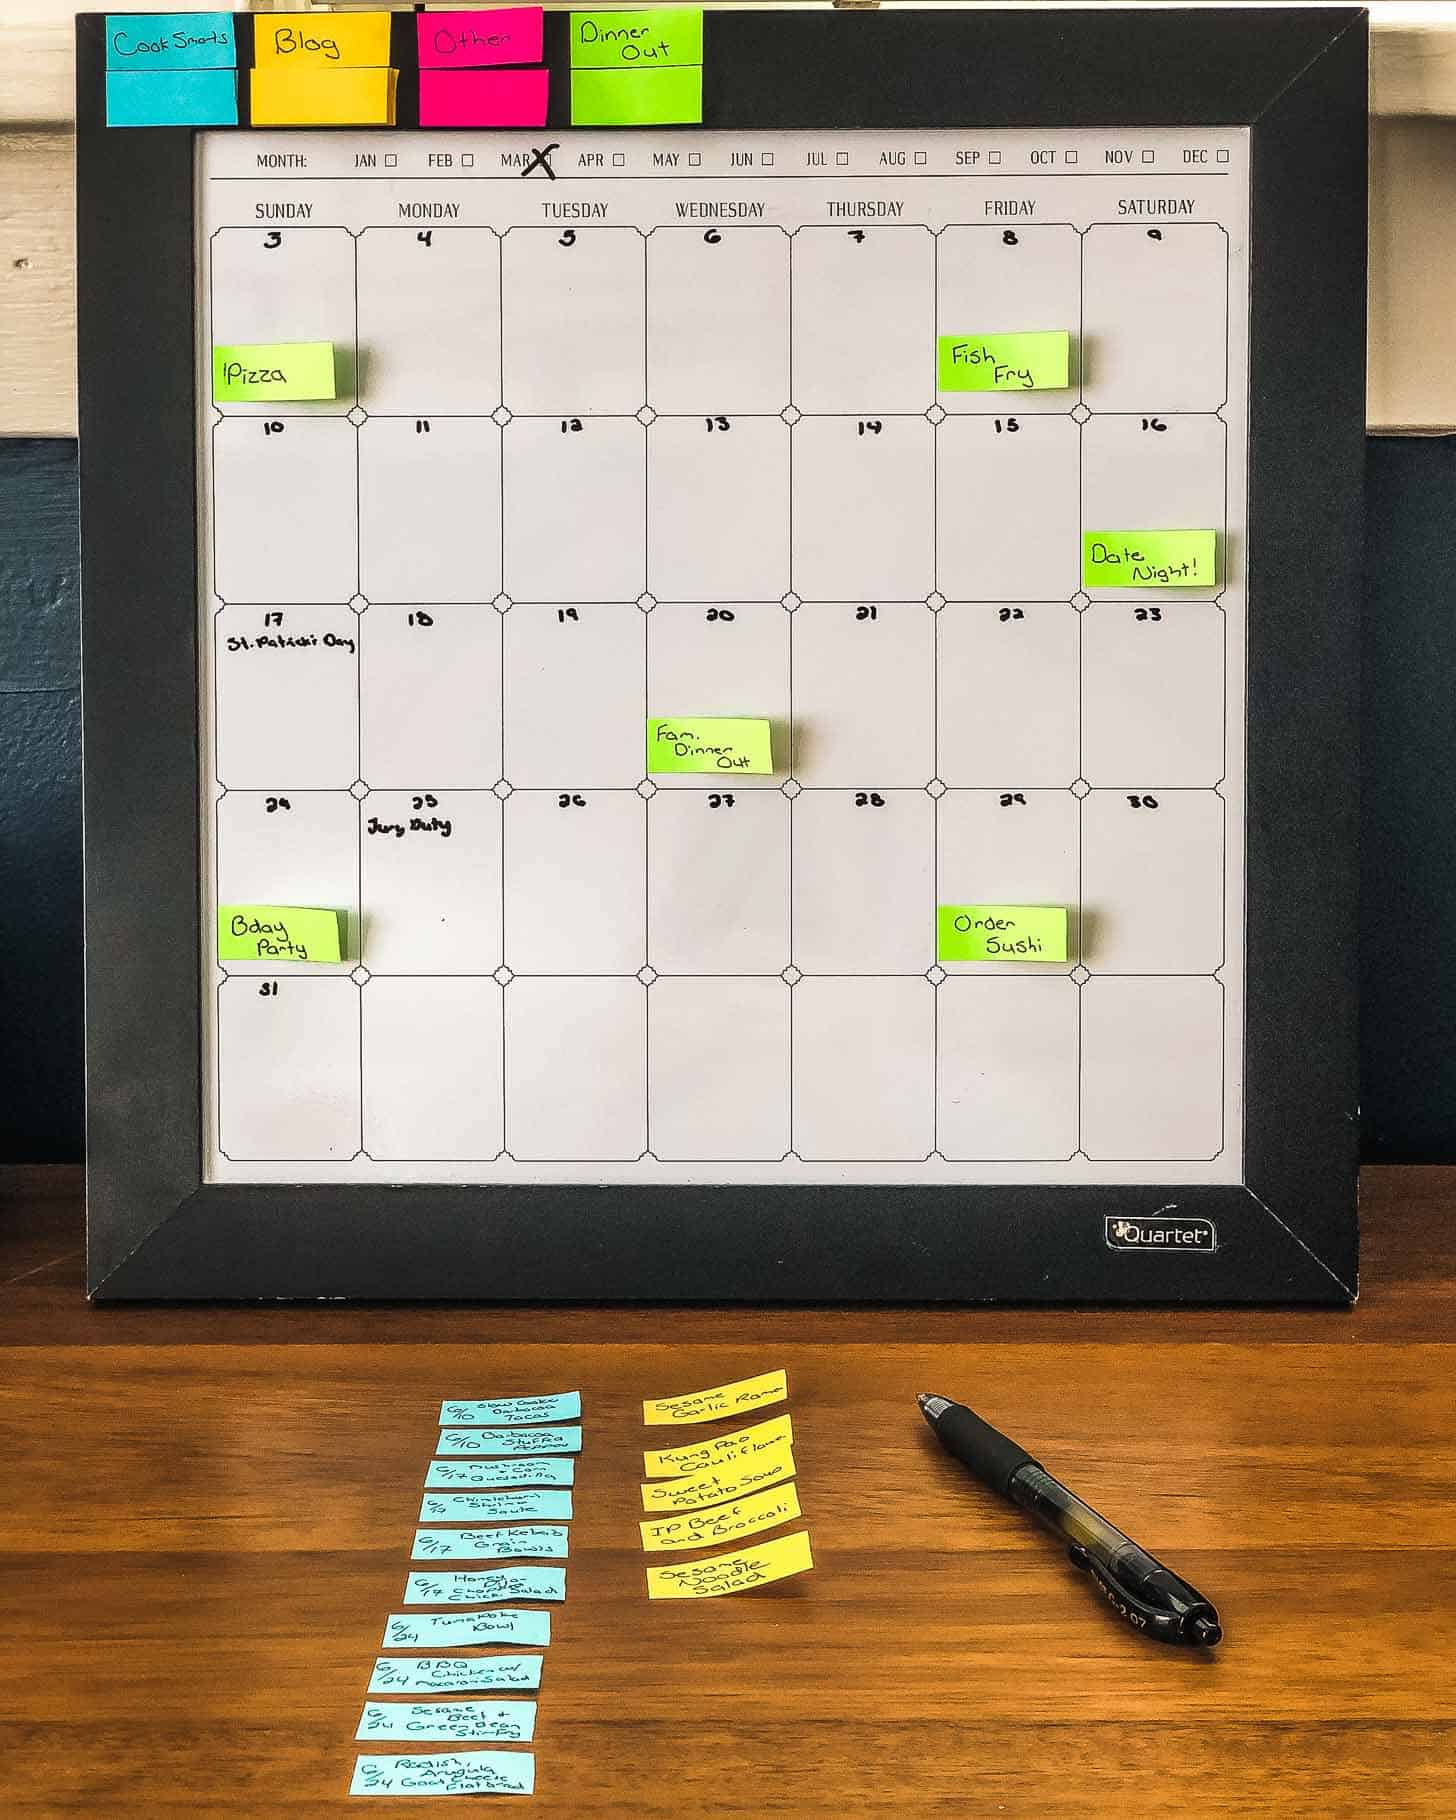
As you add these on the calendar, think about timing. Maybe it’s easier to tackle something new on a weekend. Put easier, familiar, or freezer meals on nights that tend to be more hectic. I love a slow-cooker meal on a Monday!
Step 5: Add a few New / Specialty Meals
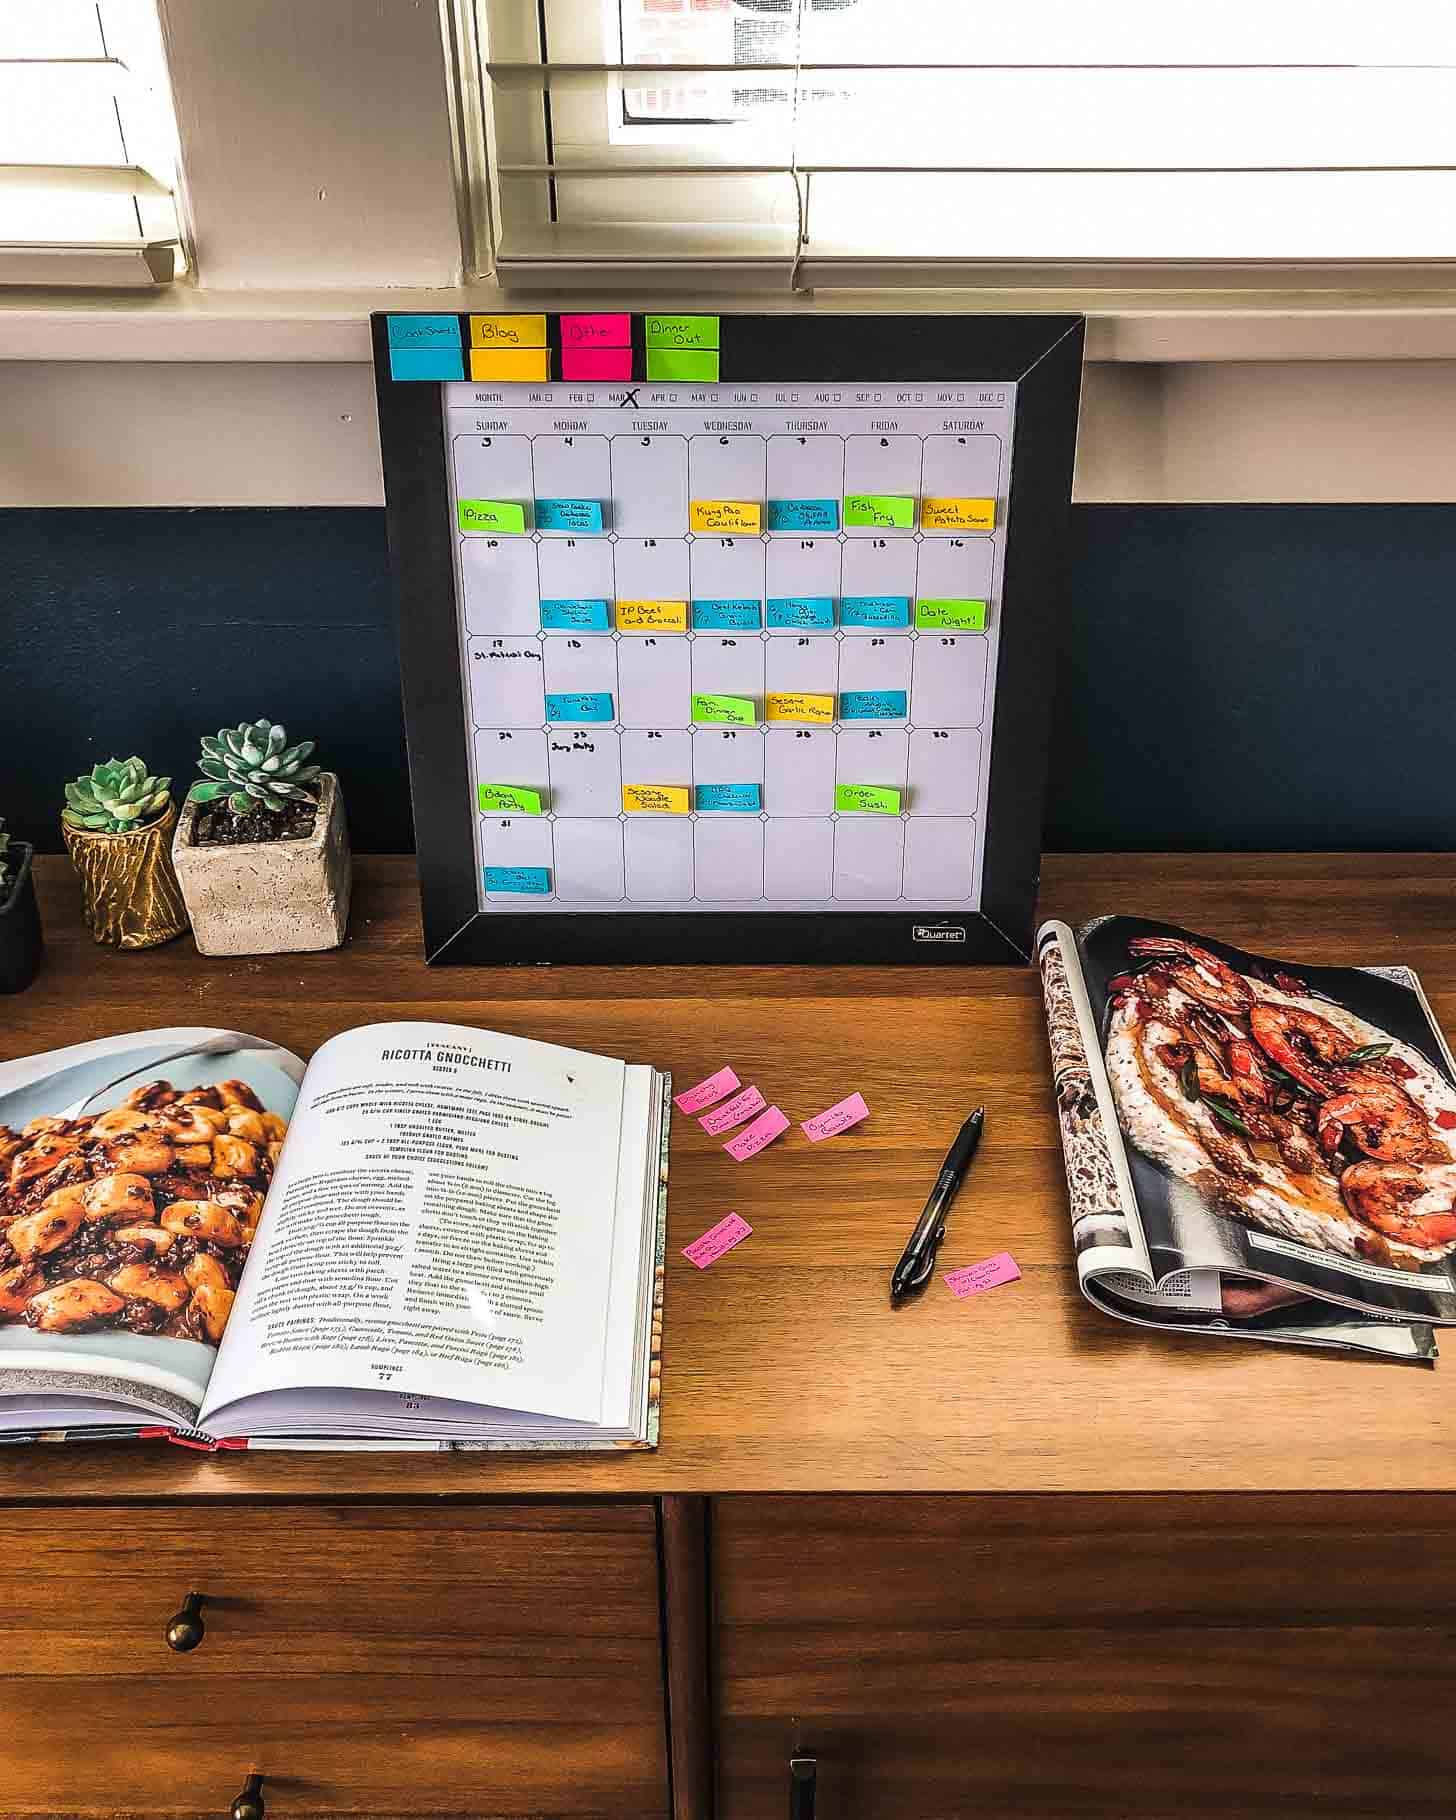
Add in a few new things to try. Keep a Pinterest board with these ideas, check out cookbooks from the library, or look in food magazines. These are great for nights when you know you’ll have a bit more time.
Step 6: Fill in with Back-Pocket Meals
Back-Pocket meals are those that you turn to in a pinch. They’re easy, fast, and should barely require a recipe. These are the lifesavers of weeknight meal planning. Some weeks are so busy that all we have are back-pocket meals! These can be theme nights or specific meals.
- Breakfast for dinner
- DIY Pizza night
- Taco Bar
- Clean-out the Fridge Soup
- Fake-out Take-out (we always have a few Trader Joe’s freezer items for this)
If you have some extra ideas that don’t make it into the month, keep them as subs. That way if you change your mind or want something different, you have a few ideas waiting in the wings. You can also use those extra ideas as a starting place for the next month!
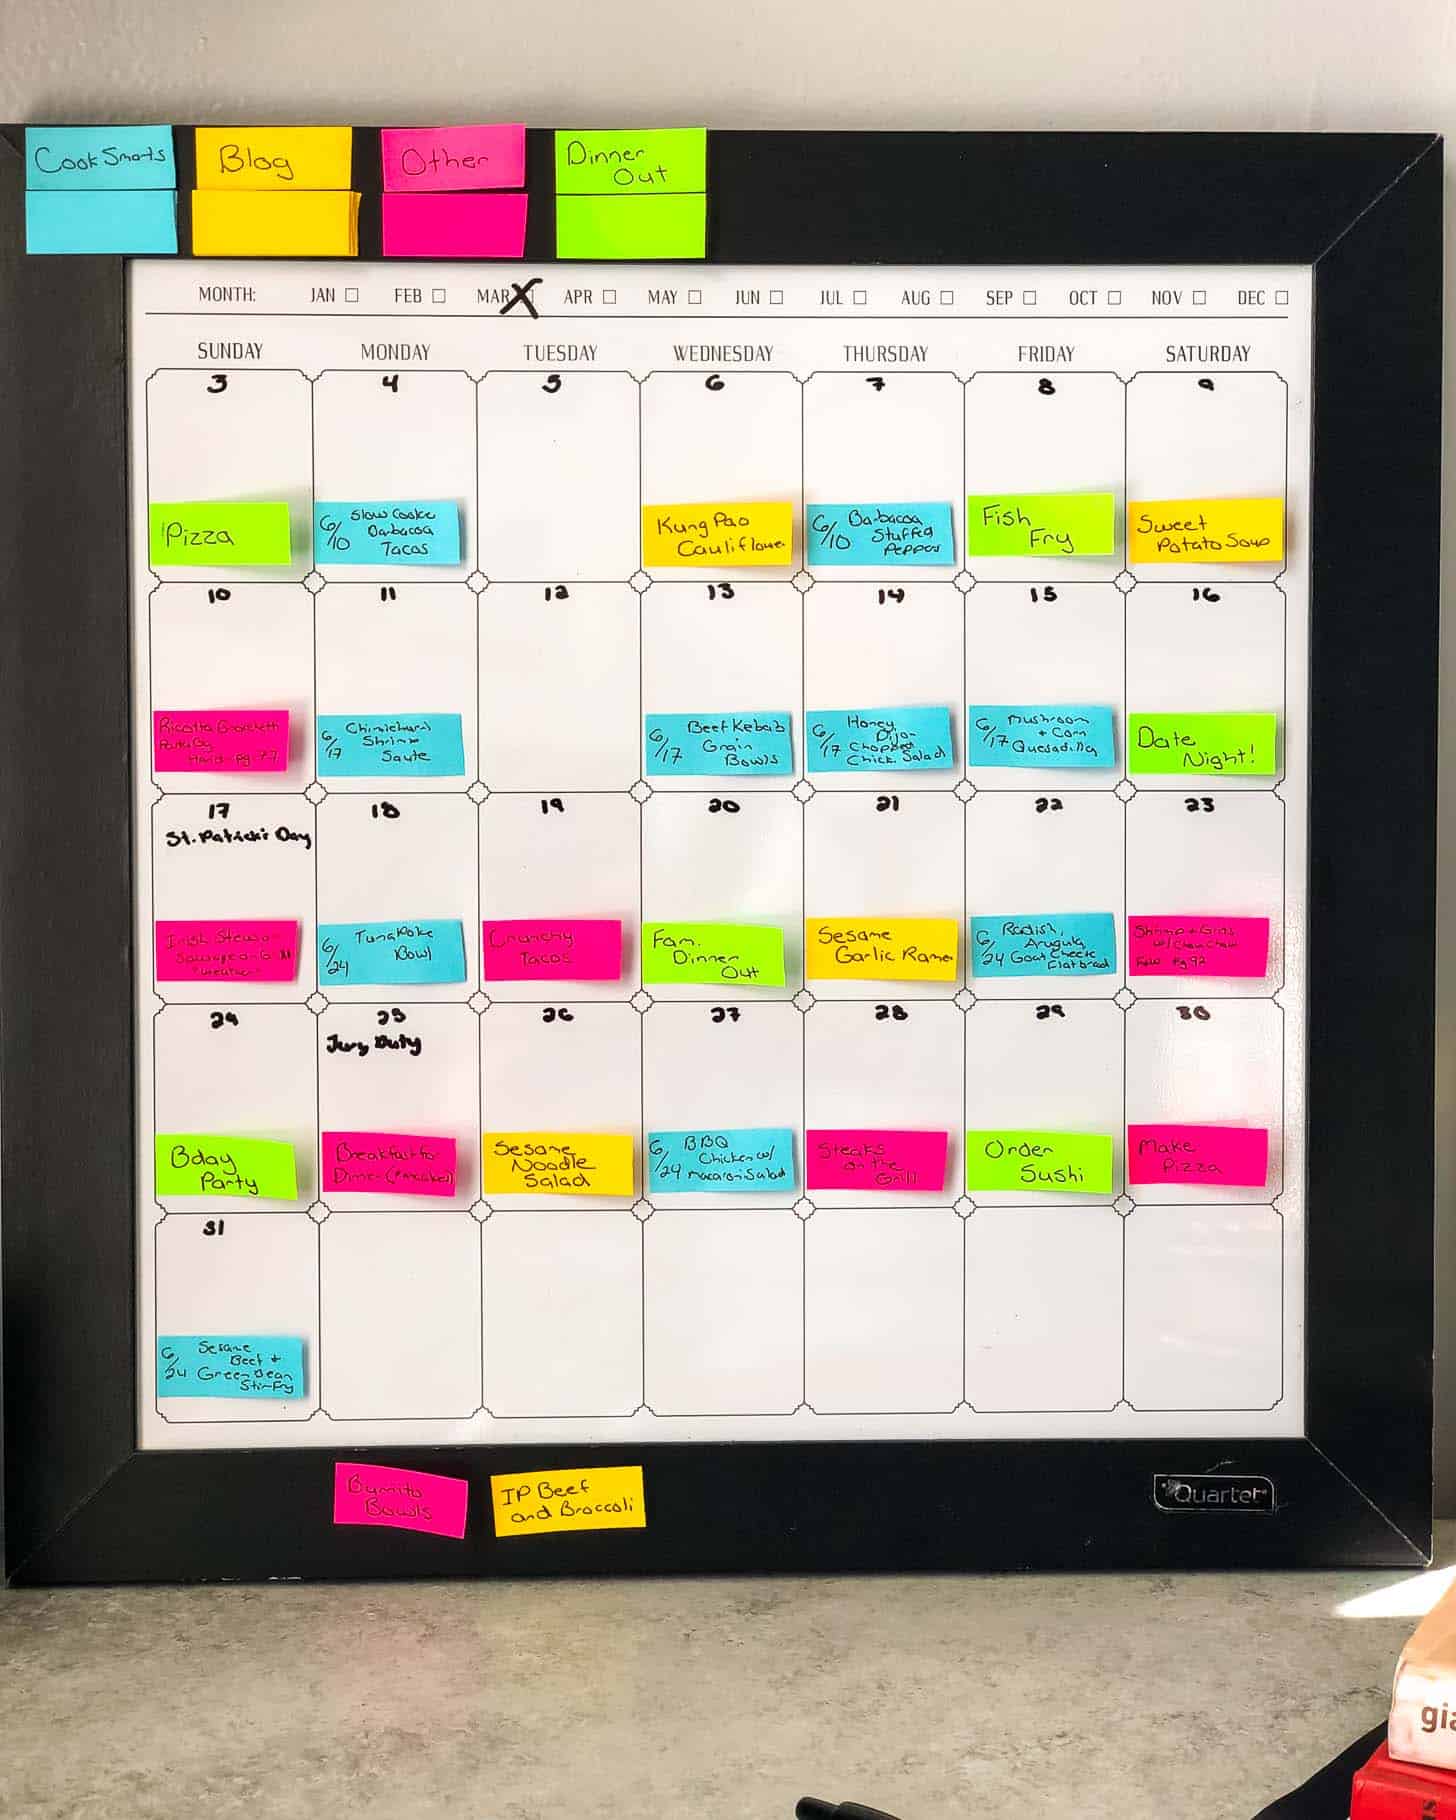
Tools for Meal Planning
- Calendar – Any type will work. Use your Google calendar if you want to do this online (it’s easy to move things around in an electronic calendar), print out a free paper calendar, or use a dry erase version like the one I use above.
- Mini Post-Its – For maximum flexibility, write meals on mini Post-it notes. I like square Post-its or these page marker Post-its. This makes it easy to move things around or write down meals as they come to you (just store “idea” post-its on the bottom of the calendar to use next month. Skip these if using an electronic calendar.
- Dry Erase Marker – If using an erasable calendar, you’ll need this for writing in events and dates.
What if It’s the Middle of the Month?
This happens to me all the time! Maybe I start out the month without a plan or I know we’ll be traveling the first week of a month and want to jump to the second week. Don’t let that stop you. Just start with the week that works and plan out 4 or 5 weeks from there. (Or if you’re a super planner, heck, plan out 6 or 7 or 8 weeks!)
Please share here in the comments or join the conversation on Instagram! Do you meal plan? What are your tips and tricks?!





Hi Jess! I’m new to meal planning so your ideas are a fabulous foundation! I also like the idea of planning a month at a time with the ability to be flexible. I look forward to trying this new (to me) process.
Thanks again and all the best!
Candace
I’m so glad you found it helpful, Candace! I think you’ll love meal planning for a month like this, and it becomes so easy once you dive in!
Woow. That was an amazing post. Have taken down some of the tips you have mentioned. Me and my wife do the exact same thing in a white board. Also we do the same thing for the activities. Keep up the good work. Thanks again
Yes! White boards are so helpful for everything!