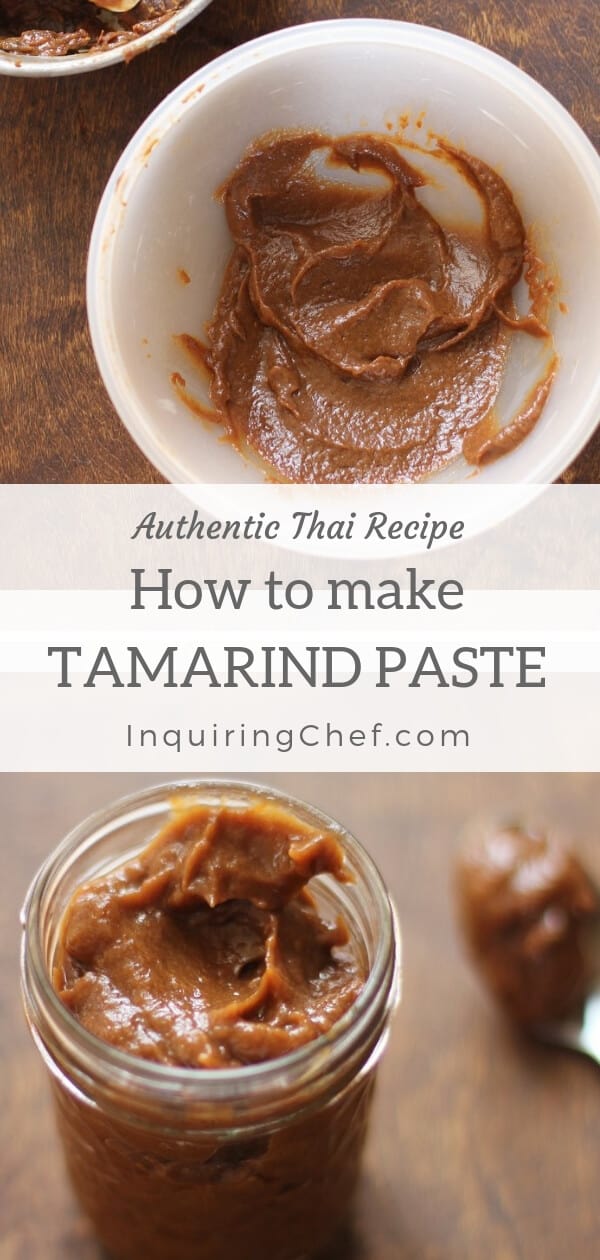
How to Make Tamarind Paste
Published Feb 17, 2016•Updated May 14, 2026
This post may contain affiliate links. Please read our disclosure policy.
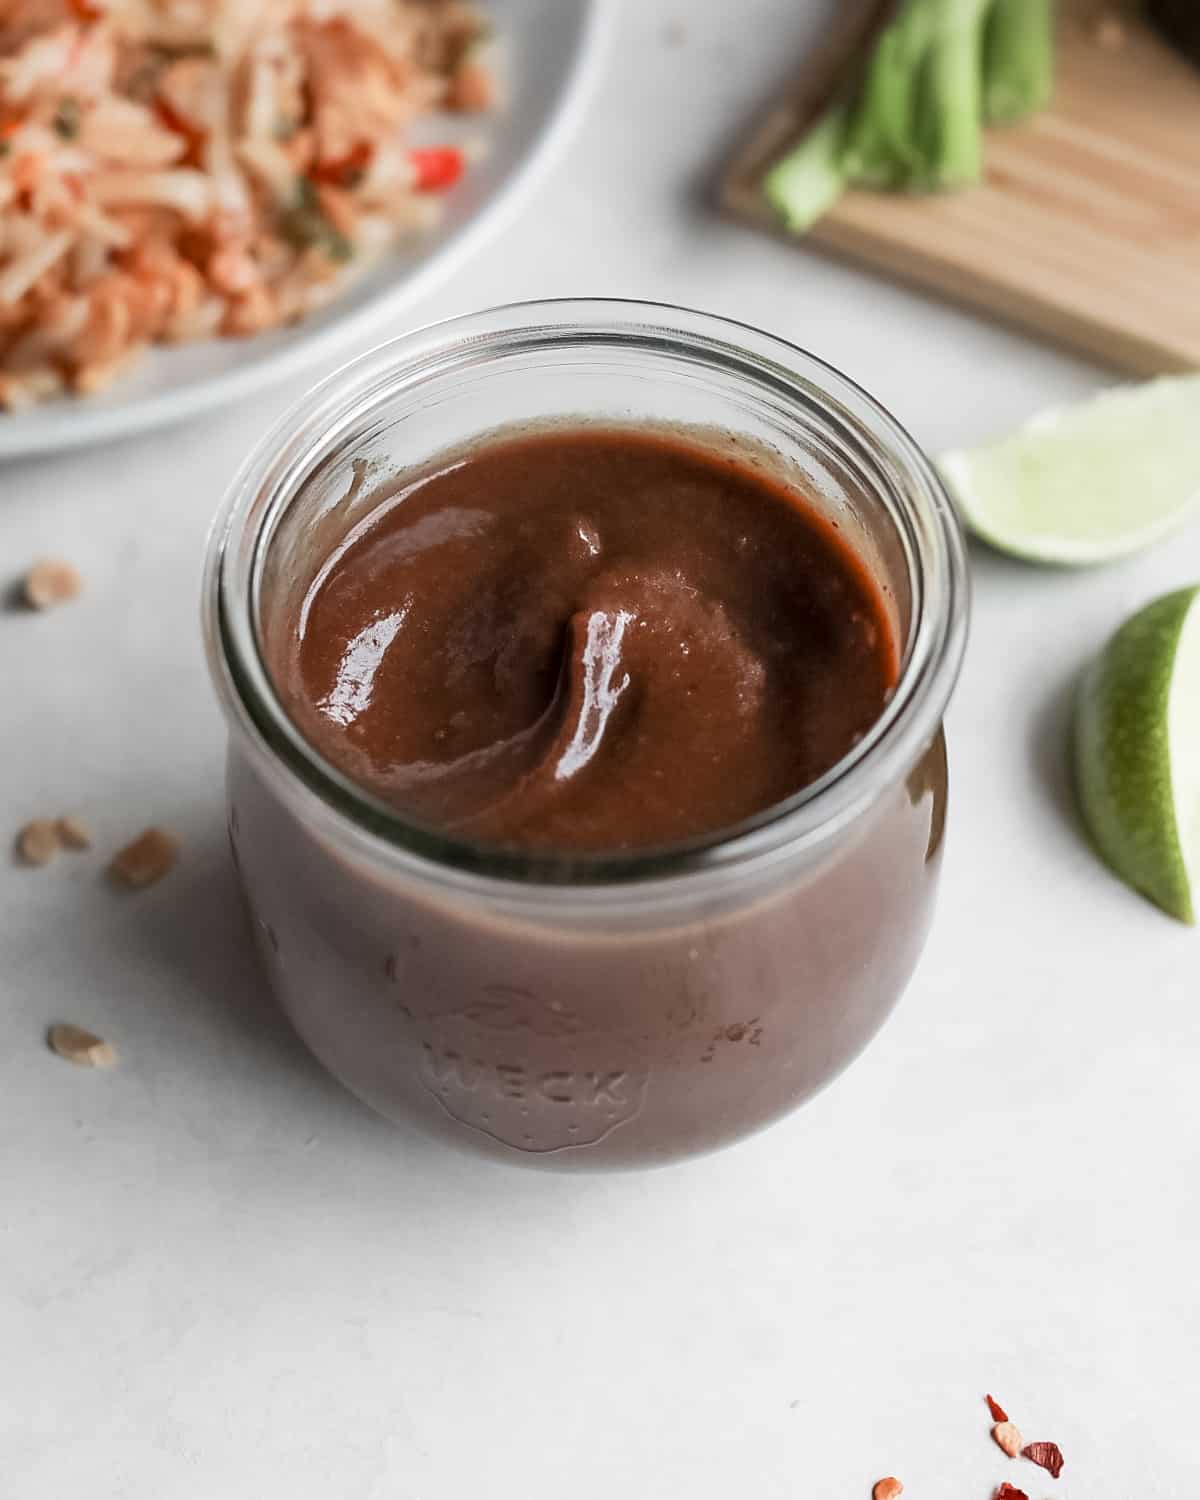
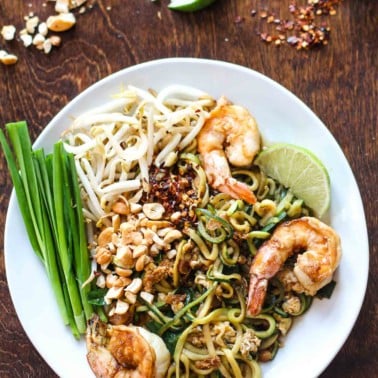
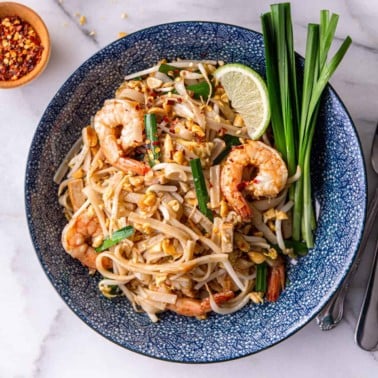
Learn how to make tamarind paste from tamarind pulp or tamarind pods in this step-by-step guide. It’s the tart-sweet ingredient that makes Pad Thai so delicious. I mastered making tamarind paste while I lived in Thailand, and now I always make it myself. Once you make Pad Thai with fresh tamarind paste, you’ll never go back.
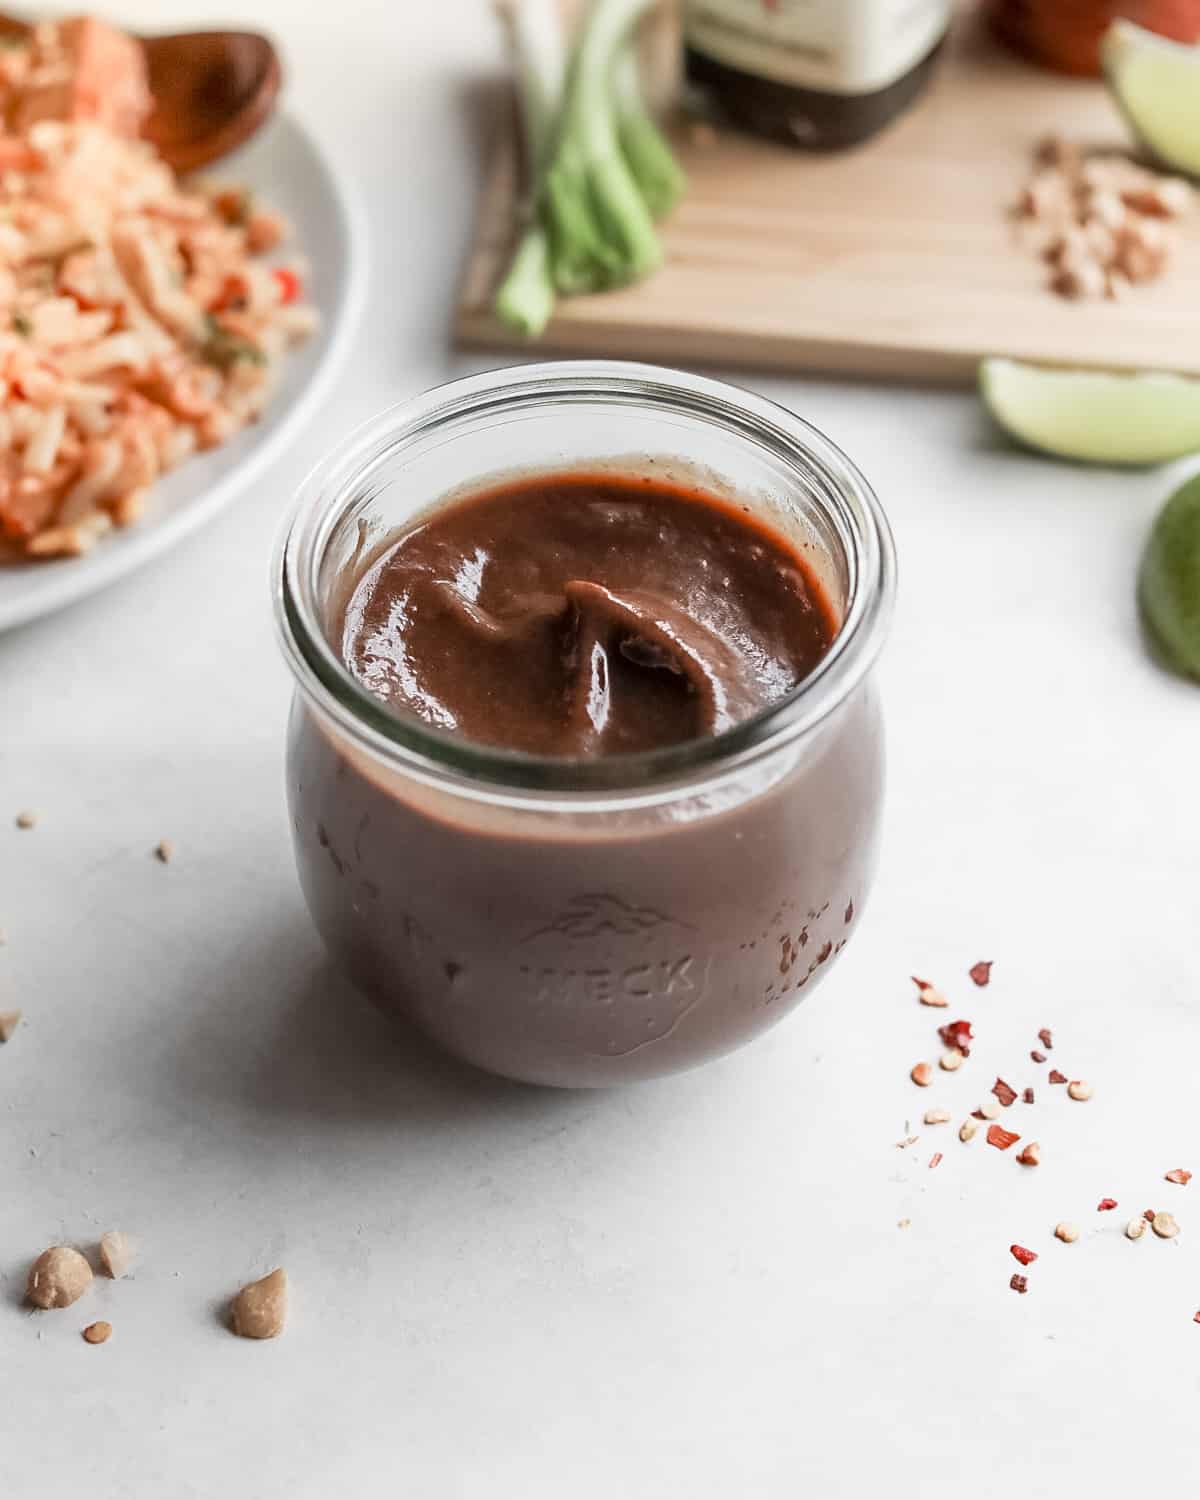
Say hello to the vibrant, tangy flavors that come from fresh tamarind paste. If you’re a fan of Pad Thai then there’s a good chance you already know that all authentic Pad Thai recipes all start with this flavorful ingredient.

Making this may look intimidating, but it’s actually really easy. Just soak a block of tamarind pulp or tamarind pods in boiling water for about 30 minutes, break the block up with your hands, and strain. It’s also incredibly easy to store in the fridge or freezer, so you just have to do the process once to stock your kitchen for many recipes.
Pin this now to save it for later
Pin It NowWhat is tamarind paste made of?
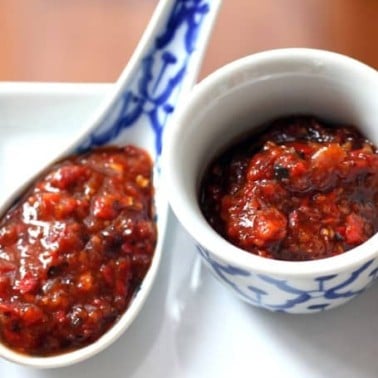
Tamarind paste has just one simple ingredient: tamarind fruit! This tasty paste can be made right from the pods, or can be made from a block of tamarind pulp. The benefit to making this from blocks is that you don’t need to hand sort and shell the pods.
For only having a single ingredient, tamarind is pretty versatile. In addition to its use in Pad Thai sauces, home cooks use tamarind in sweet treats, drinks, and marinades. A fun fact about tamarind paste: it’s one of the ingredients in Worcestershire sauce!
How to Make It
- Break open the tamarind pods or place the tamarind pulp in a large bowl.
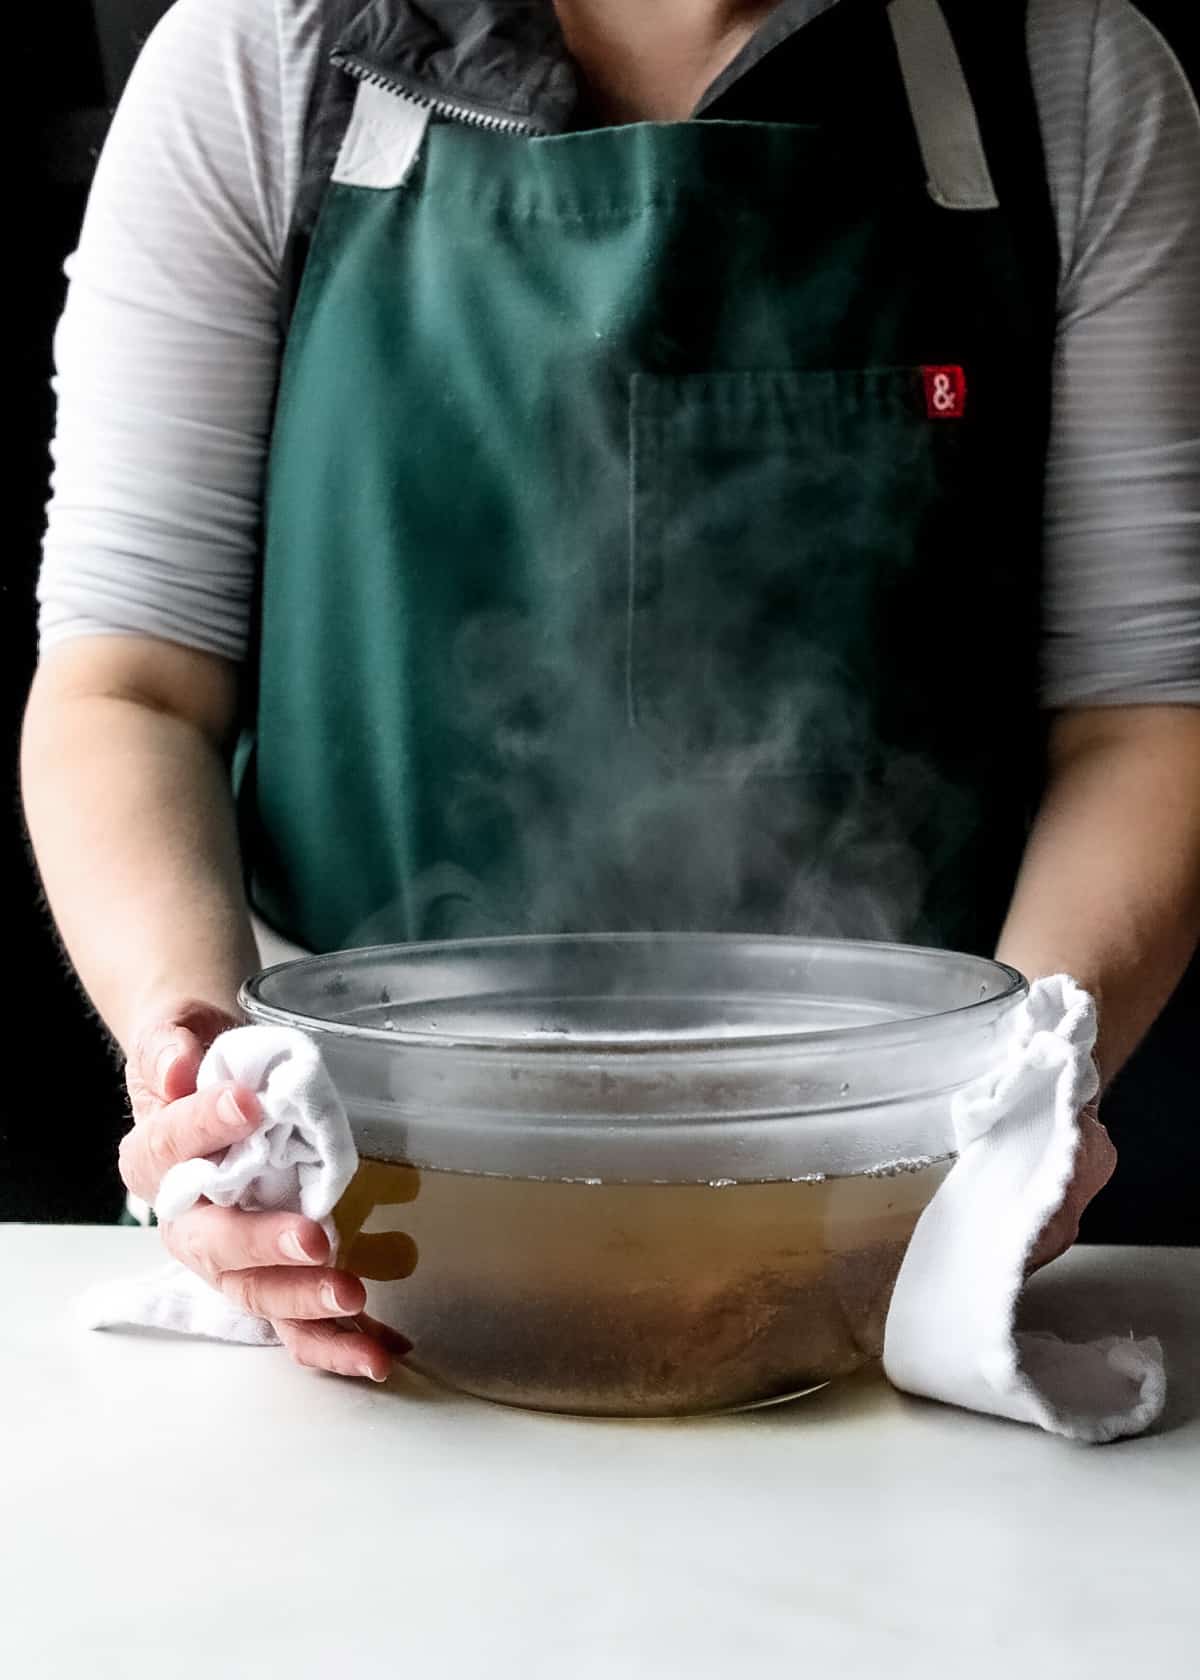
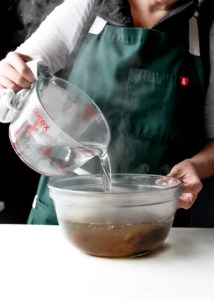
- Pour boiling water over the tamarind and let soak for 30 minutes.
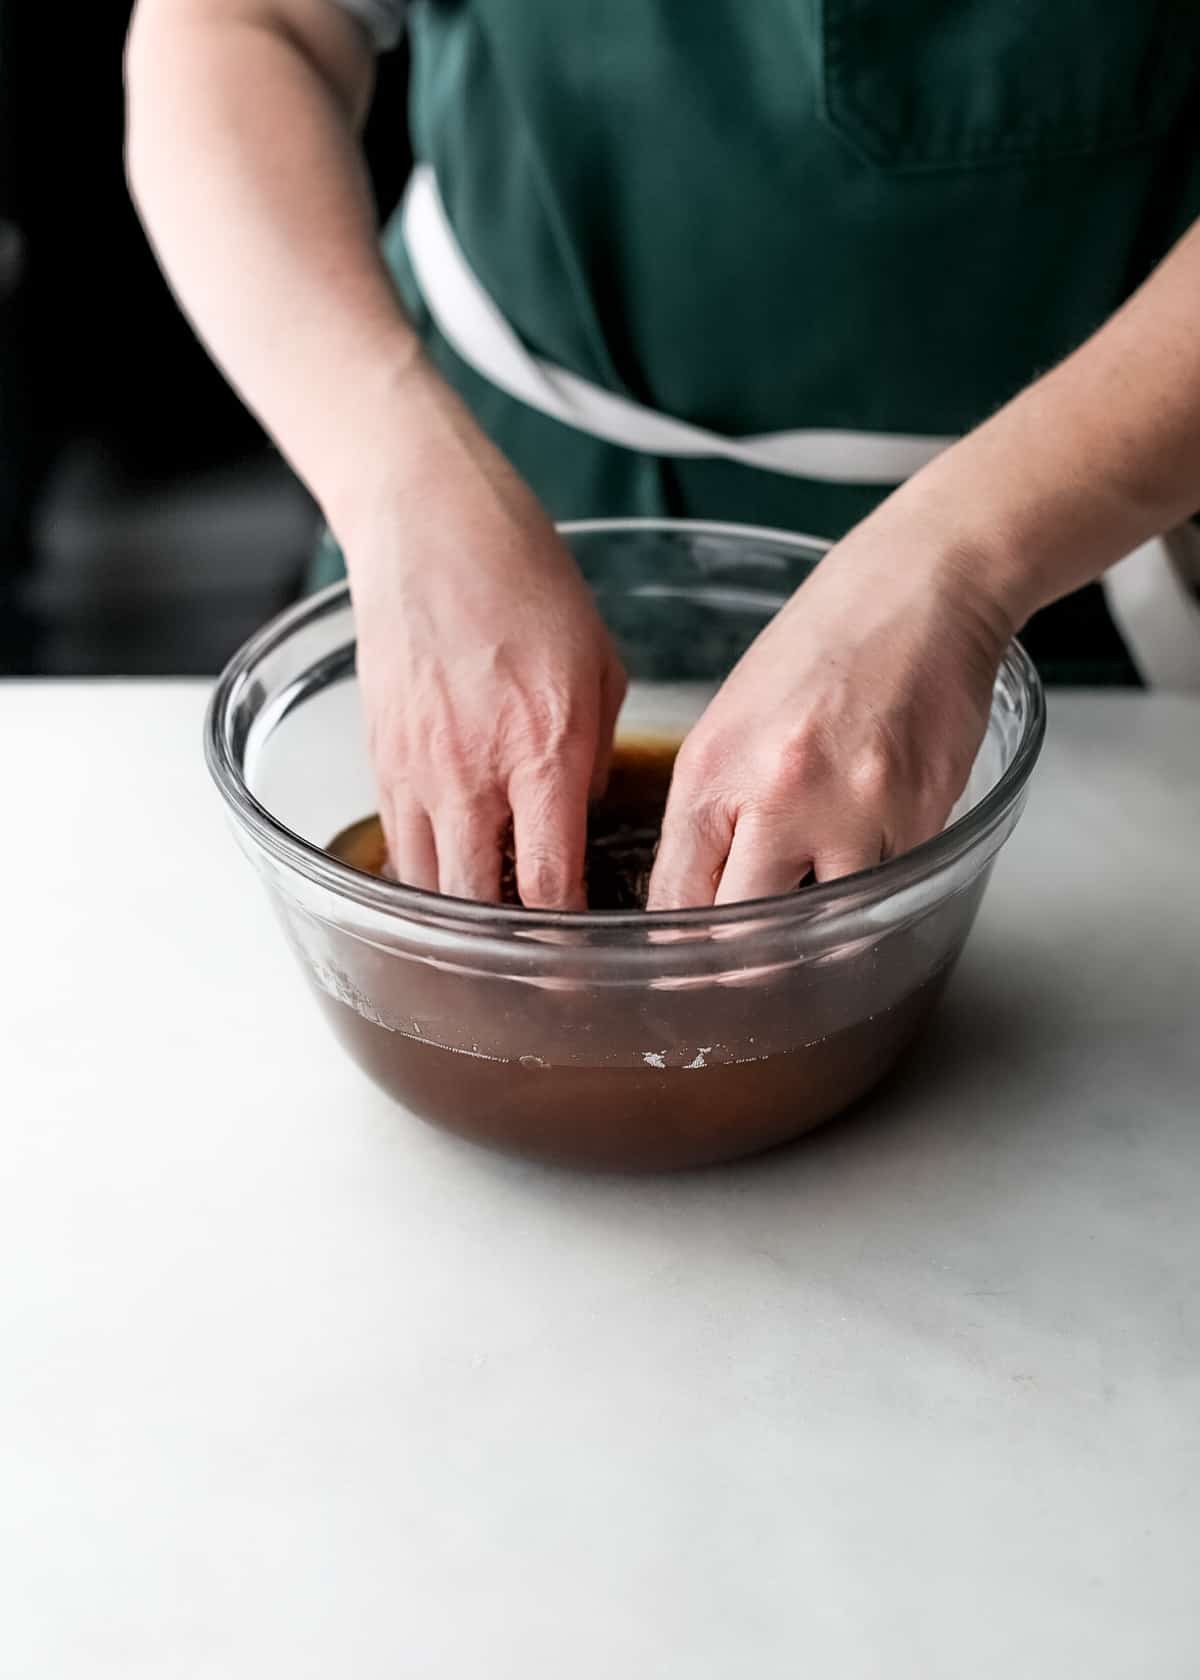
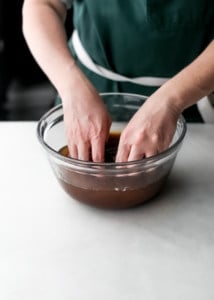
- When the water is cool, use your hands to break apart the pods or pulp, and mix with the water.
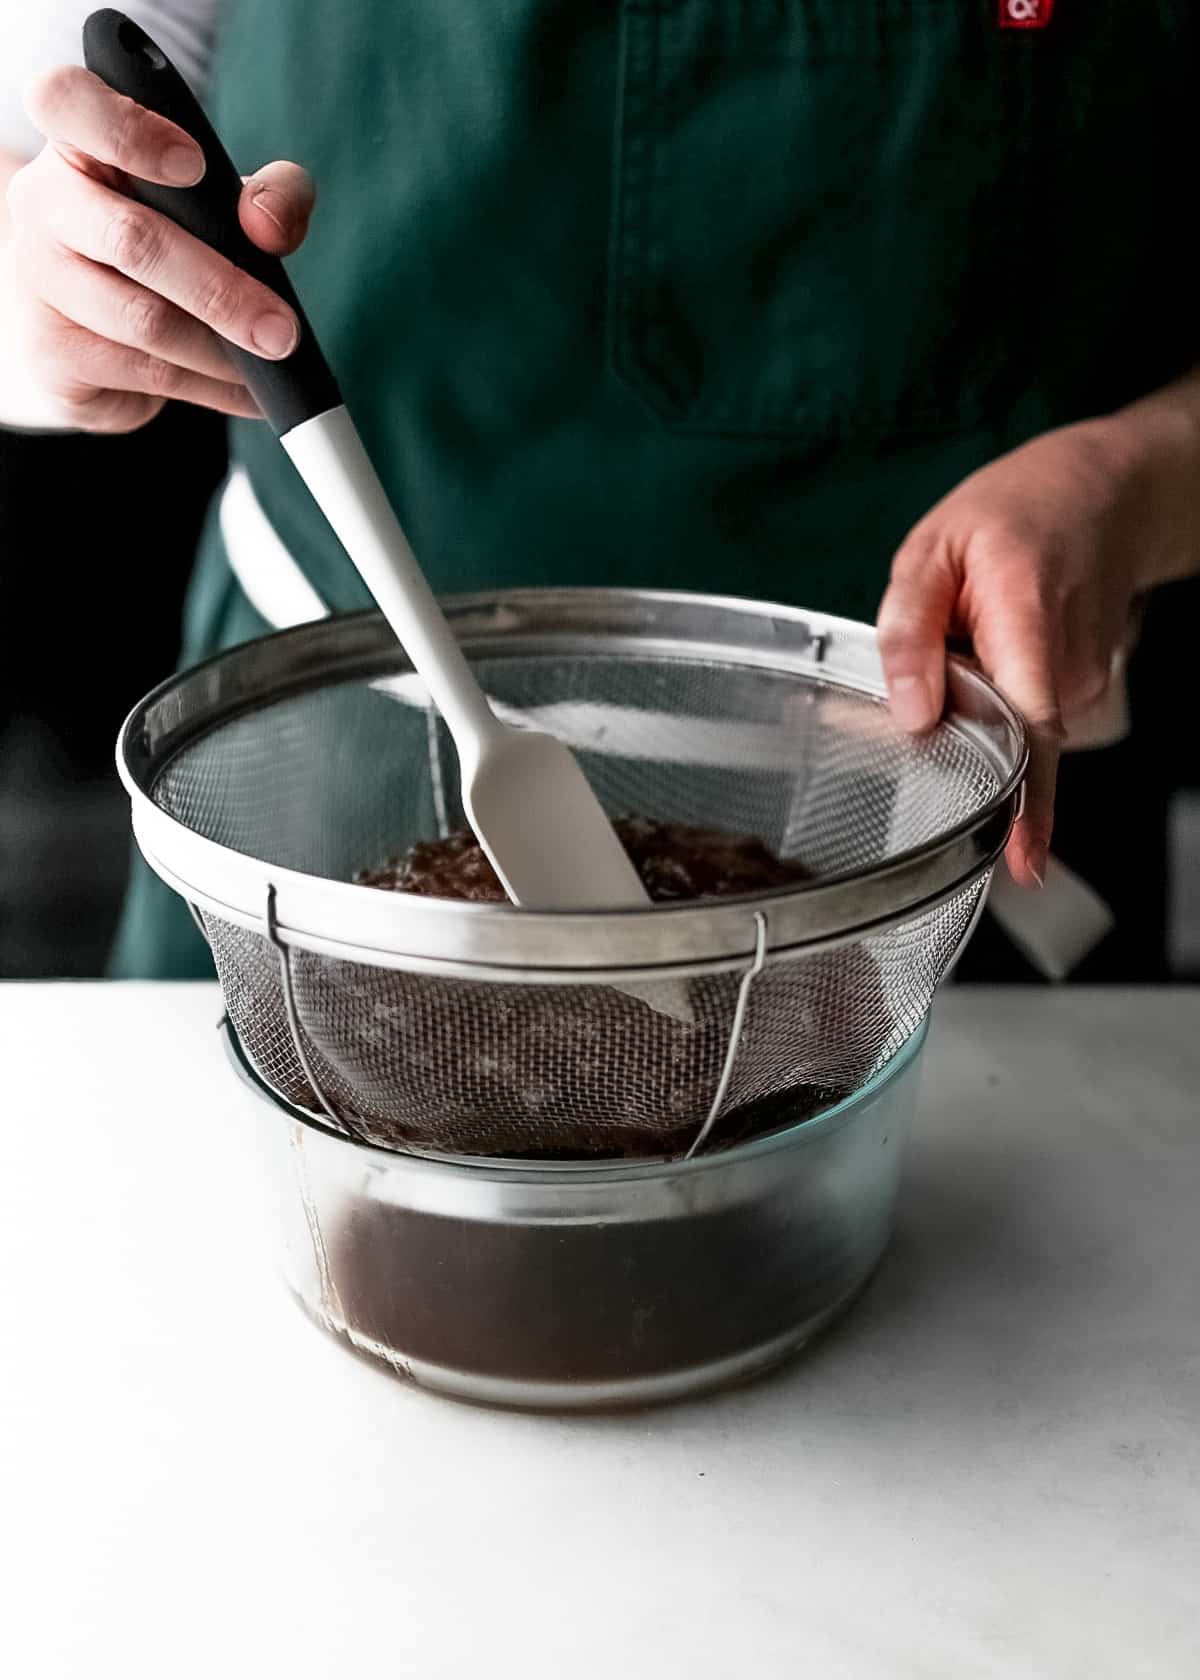
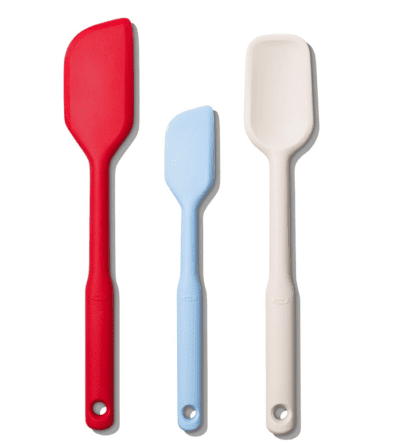
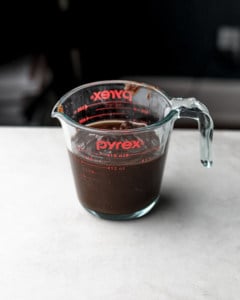
- Using a spoon or a silicone spatula, press the mixture through a large colander to separate the seeds and fibers.
How to Store Tamarind Paste
This can be stored in an airtight container in the refrigerator for up to 2 weeks or in the freezer for up to 6 months.
Ingredients
- Tamarind pulp or pods – Tamarind is a really unique tropical fruit native to Asia and Africa, and is used in cooking throughout these regions. These fruits grow in brown pod-like shells and the pulp within these shells are a mix of sweet, tangy, and sour flavors.
Recipe Tips
- Freeze tamarind paste in ice cube trays, then transfer to freezer bags for small ready-to-use portions.
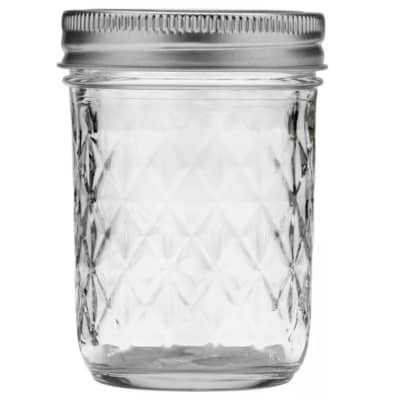
- To preserve tamarind paste’s beautiful flavors, store in a nonreactive container like a glass Mason jar.
- Save yourself time and start with a block of prepped tamarind pulp (see below for details).
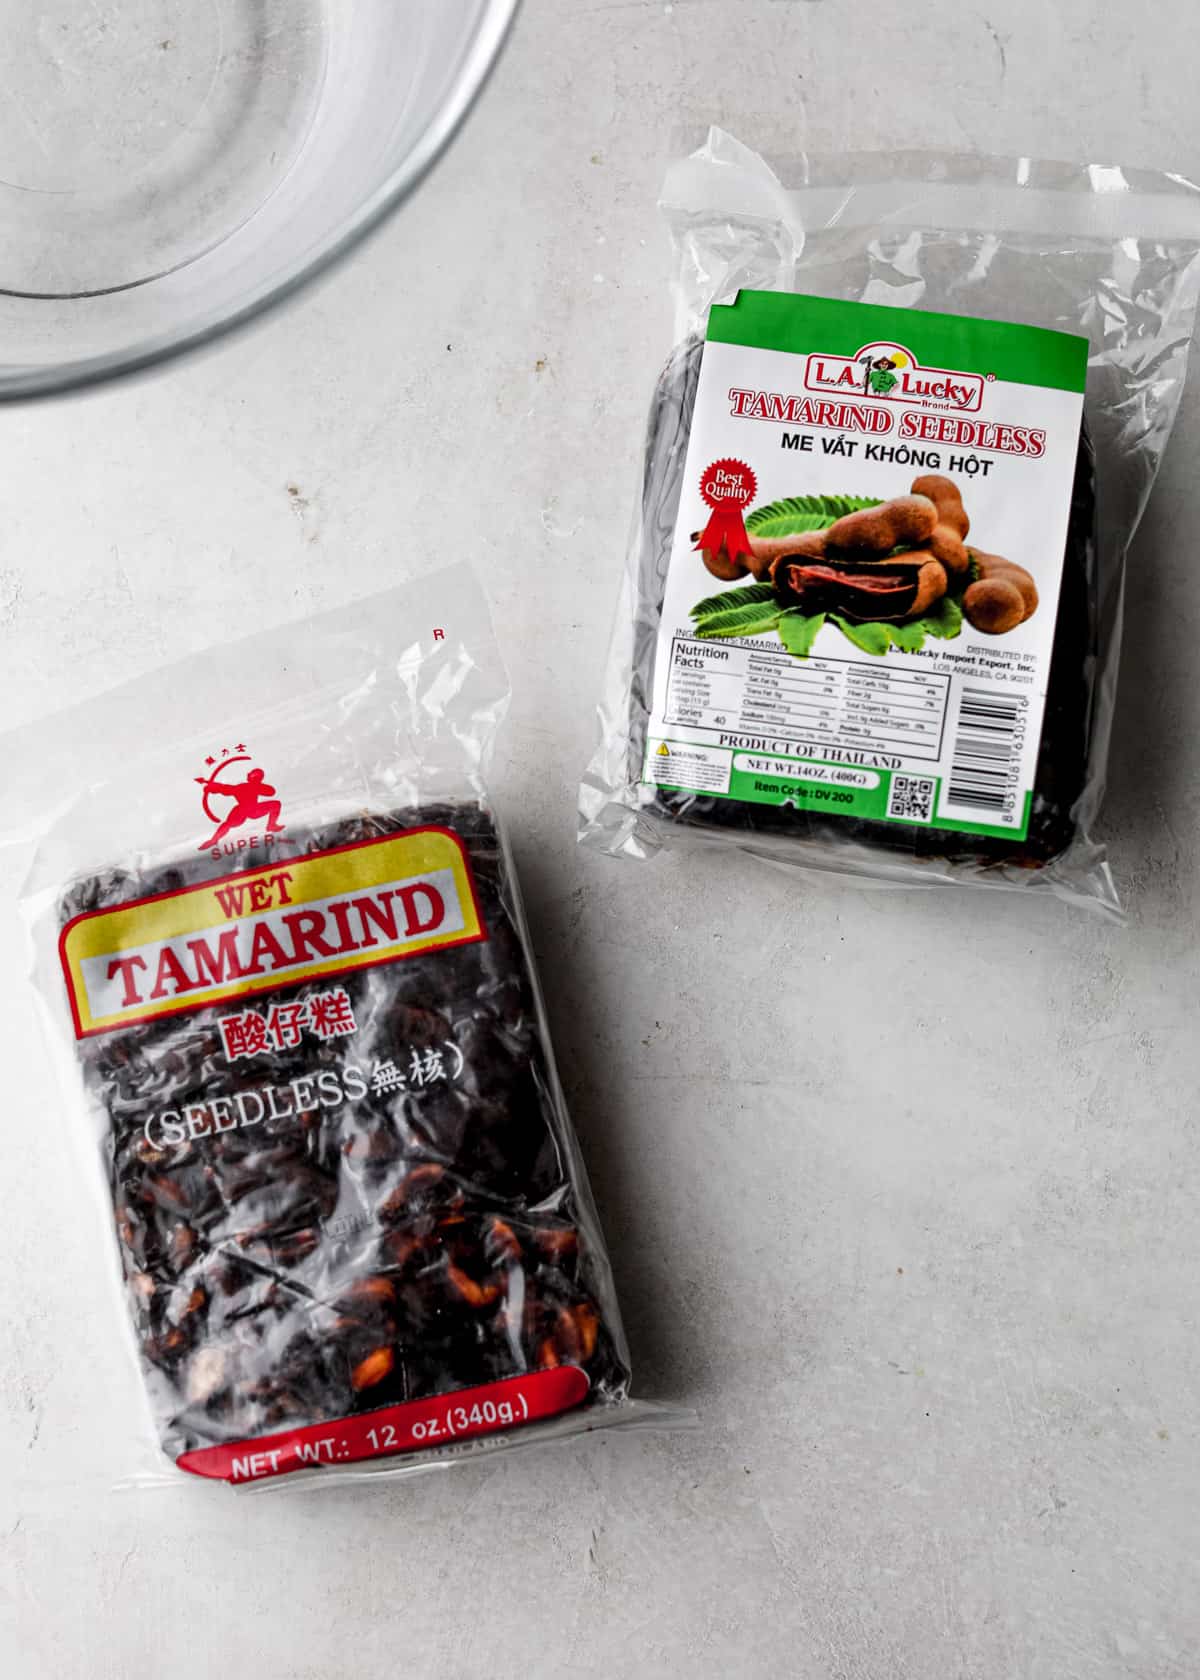
Tamarind Pulp vs. Pods
Let’s just cut to the chase here, the easiest way to make tamarind paste is with a block of already prepped tamarind pulp. These blocks are produced from pure tamarind pulp and can be found at almost any well-stocked grocery store selling international ingredients.
Making this paste from scratch with tamarind pods takes a lot more time than simply using a pre-prepared pulp. Not only will you need to break the pods apart, but the pods require over an hour to soak and soften.
Some people claim you achieve better flavors by making it directly from the pods, but we haven’t found that to be true. The blocks of tamarind pulp make a delicious paste.
FAQs
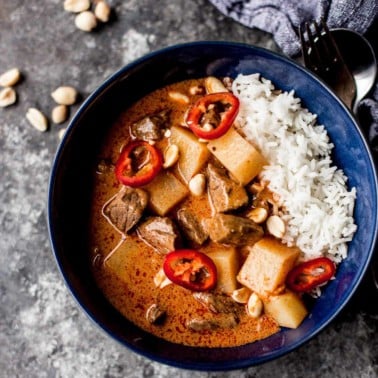
Thick, tangy tamarind paste can be used in so many ways. It makes an awesome tropical drink. Use leftovers to marinate chicken, beef, pork, or tofu. Mix tamarind paste into stir fry dishes or salad dressings or use it to make dips for pot stickers, spring rolls, and dumplings.
Be sure to select ripe tamarind pods. Ripe tamarind pods have a hard, light brown shell that can easily be broken apart by squeezing it between your fingers. The fruit is wrapped around seeds inside the pods.
Store tamarind paste in the refrigerator for 2-3 weeks in an airtight nonreactive container. You can freeze tamarind paste for up to 6 months. When you’re ready to use, defrost in the fridge for 12-24 hours.
Recipes that use tamarind paste
Pin this now to save it for later
Pin It Now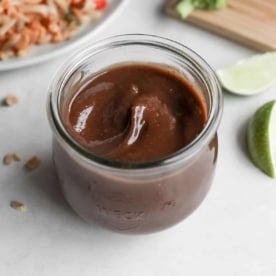
How to Make Tamarind Paste
Equipment
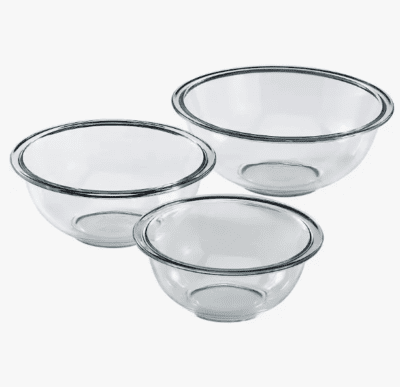
- Mixing Bowls
- Sieve or Colander
- 8 ounce Glass Jars
Ingredients
- 1 pound tamarind pulp (or about 20 tamarind pods)
- 2 cups boiling water
Instructions
- If using tamarind pods: Break open the pods and transfer the fruit and seeds to a large bowl. (Discard the crisp outer shell of the pods.)
- If using tamarind pulp: Place the entire block of tamarind pulp in a large bowl.
- Pour boiling water over the tamarind pods or pulp just until it is covered by a couple of inches of water.

- Let soak for 30 minutes.
- After 30 minutes, use a soft spatula or your hands to gently break the tamarind apart. Let it soak for another 15 minutes.
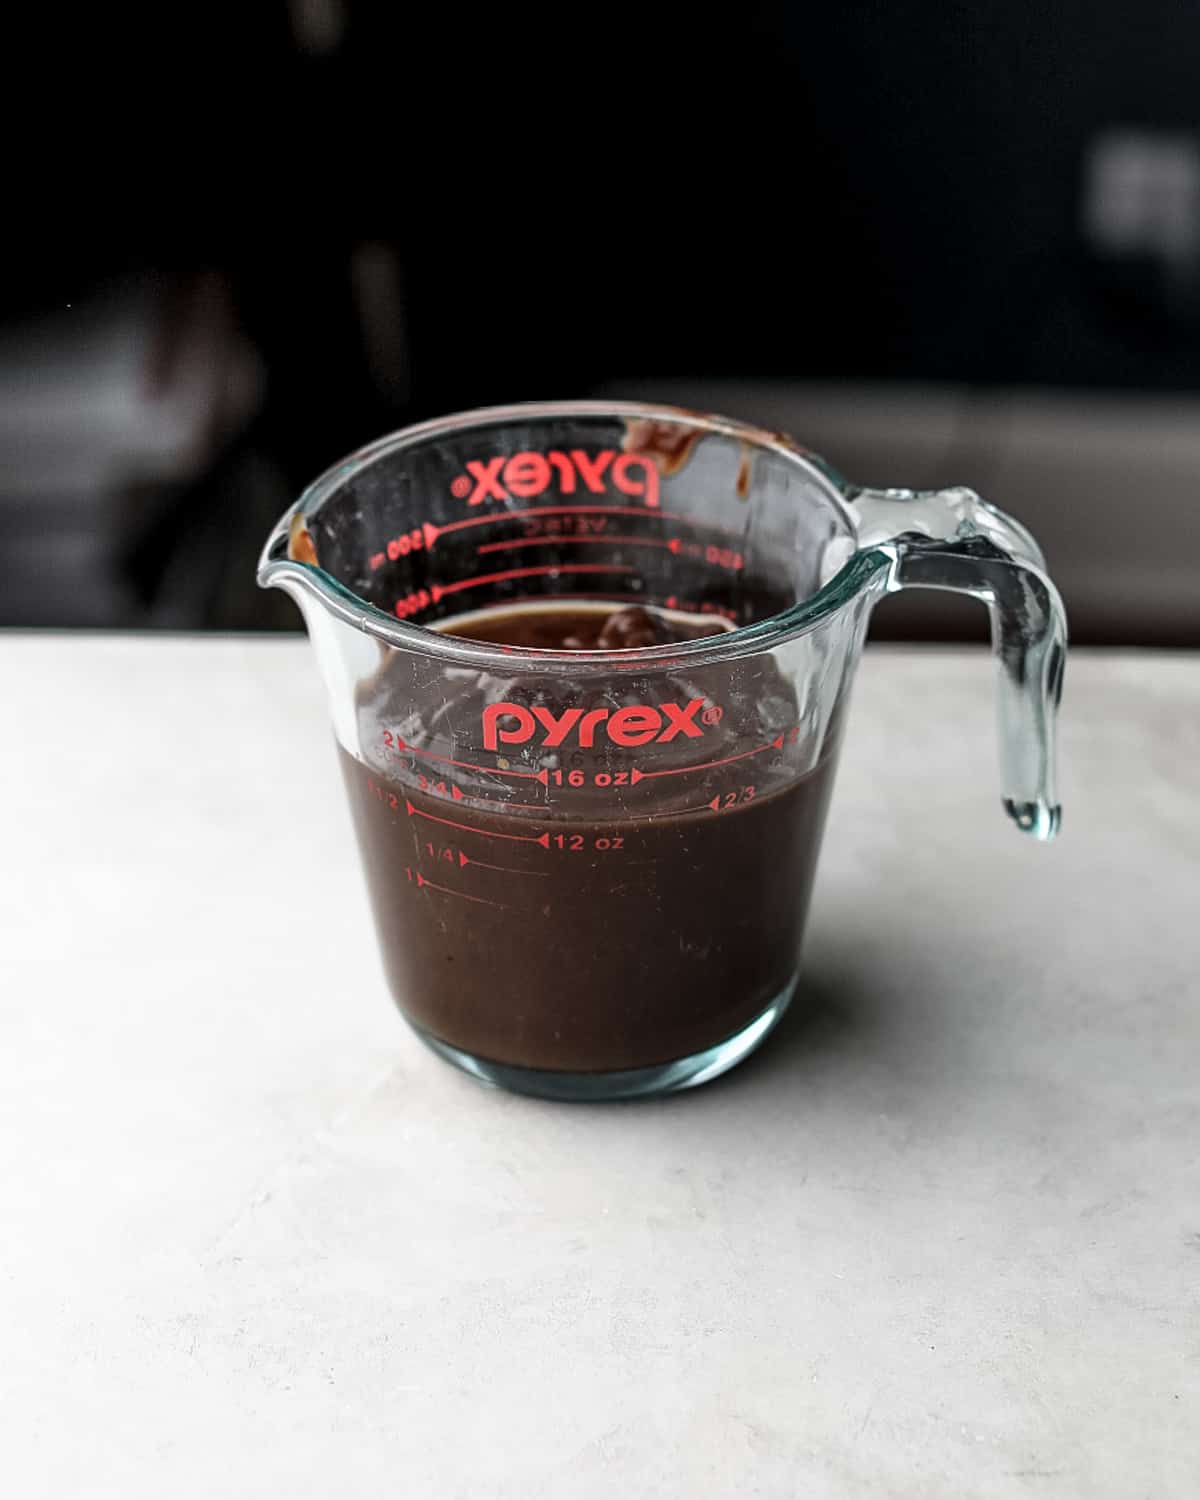
- When the water has cooled, use your hands to break the pods or pulp apart they are evenly combined with the water. (There will be lots of bits of seed and fibers that you'll sort out in the next step.) The finished mixture should be about the thickness of ketchup, so add some more water if needed.
- Press the mixture through a mesh sieve using a spoon or silicon spatula, separating out the seeds and fibers.
- Note: If it looks like there is still enough fruit in the seeds and fibers after one round of pressing them through the sieve, you can repeat the process, soaking the seeds and fibers once more in boiling water and then running them back through the sieve.
- Discard the seeds and fibers. Store the tamarind paste in a container in the refrigerator for up to 2 weeks or freeze for up to 6 months.


Nutrition information is automatically calculated, so should only be used as an approximation.


I was looking for a tomato substitute, have use Tamarind syrup in other dishes, but found your preparation of tamarind paste from the pulp. Thanks for the thorough documentation with pix.
I’m so glad this was helpful! I’m actually going to reshoot this blog post next week and will add even more step-by-step photos. I really do think it helps to see the images!
Thanks. This was simple and perfect!
Thank you ever so much for this great instruction! Worked like a charm!!
I love how quick and to the point u are with your recipe . Where’ve you been all my life?
Has anyone tried making this, either from scratch or from the pulp, in an instapot? Also was thinking a ricer might be helpful when separating the paste from the fibers.
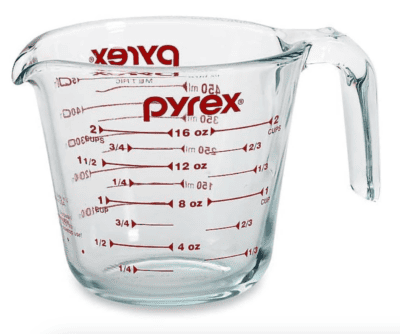
UK resident here – what’s the weight (in grams or ozs) of the 2 cups of paste you get from 1Lb of pulp?
Hi Paul – I’d actually measure this by volume, so you’d be looking for about 475 mL. Hope that helps!
In New Orleans La. many years ago when I was young we’d get Tamons(?) @ The drugstore. It was a
paste, quite tart. I’m not a sweet eater so I loved this tart treat. Have any ideas why in French loving city as NOLa was the 1930’s would have this in drugstores as a snack.
Evelyn
Just FYI – You can make a lovely drink by taking the fibrous “leavings”, adding water, let it sit awhile stirring occasionally, strain add a touch of honey (also try lemon or mint or……) and drink! Refreshing, great for the digestive system and so yummy!