How to Make a Piñata Cake
Published Oct 09, 2017•Updated Jul 29, 2024
This post may contain affiliate links. Please read our disclosure policy.
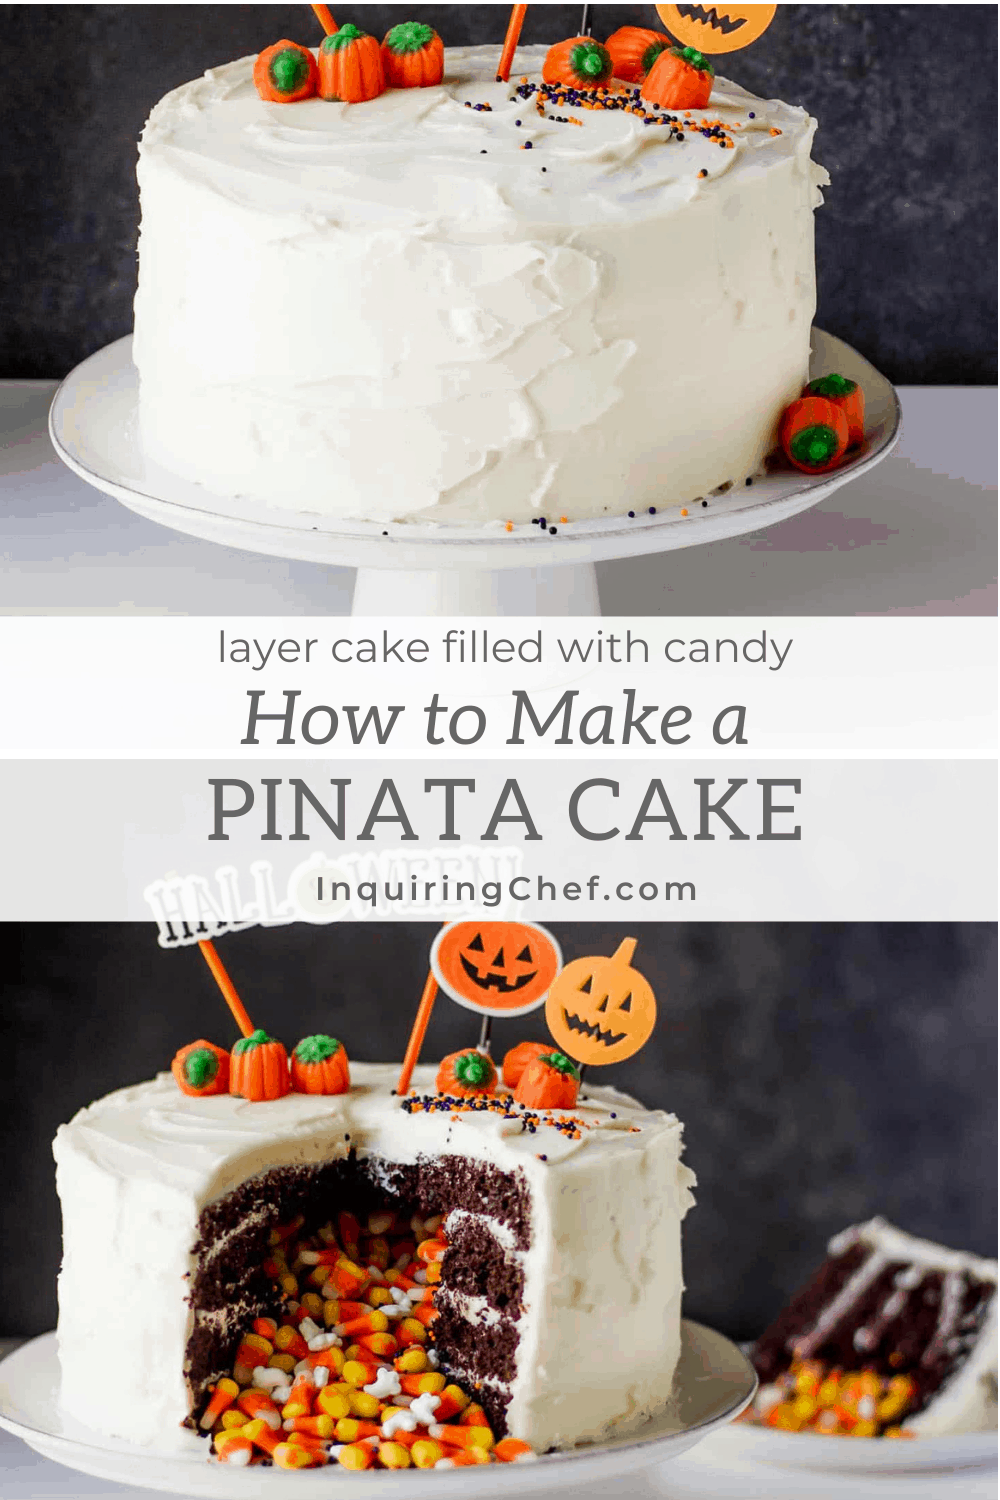
A layer cake with a core of candy that comes tumbling out when sliced. Piñata cakes are fun to make and even more fun to bring to the table with kids (or, let’s be real, adults) around.
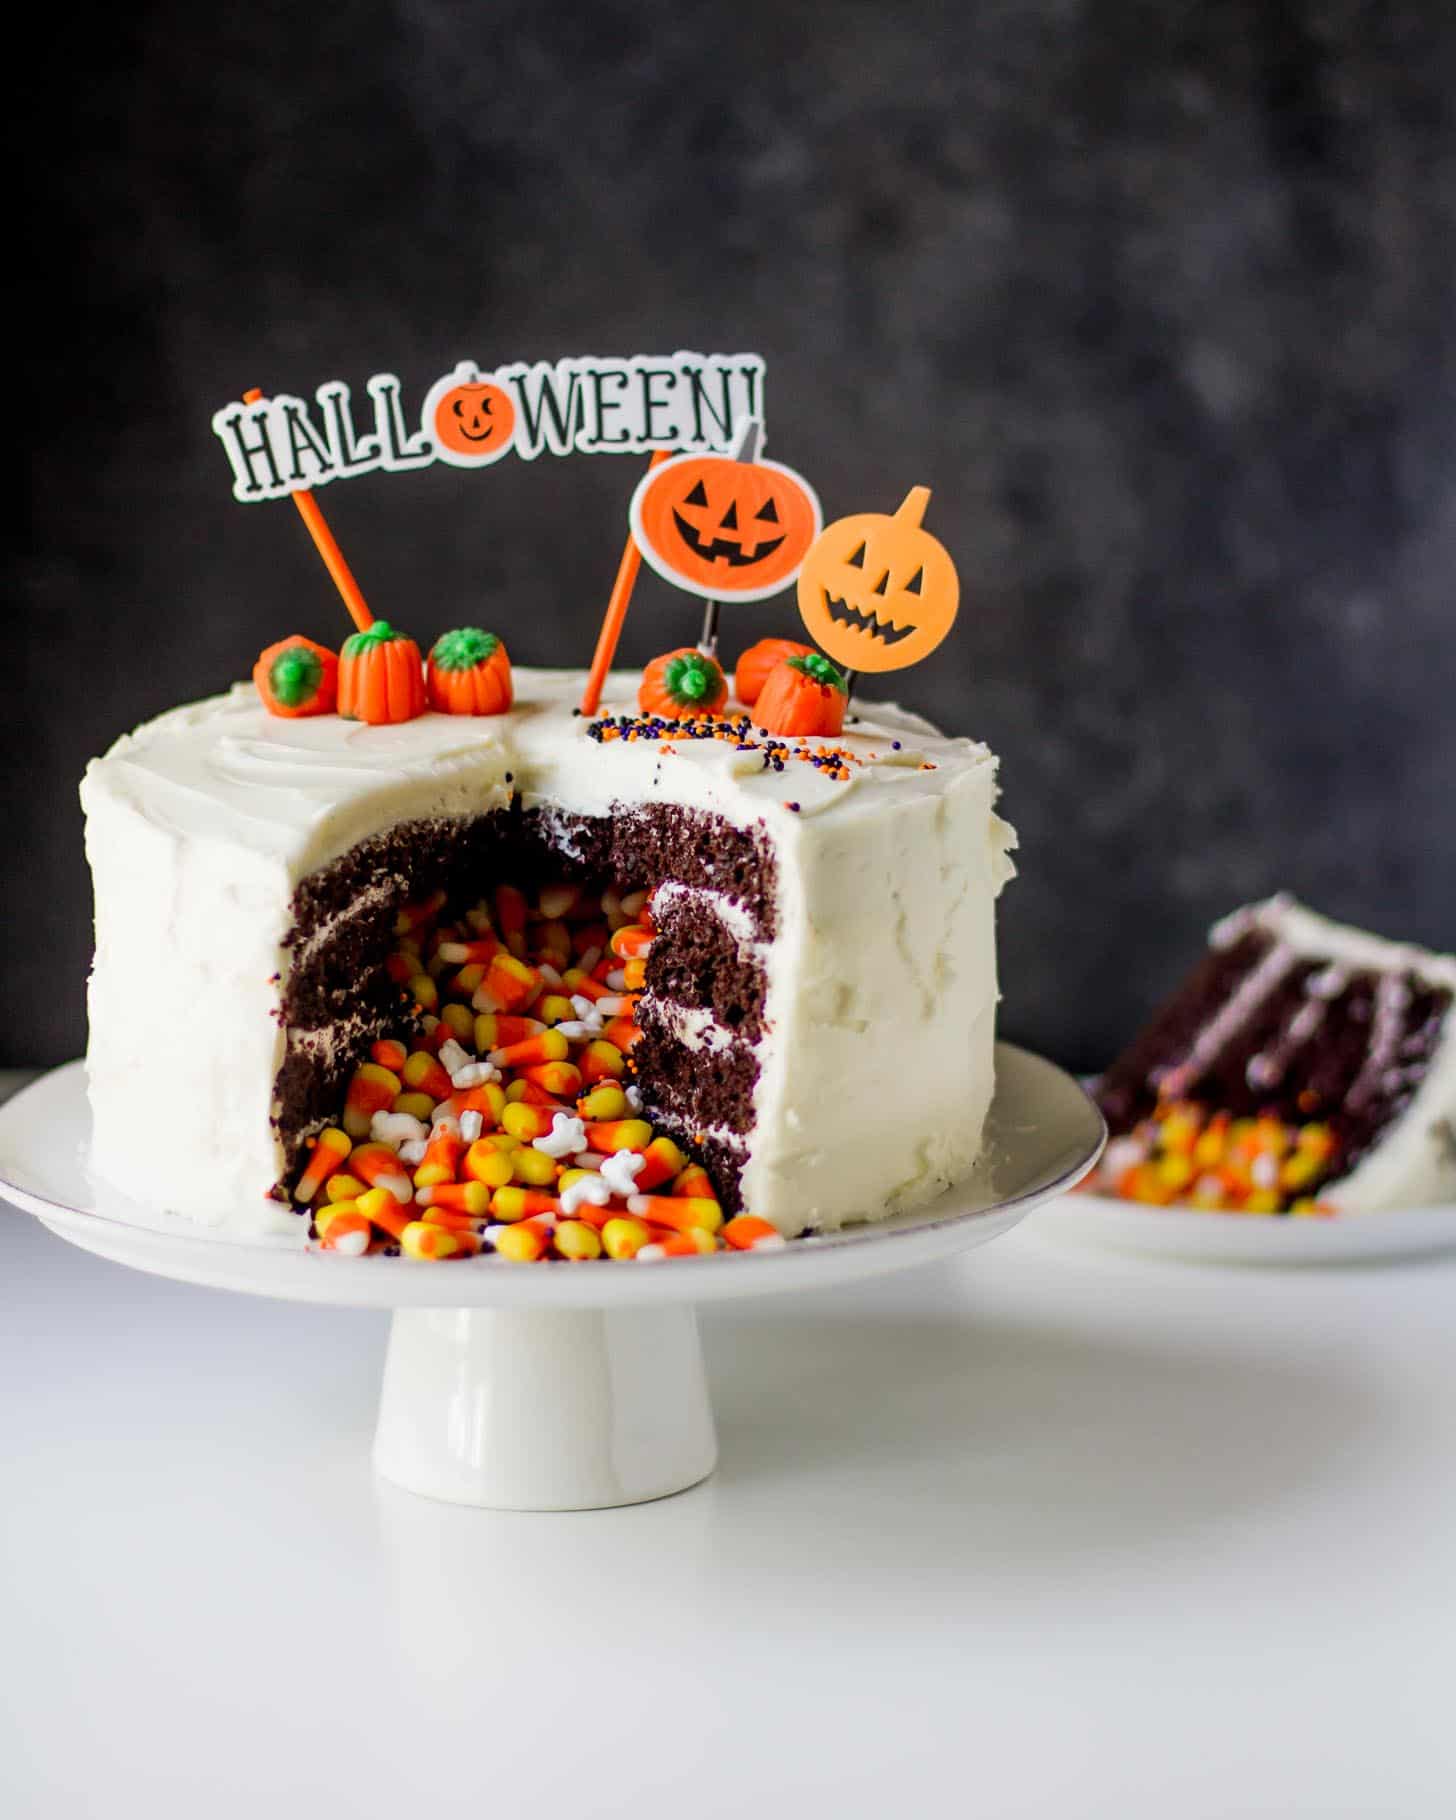
Ever wanted to make one of these? We’ve got you covered! See below for step-by-step photos.
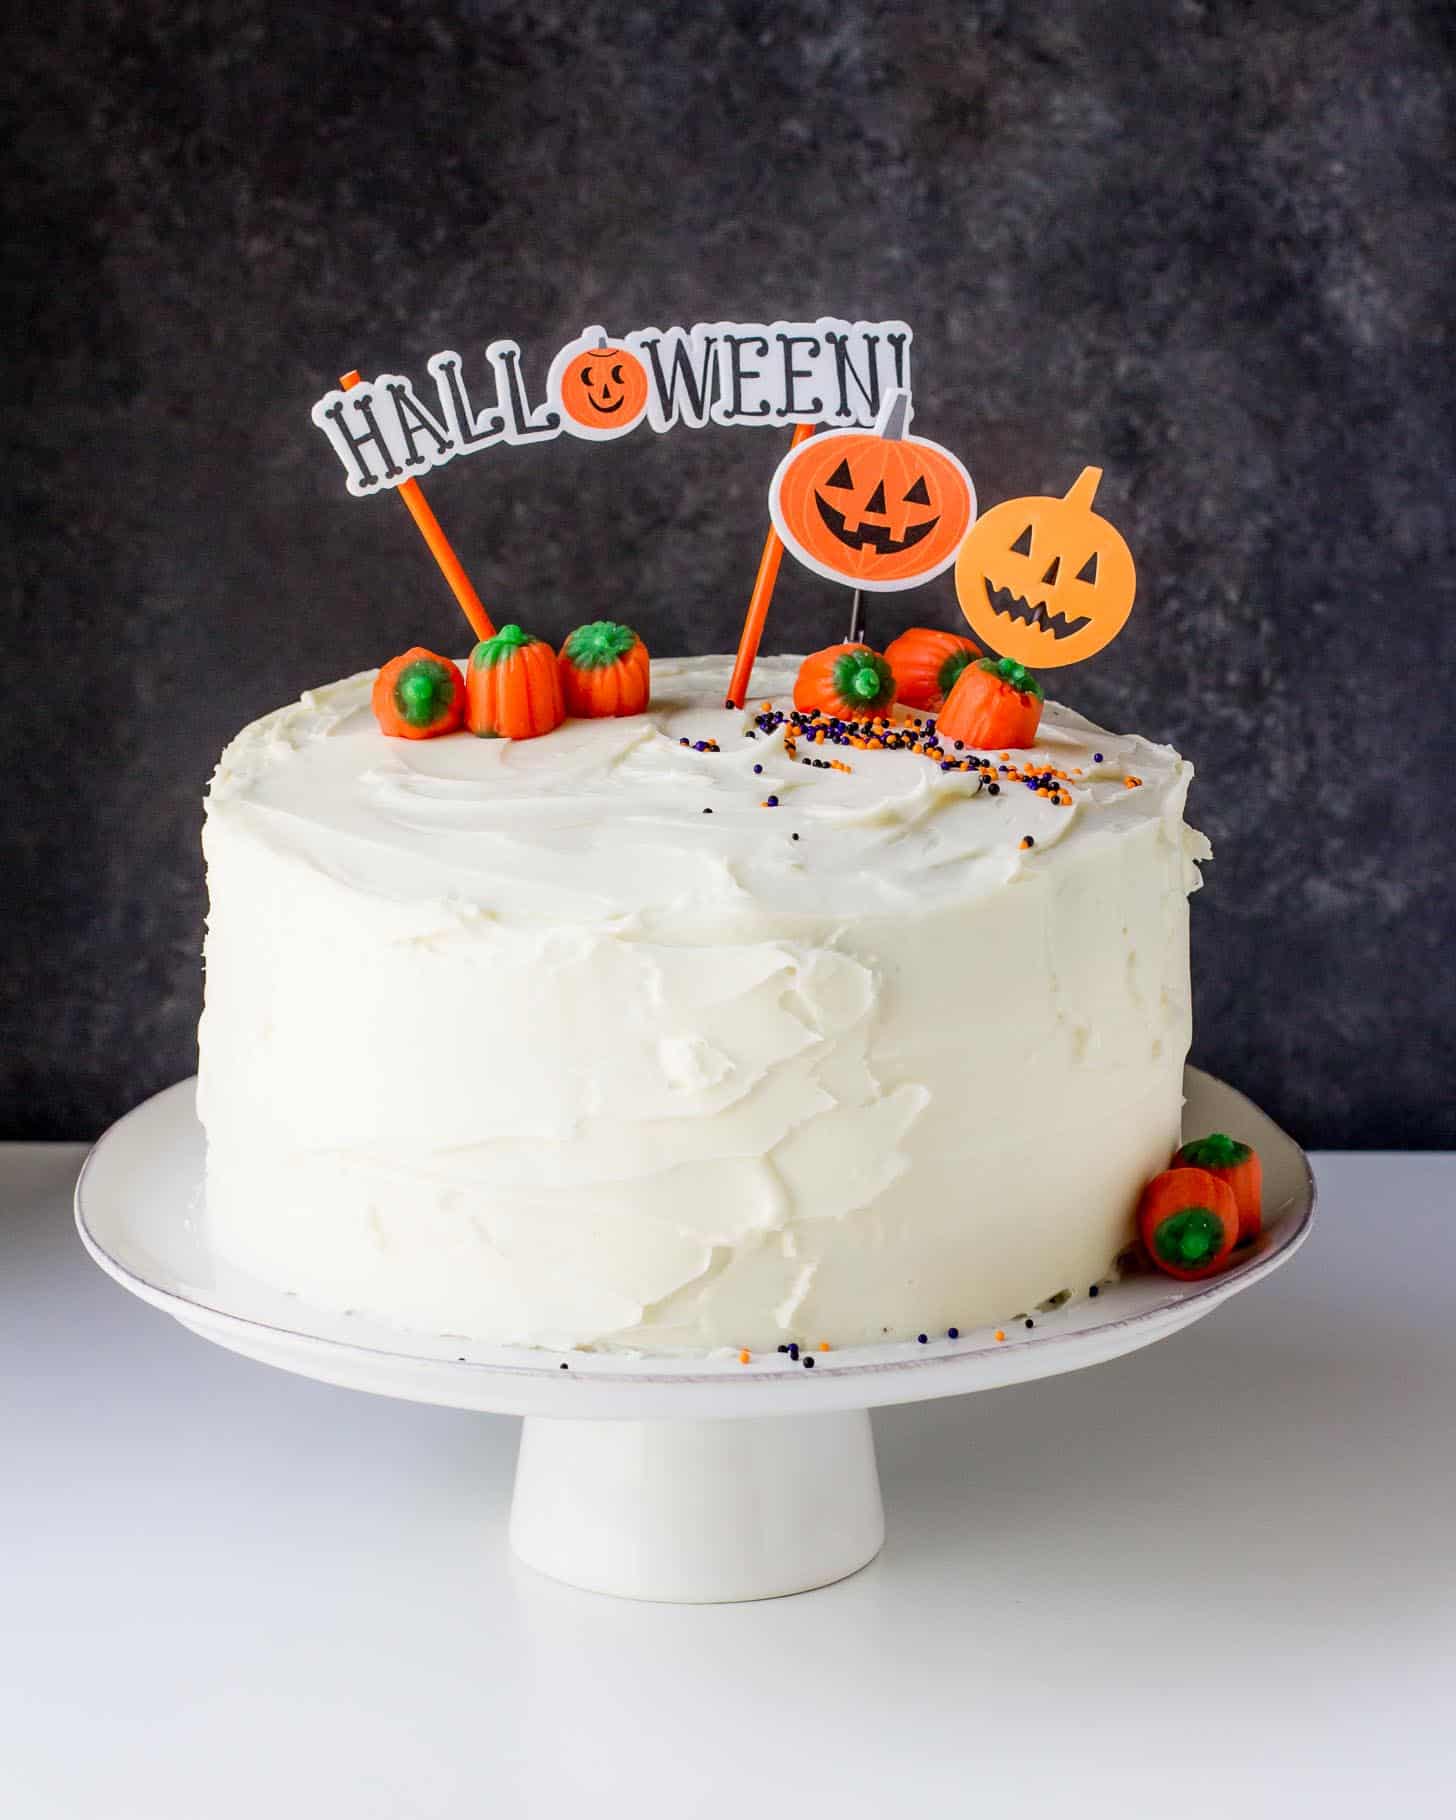
I was going to make Molly and Clara a piñata cake for their birthday. That was in April. It is now October. Such is life with three year old twins.
Better late than never. And that much better when it’s full of candy corn!
I first learned about piñata cakes from my friend Claire who made this inspired rainbow beauty that has caught my eye more than a time or two over the years. I still come across that gorgeous cake when I’m flipping through Pinterest. Piñata cakes are hollowed out after baking and filled with candy. They look like ordinary cakes, but when sliced open, the candy comes tumbling out. Like hitting a piñata (with less mess)!
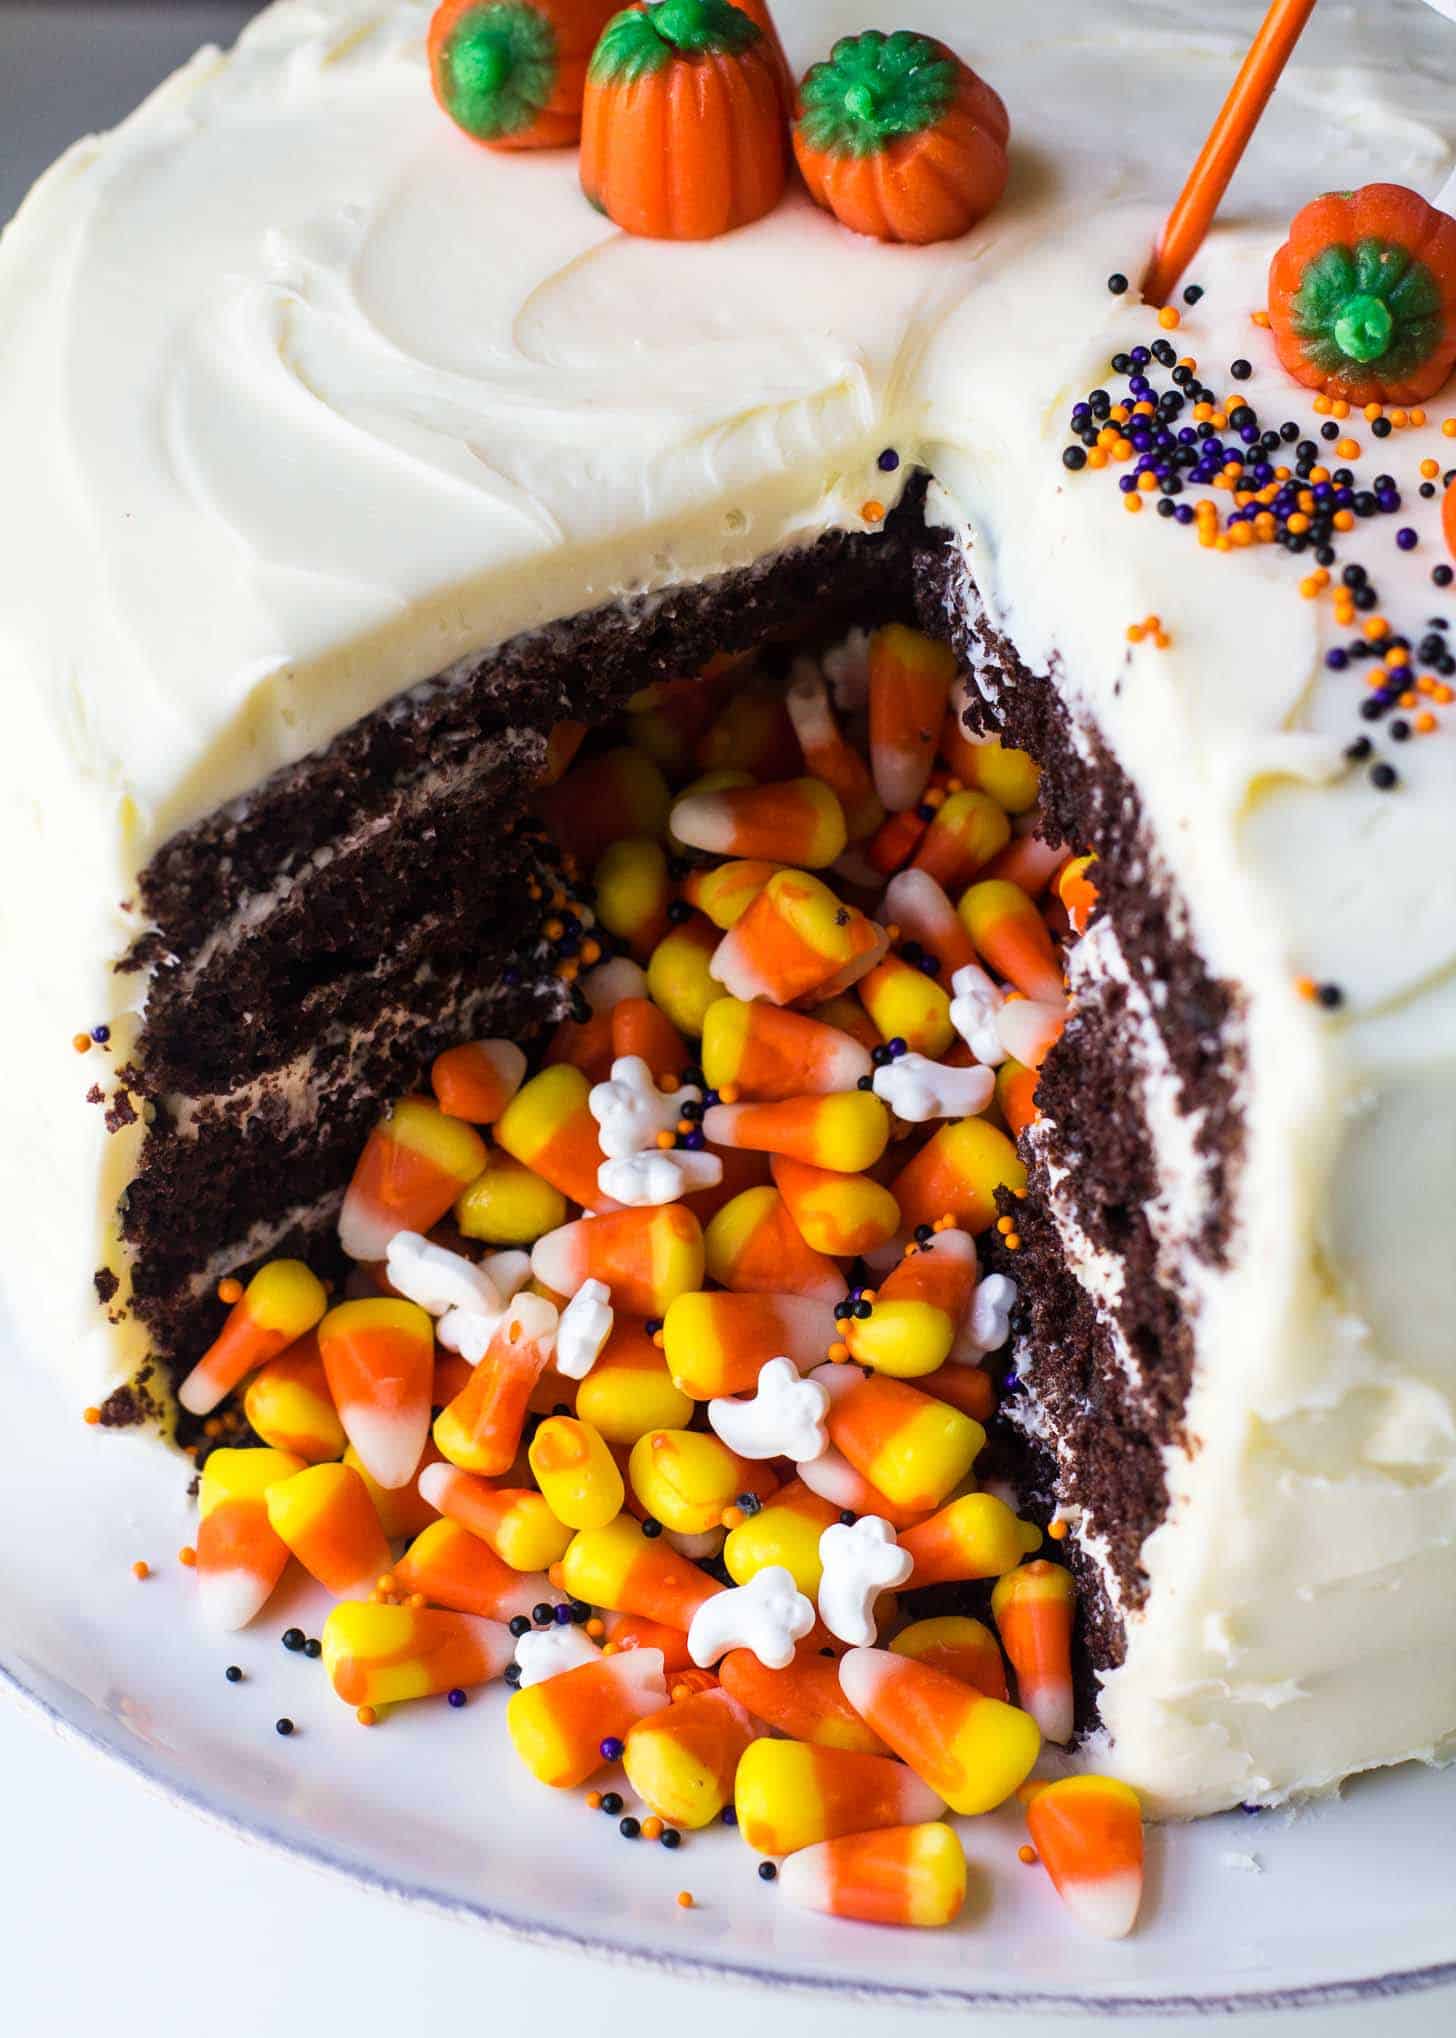
This is NOT a complicated thing to make. I do a lot of cooking, but I like my baking to be simple – sheet cakes, cookies and no-bake desserts are my thing. So I promise that I wouldn’t share this with you unless I felt confident that anyone can tackle it. Follow along below to see exactly how it’s done!
Pin this now to save it for later
Pin It NowStep 1: Bake Cake Layers / Prepare Frosting
Before you start, you’ll need:
- Four baked 8-inch rounds of cake
- ~5 cups of frosting (three to four 16-oz containers of store-bought frosting)
- 2 cups of candy / sprinkles for the center
Any flavor of cake / frosting will do. It’s a great idea to bake the cake a day ahead so the layers are nice and cool when it’s time to frost and assemble. (Note: If you have a go-to layer cake / frosting feel free to make those from scratch. Boxed cake mix and store-bought frosting totally fit the bill here too. All the focus on this cake will be on the fun filling, so don’t spend too much time on the cake recipe.)
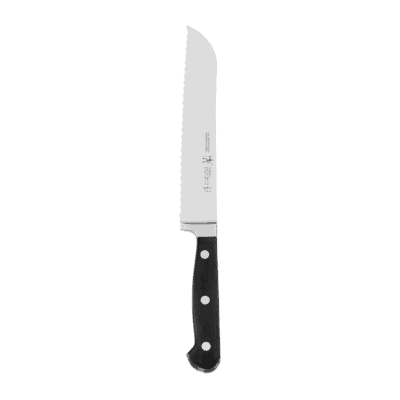
After the layers have cooled, if the tops are rounded, use a serrated knife to slice off the round part. The layers will stack more evenly this way.
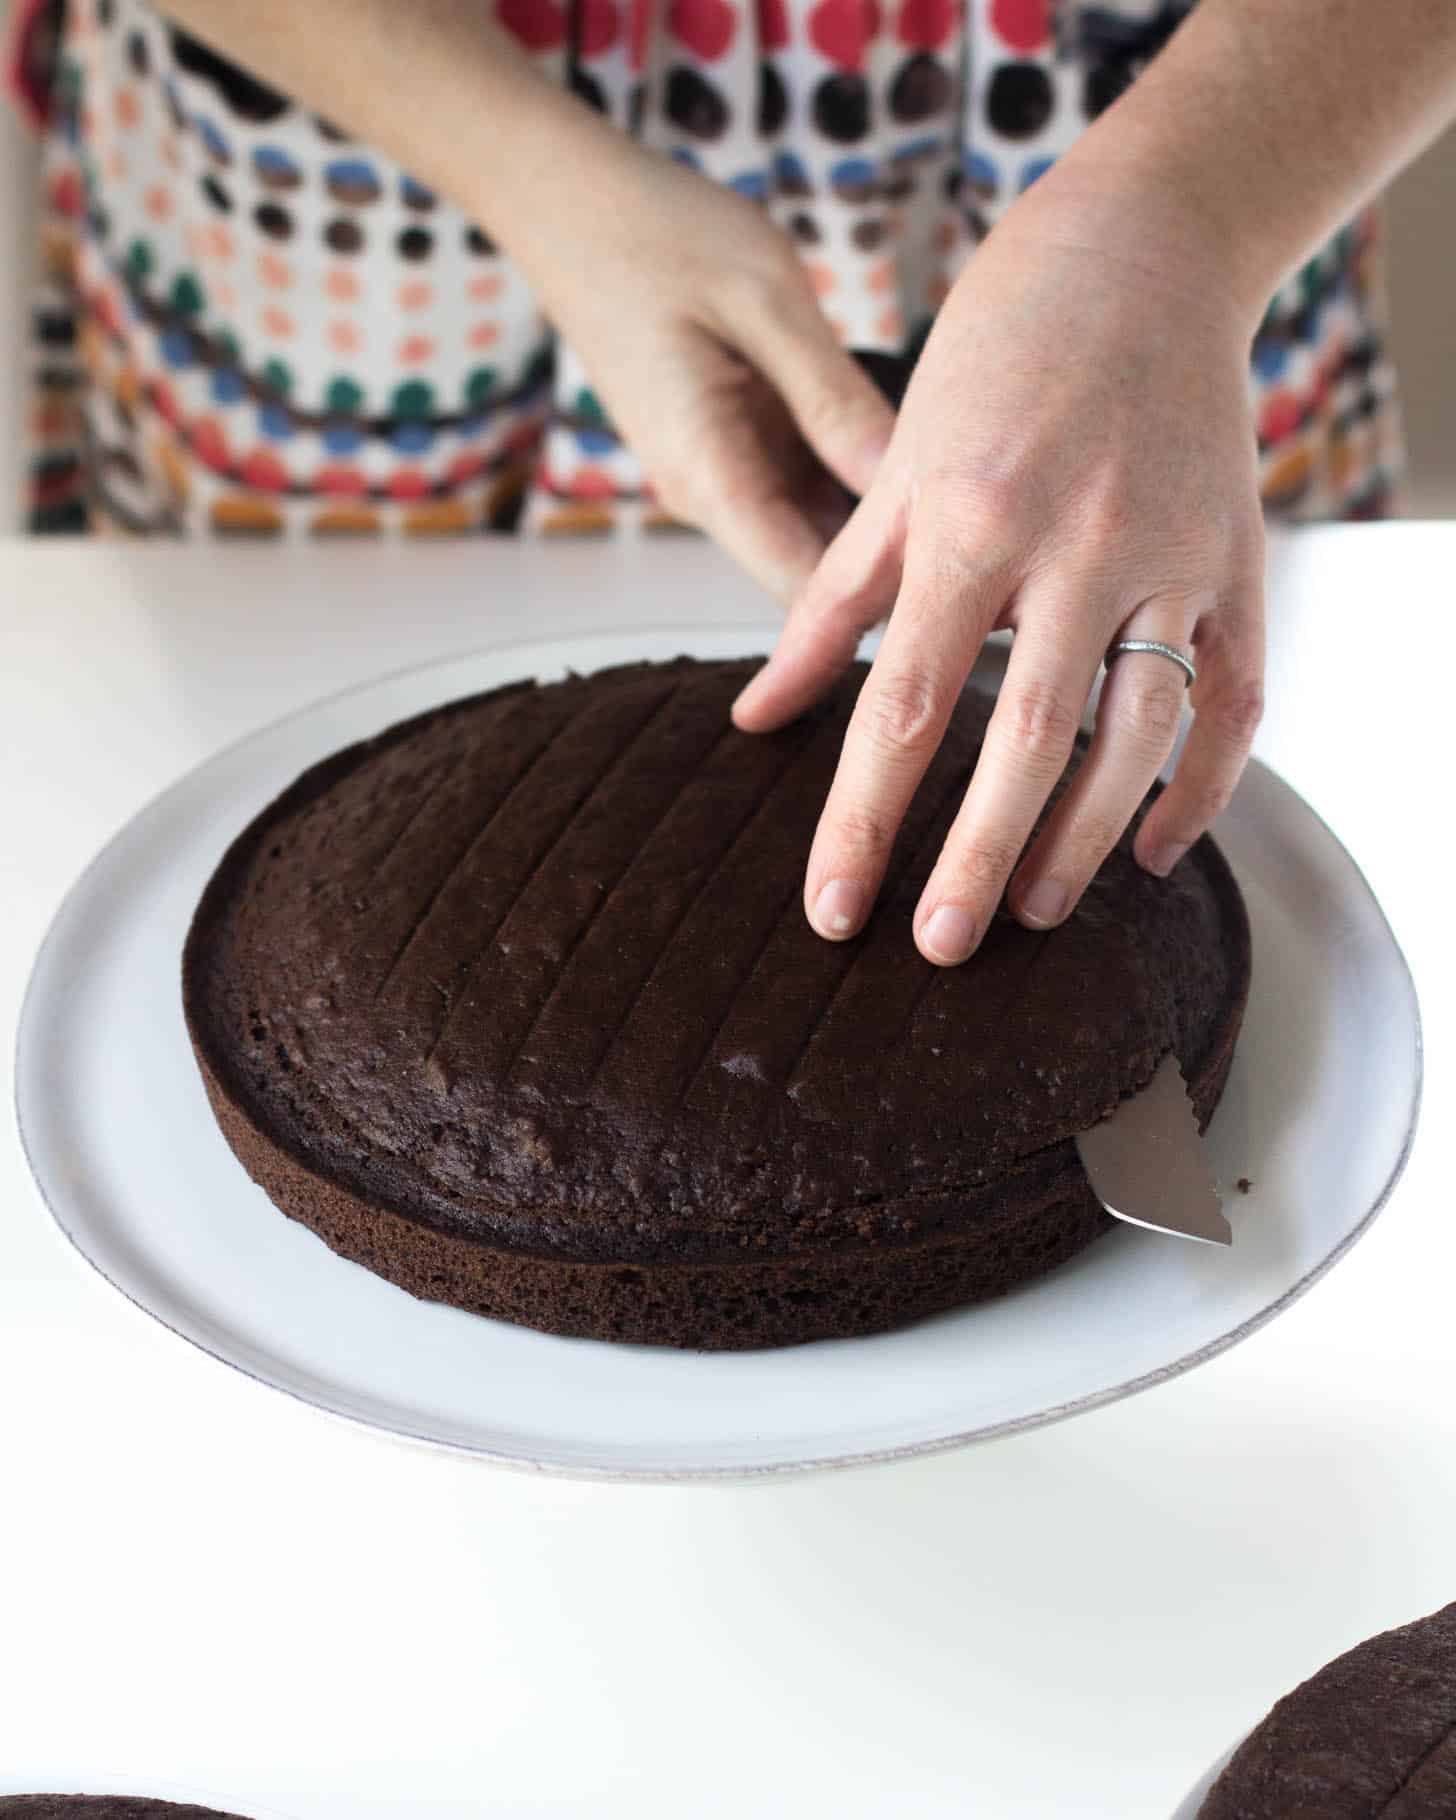
Step 2: Slice a Core Out of Two Layers
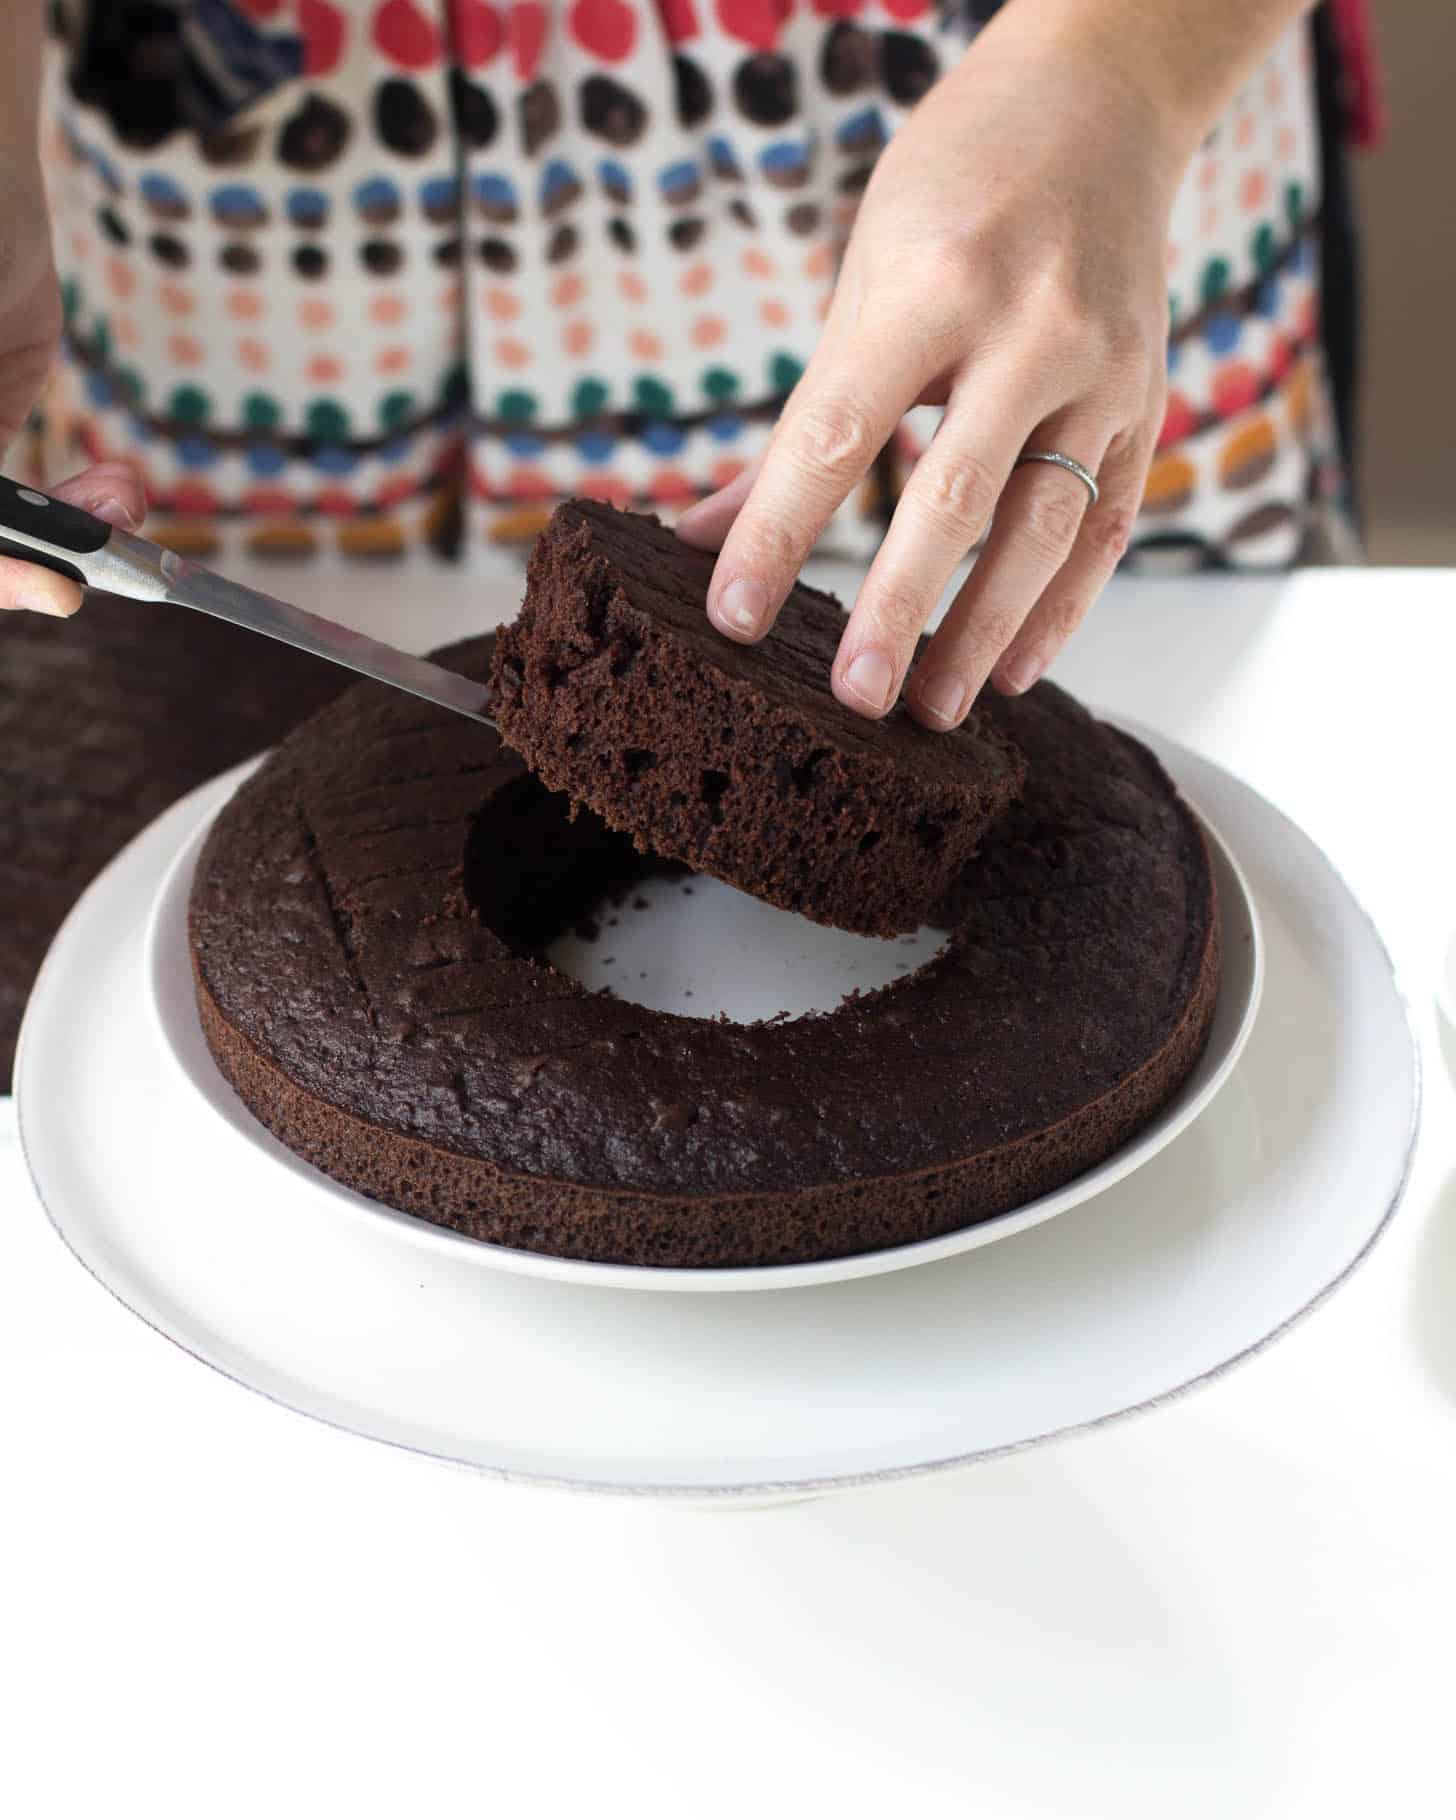
Cut a circle into two of the four cake layers. Just two. Leave the other two intact. I used a bowl that was 4 inches across as a guide. You can also cut a 4-inch circle into a piece of construction paper. Or just eyeball it if you’re feeling feisty.
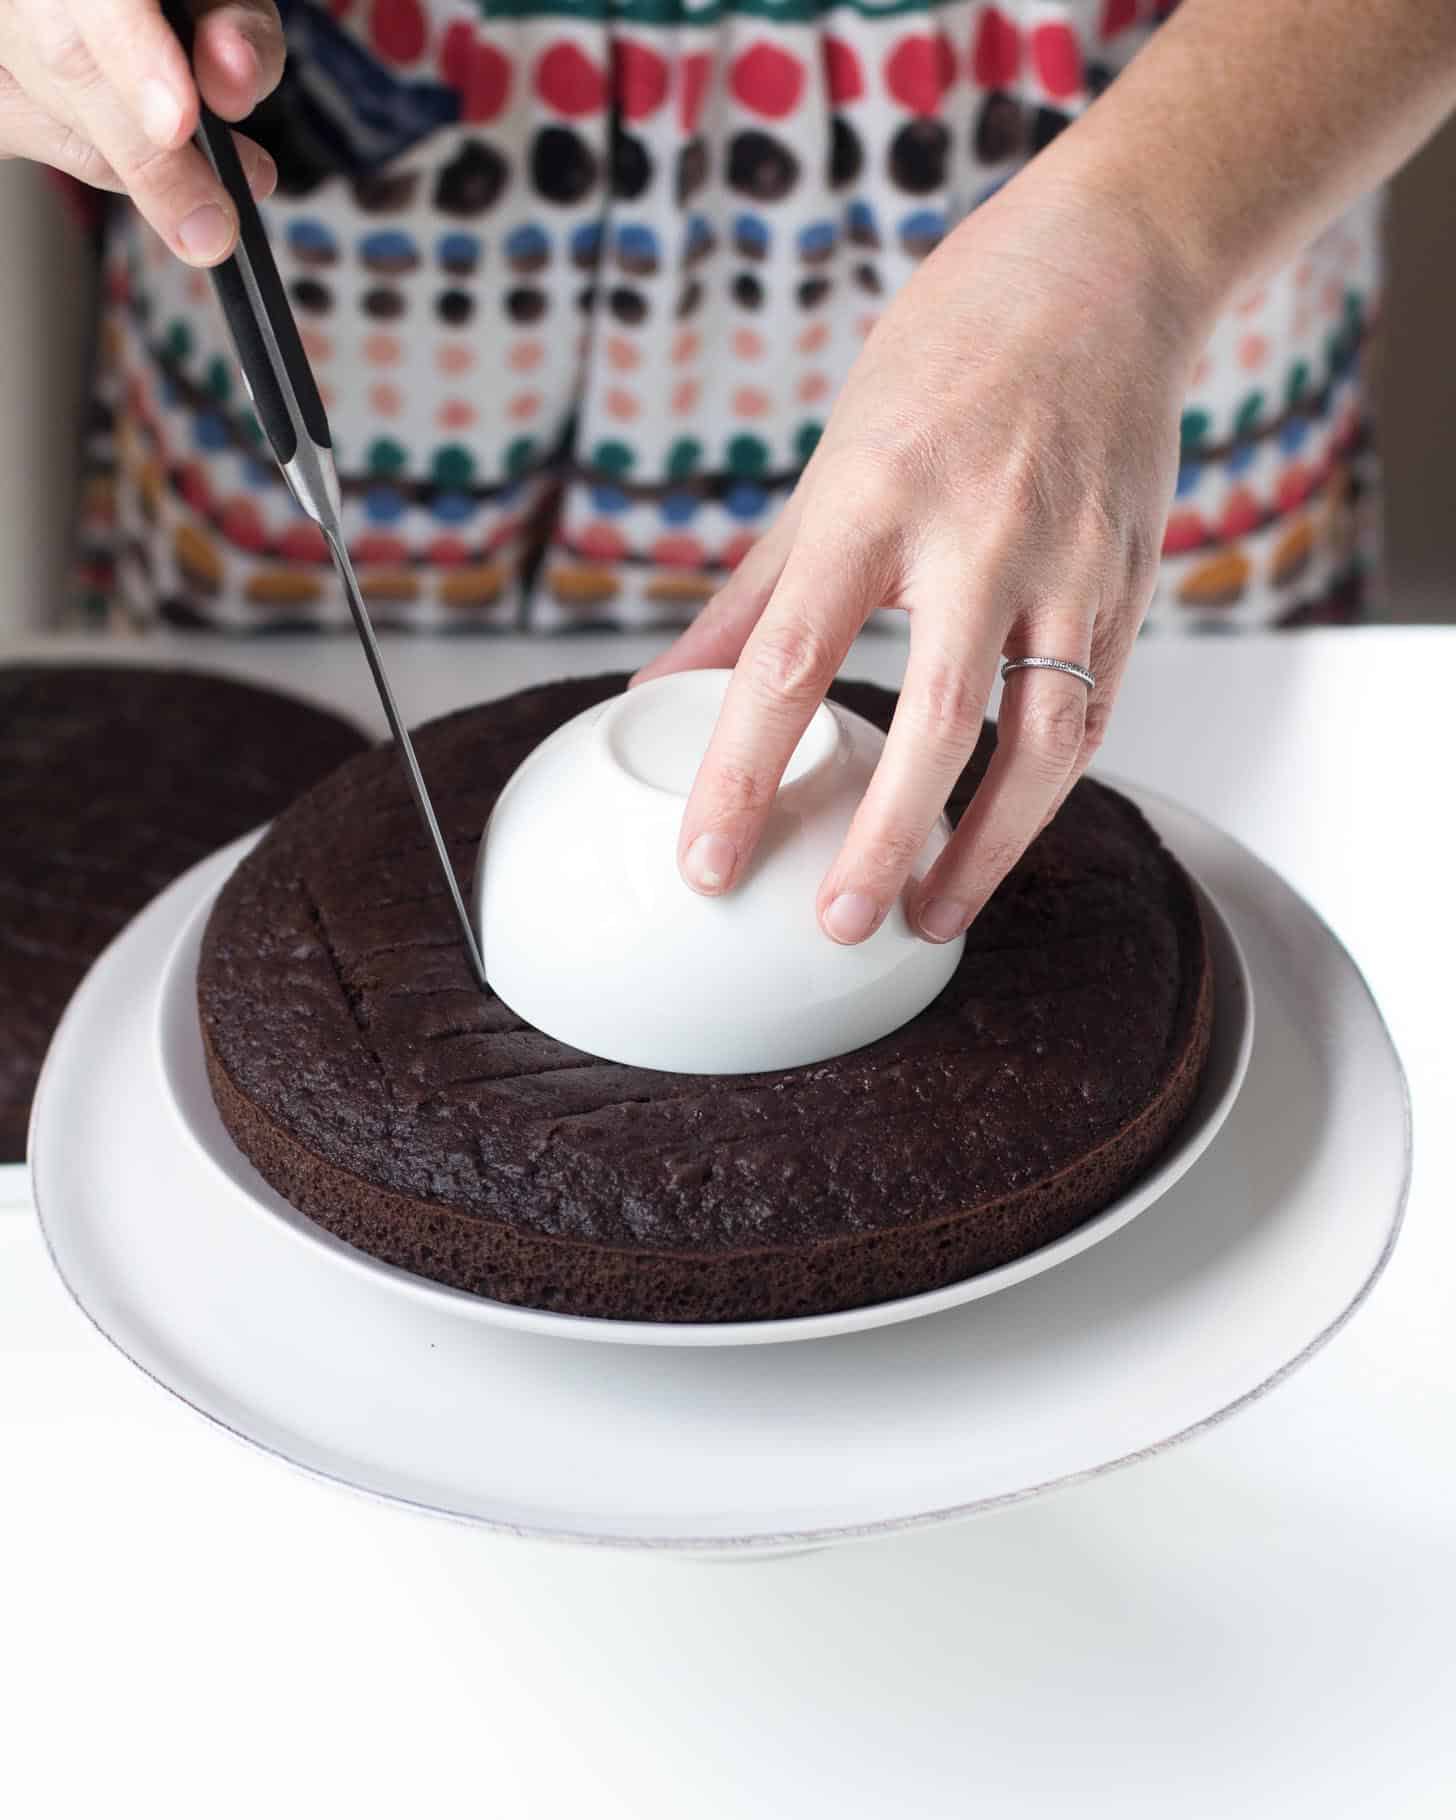
Tip: See that mini cake that comes out of the middle? Wrap it in plastic and freeze it. Some cold, rainy afternoon in the months ahead, defrost it and let the kids decorate it!
Step 3: Frost Three Layers and Fill
Put the first full layer (not one with a circle cut out) on a serving plate or cake stand. Frost the top.
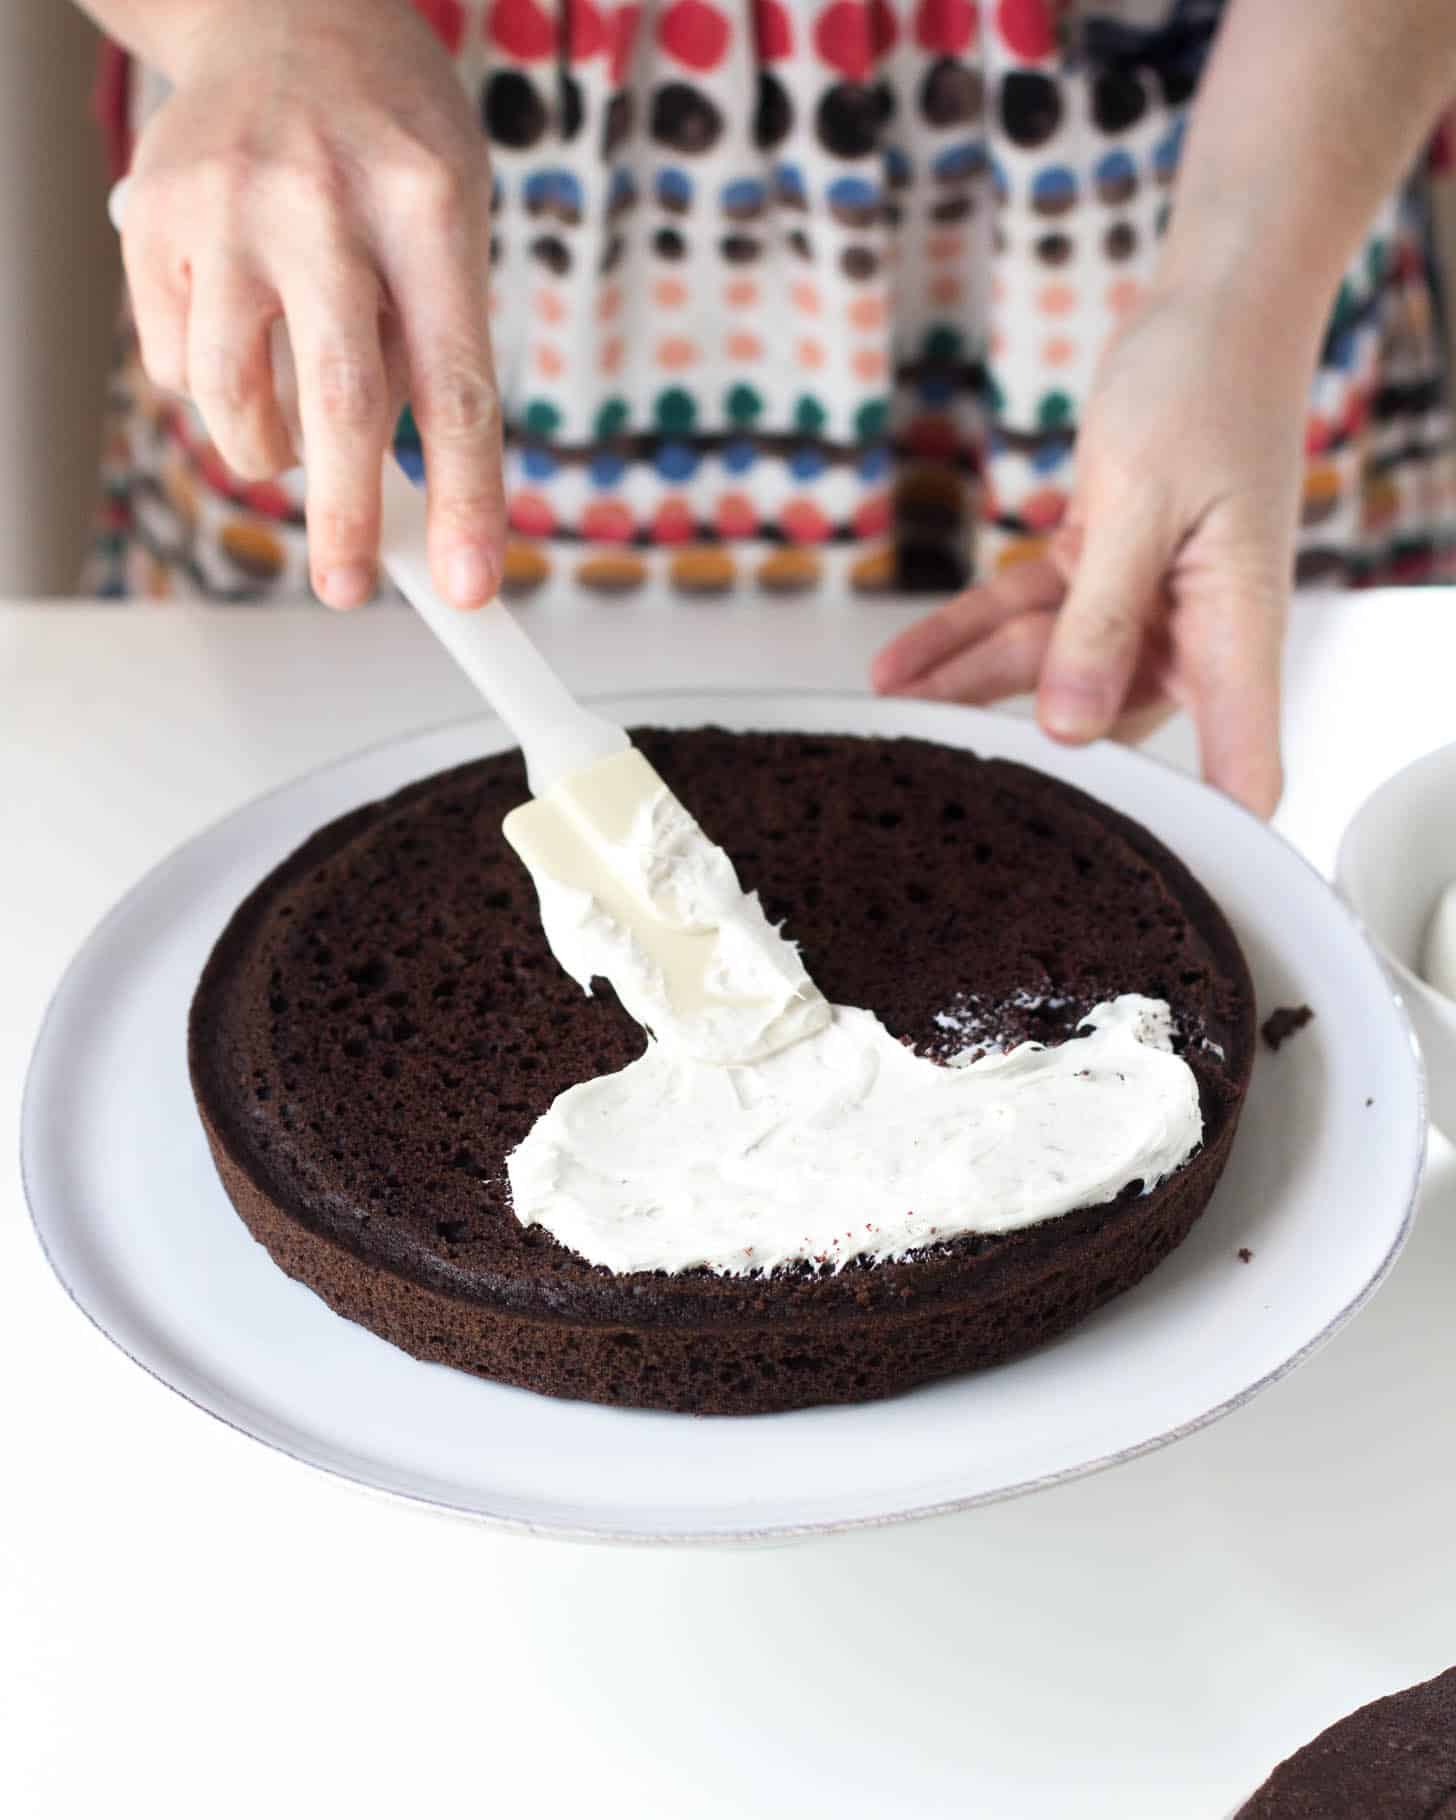
Add a layer with the center cut out and frost the top of that. (See these messy frosting skills? If I can do this, anyone can.)
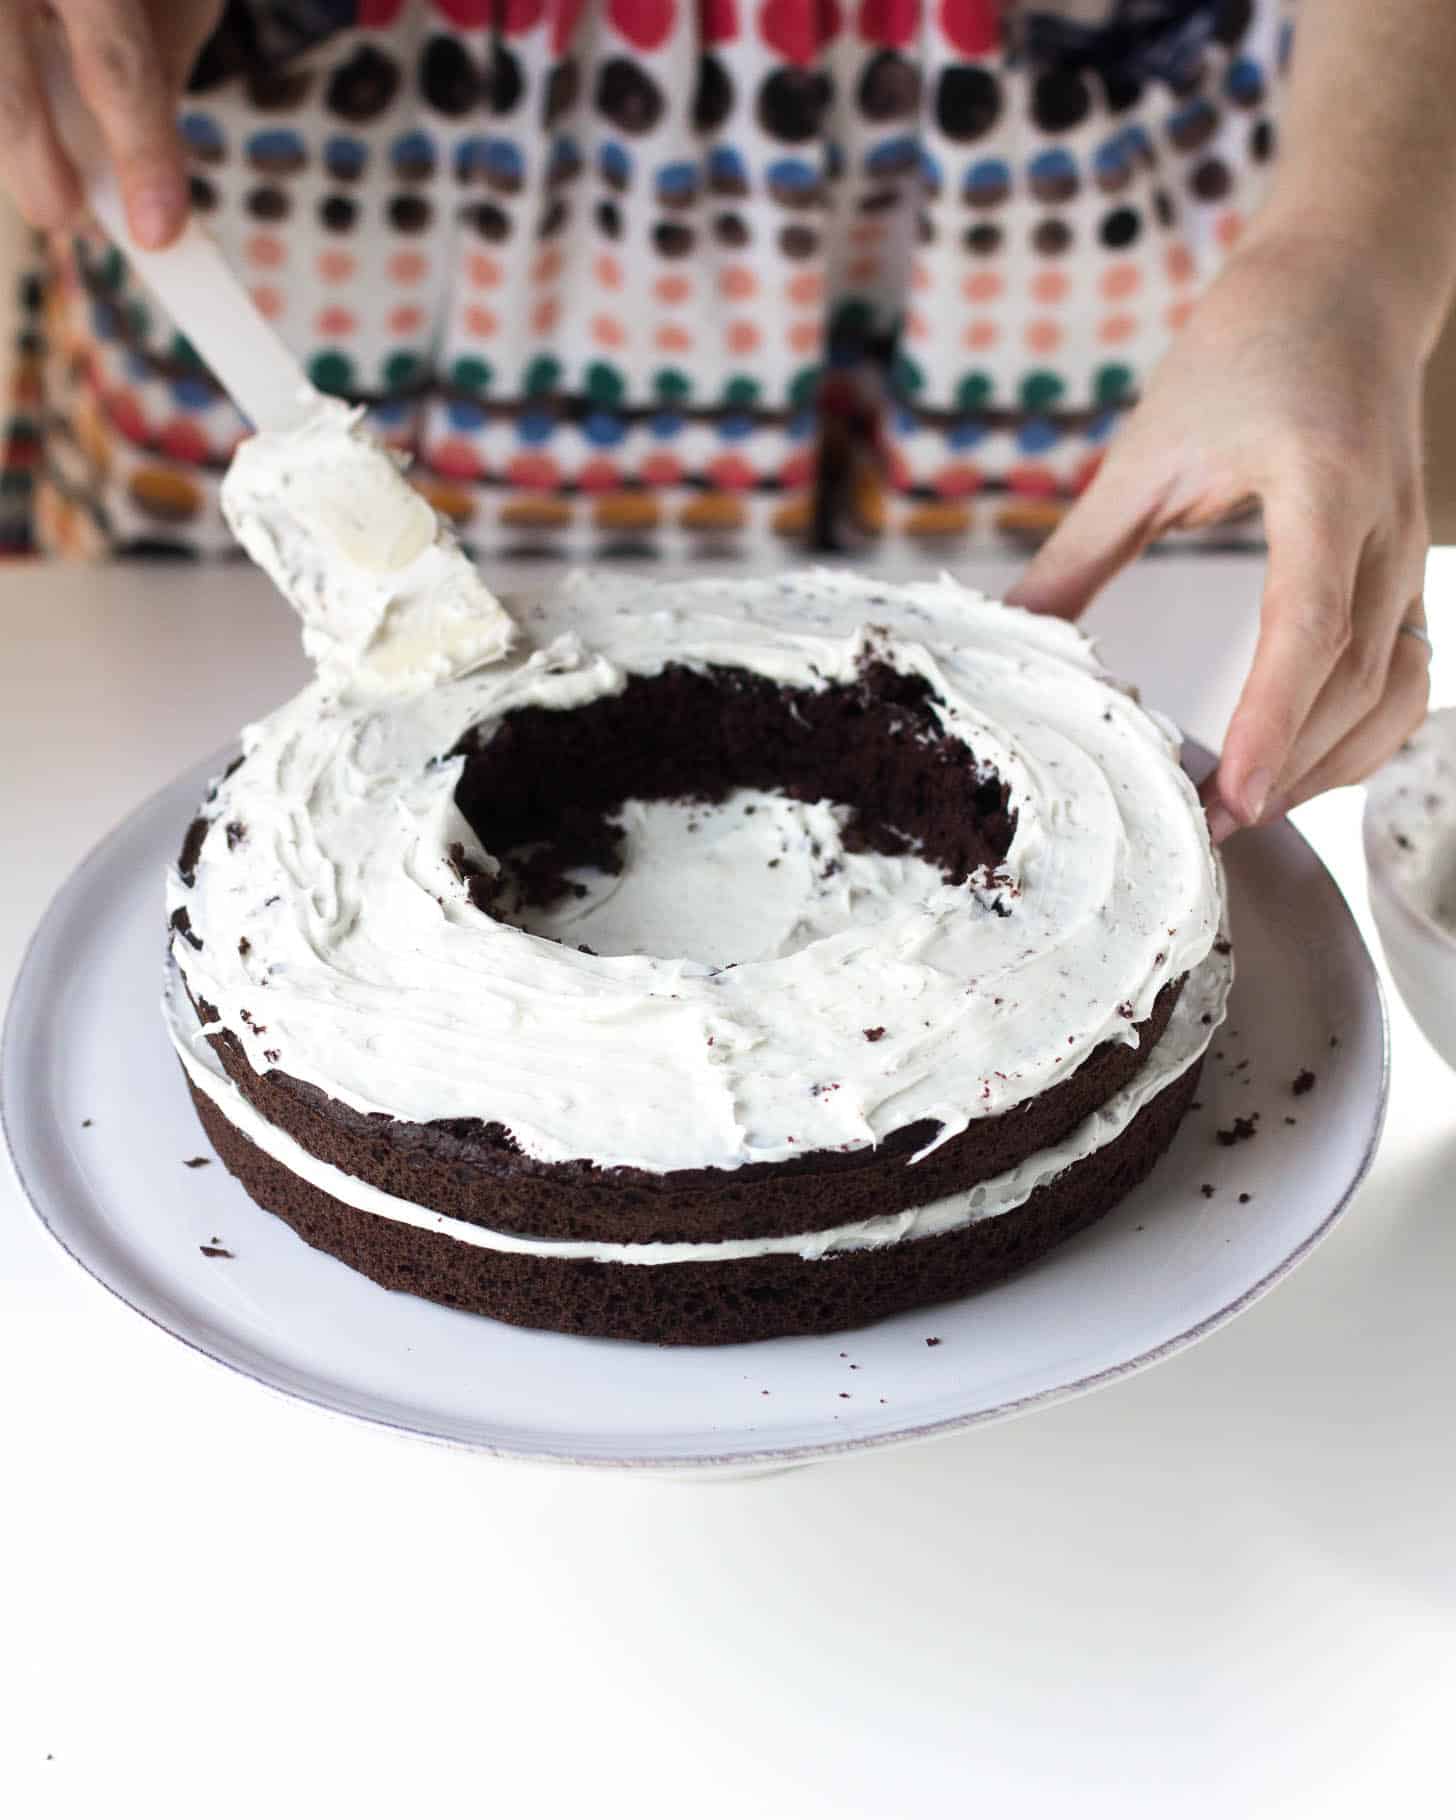
Add the second layer with the center cut out and frost that too!
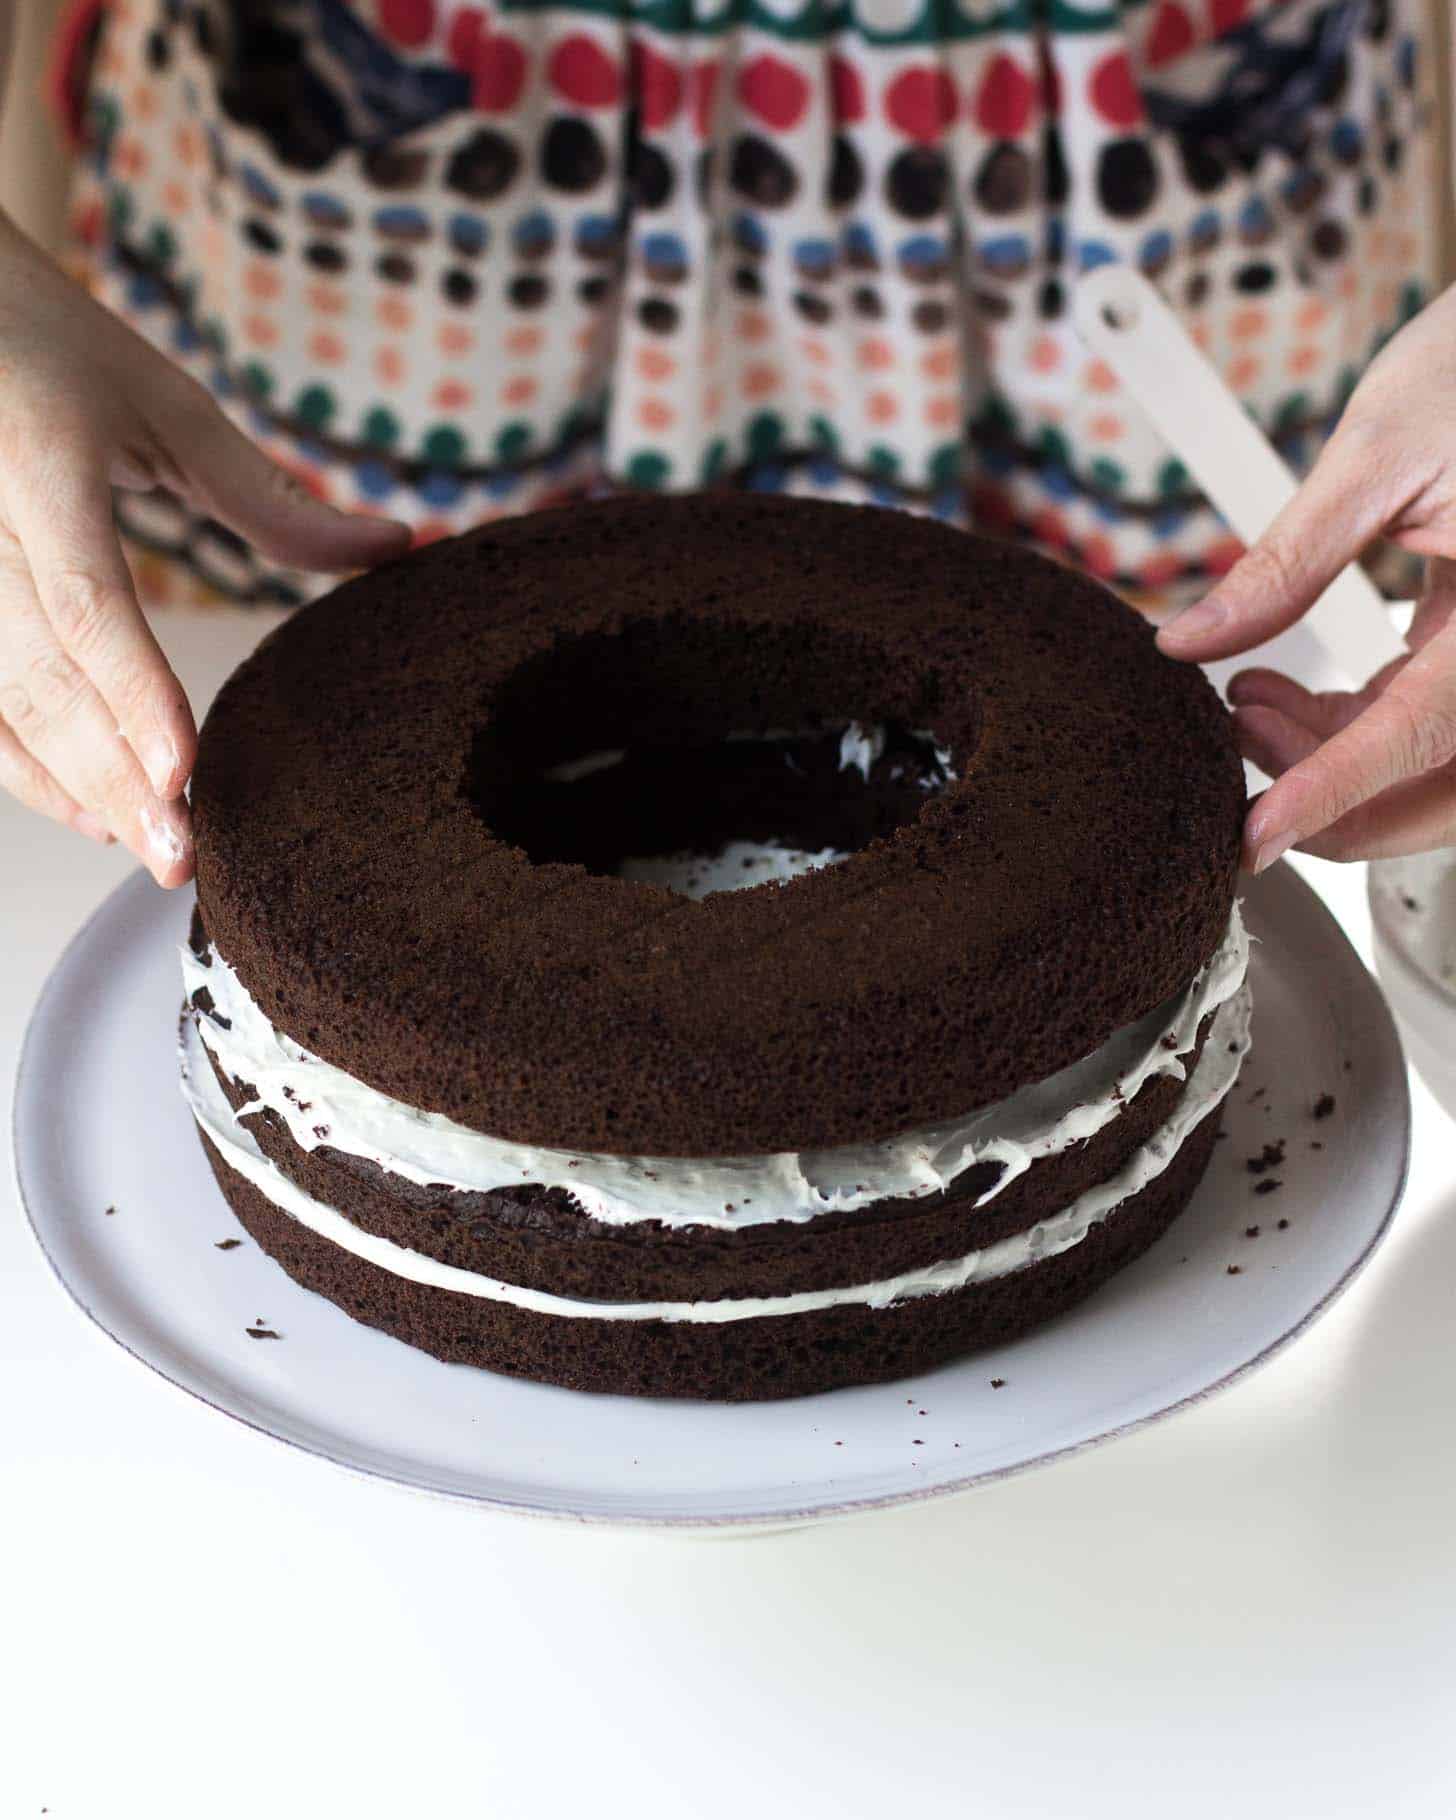
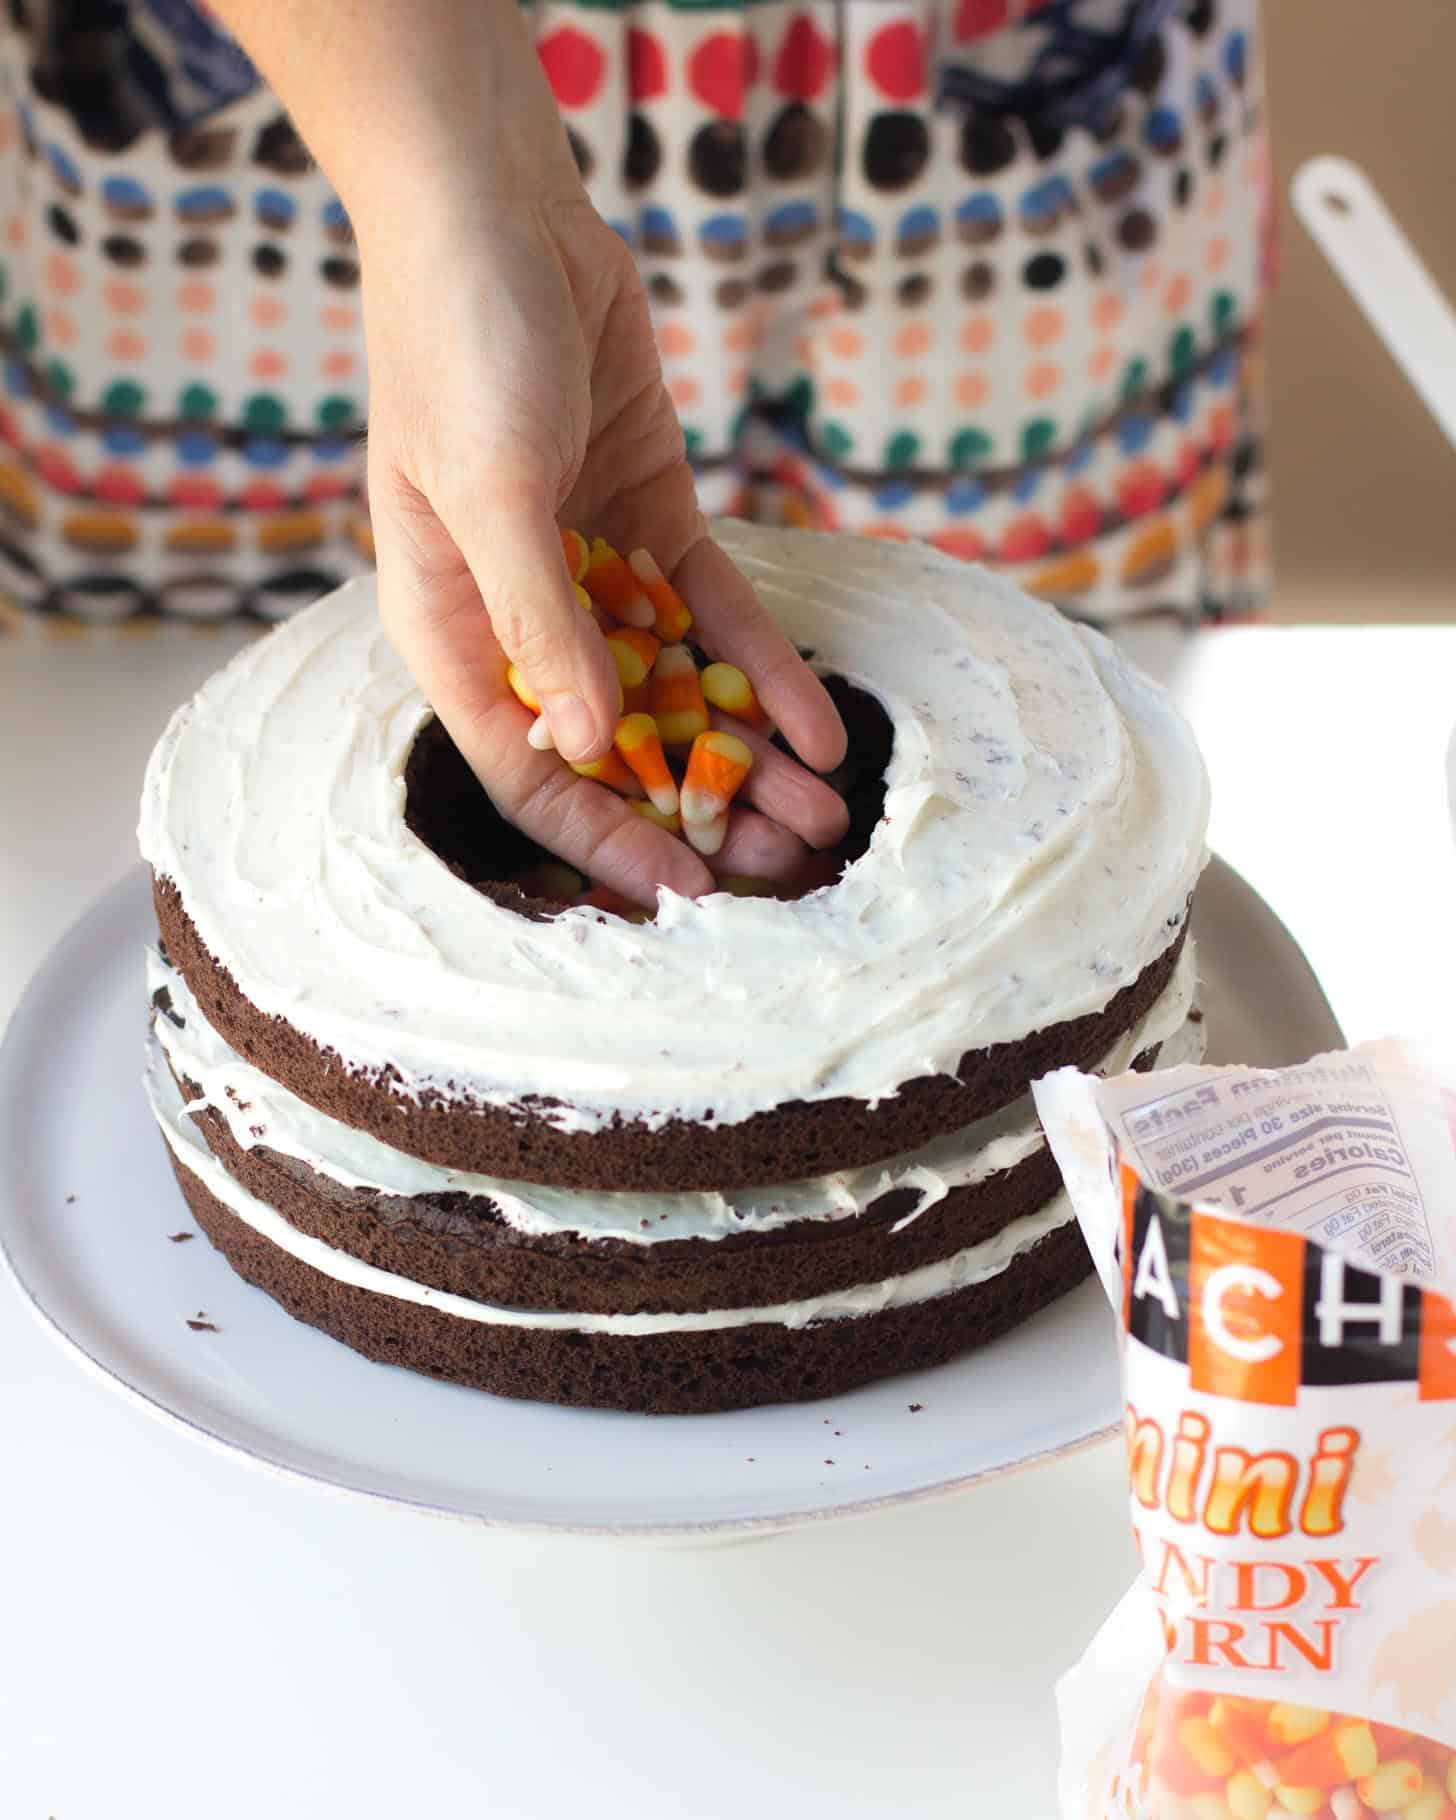
Now comes the fun! Load that center up with candy…
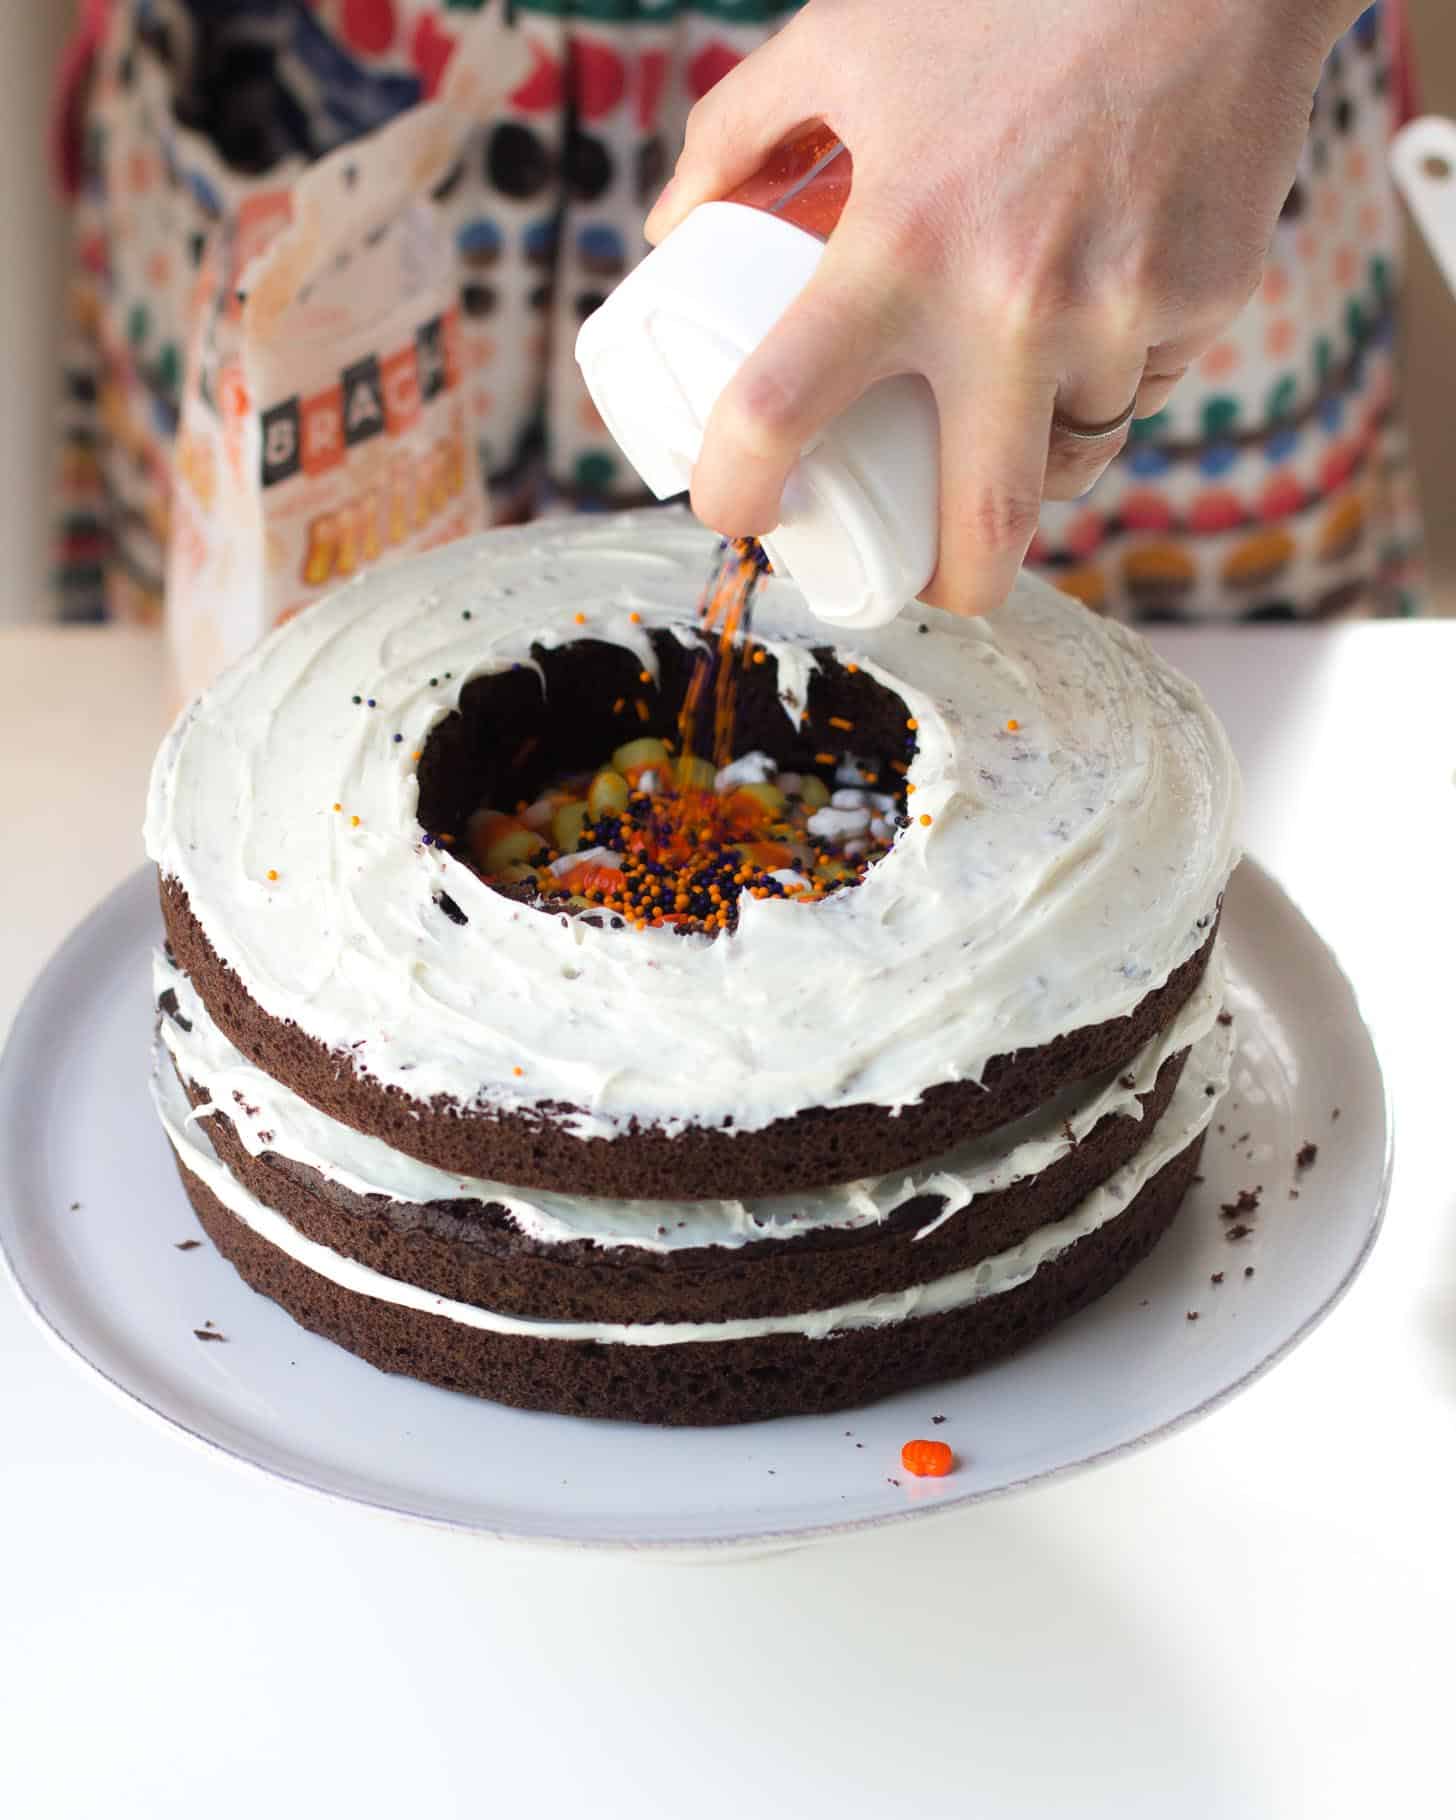
And sprinkles…
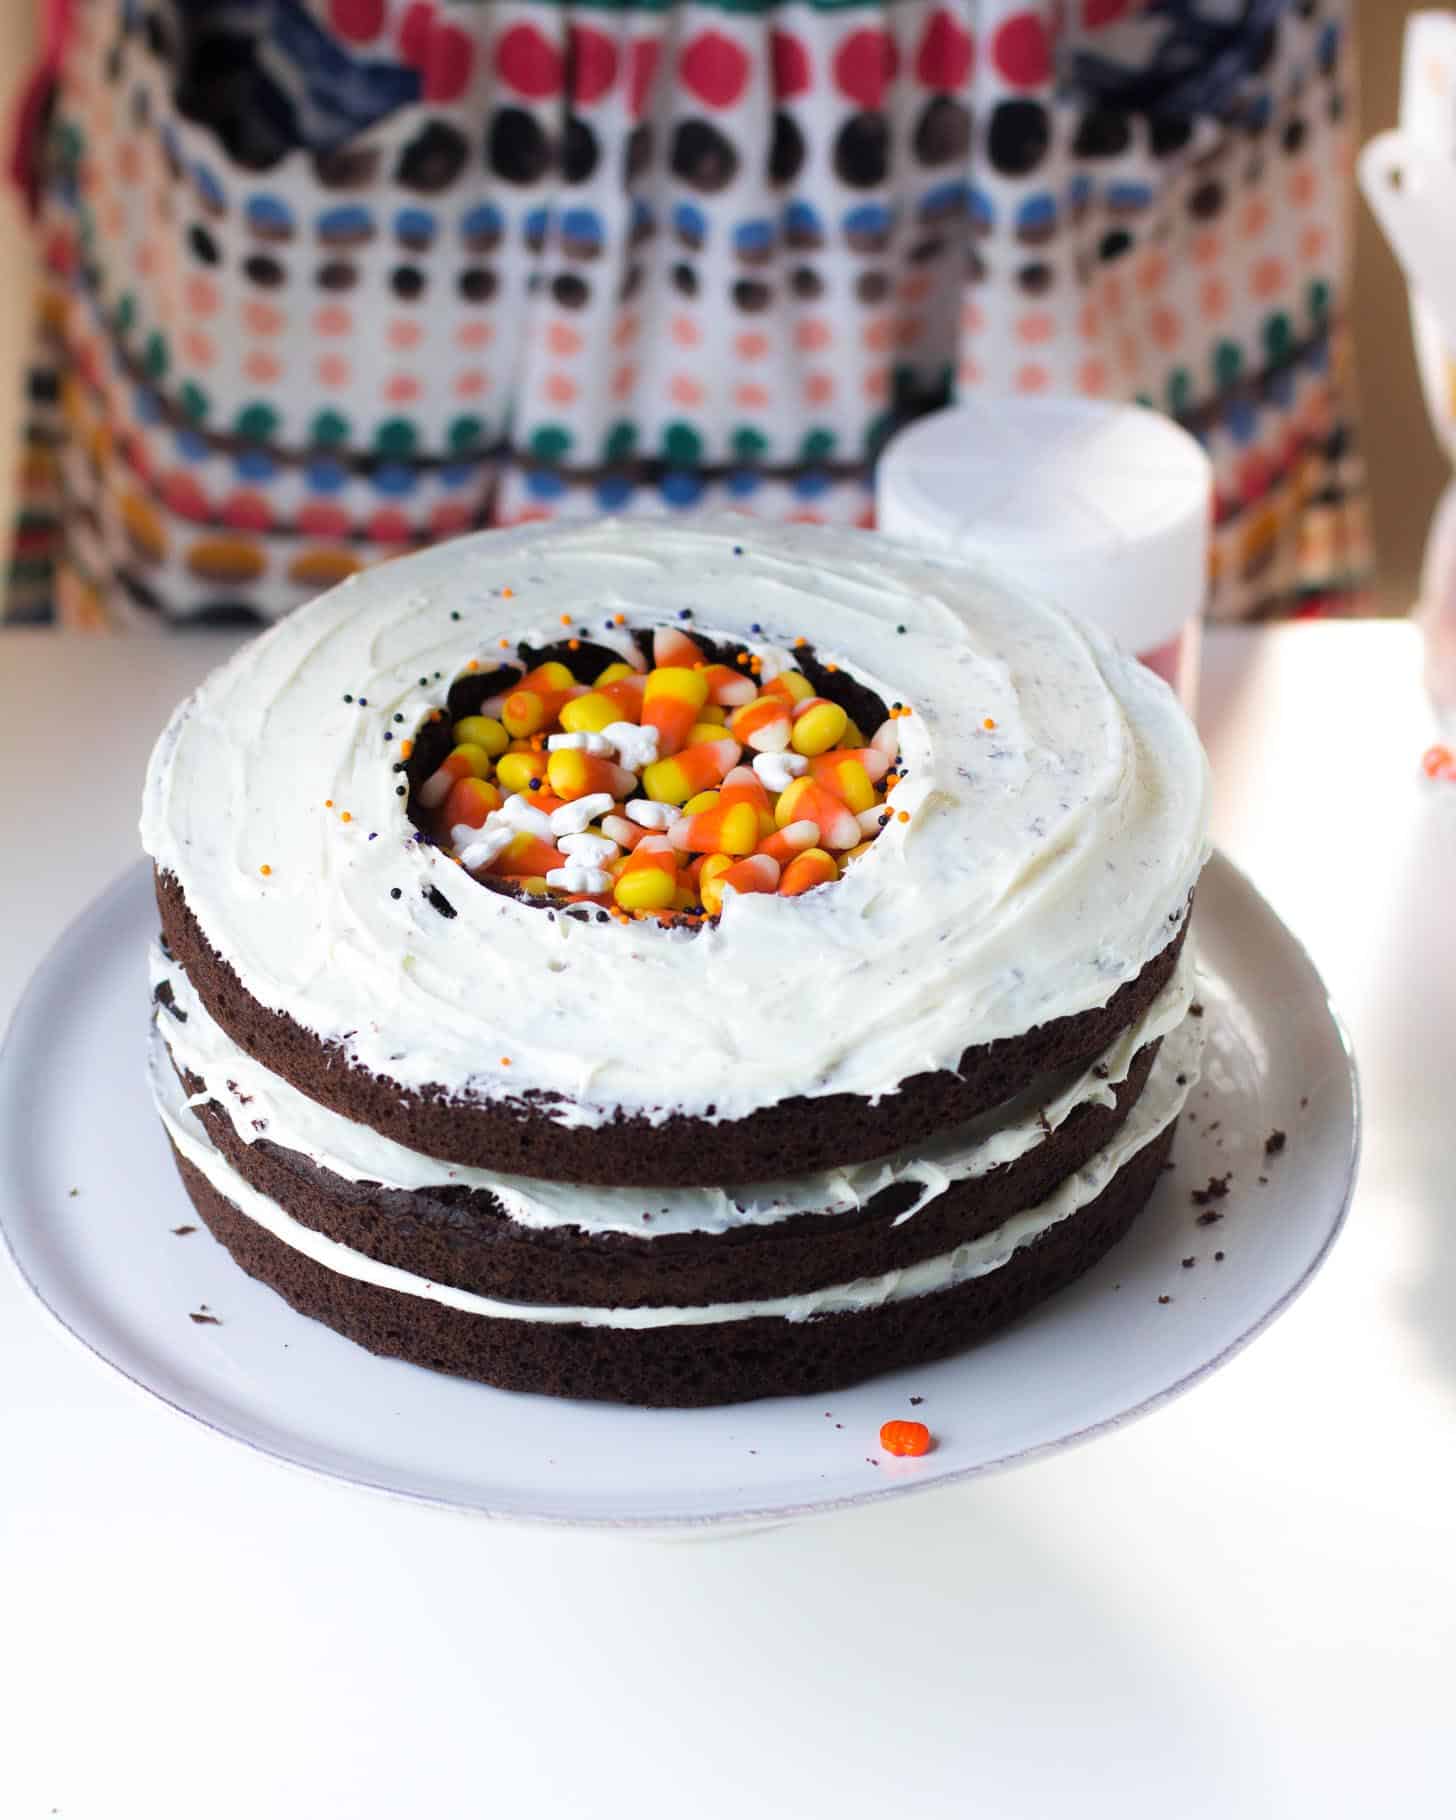
And more of all of it. Right up to the very top…
Step 4: Add Fourth Layer and Frost
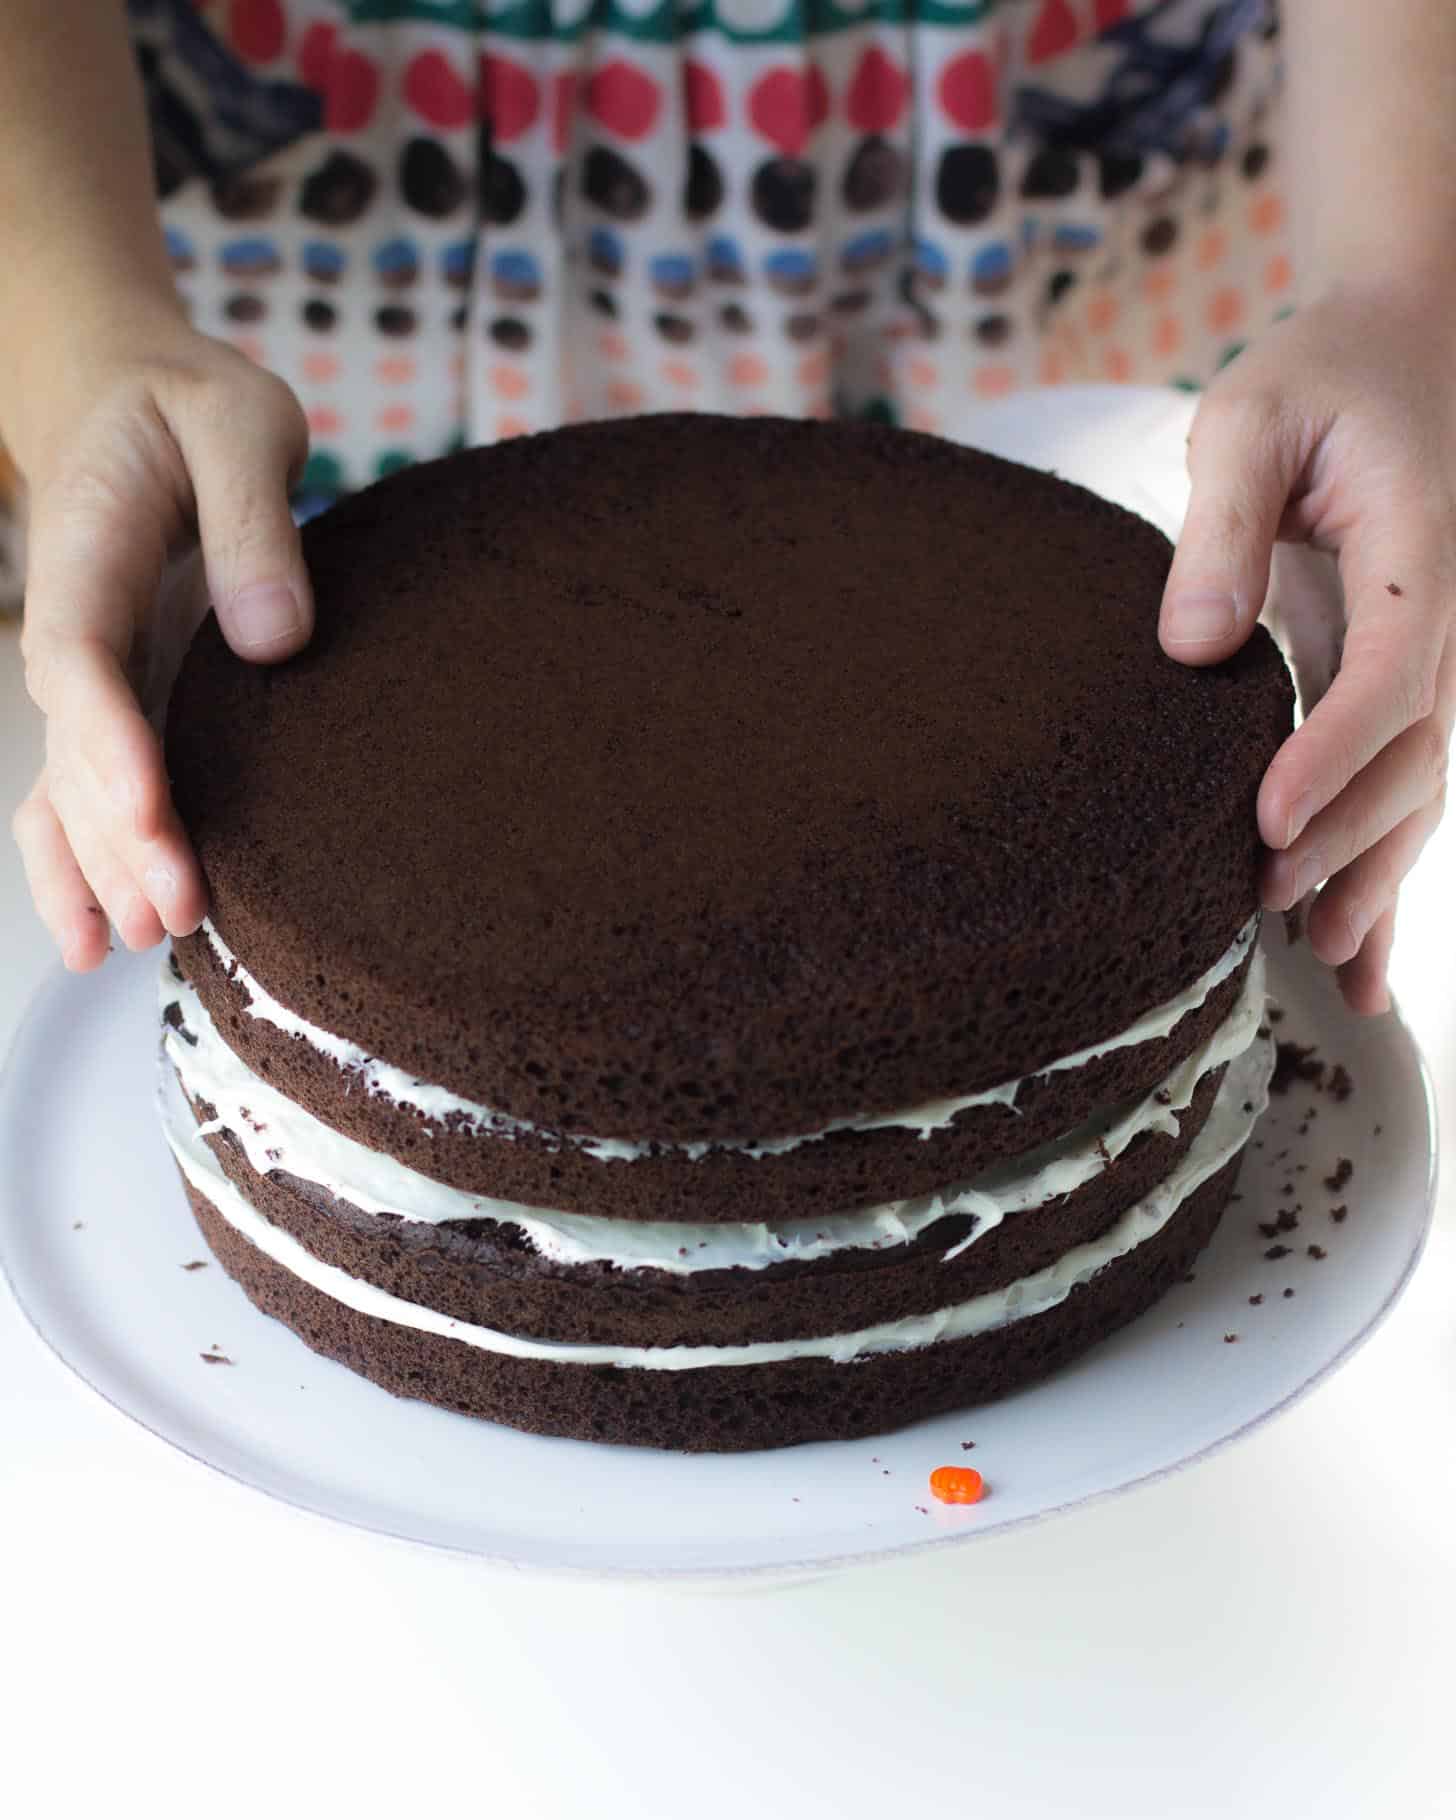
Add the final full layer.
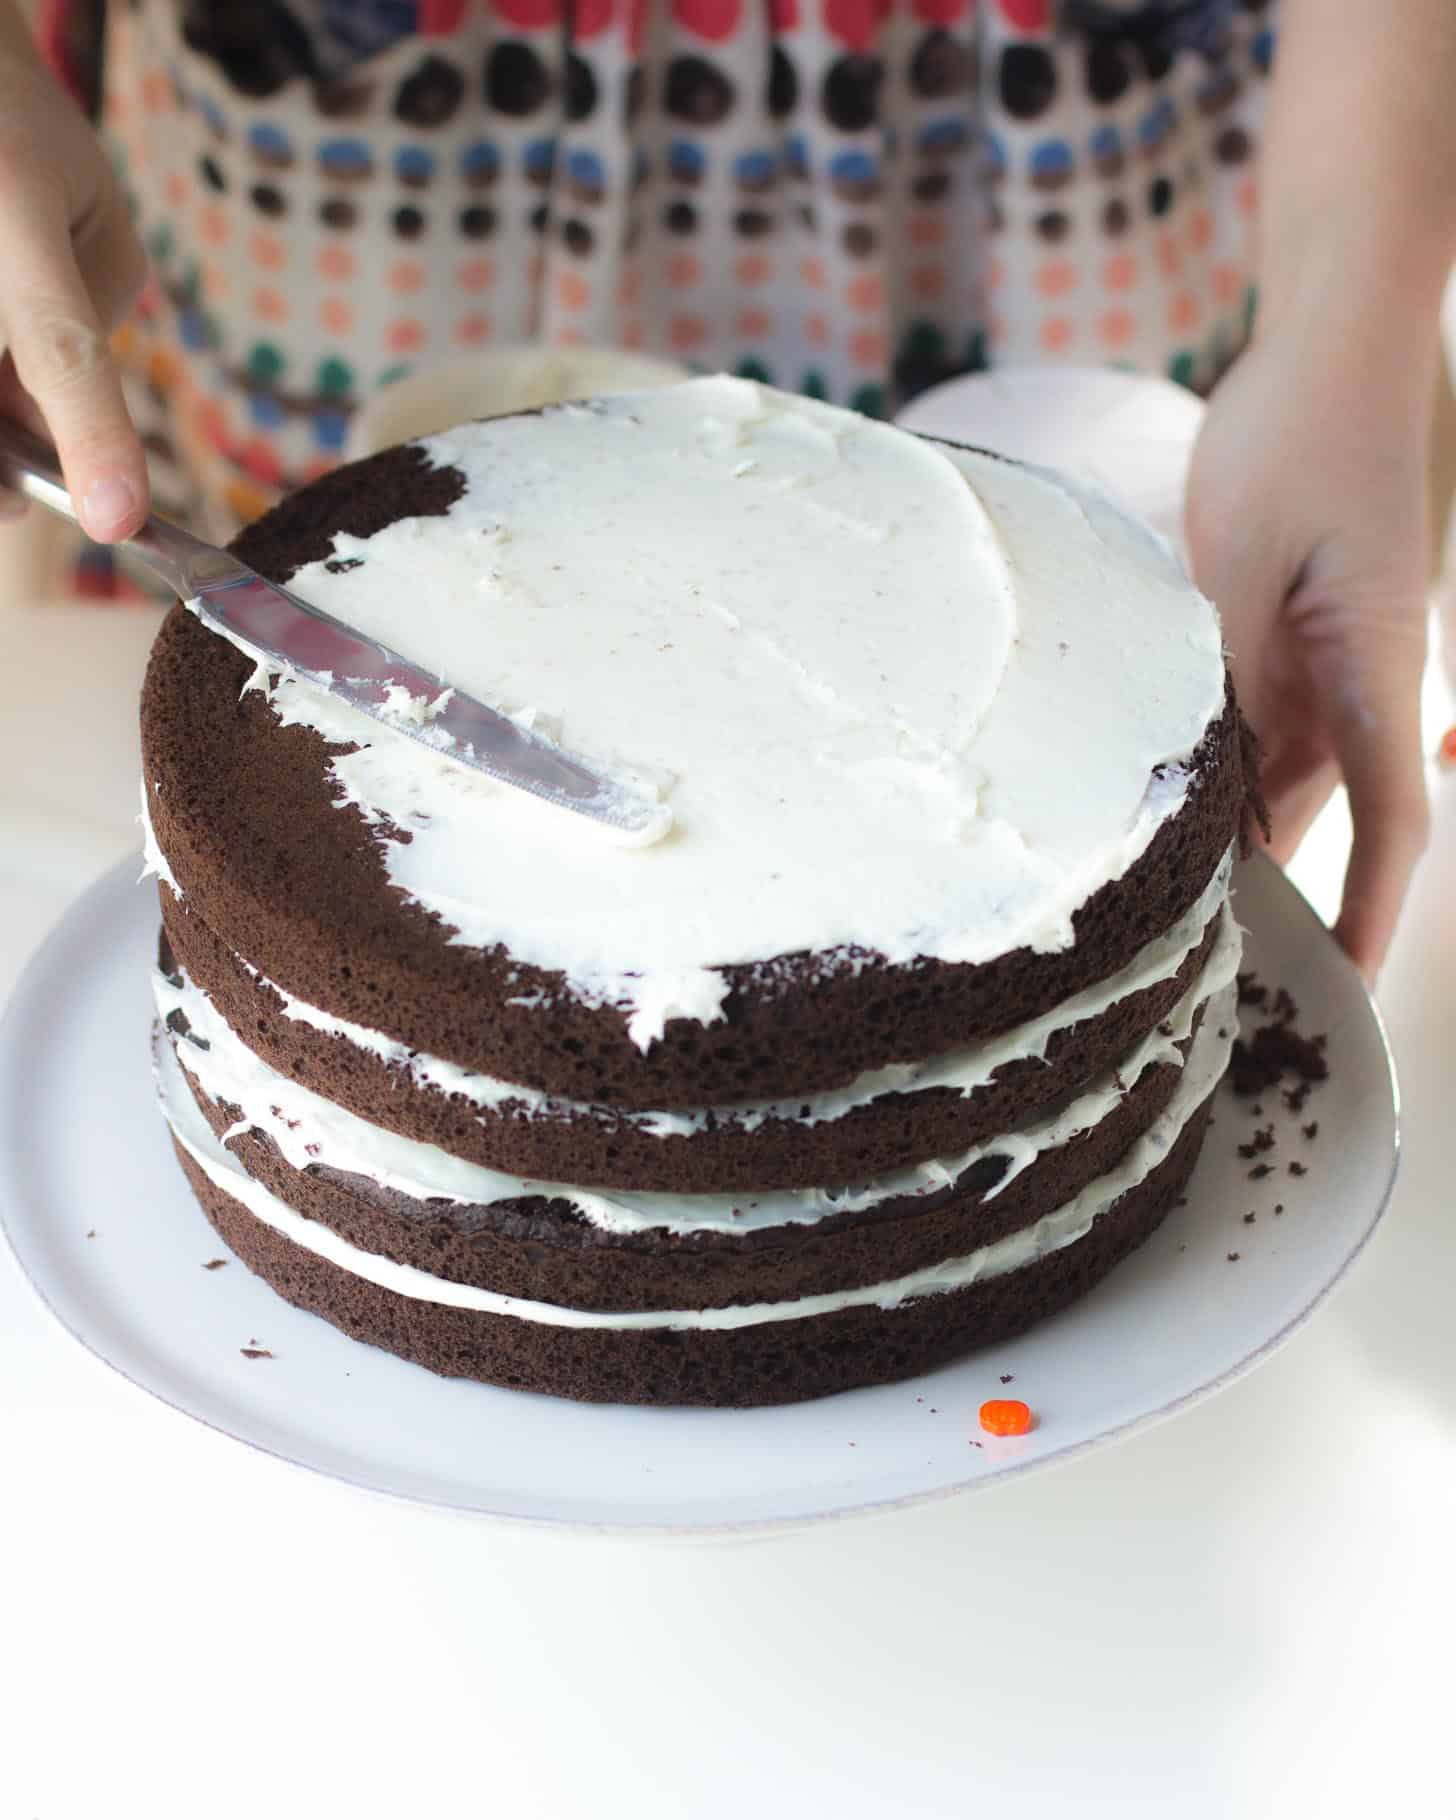
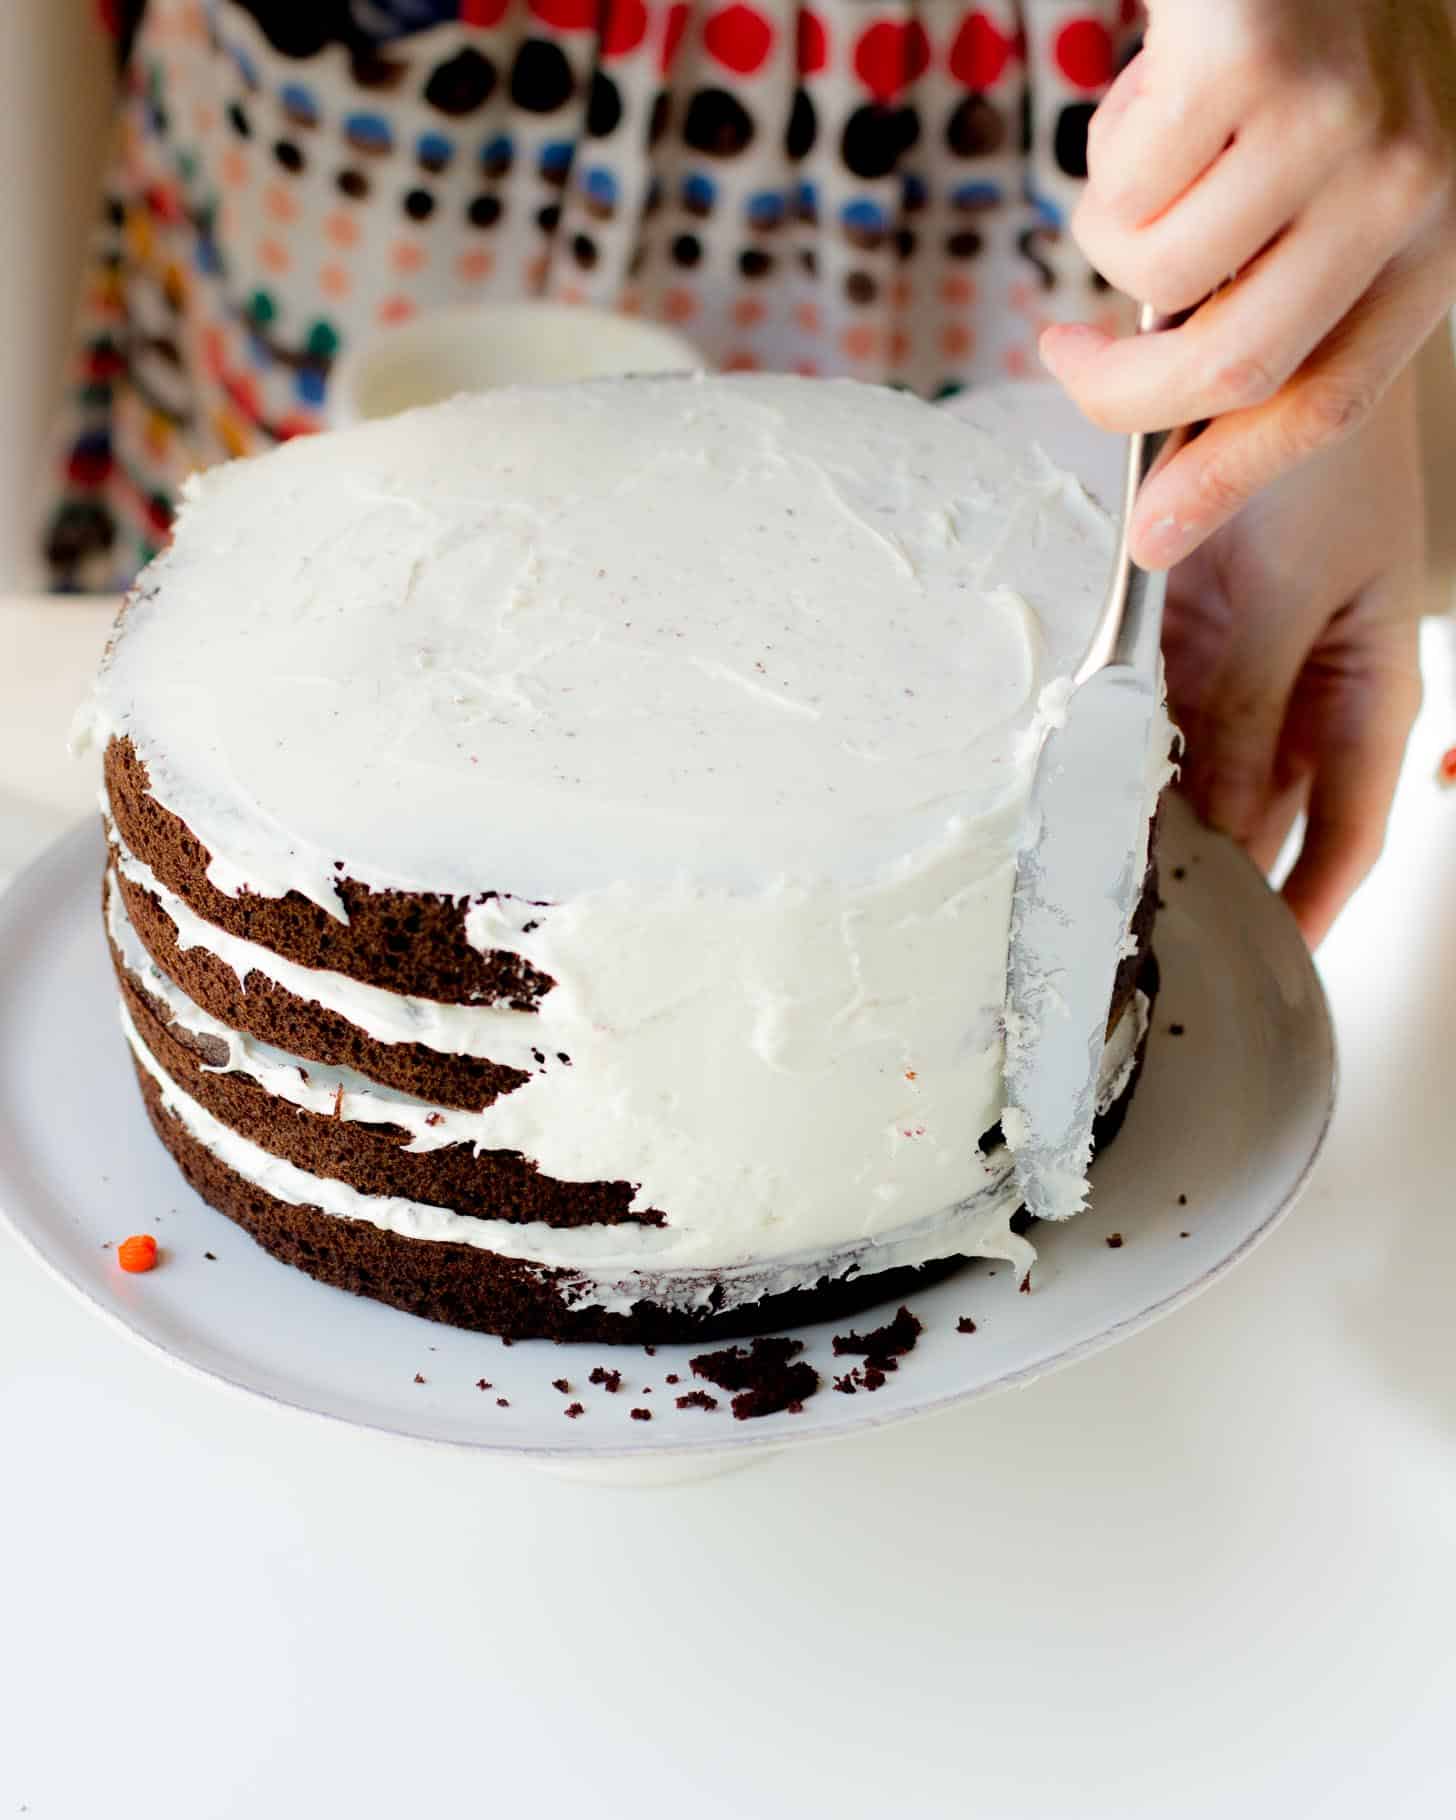
And frost the entire thing!
Step 5: Decorate and Serve
Put some more fun stuff on the top if you so choose.

Slice it up and serve!

More Fun Cake Recipes
Favorite Tools
Pin this now to save it for later
Pin It Now
How to Make a Piñata Cake
Equipment
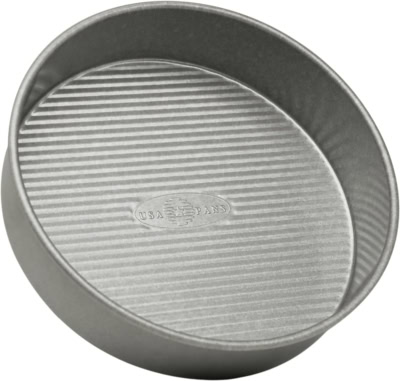
- Round Cake Pans
- Cake Stand or Serving Plate
- Small Bowl or Paper Circle Guide
Ingredients
- 4 8-inch Rounds of Cake (use your favorite recipe or use 2 boxed cake mixes)
- 5 cups Frosting (three to four 16-oz containers of store-bought frosting)
- 2 cups Candy / Sprinkles for the center of the cake
- Optional – Any decorations you’d like for the top
Instructions
- Up to 1 day aheadBake the cake rounds. Allow to cool completely. If the tops are rounded, slice the round part off to make the layers even.
- Prepare frosting (if making from scratch).
- Take two of the four layers and cut a 4-inch circle out of the middle. (Leave two layers intact.) You can do this with a small bowl as a guide or cut a 4-inch circle out of a piece of construction paper to use as a guide.
- Set one full layer (not a layer with a circle cut out) on a serving plate or cake stand. Frost the top.
- Add one layer with a circle cut out and frost the top of that.
- Add the second layer with a circle cut out and frost the top of that.
- Fill the hole in the center with candy and sprinkles.
- Add the fourth and final full layer.
- Frost the top and sides of the cake.
- Decorate the top of the cake.
- Slice and serve!
Nutrition
Nutrition information is automatically calculated, so should only be used as an approximation.
When they’re not diving into a Halloween-themed piñata cake, Molly and Clara enjoy Sunday trips to Costco in last year’s boots and sipping strawberry smoothies.

SaveSave



Piñata Cake are love. OMG what a article ! Pictures says it all. I love the process and will definately loveeee it ! Thanks for sharing! Much love !!!
hhhaha that’s Funny and looking amazing too at the same time.
and you are really creative to make that type of cake
Thanks for sharing
What an excellent idea! Thanks for the share.
Thanks for sharing such a nice pinata cake. Nice