Easy Smash Cake for Baby’s First Birthday
Published Aug 02, 2019•Updated Feb 18, 2026
This post may contain affiliate links. Please read our disclosure policy.
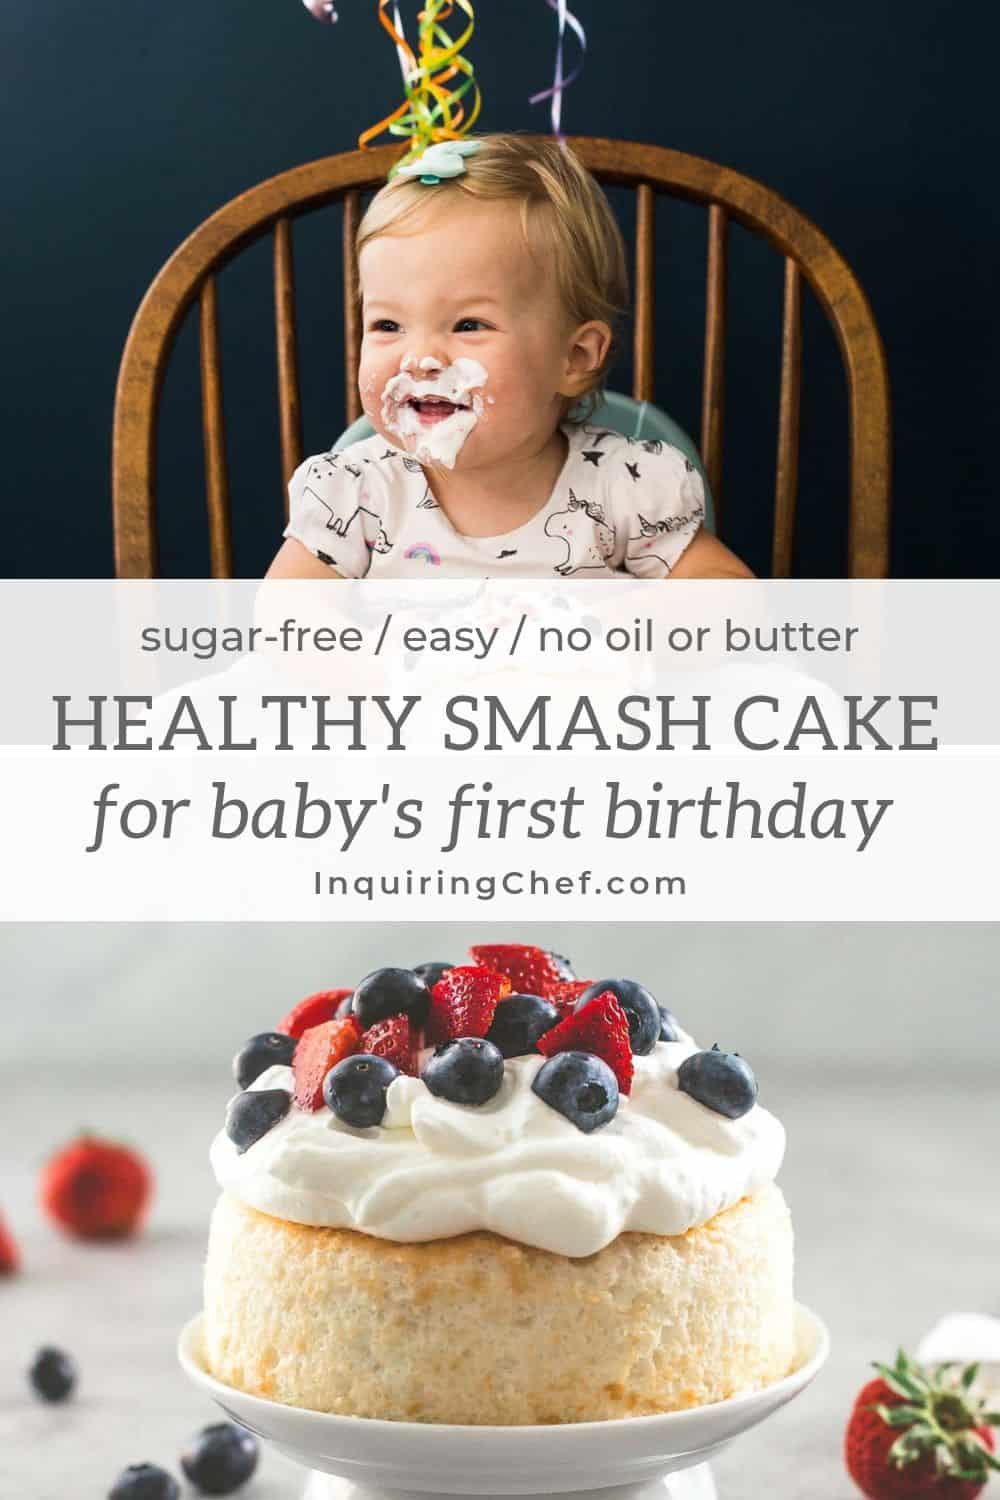
If you’re looking for the perfect light and fluffy smash cake for a baby’s first birthday party, look no further. With 300+ positive reviews, this is officially the best smash cake that you can make at home. With its small size and just five ingredients – no butter or oil needed – this is a cake that both you and baby will love.
⭐⭐⭐⭐⭐ “Love the simple ingredients so gave this a try. It was the perfect soft cake texture for smashing!!!” – Susan
When it came time for my youngest daughter to celebrate her first birthday, I went hunting online for a simple smash cake. Every recipe I found seemed overly complicated with fruit purees and / or a long list of ingredients. I wanted something simple, very low on sugar, and just the right size, so to the kitchen I went! I came out many tests later with this little gem – an angel food-inspired smash cake that is light, fluffy, and made with just egg whites, cake flour, cream of tartar, pure vanilla extract, and heavy cream (for topping). This post has been made hundreds of times since it was first published in 2019. Just check out the reviews to see how many people have featured this cake at their baby’s first birthday party. (Scroll to the bottom of the article to see the “smash” in action.)

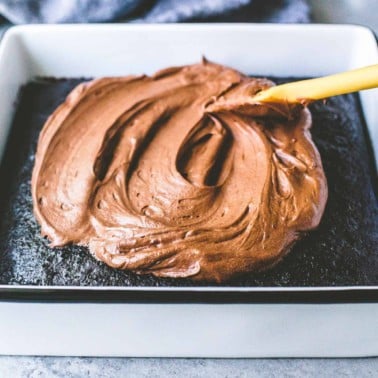
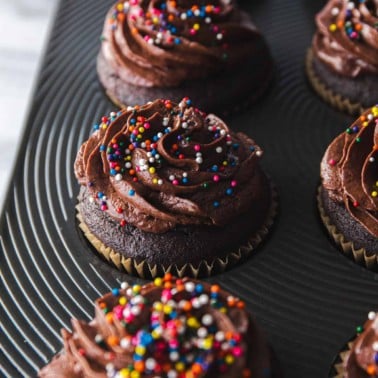
The reality is that a smash cake is just for the baby, so it doesn’t need to be fussy. Serve the adults another easy dessert (like chewy chocolate chip cookies or my easy chocolate cake), but give the birthday girl or boy their own sweet little cake. It’s perfect for smashing!
What is a Smash Cake?
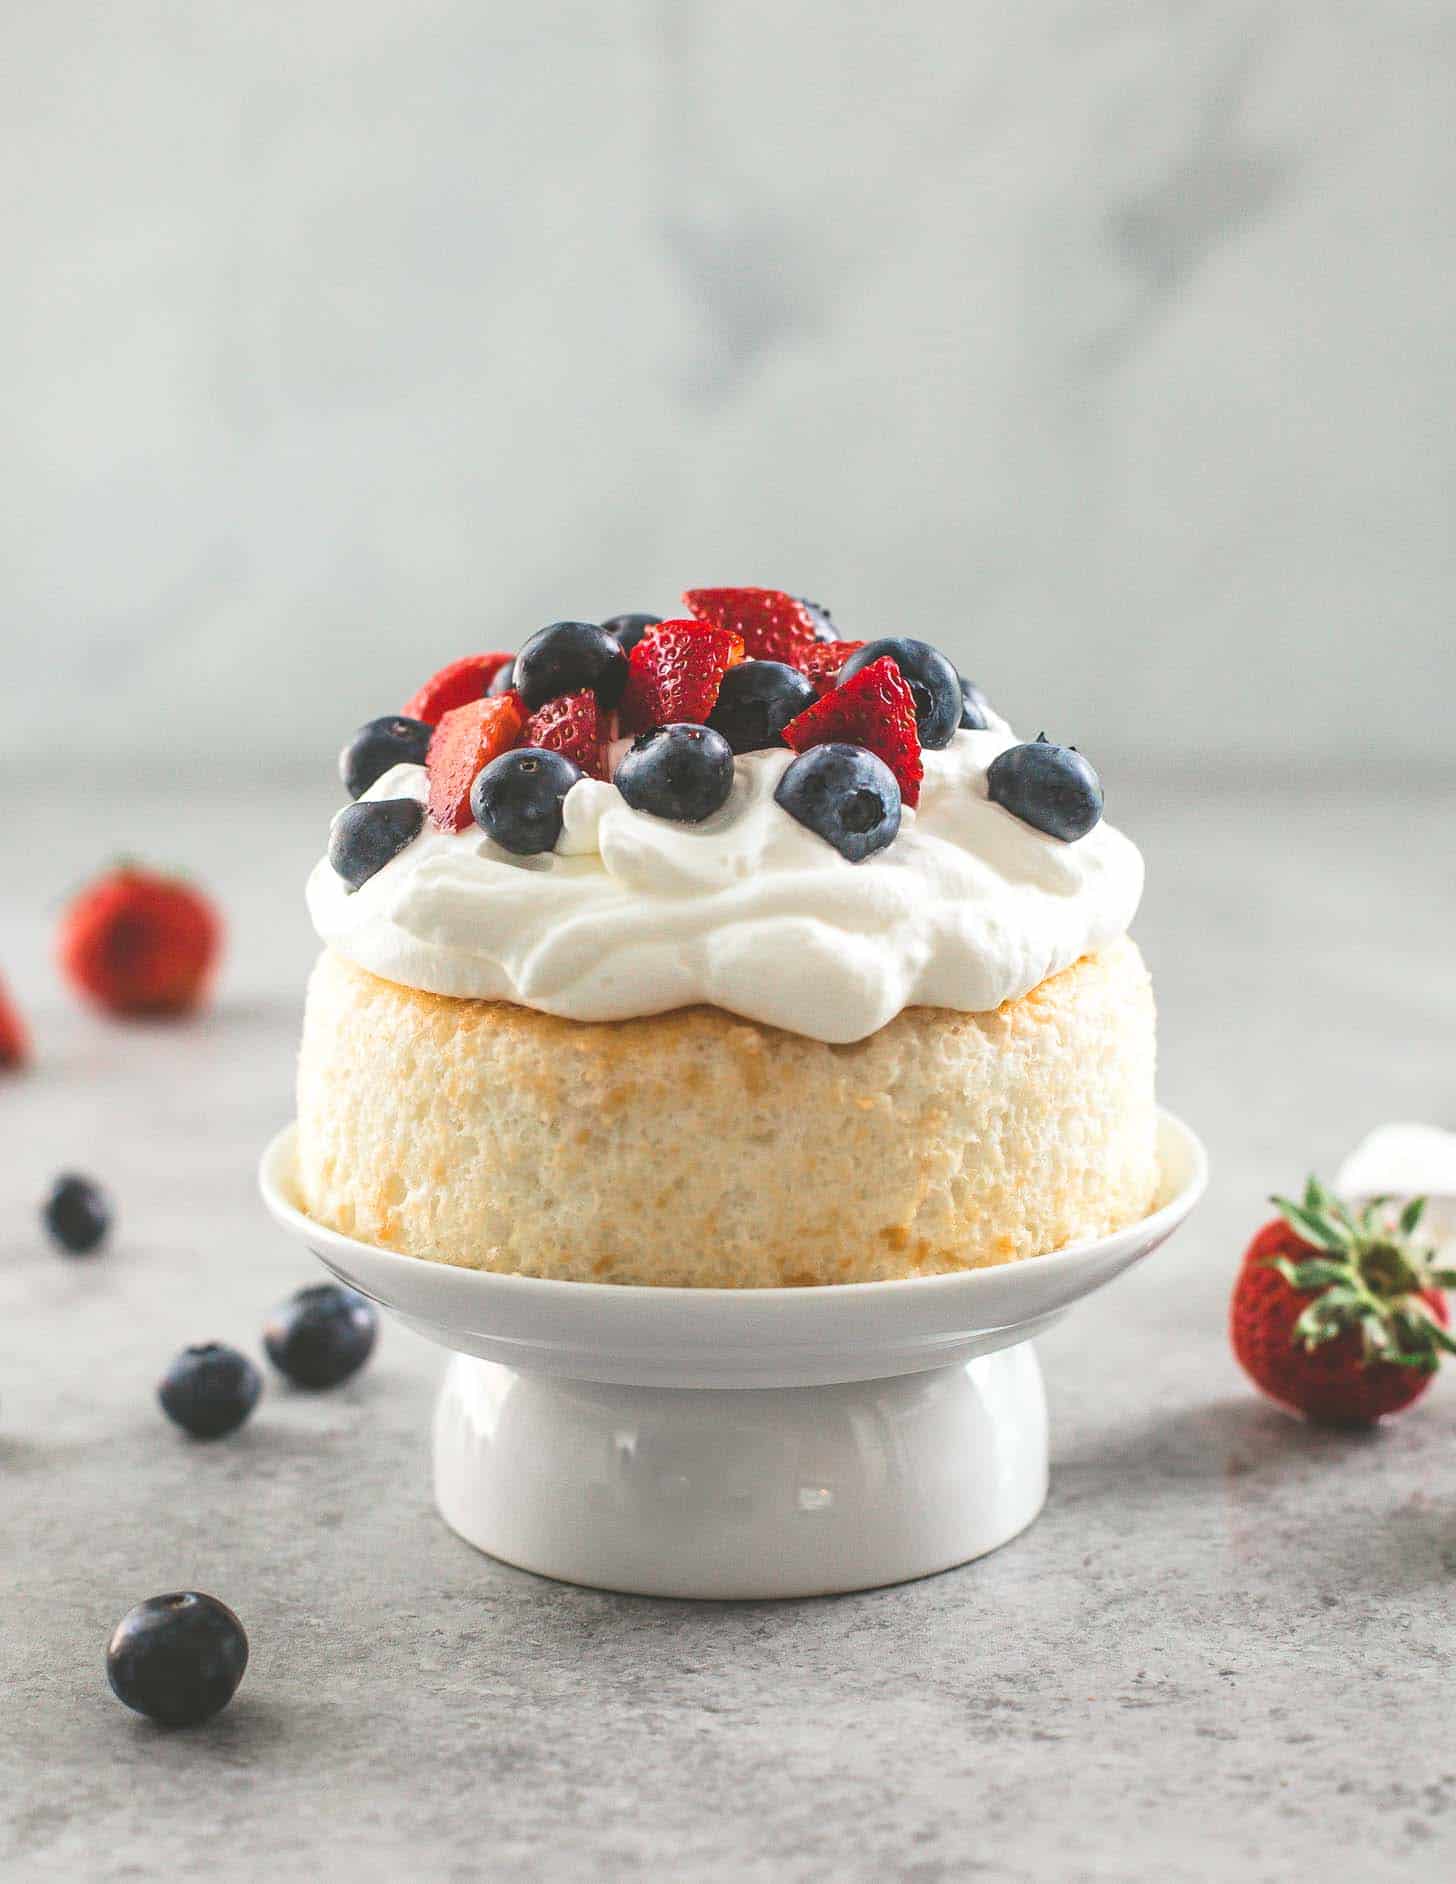
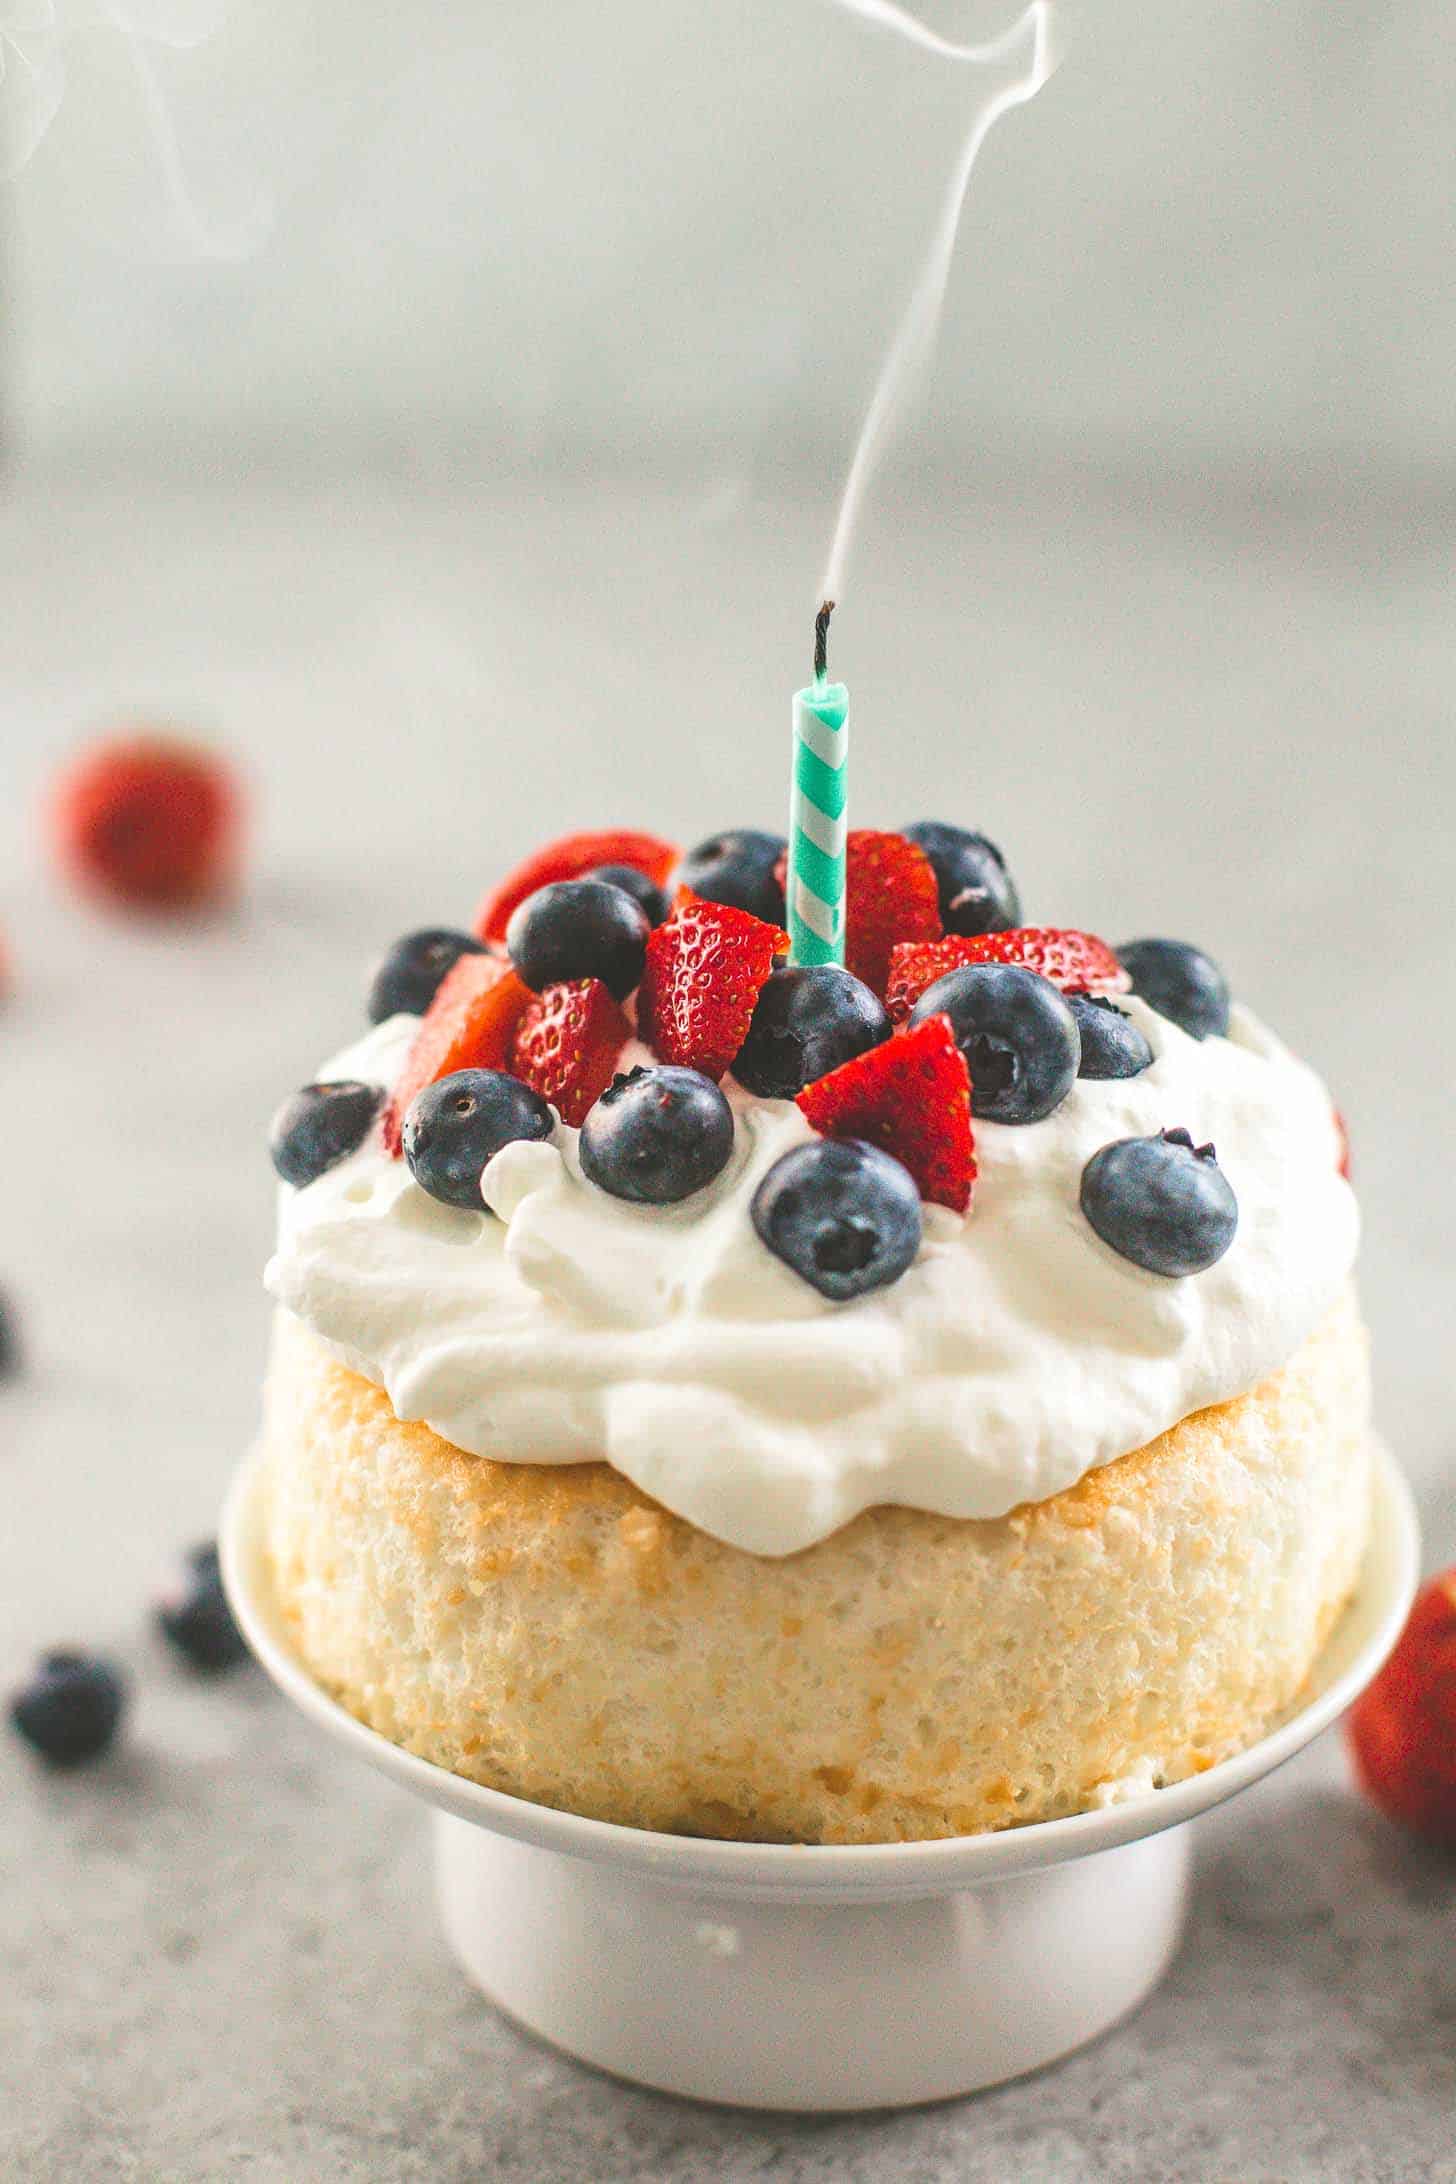
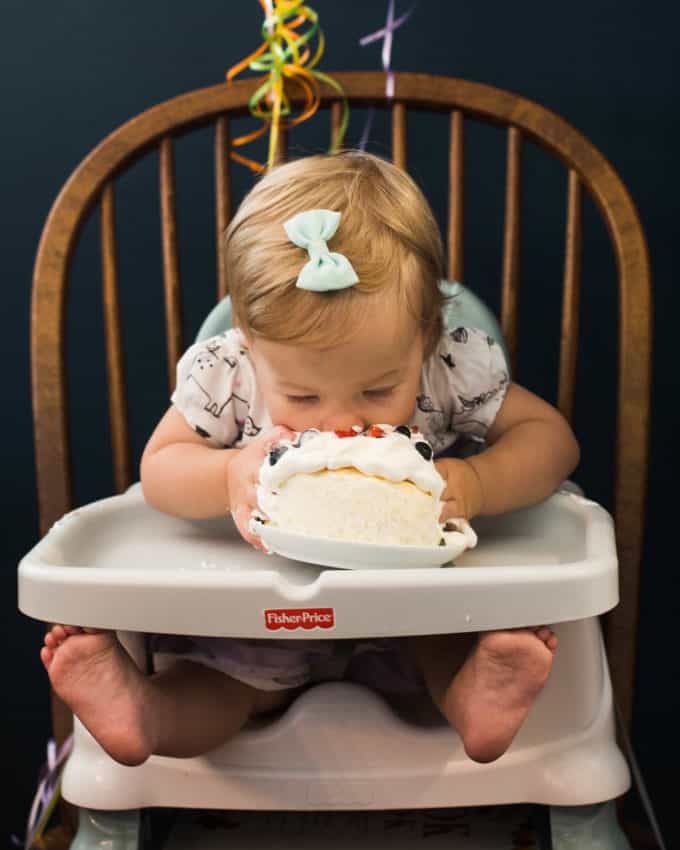
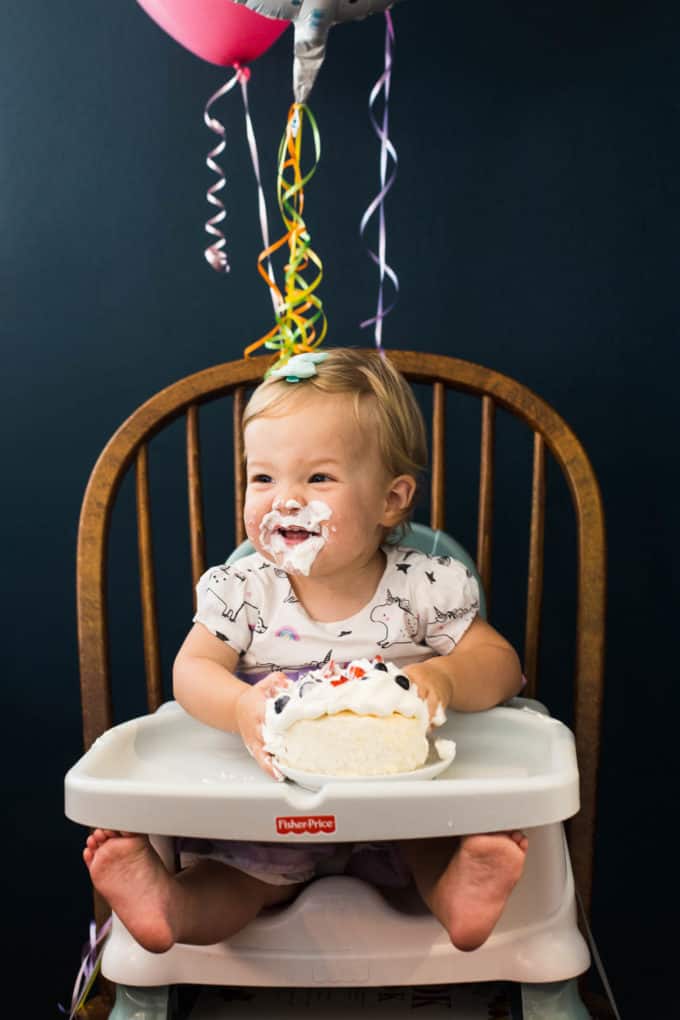
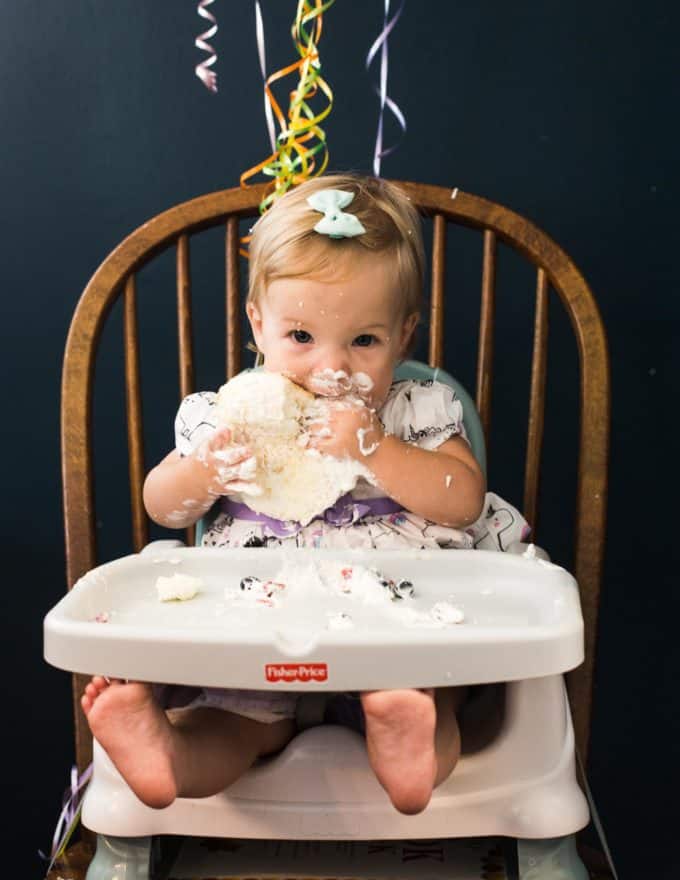
A smash cake is a small cake served to a baby at their first birthday party. The cake is served whole so that the kiddo can “smash” into it, grabbing it with their hands or leaning in to take a big bite. The goal is for the birthday boy or girl to have fun, make a bit of a mess, and for their adoring family and friends to get some sweet photos. (Scroll down for more of my daughter’s “smash” photos!) It’s really all about the photos here, which is why I love this sweet little cake – it’s so photogenic!
By definition, a smash cake is little. Ideally, it should be baked in a 5×3-inch pan (<– be sure to select the “5×3 inch” size). This little pan seems like a one-trick pony, but I’ve been using mine all summer long to make this cake (with the addition of some sugar) as an afternoon snack for the kids or light dessert for the adults. If you only use the pan once, just pass it on to someone else with a baby that is turning one.
Ingredients for an Easy Smash Cake
One of the best things about this recipe is that it has very few ingredients. All you need is:
- Egg Whites – Egg whites are the foundation of this light and fluffy cake. Separate the egg whites and egg yolks carefully to be sure no yolks are in the mix. (Don’t want to waste those leftover yolks? Use them to make lemon curd.) The egg whites eliminate the need for any other leavening like baking powder or baking soda.
- Cake Flour – Cake flour has a lower protein content than all-purpose flour, so it creates more tender baked goods. You want your angel food cake to be light and fluffy, and cake flour will help you get there. Don’t skip this ingredient. (And that extra cake flour? Store it in the freezer and later you can use it to make the infamous New York Times Chocolate Chip Cookies.)
- Cream of Tartar – This acidic powder helps to stabilize egg whites so they stay light and fluffy as they bake. Don’t skip it.
- Pure Vanilla Extract – This will contribute a light vanilla flavor to the cake. Feel free to skip this ingredient if you’d prefer to keep things simple.
- Heavy Cream – Heavy cream (or whipping cream) is whipped into a light topping for this cake. This makes a great, unsweetened, “frosting” that leads to wonderful messiness for photos.
On reader says: ⭐⭐⭐⭐⭐ “Second year in a row! Our Little loves fresh strawberries, so last year I literally used a tsp of sugar and a tsp of date syrup for his 1st birthday and he loved it. This year I’m doing a double recipe with 2 T total sugar and blended strawberries mixed with strawberry slices on the cake and then topping the whipped cream off with a layer of sliced strawberries. Expecting pure joy! Thanks for the great recipe to work from.”
Sugar in Baby’s First Birthday Cake
Many people prefer not to give their baby sugar on their first birthday. There’s no reason to add sugar to a smash cake, since most babies will smash the cake and make a fun, photograph-friendly mess without the taste of sugar.
The basic recipe below is for a sugar-free cake which tastes like unsweetened light, fluffy white bread. If you’re okay with a small amount of sugar, you’ll find measurements for adding it. Adding the optional sugar makes this a cake that any dessert-loving adult would also love.
Do I need to add the cream of tartar?
Don’t skip cream of tartar since this smash cake is inspired by angel food. The cake will rise higher with cream of tartar and will give it that light and fluffy texture that is so unique to angel food cake.
How to Make Smash Cake
A smash cake is a very simple cake made by beating egg whites with cream of tarter and pure vanilla extract until soft, fluffy peaks form. Gently fold in cake flour and a small amount of sugar. Pour the batter into a 5×3 pan and bake at 350 degrees F until golden and set, 20 minutes. Frost with whipped cream, top with berries, and serve to your little one!
Below are the detailed steps with photos.
Step 1: Separate Egg Whites and Egg Yolks
You just need egg whites for this cake. It’s important to carefully separate the egg whites and egg yolks. If any egg yolk is in the mixture, the egg whites won’t form the soft peaks you need in order to give the cake its light, fluffy texture.
You’ll also want to let the egg whites come to room temperature (about 20 to 30 minutes) before making the cake. Room temperature egg whites will beat into soft, fluffy peaks more easily.
Step 2: Beat Egg Whites into Soft, Fluffy Peaks
This is the most important step (and the one I get the most questions about!). Combine the egg whites with cream of tartar and pure vanilla extract and then beat them using a hand mixer or in the bowl of a stand mixer with the whisk attachment. The egg whites need to form soft, fluffy peaks. This should take 3 to 4 minutes of beating on medium-high, but don’t worry so much about the time. Focus on how the egg whites look. When they are properly mixed, the entire mixture will be opaque, white, and evenly fluffy throughout. Look for soft peaks that rise out of the mixture when you lift the beaters out and gently tip over on themselves at the top.

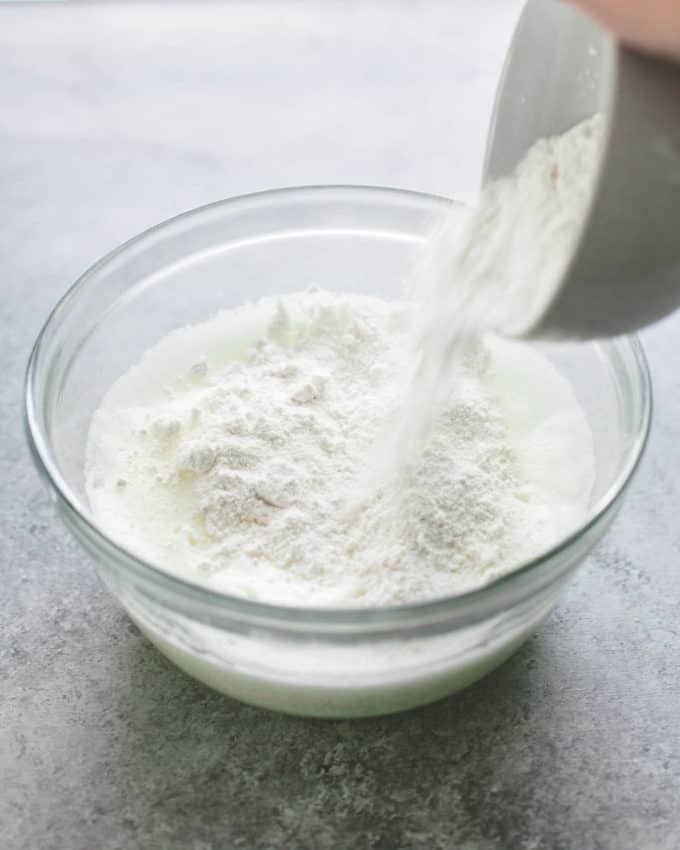
Step 3: Fold in Cake Flour
Gently dust the top of the egg whites with cake flour. Many larger angel food cake recipes have you sift the flour before adding it, but in the small amounts used for this cake, there’s no need to take that extra step. Just sprinkle the flour over top and use a whisk or spatula to gently fold the dry ingredients into the egg whites until evenly combined. Take your time with this step – stirring too hard or fast will compress the egg whites and cause your cake to lose volume.
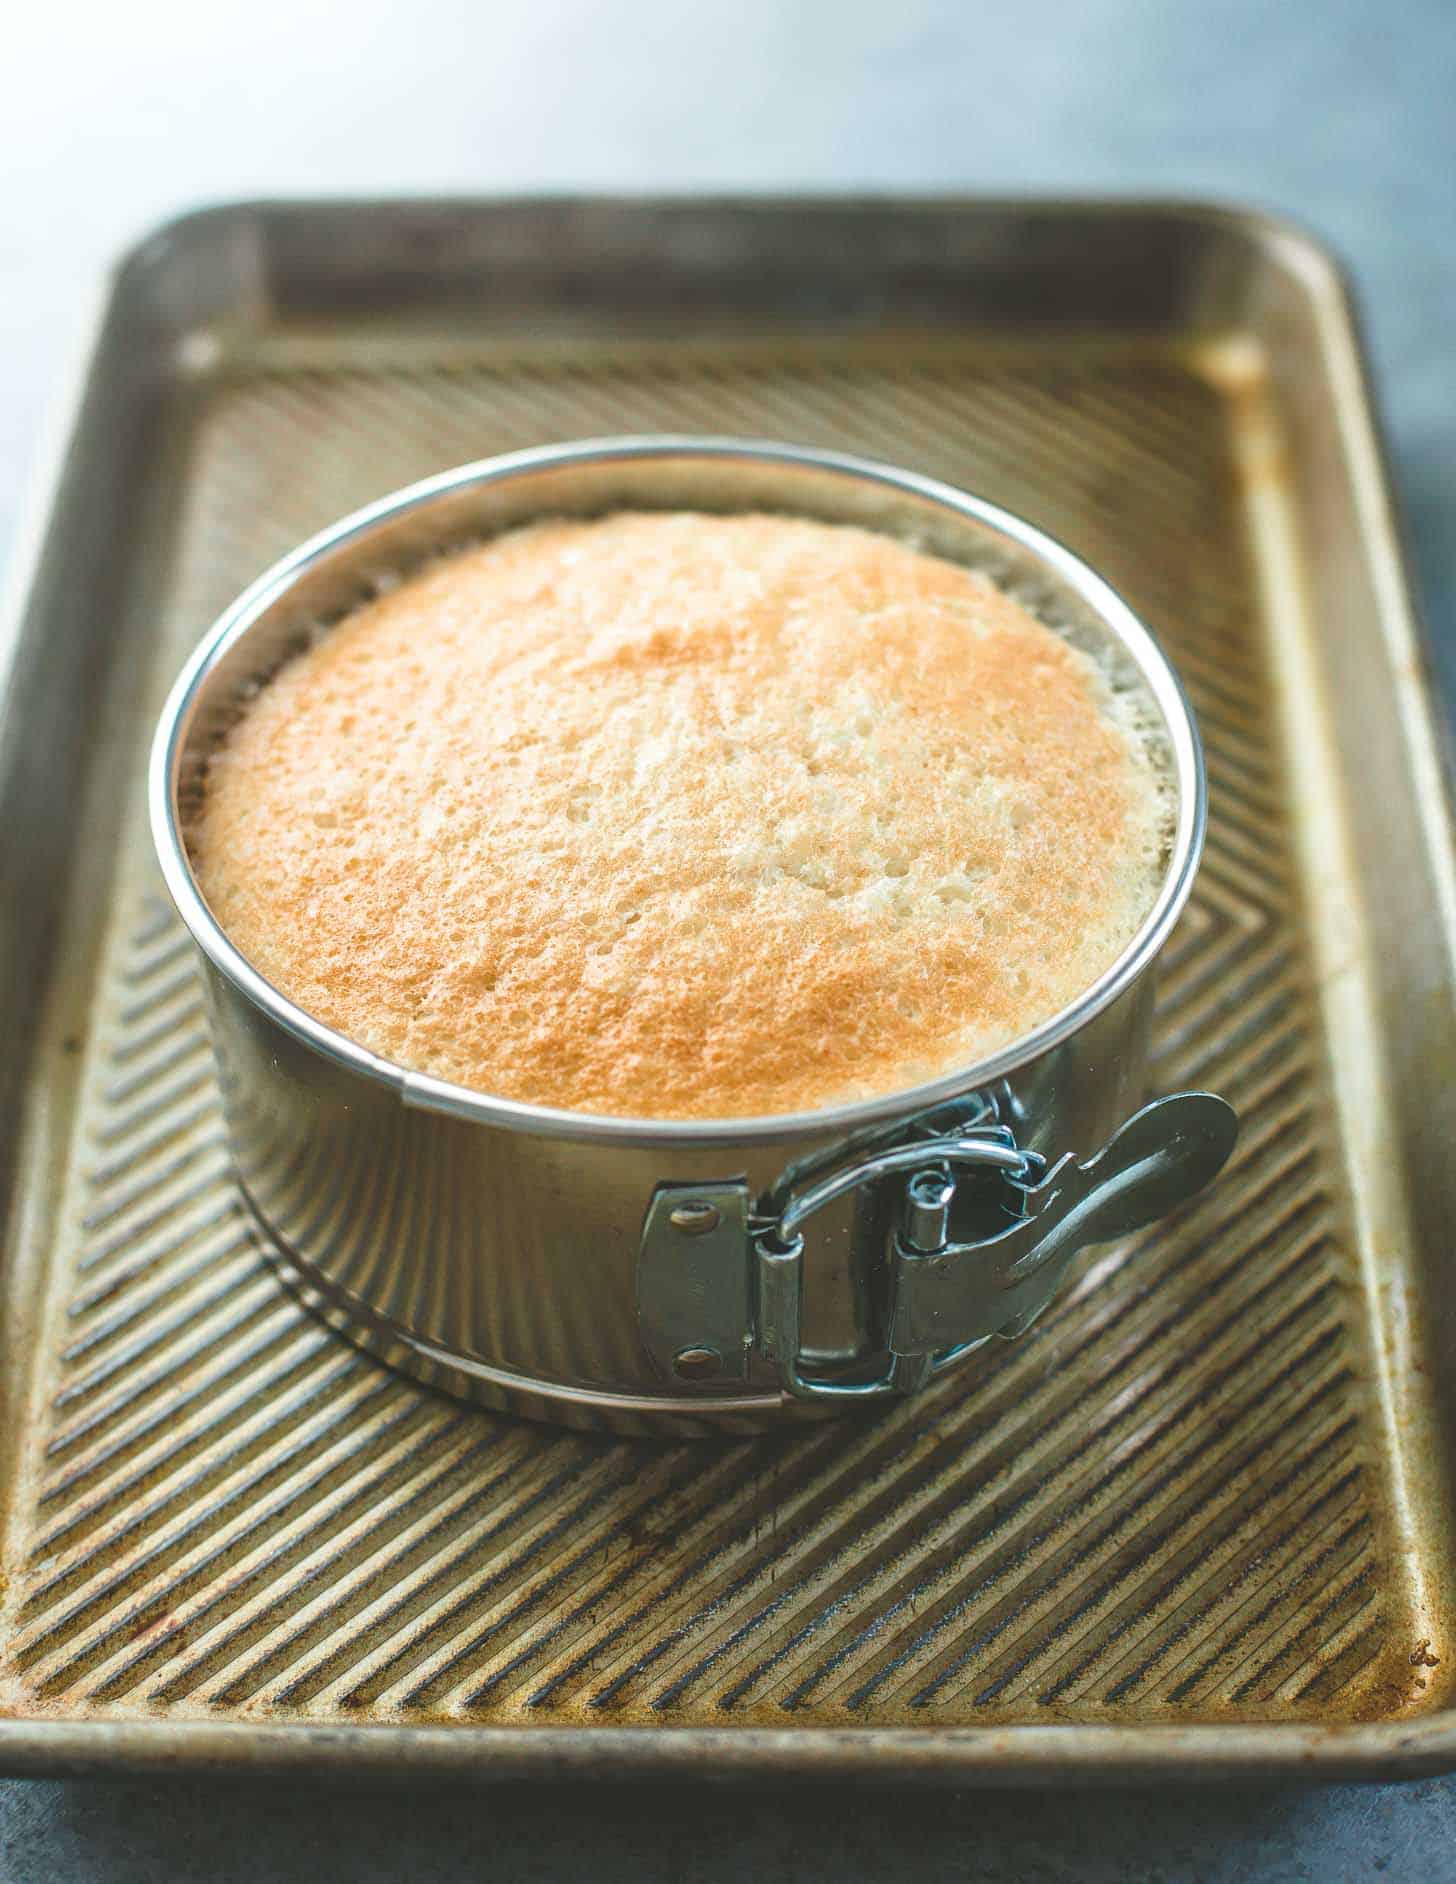
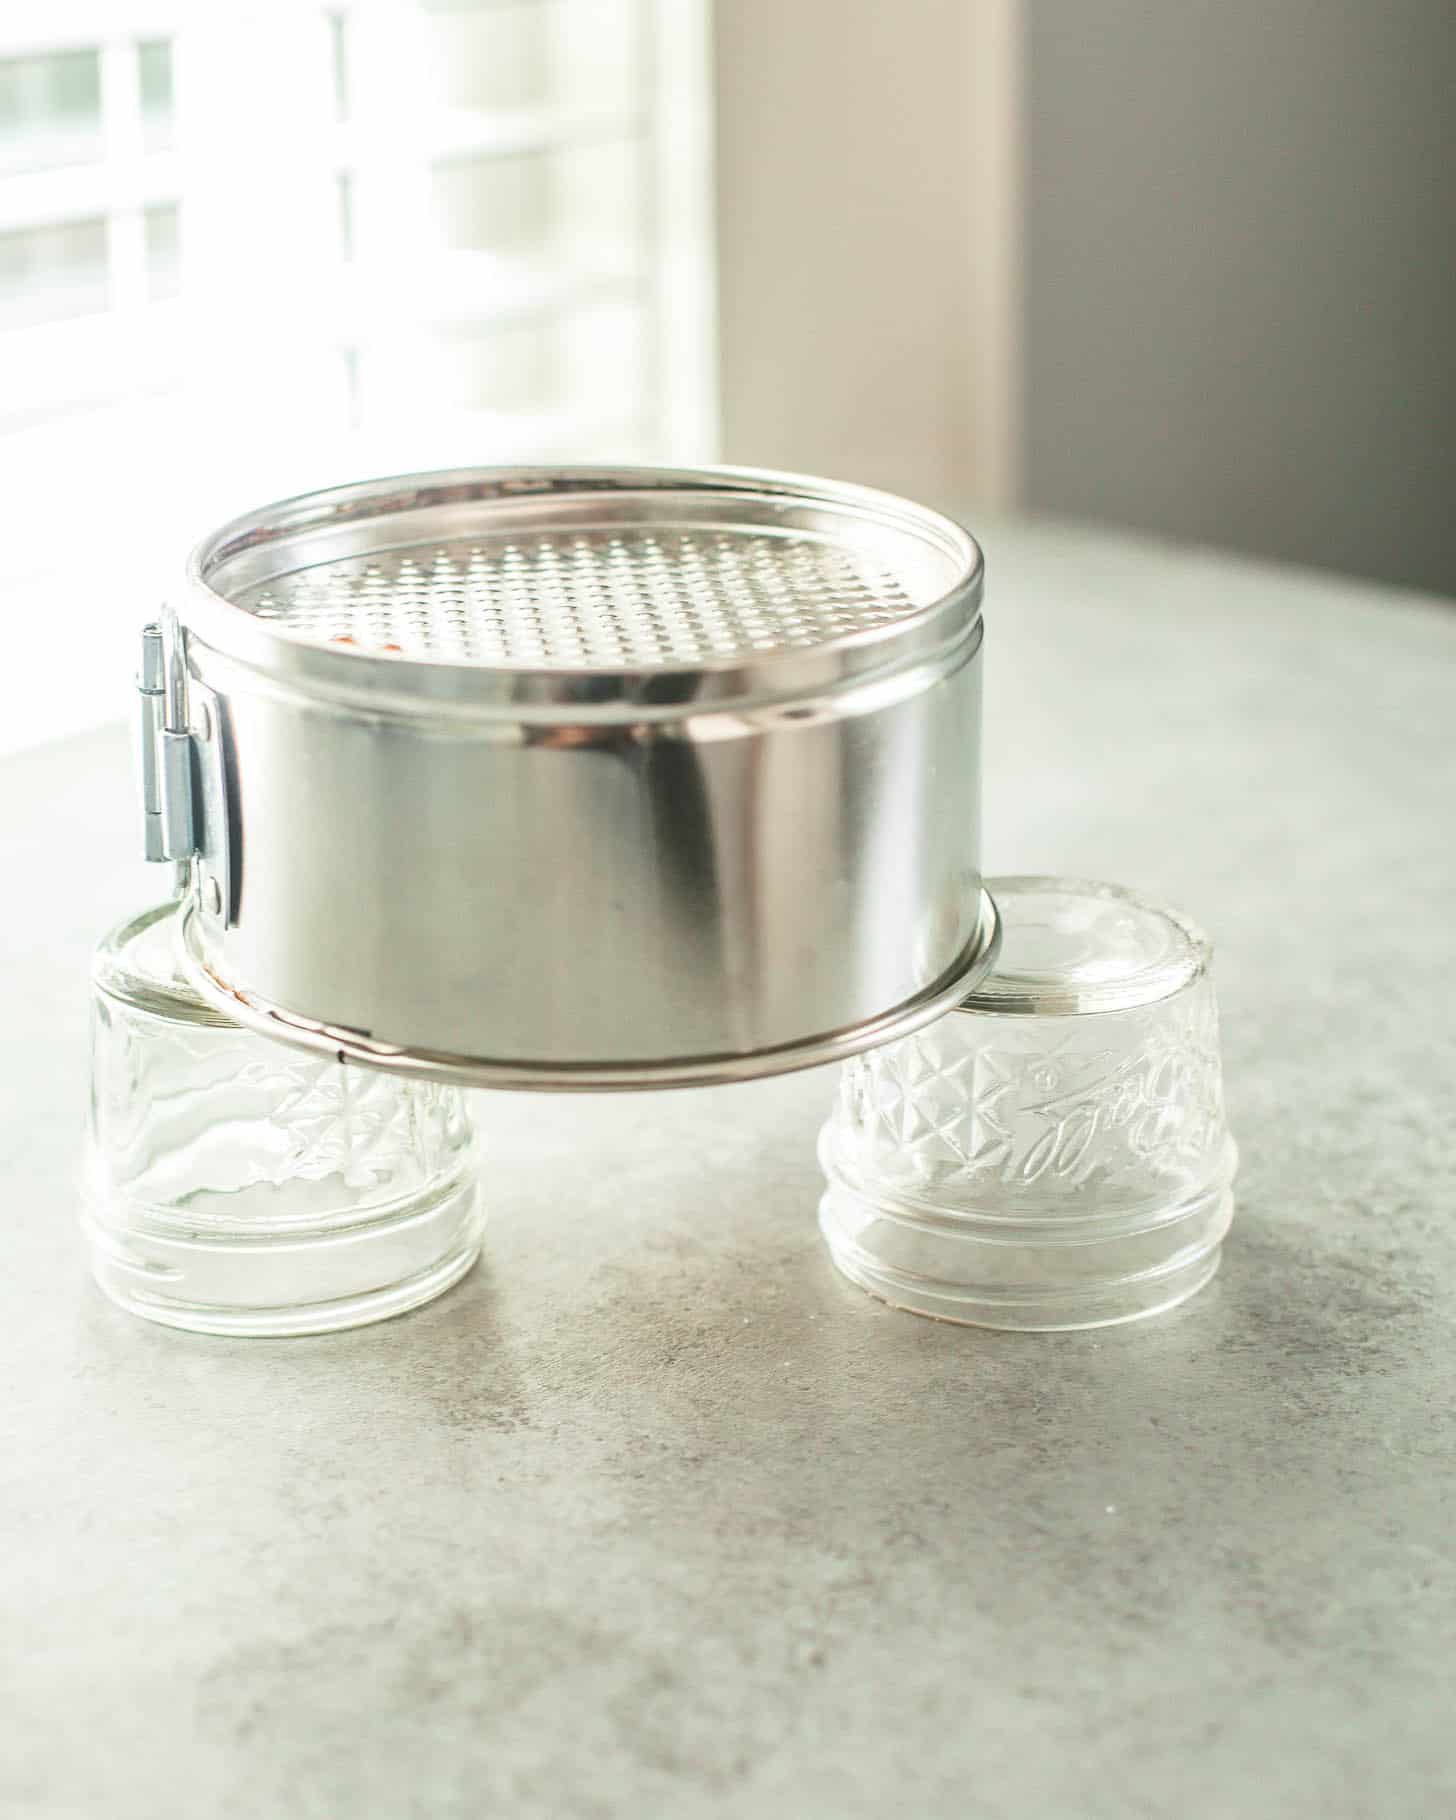
Step 4: Bake and Invert to Cool
Gently pour the batter into an ungreased 5×3-inch pan (<– be sure to select the “5×3 inch” size). Bake until the top of the cake is light golden brown, about 20 minutes. The baking time may vary slightly depending on the pan you use (see the recipe below for tips.) When the cake comes out of the oven, invert it and cool it upside down. This seems strange but it will help the cake to maintain its height. You can cool it upside down on a cooling rack or just use two small cans or jars to support it.
How to Decorate Your Smash Cake
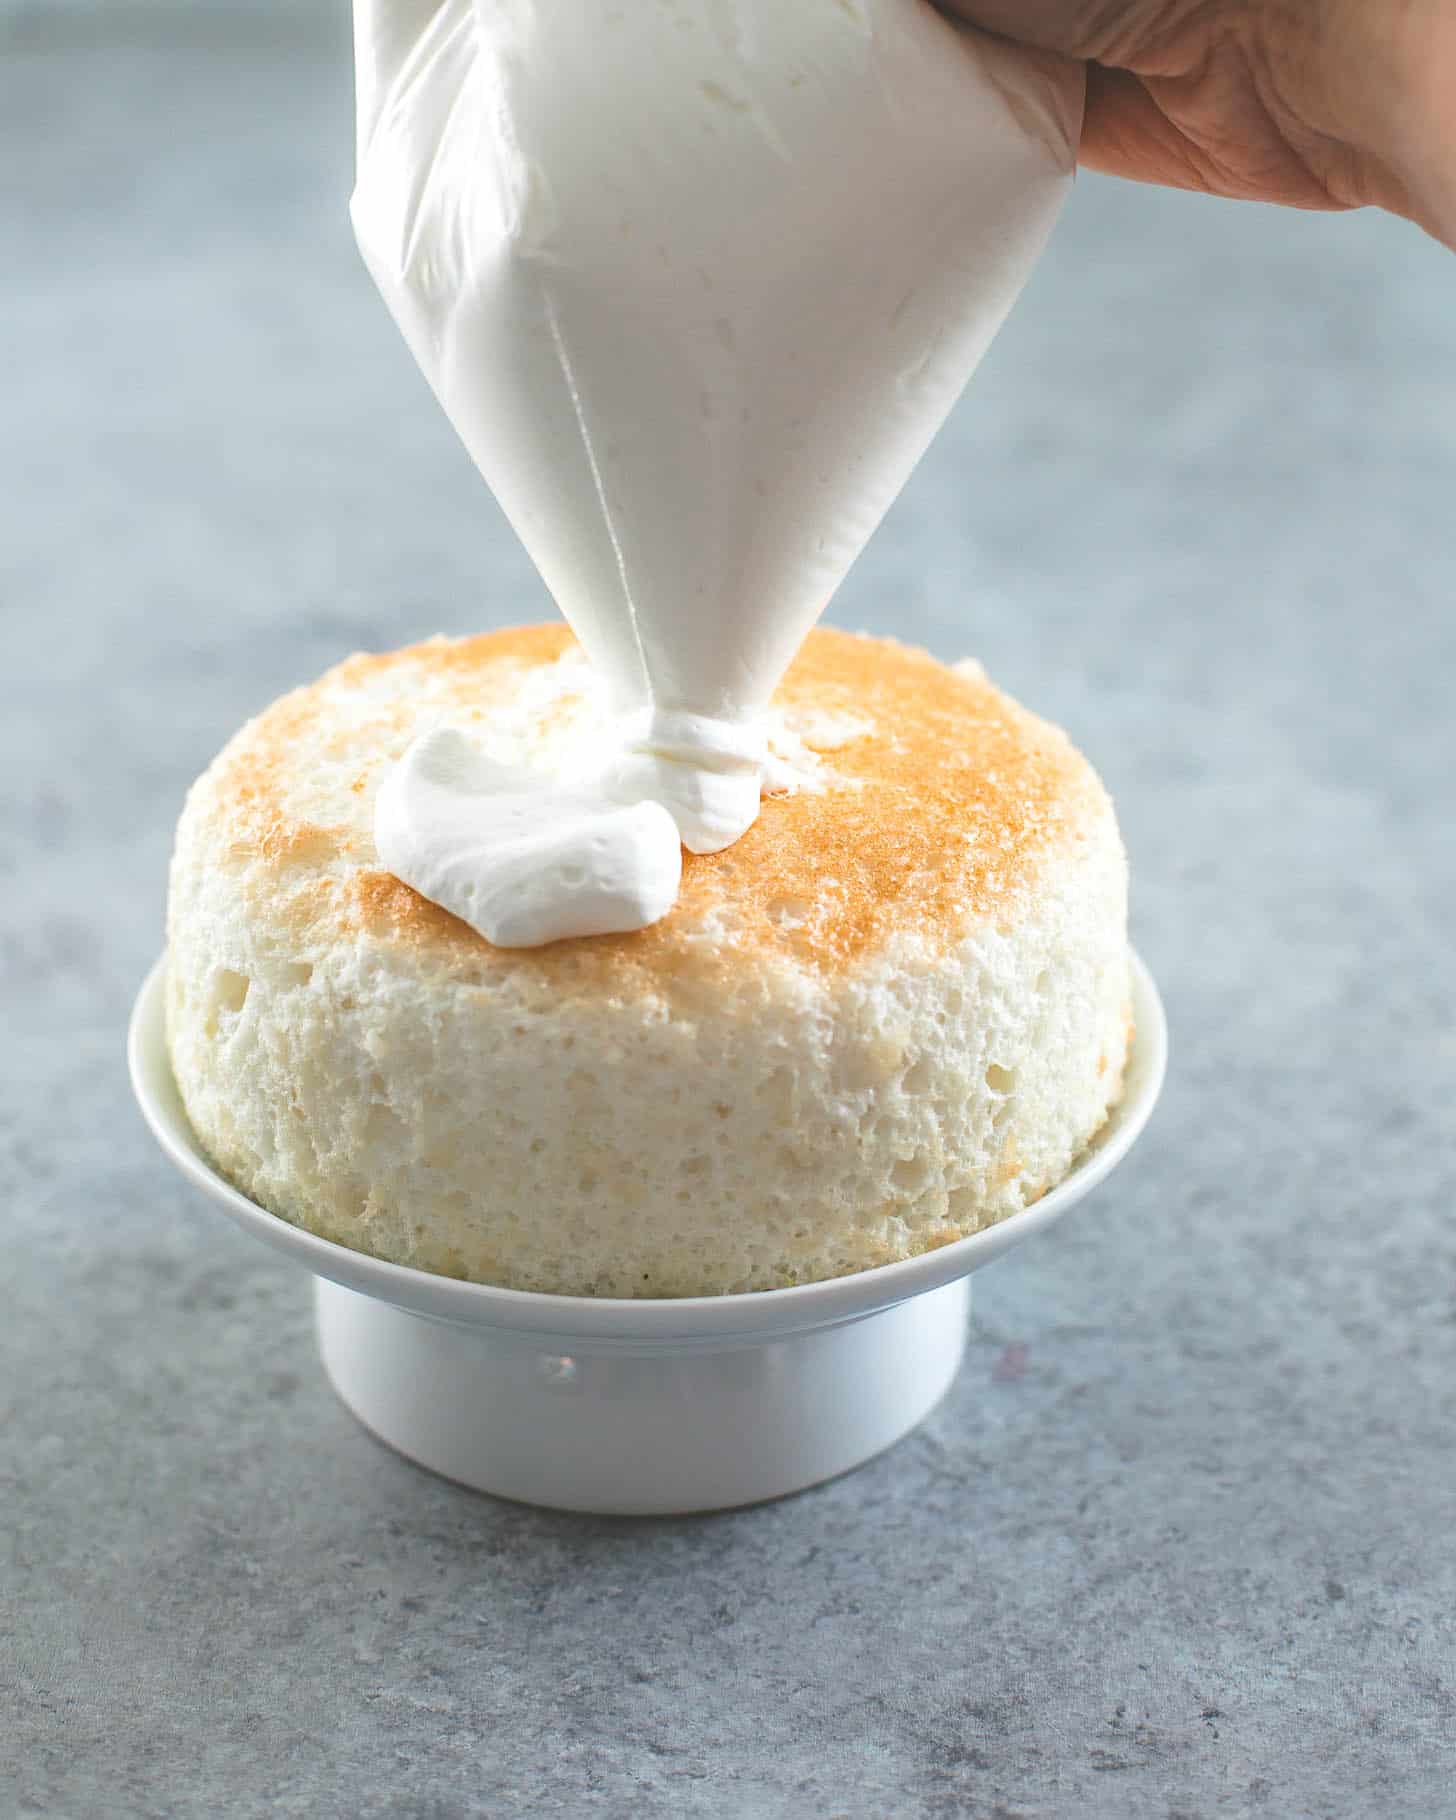
Keep it simple when decorating a smash cake. Fluffy whipped cream makes the most fun baby messes since it is light and easy for the birthday boy or girl to grab and play with. You can keep it unsweetened or very lightly sweetened if you want to keep sugar to a minimum. While you can use a colorful whipped cream, be careful not to add too much food coloring or it will dye your baby’s face and hands.
The “frosting” for this smash cake recipe is homemade whipped cream made from beating heavy / whipping cream until light and fluffy. For an easy (and photo-friendly) way to add the frosting, transfer the whipped cream to a small ziptop / plastic bag. Seal the bag and then cut off one corner. Gently squeeze the whipped cream out over the top of the cake in billowy rounds. Top it with fresh berries.
Tip: Wait to frost the cake right before serving so that the whipped cream holds its shape.
Tips for a Light, Fluffy Angel Food Smash Cake
- Use a regular pan, not one that is labeled as non-stick.
- Do NOT grease the pan and do not use parchment paper. As the cake bakes, the egg whites will rise by clinging to the sides of the pan. You will release it from the pan by running a knife around the edges once it cools.
- Let the egg whites come to room temperature before using.
- Beat the egg whites until soft, fluffy peaks form. Don’t worry so much about the timing, just keep an eye out for opaque, white peaks that stand up and then tip over on themselves at the top.
- Gently fold in cake flour. Don’t stir too hard or you’ll compress the air bubbles in the egg whites.
- Cool the cake upside down to allow air to circulate and prevent it from sinking as it cools.
Choosing a Pan for Smash Cake
(Updated July, 2020) When I first published this smash cake recipe, I used a 5 x 3-inch springform pan that is no longer available. Since that time, I have been searching for alternative cake pans to recommend. I have tested this cake with all three of the options below:
- 5×3-inch Cheesecake Pan (BEST OPTION; be sure to select the “5×3 inch” size): for a cake that looks just like the one in these photos, this pan is your best bet. It is exactly the same dimensions as the pan I originally used and makes a sweet little cake with tall sides. (Warning: This is a sturdy pan but it’s a pain to clean. After baking with it, I soak it and then run it through the dishwasher on the top rack.)
- 6×2-inch Springform Pan: (be sure to select the 6″ size) This is a petite little pan that actually measures slightly less than 6 inches wide and 2 inches tall. It is about the same width as the cake shown below, but has shorter sides. The recipe below makes enough batter to fill two of these small pans. I’ve heard from many readers who use two of these pans to make an adorable mini two-layer cake!
- 6×3-inch Springform Pan: This is a wider pan than I used for these photos with sides that are the same height. The cake it bakes is 1 inch wider than the cake shown above in photos, so it is still a small cake that is great for smashing. Since this pan is slightly bigger than the pan used to create this recipe, I would recommend using the slider in the recipe below to make a double recipe. You may have some leftover batter, but this will insure you have enough batter to fill the pan.
Sifting Cake Flour
Most full-size angel food cakes require sifting the flour to insure that it can be easily mixed in without deflating the egg whites. This step is not necessary when making a smash cake. Just lightly dust the flour over the entire surface of the egg whites before mixing it in. If doubling or tripling the recipe, it’s a good idea to sift the cake flour since you will be using more of it over a small surface area.
Making Smash Cake Ahead
To make this cake ahead, bake it according to the instructions and allow it to cool completely. Wrap it in plastic wrap and refrigerate for up to 3 days (let it come to room temperature before serving.) You can also wrap it tightly in plastic wrap and freeze it for up to 4 months (defrost completely before serving).
Congratulations on your baby’s first birthday!!! And big congrats on deciding to bake the birthday smash cake yourself! Check out the comments below for lots of troubleshooting, tips and tricks from me and other readers. Don’t hesitate to reach out in the comments if you need an extra hand as you bake.
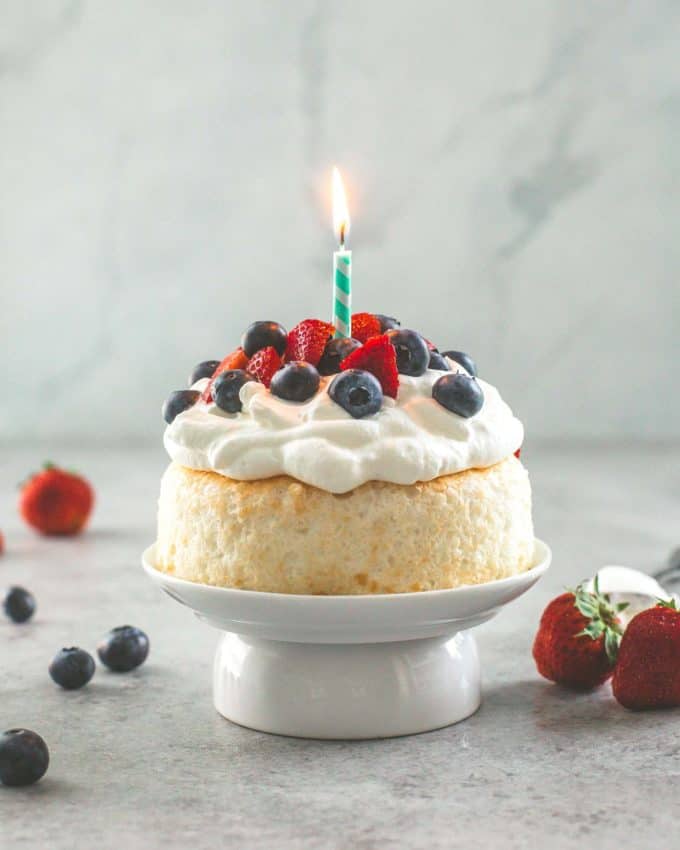
Smash Cake Photos
This cake is birthday-girl approved. I think the photos speak for themselves.
IMPORTANT – Allergy Note
This recipe contains dairy, eggs, and wheat. Please follow recommended guidelines when introducing new foods to your baby, and always talk to your child’s pediatrician if you have questions or concerns about food allergies / sensitivities. I am not a medical professional. (Thank you to reader Jo for suggesting that I add this important reminder!)
Pin this now to save it for later
Pin It Now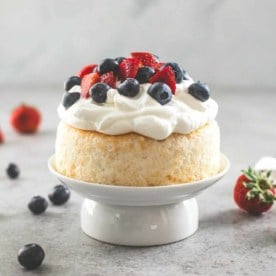
The BEST Smash Cake Recipe
Equipment
- 5×3-inch round pan
Ingredients
For Cake:
- 4 Egg Whites, room temperature (from large eggs; reserve yolks for another purpose or discard)
- 1/3 cup Cake Flour
- 3 Tbsp Granulated Sugar (optional; see note)
- 1/4 tsp Cream of Tartar
- 1/4 tsp Pure Vanilla Extract (optional; adds flavor but is not neccesary)
For Topping:
- 1/3 cup Heavy / Whipping Cream
- 2 tsp Granulated Sugar (optional; see note)
- Fresh Berries (optional)
Instructions
- Before getting started, set out the egg whites and let them come to room temperature (about 20 to 30 minutes). This will make them easier to beat into fluffy peaks.
- Make cake: Preheat oven to 325°F. Set out a 5×3-inch round pan. Do NOT grease the pan. Place the pan on a sheet pan (just in case any batter spills out as it bakes).
- If adding the optional sugar, whisk together cake flour and 3 Tbsp sugar in a small bowl. Set aside.
- Using a hand mixer or in the bowl of a stand mixer with the whisk attachment, combine egg whites, cream of tartar, and vanilla. Beat on medium-high speed until the egg whites form soft, fluffy peaks, 3 to 4 minutes. (Note: This is the most important step in making this cake. Beat the egg whites until the entire mixture is opaque, white, and fluffy throughout. The peaks should stand up straight with a little bit of a curl at the top when you lift the beaters out of the mixture.)
- Sprinkle the cake flour over the top of the egg whites. Use a whisk or spatula to gently fold the flour mixture in, being careful not to compress the fluffy egg whites.
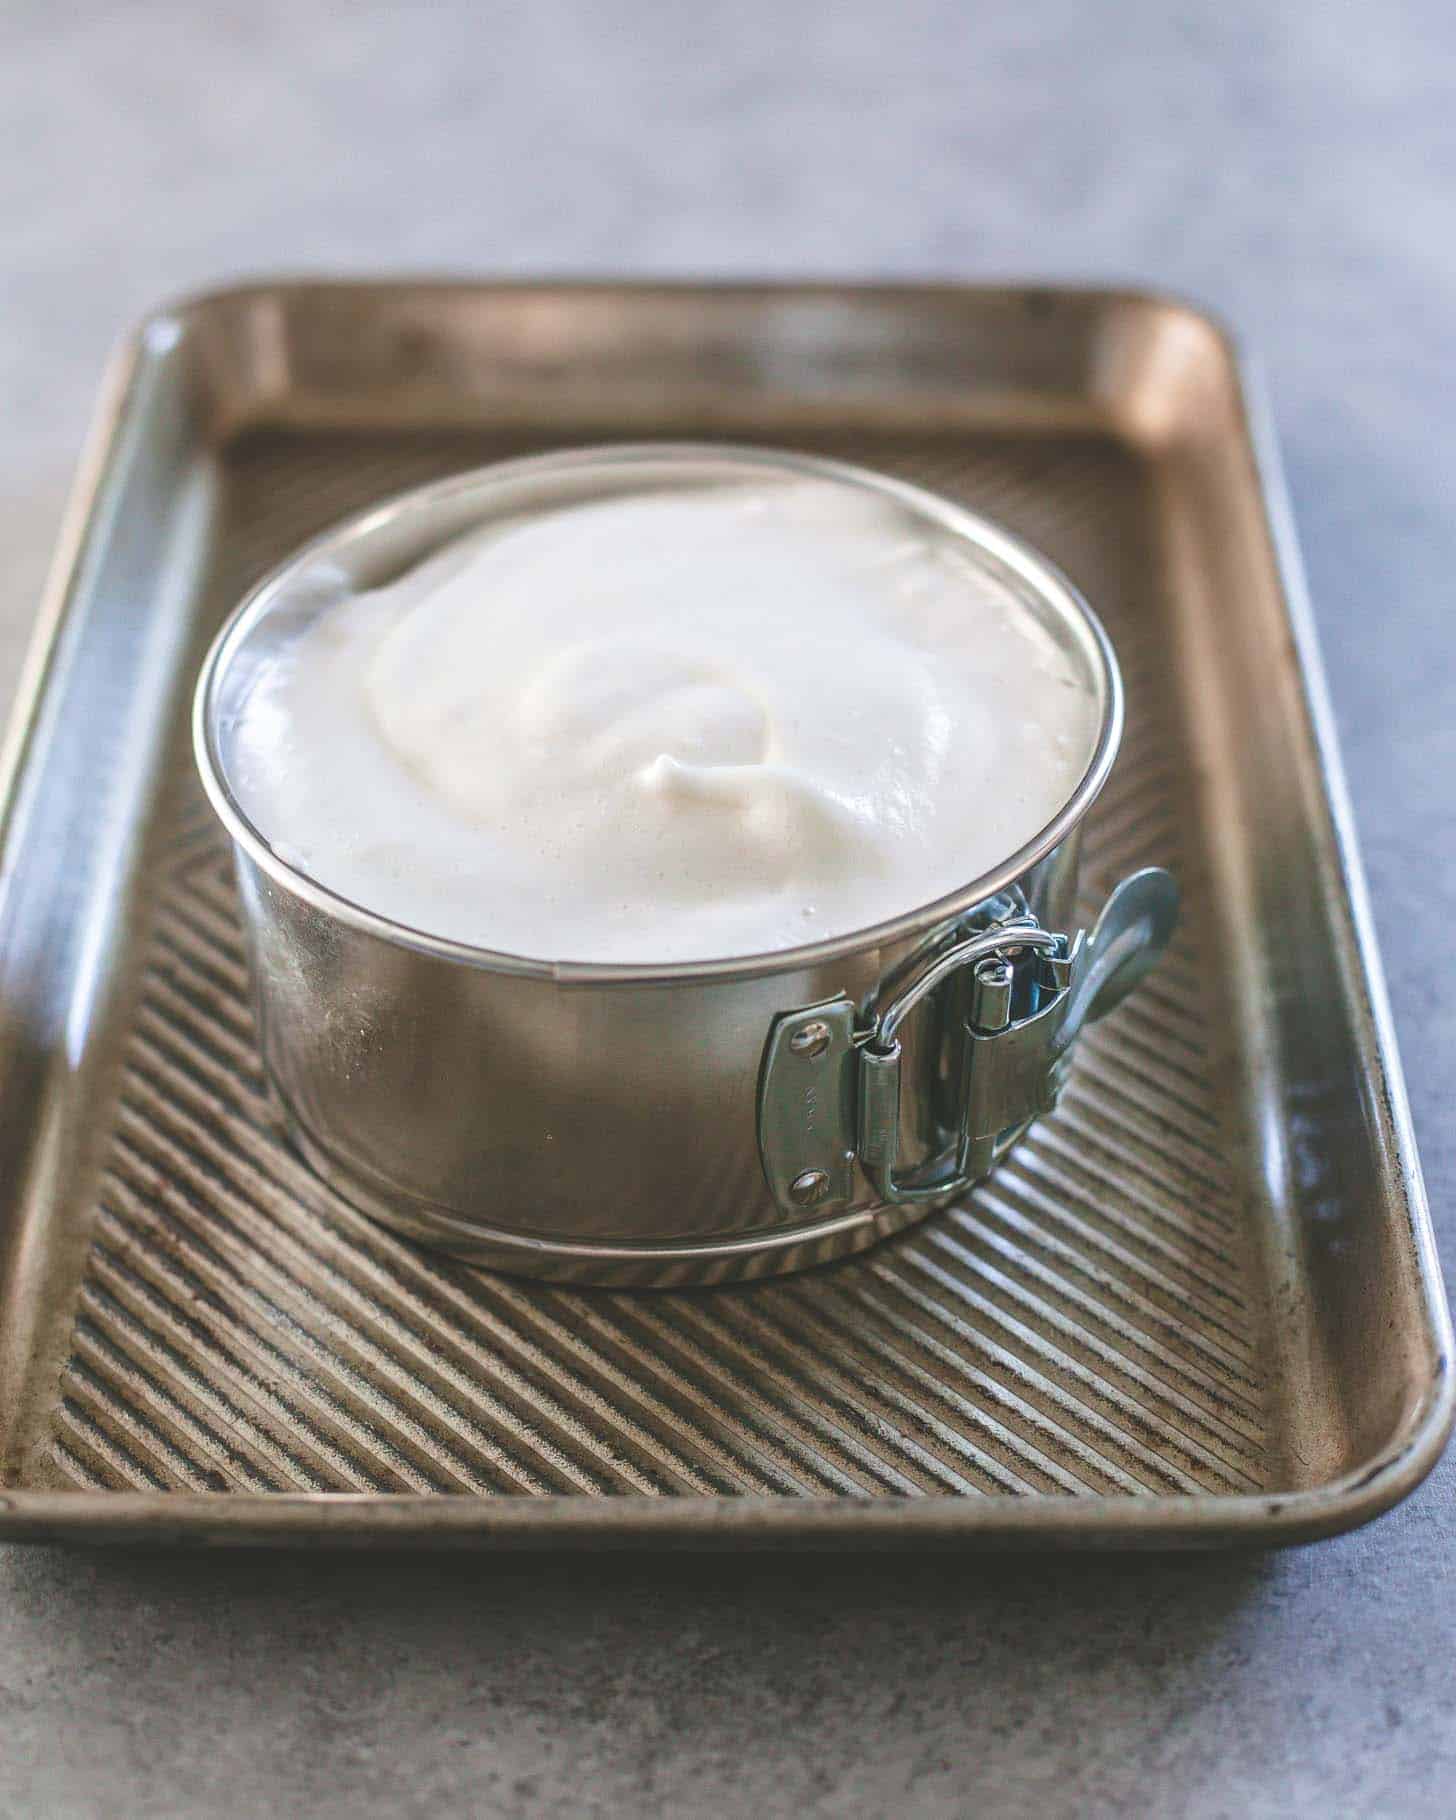
- Pour the batter into the springform pan. (Note: Fill the pan right up to the top, rounding it gently with a spatula to create a smooth surface.)
- Bake until cake is set and the top is a light golden brown, 20 minutes.
- Remove cake from oven and invert over a cooling rack or two glasses / cans. Allow cake to cool completely upside down (for at least 1 hour).
- Run a knife around the edges of the cake to gently release it from the pan.
- Make whipped cream: Using a hand mixer or in the bowl of a stand mixer, combine cream with 2 tsp sugar (if using). Beat cream on medium-high until light, fluffy, and firm enough to spread over the top of a cake, 3 to 5 minutes.
- Just before serving (and when the cake is completely cool), spoon whipped cream over top of cake. (Note: If you want an even more photo-friendly topping, you can transfer the whipped cream to a small ziptop / plastic bag. Seal the bag and then cut off one corner. Genty squeeze the whipped cream out over the top of the cake in billowy rounds.)
- Top the cake with fresh berries, if you'd like. Serve!
Notes
- 5×3-inch Cheesecake Pan: This is my favorite pan for making this recipe. Follow instructions above as written.
- 6×3-inch Springform Pan: This is a wider pan than shown in photos. Use the slider next to “servings” above to make a double recipe. You may have some leftover batter, but this will insure you have enough batter to fill the pan. Bake this cake for 22 to 24 minutes.
Nutrition
Nutrition information is automatically calculated, so should only be used as an approximation.


Great cake! I only had 5×2 springform pans and it made enough batter to fill two pans.
So glad you enjoyed it!
Could use 4in mini cake pans?
Absolutely! Just keep an eye on them since they will bake more quickly. Pull them out of the oven when the tops are light golden
Hi, would adding vanilla to the whipped cream topping cause issue with the texture or taste? Do you have any suggestions on how much to add?
Thanks!
Vanilla will be just fine, though I wouldn’t add more than 1/2 tsp just to make sure the texture isn’t affected.