Homemade Pesto
Published Jun 22, 2020•Updated May 31, 2024
This post may contain affiliate links. Please read our disclosure policy.
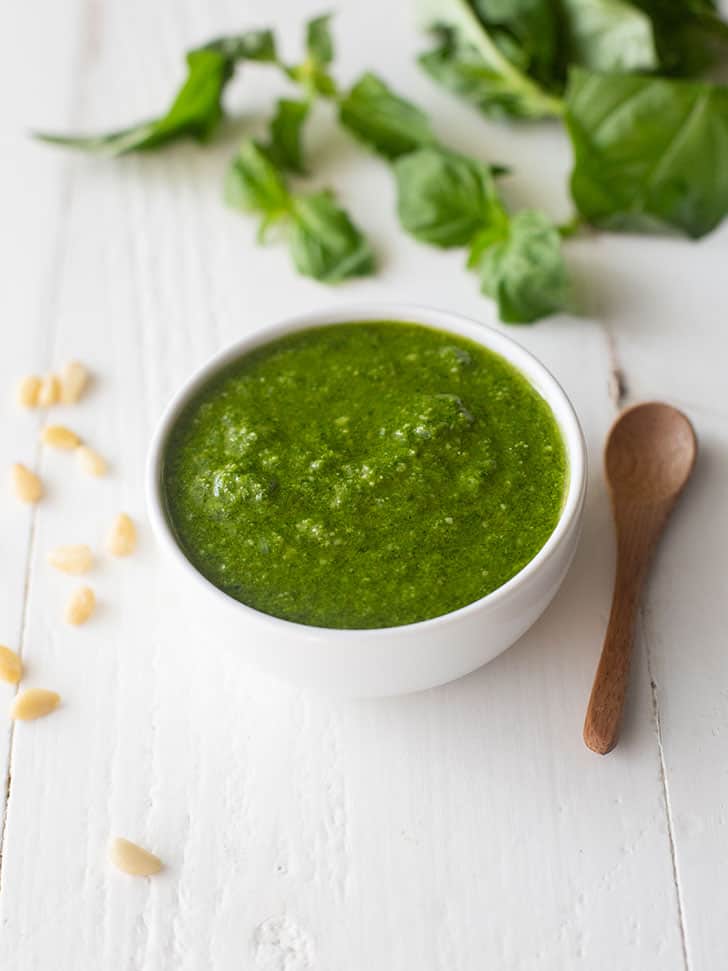
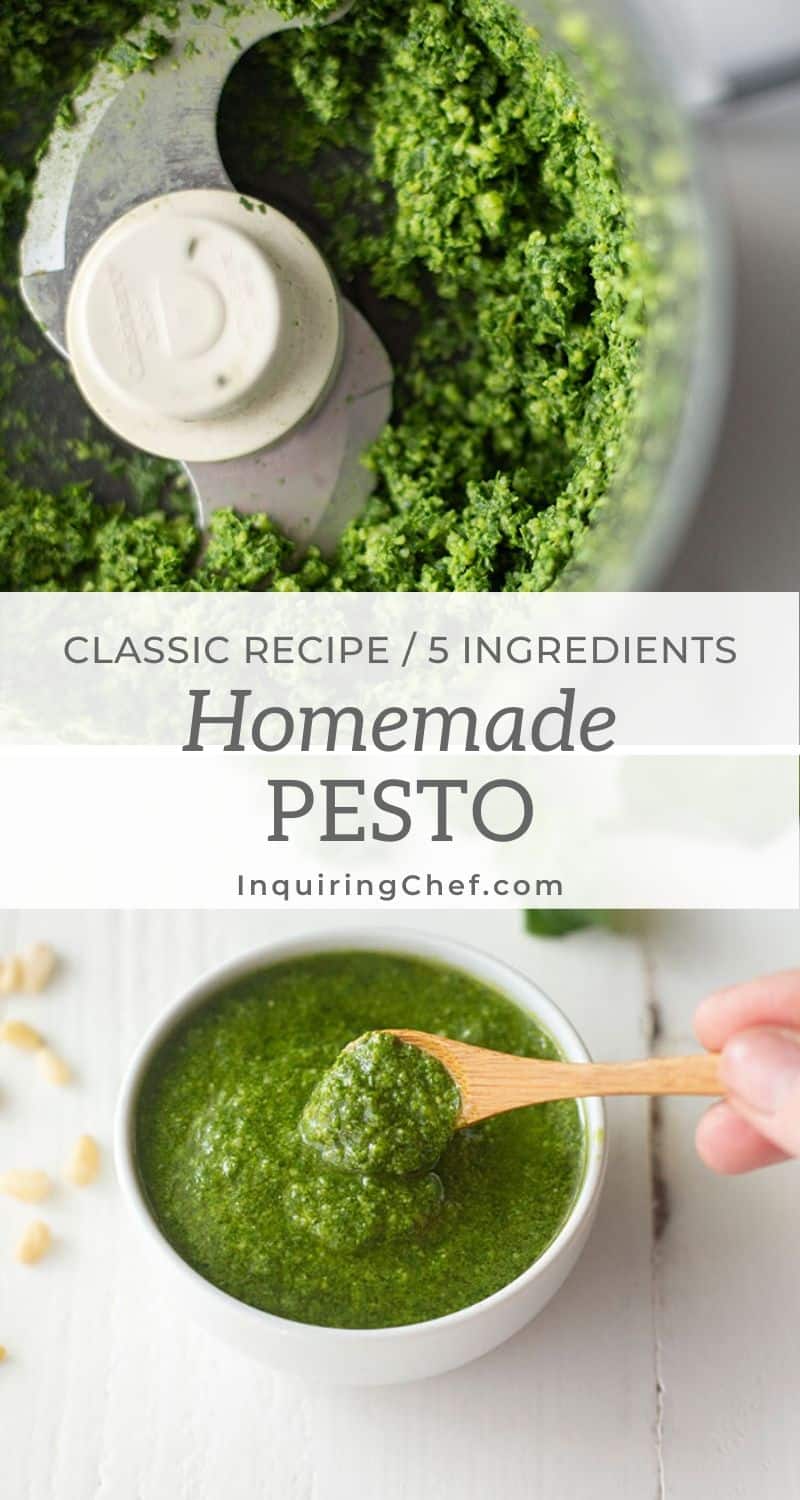
Nothing you purchase at the store can compete with homemade pesto. This versatile Italian sauce made with fresh basil and toasted pine nuts is great served over pasta, pizza, or on vegetables. Best of all, it has a short ingredient list and can be made in just a few minutes!
Happy belated Father’s Day to all of you dads out there! Summer is in full swing, so we celebrated Frank in true hot-weather style with lots of time outdoors, a long bike ride for him, his favorite tacos for dinner, and Peanut Butter Cup Cookie Bars for dessert. I also took a batch of those bars over to my dad because baking is my love language and when in doubt, chocolate and peanut butter always win.
You know what else always wins in my book? The combination of fresh basil, garlic, parmesan cheese, and toasted pine nuts. I LOVE fresh pesto. I plant a ton of basil every summer with plans to turn it into as much pesto as I can manage. The great thing about pesto is that it freezes well (in small jars or ice cube trays), so you can draw out that fresh summer flavor throughout the cold months.
If you’ve never made fresh pesto, it couldn’t be easier! This is my go-to method.
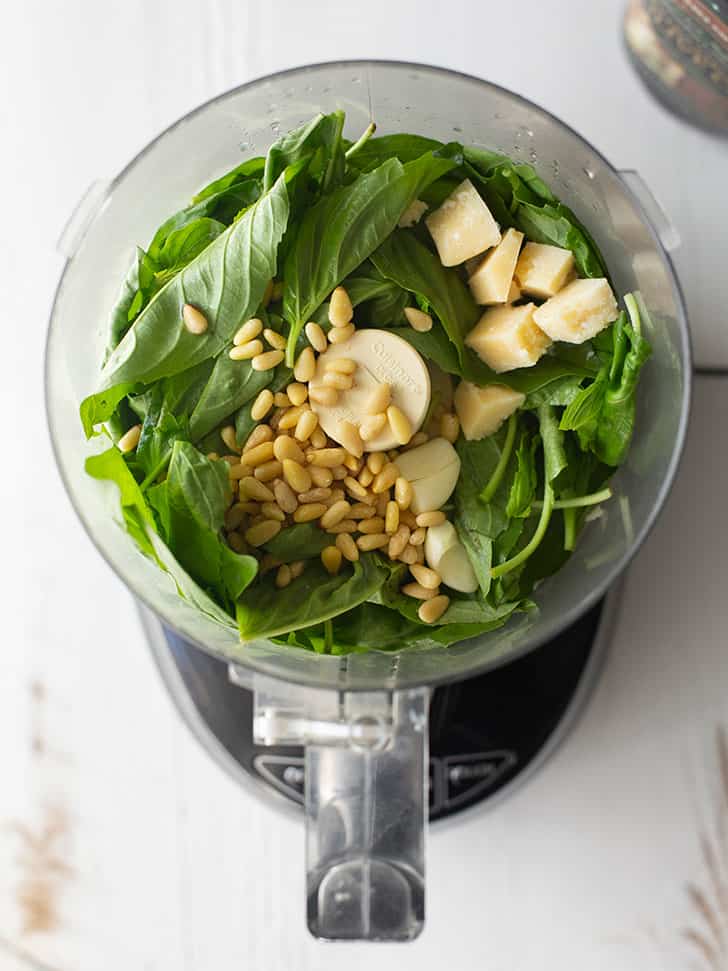
Ingredients for Homemade Pesto
- Pine Nuts – Pine nuts are classic and give the pesto a savory flavor and just a bit of creaminess. You can add them raw or toast them in a skillet to increase their flavor. Pine nuts can be expensive, so there are many other substitutes that will work. See below for other options.
- Fresh Basil – Just use the leaves of the basil plants (discard any stems). It’s a good idea to measure this by weight since the leaves can vary in size. If you don’t have a kitchen scale, 2 oz of fresh basil is about 4 cups of loosely packed basil leaves.
- Garlic – Use whole, peeled cloves of fresh garlic for the best flavor. Two cloves of garlic gives this a mild garlic flavor, but feel free to use less or more if you prefer.
- Parmesan Cheese – Parmesan cheese adds a nutty, rich flavor to the pesto. I typically use parmesan because it’s what I most commonly have, but Pecorino Romano adds a more intense flavor. See below for other options.
- Olive Oil – Pesto contains a lot of olive oil, so the flavor will really come through. It’s a good idea to use a slightly higher quality olive oil than you would for cooking. Extra Virgin Olive Oil has a clean flavor that will let the fresh basil flavors shine through.
- Salt and Lemon Juice – To bring out all of the great flavor in your pesto, you’ll need salt. Be sure to taste the pesto at the end and add more salt, if needed. This is something that is best adjusted to taste since the cheese you use may vary in its natural saltiness. Lemon juice is optional, but I love the brightness it brings to the pesto. It also will help the pesto to keep its bright green color.
Pin this now to save it for later
Pin It Now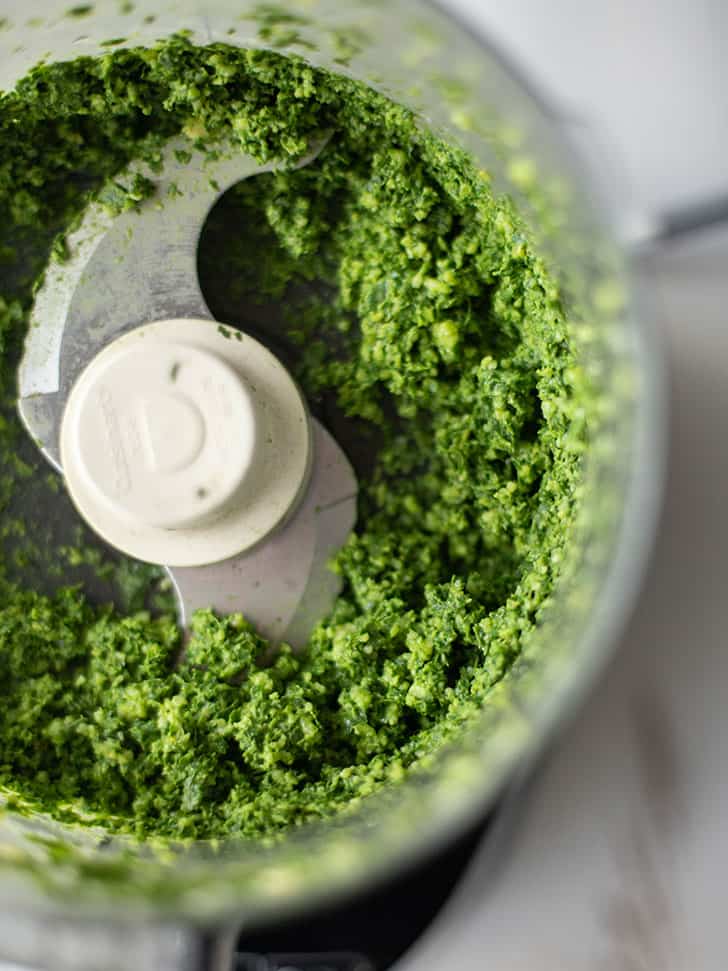
What Cheese to Use in Pesto?
Any firm, crumbly, savory cheese should work in homemade pesto. Italian cheeses the most common. Parmesan (Parmigiano-Reggiano), Pecorino Romano, or Grana Padano would all work. Asiago would be a good option too and has a slightly creamier texture. You can skip the cheese if you want a dairy-free option.
Variations
Pine nuts can be expensive, so if you prefer to use another nut in your pesto, try it with pecans, walnuts, or almonds. The nuts add savory flavor and a slightly creamy texture, but you can skip them if you prefer. Pepitas / pumpkin seeds and even sunflower seeds make a great non-nut homemade pesto option.
While pesto will taste most authentic if it contains some amount of fresh basil, you can supplement or substitute the basil with other greens. Baby spinach, kale, arugula, or chard make great pesto options. Start by using a 50/50 mix of fresh basil leaves and other greens and adjust to your taste.
How to Store Pesto
Store pesto in the refrigerator for 4 to 5 days. For best results, keep it in an air-tight container. Any part of the pesto that comes in contact with air will turn brown, so to help prevent this, drizzle some extra olive oil over the top of the pesto before storing it.
You can also freeze pesto for 4 to 6 months. Freeze it in small jars (be sure to leave some space in the top of the jar to allow for expansion as the pesto freezes) or in an ice cube tray (pop the frozen cubes out and store them in a freezer bag).
More Ways to Use Homemade Pesto
Favorite Tools
Pin this now to save it for later
Pin It Now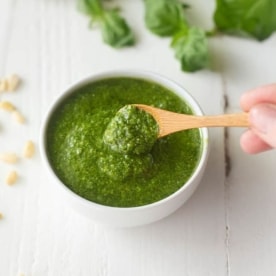
Homemade Pesto
Equipment
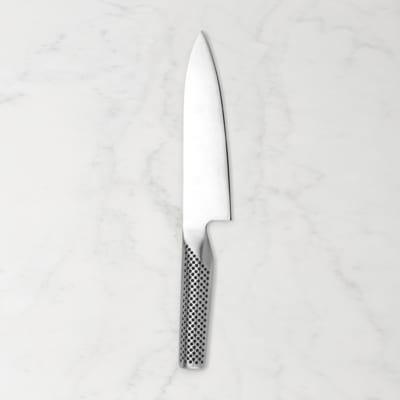
- Knife
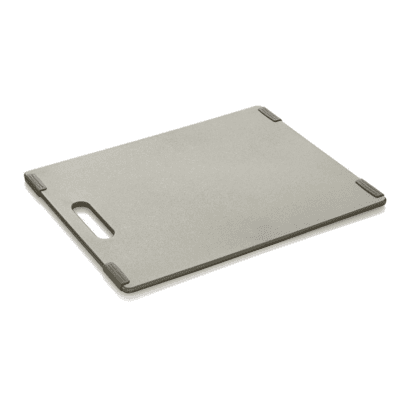
- Cutting Board
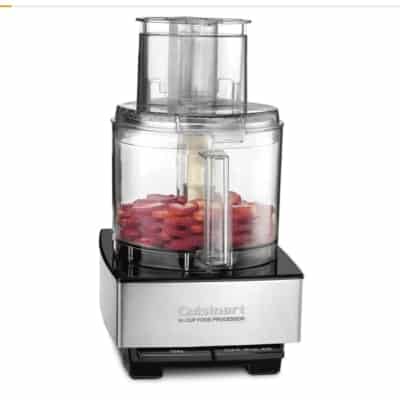
- Food Processor
Ingredients
- 3 Tablespoons Pine Nuts
- 2 ounces Fresh Basil Leaves (60 grams)
- 2 cloves Garlic, peeled
- 1 ounce Parmesan Cheese, chopped into large pieces (30 grams)
- 1/2 teaspoon Kosher Salt
- 1/2 teaspoon Lemon Juice (optional)
- 1/3 cup Olive Oil (80 mL)
Instructions
- Toast pine nuts (optional): Place a dry skillet or frying pan over medium heat. Add pine nuts and cook, stirring frequently, until they start to smell fragrant and lightly golden brown spots appear, 3 to 4 minutes. (Watch the pine nuts closely to prevent burning.)
- Make pesto: Combine pine nuts, basil leaves, garlic cloves, cheese, salt, and lemon juice in the bowl of a food processor. (Note: You can also use a standing blender if the blades sit low enough to blend the ingredients.) Pulse / blend until all of the ingredients are finely chopped.
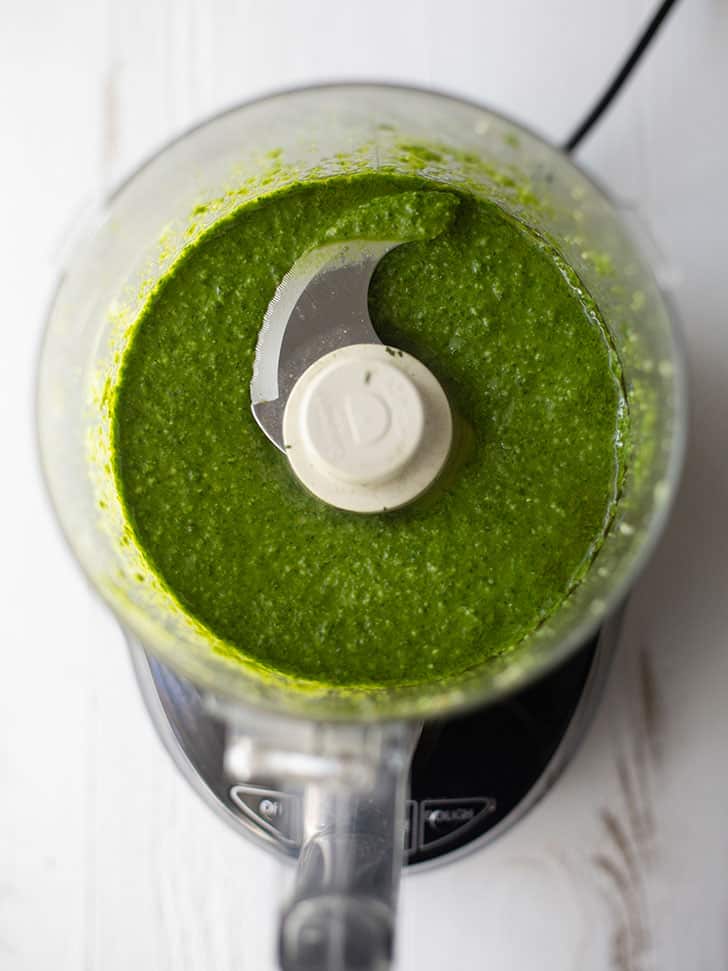
- With the food processor running, slowly pour in the olive oil until the pesto is smooth and pourable. If it is too thick, you can add up to 1 Tablespoon of additional olive oil.
- Taste the pesto and season with some more salt, if needed.
Notes
Nutrition
Nutrition information is automatically calculated, so should only be used as an approximation.





Adding some sun-dried tomatoes that have been rehydrated to makes a very delicious pesto.
Yum – that’s a great addition!
Thanks for breaking down this recipe in an easy to follow way that even this pesto-making newbie could follow! I’ve made this three different times now and it’s turned out a little different each time, but delicious each time too.
Oh yay! So glad you’ve enjoyed it.