Baked Cinnamon French Toast Sticks
Published Jul 27, 2017•Updated Jun 20, 2024
This post may contain affiliate links. Please read our disclosure policy.
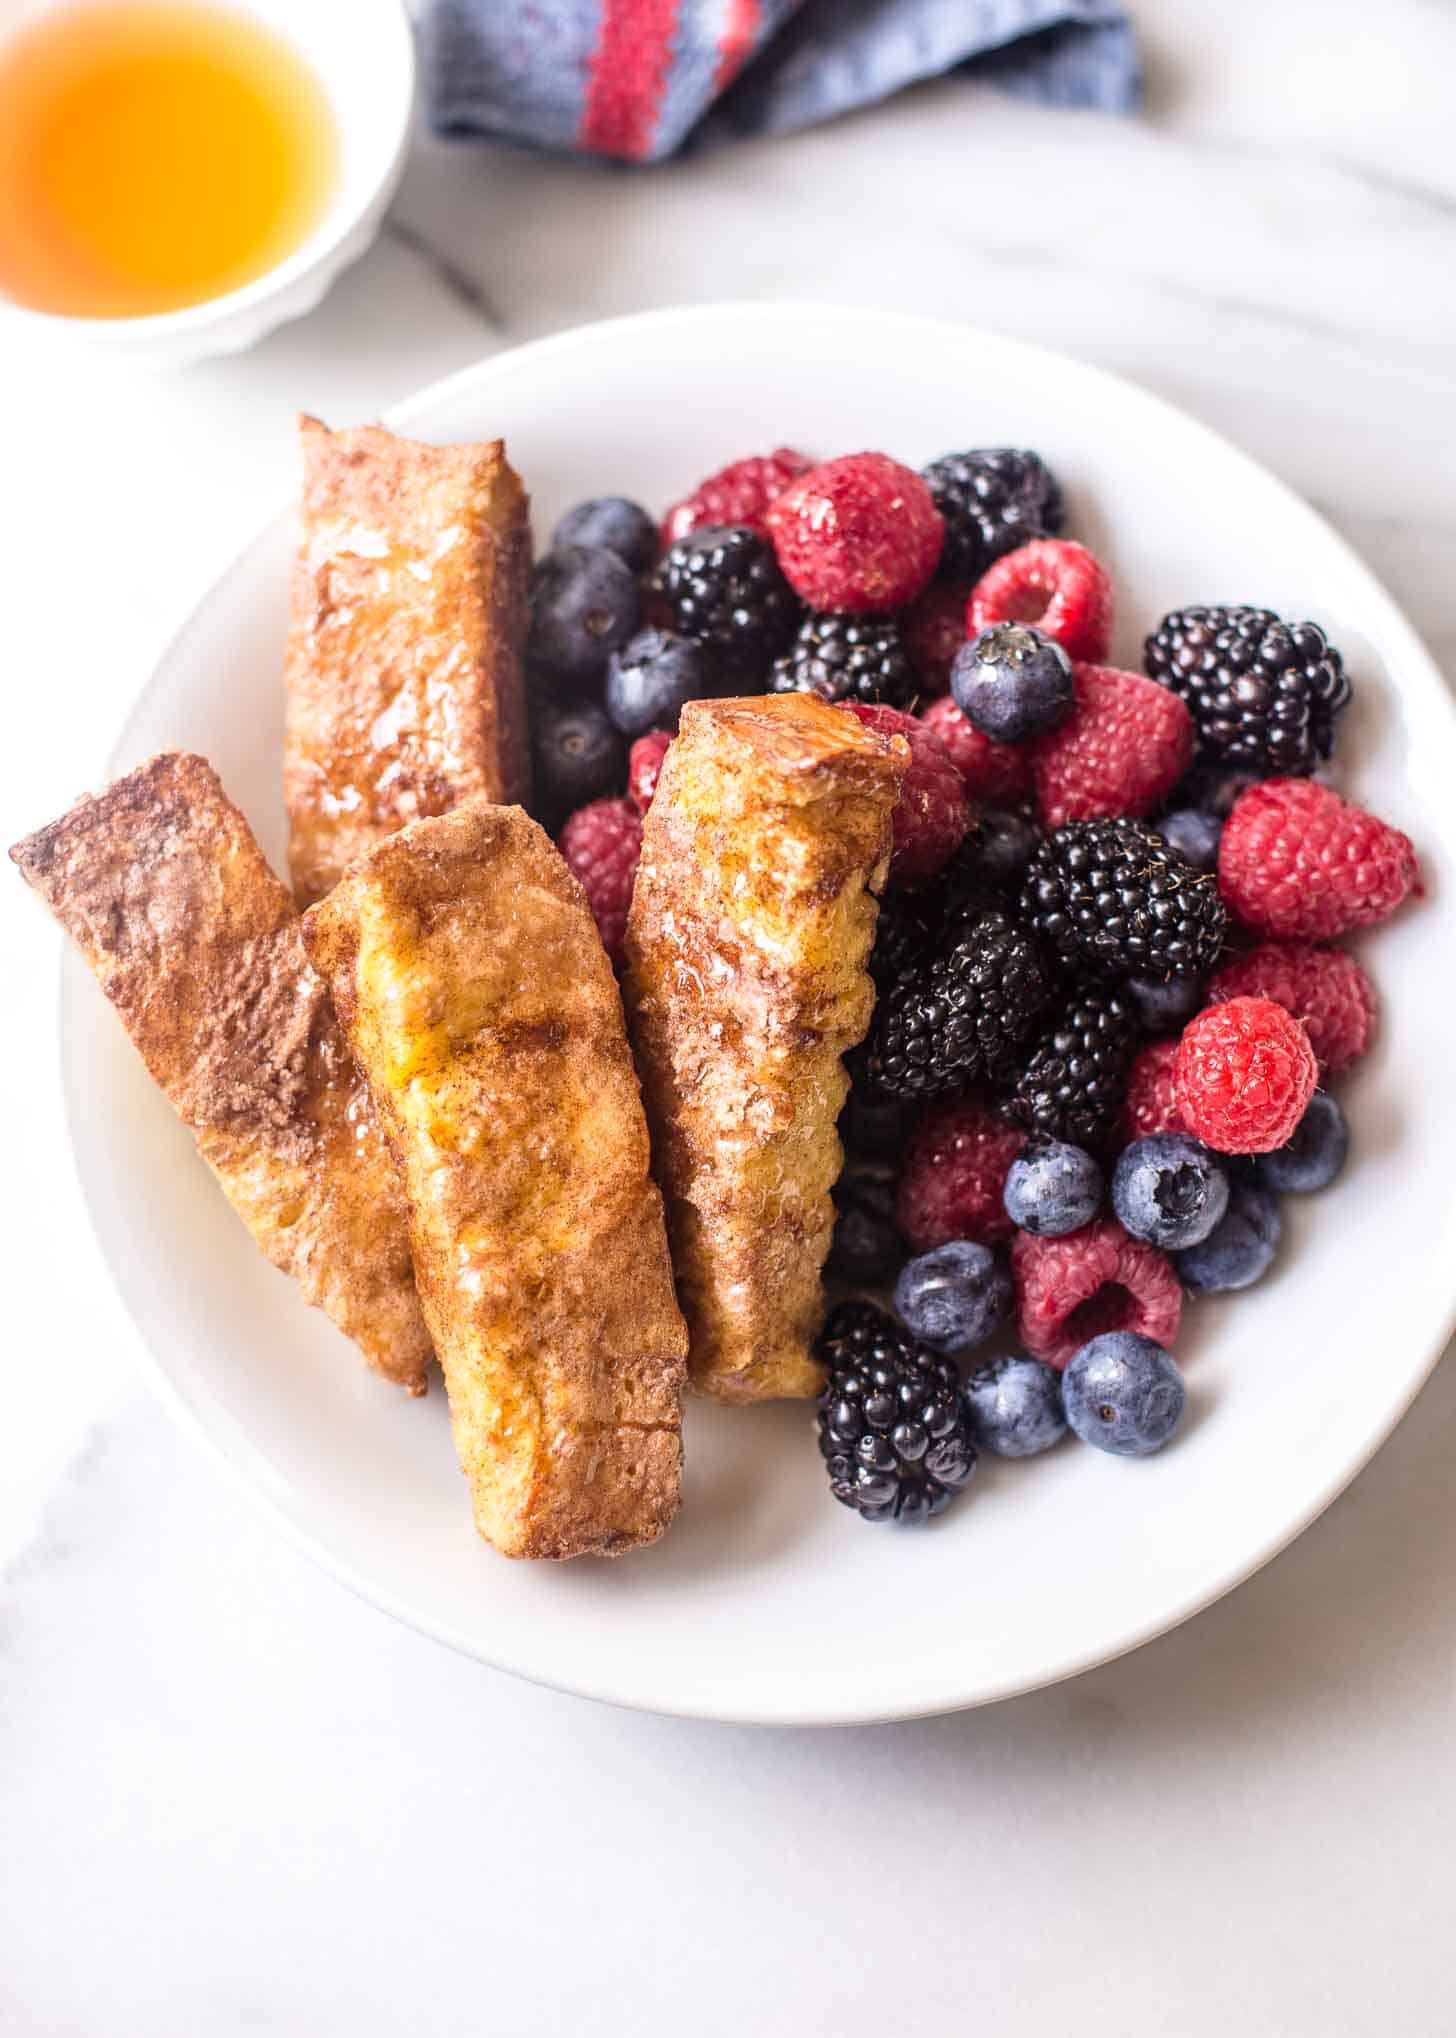
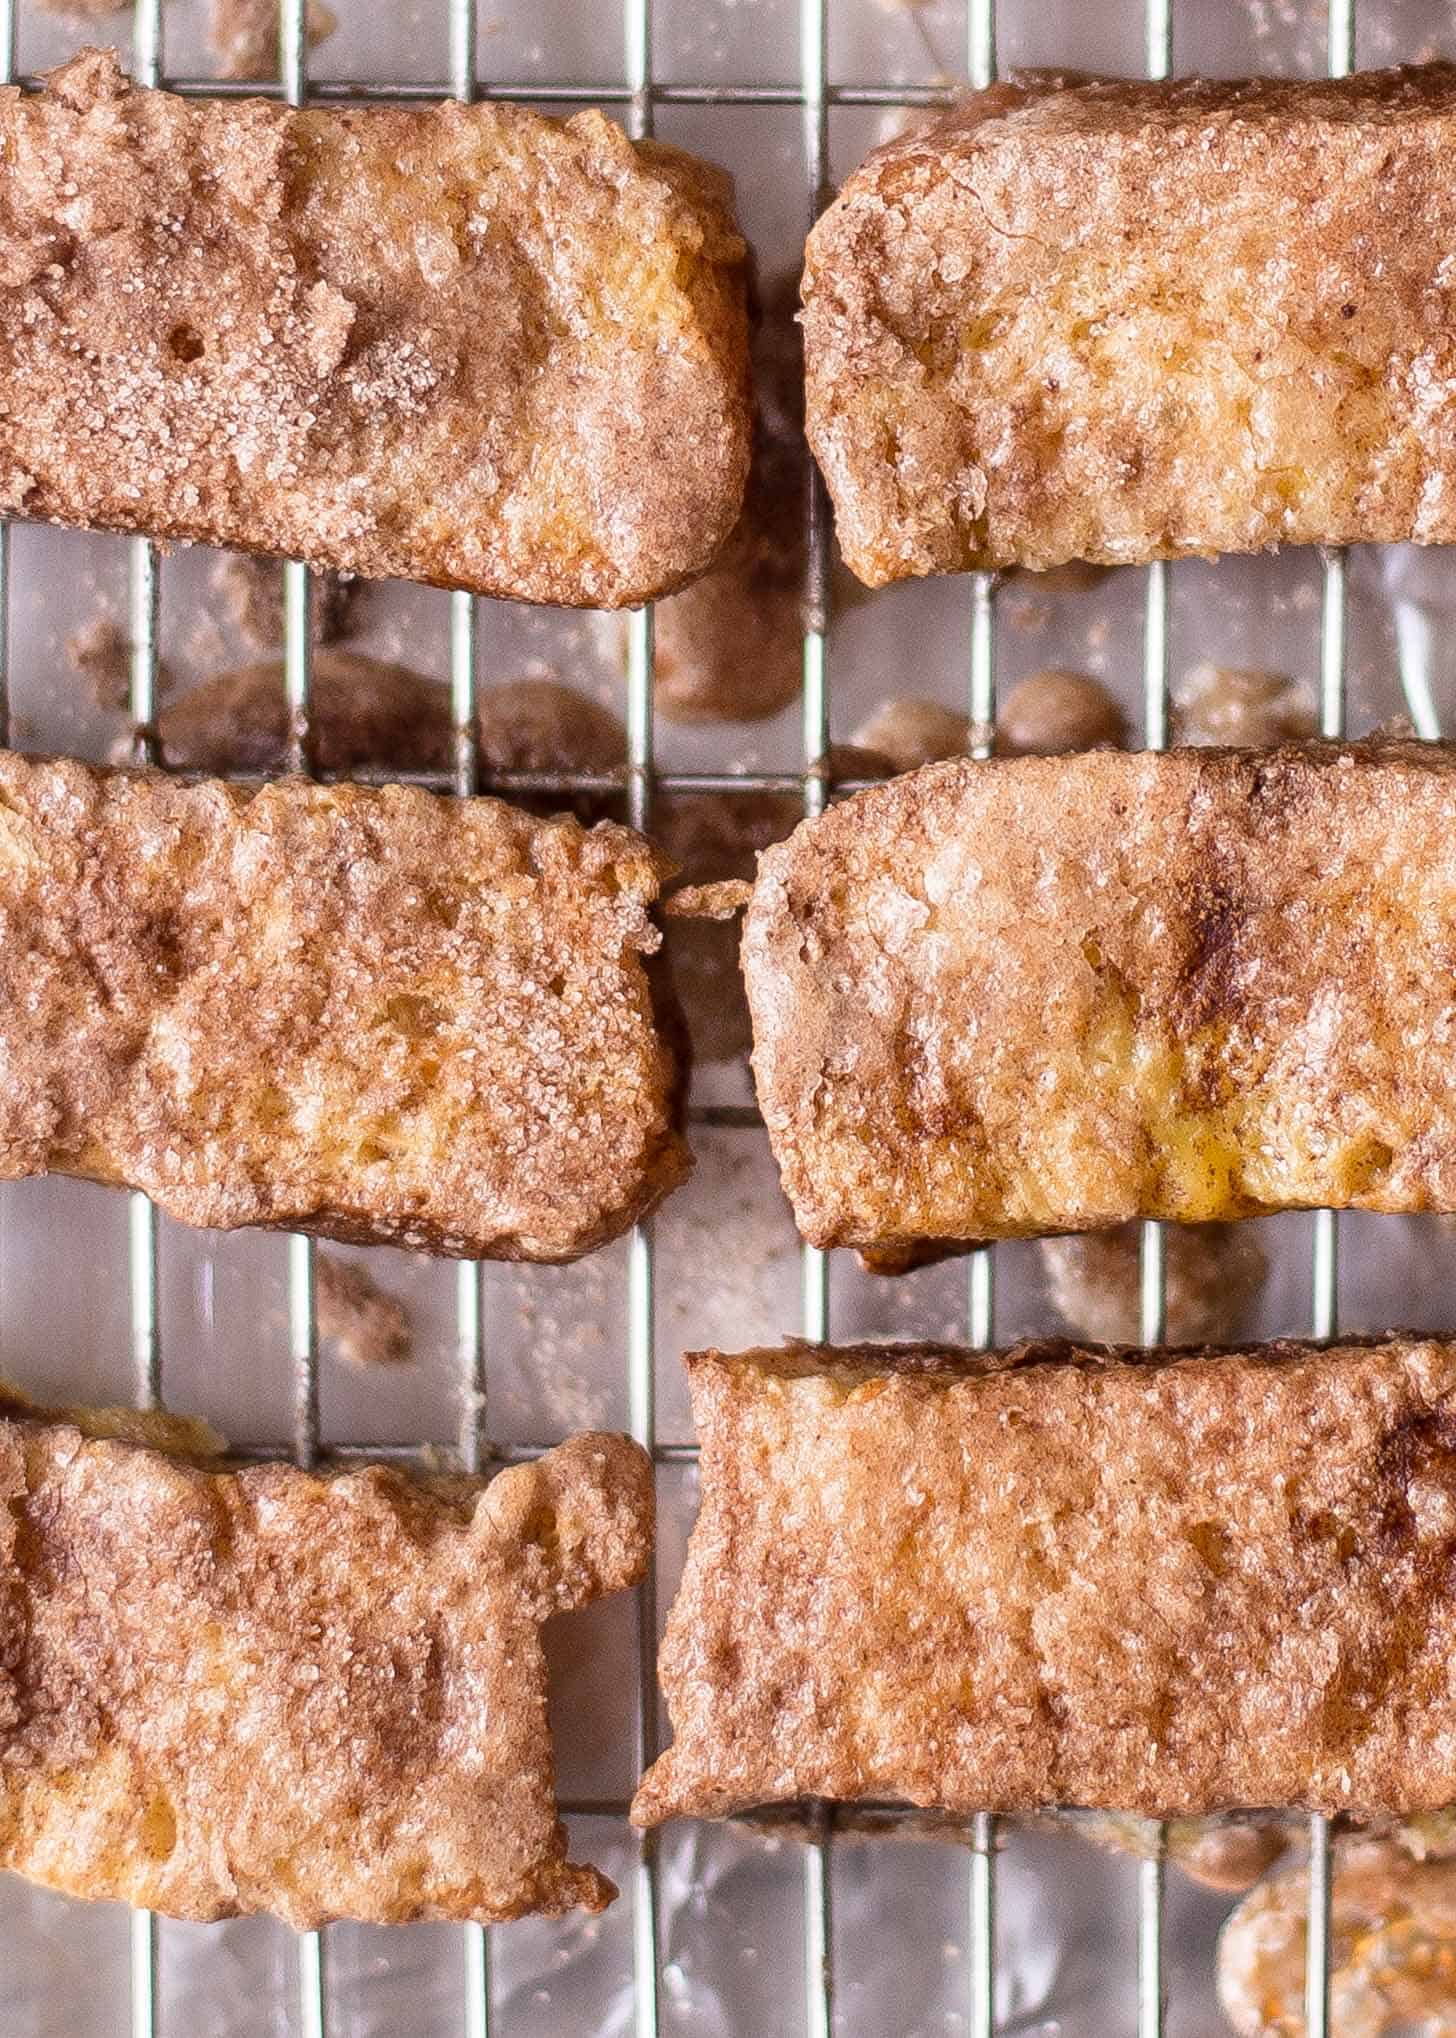
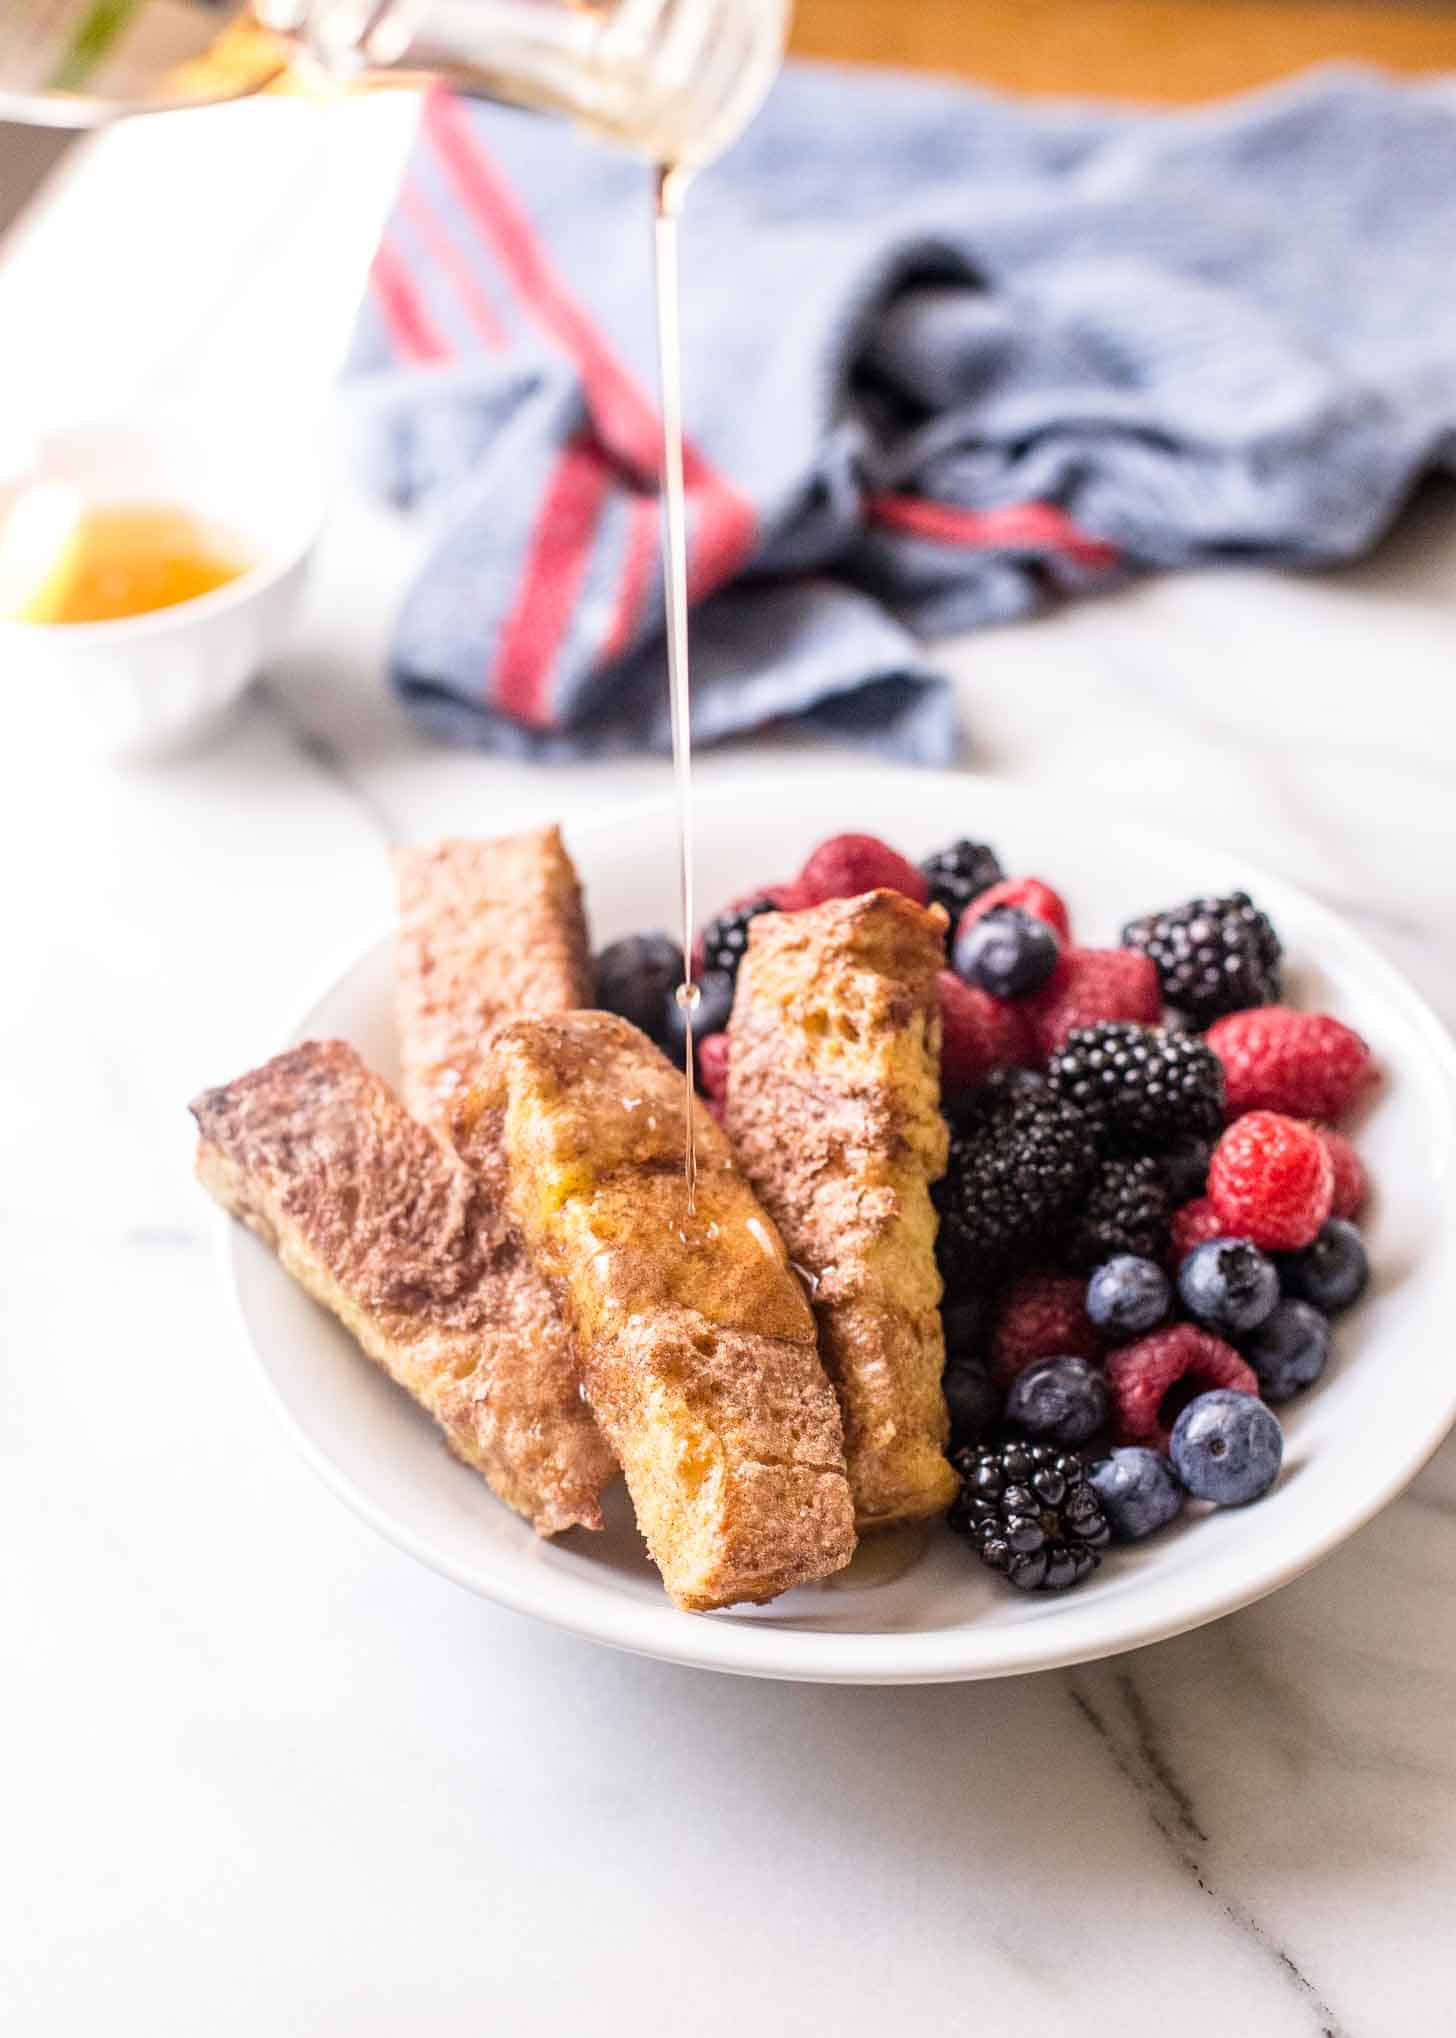
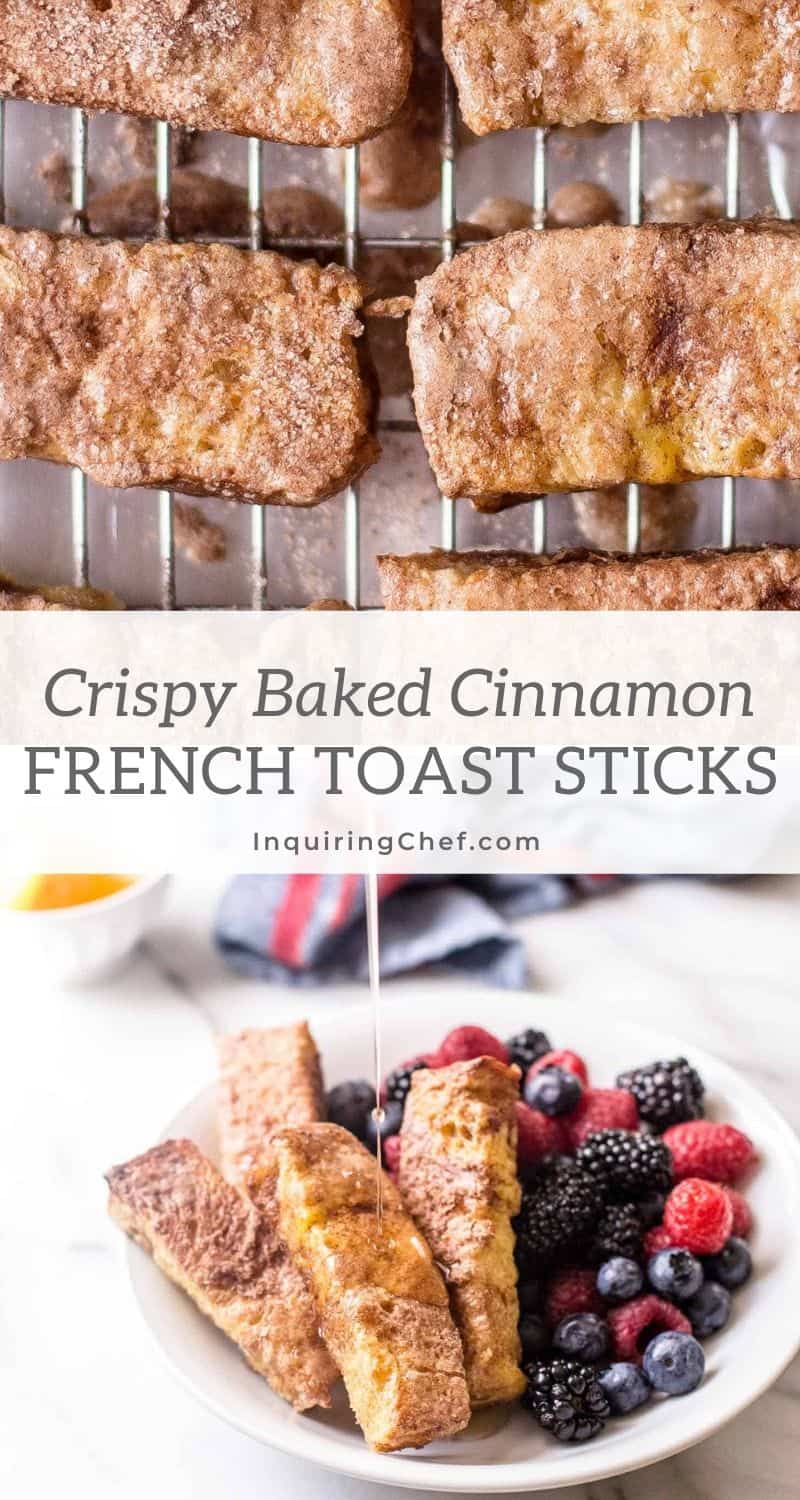
Thanks to the use of tender brioche bread and a quick dunk in cinnamon sugar, these Baked Cinnamon French Toast Sticks come out of the oven crispy on the outside and tender and soft on the inside.
Check out this crispy cinnamon coating…
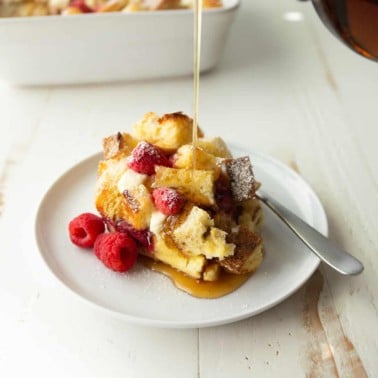
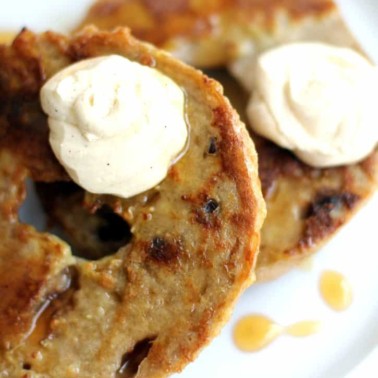
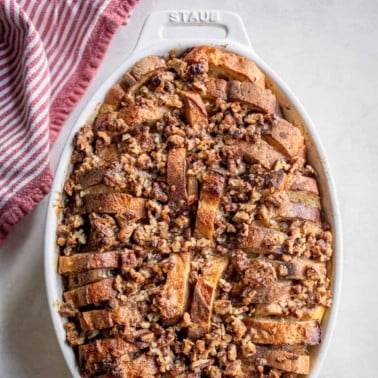
All summer we’ve been playing around with new things to serve for breakfast. Some savory, some sweet. Some that we eat during the week and some, like Baked Cinnamon French Toast Sticks, Banana Bread French Toast, Croissant French Toast, and Carrot Cake Muffins that have weekend written all over them.
How to Bake French Toast Sticks
These from-scratch, surprisingly simple breakfast pastries are dunked in eggs and cream and then rolled in cinnamon sugar. Line them up on a baking sheet topped with foil or parchment. Add a cooling rack on top. Keeping the French Toast Sticks elevated as they bake will allow heat to circulate all around them and will make all of the sides equally crispy.
Pin this now to save it for later
Pin It Now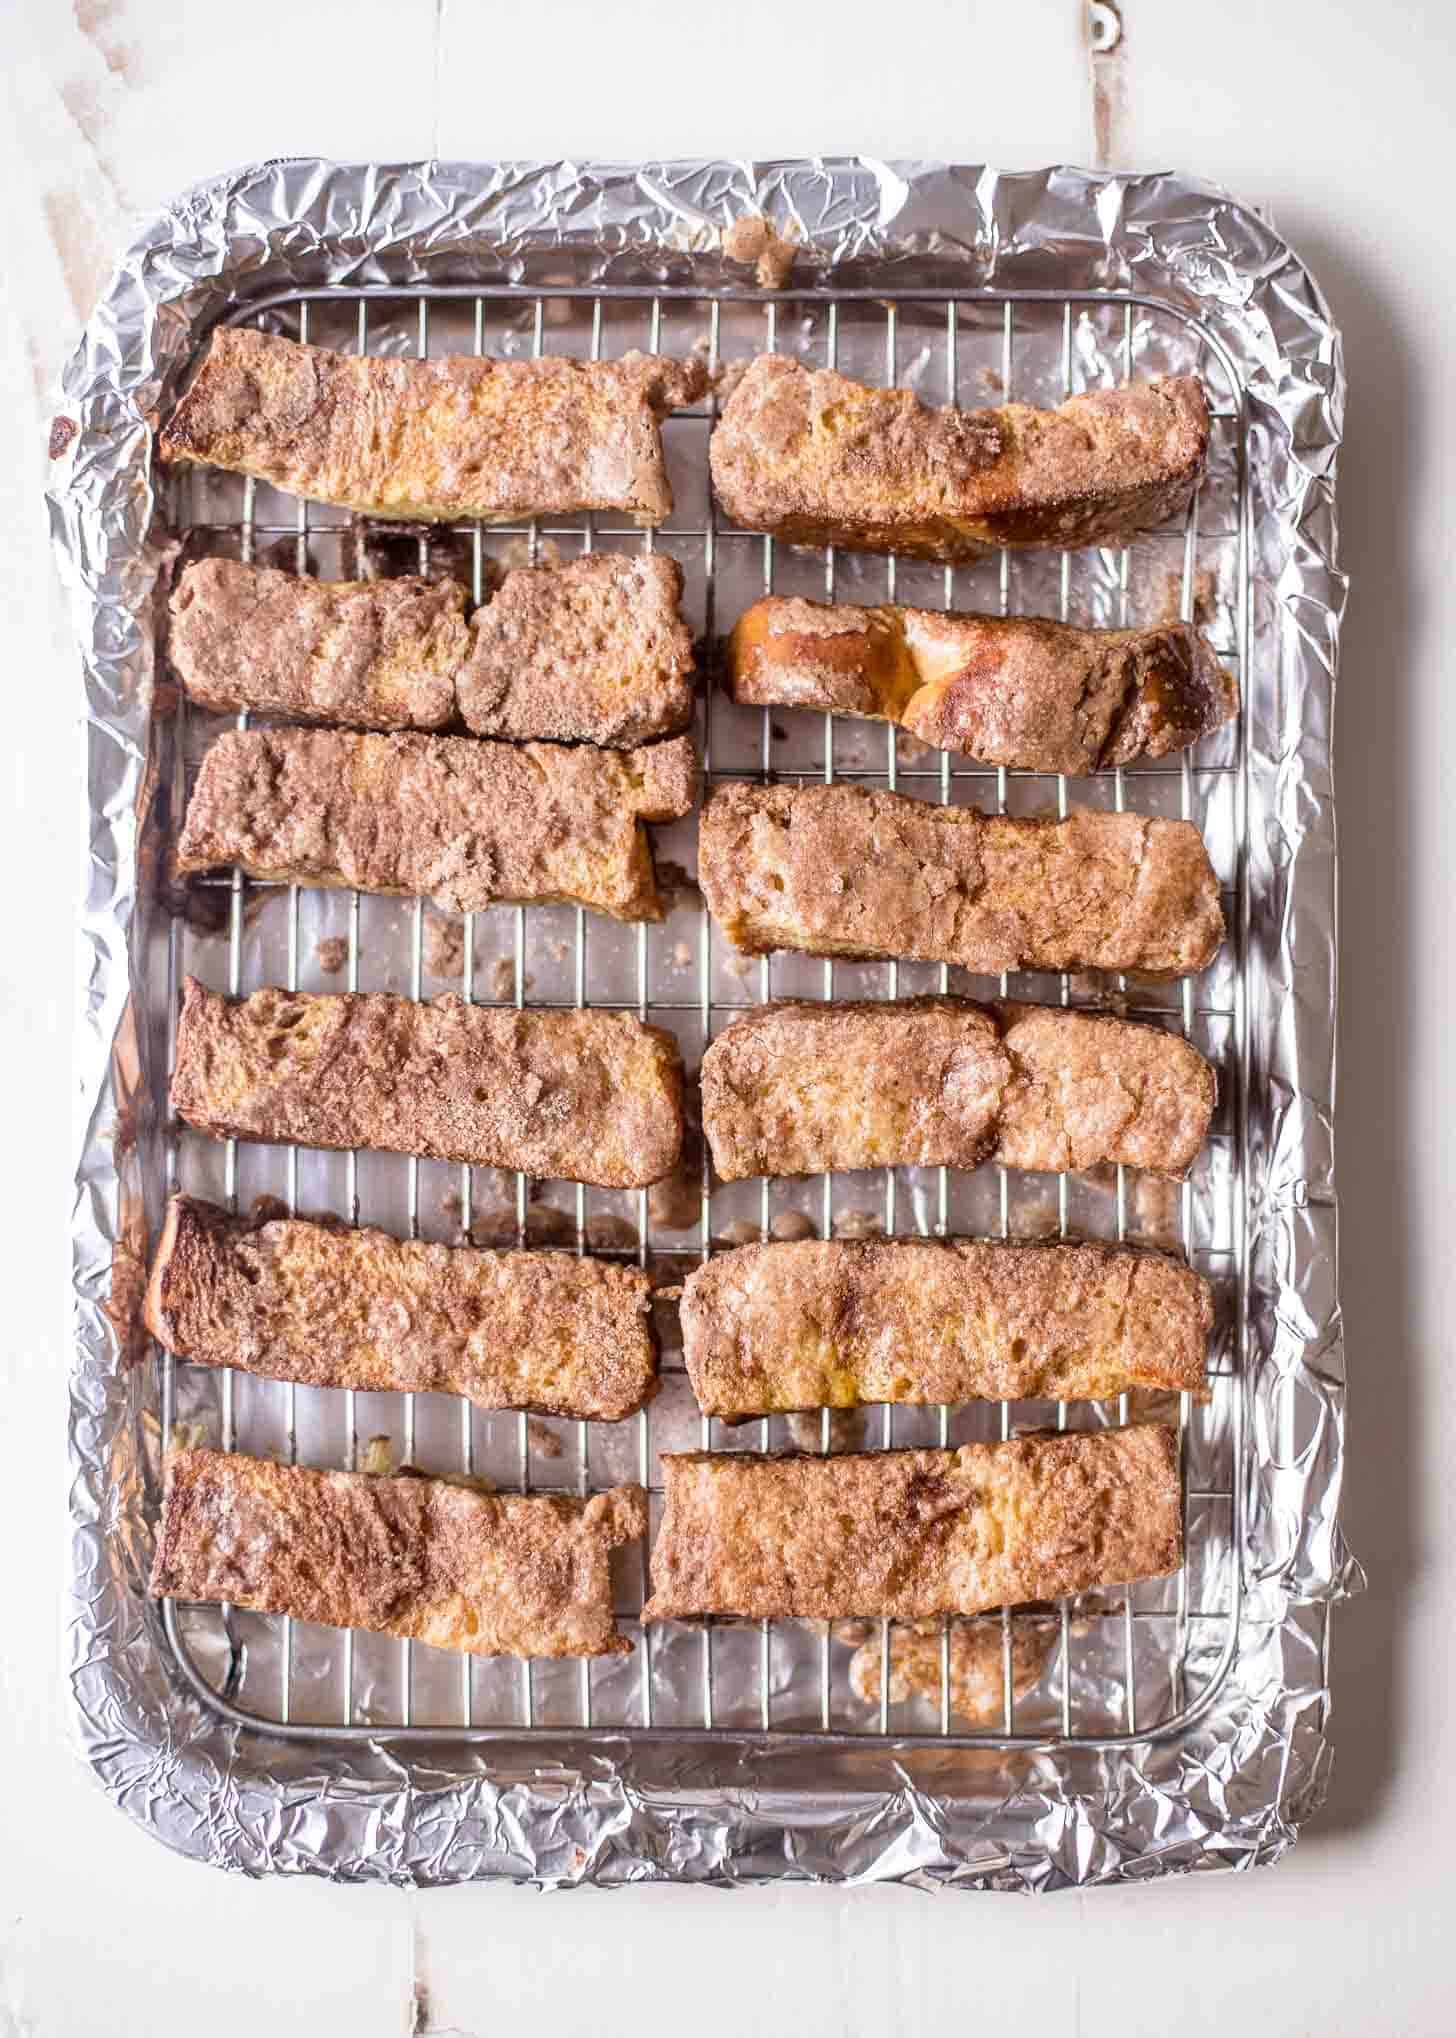
Baking French Toast Sticks is great on two levels:
- Easy to scale up. You can bake them for as many or as few people as you’d like. I’ve made them many times for just Molly and Clara (though they can eat as many as a table full of adults) and baked them for a whole crowd of extended family while we were at the beach.
- Easy clean-up. Unlike making stove top French toast, where you dip and then place the French toast right on a hot skillet, by the time these little beauties are done baking, all the other dishes can be washed and put away.
And I don’t even need to get into how much fun French Toast Sticks are compared to their classic counterpart right? Sticks = instant breakfast fun. Eat them on their own, dip them in syrup, serve them over tons of berries. It’s hard to go wrong.
Check out the video to see, in under a minute, how these are made!
More French Toast Recipes


Pin this now to save it for later
Pin It Now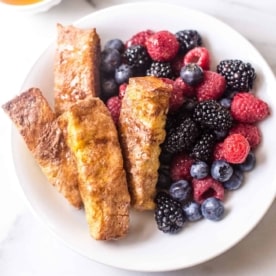
Baked Cinnamon French Toast Sticks
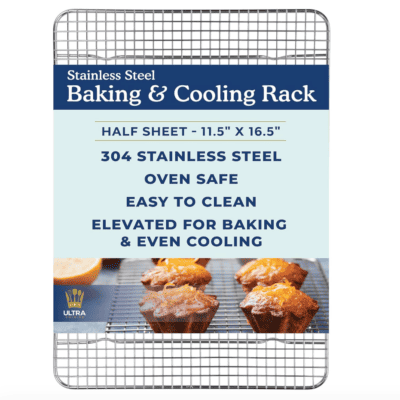
Equipment
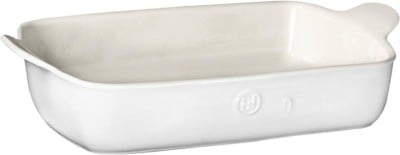
- 2 Baking Dishes
- Foil or Parchment
- Wire Rack
Ingredients
- 4 thick slices of Brioche bread
- 4 large eggs
- 1/2 cup milk (substitute heavy cream for a richer flavor)
- 1 teaspoon pure vanilla extract
- 1/2 cup sugar
- 2 tablespoon ground cinnamon
- berries or syrup, for serving
Instructions
- Heat oven to 350F.
- While the oven is heating, line a baking dish with foil or parchment and place an oven-safe cooling rack on top. Spray the cooling rack with nonstick cooking spray.
- Slice bread into even "sticks", about 4 per slice.
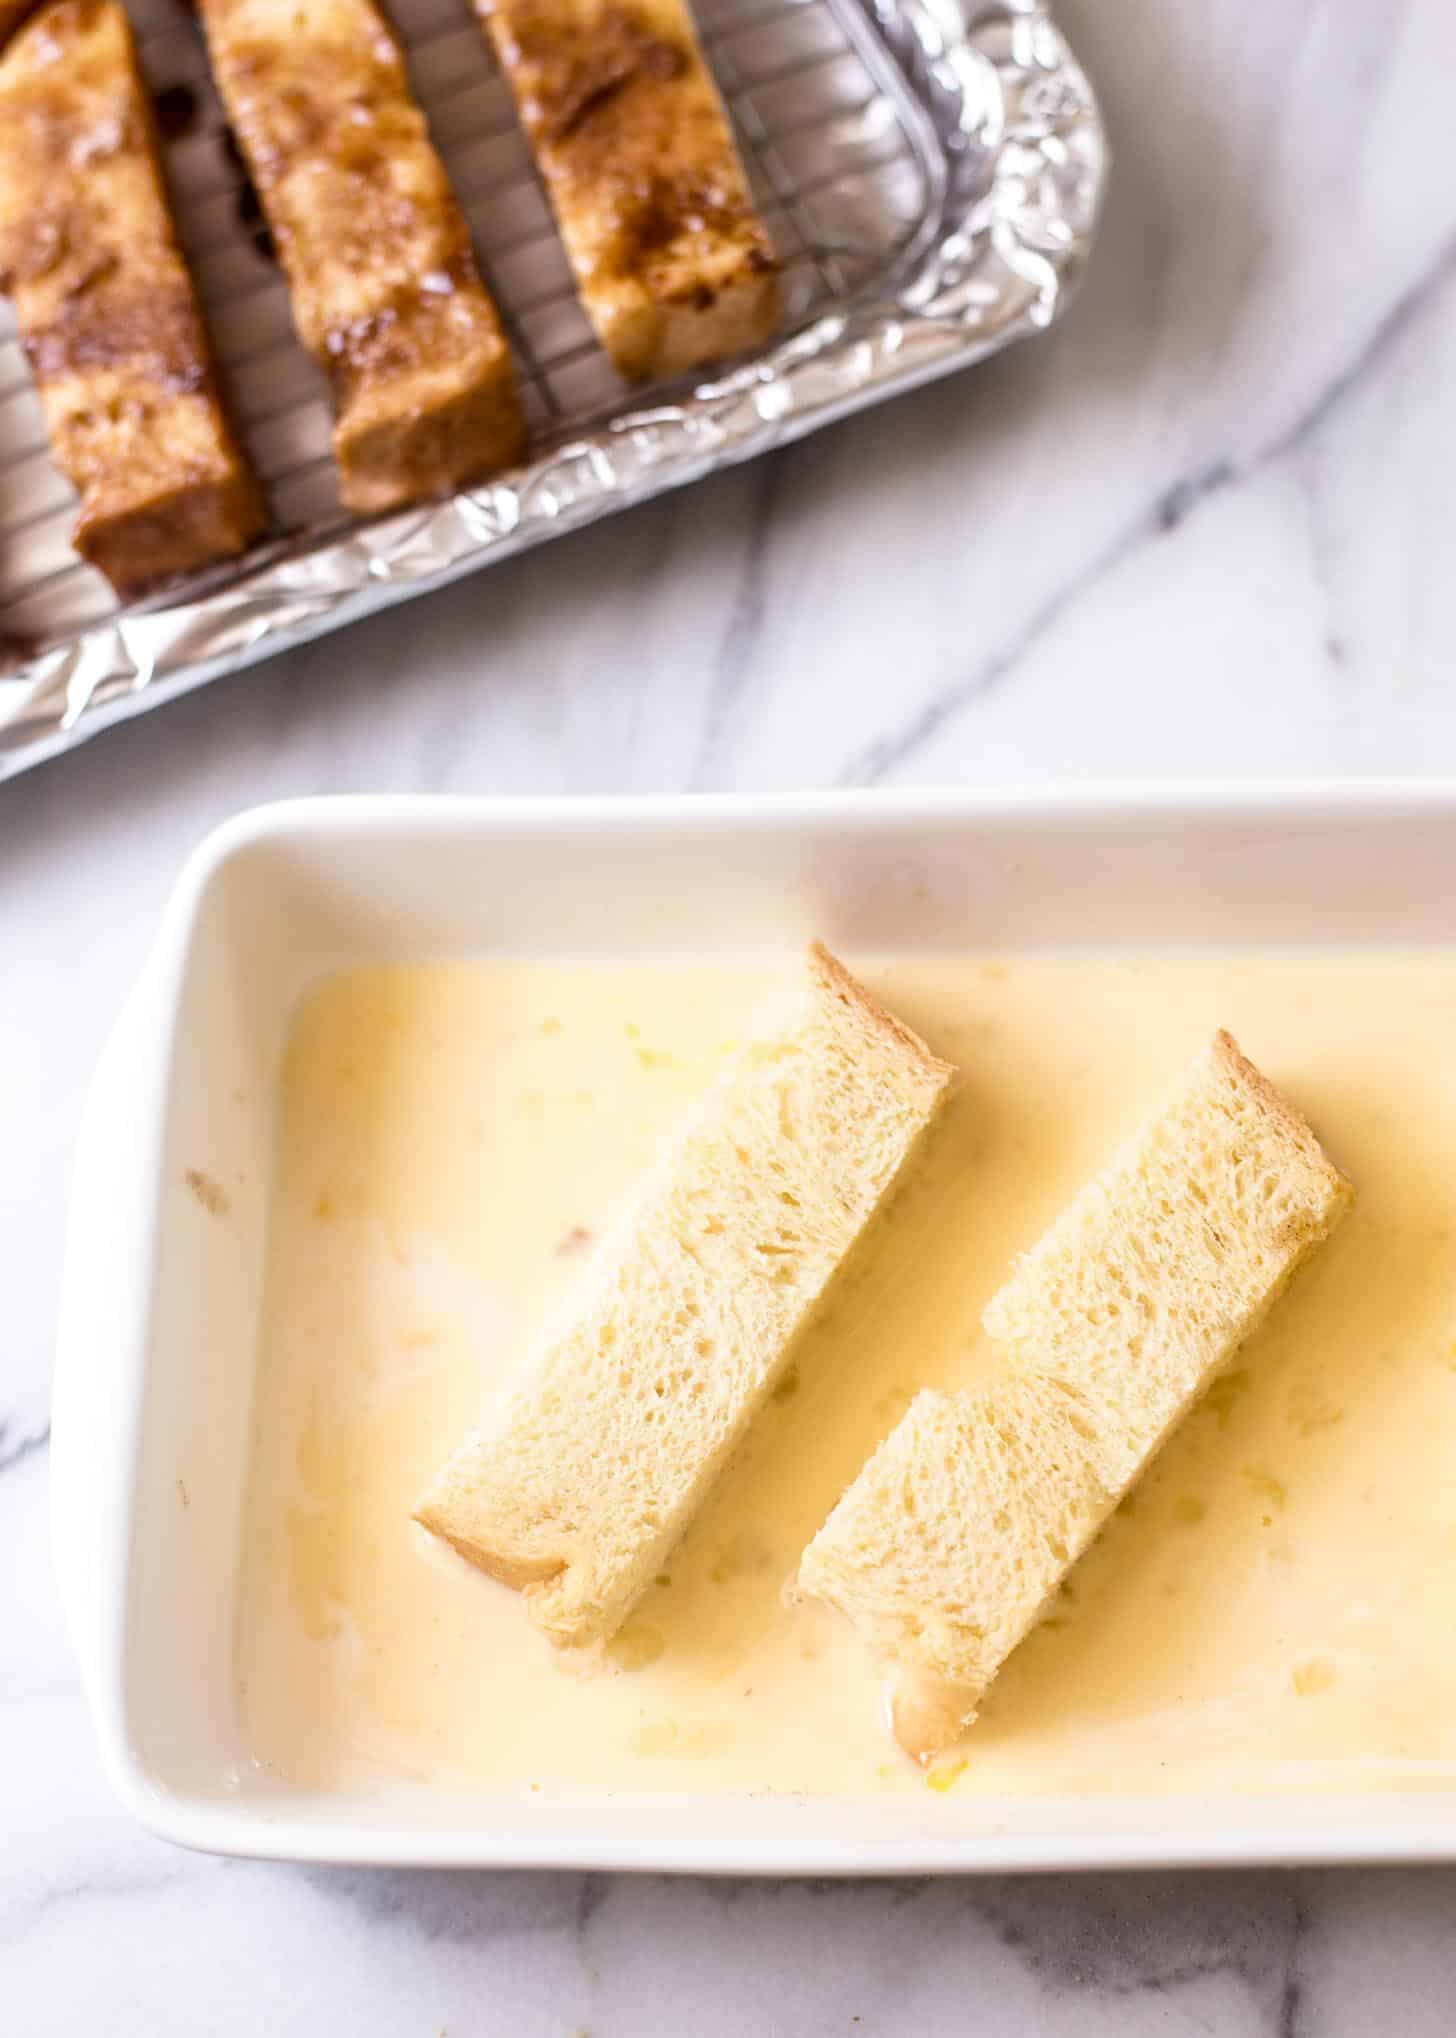
- In one shallow baking dish whisk together the eggs, milk, and vanilla until even.
- In a second shallow baking dish, stir together sugar and cinnamon.
- Roll the bread sticks in the egg mixture until just coated (don't let them soak up too much of the liquid). Then roll them in cinnamon-sugar and place on the prepared cooling rack, leaving at least 1 inch between each stick.
- Bake until crisp and golden brown on top, 20 to 24 minutes. (These do not need to be turned during cooking.)
- Serve immediately with berries or syrup or other toppings that you’d like!
Nutrition
Nutrition information is automatically calculated, so should only be used as an approximation.


These were incredible!! I had some brioche I needed to finish off and came across this recipe. After trying the first batch, I went to the store for more bread so I could make more and have them in the freezer for easy breakfast for the family throughout the week! I did also have issues with them sticking to my rack… I used the rack for bacon first and thought they’d be greased well enough to just put the toast on right after, but perhaps I should have oiled a bit more. All the same, these are amazing and we’ll definitely make lots more in the future!
So glad to hear your family enjoyed them as much as mine does!
I just made these this morning. They were excellent. I was however disappointed in how they stuck to the rack. My rack is non stick and I also sprayed it, but they all stuck to it.
Any better way?
Hi Liz – I’m so sorry to hear that. I actually can’t imagine why they stuck if you sprayed the rack. I haven’t had any trouble with that! Perhaps try rubbing some cooking oil on the rack next time instead?
In case anyone is wondering, these freeze and reheat beautifully. I made the recipe as directed, cooled the sticks completely, froze in a Ziploc, and reheated in the toaster with a couple sticks in each toaster slot (make sure the bread slices aren’t too thick to fit–I used homemade bread and cut according to my toaster slots). After the toaster, I did a 10-15 second run in the microwave just to warm any cold spots that remained, but they still stayed crisp due to that first toasting.
Awesome Mel! Thanks so much for sharing this! I’m definitely going to freeze a batch myself with your tips – I’ve been looking for all the homemade breakfast shortcuts I can get with my girls starting kindergarten this year.
No problem! I’m stocking our freezer for back to school as well. If it helps, you can freeze muffin batter and batter for baked (not yeast) doughnuts as well. Just thaw the batter in the fridge, scoop into the baking pan, and bake as usual. You can also freeze scones and biscuits (cut but unbaked). Bake them directly from frozen but for an extra minute or two and on a few layers of parchment paper to prevent over-browning the bottoms. Best of luck with kindergarten!
Could you soak the bread overnight and coat in the sugar in the morning? (To save time?)
I’ve tried it Julie, but never had much success. Every time I’ve soaked the bread overnight it’s absorbed so much liquid that it’s too soggy to hold its shape – especially in the case of brioche which usually has such a large crumb. IF you do have success soaking it, you may need to bake the sticks a bit longer to be sure they are cooked all the way through. (When just dunked and then baked, the custard doesn’t soak all the way to the center, so they cook a bit faster.)
I was thinking of the best way to make crunchy French toast for my family and this recipe topped it! It’s so easy to prep, cook and clean up and they came out so great tasted delicious and my oldest daughter too said it was delicious and she’s not always pleased with sugary breakfast but she was today and I topped them off with a little powdered sugar but overall it was good thank you! I’m definitely going to be making these again. 🙂
Wonderful! Thanks so much for your note Alysa!
That looks absolutely delicious! Can’t wait to try them!
Oh wow, these looks amazing! I love the video. I’d run to my kitchen to make them now, but A) I’m at my son’s gymnastics class, and B) I already made pancakes this morning. I’m definitely pinning this recipe for later!
Oh, and your girls are simply adorable in their leotards. I’m glad they loved their ballet class.
Thanks so much Joy! I think we’re all a little sad that dance is over…though gymnastics has been on my mind. Maybe we’ll have to give that a try next!