Easy Vegetarian Sushi
Published Apr 18, 2023•Updated Oct 10, 2024
This post may contain affiliate links. Please read our disclosure policy.
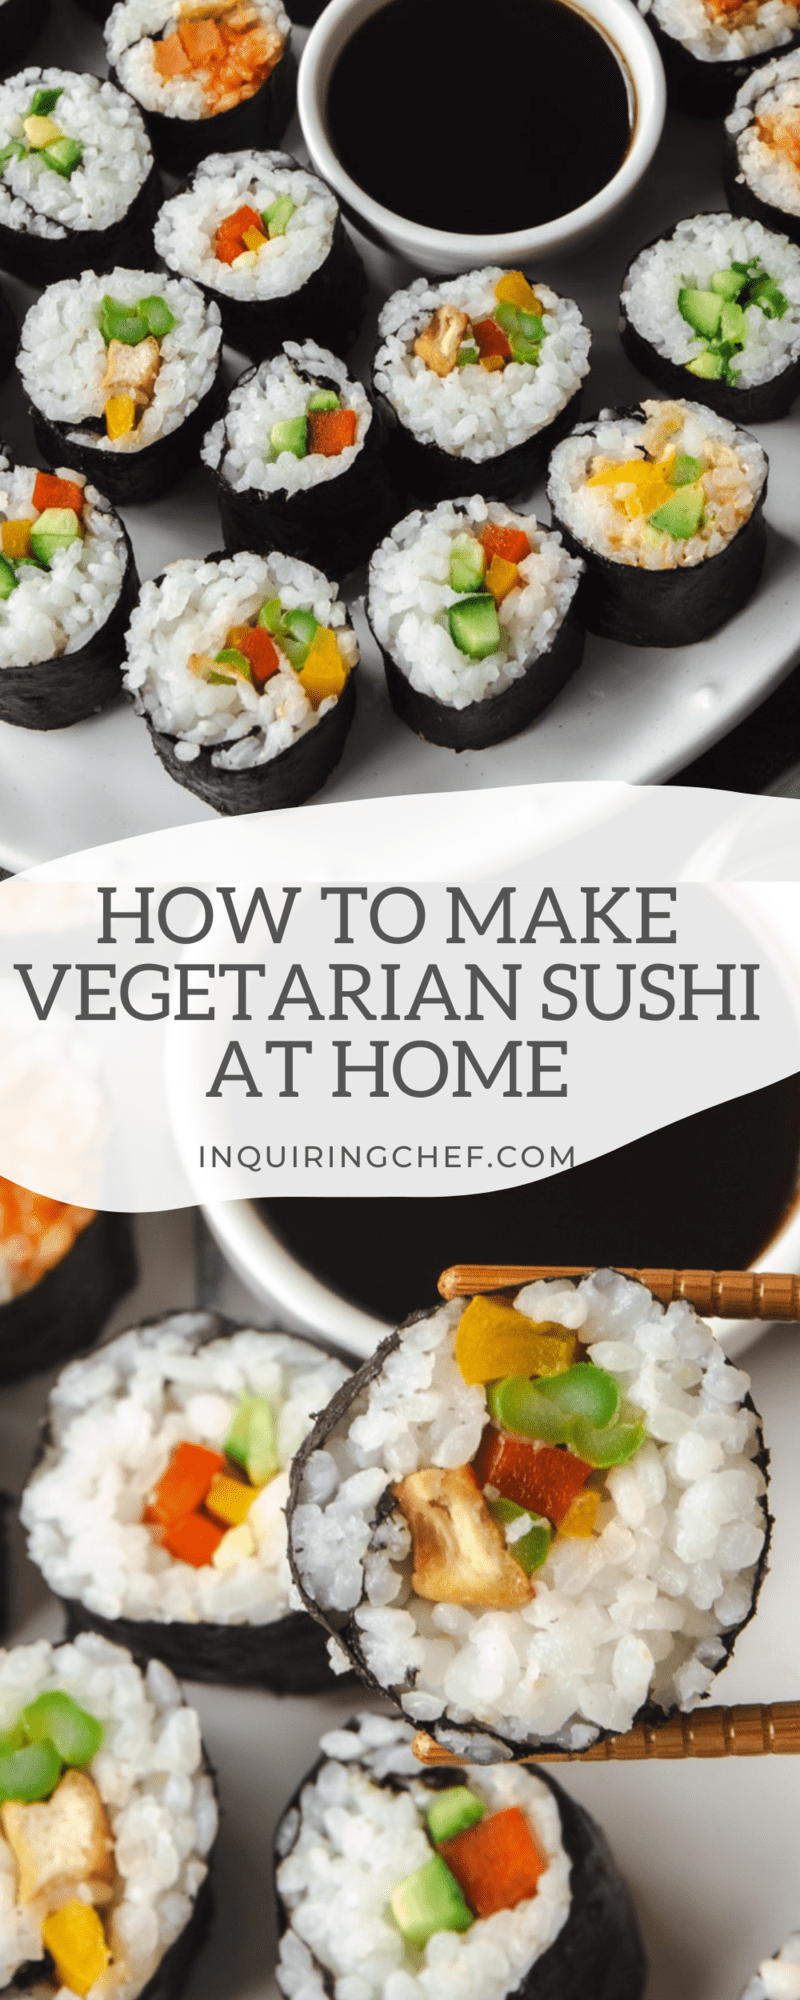
Skip the fish and make vegetarian sushi at home. Customize these rolls with fresh or roasted veggies, crunchy add-ins, and serve with your favorite, sweet, savory, or spicy dipping sauces. Everything you need to know is in this step-by-step guide.
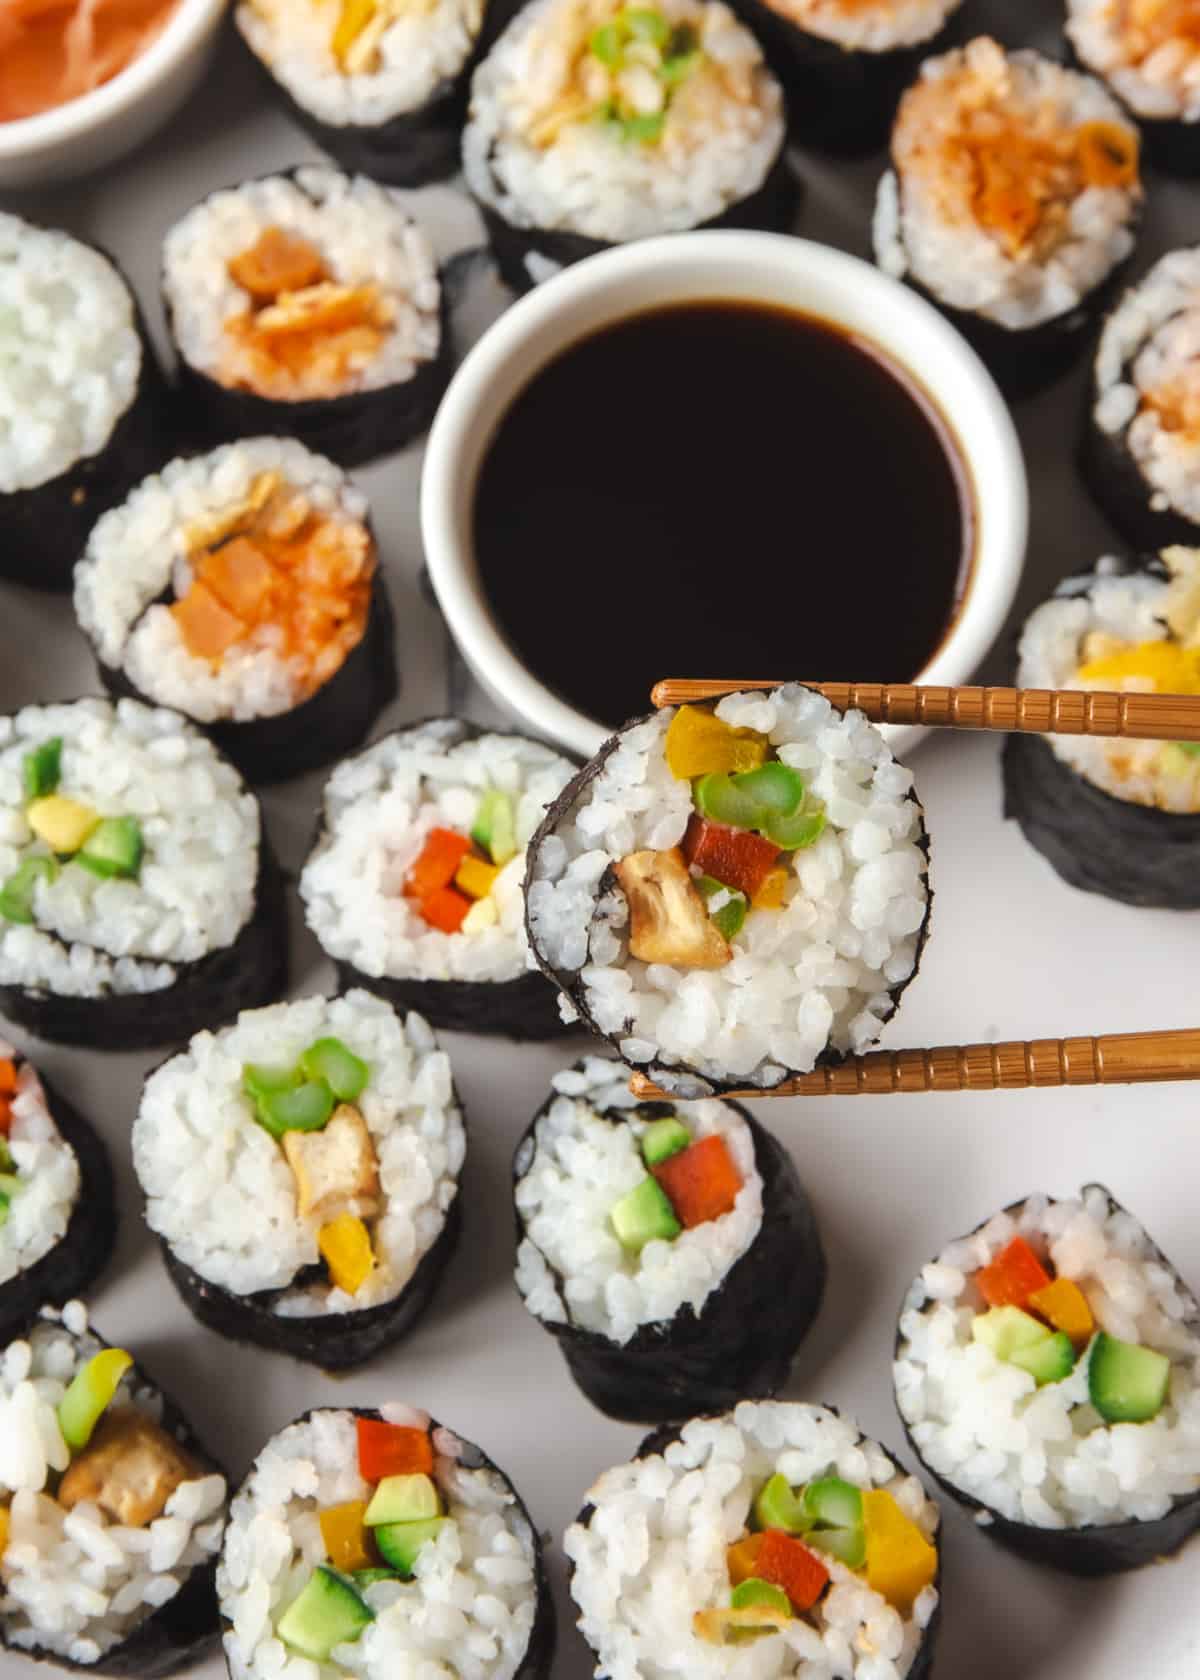
When most people think of sushi, they think of raw fish. But there is more to the world of sushi than fish, and many classic sushi recipes can also be made into super flavorful vegetarian versions of traditional sushi using crunchy vegetables like cucumber, bell pepper, or wholesome sweet potato and avocado.
There are so many easy recipes for beginners to make at home, and once you learn how to roll sushi, the best vegetarian and vegan fillings to use, and how to recreate the distinct taste of sushi rice from your very own home, the customization options are endless. You don’t even need a sushi rolling mat to create the perfect sushi roll.
What is Vegetarian Sushi Made of?
This dish replaces fish with a variety of fresh and roasted veggies, as well optional seasoning elements like crunchy wonton strips, sesame seeds, black rice, and a number of Japanese sauces. When you learn how to make this easy dish, you can satisfy your sushi cravings in a plant-based way without the raw fish.
Pin this now to save it for later
Pin It NowHow to Make
- Prep rice. Rinse the rice in cool water. Drain well.
- Cook the rice. Simmer the rice for 16 to 18 minutes. The rice is done cooking when all of the liquid is absorbed.
- Make the sushi vinegar. Heat the rice vinegar, sugar, and salt until the sugar and salt dissolve. Set aside.
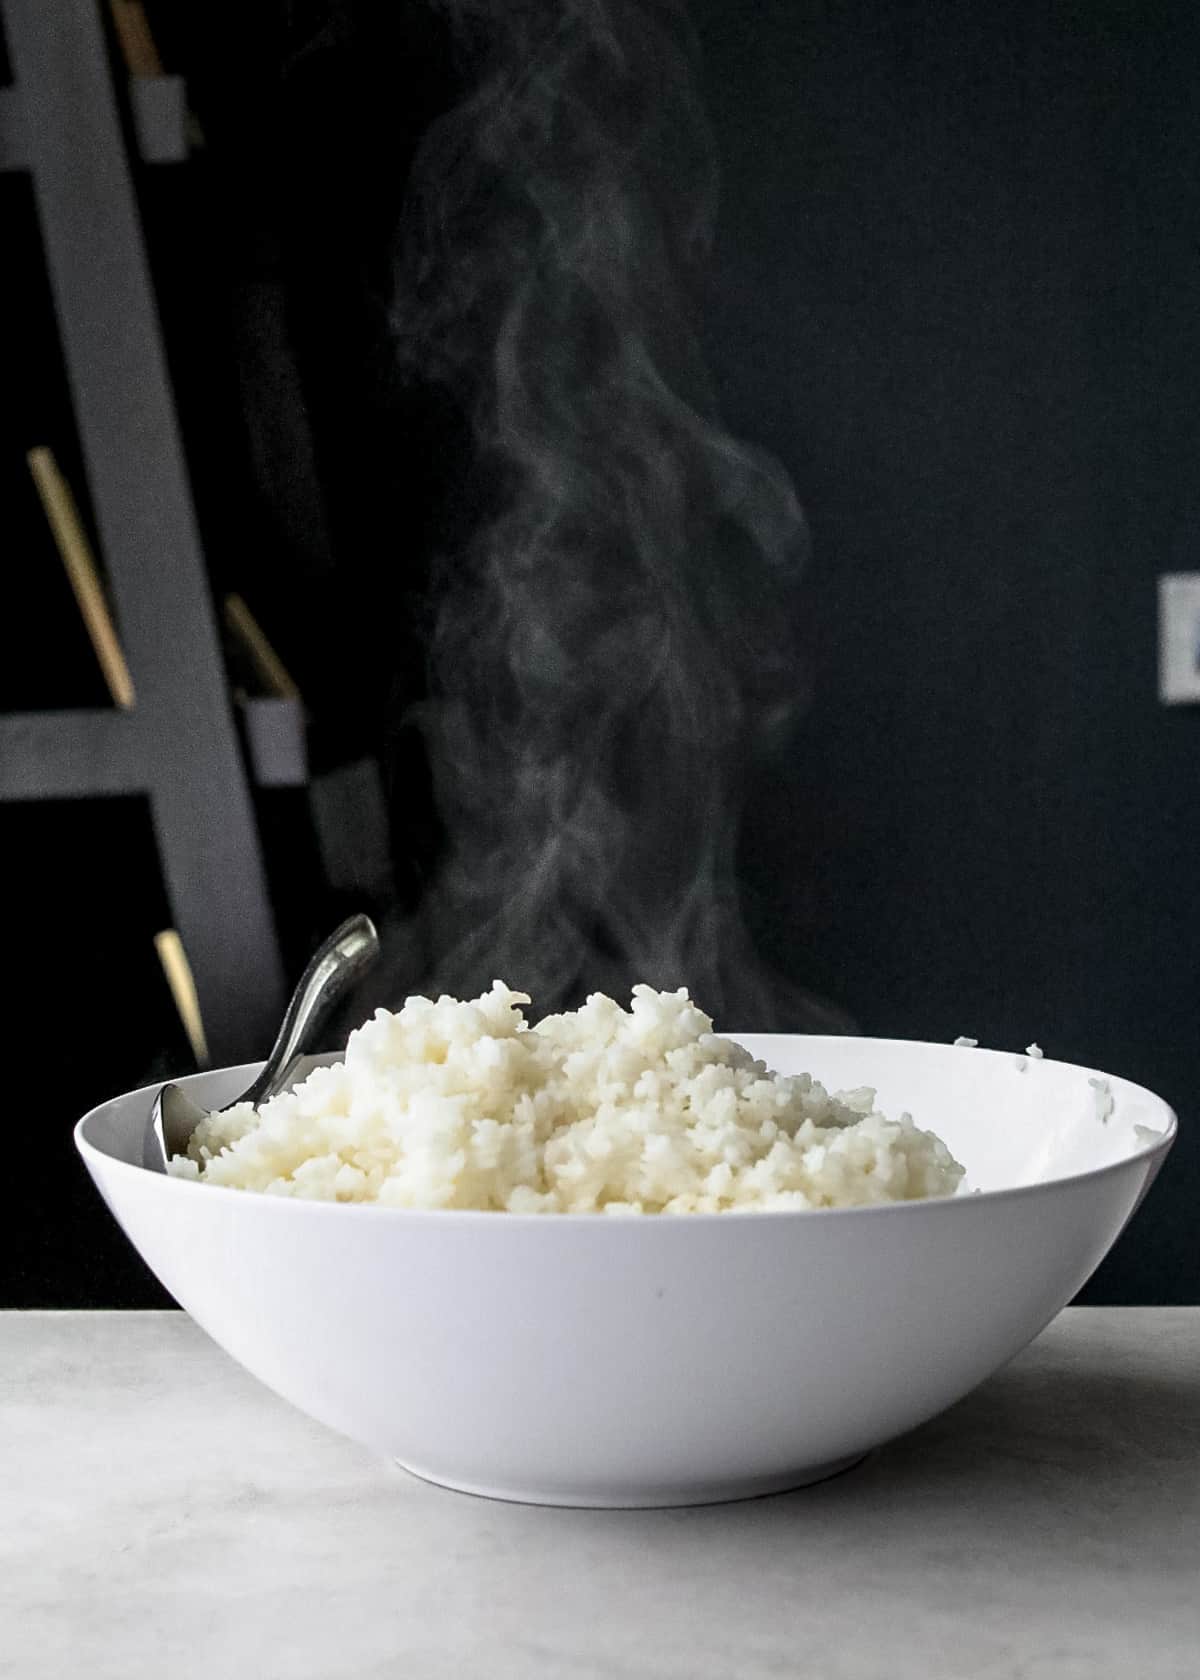
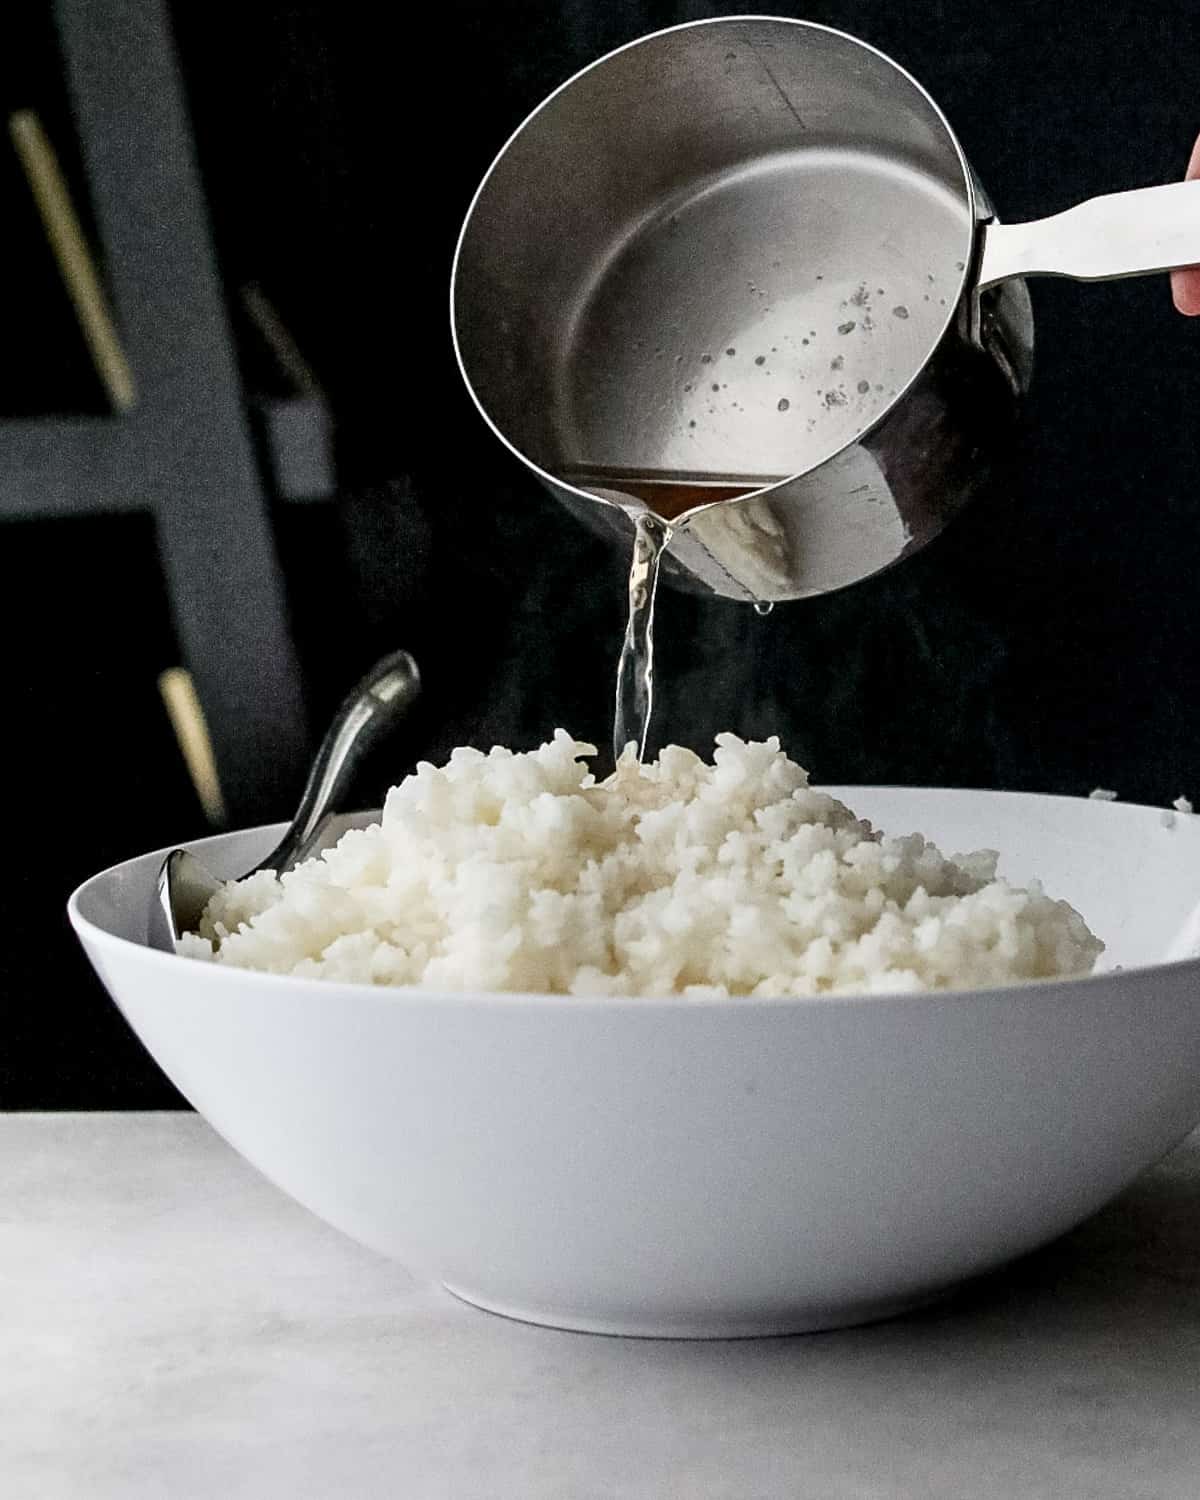
- Season the rice. Transfer the cooked rice to a mixing bowl, and pour the seasoned vinegar over the top. Carefully fold the vinegar into the rice. To prevent the rice from drying out, cover with a clean dish towel and set it aside.
- Gather your sushi filling ingredients. Along with your prepped veggies, crunchy items and sauces, you will need a piece of parchment paper and the sushi mat for rolling.
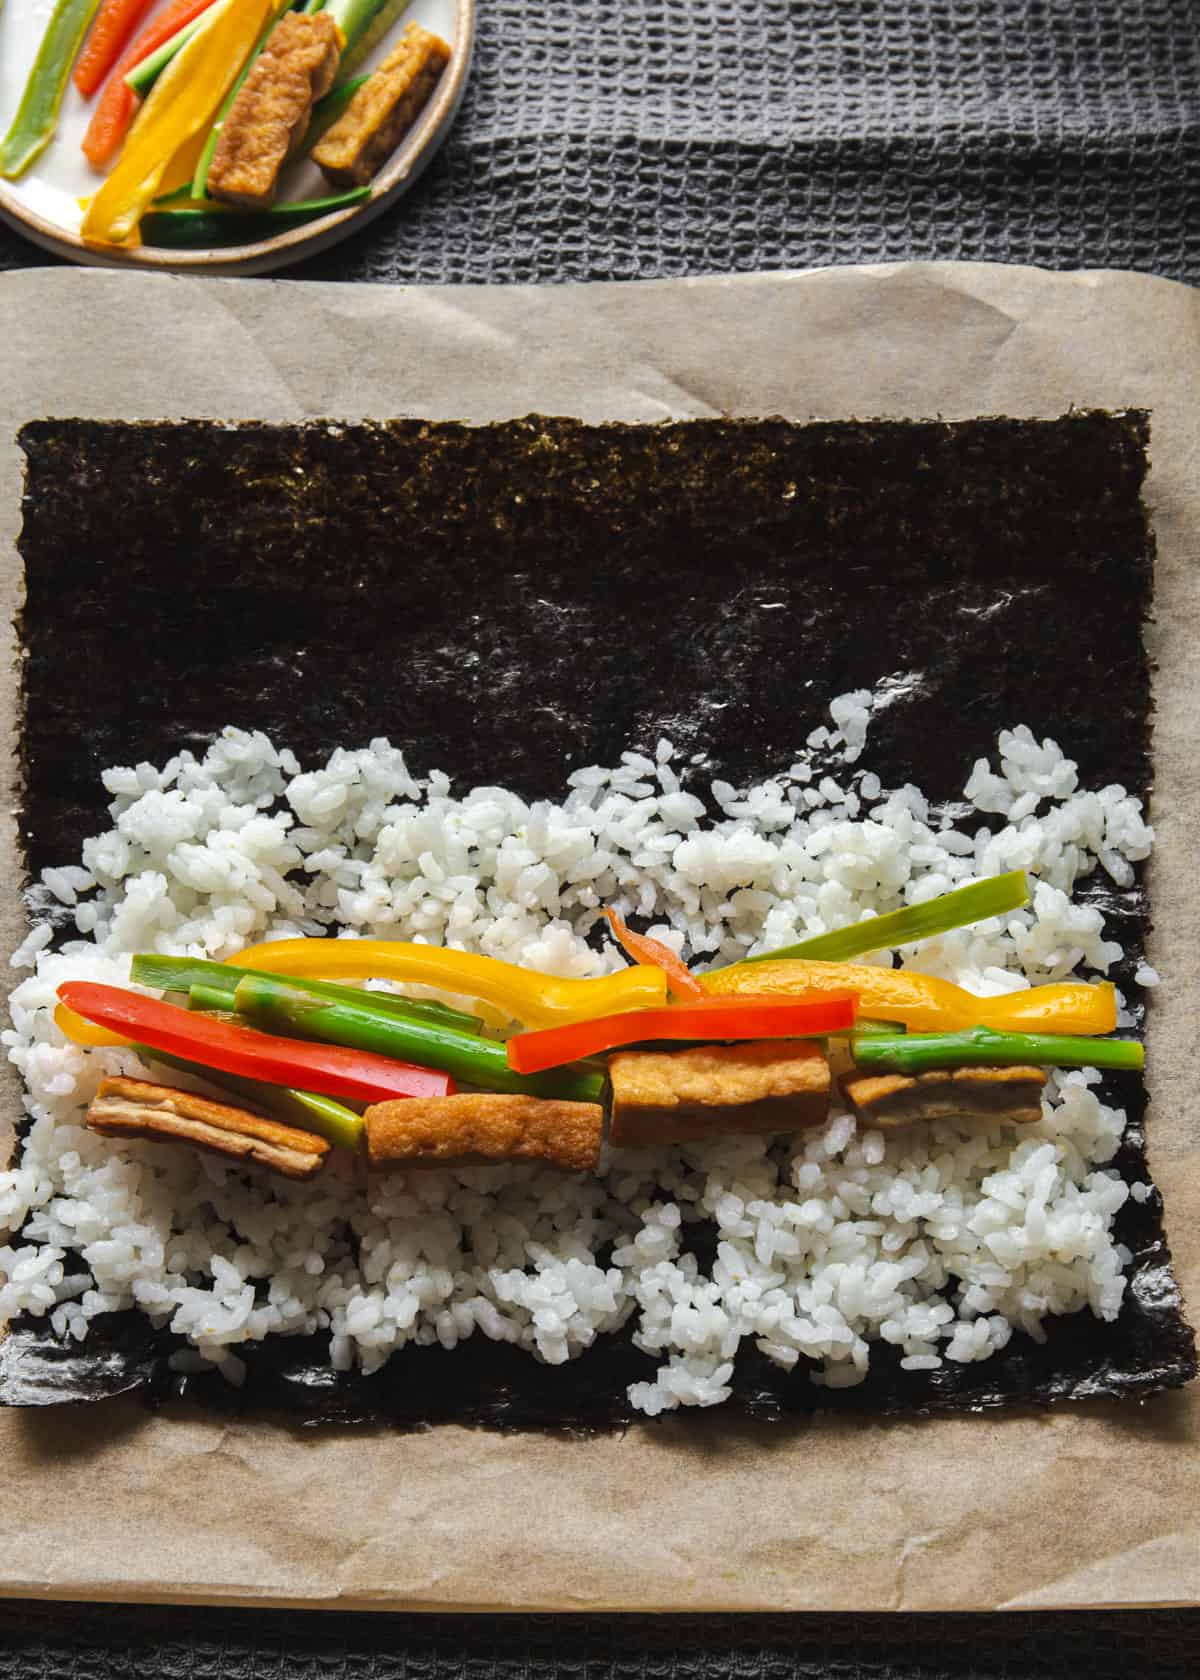
- Assemble the sushi rolls. Place a piece of nori with the shiny side down on the mat or parchment paper. Spread a thin layer of sushi rice on the lower 2/3 of the nori, leaving the upper 1/3 of the nori free. Add fillings in a single row across the center of the rice.
- Roll the sushi. Roll the nori into a compact log away from you. You want to apply just enough pressure to form the shape of the log. Too much pressure will cause the filling to creep out the sides. When you reach the end of the roll, wet your finger with water and run along the space we left open at the top. Press to seal.
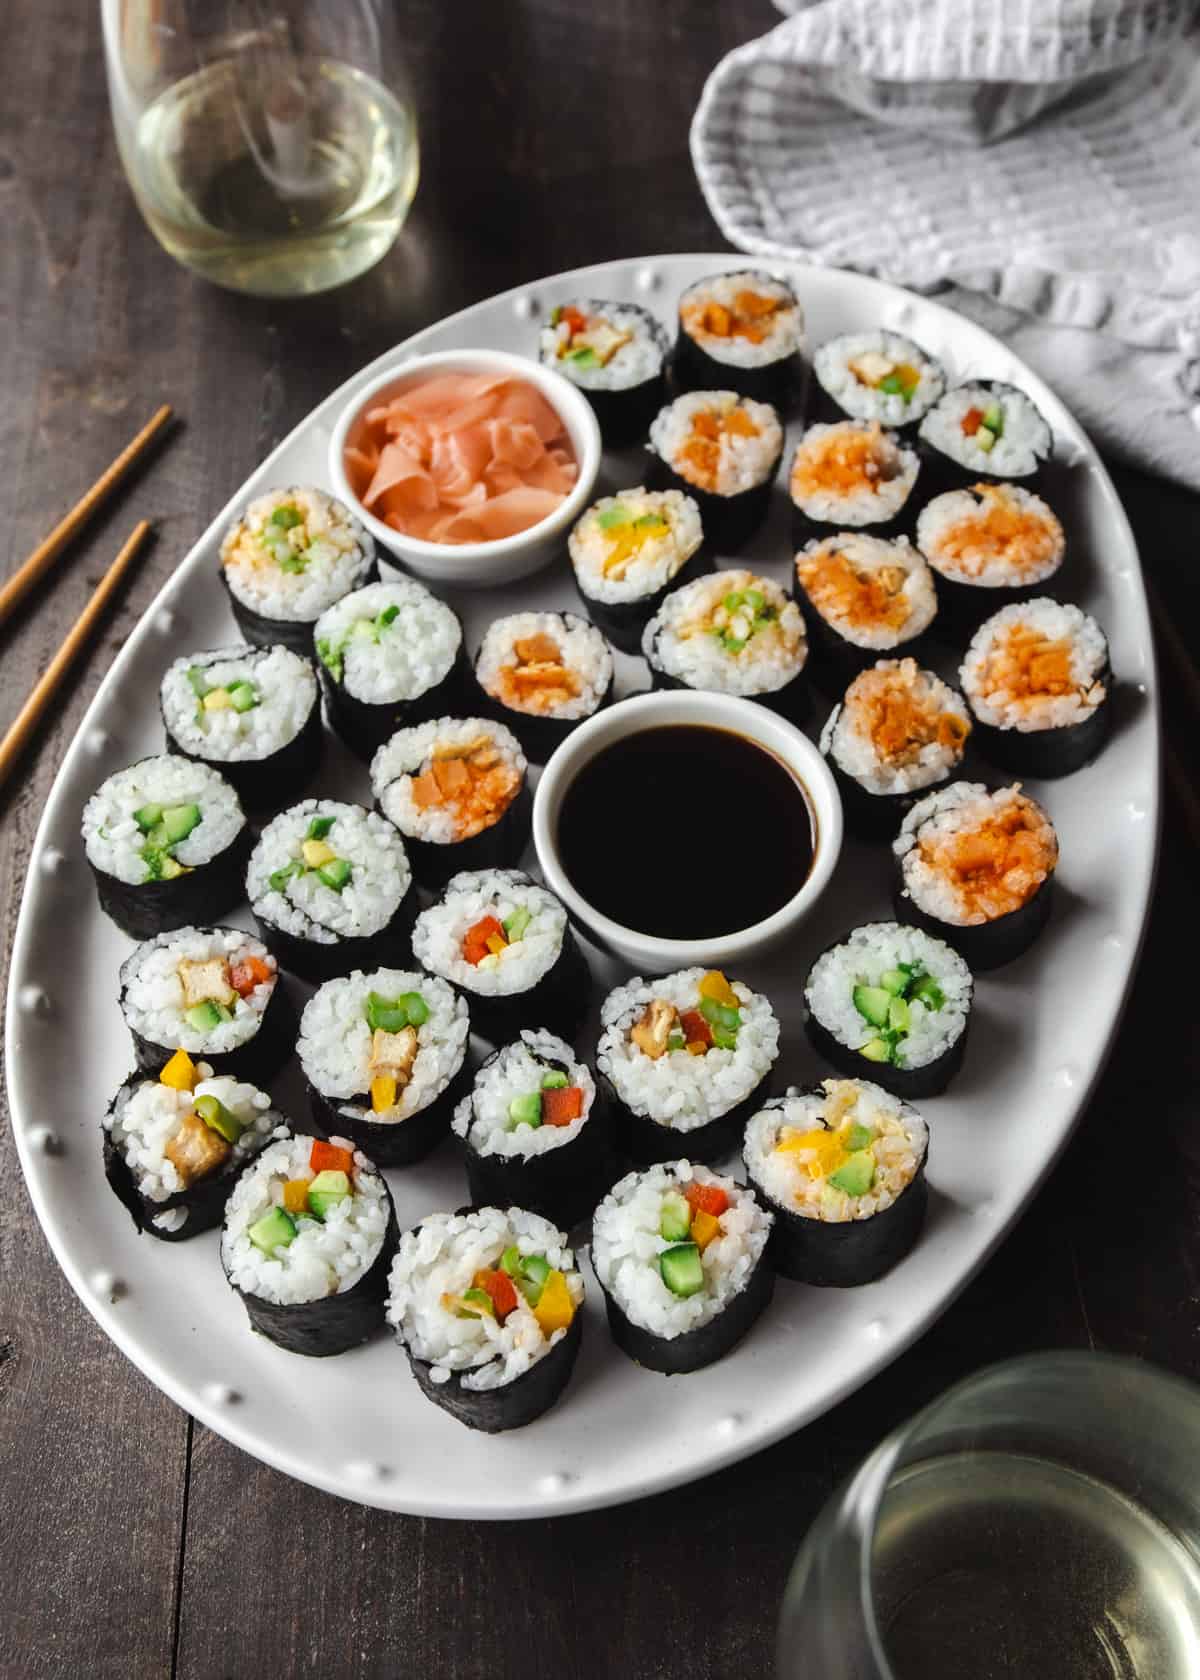
- Slice and serve. Slice the rolls into 1 ½-inch rounds, and serve with dipping sauces like soy sauce / Tamari, and wasabi, and pickled ginger on the side.
Ingredients
- Sushi Rice – Sushi rice is a short-grained rice that becomes quite sticky when cooked. It’s the stickiness that helps sushi rolls maintain their shape.
- Rice Vinegar, Sugar, Kosher Salt – Combining rice vinegar, sugar, and salt gives you the sweet and pleasantly sour taste of sushi rice.
- Nori Sheets – A thin piece of seaweed used to wrap the sushi rolls. These can be toasted or “plain”. Toasted nori has a pleasant nuttiness to it.
- Fillings for the rolls – See below for ideas!
- Soy Sauce or Gluten-Free Tamari, Wasabi, and Pickled Ginger – Traditional ingredients for serving with sushi.
- Parchment paper or a Sushi Mat – You’ll also need one of these for shaping the rolls.
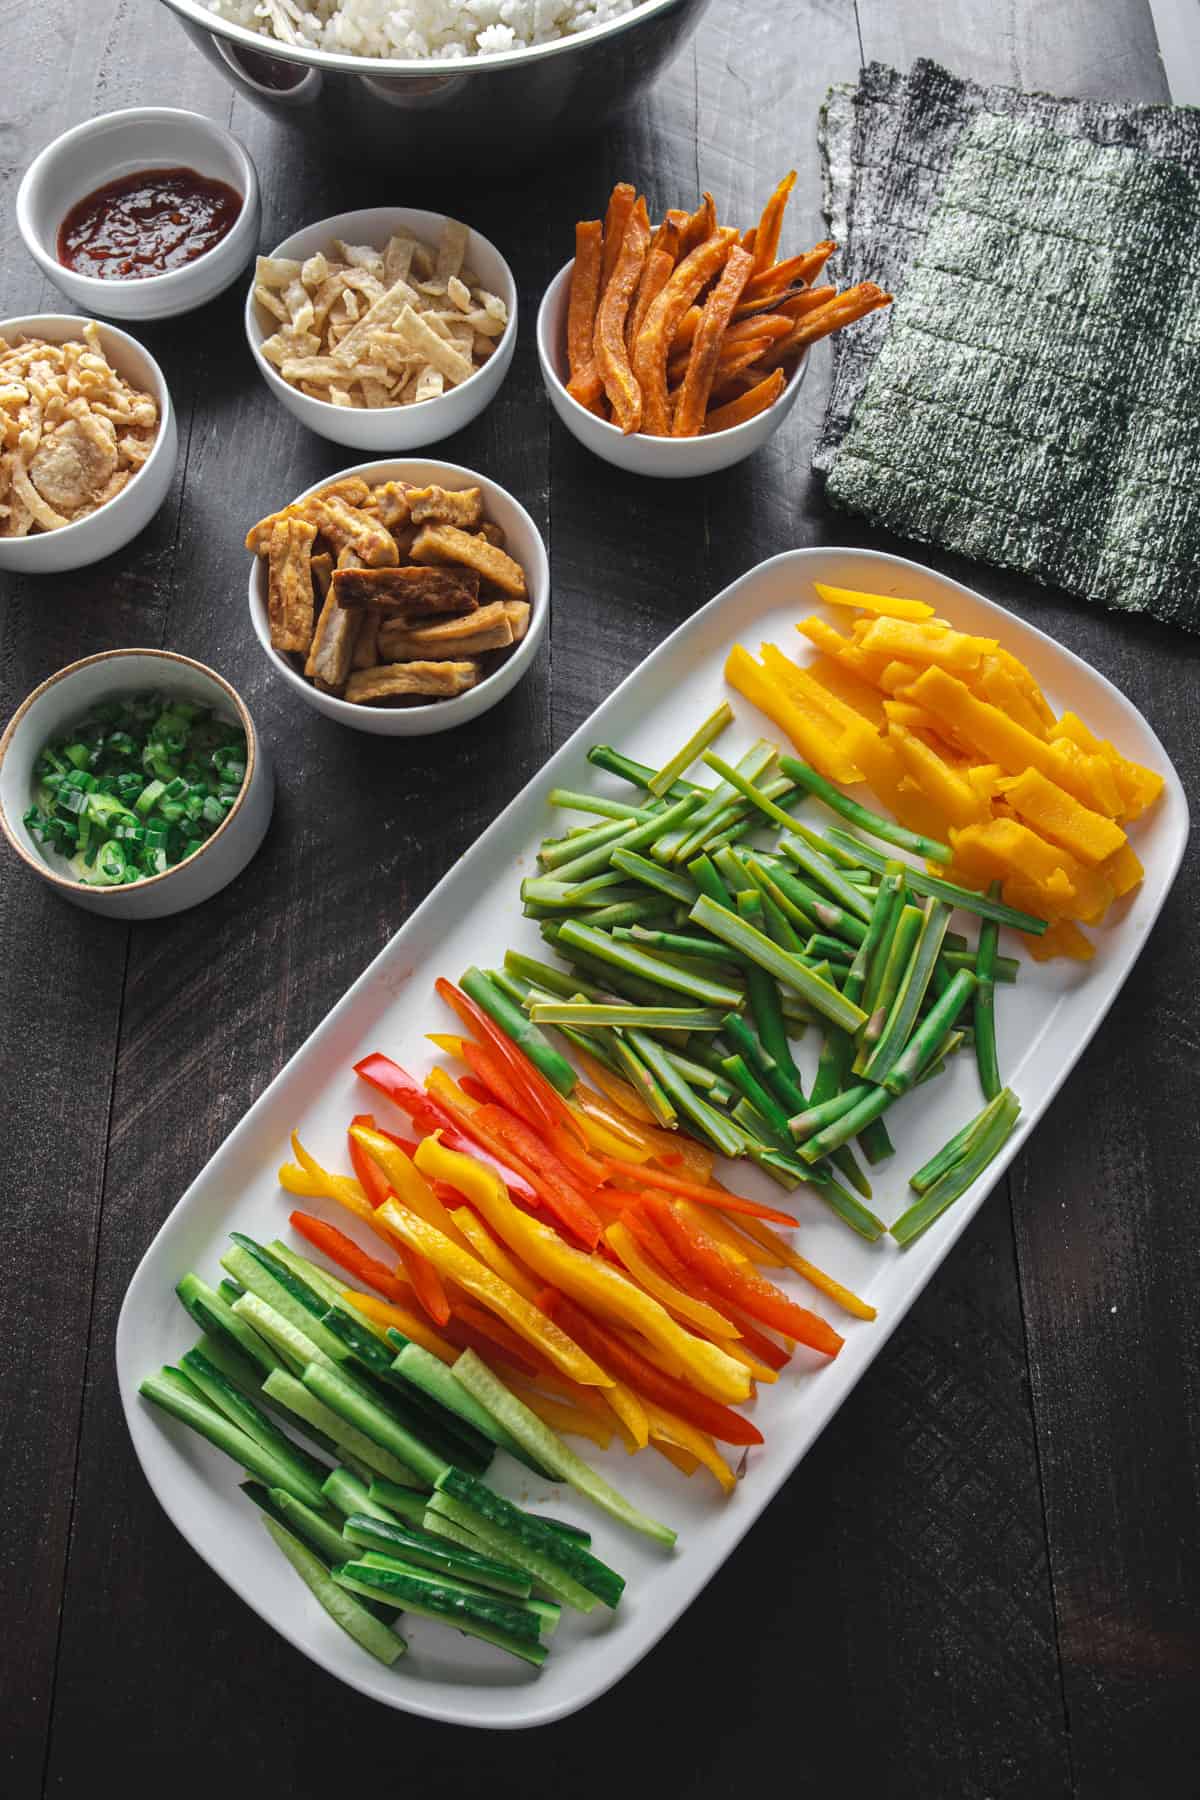
Filling Ideas
- Cucumber
- Red Peppers
- Avocado
- Asparagus
- Carrots
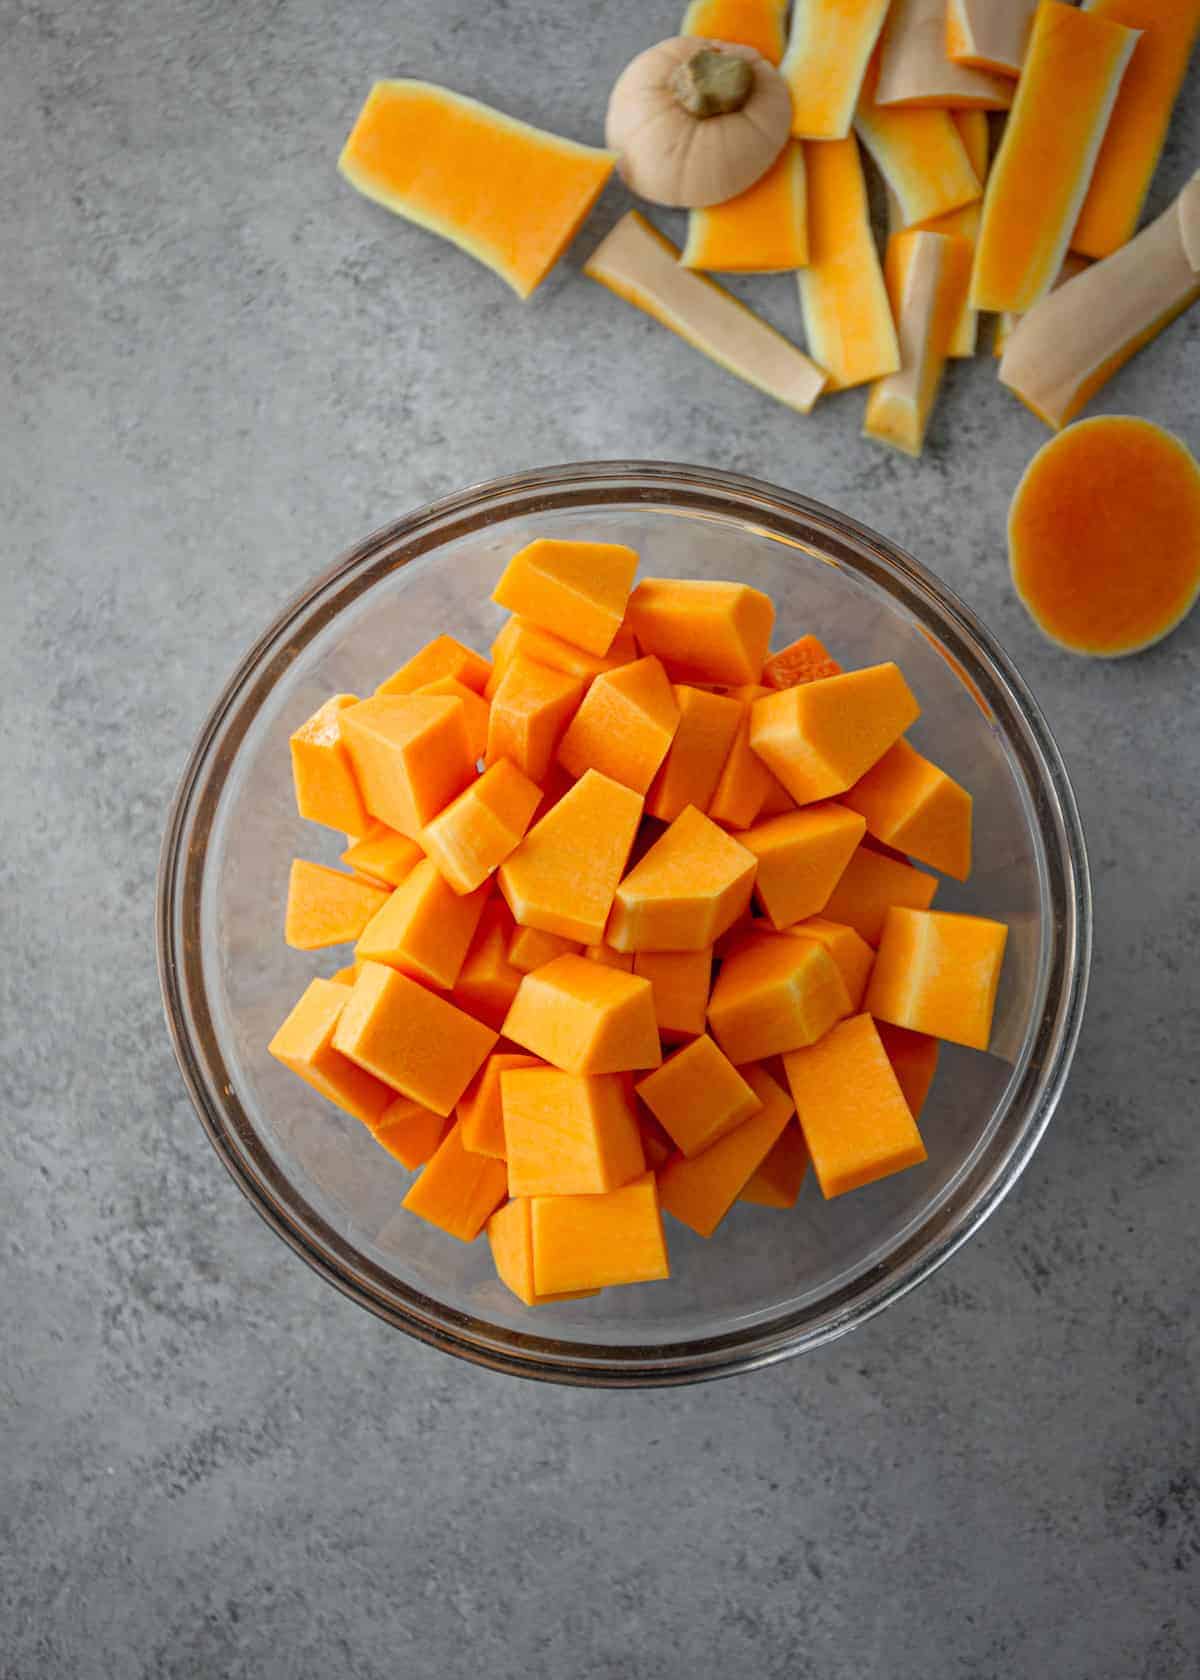
- Butternut Squash
- Sweet Potatoes (I like to use baked sweet potato fries!)
- Tofu, Tempeh, or Seitan
- Green Onions / Scallions
- Crispy Shallots
- Crispy Wonton Strips
- Gochujang
- Sriracha Mayo
- Sesame Seeds
- Tempura Flakes
Make Ahead
The sushi rice can be made 3 days in advance. Store in an air-tight container in the refrigerator until you are ready to use. Cold rice is a little difficult to roll because it doesn’t keep its shape, so before you begin assembling the sushi, let the rice come to room temperature or warm it slightly in the microwave.
Rolls can be made a day in advance.

Recipe Tips
- Dip your finger in water before assembling the sushi. Dipping your fingers before you begin working with the rice will prevent it from sticking to your fingers.
- Use a sharp knife – The sharper the knife, the easier it will be to slice perfectly sized pieces of sushi, without affecting the shape of the roll.
- Slice veggies thinly – A vegetable slicer or julienne peeler will create thin uniform pieces, which will make rolling the sushi a breeze.
FAQS
Vegan sushi and vegetarian sushi rolls are made with simple, whole food ingredients and lots of fresh veggies. These are a great recipe to make at home because you control the healthfulness of the ingredients.
Because vegetarian sushi contains no raw fish or seafood, and the only ingredients used are vegetables, rice, and a few seasonings or dipping sauces, it’s safe to consume while you’re pregnant.
More Asian Vegetarian Recipes
Favorite Tools
Pin this now to save it for later
Pin It Now
Easy Vegetarian Sushi
Equipment
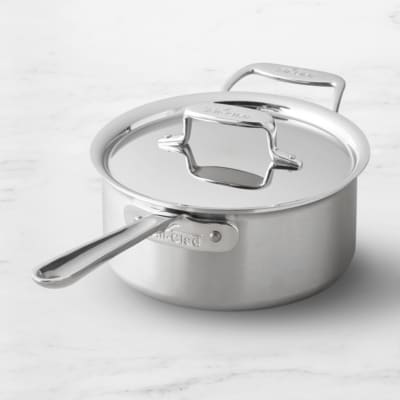
- 2 Saucepans
- Mixing Bowls
- Parchment Paper
- Sharp Knife
Ingredients
- 4 cups sushi rice
- 4 1/2 cups water
- 1/3 cup rice vinegar
- 2 Tablespoons sugar
- 2 teaspoons kosher salt
- 8 sheets nori, toasted or untoasted
- 4 cups thinly sliced fresh or roasted vegetables
- 1/2 cup thinly sliced and seared tofu, tempeh, or seitan (optional)
- 1/2 cup crunchy items (optional, but I like wonton strips, fried shallots / onions, sesame seeds, or tempura flakes)
- Sauces like Gochujang, Sriracha Mayo, and / or Teriyaki Sauce
- Water, for sealing the rolls
- Parchment paper or a sushi mat
For Serving (optional):
- Soy sauce or gluten-free Tamari
- Wasabi
- pickled ginger
Instructions
- Rinse the rice in cool water until the water runs very clear. Drain well.
- Pour the water into a heavy-bottomed saucepan (use one with a tight-fitting lid). Bring the water to a boil over medium-high heat (see note). As soon as the water is boiling, reduce the heat to low-medium. Stir in the rice. Cover with the lid. Adjust the heat as needed to maintain a low simmer in the pan. Simmer the rice until all of the liquid is absorbed and the rice is tender, 16 to 18 minutes.
- While the rice cooks, heat the rice vinegar, sugar, and salt in a small saucepan or in the microwave, stirring occasionally, until the sugar and salt dissolve. Set aside.
- When the rice is done cooking, transfer it to a mixing bowl. Pour the seasoned vinegar evenly over the top. Use a large spoon or flexible spatula to gently fold the vinegar into the rice, being careful not to mash the rice, until it is evenly seasoned. Cover the rice with a clean dish towel and set it aside until it is cool enough to handle.
- Prepare and set out all of your sushi filling ingredients – nori, vegetables, crunchy items, and sauces. You’ll also need a small bowl of water and parchment paper or a sushi mat.
- Assemble your sushi rolls one at a time by setting a piece of nori out on a sushi mat or piece of parchment paper. Place a piece of nori with the shiny side down on the mat or parchment paper. Spread a thin layer of sushi rice on the lower 2/3 of the nori, leaving the upper 1/3 free. Add fillings in a single row across the center of the rice.
- Now roll! Starting with the side closest to you and using the parchment paper for leverage, roll the nori into a compact log. The rice should completely enclose the filling. When you reach the end, dampen your finger with water and run it along the end of the nori, pressing to seal.
- Slice the rolls into 1 ½-inch rounds. Serve with soy sauce / Tamari, wasabi, and pickled ginger on the side.
Notes
- Avocados
- Cucumbers
- Green onions
- Sweet Potato Fries
- Gochujang
- Crispy Shallots
- Cucumbers
- Bell Peppers
- Seared Tofu
- Asparagus
- Wonton Strips
- Roasted Butternut squash
- Asparagus
- Sriracha Mayo
Nutrition
Nutrition information is automatically calculated, so should only be used as an approximation.
