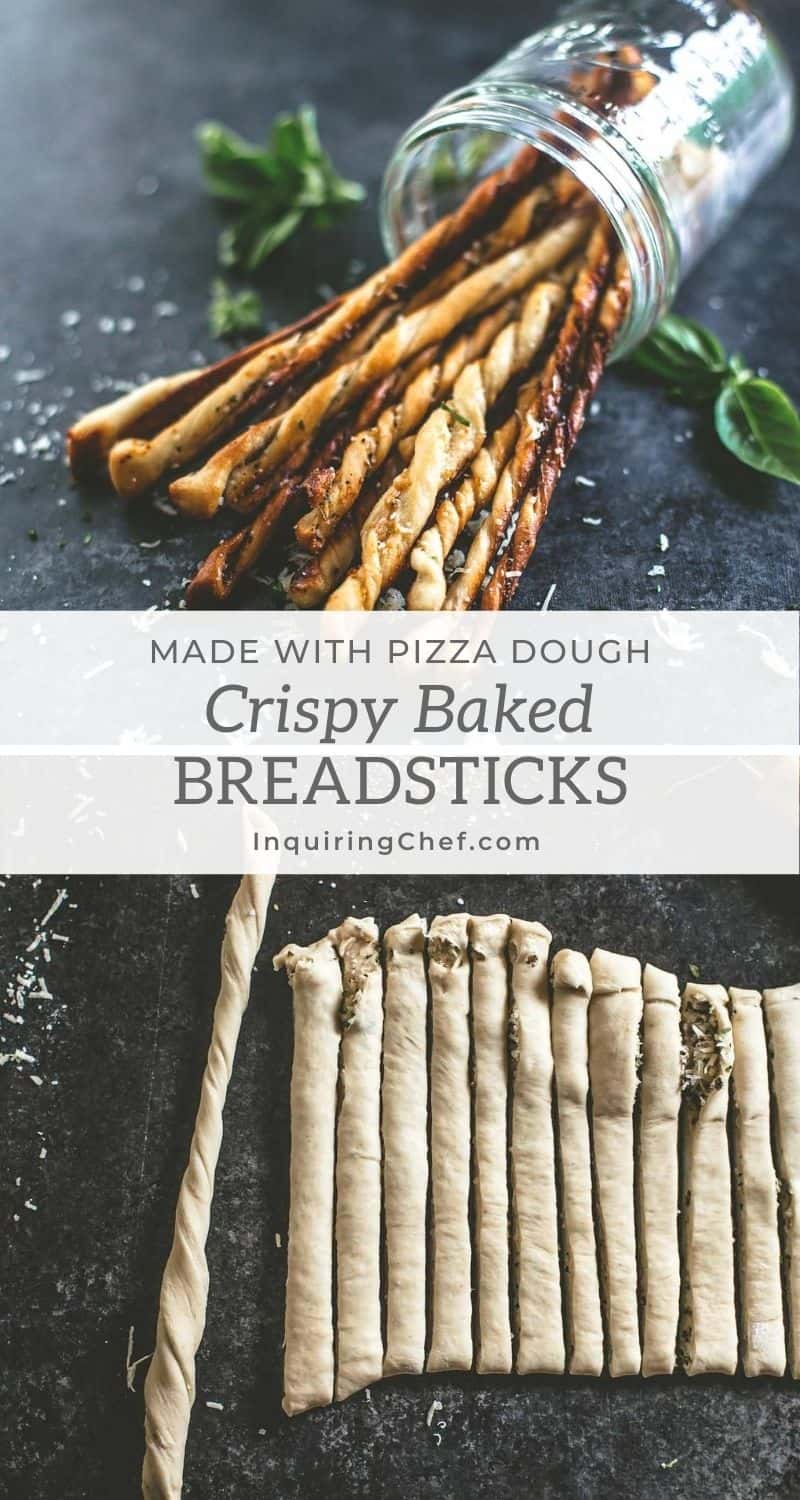
Crispy Baked Breadsticks
Published Sep 16, 2020•Updated Jun 20, 2024
This post may contain affiliate links. Please read our disclosure policy.
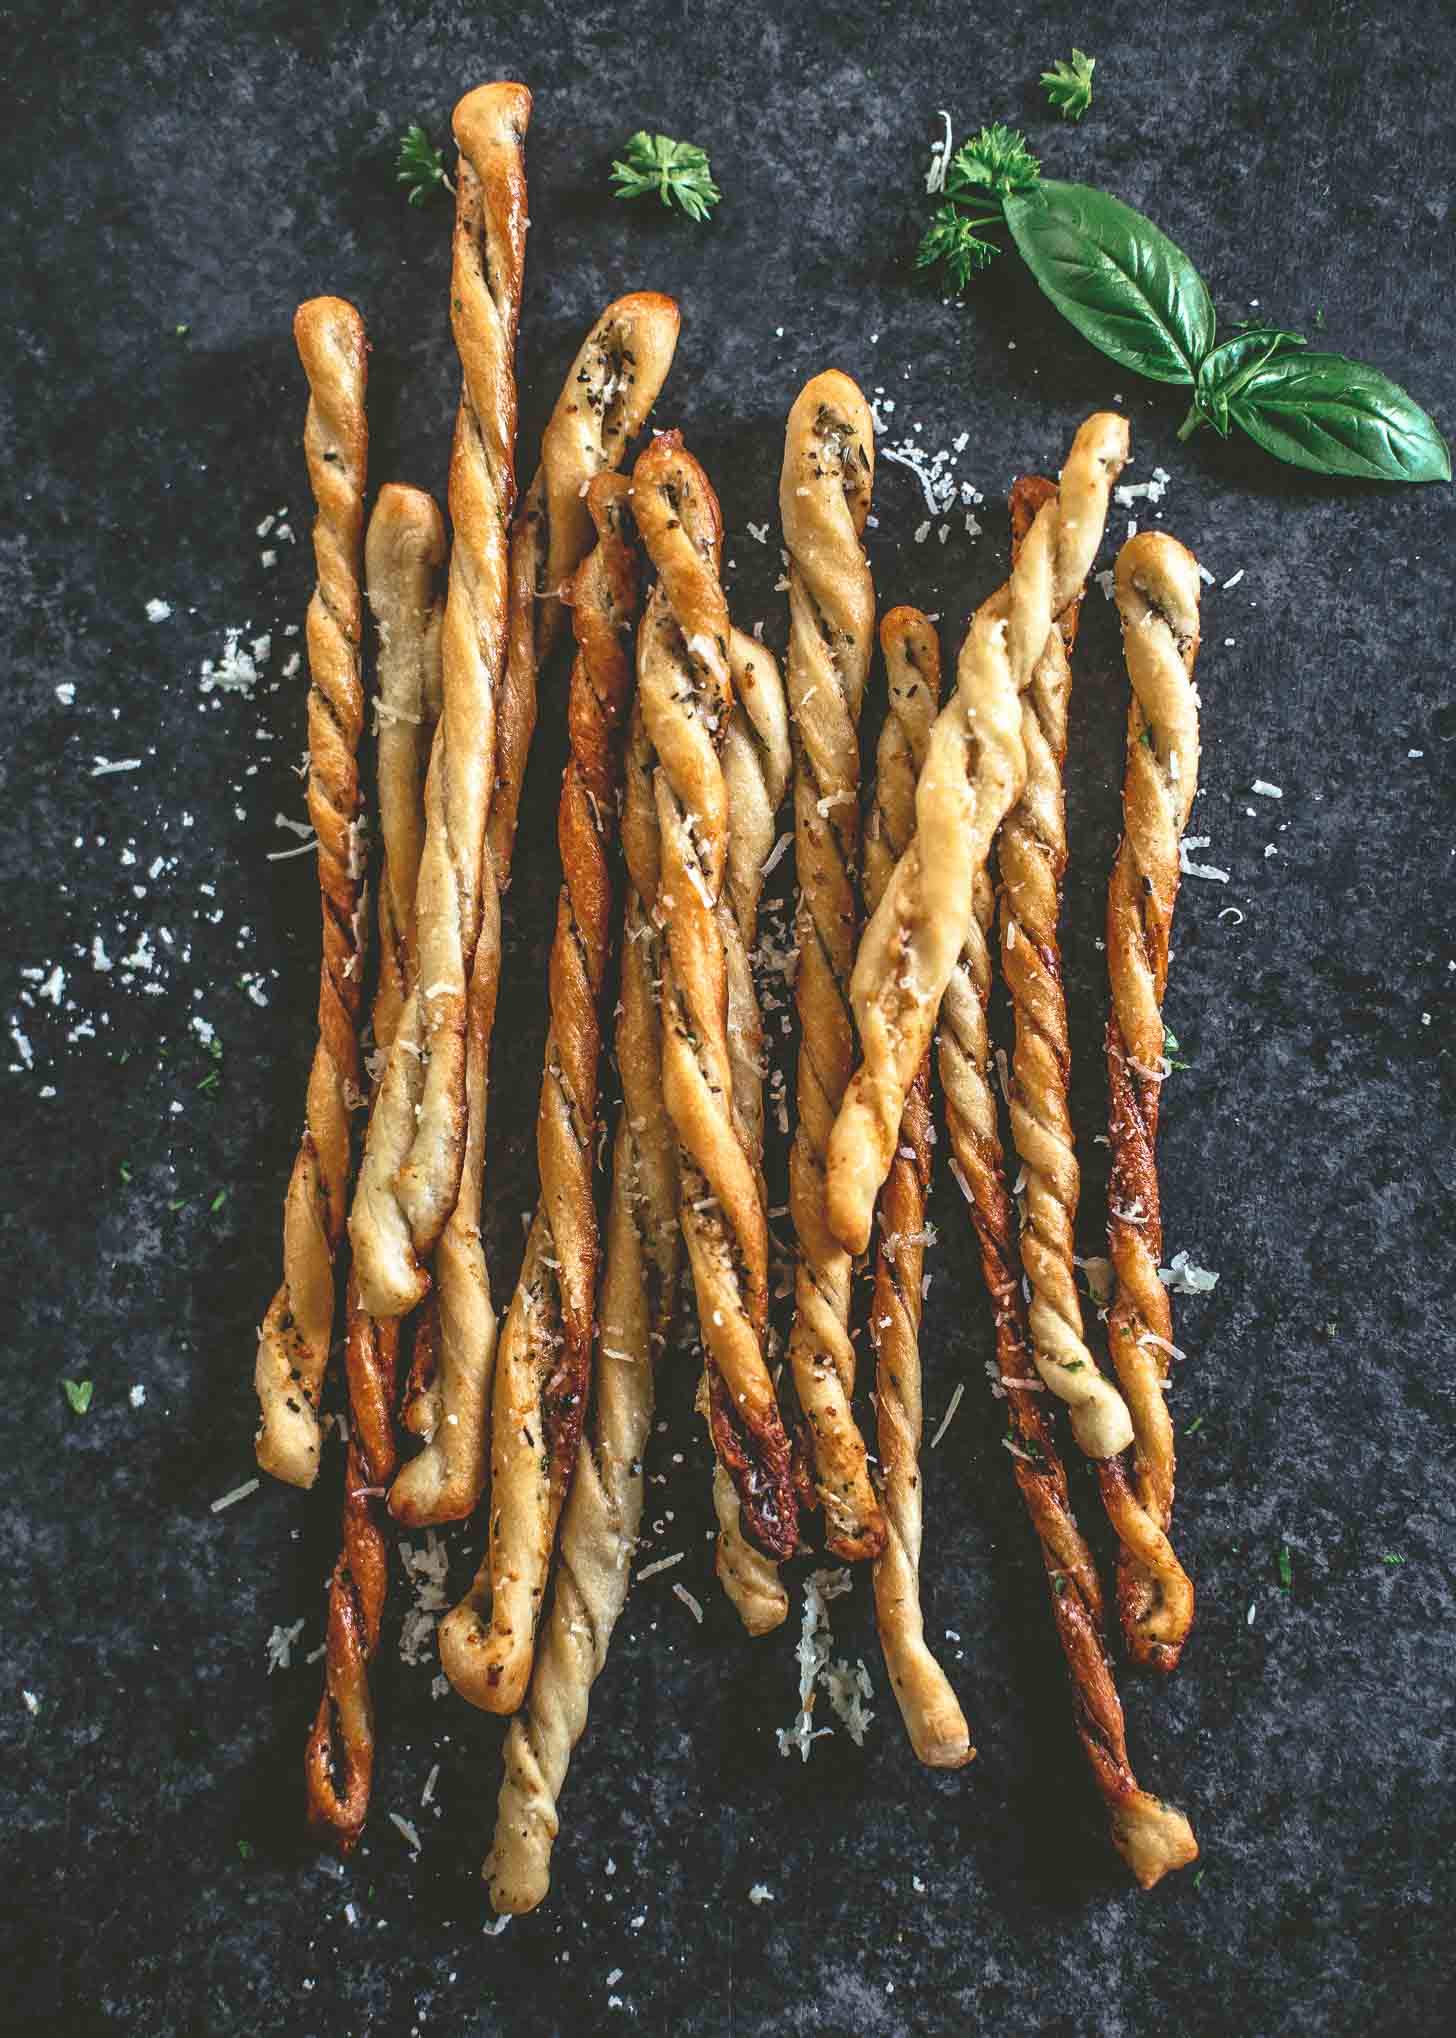
Have leftover pizza dough? Use it to make crispy baked breadsticks just like the ones served in Italian restaurants. Dried or fresh herbs add flavor and color to these crunchy snacks.
I didn’t plan for this recipe, but it fell right into my lap after a marathon week of testing pizza recipes that resulted in a few still-to-come pizzas here on the site, a couple pizzas for Cook Smarts, and one of my all-time favorites – Greek Pizza. When I found myself facing several balls of leftover pizza dough and the kids about to be done with naps, I decided to play around with making crispy breadsticks for snack. The first result was so simple and so fun that I fell instantly in love with the method.
For the recipe that ultimately made it to the pages of this blog, I fancied things up a bit and added some herbs and parmesan cheese for a little more flavor and fun, but they’re still the same simple breadsticks I made that afternoon for snack.
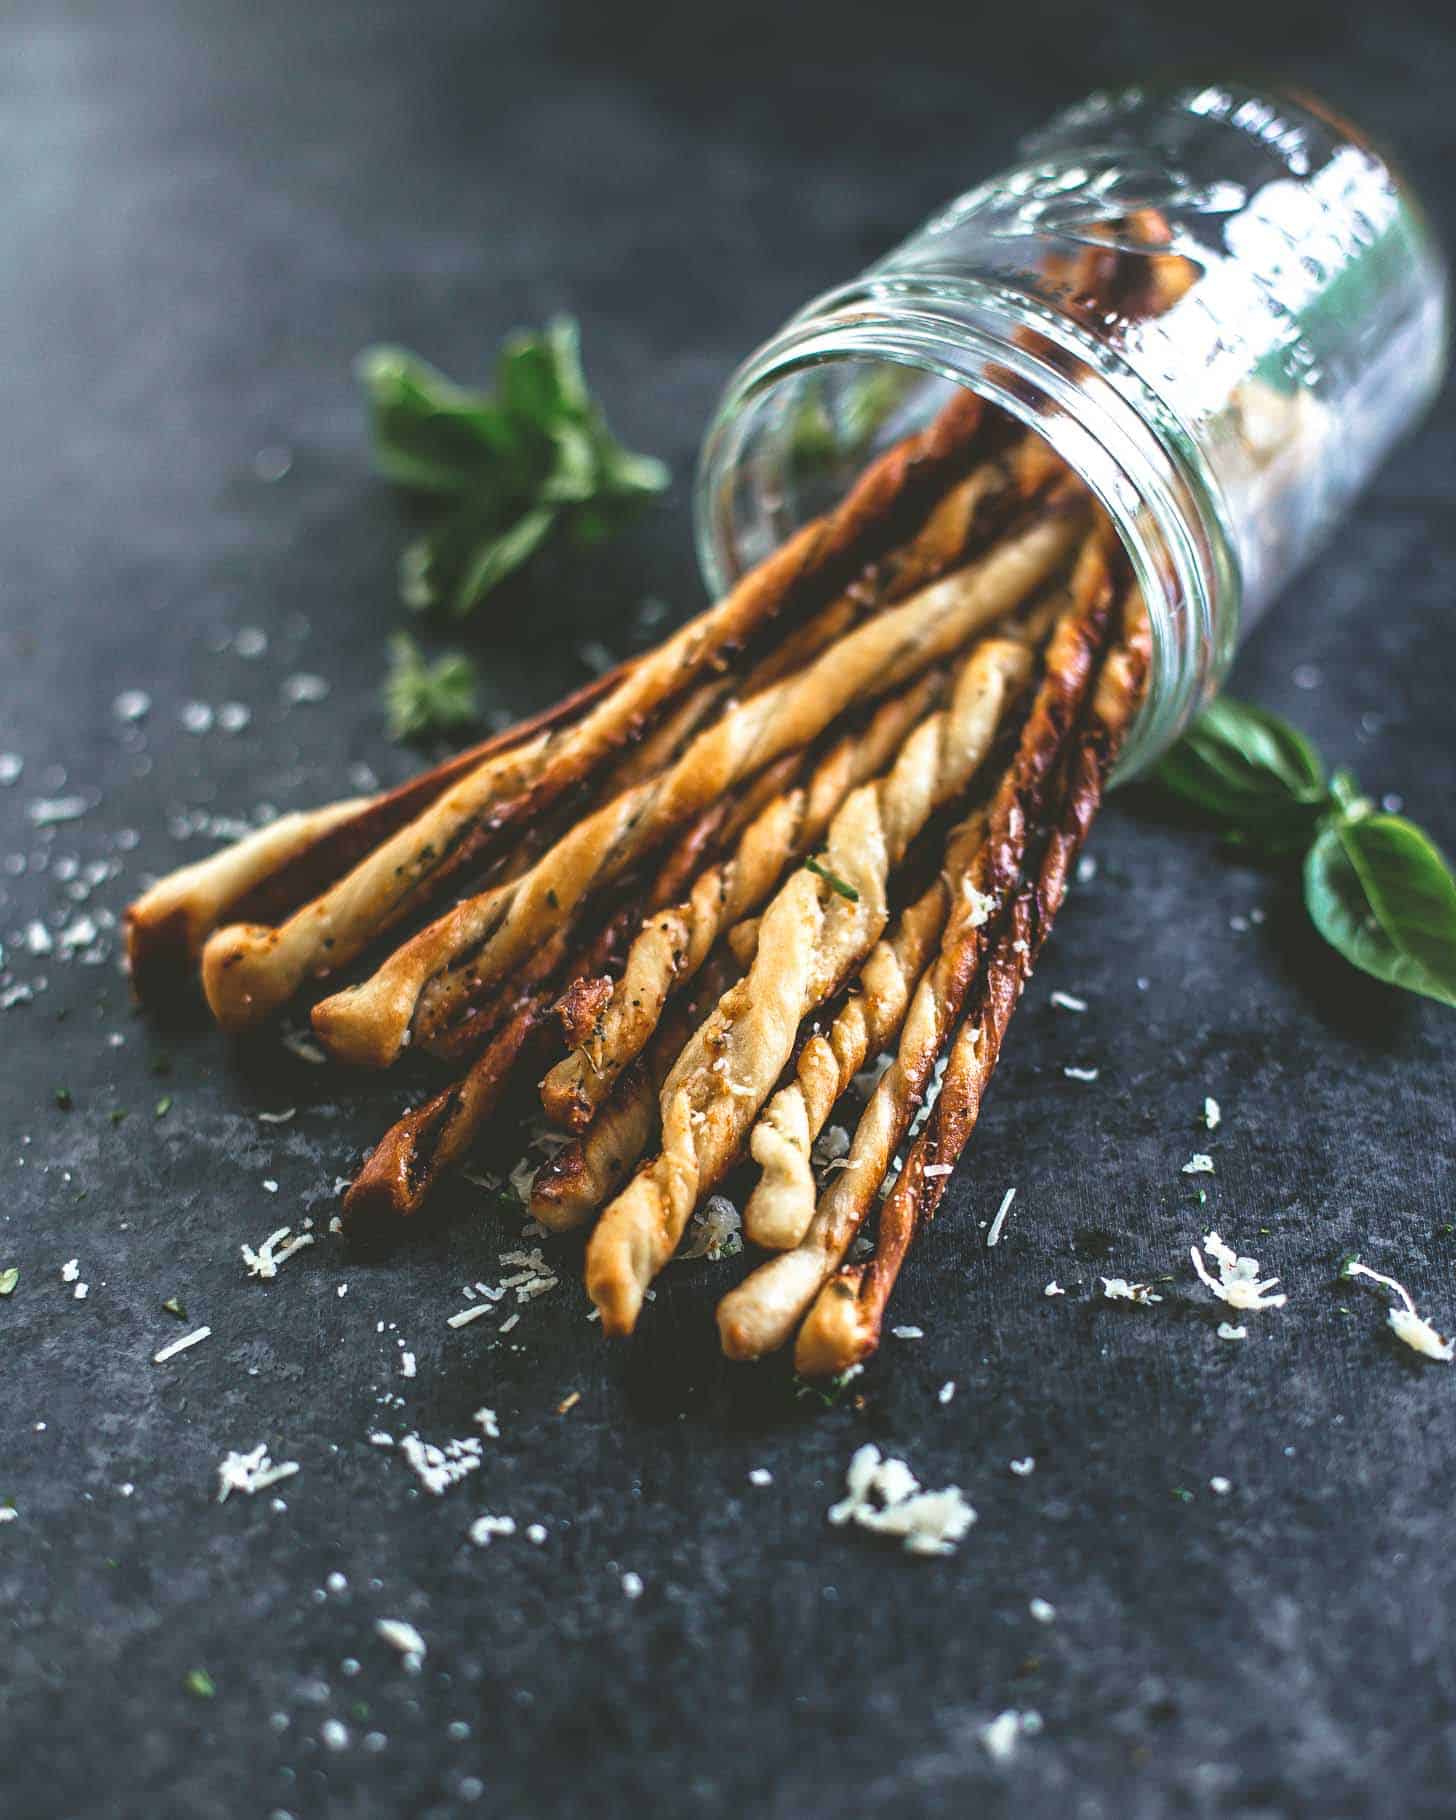
Ready to make these? Just keep in mind that every batch of pizza dough behaves a bit differently, so you’ll have to play around with stretching them out on the pan and baking them until they are golden and crisp all the way through. It’s not at all complicated, but takes a little flexibility. The result is these rustic breadsticks that are always a little imperfect and always so good that we cannot stay away from them!
Ingredients
- Pizza Dough – You can make the breadsticks with any amount of pizza dough, but I provided all of the measurements for a small, 8 oz ball of dough. If you have leftover homemade dough, use that, but this is also great with store-bought dough that I’ve bought a few times just for this purpose.
- Dried or Fresh Herbs – I don’t have a strong preference for one over the other. Dried herbs work so well that there’s no need to buy fresh herbs just for the breadsticks. If you have some fresh herbs around that you need to use up, go for it.
- Grated Parmesan – You can skip this, but I find the combo of herbs and parmesan to be unbeatable. Put some parm in the breadsticks and sprinkle a little more on at the end.
- Salt – You want your breadsticks to be saltier than regular pizza dough, so don’t skip the salt.
- Flour – Make sure you have a little flour for dusting the surface you’ll use to roll the dough out.
- Olive Oil – Brush the breadsticks with some olive oil before baking so they get super crisp and golden.
Pin this now to save it for later
Pin It NowHere’s how to make them!
Step 1: Rest Dough
This is super important! If the dough has been refrigerated, be sure to take it out and let it come to room temperature. Cold dough is springy dough and is super hard to work with.
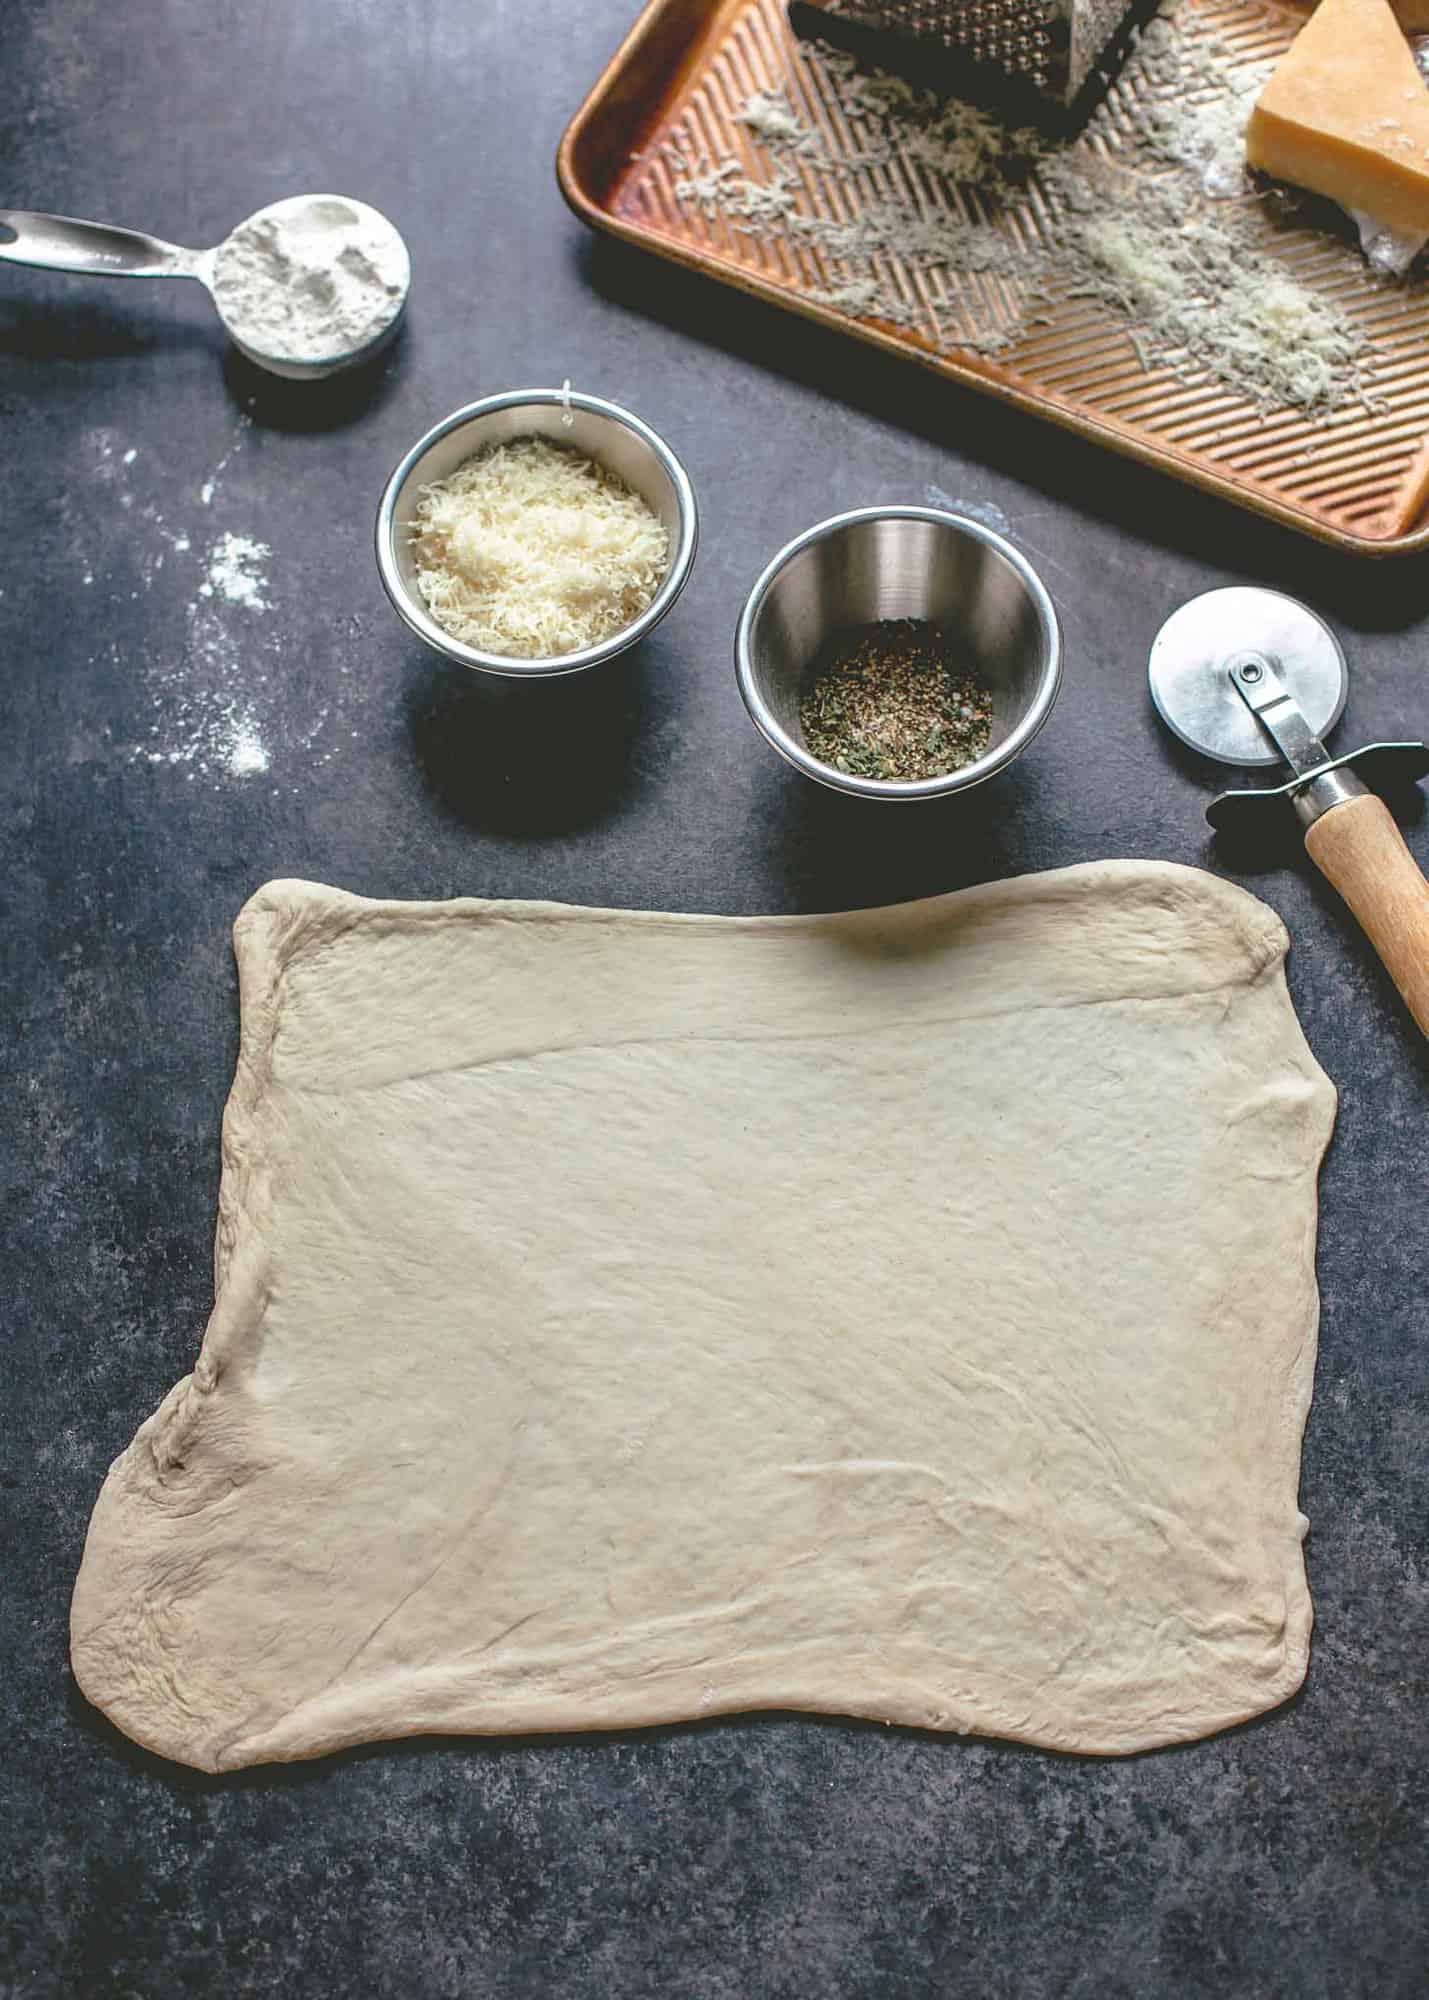
Step 2: Fill
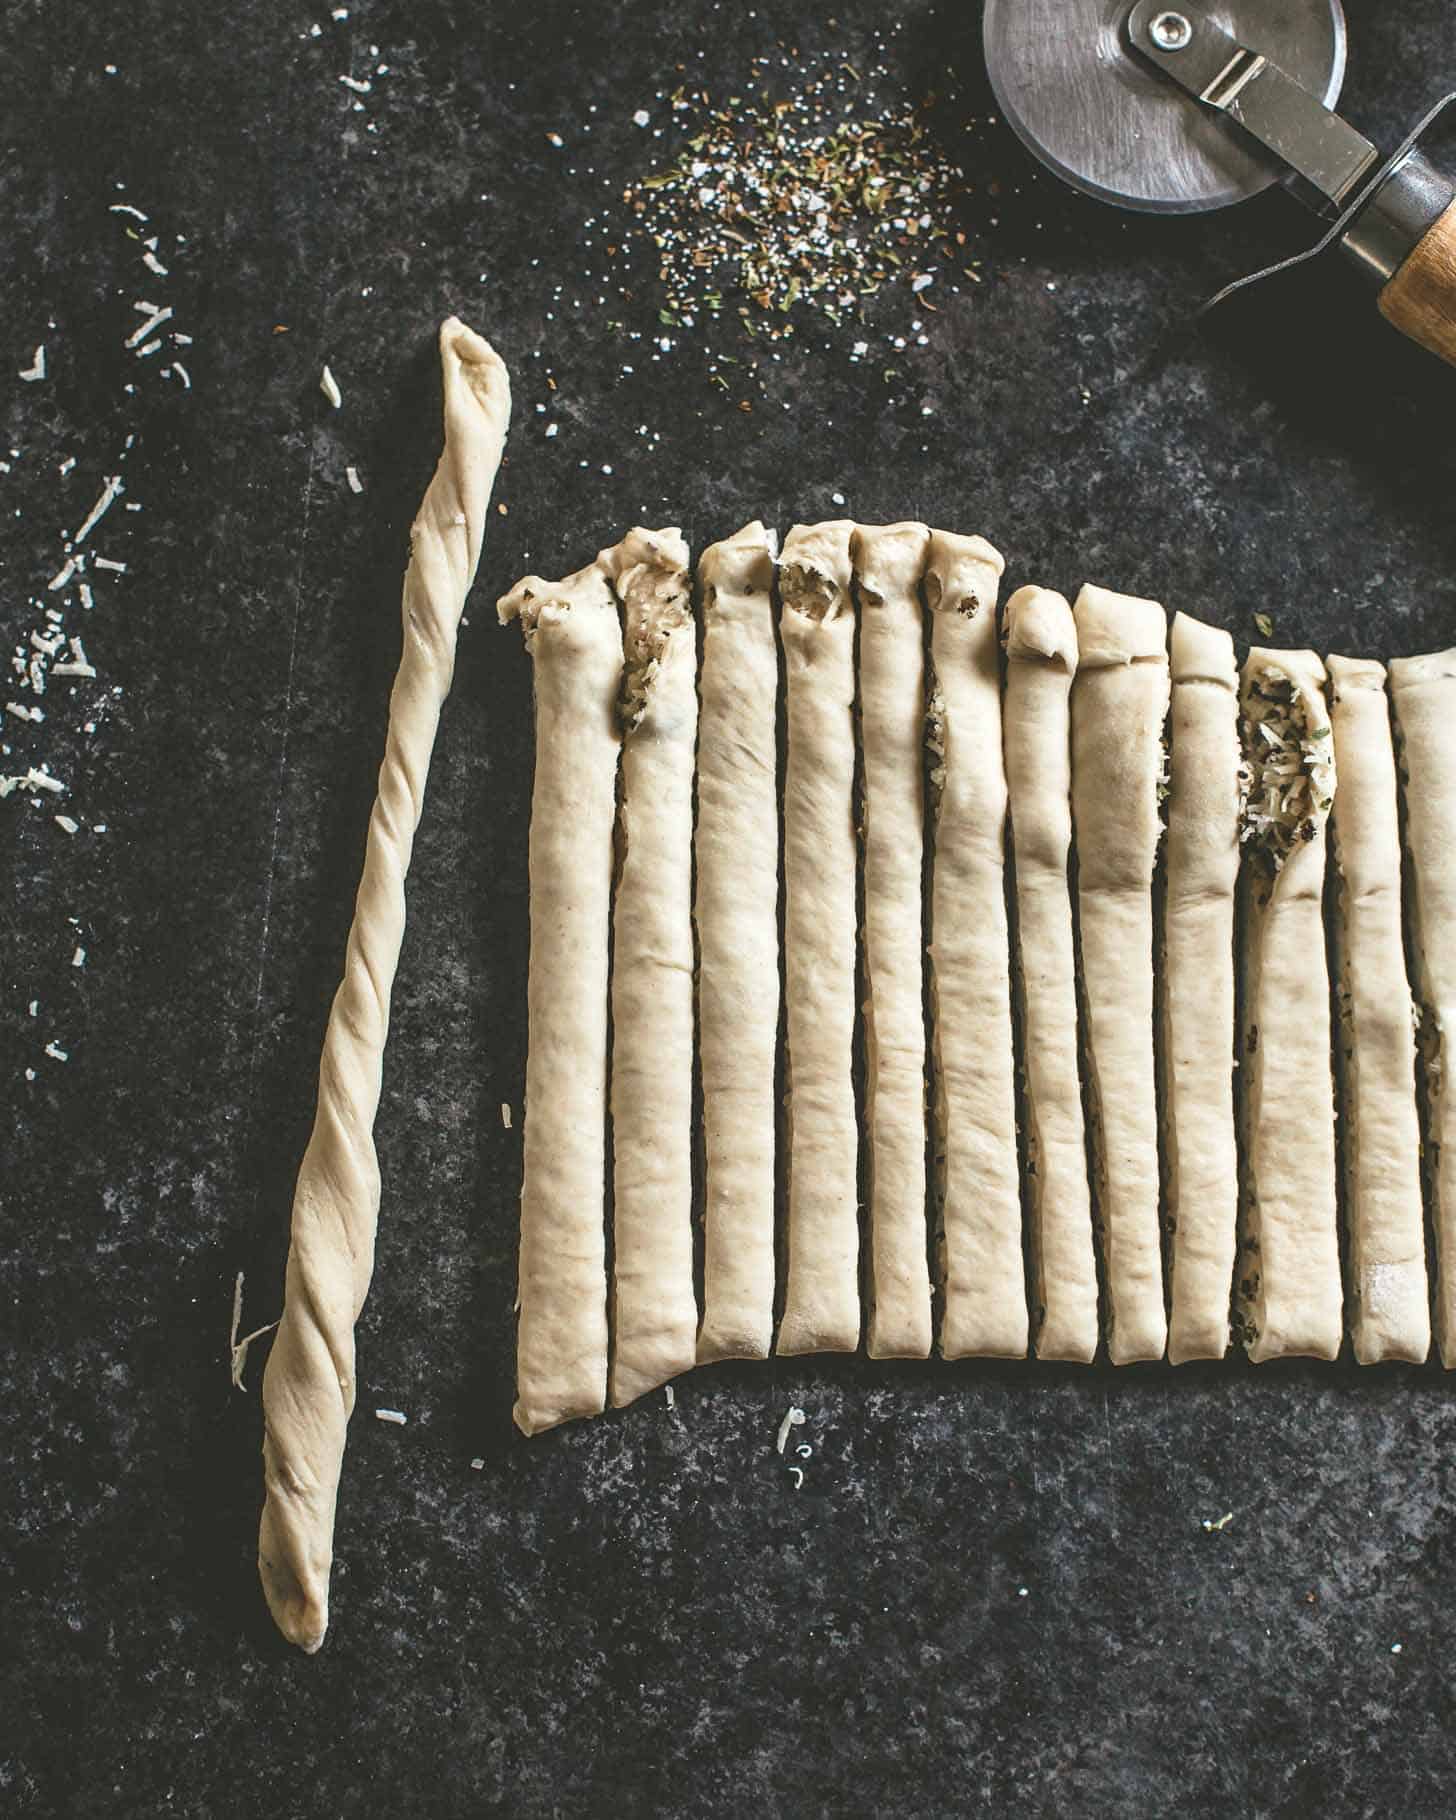
Roll the dough out super thin. It’s almost impossible to roll it out too thin, so roll, roll, roll! Then fill it with dried herbs and parmesan.
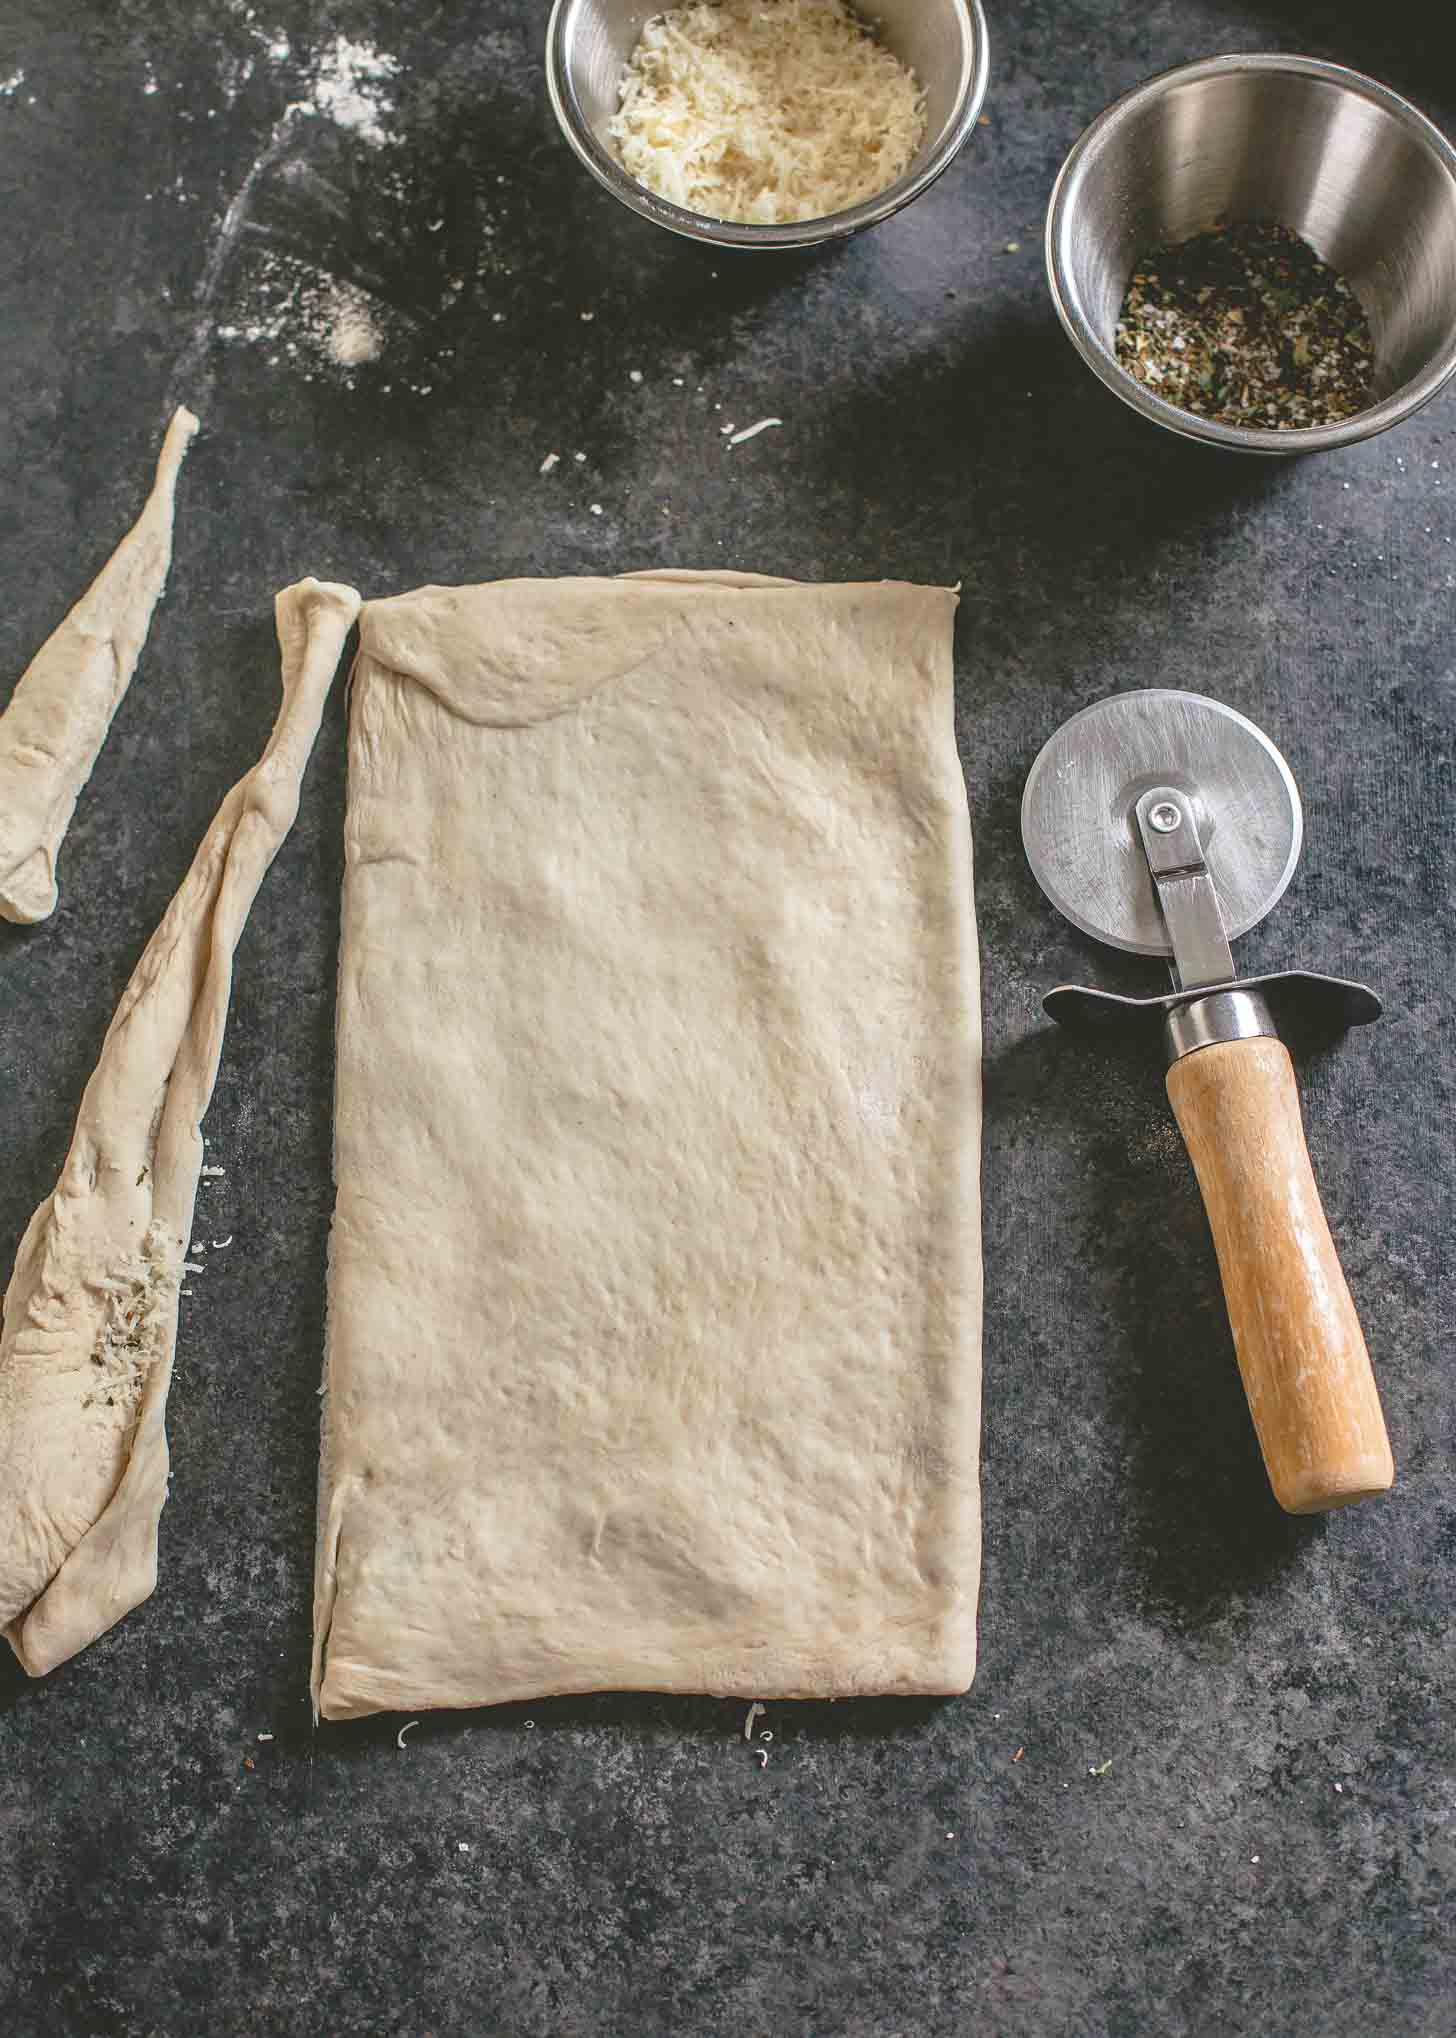
Step 3: Slice
Fold the dough over to enclose all that delicious filling and then roll it out again to press all the fillings in.
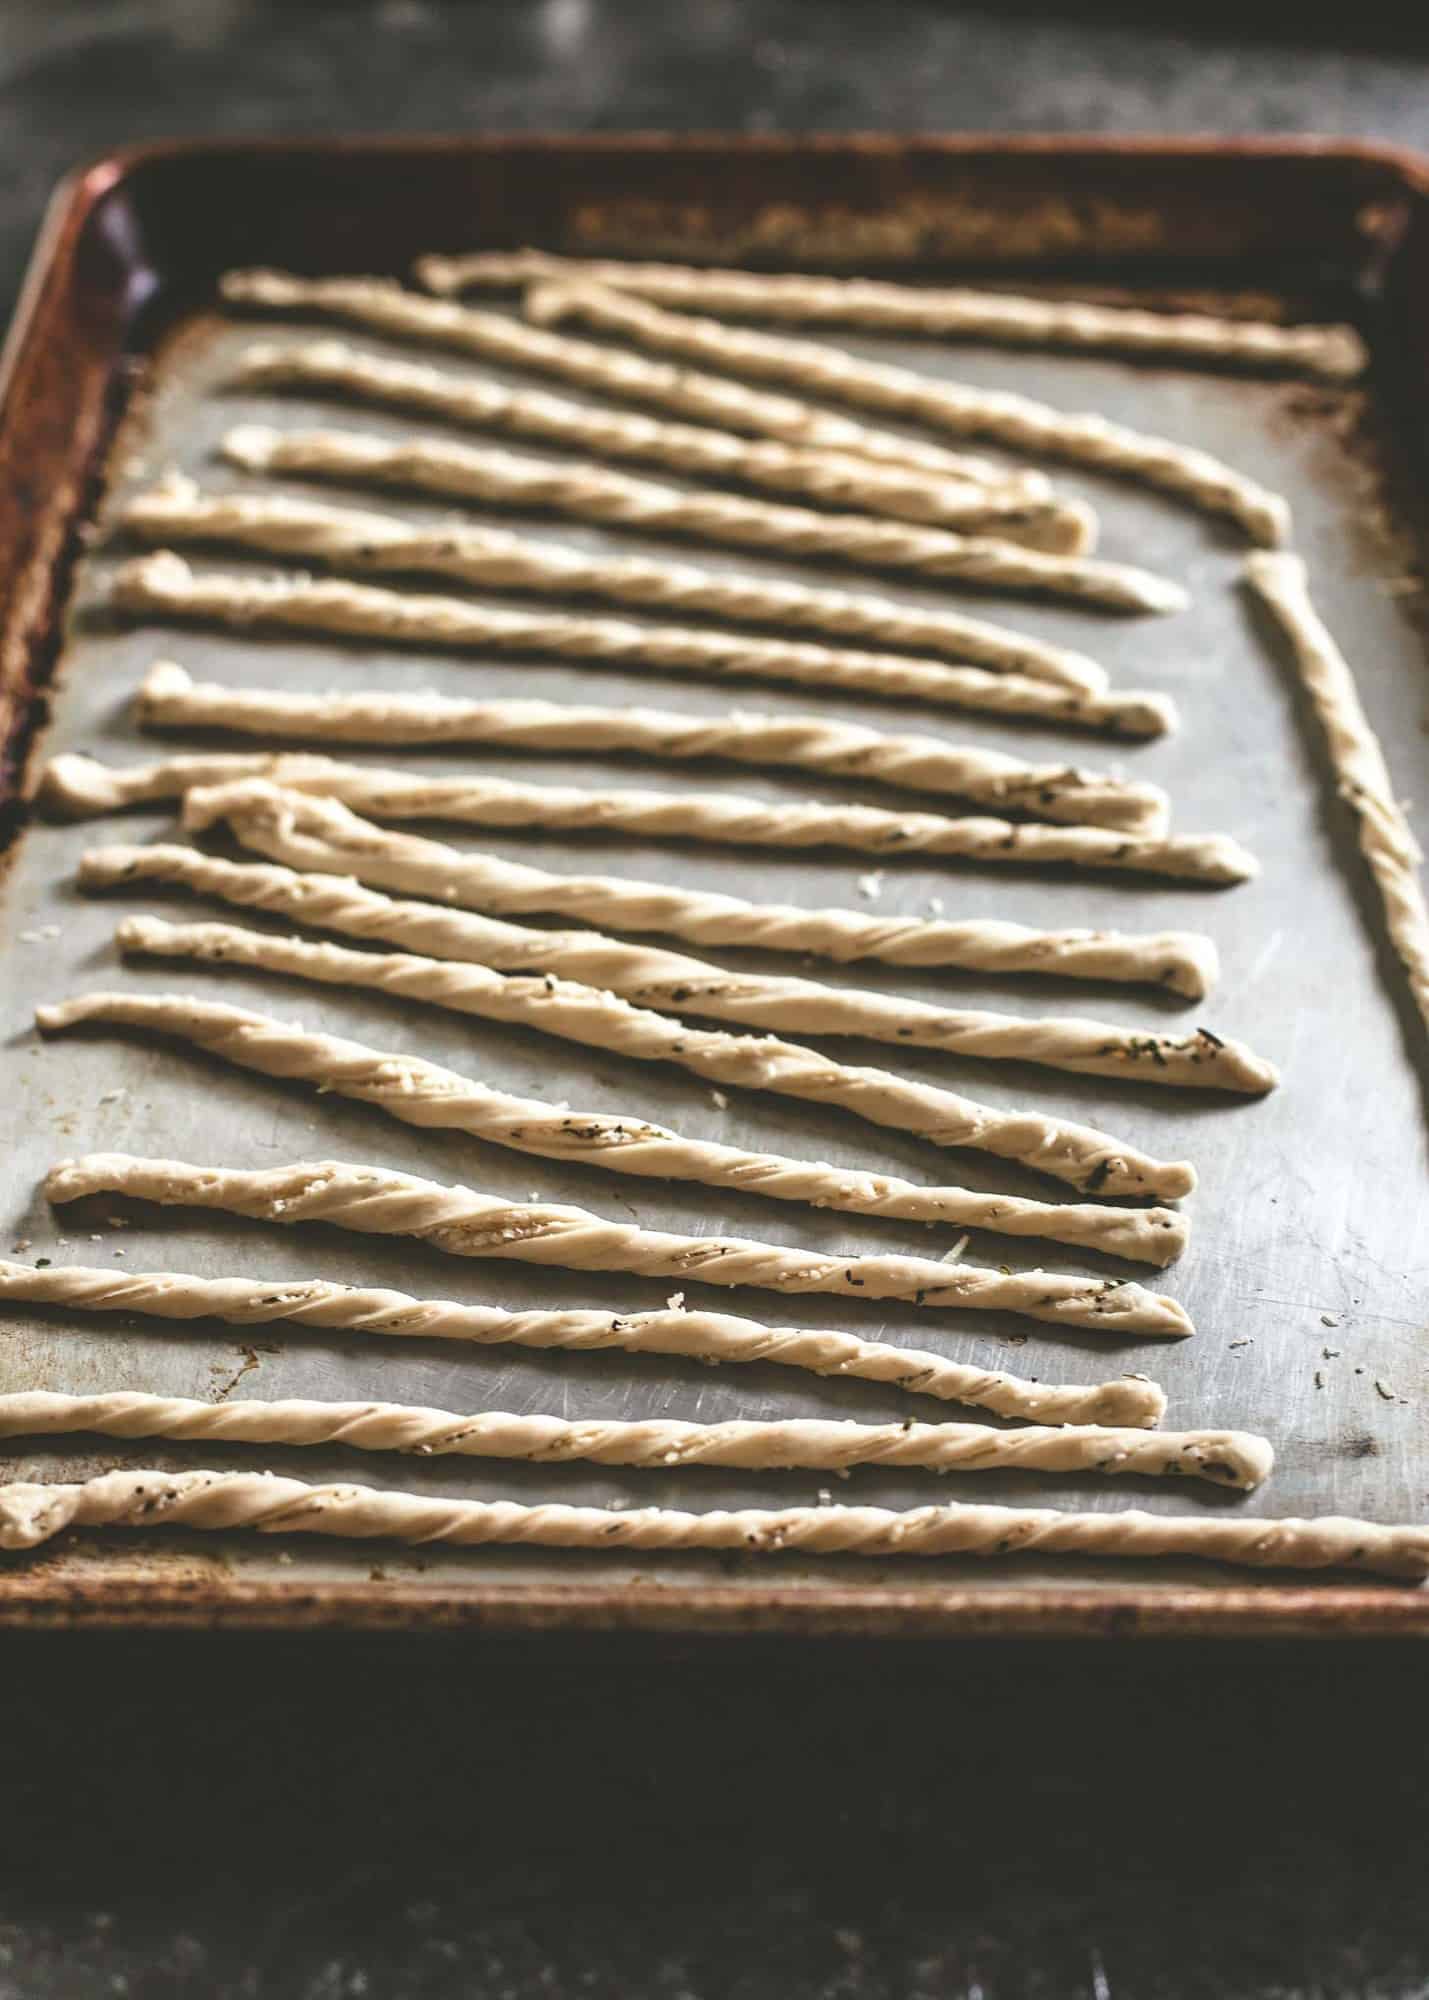
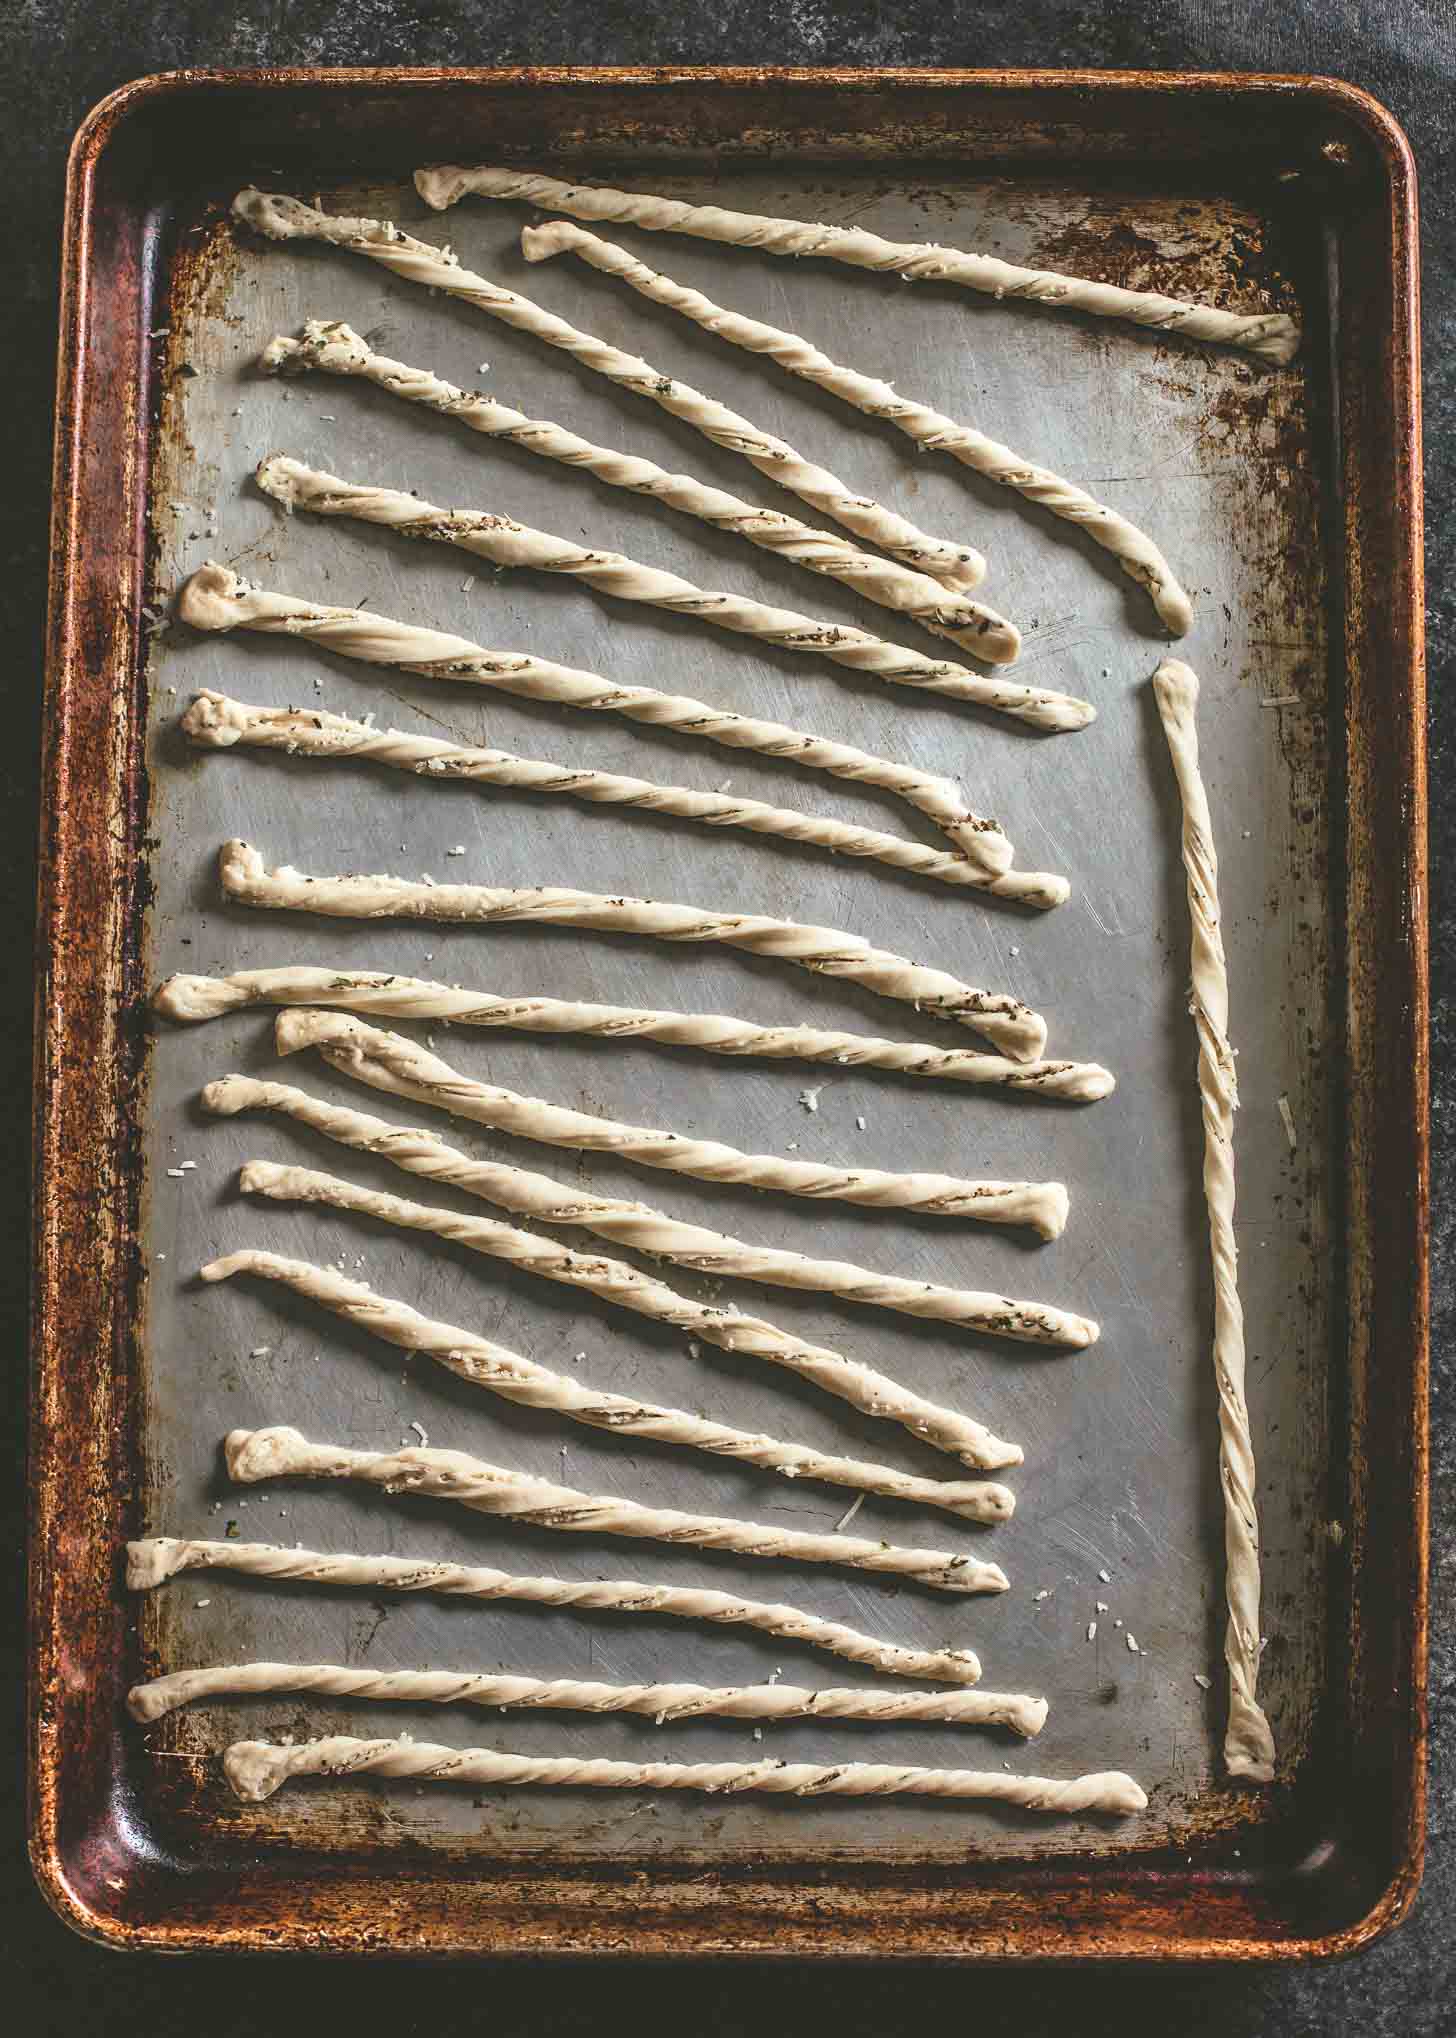
Step 4: Transfer to Ungreased Pan
Stretch each strip of dough out onto an ungreased sheet pan. It’s important to use an ungreased pan so that you can pin the ends of the dough down if needed. Some dough will have a tendency to spring back, so just keep stretching and pinning it down as you go. You don’t need to leave much space between the breadsticks, but you do need to bake them right away so that the dough doesn’t rise (waiting too long will give you soft, puffy breadsticks instead of crispy ones).
Step 5: Bake
Bake the breadsticks at 375°F / 190°C for 15 to 25 minutes. This is a big range because it will vary depending on the thickness of the breadsticks. Just keep an eye on them and pull them when they’re golden brown. You can even take one out and let it cool slightly to see if it’s crisp.
Serve these Crispy Baked Breadsticks right away or store at room temperature for up to 2 days.
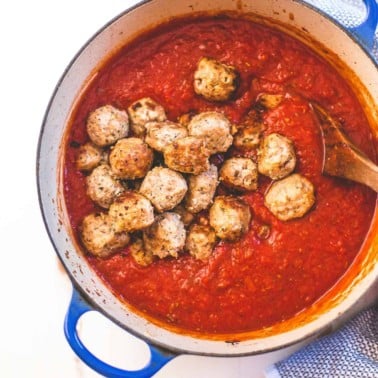
More Italian Favorites
Favorite Tools

Pin this now to save it for later
Pin It Now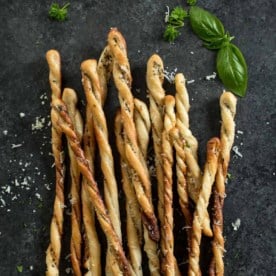
Crispy Baked Breadsticks
Equipment
- Half Sheet Pans
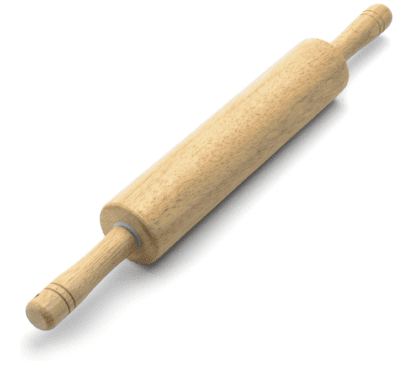
- Rolling Pin
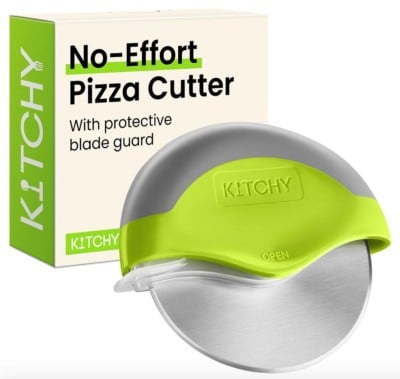
- Pizza Cutter
Ingredients
- 8 ounces Pizza Dough (homemade or store-bought)
- 1 1/2 Tablespoons Dried or Fresh Herbs (like basil, parsley, or thyme; if using fresh herbs chop them very fine)
- 1/2 teaspoon Kosher Salt
- All-Purpose Flour, for dusting
- 1/4 cup Grated Parmesan Cheese, plus more for finishing
- Olive Oil, for brushing
Instructions
- Preheat oven to 375°F / 190°C. If your pizza dough is in the refrigerator, take it out while the oven heats so that it comes to room temperature.
- Set out two sheet pans. (Do not oil / grease the pans.)
- Combine herbs and salt in a small bowl.
- Dust a work surface with flour.
- Divide dough in half and, working with first portion, roll dough out to about 1/4 inch thickness.
- Fill the dough with half the parmesan and half the herb mixture. Fold one half of the dough over on top the other half to enclose the fillings. Roll the dough out again to 1/4 inch thickness to tightly press the filings into the dough.
- Use a pizza cutter to slice the dough into thin strips (the thinner you slice them the faster they will turn crisp in the oven).
- Stretch the dough strips out on the ungreased sheet pan, twisting them up as you go. Line them up, leaving about 1 inch of space between them. (Note: These should be fairly thin in order to get crisp, so stretch them out quite a bit as you place them on the pan. If the dough has a tendency to spring back after you’ve twisted it, firmly press the ends into the sheet pan so that they stick.)
- When one sheet pan is full of breadsticks, brush the tops with olive oil. Transfer immediately to the heated oven while you prepare the second round of dough.
- Bake breadsticks until golden brown and crisp, 15 to 25 minutes. (Note: the baking time will vary widely depending on how thick your breadsticks are, but just keep an eye on them as they bake and remove them when they are deep golden brown. You can also take one out and let it cool slightly to see if it is crisp.)
- Sprinkle breadsticks with some extra parmesan cheese as soon as they come out of the oven.
- Allow to cool completely before serving.
- Store in an airtight container at room temperature for up to 2 days.
Nutrition
Nutrition information is automatically calculated, so should only be used as an approximation.


👍👍👍👍