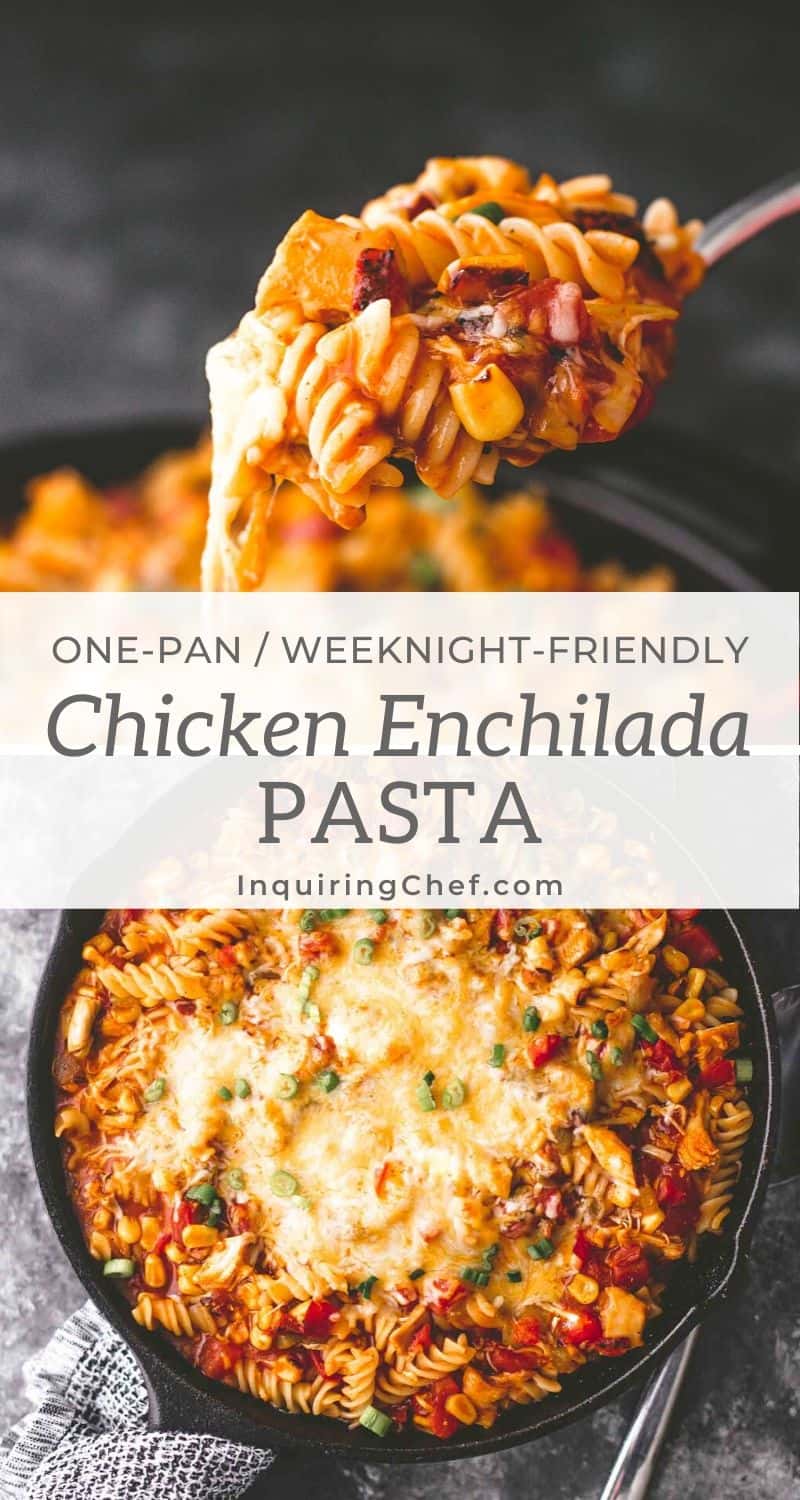
Chicken Enchilada Pasta
Published Mar 24, 2020•Updated Jan 07, 2026
This post may contain affiliate links. Please read our disclosure policy.
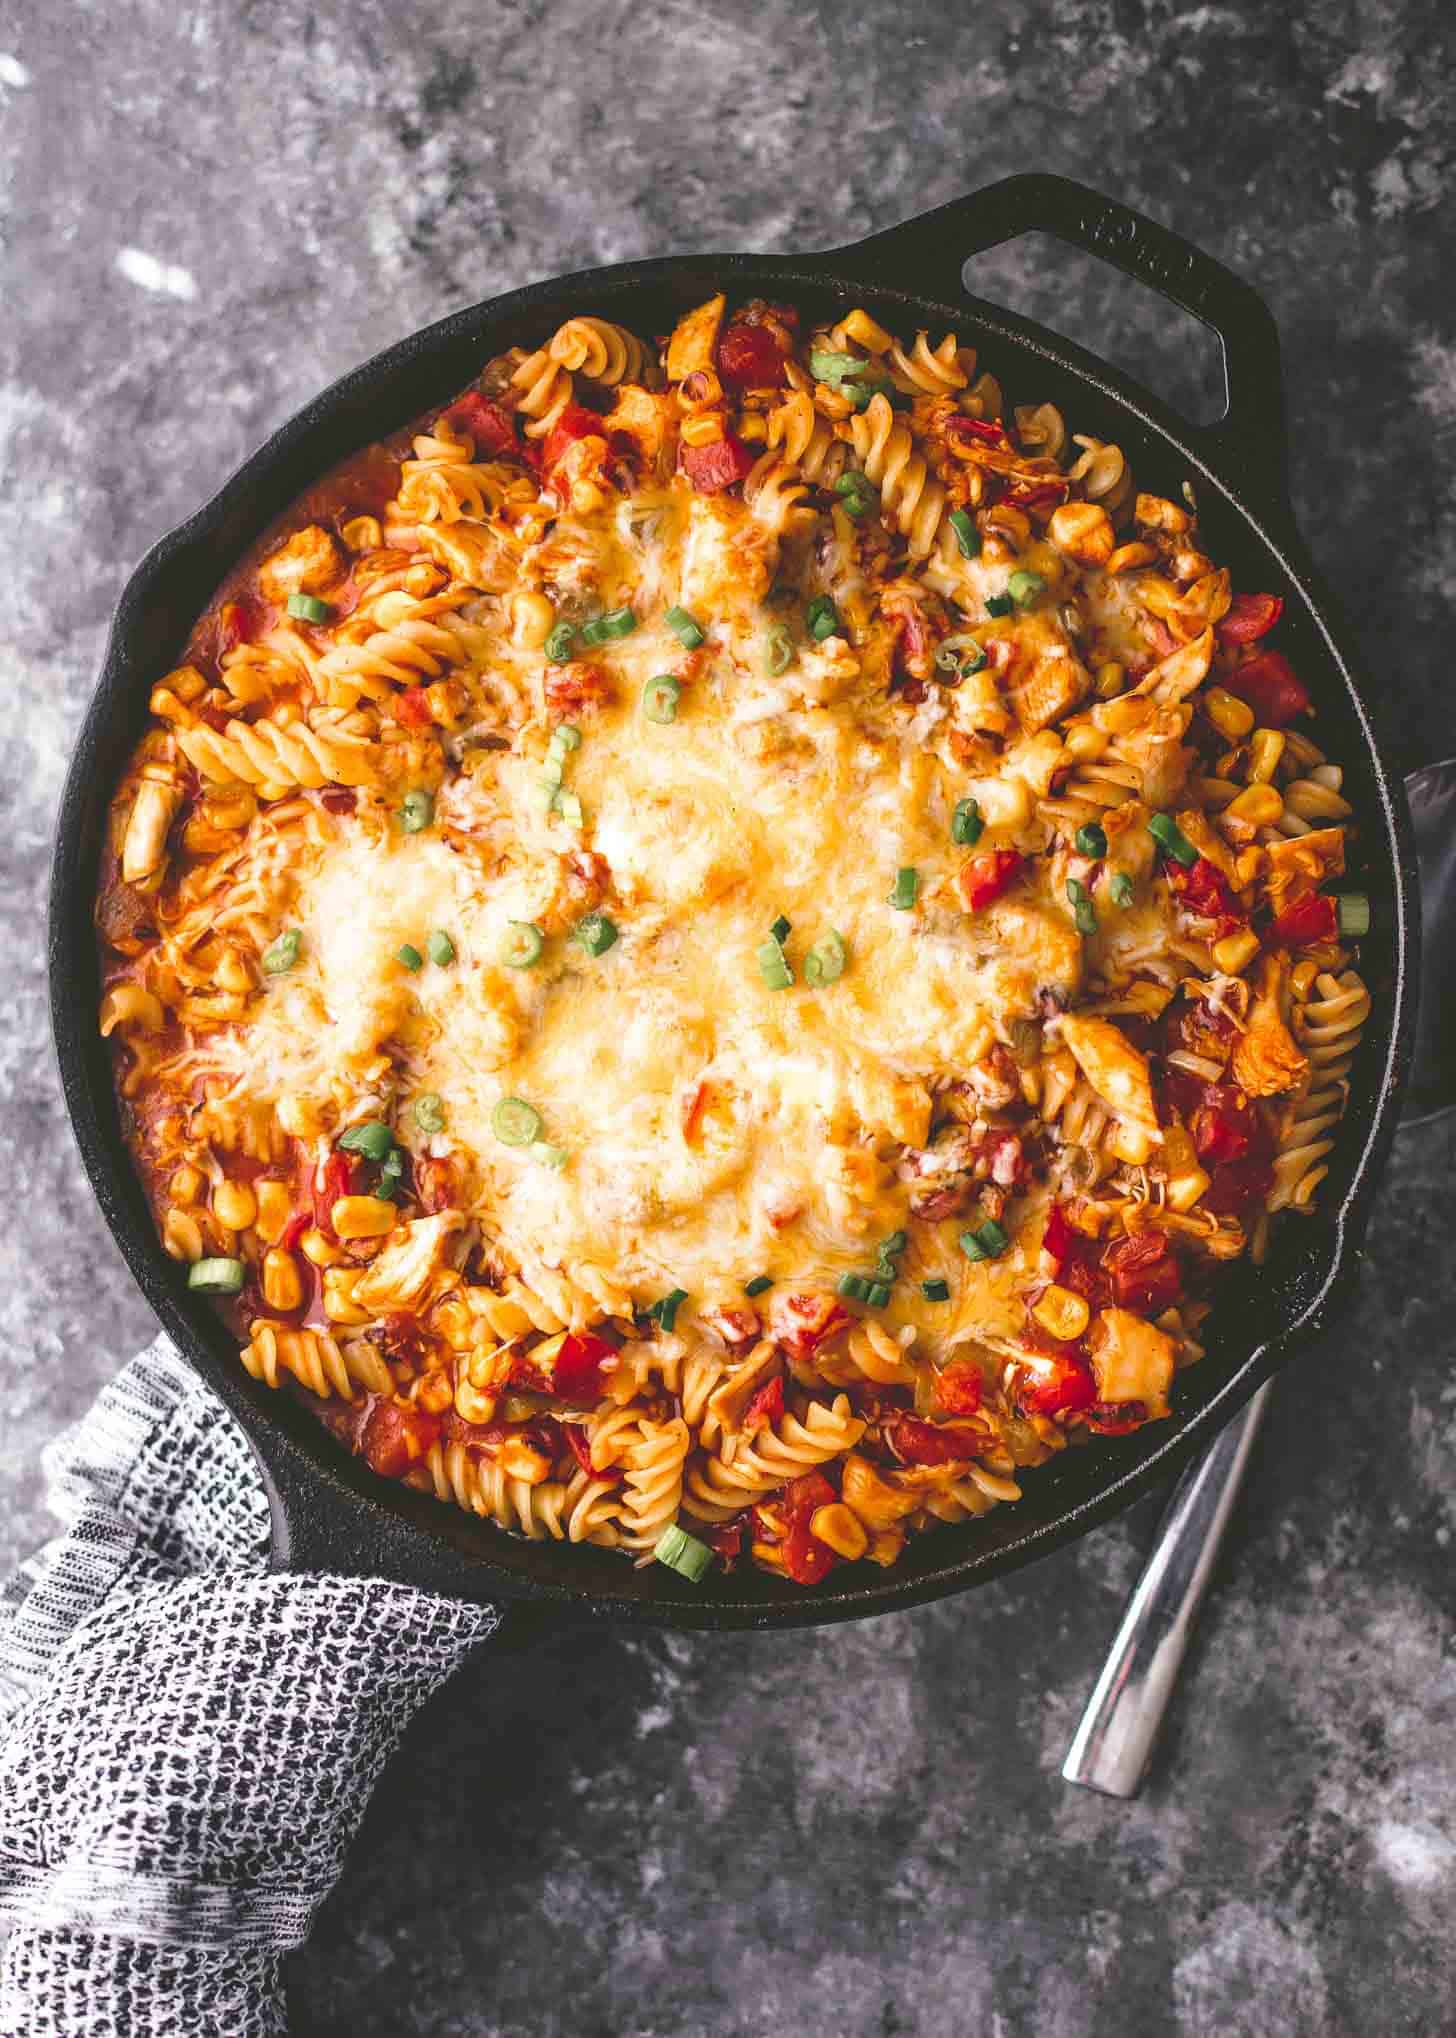
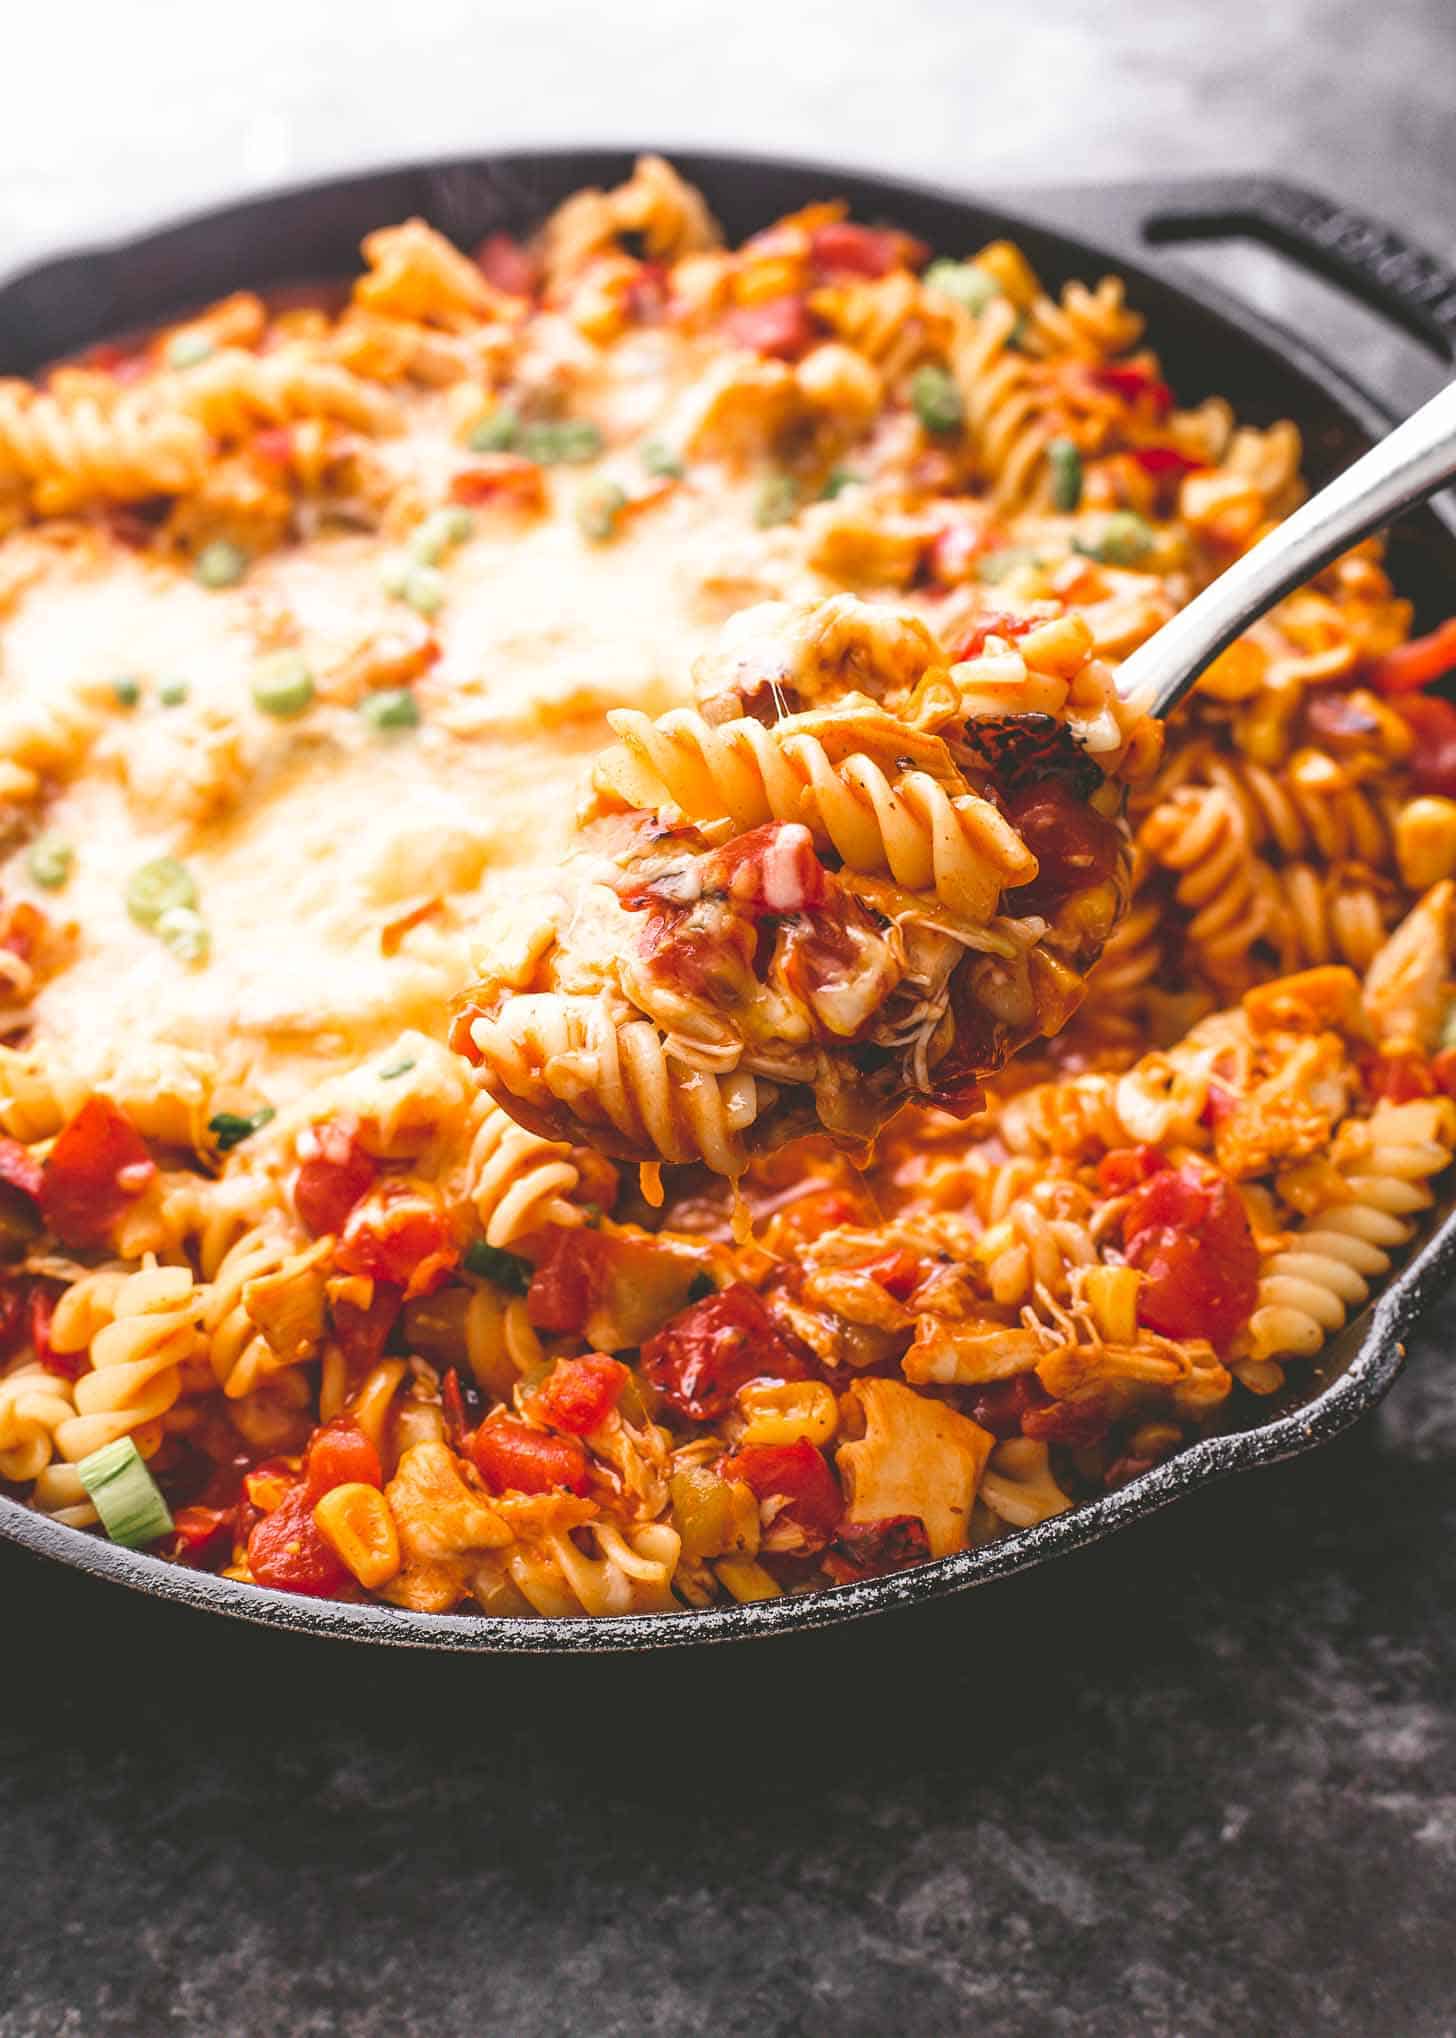
Chicken Enchilada Pasta takes the flavors of classic enchiladas and transforms them into a hearty and cozy one-pan pasta. This family meal uses pantry / freezer staples and can be made in about 30 minutes.
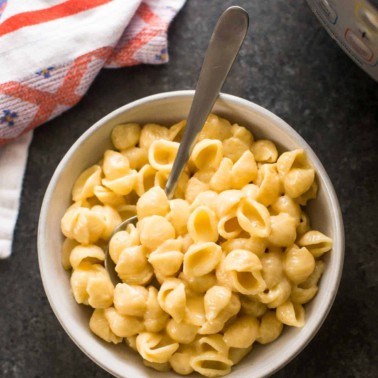
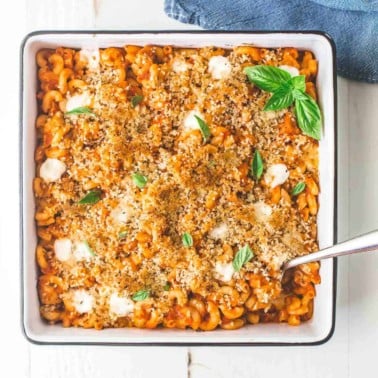
This Chicken Enchilada Pasta uses pantry and freezer staples, making it something I’m going to turn to again and again this month when dinnertime sneaks up on me (along with this Instant Pot Italian Sausage Pasta and Sweet Potato Mac and Cheese). Here’s all you need!
What You’ll Love
Do the 5pm-version of yourself a favor – cook the pasta and prep the chicken for this recipe ahead of time. Those are the only things that take any significant time or attention. With those two steps out of the way, just measure out some ingredients, simmer in a skillet, and mix everything together. Dinner is done.
Chicken Enchilada Pasta Ingredients
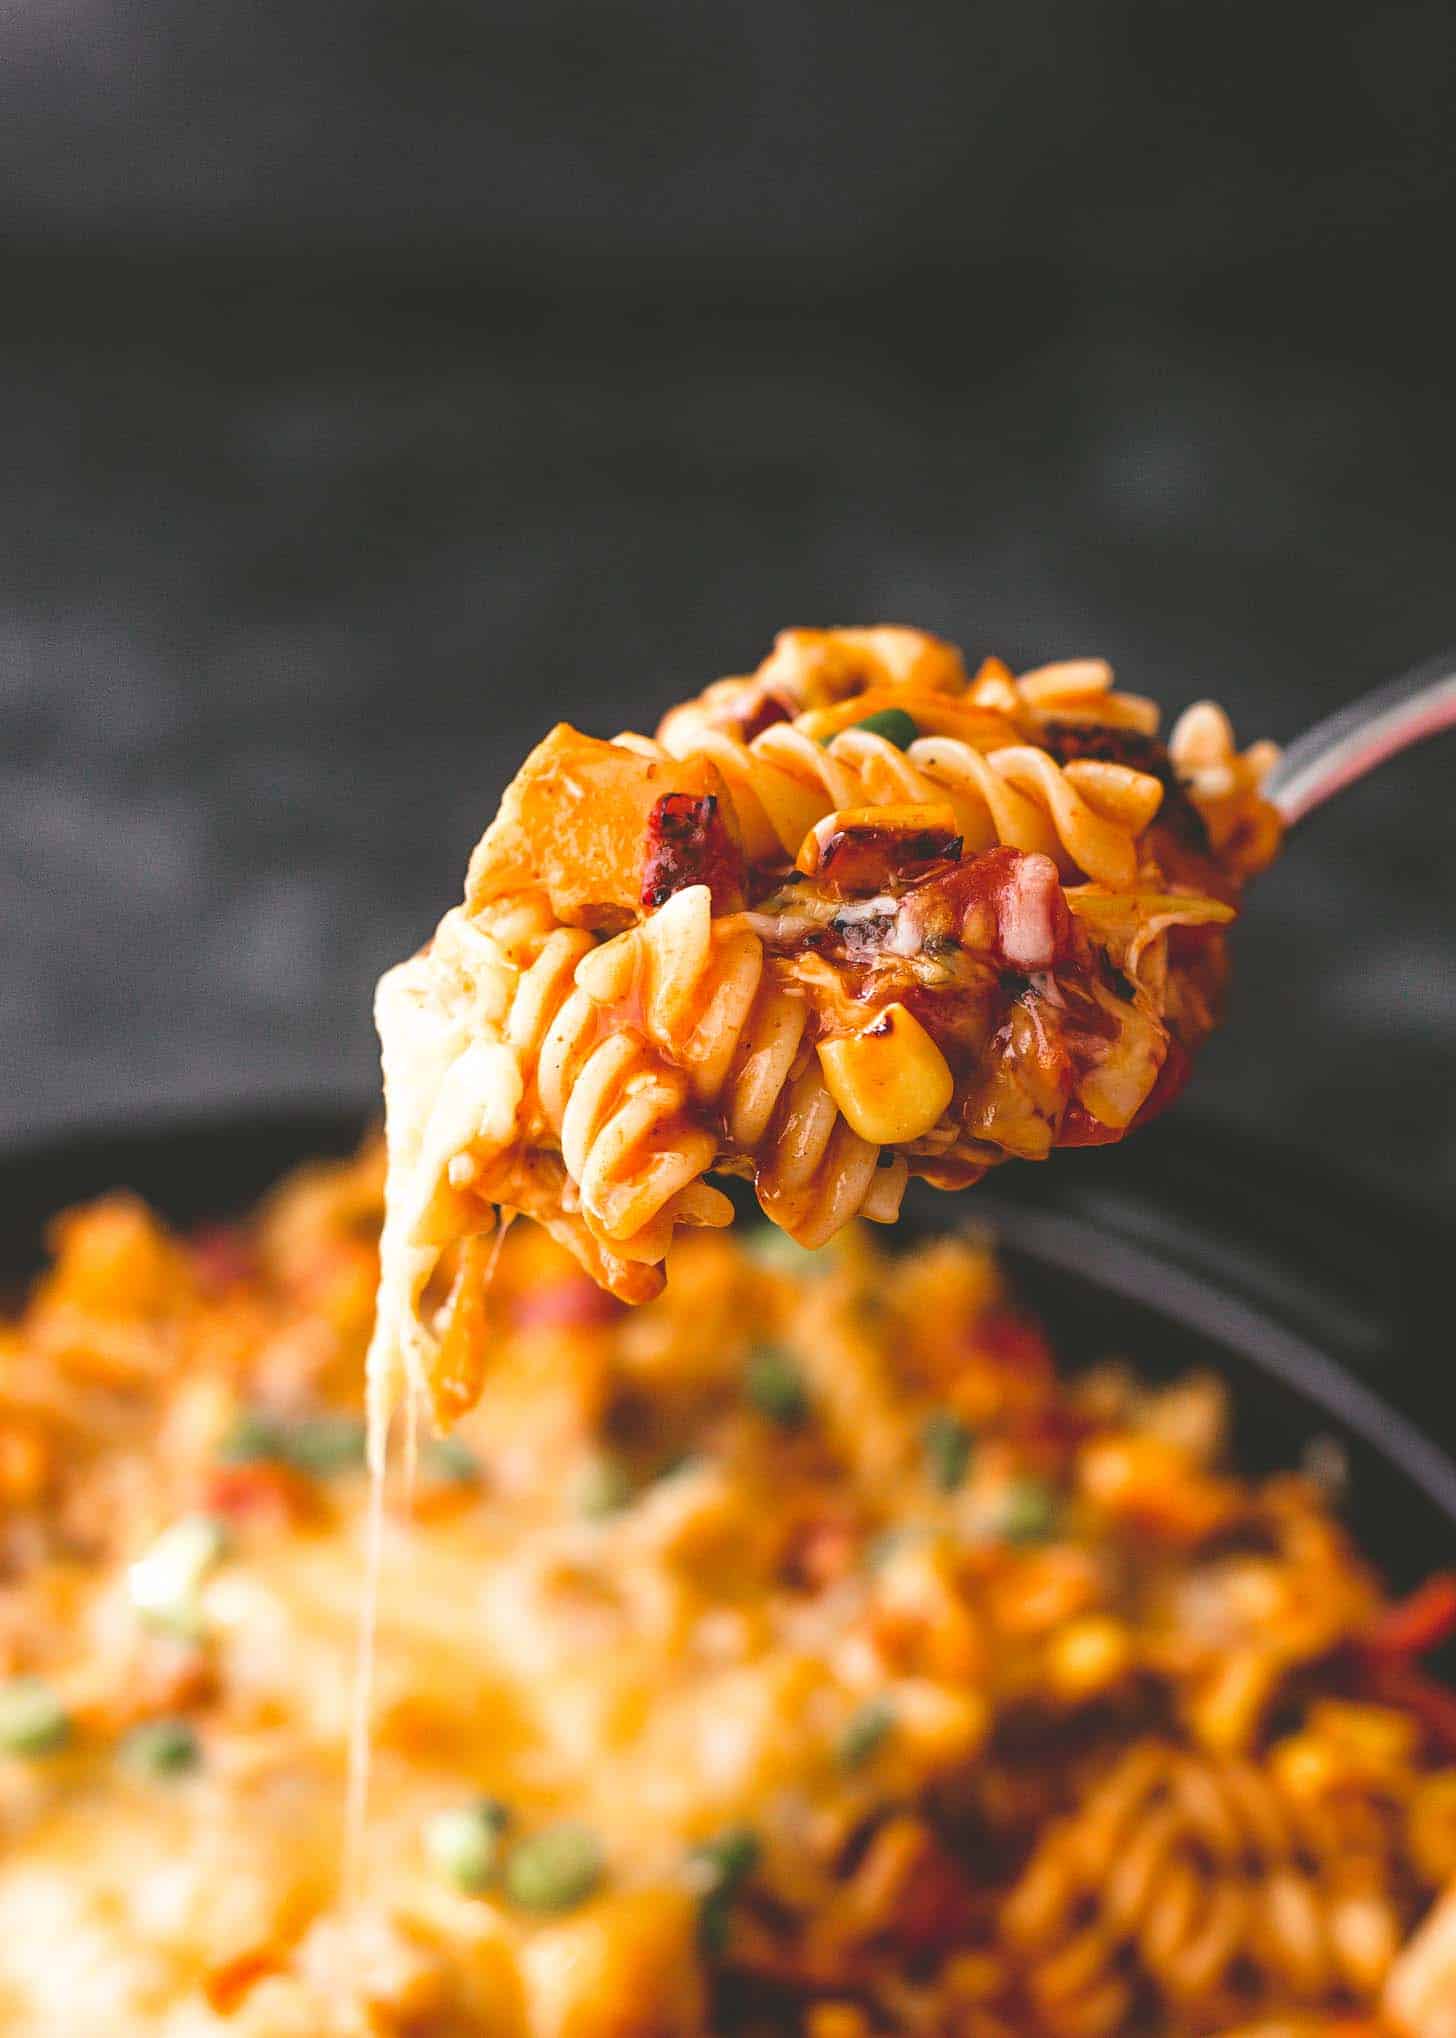
- Pasta – Any fun shape of pasta will work here, but look for one that will hold the sauce well. I have a strong preference for fusilli here because the twisty shape has plenty of nooks for sauce and cheese.
- Corn – I think frozen corn has the most fresh, clean flavor, but canned corn would work in a pinch. Just make sure to drain and rinse the corn first.
- Cooked Chicken – Use any type of chicken, just make sure it’s pre-cooked before using in this recipe. Shredded rotisserie chicken is great here.
- Canned Green Chilis – These are common in a lot of enchilada recipes, so they give the dish a tangy flavor and authentic enchilada feel. They come in mild, medium, or hot, so be sure to grab the one that fits with your spice preference. Feel free to skip these if you prefer. Even the mild ones have a bit of a kick, so if you don’t want any spice, skip them.
- Red Enchilada Sauce – Use a store-bought enchilada sauce (be sure to grab mild or medium, depending on your spice preference) or use this Homemade Enchilada Sauce.
- Fire-Roasted Diced Tomatoes – These add so much flavor to the dish! Look for “fire roasted” tomatoes right next to the regular diced tomatoes in your grocery store’s canned goods aisle. The tomatoes have a lightly smoky flavor. Some versions also have things like jalapeños and garlic in them which add to the flavor of the dish. Regular diced tomatoes will certainly work if you already have them.
- Garlic, Ground cumin, Paprika – Use these to build flavor in the simple sauce.
- Shredded Cheese – Any type works great to add the cheesy layer and topping to this dish. I like shredded Colby Jack or Cheddar. Shredded Mexican blend cheese is great too.
- Optional Toppings – Treat these like you would any Tex Mex meal. Serve it on its own or feel free to add sour cream, guacamole, chopped onions, cilantro, salsa, or crumbled tortilla chips for some extra crunch.
Pin this now to save it for later
Pin It Now
How to Make Chicken Enchilada Pasta
- Cook Pasta – Follow the package instructions to boil the pasta until tender. You can do this up to 2 days ahead.
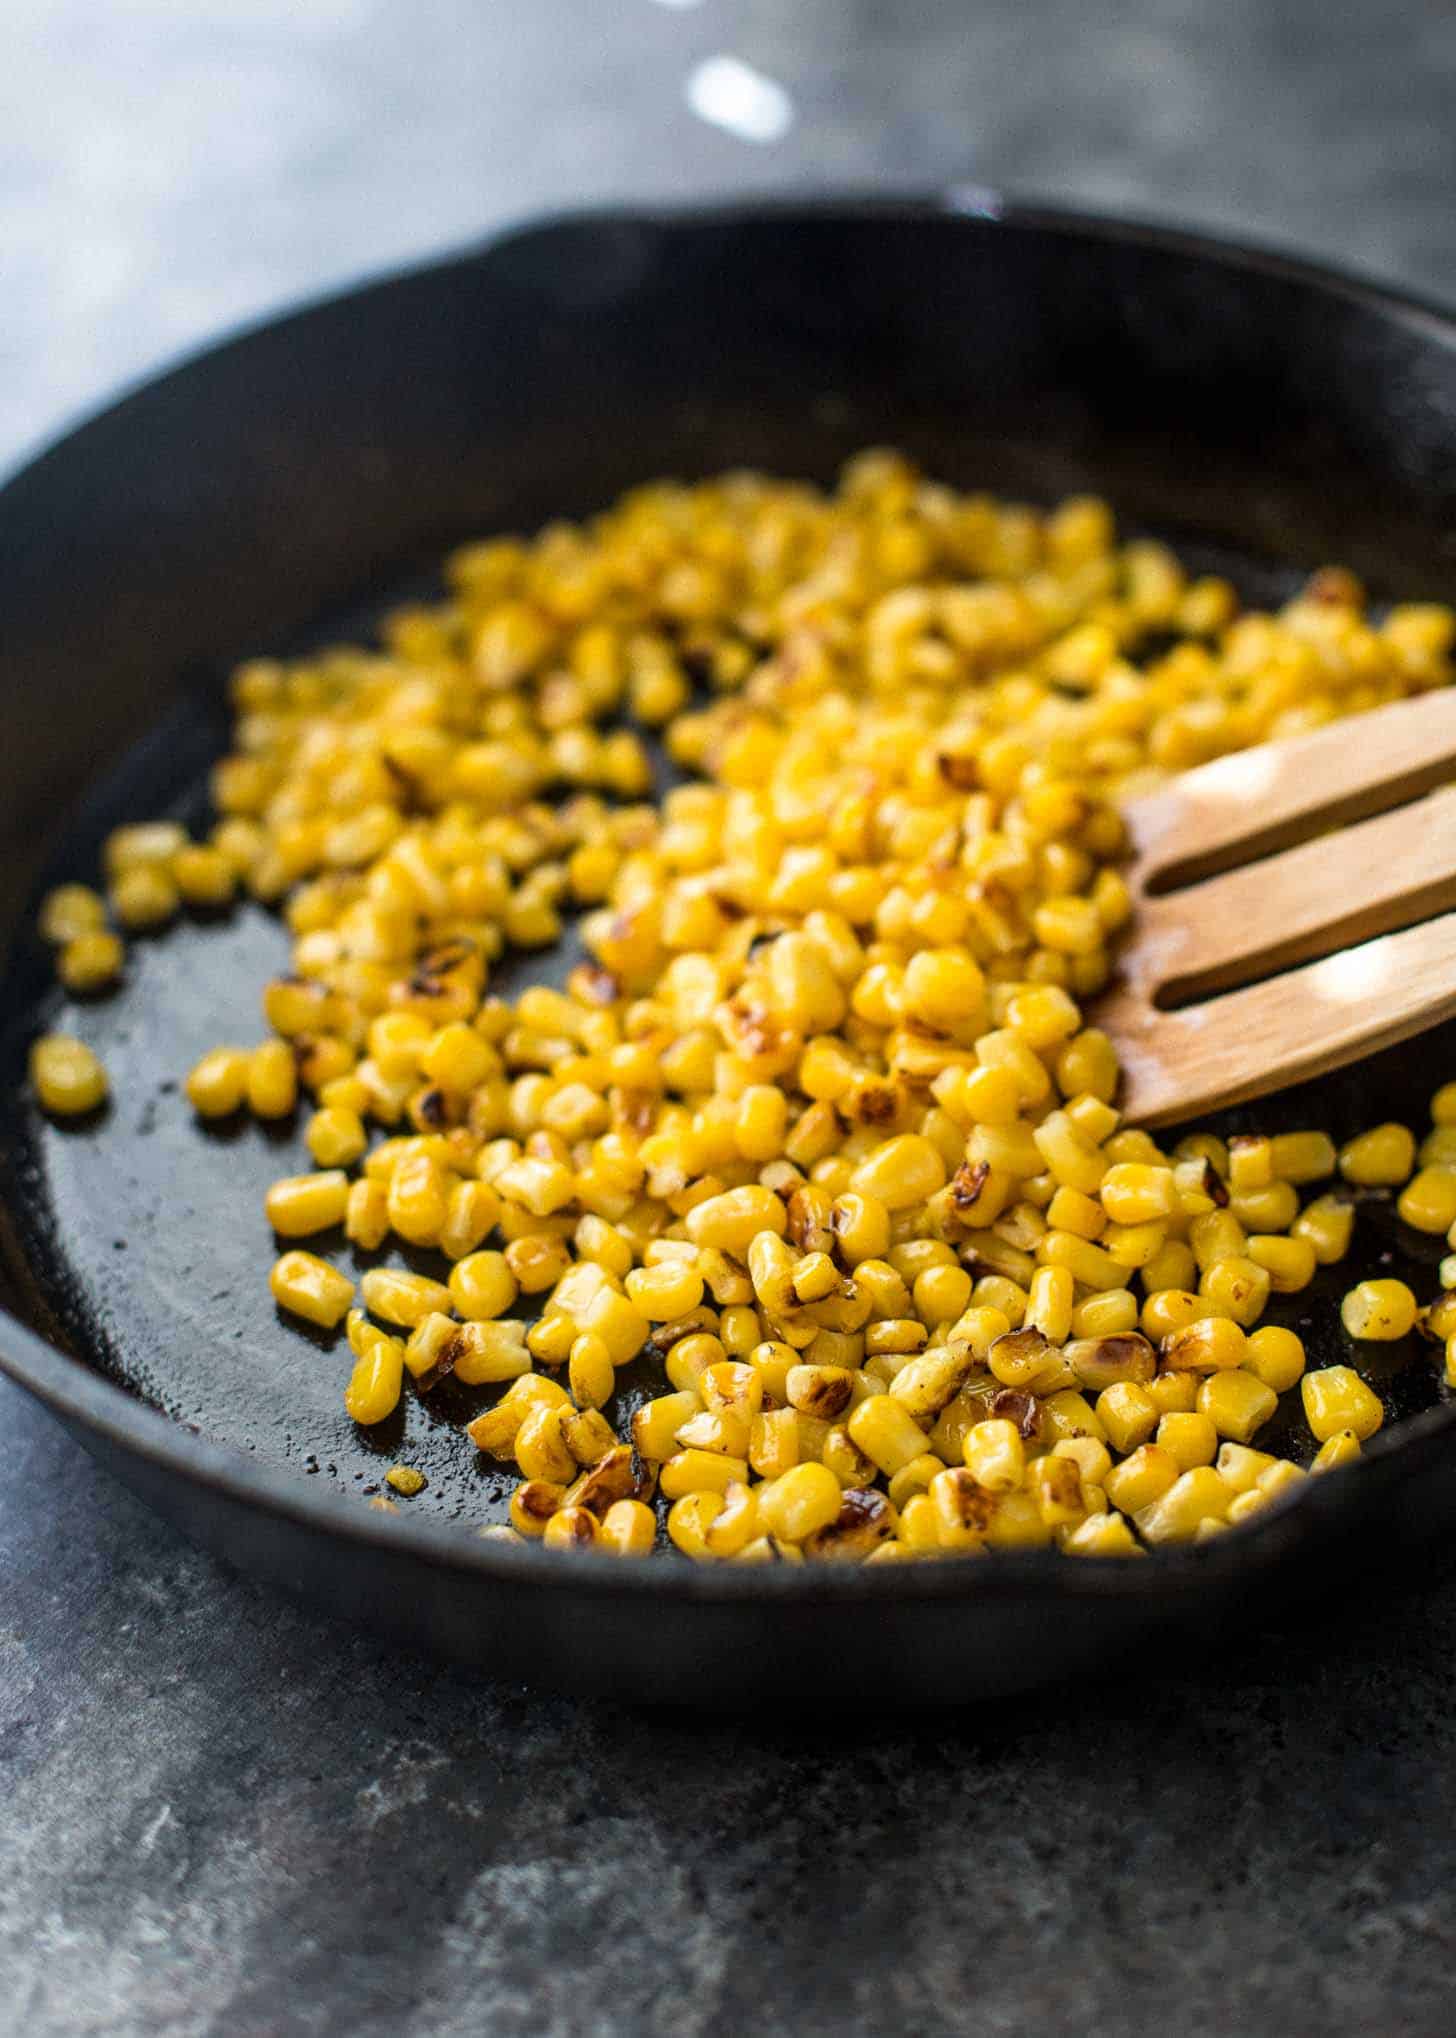
- Blacken corn – Heat oil in a large skillet and add frozen corn. Cook the corn until it’s defrosted, but for an extra dimension of flavor, keep going for 4 to 6 minutes. The corn will start to char and blacken slightly in spots. This gives the dish extra flavor!
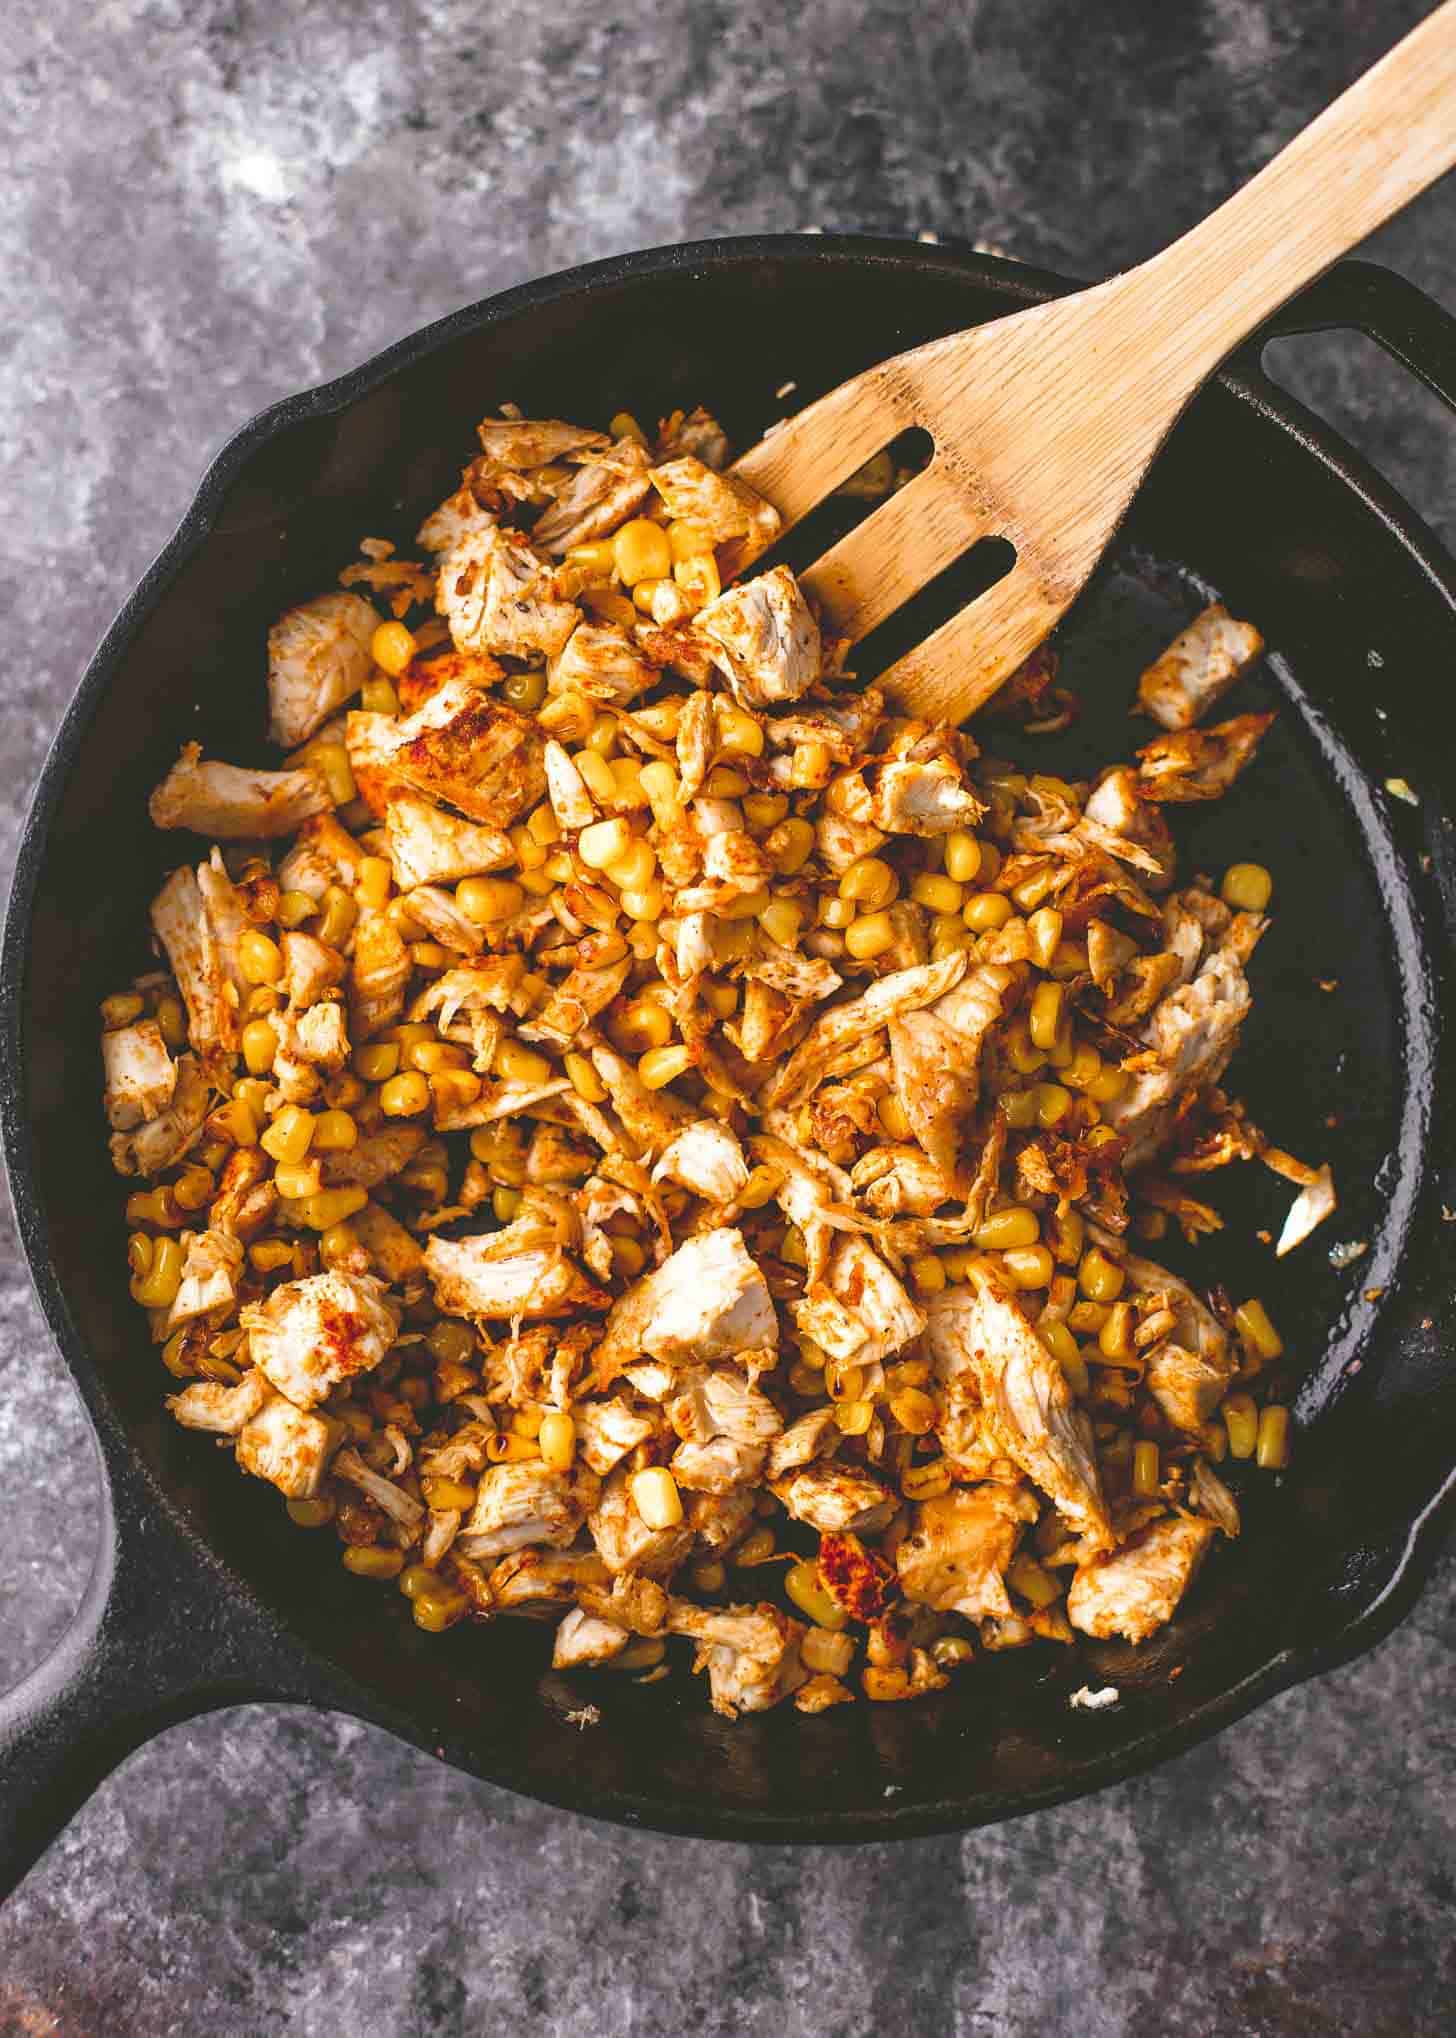
- Add chicken and spices – To the corn, stir in chicken and dried spices, letting everything cook together for 2 to 3 minutes to let the flavors develop.
- Stir in sauce – Add green chilis, enchilada sauce, and canned tomatoes (drain them first). Bring to a simmer.
- Add cheese and pasta – Stir 1 cup of cheese and pasta into the dish. Top the pasta with the remaining ½ cup of cheese.
- Broil – Place the pasta under the oven’s broiler until the cheese is melted, 3 to 4 minutes.
- Enjoy!
Freeze This Meal
This is a great meal to freeze! Make the recipe right up until the broiling step. Transfer the pasta to a 9×13 baking dish or divide the pasta between two 8×8 disposable aluminum baking pans.
To bake from frozen: Defrost completely in the refrigerator for about 48 hours. Bake, covered, at 350°F / 177°C until warmed through, 25 to 30 minutes. Then, if you’d like the top to be slightly crisp and golden, turn on the oven’s broiler and broil the dish for 2 to 3 minutes until the cheese is melted and bubbly and the pasta is lightly golden brown in some spots.
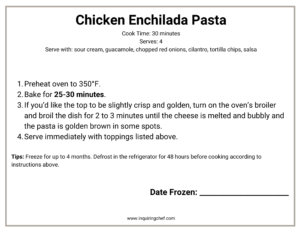
Printable Freezer Label
Print and attach the label below so cooking instructions are ready when you are!
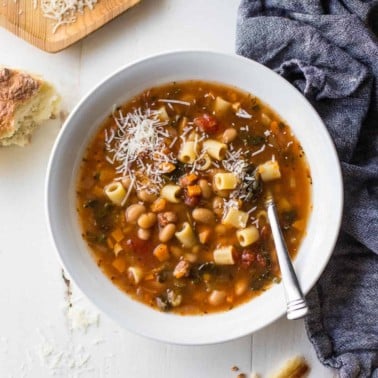
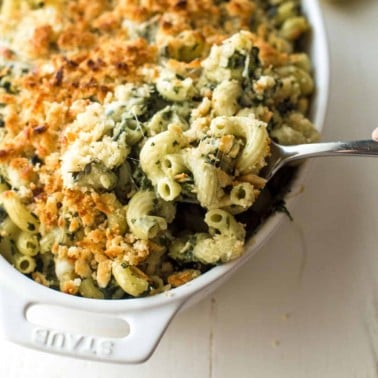
More Easy Pasta Recipes
Pin this now to save it for later
Pin It Now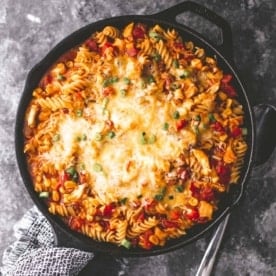
Chicken Enchilada Pasta
Equipment
- oven-safe skillet
- Stockpot or Large Saucepan
Ingredients
- 8 ounces Pasta, fusilli (sub any pasta shape – penne, rigatoni, or shells would be good here)
- 1 Tablespoon Cooking Oil
- 1 1/2 cups Frozen Corn, defrosted
- 2 cups Shredded Cooked Chicken (use chicken breast, thigh, or rotisserie chicken)
- 2 cloves Garlic, chopped
- 1/2 teaspoon Ground Cumin
- 1/2 teaspoon Paprika
- 1 4-ounce can Mild Green Chiles, drained (see note)
- 1 10-ounce can Red Enchilada Sauce (use mild or medium store-bought or use this homemade version)
- 1 15-ounce can Fire-Roasted Diced Tomatoes, drained
- 1 1/2 cup Shredded Colby Jack or Cheddar Cheese, divided
- Optional toppings – sour cream, guacamole, chopped red onions, cilantro, salsa, tortilla chips
Instructions
- Cook pasta according to package directions. (You can do this up to 2 days ahead of time. Toss the pasta with some oil to help minimize sticking and refrigerate it if making ahead.)
- Turn on the oven’s broiler (this will be used to melt the cheese).
- Heat a large oven-safe skillet over medium heat.
- Add corn and oil and saute until defrosted. (Note: For extra flavor, keep cooking the corn until it starts to blacken in spots, 4 to 6 minutes.)
- Add chicken, garlic, cumin, and paprika. Saute until fragrant, 2 to 3 minutes.
- Stir in green chiles, enchilada sauce, and diced tomatoes.
- Cook until the sauce starts to bubble, 2 to 3 minutes.
- Remove skillet from heat and stir in chicken, 1 cup cheese, and pasta. (Note: If your skillet is not oven safe or is not large enough to hold all of the ingredients, you can transfer the pasta to a 9×13 baking dish.)
- Sprinkle remaining cheese over top of the pasta. Heat under the broiler until the cheese is bubbly and melted, 3 to 4 minutes (keep a close eye on it to prevent burning).
- Serve pasta immediately with any toppings you’d like.
Notes
Nutrition
Nutrition information is automatically calculated, so should only be used as an approximation.


Can I use canned chicken?
Absolutely!