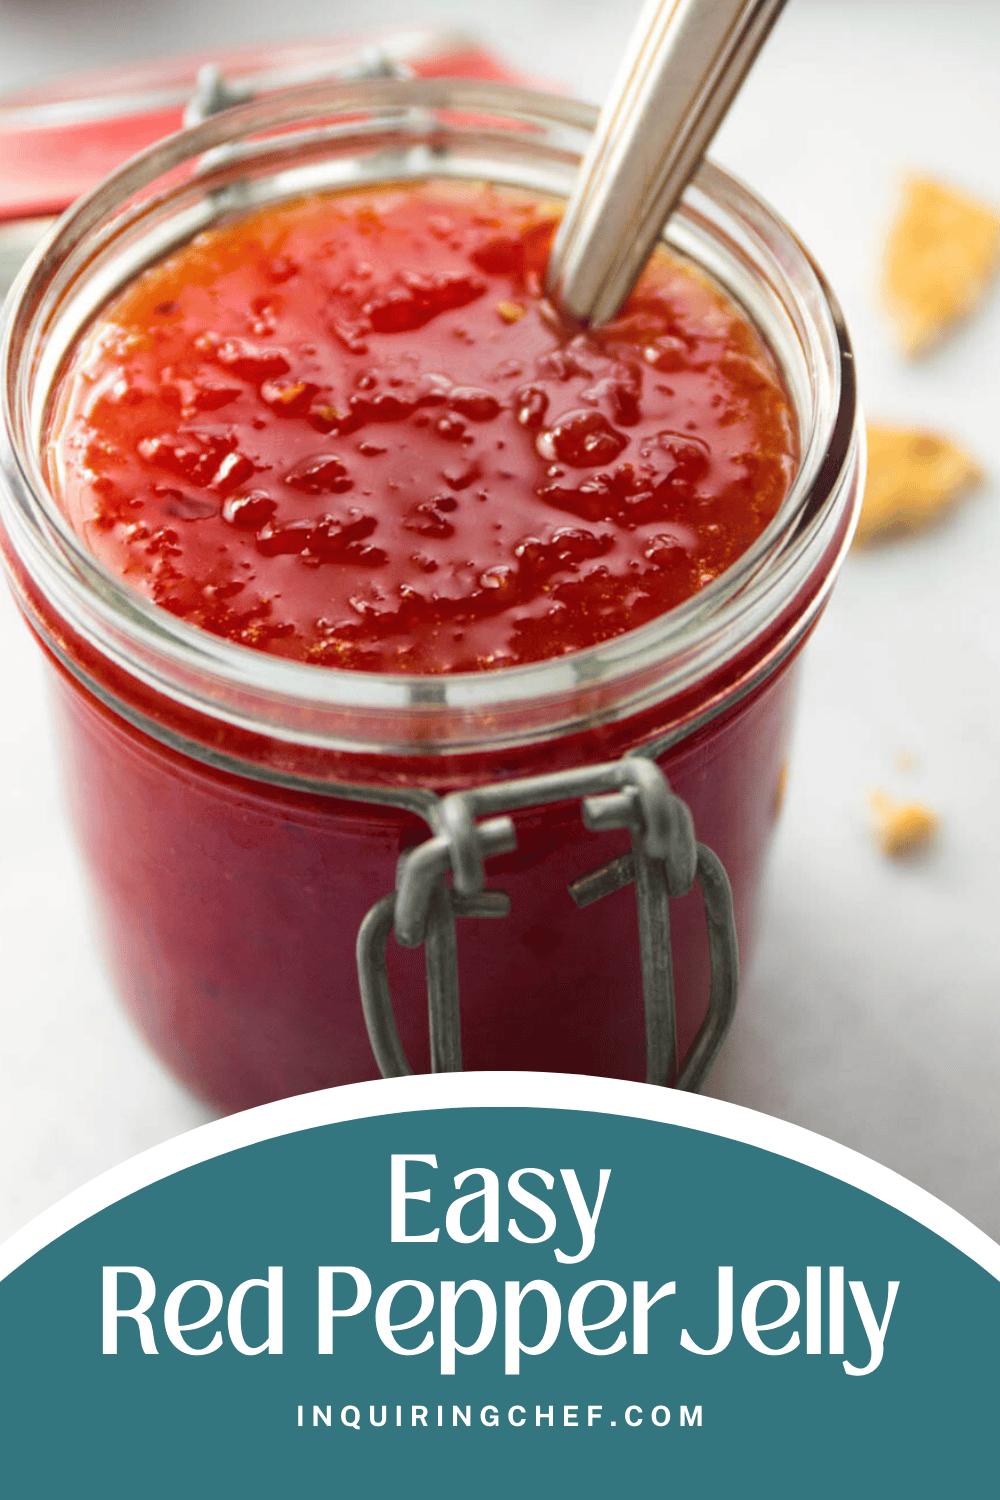
Red Pepper Jelly
Published Jul 22, 2021•Updated May 22, 2025
This post may contain affiliate links. Please read our disclosure policy.
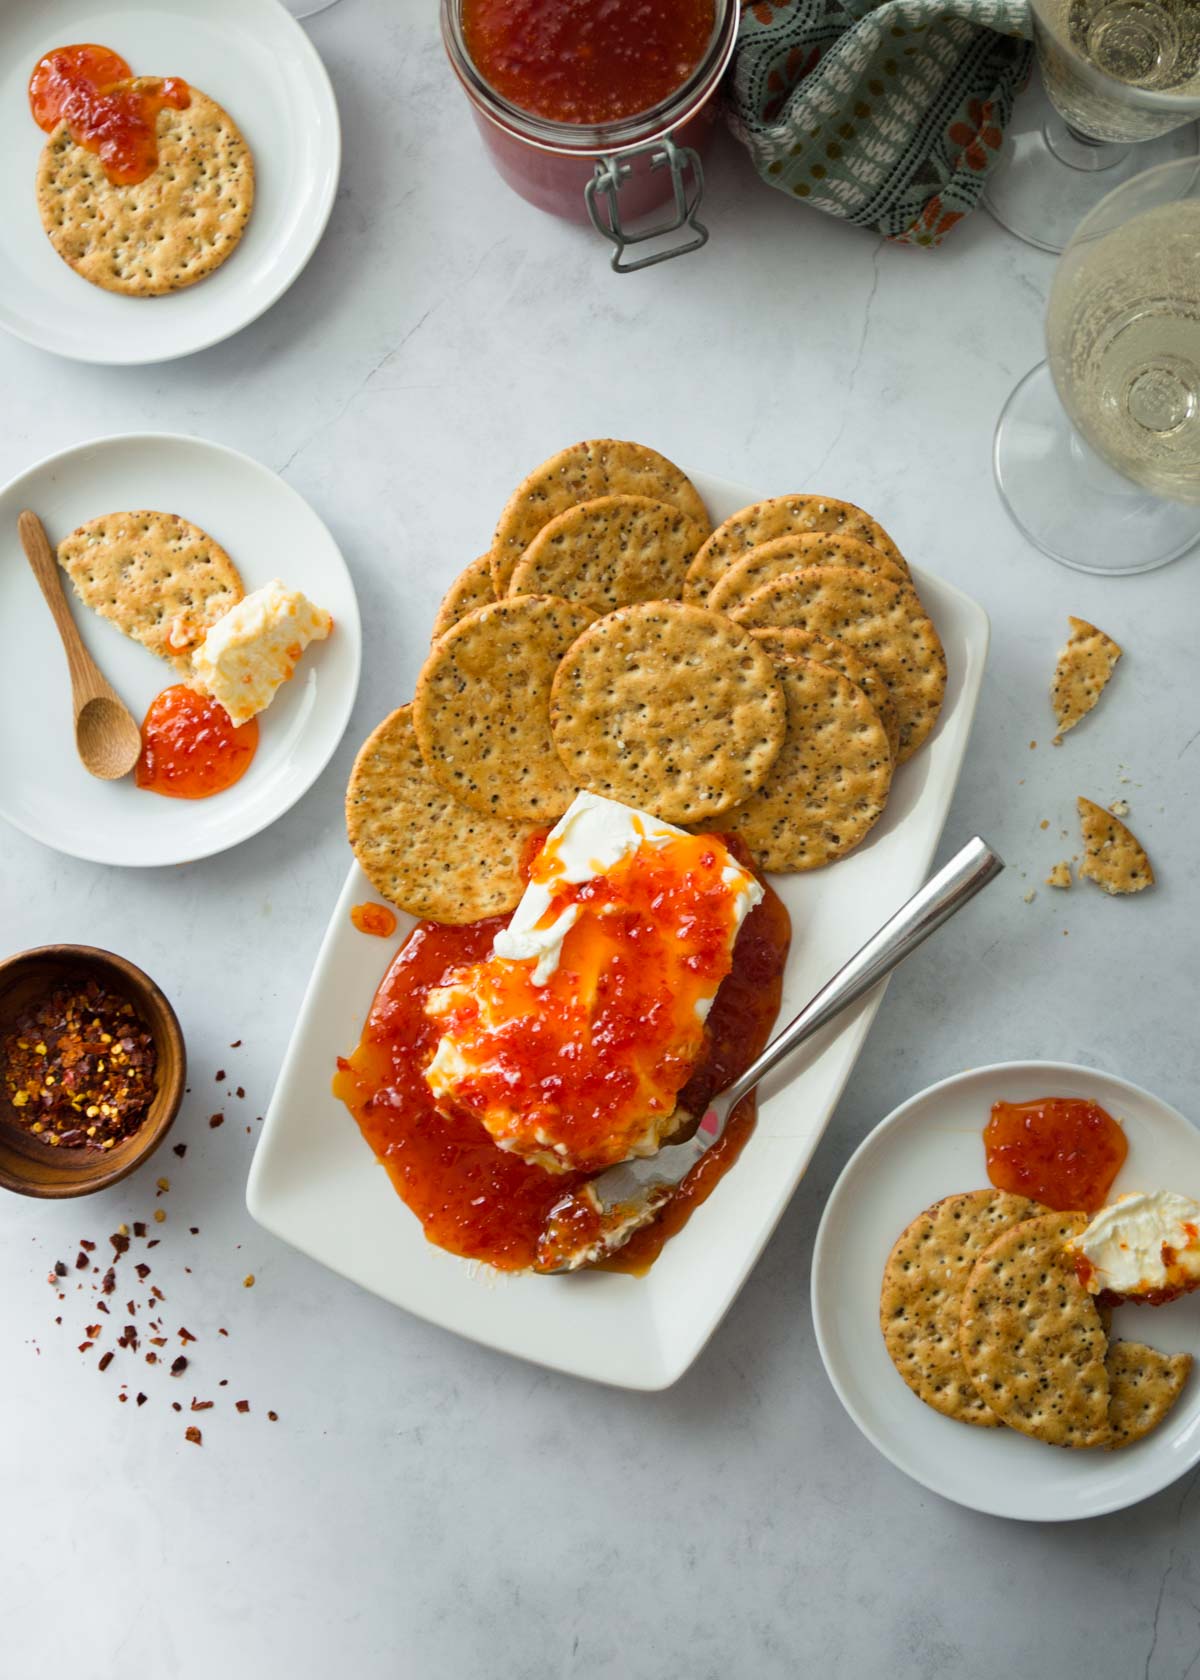
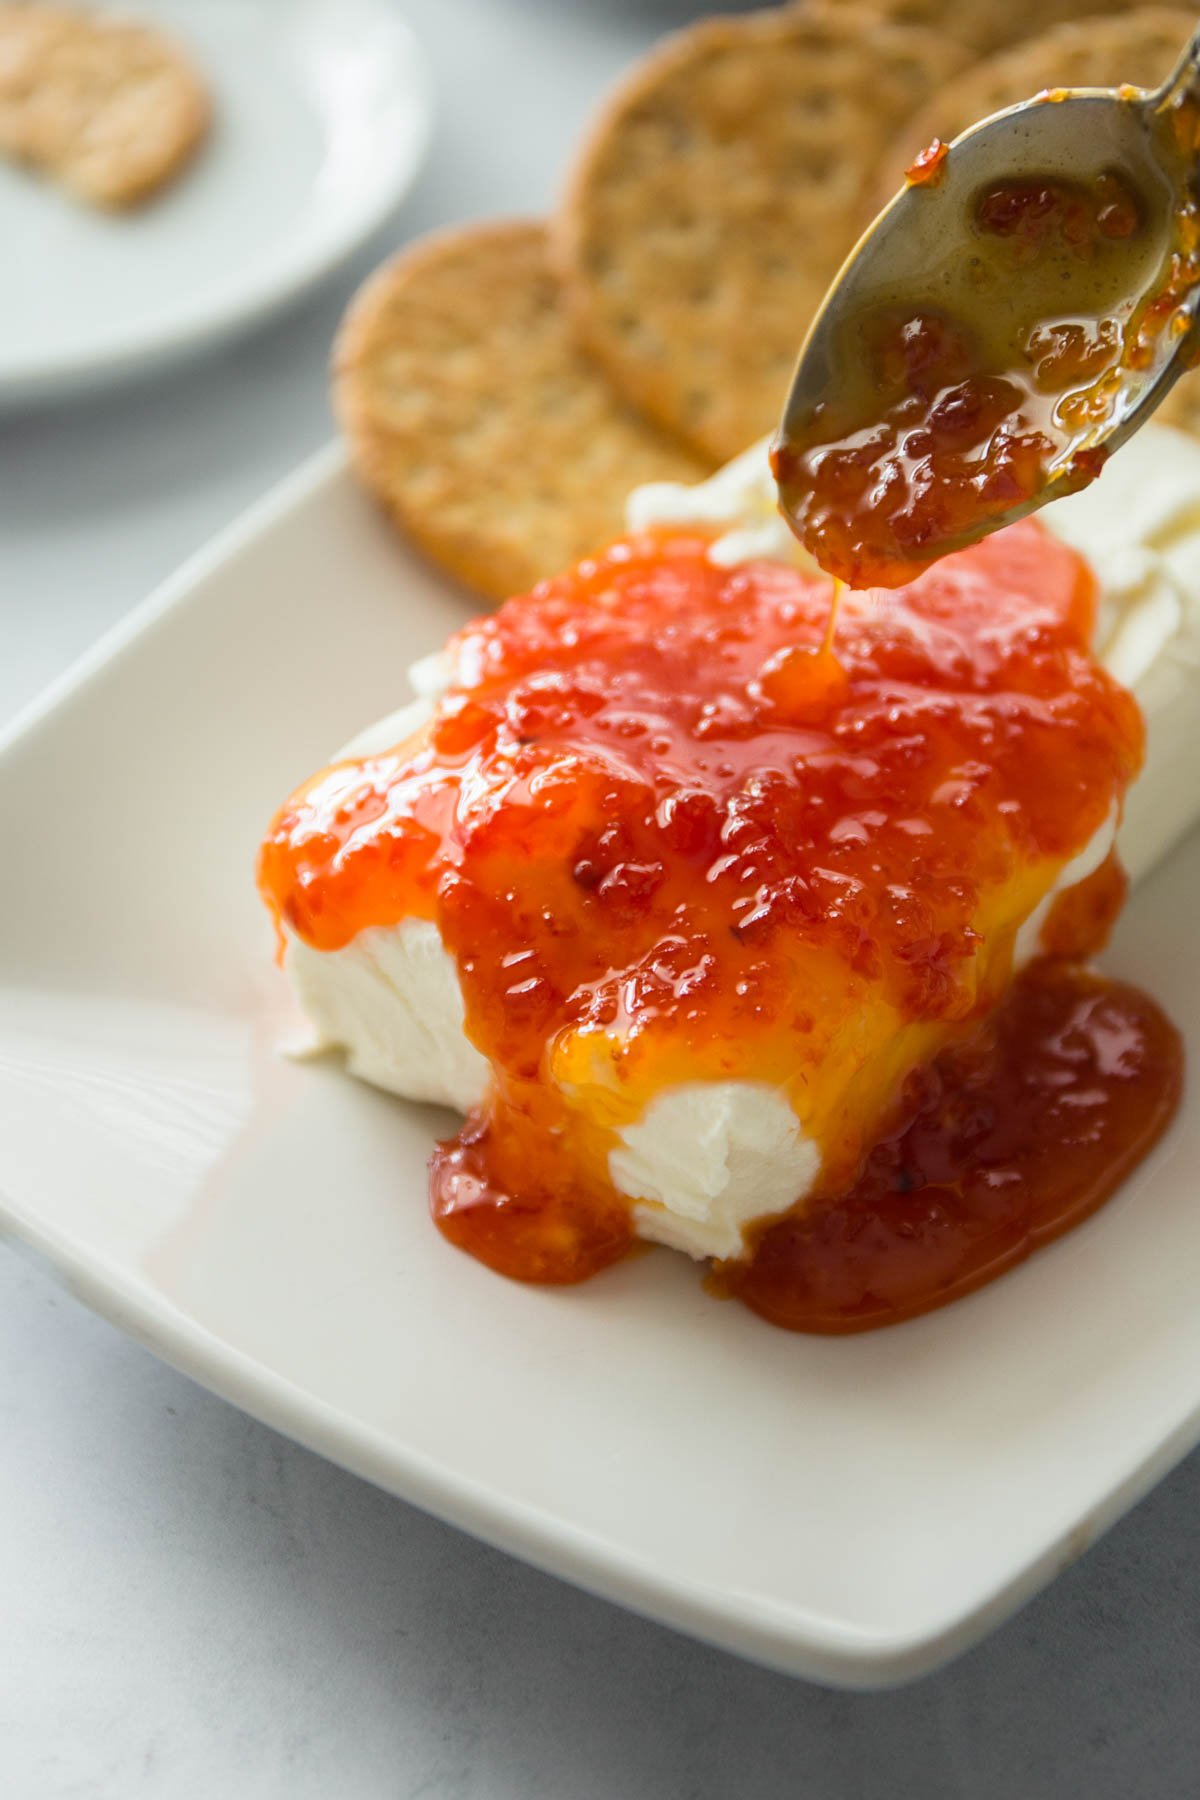
This five-ingredient no-pectin Red Pepper Jelly is sweet, can be spicy (or not), and is the perfect thing to serve over soft cheese in the fall and over the holidays. It also makes a great homemade gift at Christmas!
Whether you are an experienced jelly-maker or this is your first batch, simple no-pectin Red Pepper Jelly is for you. You can preserve the jelly in a hot water bath, save it in the fridge for a few weeks, or freeze it for simple preservation until the winter months.
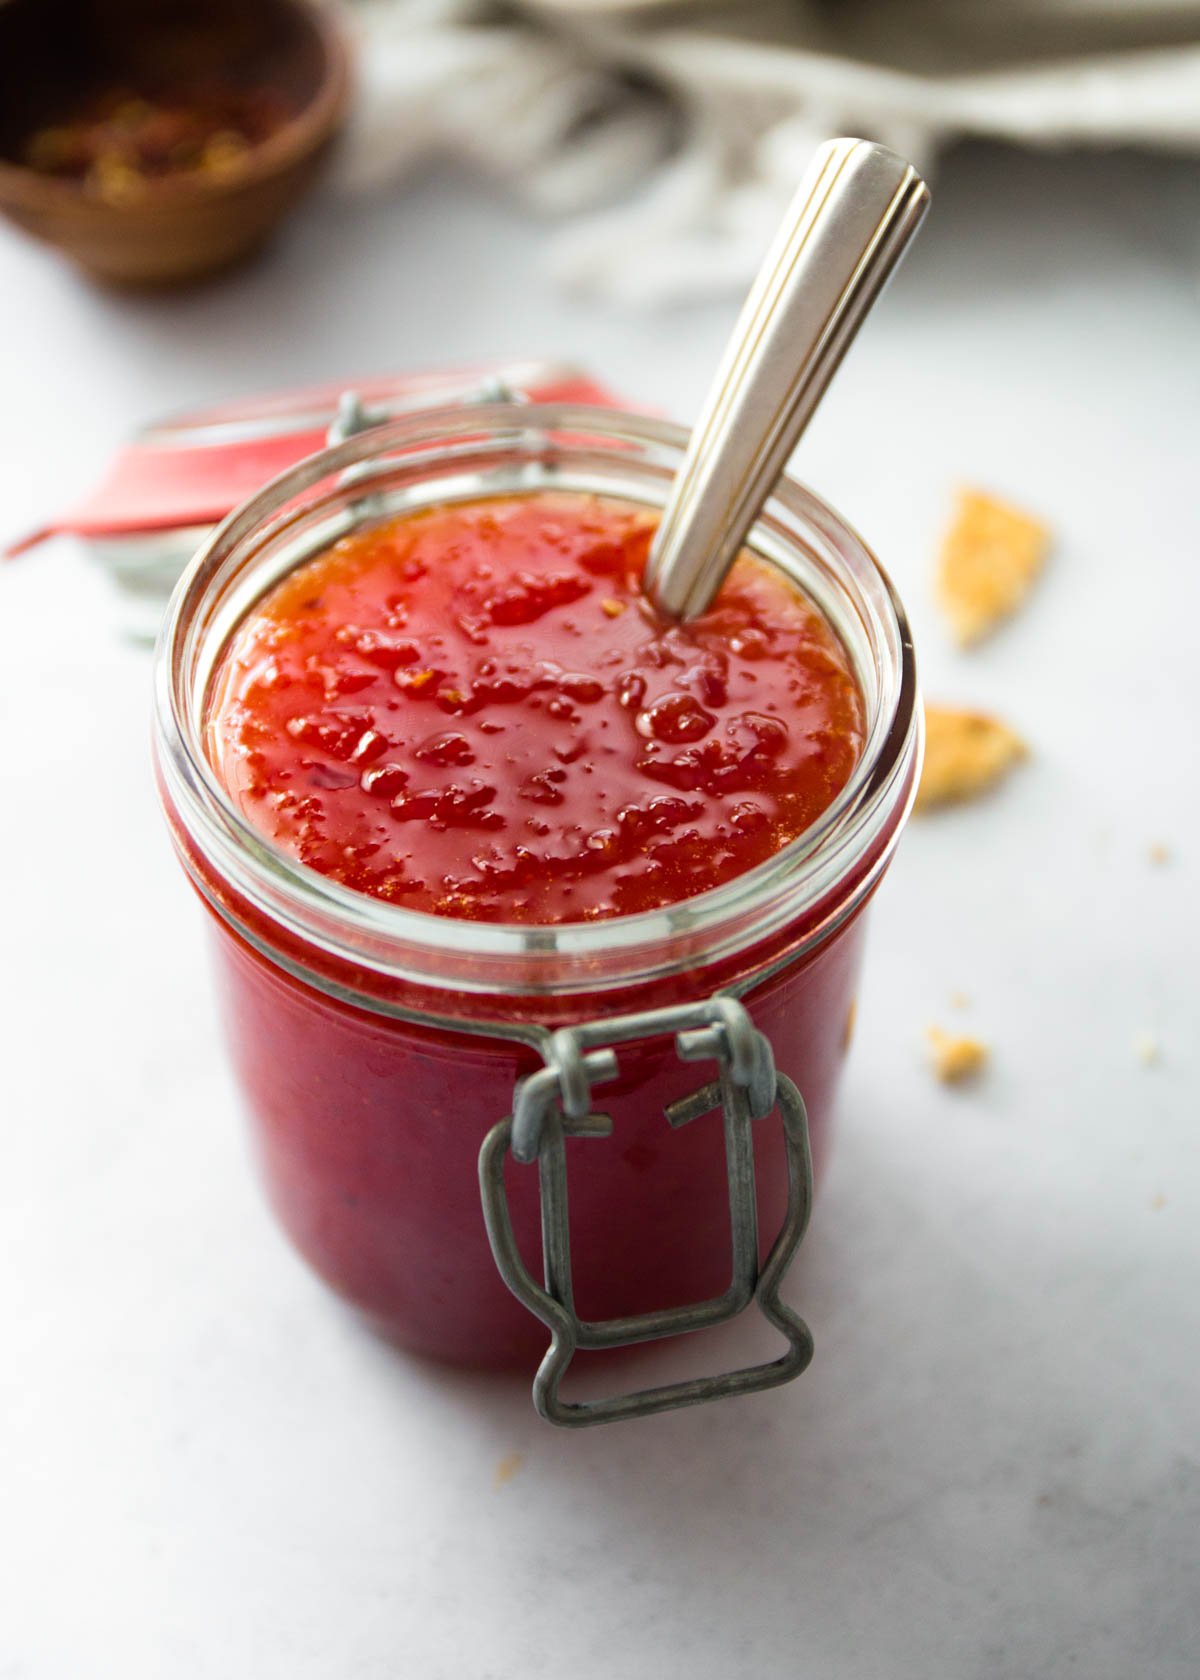
You’ll not only love how delicious this jelly is but you’ll love finding bright and cheerful cherry-red jars tucked away in your freezer or pantry.
Love for Red Pepper Jelly
This recipe is one of the first I ever made and preserved using water bath “hot water” canning. I was living in a shoebox apartment in Washington, D.C., reading Barbara Kingsolver’s book about life on a Virginia farm, and quietly plotting my escape to a life of farming and canning. Those plans never materialized (instead I ended up in Kansas City by way of Bangkok), but this Red Pepper Jelly recipe stood the test of time. I make it every year when red bell peppers are abundant at the farmer’s market (September here) and serve it throughout the fall and winter holidays.
Pin this now to save it for later
Pin It NowPreserving Red Pepper Jelly
The high amount of sugar in the jelly makes it a fail-proof recipe for hot water canning. Find instructions for that process included in the recipe below. But if you’re not up for a canning project, do not worry! This jelly can easily be stored in the fridge for a few weeks or in the freezer for up to 6 months.
Using Green Bell Peppers
Don’t have red bell peppers? You can absolutely make this jelly using green bell peppers. While the difference in flavor is very subtle, it’s the color that will dramatically change. This no-pectin recipe boils for about 15 minutes, so the jelly will lose its bright green color and be a dark green shade. If you use a combination of red and green bell peppers, the result will be a dark brownish-red.
What if the Jelly is too Thin or Thick?
Because jelly thickens as it cools, you may find that the consistency does not turn out the way you’d like. This is easy to correct. Simply return all of the jelly to a heavy-bottomed pot and bring it back to a boil. If it was too thin, let it boil for about 5 minutes to thicken. If it was too thick, add about some additional water (⅓ cup should be about right for one batch) and boil just for 1 minute.
Note: This is very simple to do if you’re using the refrigerator or freezer method for preserving your jelly, but keep in mind that you’ll have to repeat all of the steps for sterilizing and sealing the jars if you used a hot water bath to preserve them.
What to Do with Pepper Jelly
- Serve it over cream cheese or brie with crackers on the side (my favorite!)
- Use it to glaze chicken or pork (my grandma’s favorite!)
- Whisk it into vinaigrettes
- Simmer cocktail meatballs in it (serve as an appetizer)
- Use it as a dip for chicken tenders or fish sticks
- Spread on cornbread or soft rolls
Ingredients
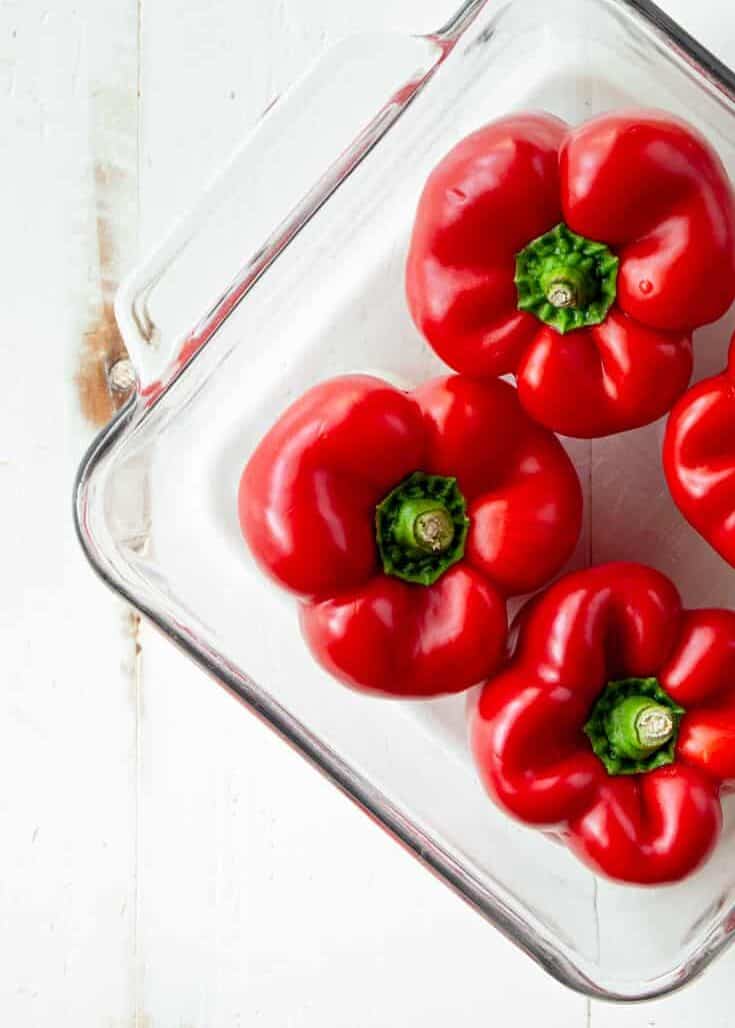
- Red Bell Peppers – Remove the stems and core of the peppers and then chop them before using them in this recipe. You’ll need about 4 regular-sized bell peppers, but the most reliable way to measure them is to weigh them after the core and stems have been removed. You should have one pound of bell pepper pieces for the most consistent results.
- Red Pepper Flakes – Adjust this to your spice preference. You can always taste the jelly after it has cooked and stir in more red pepper flakes at the end.
- Sugar – Like all jelly, this one uses lots of sugar! To maintain the bright red color, be sure to use white sugar here.
- White Wine Vinegar – Any type of vinegar will work, but white wine vinegar gives the jelly an interesting, rich flavor. In a pinch I have used distilled white vinegar and it works just fine, though I find the flavor to be a bit more flat than when using white wine vinegar.
- Unsalted Butter and Kosher Salt – Standard pantry / fridge ingredients.
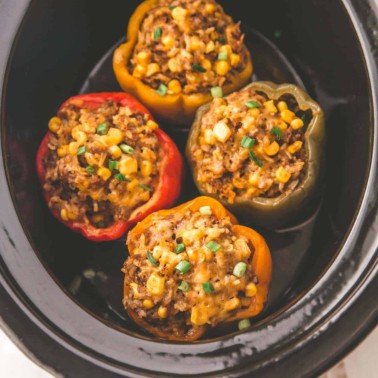
More Bell Pepper Recipes


Favorite Tools
Pin this now to save it for later
Pin It Now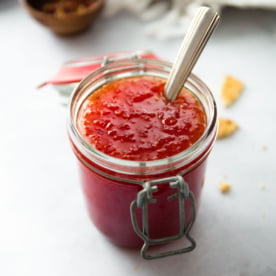
Red Pepper Jelly
Equipment
- Knife
- Cutting Board
- Mason Jars
- Food Processor
- Heavy Bottomed Pot
Ingredients
- 1 pound Red Bell Peppers, cut into 1-inch pieces (important – weigh the bell peppers after the stems and cores have been removed; you should need about 4 regular bell peppers)
- 1 teaspoon Red Pepper Flakes (add more or less according to your spice preference; you can always taste and add more after cooking)
- 3 cups White Sugar
- 1 cup White Wine Vinegar
- 1 Tablespoon Unsalted Butter
- 3/4 teaspoon Kosher Salt (I use Morton’s)
Instructions
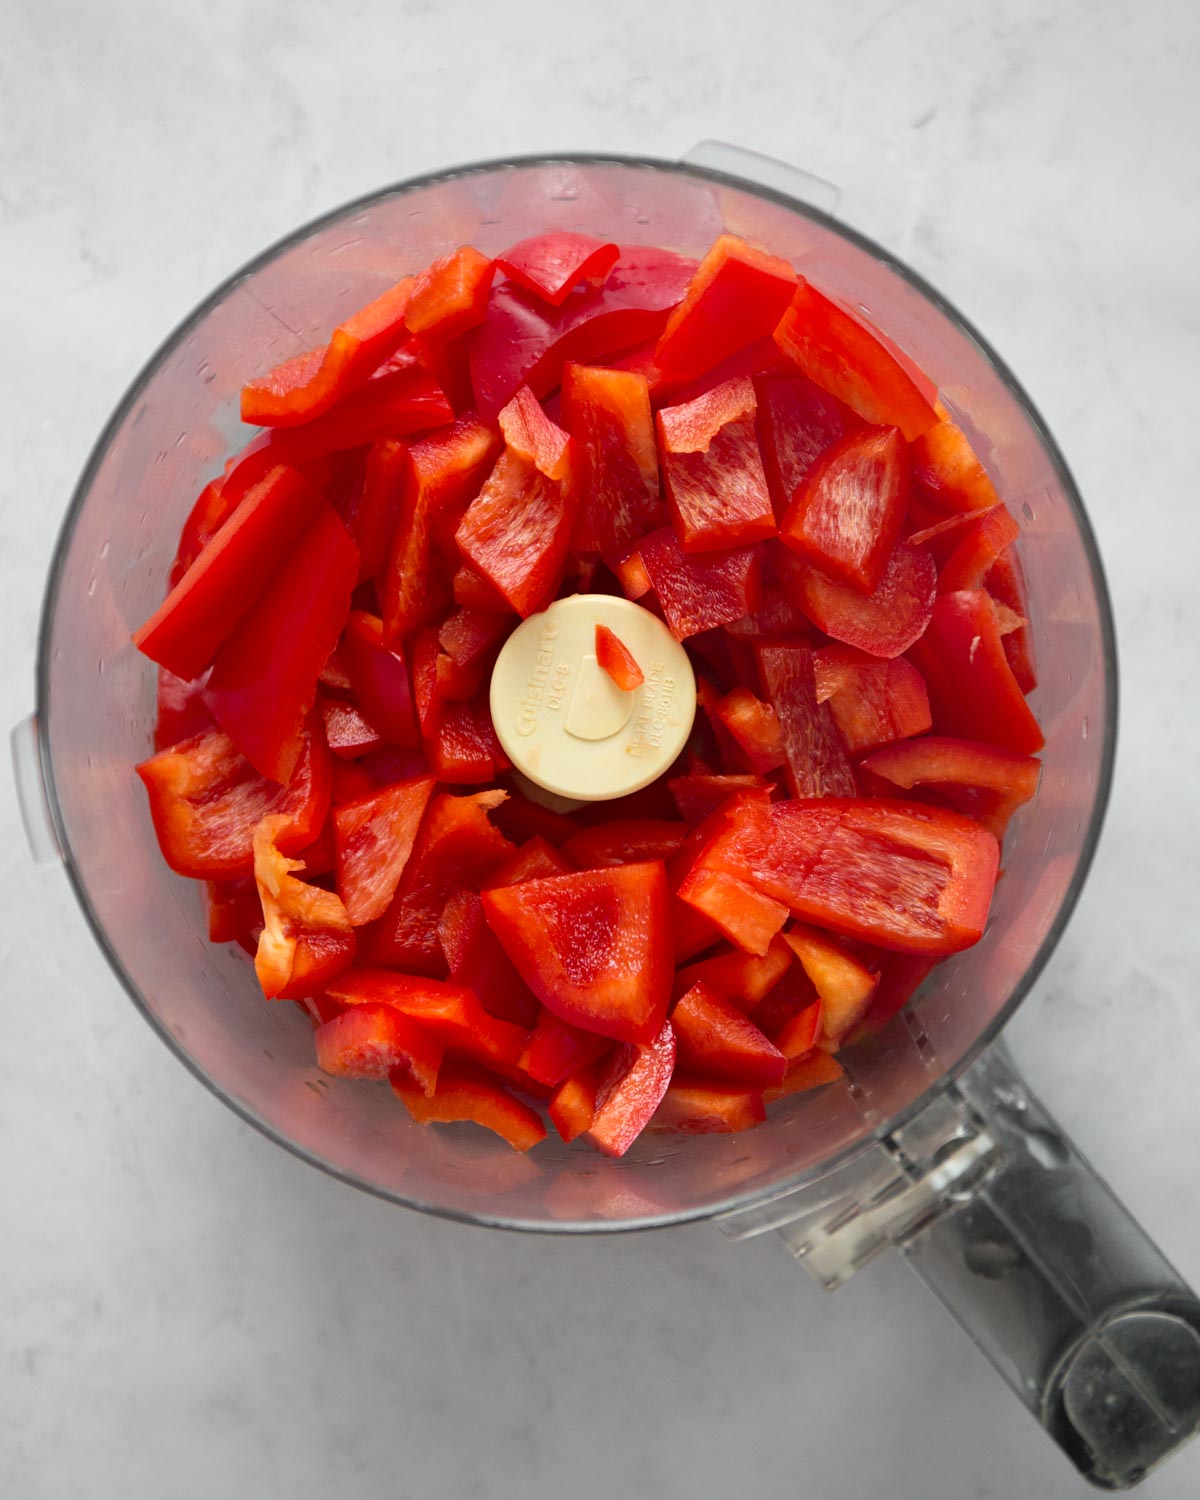
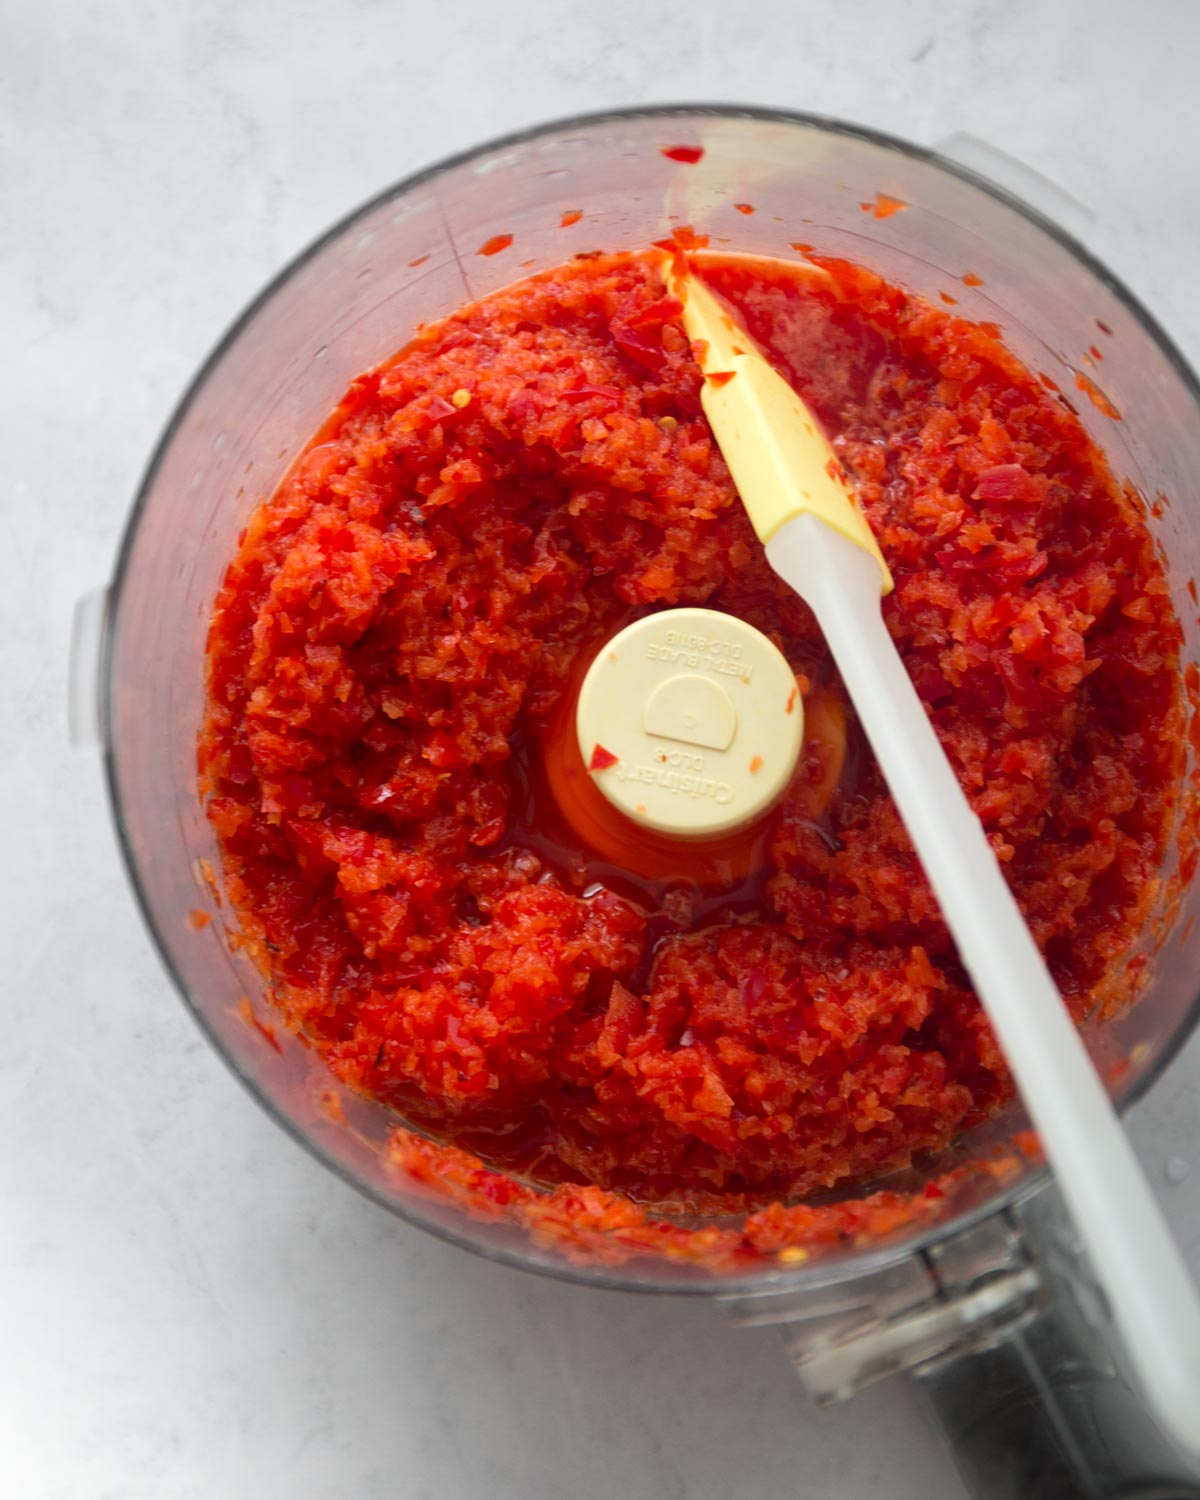
- In a food processor, combine red bell peppers and red pepper flakes. Pulse until very finely chopped.
- Combine bell pepper mixture, sugar, vinegar, butter, and salt in a heavy-bottomed pot. Bring to a vigorous boil over high heat. Boil mixture for 10 to 15 minutes (the longer it boils the thicker it will be – 10 minutes will give you a very loose jelly; 15 minutes will give you a more spreadable consistency). The jelly will thicken as it cools, so don’t worry if it seems loose right after boiling.
- Divide jelly between jars, leaving at least 1/3-inch of headspace at the top (this is especially important if you are planning to freeze the jelly because it will expand as it freezes).
- Let jelly come to room temperature and then add lids.
- Refrigerate or freeze jelly until ready to use. (Jelly will keep for several weeks in the fridge and up to six months in the freezer.)
Notes
- Before making the jelly, sterilize your jars and lids. To do this, wash jars, lids, and bands in hot soapy water. Rinse and dry well. Put empty jars on a rack in a boiling-water canner and add enough hot water to cover by 2 inches. Bring to a boil, covered, then boil 10 minutes. Meanwhile, place lids in a small saucepan and cover by at least 2 inches of water. Heat until a thermometer registers 180°F / 82°C. Remove jars and lids from heat, leaving them in hot water, covered, until ready to use.
- Make jelly according to instructions above.
- Carefully remove warm jars and lids with canning tongs. Drain jars upside down on a clean kitchen towel and quickly dry lids. Invert jars and immediately ladle hot jelly into jars, leaving 1/3-inch of headspace at top. (If you have a partially-full jar, refrigerate it and use within a few weeks.) Gently tap the jars on the counter to release air bubbles. Wipe off rims with a damp, clean kitchen towel. Firmly screw on lids with screw bands.
- Put sealed jars on rack in canner and add more hot water to cover by 2 inches. Bring to a full boil, covered, and then continue boiling with the lid on for 15 minutes. Transfer jars with canning tongs to a towel-lined surface to cool. Let cool completely, 12 to 24 hours. You will know the jars have sealed if the lids are concave. (Put any jars that haven’t sealed properly in the refrigerator and use within a few weeks.)
Nutrition
Nutrition information is automatically calculated, so should only be used as an approximation.


Hi Jess, I love this recipe and have made it over and over again. Everyone just raves about it. I just made a batch yesterday and noticed something strange. The butter seems to have solidified back out of the jelly. Have you ever seen this before and can it be fixed?
That’s so interesting Denise – I’ve never had that happen. Occasionally if the texture is not right, I return the entire mixture to the pot and re-boil it, adding water or cooking it down more as needed. You could always try that and see if it corrects the issue. By any chance did you use a different brand of butter than you have in the past? (I recently had a weird pie crust issue when I used Aldi brand butter instead of my usual go-to. I love Aldi, but I’m pretty sure the different butter brand was the issue.)
Yes it definitely may have been different butter. I always buy my butter at Costco, but there was a sale at the grocery store and it was cheaper so I bought 4 there. I’m pretty sure that is what went in the jelly. They are all sealed in bottles and I noticed that the liquid part of the butter is separated at the bottom of the jar and the fat solids at the top. If I shake them the liquid mixes in but not the solids. They end up as white pieces in the bottle. I made 48 bottles and sealed them all. I’d hate to open them all and reprocess but might have to. My son took at jar and thought the pieces of fat solid were worms until I explained it 🙁
Oh goodness – what a pain. You put all of that work in! As you pointed out, it doesn’t sound like it will affect the jelly except to make it look unappealing. But if it really is a butter quality issue, it might not even be worth unsealing them and reboiling. If the fat solids are separating, reboiling may not even fix it. I’m so sorry that happened Denise. I’m going think about how to phrase a note about this in the recipe so that hopefully others can avoid it.
Hi, my first time canning. The jelly tastes really good, but the consistency is very thick and getting thicker as it stands. Is it supposed to be stringy and honey like? I boiled it for exactly 20 minutes. I would like to try again, but really don’t want to mess it up again lol.
Hi! Good for you to tackle canning! So, the thickness can really vary. Some of it will depend on how hard of a boil you had it at for the 20 minutes (more liquid boils off, the thicker it will be). Some of it is out of your control and may just be affected by the natural water content in the peppers. I actually like it to be thick like honey, but if you haven’t canned it yet, you can warm it back up and whisk in some water until it reaches the consistency you want (just be sure to bring it back to a boil before putting it in jars). You can also whisk water into the individual jars when you open them if you find that it’s thick after sitting.
I’m new to preserving and am super excited to make this recipe! I was wondering if you know how much volume this recipe produces? Just trying to plan out how many jars I’ll need to sterilize 🙂
Yay! It’s one of my all-time-favorites. I find that it makes between three and five 1/2-pint jars, depending on how thick you cook the mixture down. I like it both cooked less to a thin consistency and cooked more to a thick consistency, so either way works, but it will affect how much the recipe makes.
When I store my red pepper jelly in the fridg the top – middle of the jar turns to crystal. If I leave it out it does not last as long. What is the best way to store opened jelly and what is the best way to get rid of the crystals?
Linda – this is a great question, but I’m not sure. Posting your note in the comments section in case others have the answer!
Just as for honey. either a hot water bath or a minute in the microwave IN THE JAR (take the cover off) . Otherwise, restore as if it were too thick after cooking: back in a saucepot with some water or vinegar, bring to a boil, then back into a clean jar. Crystallizing doesn’t mean it’s spoiled, just that the sugar has reverted to it’s natual structure and needs to be ‘ melted” again.
Can you substitute green peppers for the red peppers – obviously changes the colour, but otherwise good?
Joan – green peppers work great in this!
Finally! I have found a recipe that tastes like my grandma’s and doesn’t use pectin.
I doubled the recipe and cooked it for 55 minutes. I like it jammier.
Wonderful! I love that this reminds you of your grandma’s recipe! (I often cook it down to a more jammy texture too.)
Recipe looks great. Can’t wait to try it. If you can it, how long does it last stored? Can you freeze it in the jars? Will it lose flavour?
Hi Donna – I find that I can freeze these easily for 6 months without the flavor suffering at all.
I have made Red pepper jelly several times. My recipe does not call for “ canning “ it.
Is this ok?
Absolutely! But be sure to store it in the fridge if you’re not going through the proper canning procedure to safely seal it.
Wondering if this lasts as long canned without the pectin or is it needed for preservation?
Can I use frozen red peppers for this recipe? Thanks
Hi Tanya – I haven’t tested it that way, but I think frozen red peppers will work great. You may need to adjust the simmer time by a bit – I would think it might take slightly longer to cook down since frozen peppers tend to release quite a bit of moisture as they cook. Enjoy!