Christmas Pinwheel Cookies
Published Nov 30, 2017•Updated Jul 04, 2025
This post may contain affiliate links. Please read our disclosure policy.
If you bake one batch of cookies this holiday season, make it these Christmas Pinwheel Cookies. These tender butter cookies with chocolate and peppermint-flavored swirls are perfect for the season. They’re slice-and-bake, so just keep the dough in the fridge or freezer to bake whenever you need (or want) some!
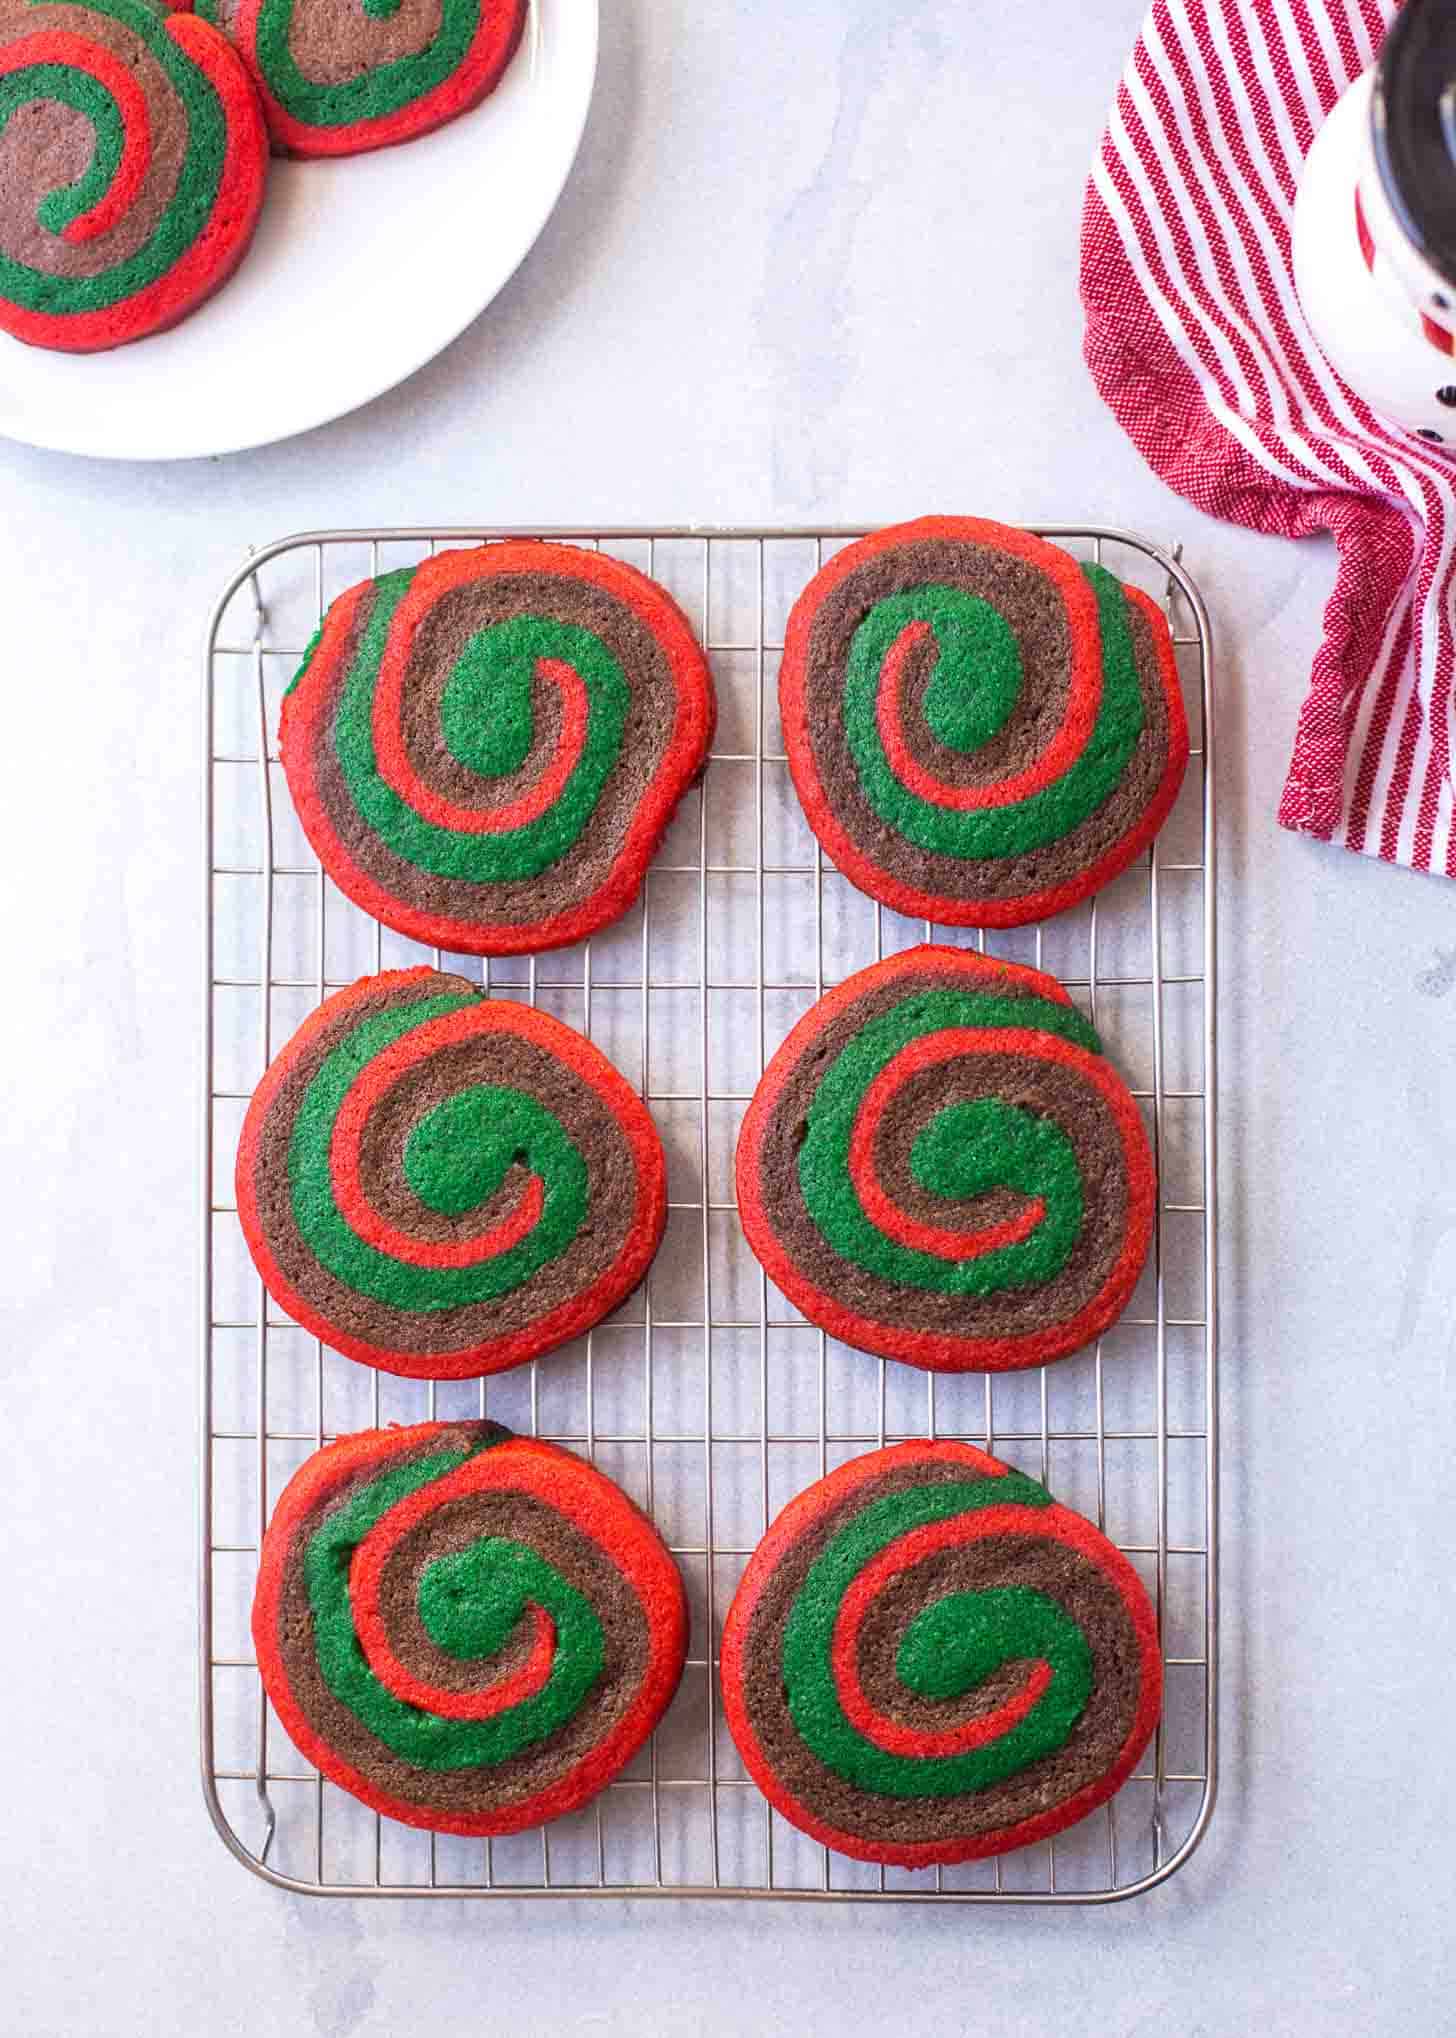
I can’t get enough of chocolate and peppermint this time of year (can you tell from these Peppermint Hot Cocoa Cookies?) But the truth is that Christmas Pinwheel Cookies are one of my favorite vehicles for the combo. I like to under-bake them by a minute or two for super soft, gooey centers. Baked for the right amount of time (8 to 10 minutes), they have a tender, buttery crumb, almost like shortbread.
These take a couple of easy steps, but I’ve got you covered with plenty of photos below. And if you’re looking for more Christmas cookie ideas, I rounded up the absolute Best Cookies to Make for a Cookie Exchange. These pinwheels obviously made the list.
Keep reading to see exactly how they come together or enter your email address below, and I’ll send you the recipe to save for later.
Step One: Make the Dough
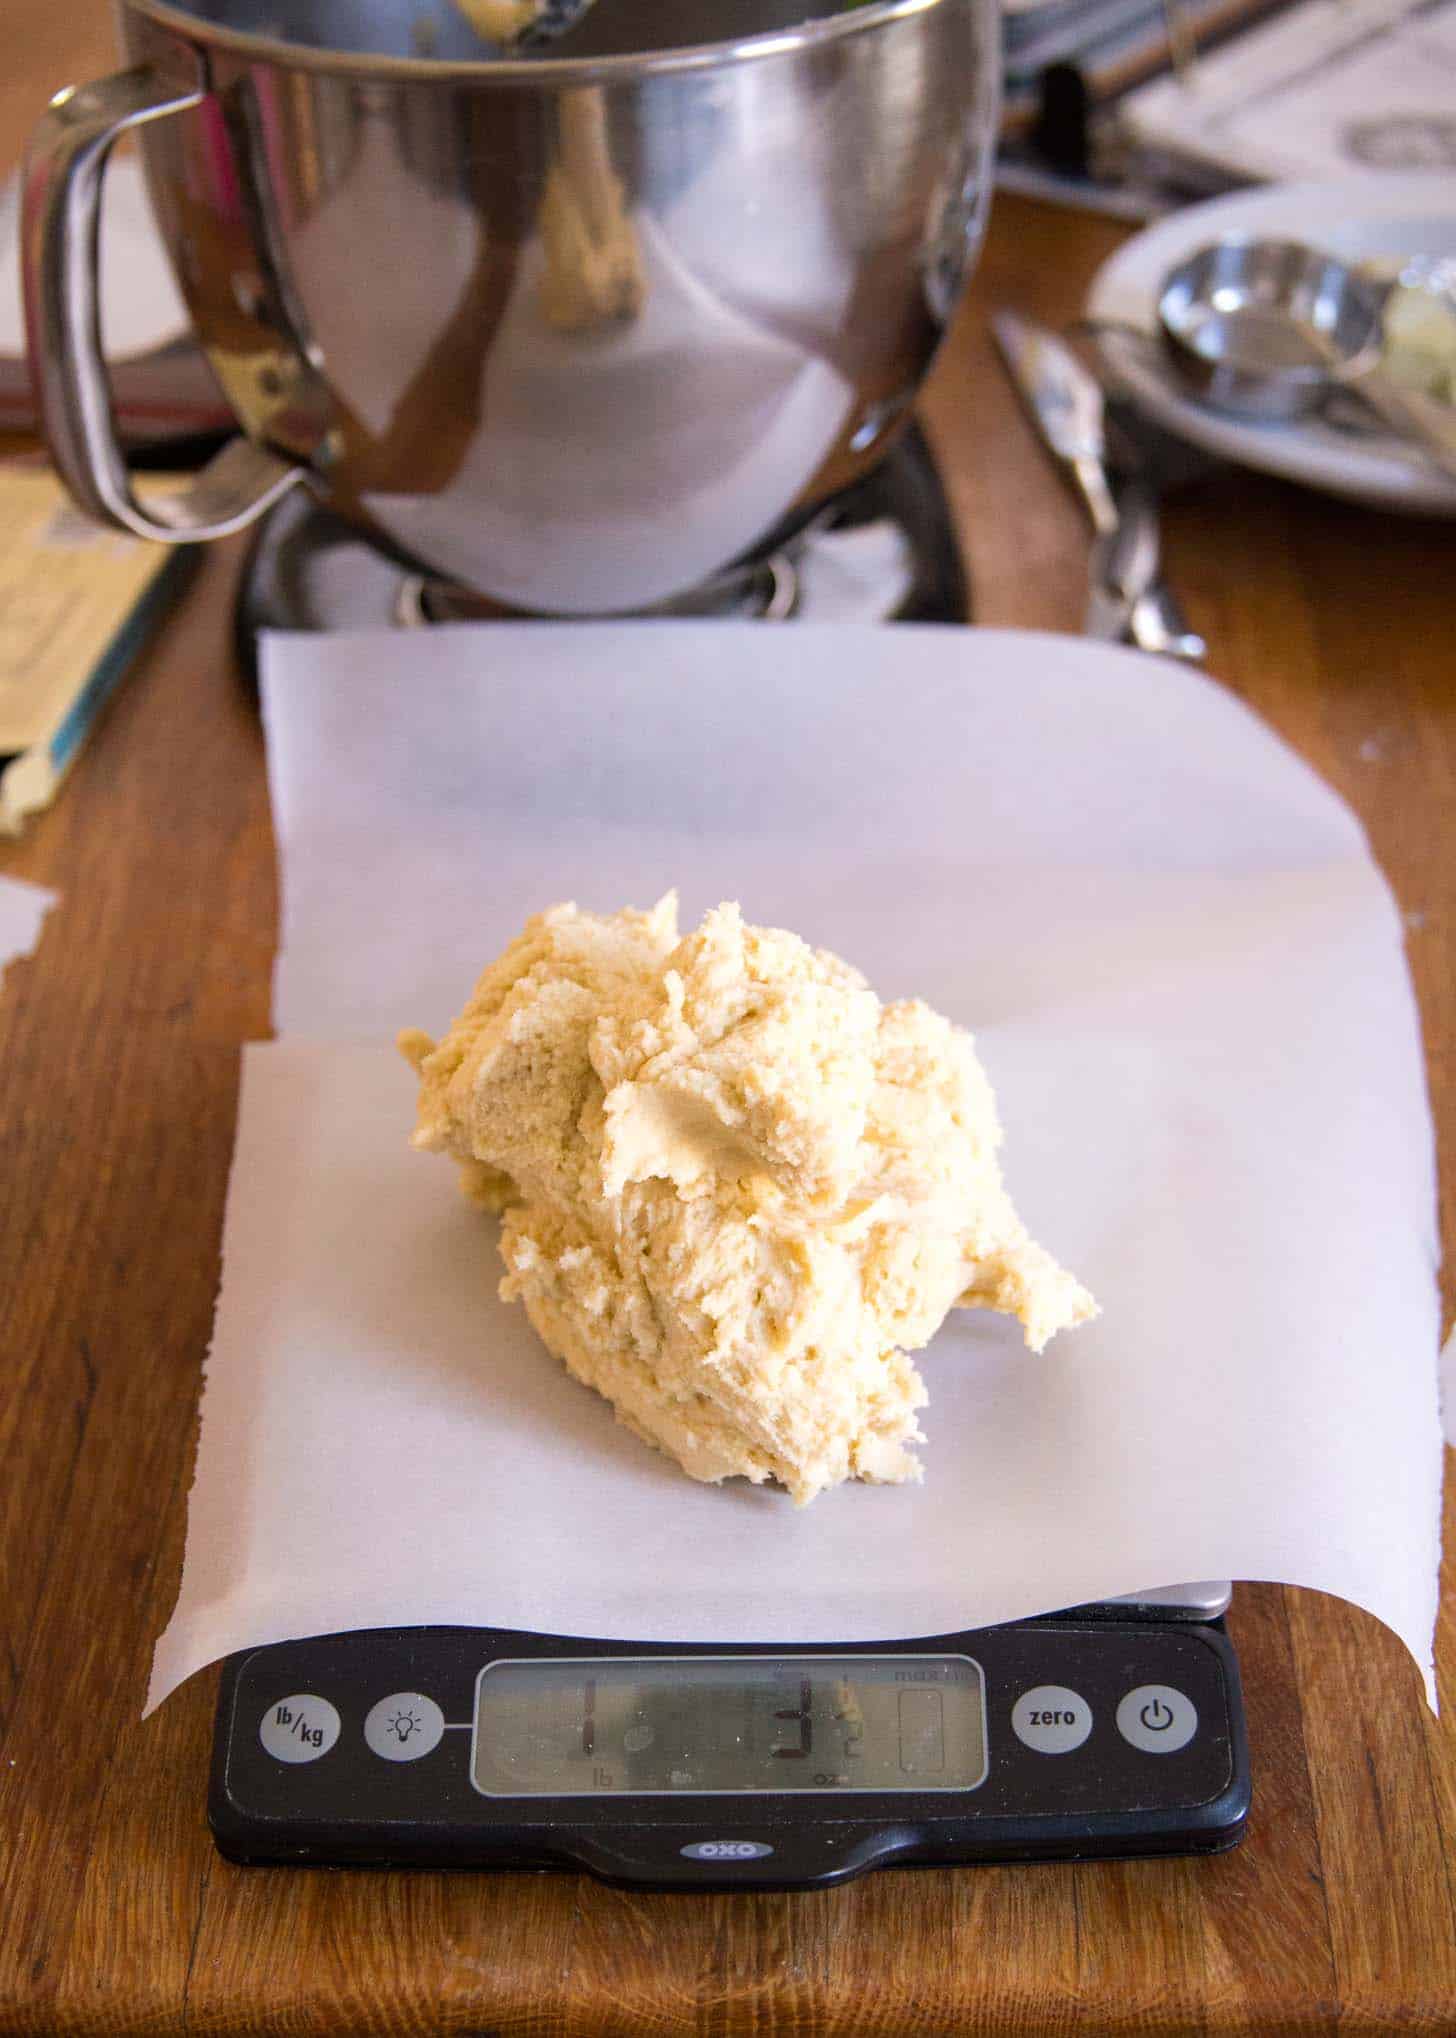
First make a big batch of vanilla dough. Divide it into thirds. Eyeball it or weight it…
Pin this now to save it for later
Pin It NowStep Two: Divide and Color
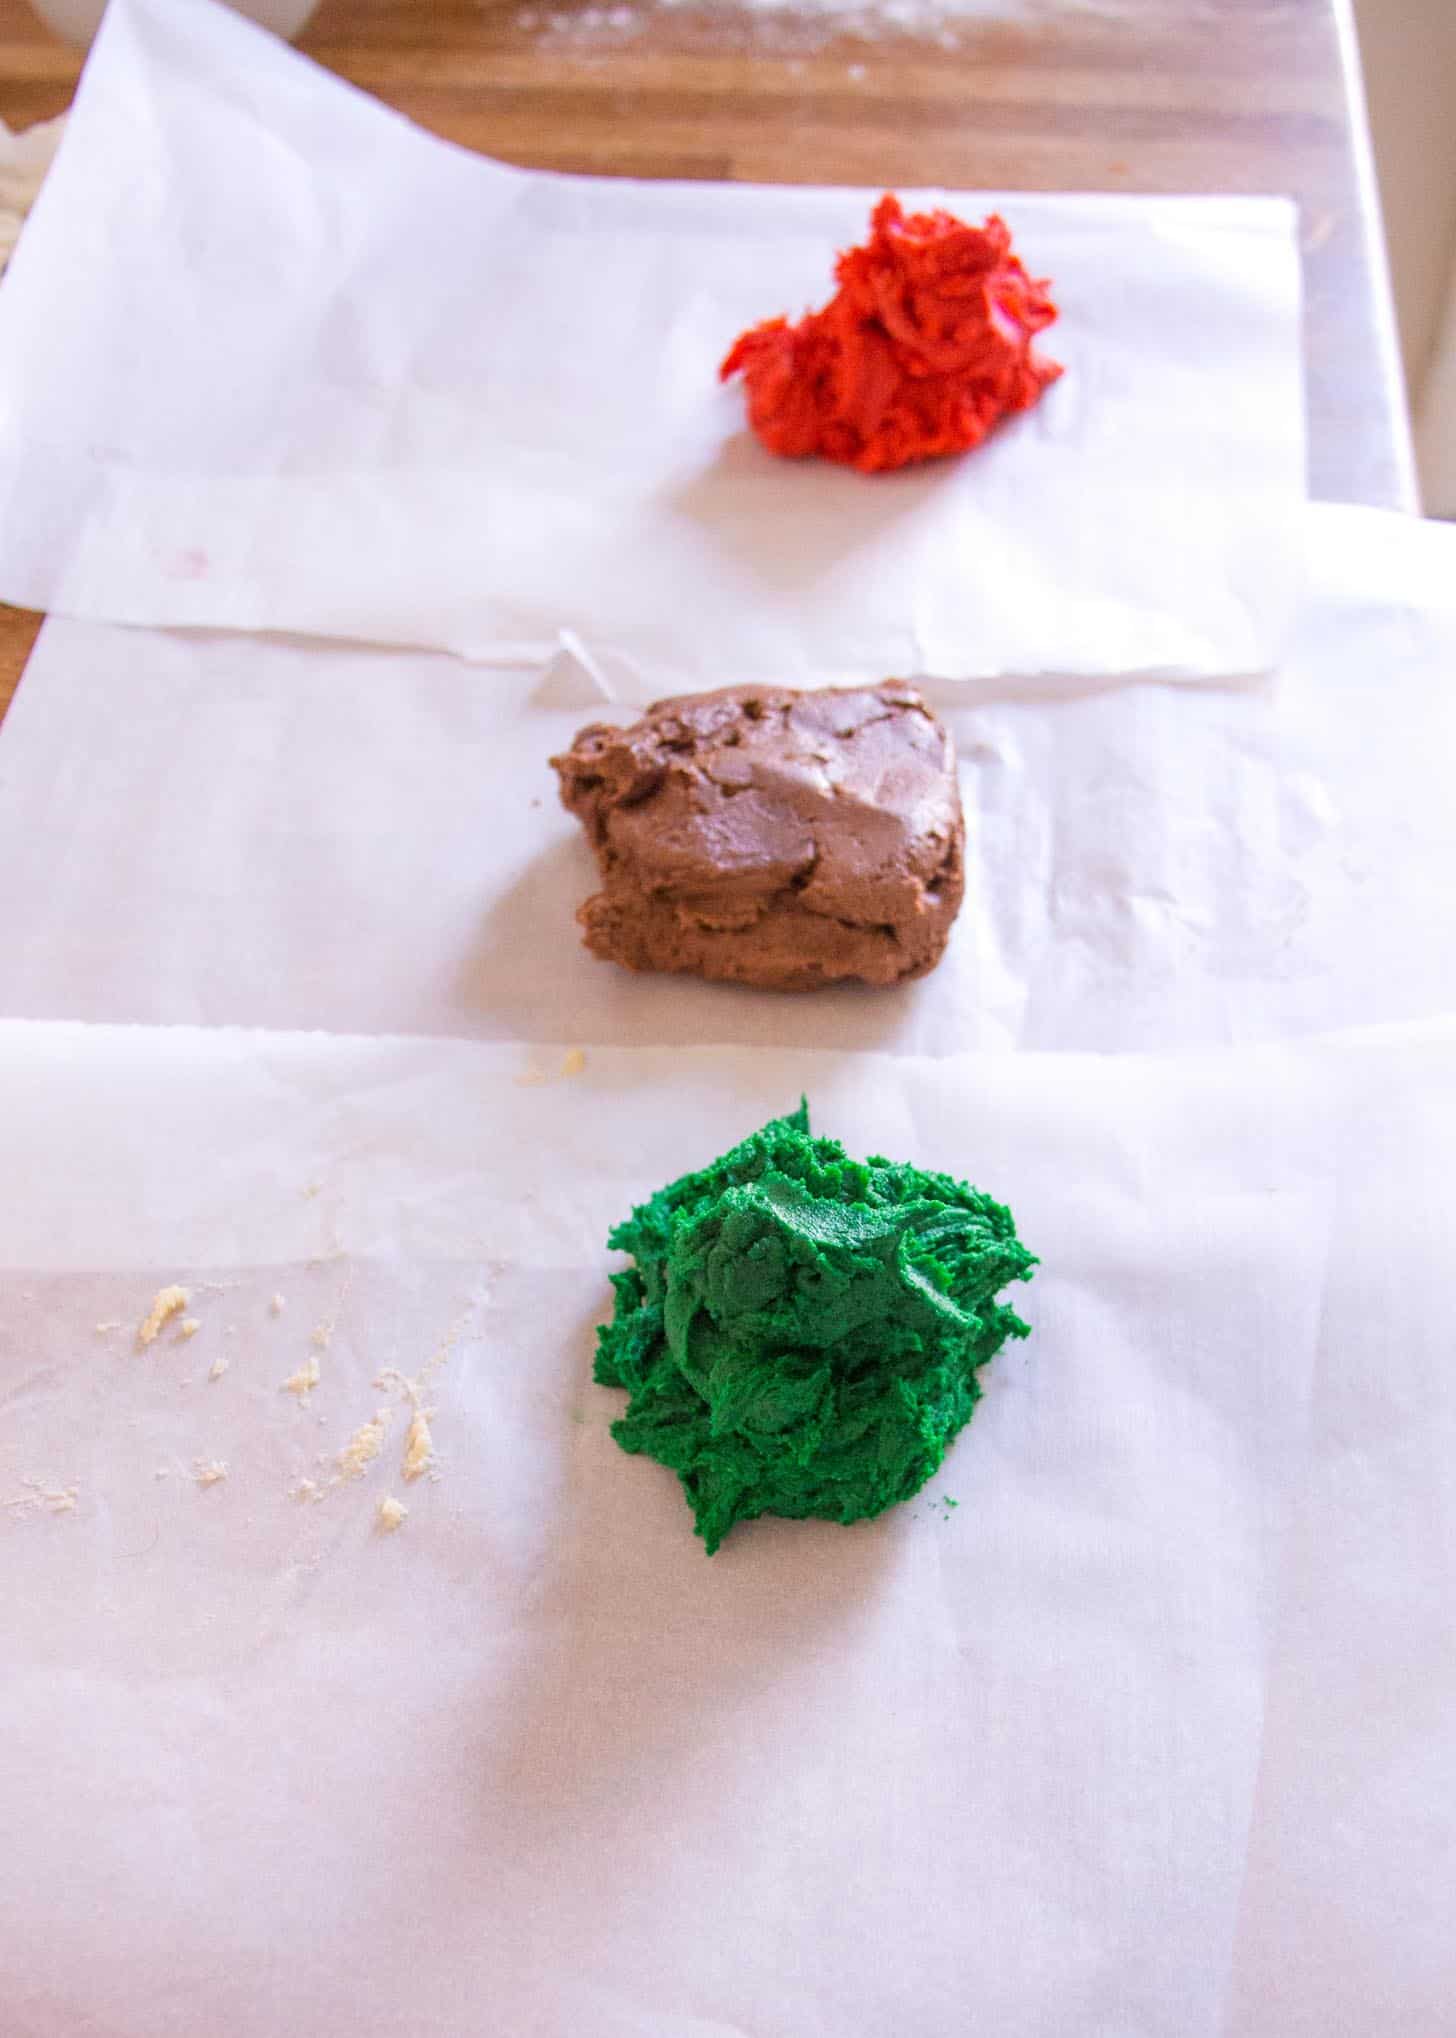
Make each portion of dough into it’s own color and flavor. Green (peppermint), chocolate and red (vanilla).
Step Three: Roll
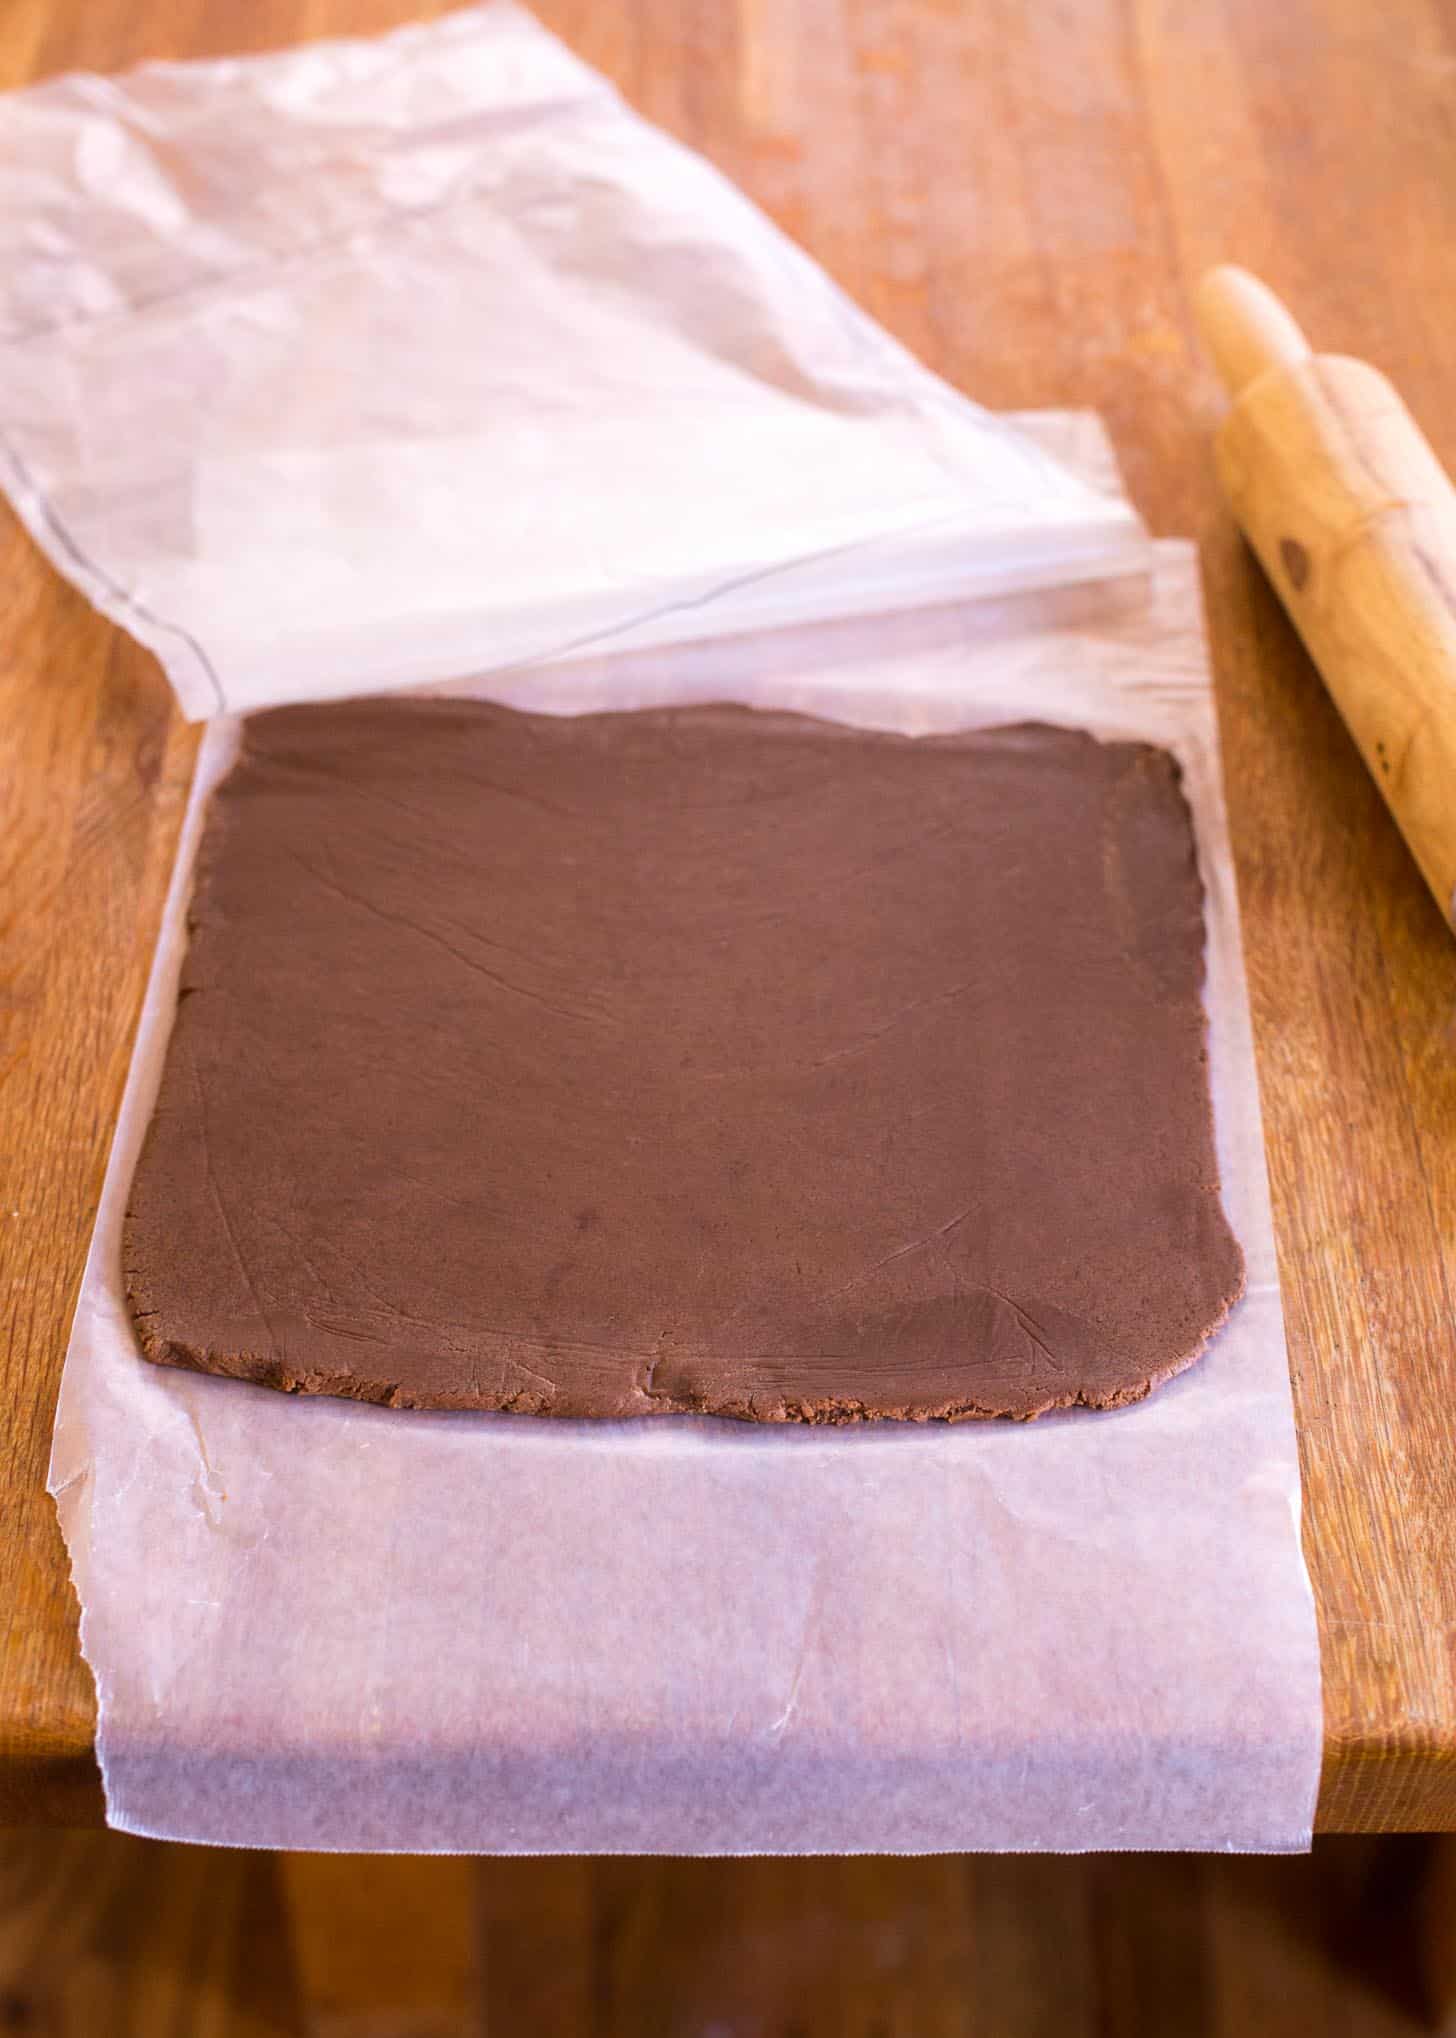
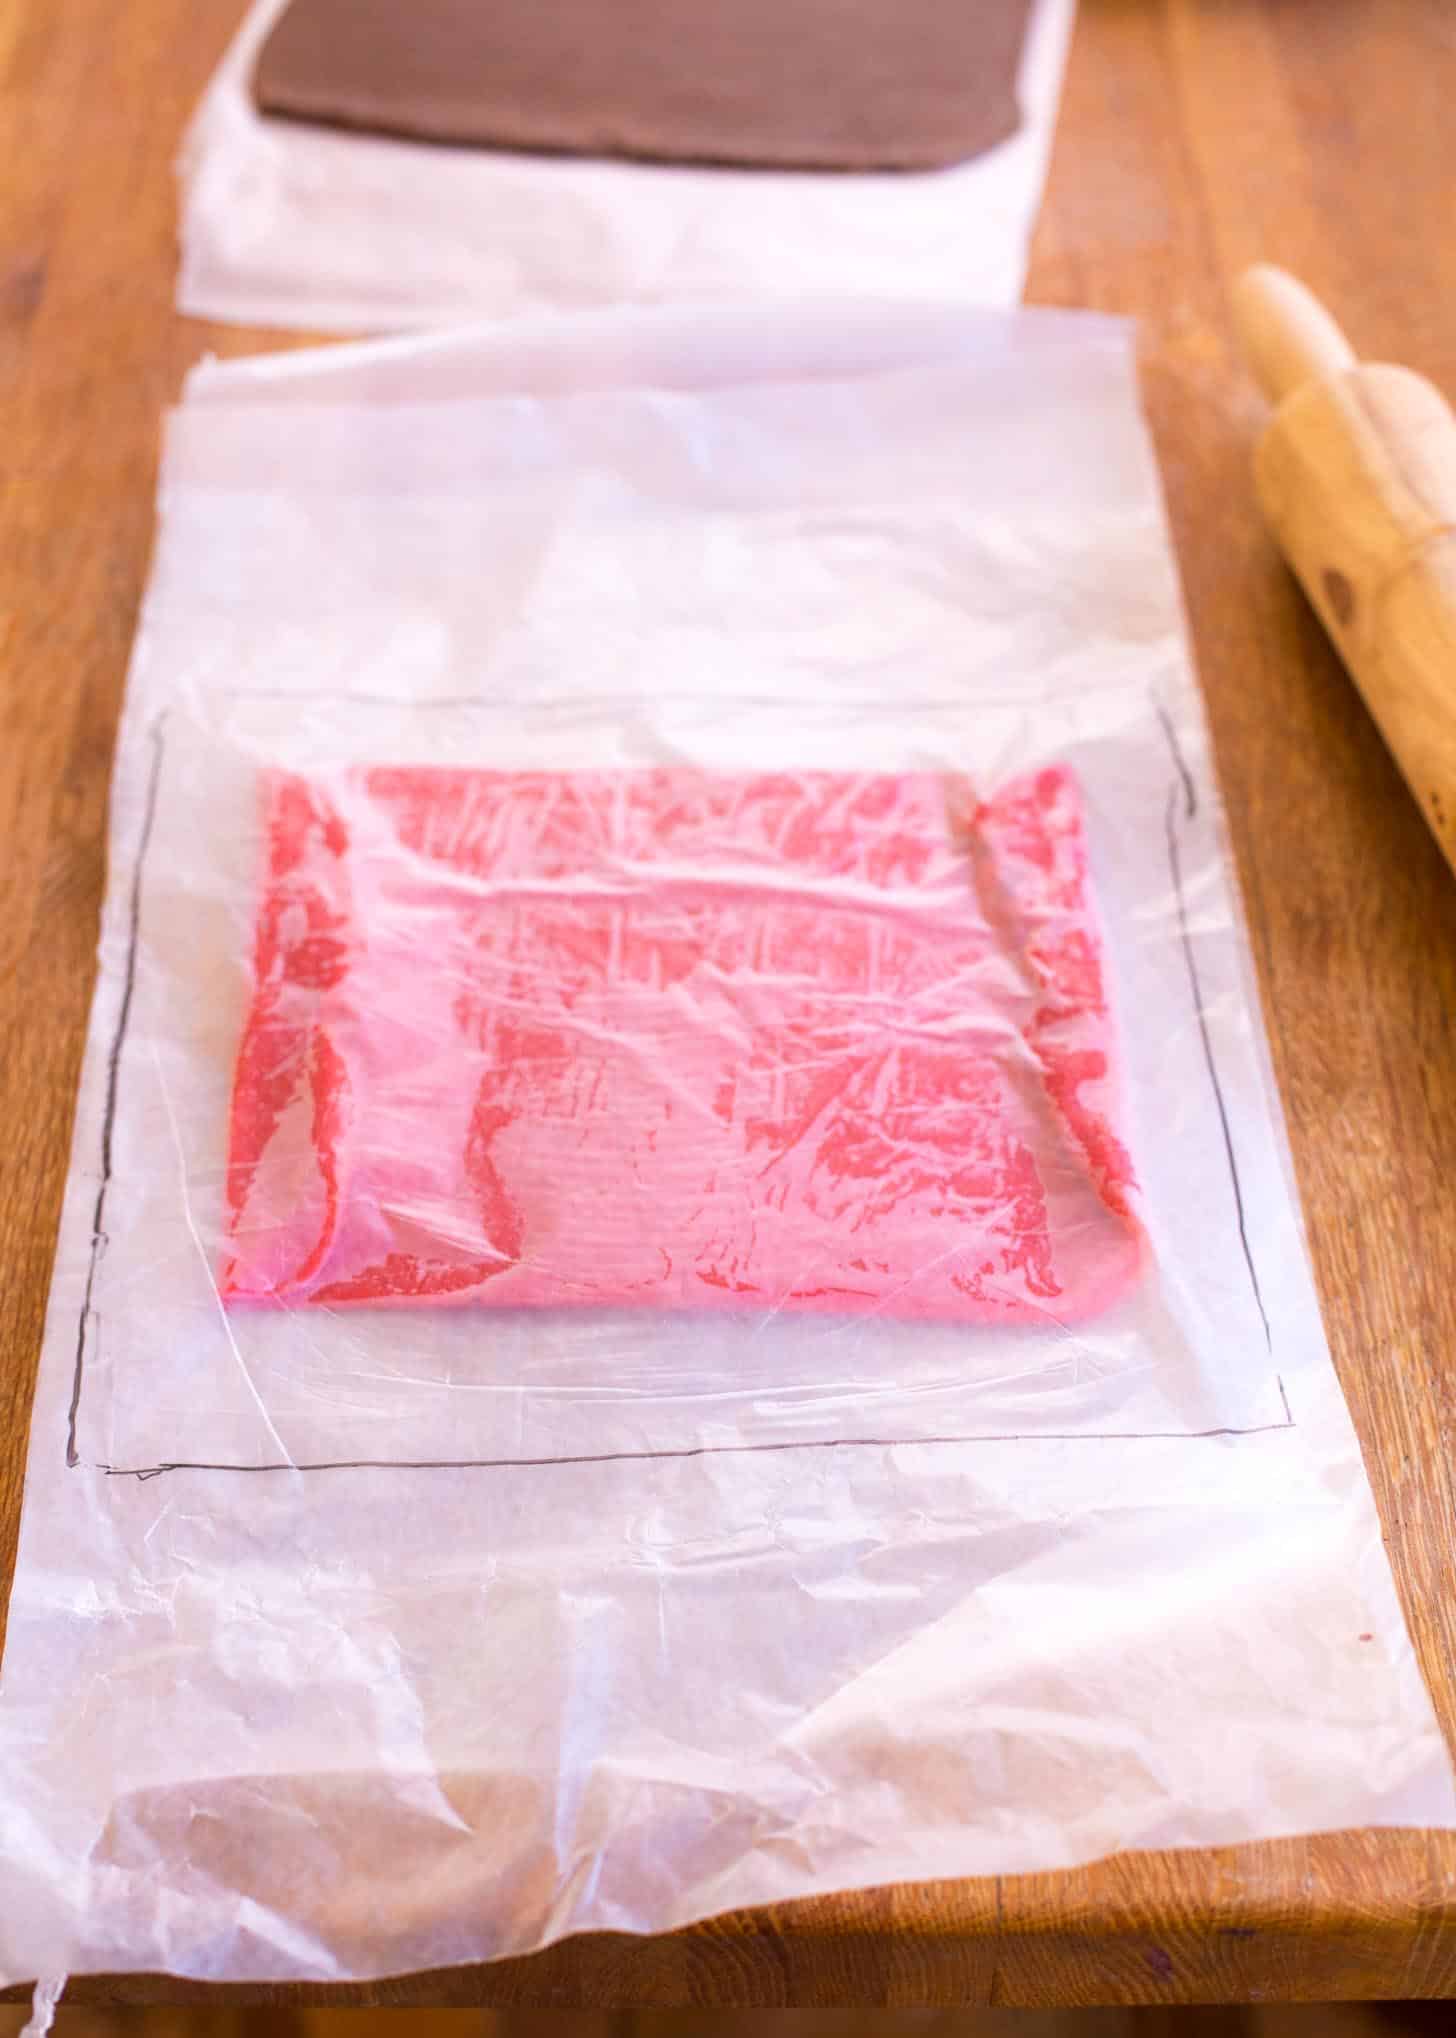
Roll the dough out into 11″ squares. I like to draw a square on a piece of wax paper and place it over top as a guide.
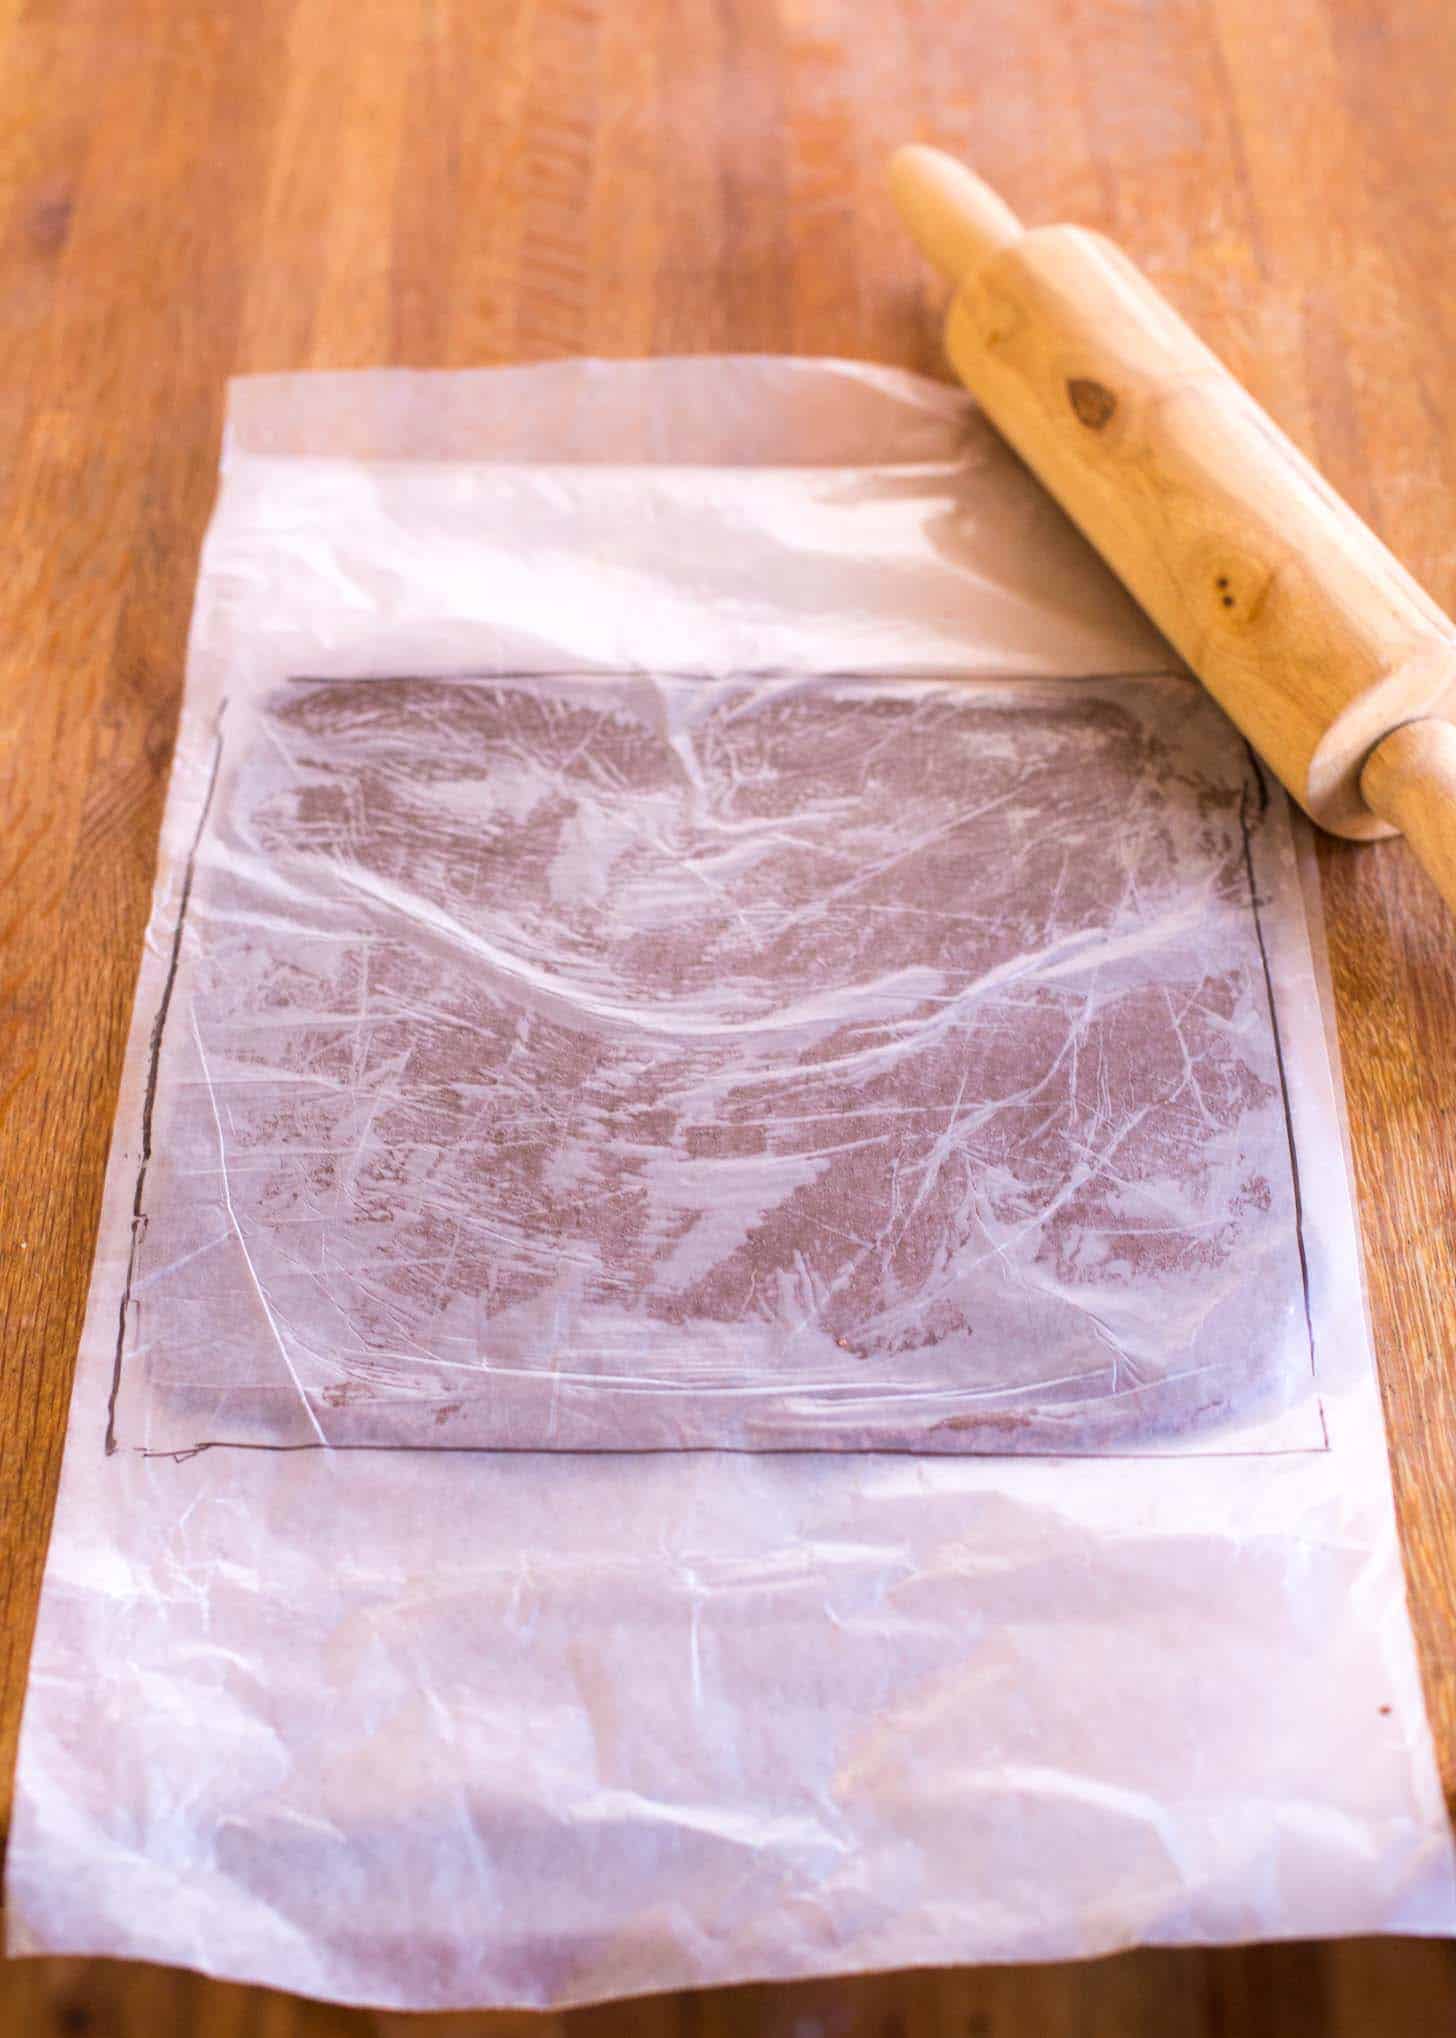
I usually have to fold the sides over a few times and / or tear off a few pieces and move them around to get an even square.
Step Four: Chill
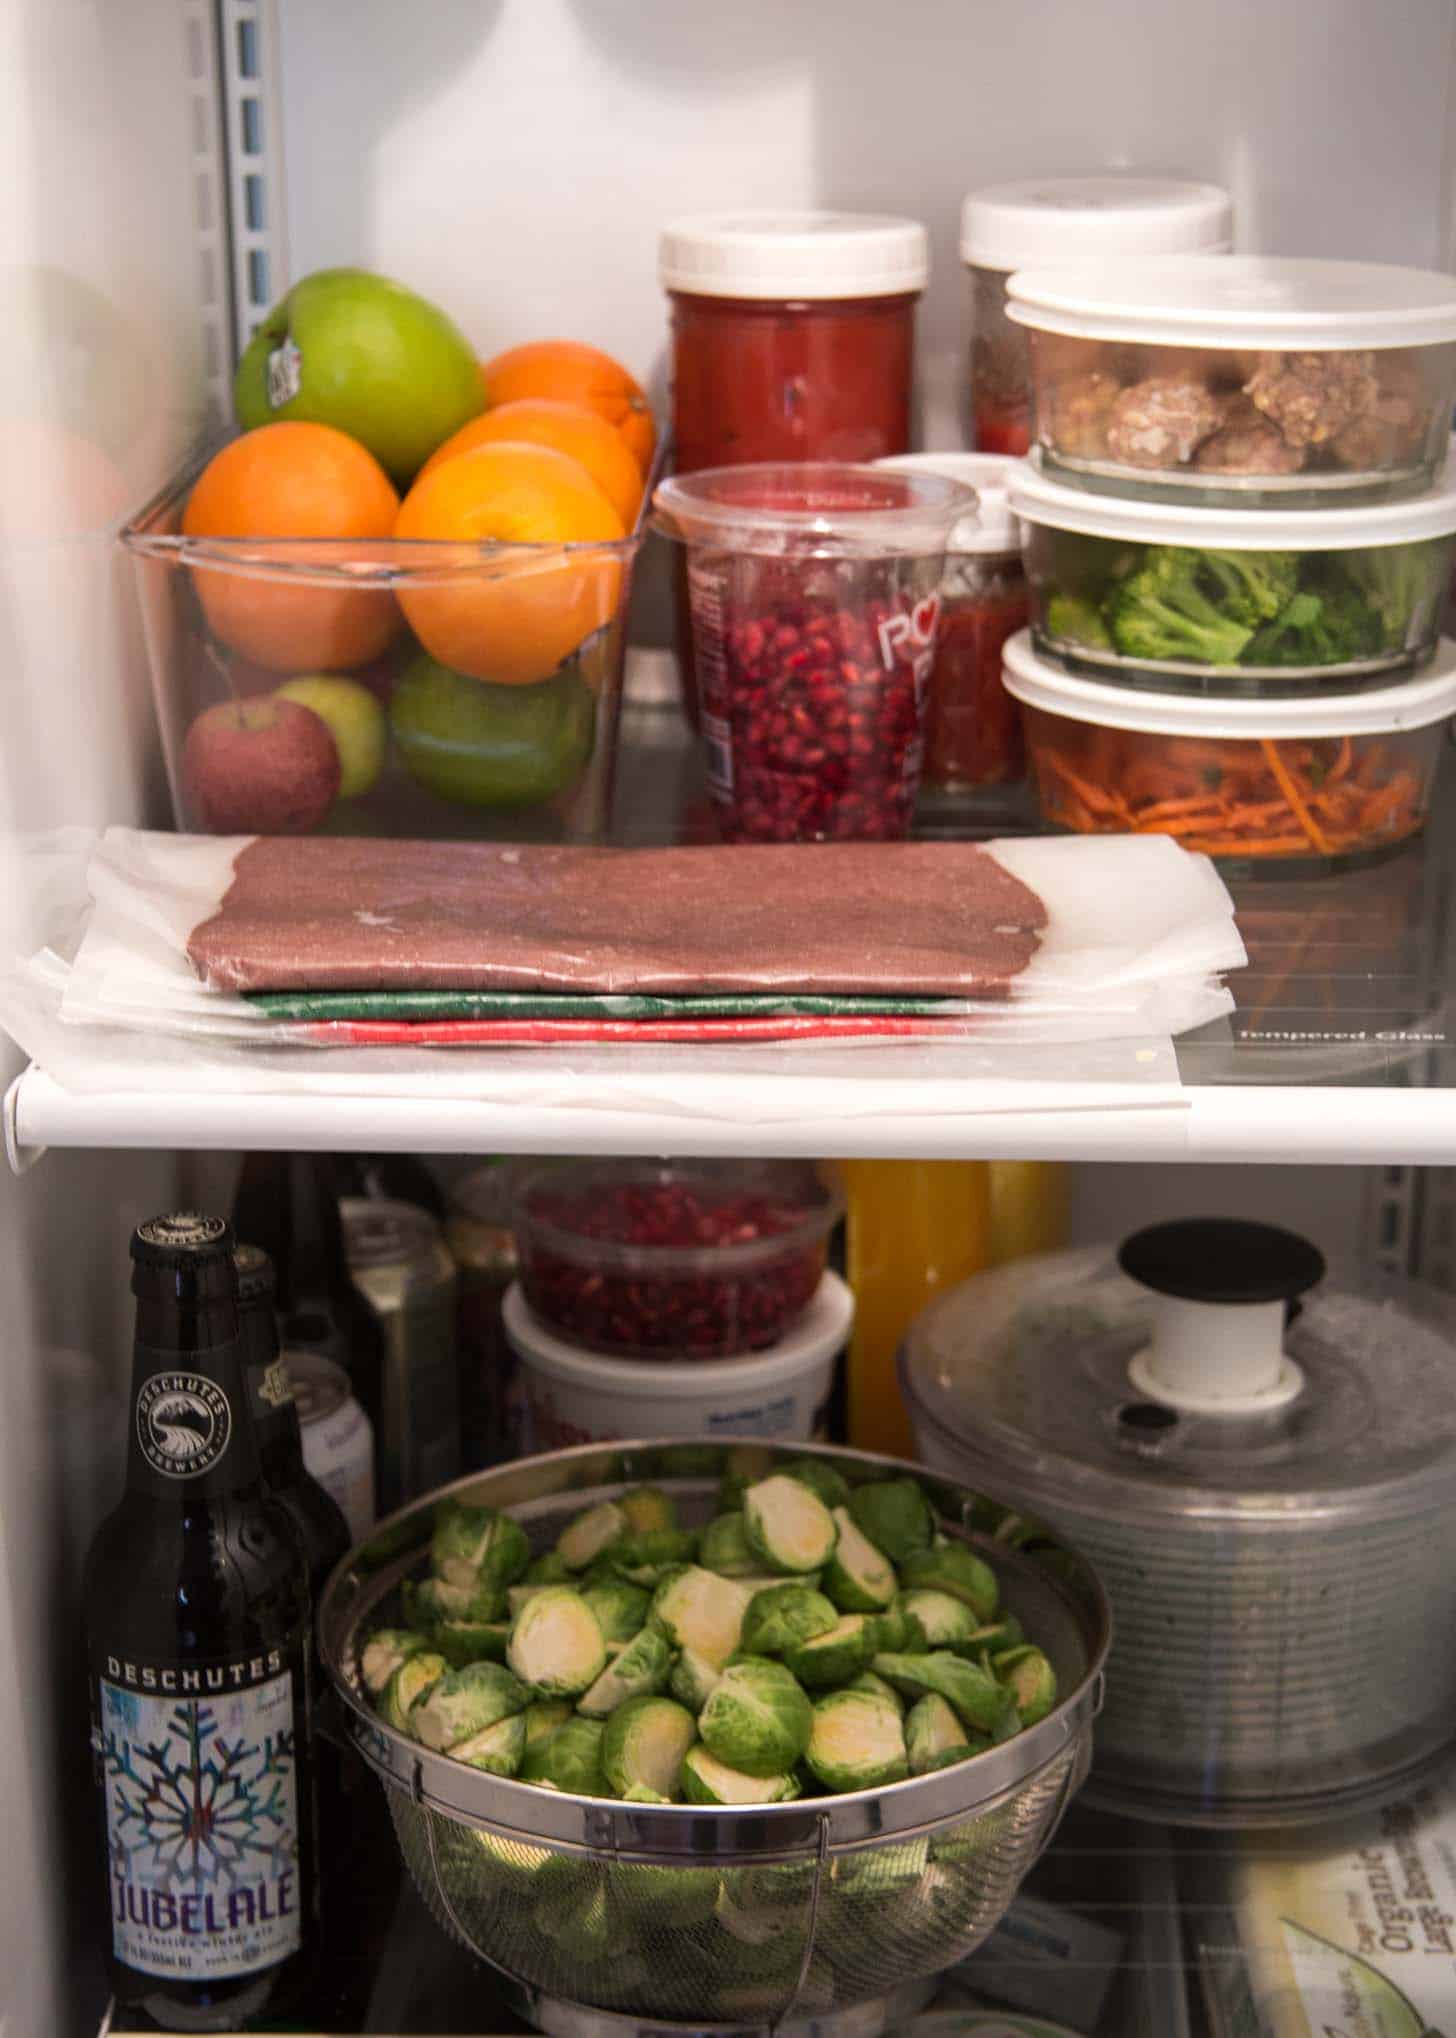
Refrigerate the dough for 30 minutes so that it’s chilled. This will keep the layers from bleeding into one another when they’re stacked. Fridge shot!
Step Five: Stack
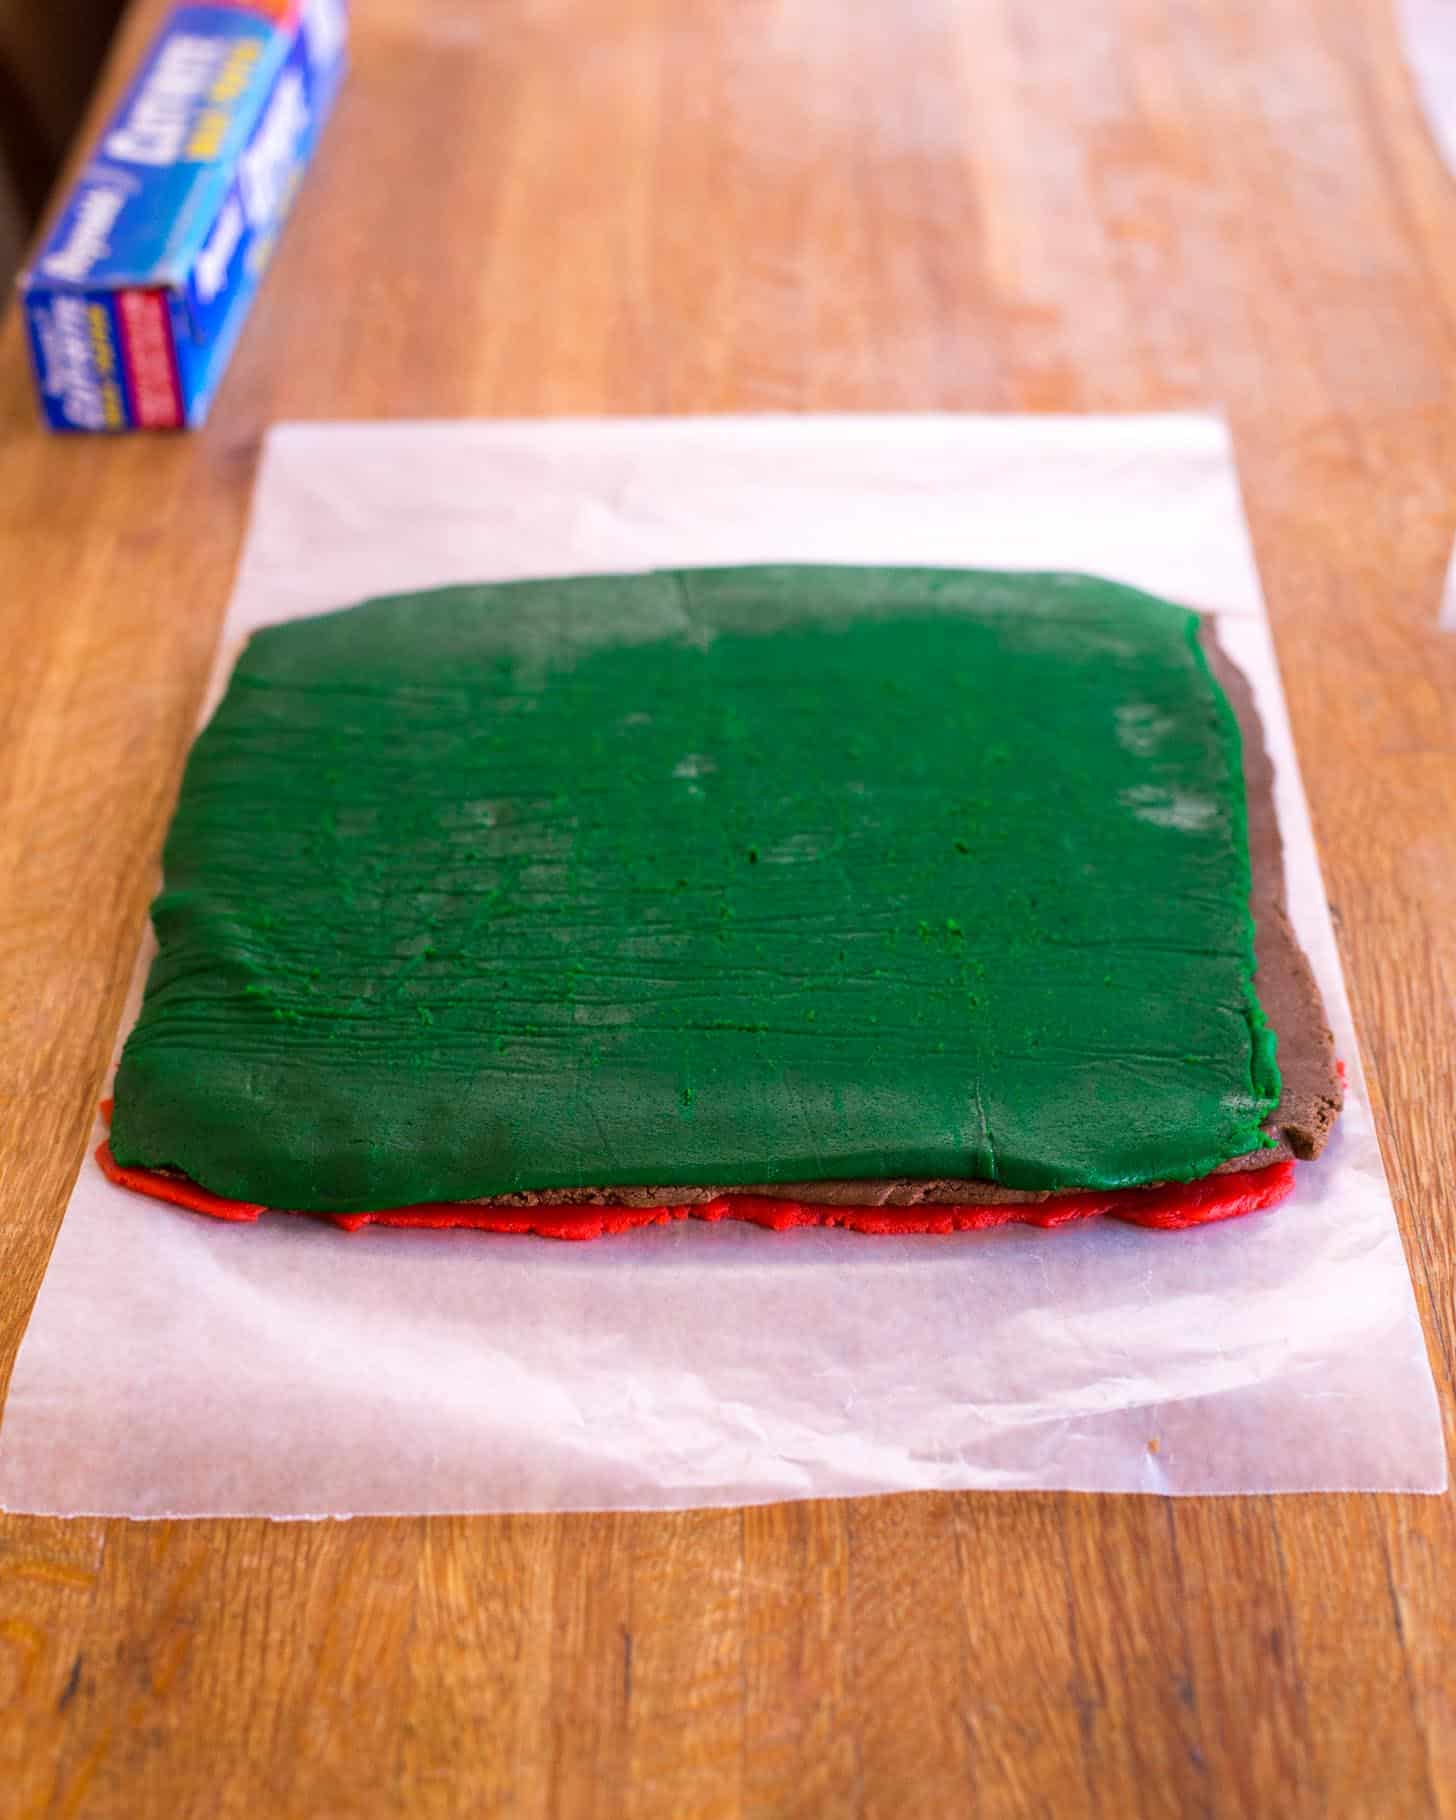
After 30 minutes, stack the layers (in any order you’d like). Gently press the layers together.
Step Six: Jelly Roll It
Roll the layers up, jelly-roll style. Press them a bit while rolling to prevent gaps.
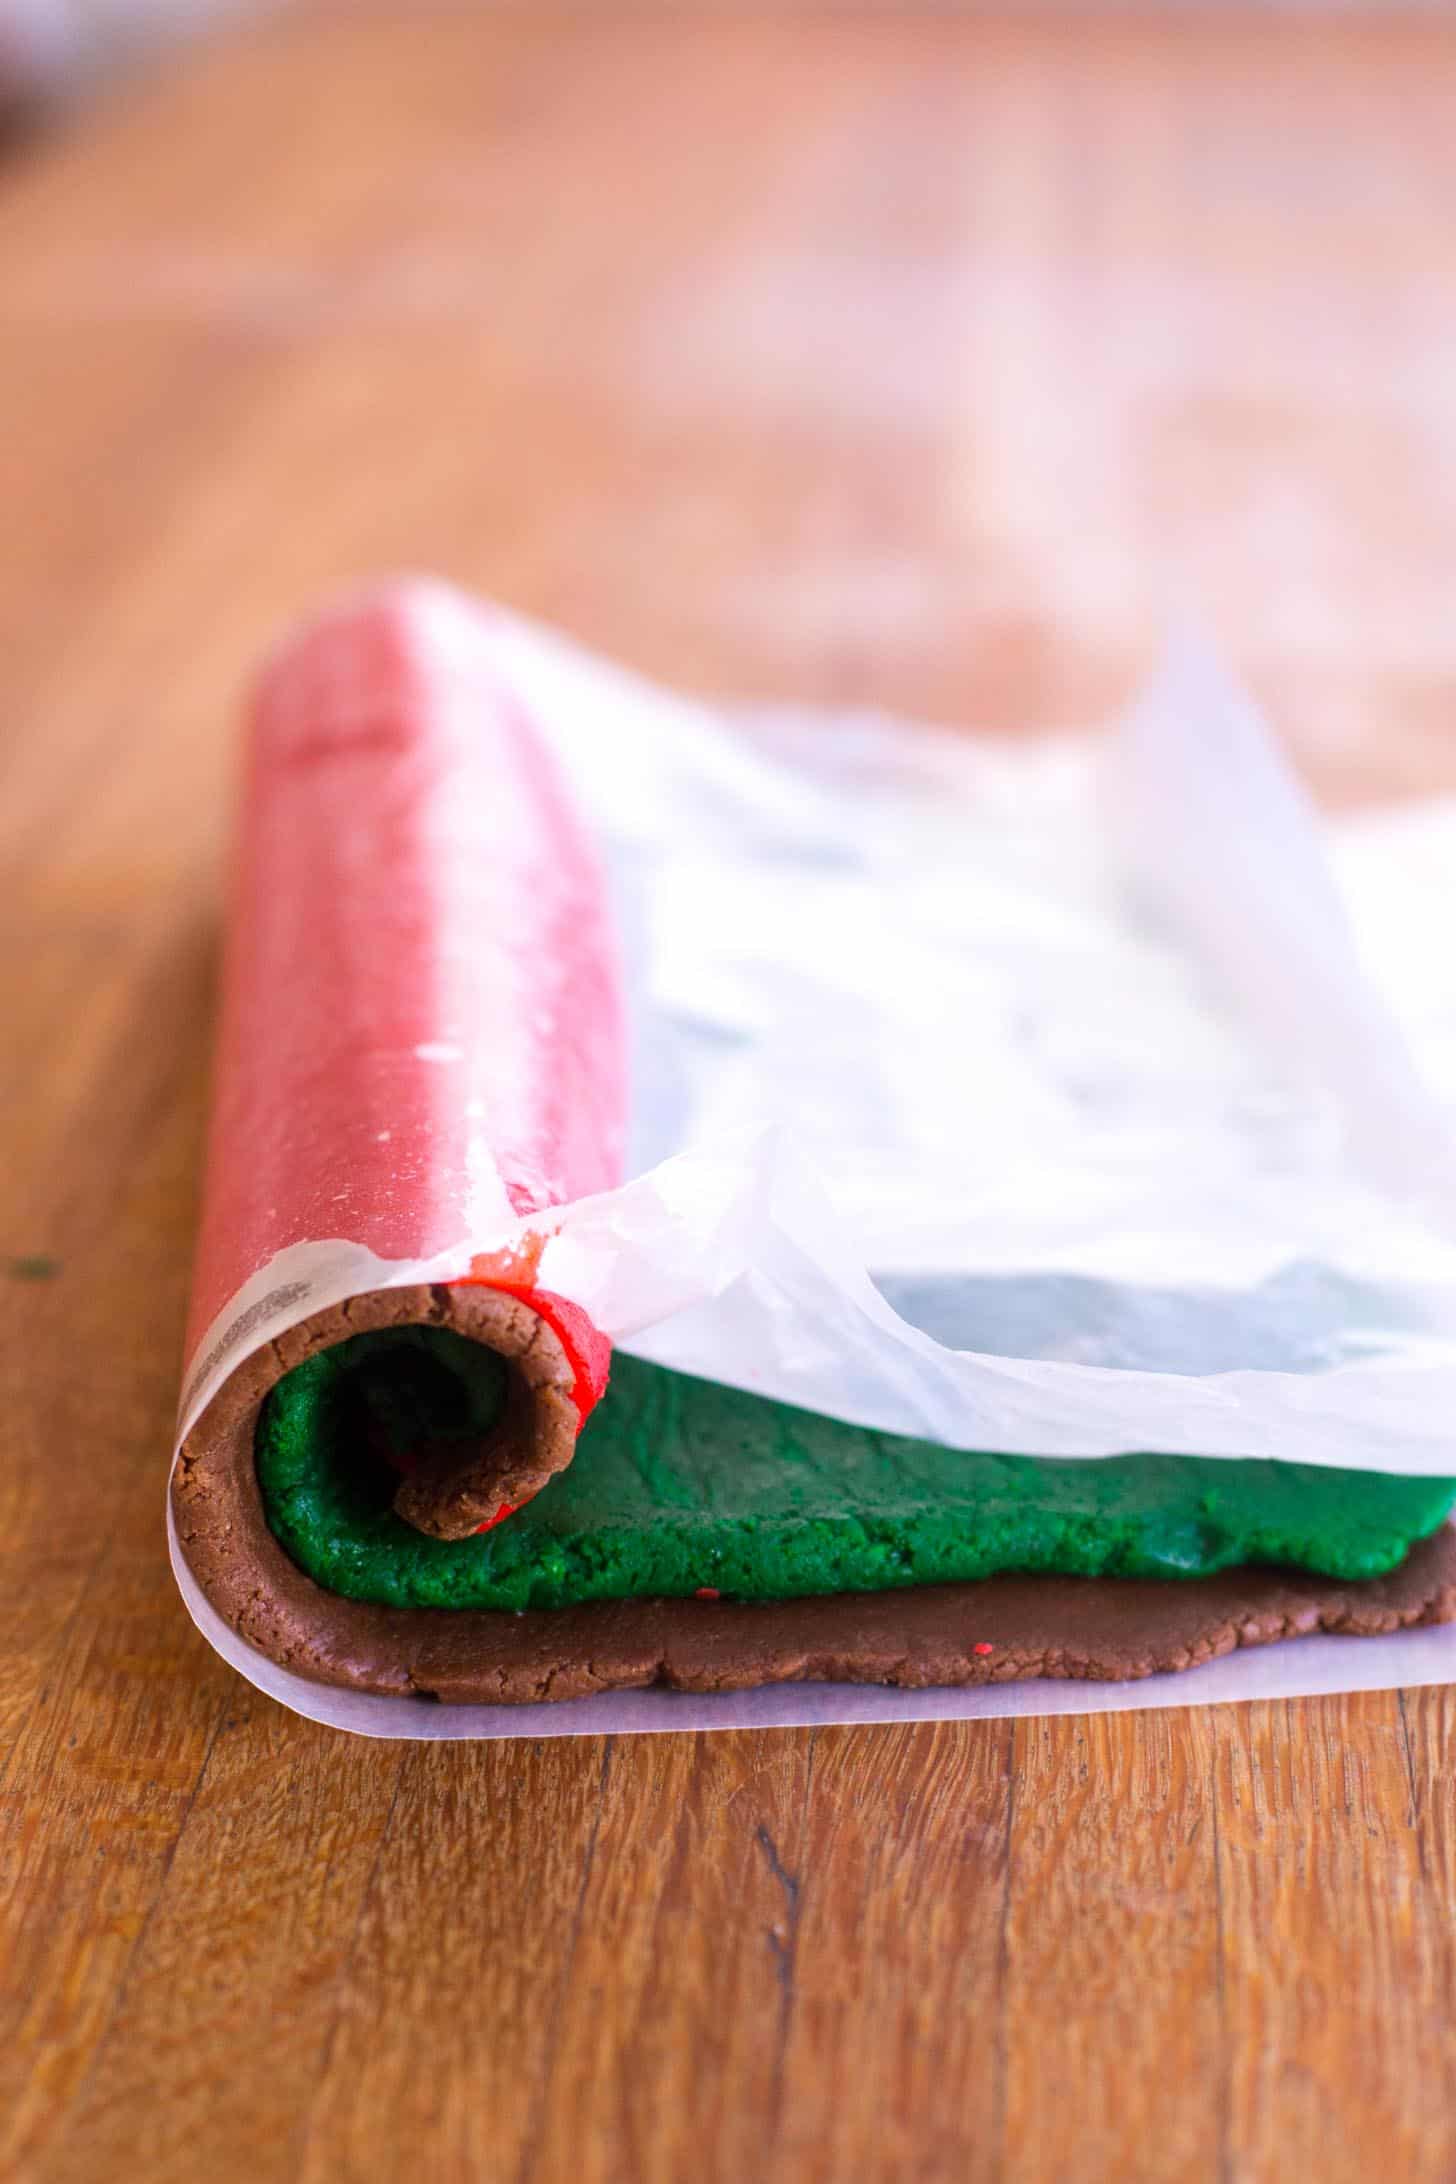
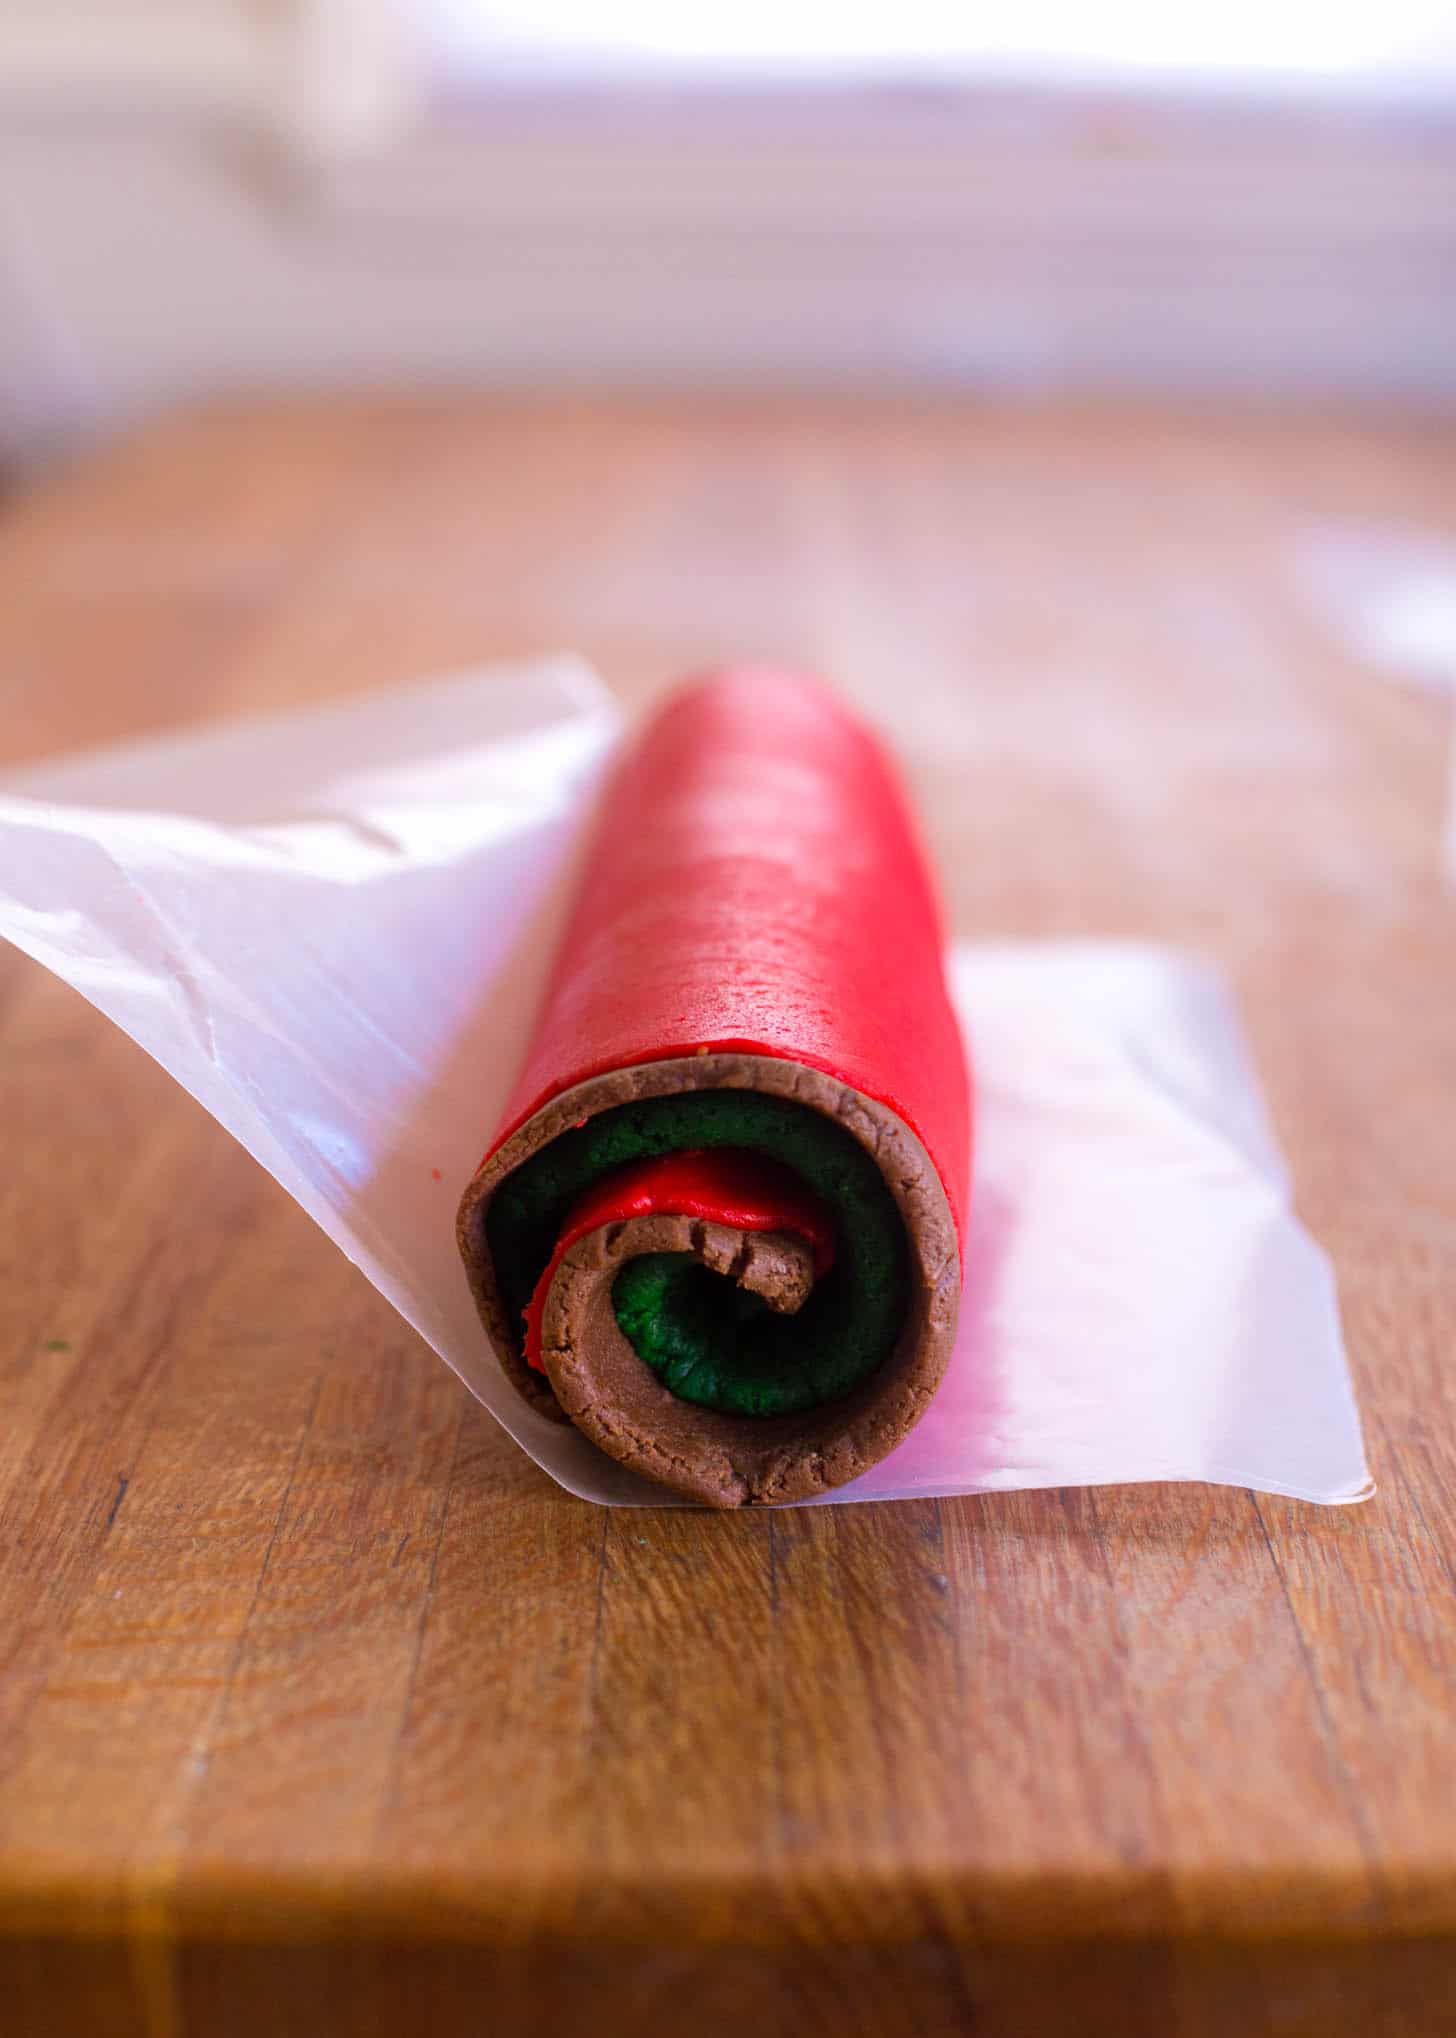
Step Seven: One Last Chill or Freeze
Refrigerate again to get the dough nice and firm. Or freeze Christmas Pinwheel Cookies for up to 3 months (how’s that for getting ahead on your holiday baking?).
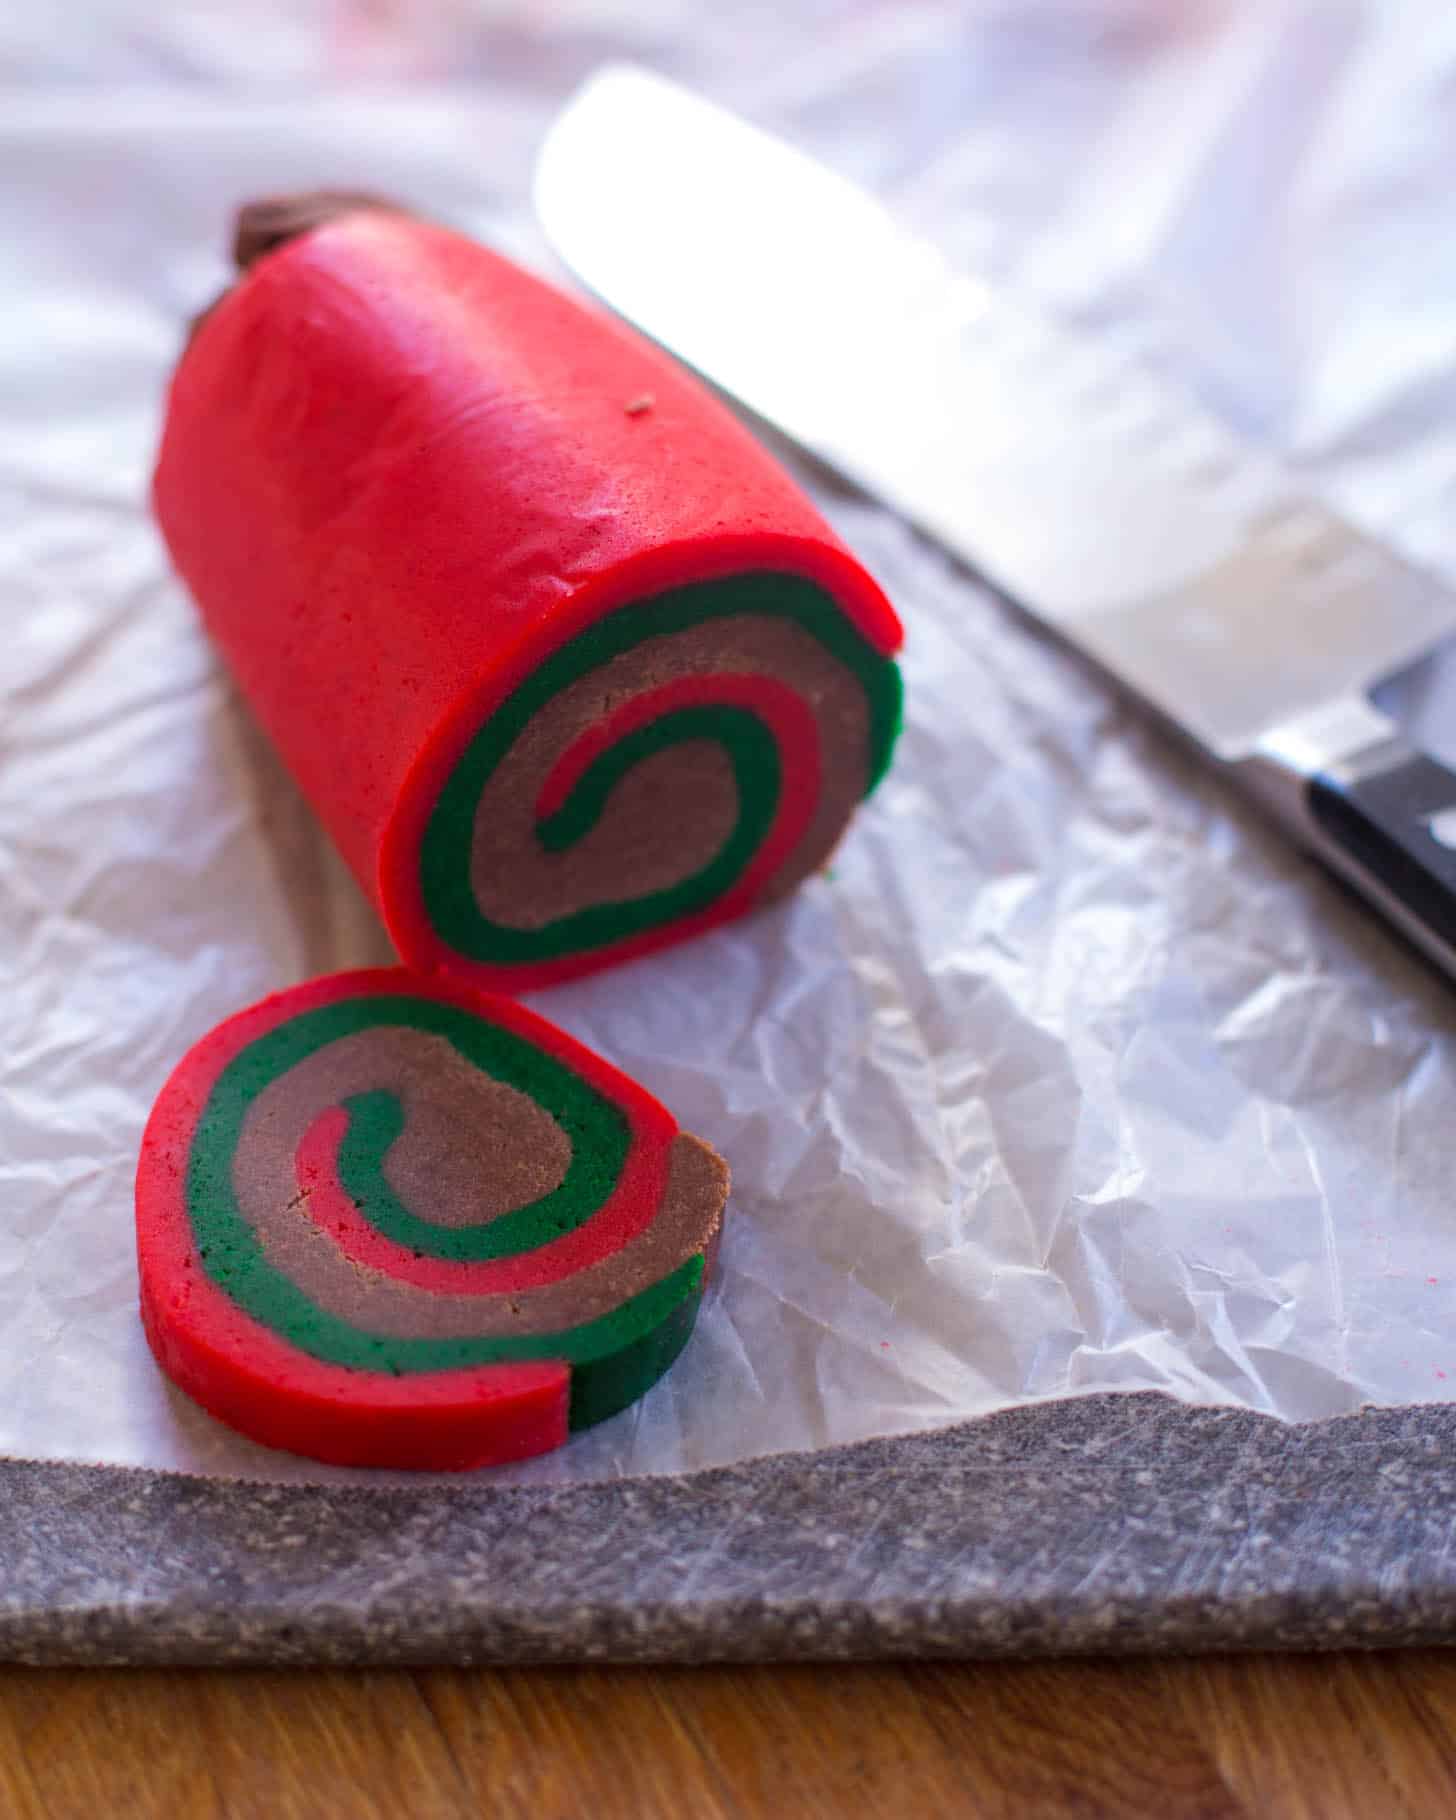
Step Eight: Slice & Bake
Then slice and bake! And enjoy!
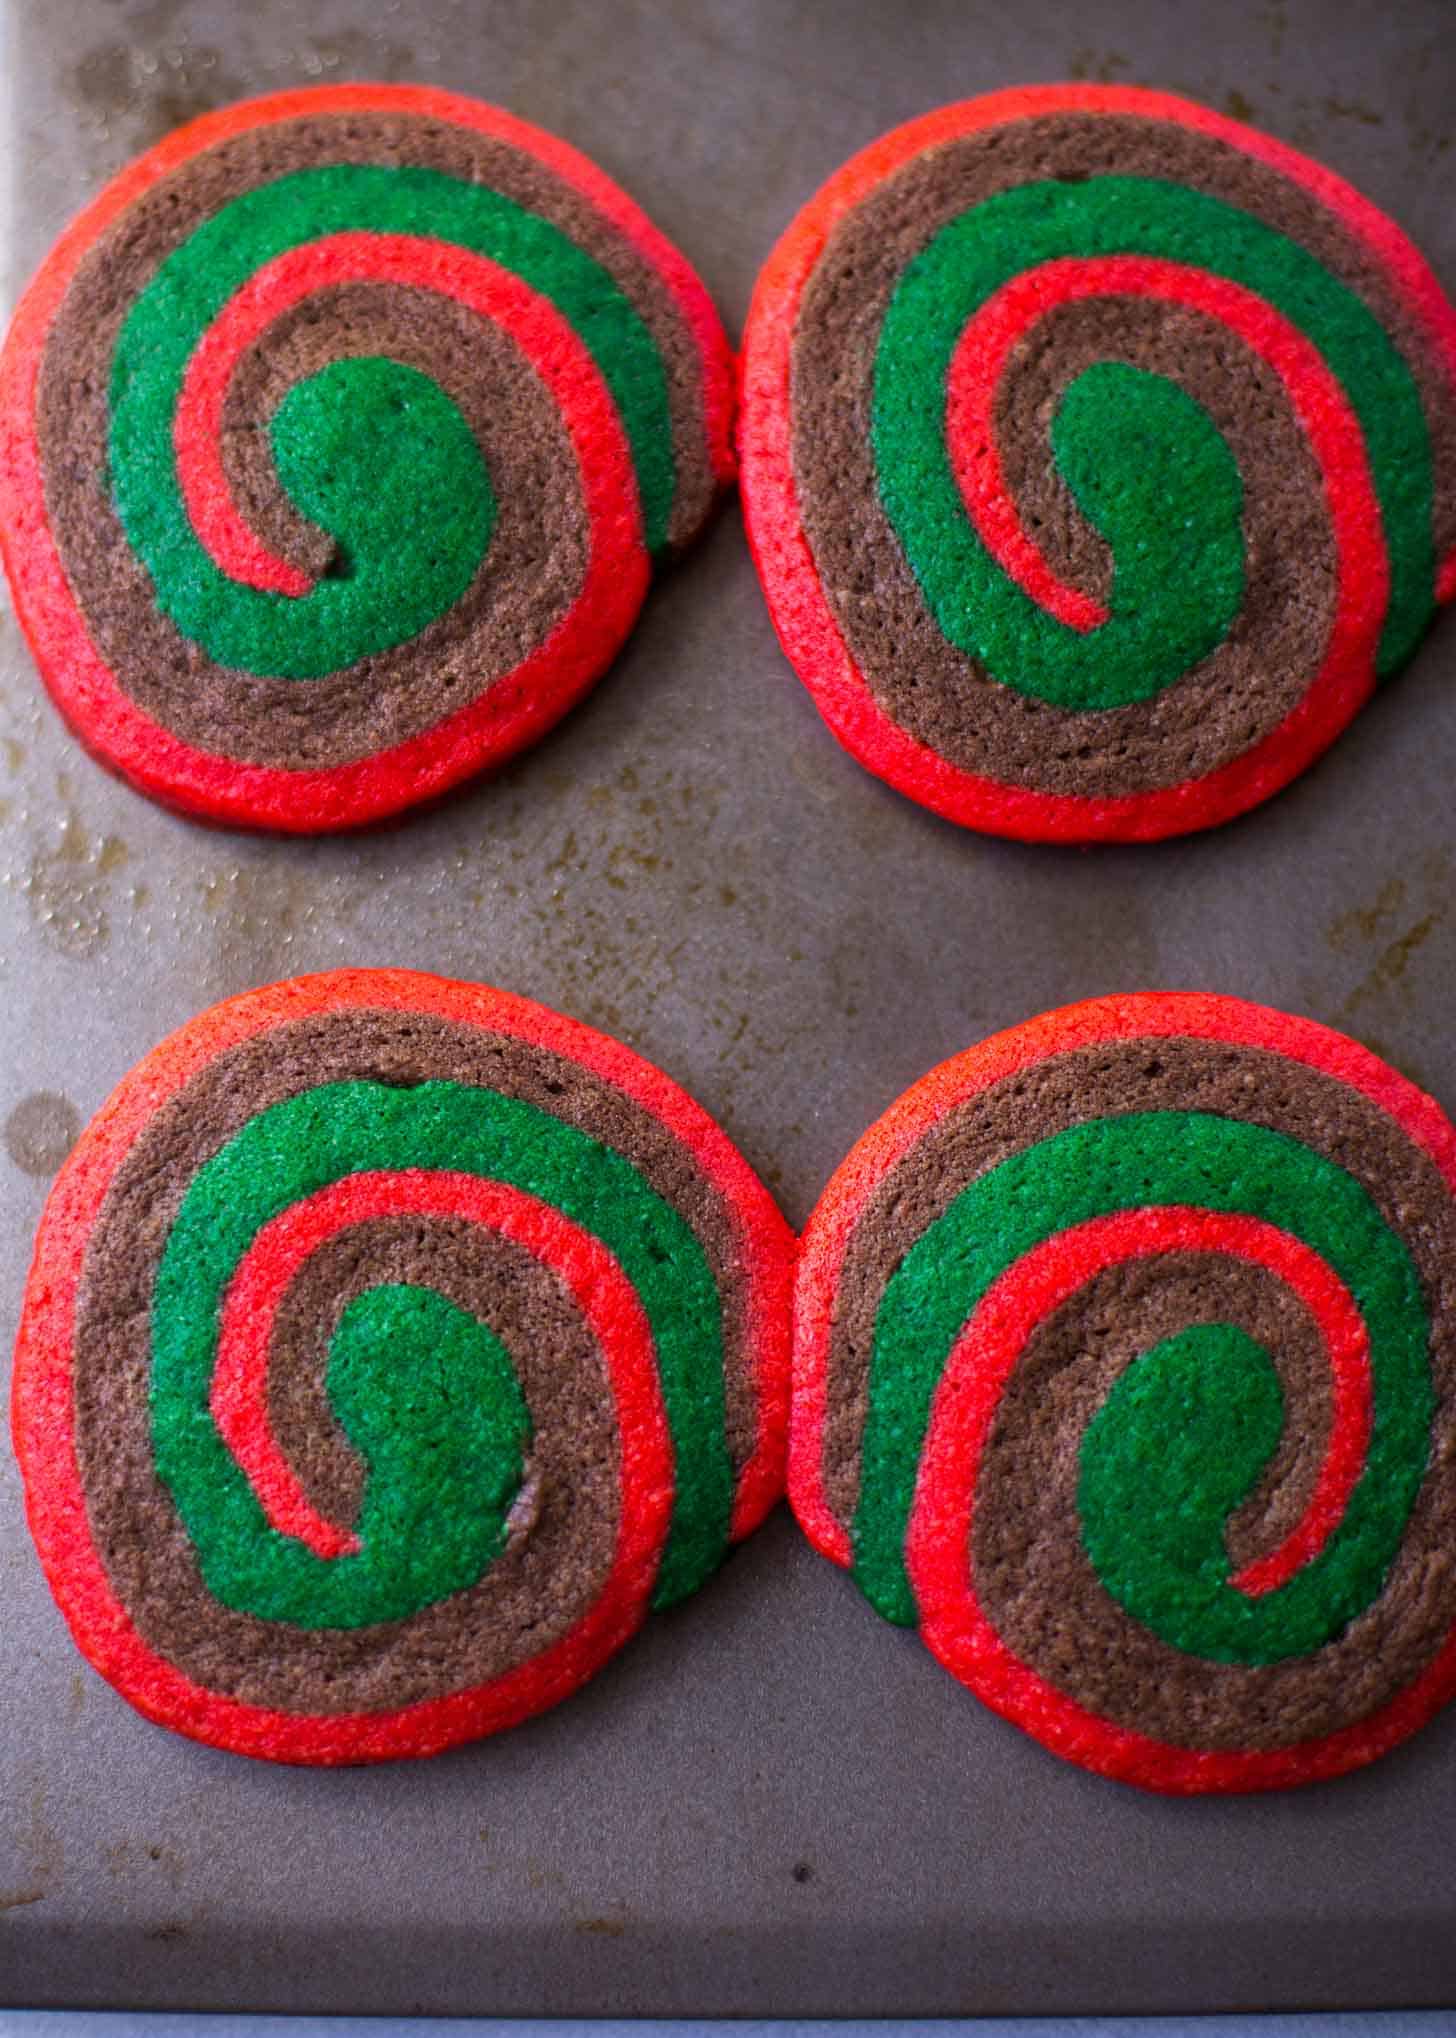
More Fun Christmas Cookies
Favorite Tools
Pin this now to save it for later
Pin It Now
Christmas Pinwheel Cookies
Equipment
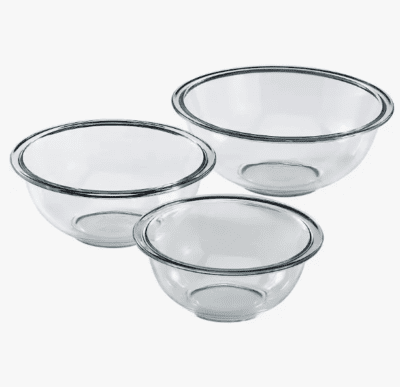
- Mixing Bowls
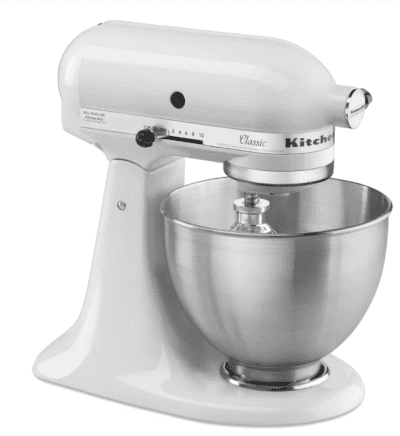
- Stand Mixer
- Wax Paper
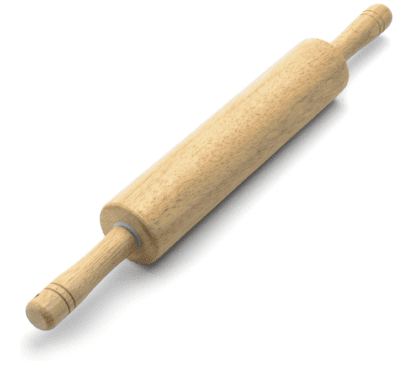
- Rolling Pin
- Sharp Knife
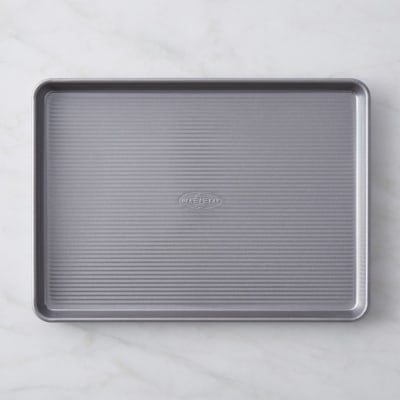
- Half Sheet Pan
Ingredients
- 4 cups All-Purpose Flour
- 2 teaspoons Baking Powder
- 1/2 teaspoon Salt
- 1 1/3 cup Unsalted Butter, softened
- 1 1/2 cup Granulated Sugar
- 2 Eggs
- 1 teaspoon Vanilla Extract
- Red Food Coloring
- 1/4 teaspoon Peppermint Extract
- Green Food Coloring
- 1/2 cup Semisweet Chocolate Chips
Instructions
- In a mixing bowl, whisk together flour, baking powder and salt. Set aside.
- In the bowl of a standing mixer, beat the butter on medium-high until smooth. Add sugar and beat on high until light and fluffy, ~2 minutes.
- Add eggs one at a time, mixing between each addition. Add vanilla and mix for 1 minute more.
- Add dry ingredients in three increments, mixing between each one.
- Divide dough into three even portions.
- RedPut the first portion of dough in the mixer and add red food coloring, while mixing, until the dough is a nice bright red. Set red dough aside and wipe out bowl.
- GreenPut the second portion of dough in the mixer and add peppermint extract and green food coloring, while mixing, until the dough is bright green. Set green dough aside and wipe out bowl.
- ChocolateMelt chocolate chips in the microwave (in 10 second increments, stirring between each). Put the third portion of dough in the mixer and add melted chocolate chips. Mix until evenly combined.
- Working with one portion of dough at a time, roll each into a 11″ x 11″ square. (I use a permanent marker to draw a square on a piece of wax paper and use that as a guide.)
- Refrigerate dough for 30 minutes until chilled.
- Remove dough from refrigerator and stack the three portions (in any order). Gently press layers together.
- Using the bottom sheet of wax paper to lift dough, roll it into a log. Press gently as you roll to avoid gaps. Wrap the dough tightly in wax paper and then in foil.
- Refrigerate for 2 hours or up to 5 days. (At this point the dough can be frozen for up to 3 months; defrost in the refrigerator for 2 to 3 hours before baking.)
- Preheat oven to 375 degrees F.
- Using a sharp knife cut roll into 1/8″ slices. Place slices on an ungreased baking sheet. The cookies will spread as they bake, so leave 2″ between.
- Bake until cookies appear just set in the middle, 8 to 10 minutes. (The texture will be tender and buttery. I’ve also been known to bake these for as little as 6 minutes. Soft, gooey, delicious.) Transfer to a cooling rack and allow to cool completely.
- Store in an airtight container for up to 3 days.
Nutrition
Nutrition information is automatically calculated, so should only be used as an approximation.









Hi! I just made this recipe today (well, baked it today, put it together yesterday)! They are delicious! I did use an egg replacer which likely made the dough a bit different, so I wasn’t able to roll it into a log for pinwheels (totally on me). HOWEVER I did improvise and just have the layers be flat on top of one another and used a cookie cutter to make star cookies:)
I love the adapted IKEA foot stools. You guys should sell the idea to IKEA.
The cookies look amazing and you made it look so easy. We’re having my wife’s work team over for a Julfest (Chistmas party) on the 15th and they’ve requested that I make a American cookie smörgåsbord. I’m going to give these a try as I think they’d surely impress. Thanks for making it look easy for us non-bakers out here in food land.
Sounds like so much fun, Ron! Everyone loves a cookie spread. Good luck!
good!!!!!!